We're Getting Married!

Maddie and I are getting married today! 

We met on Tinder 2 years ago and she moved aboard right away (per my request). It was a rough adjustment for her at first, transitioning from living in a land house with lots of space to a narrow sailboat. 

The first year was a mixed bag, there were fun times when we would relax on the deck, and then there were the not-so-fun times when we were re-powering and on the hard. We worked on projects together, like when she helped me paint Tooth after I finished building him, or choosing the colors for the synthetic rigging on Wisdom.

During her first year, she learned the basics of sailing and came to trust Wisdom through all sorts of weather. Then we set off on a month long sailing trip out into the ocean where she really fell in love with sailing!

It was on that trip that I proposed to her and we became engaged.

One year after that, and a lot of planning later, we are getting married. We will tie the knot and start our journey as a married couple. I figure if we can live together in a small boat, we must be compatible. 

I always maintain one rule on the boat, I am captain and she is Admiral! Following this simple chain of command, we work very well together and make decisions as a couple in a way that makes both of us happy. I look forward to a long lifetime of cruising together.

Installing the Rafters

The structure is now rather flimsy with all that weight aloft and hardly any support to it. The structure wracks in the wind since it lacks support from the roof.  The rafters will connect to the ridge beam and tie them to the wall frames. On a boat, these rafters are analogous to futtocks leading to the chine log.

The rafters are connected to the ridge beam with strong-ties and to the wall frames with hurricane anchors. The rafters are set 24" O.C. with exception to the butt block bolts. The rafters near the change in pitch of the roof are doubled to give each point more strength as the roofs change pitch.

The trusses sit a bit lower than the rest of the rafters to allow a sandwhich plank to be set between the truss and plywood roof to add the extension.

The tiny house is starting to take shape as it looks more and more like a house. Later on, boards that will be analogous to floors in a boat will be installed in the rafters below the ridge beam to tie them all together and make the structure even stronger!

Bedding Hardware

Whenever you make a hole in your deck, you need to seal it to avoid water intrusion. This is easy enough when you are repairing a hole in the deck with wood or fiberglass, but what about when you install hardware through the deck?

This is where bedding compound comes into play! Bedding compound will seal up any voids that may exist between the item and the deck. This seals out water and moisture, while adhering the item to the deck. Bedding compound also needs to be forgiving, allowing it to stretch and wiggle as the boat twists through the waves and expands during the heat of the day. 

My preferred bedding compound for marine hardware is 4200, manufactured by 3M. While not as popular as 5200, 4200 does an excellent job and is much more forgiving. 5200 is considered a "permanent" adhesive. When 3M (a company famous for making things that stick) says its product is permanent, they mean it! I have seem the top layer of a deck be ripped up with deck hardware that was bedded with 5200. 

4200, on the other hand is just a hare's breath less "permanent" than 5200. This means that it will still seal out all traces of water and firmly adhere the fitting to the deck, but it can be removed with enough persuasion in the future. 

I like retrieve-ability in everything I do. The thought that something is now permanently installed and can never be removed irks me! Whether it be an implant crown that I place in my dental office or a chainplate, I want to have a method to remove it should the situation arise. 

When you use bedding compound, the concept is simple: You want to fill all the voids so that it occupies all the space between the fitting and the deck. To ensure that you have enough compound in there, you need it to squeeze out. Bedding compound is very gooey and is rather hard to clean up; but if you follow a few easy steps, cleanup could be much easier.

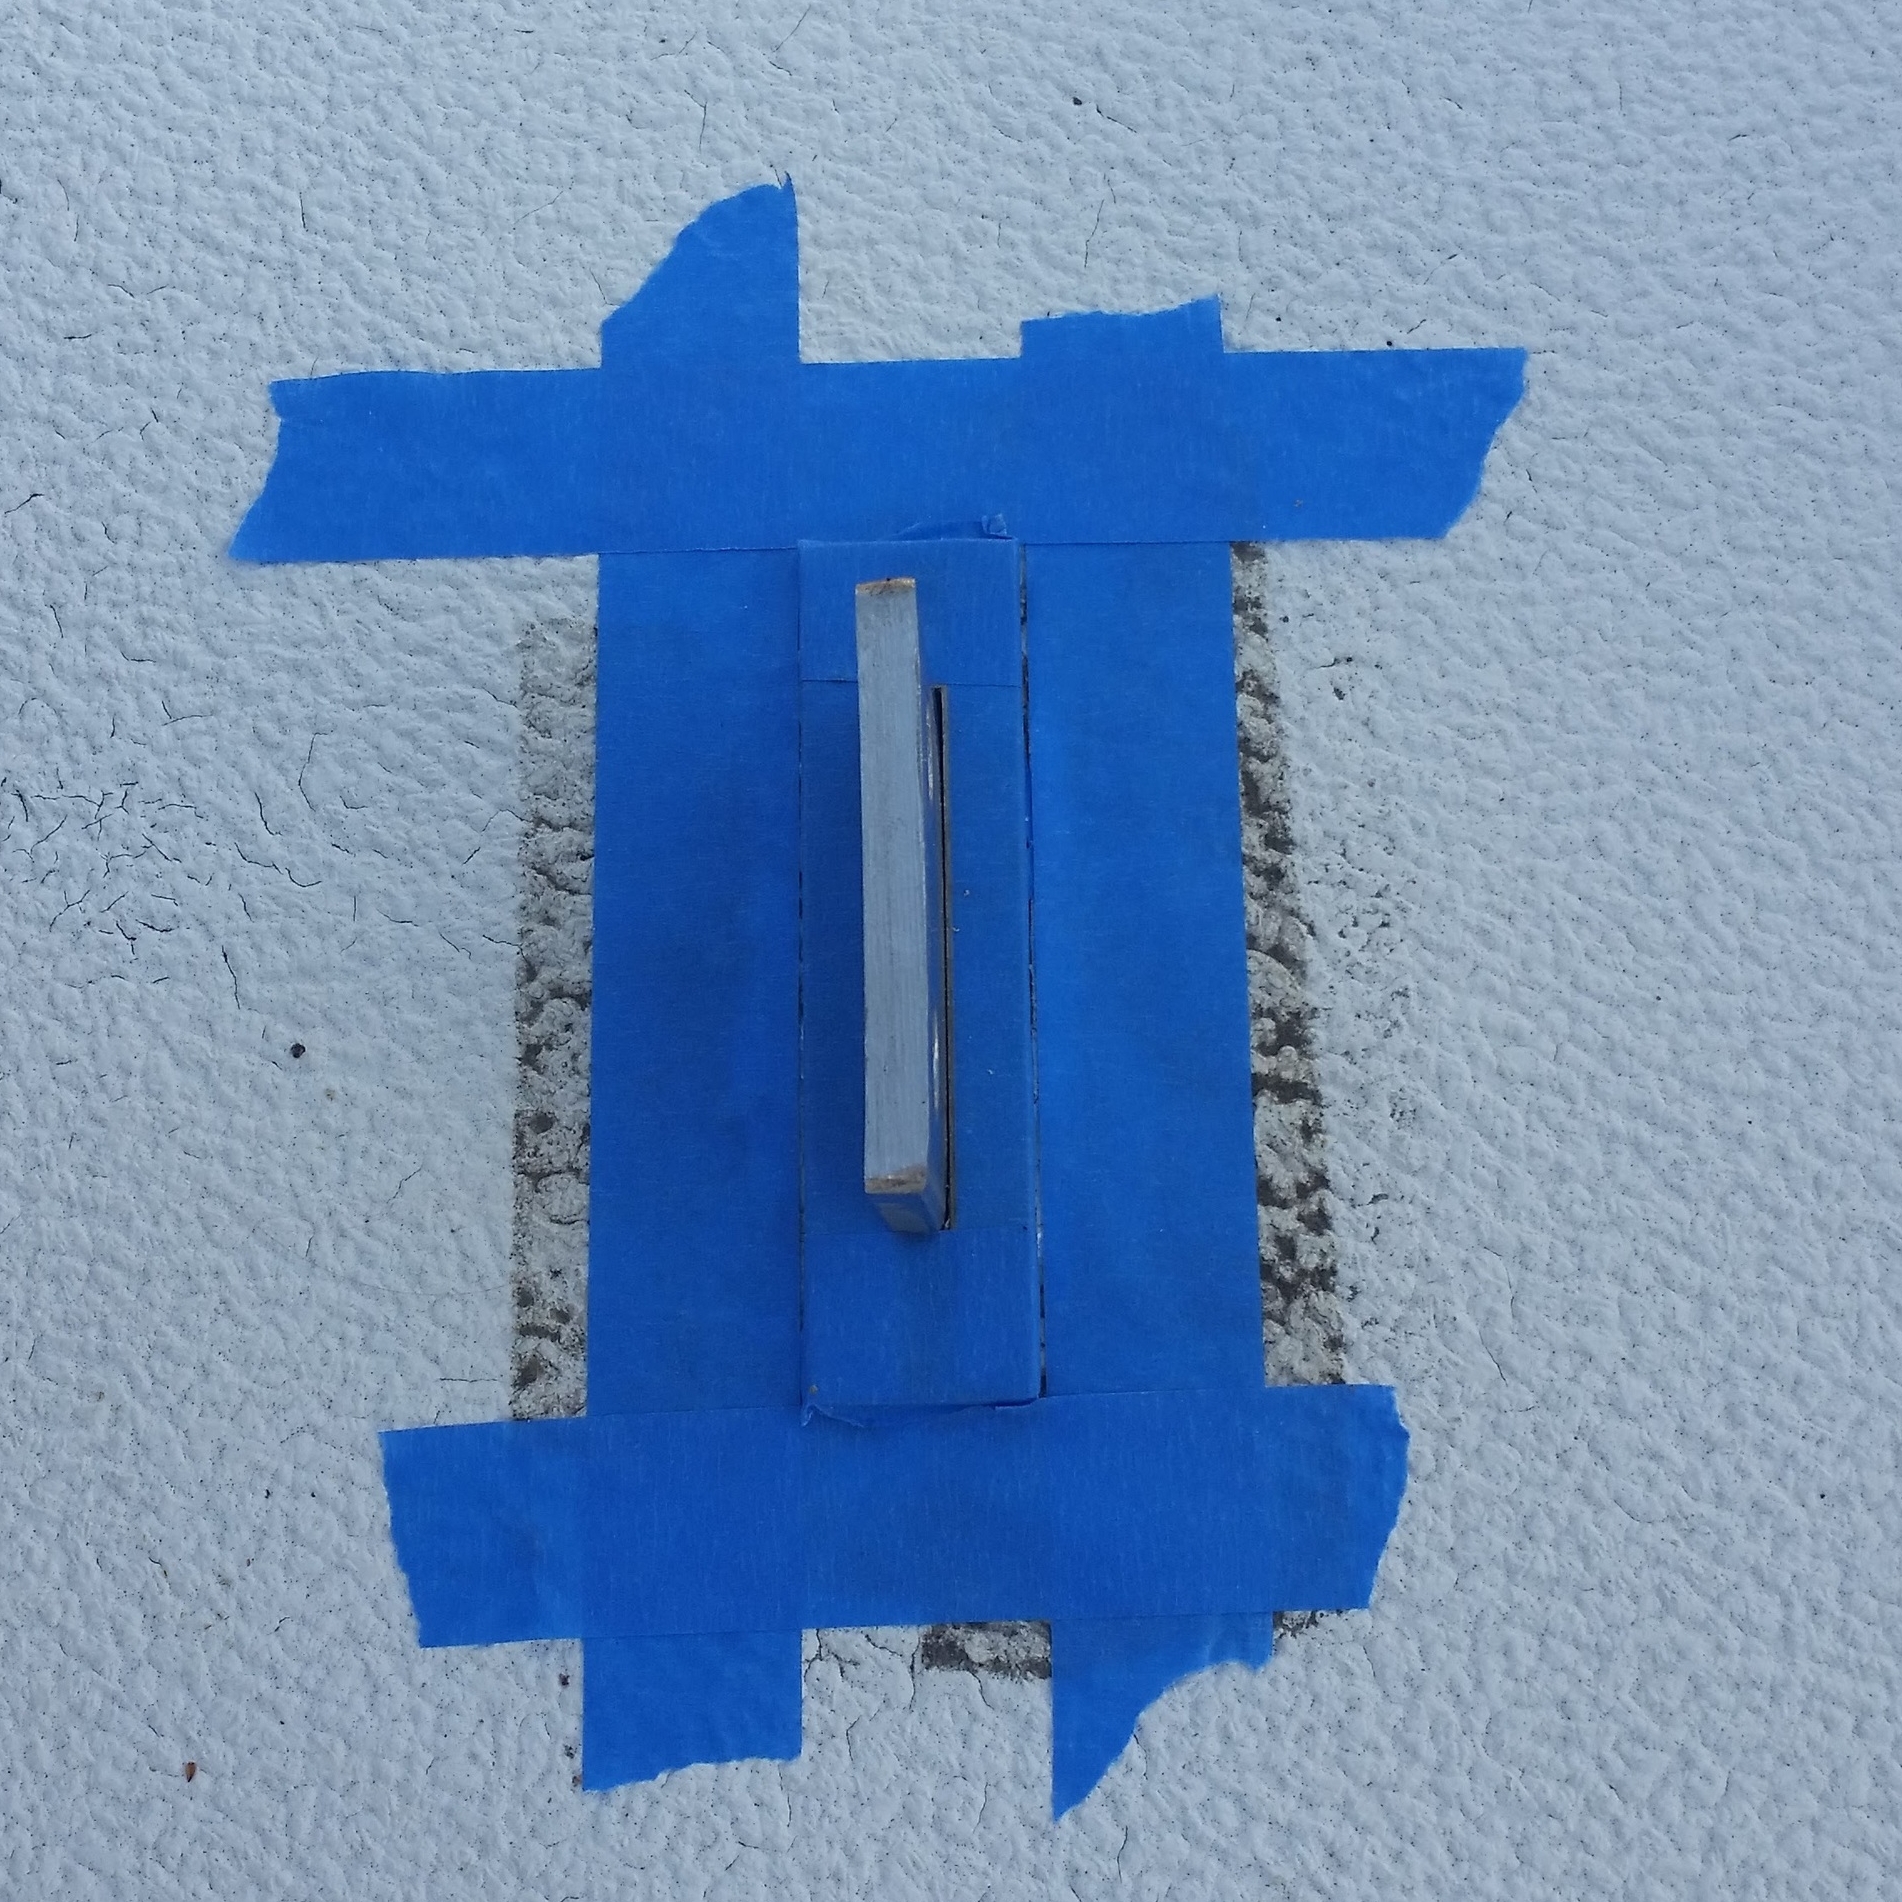
In this example, we will be bedding chainplates. The first step is to cover everything you don't want bedding on with tape. Then trim off all the excess tape with a sharp knife. 

Next set the plate over the chainplate on the hull and outline it with tape as well.

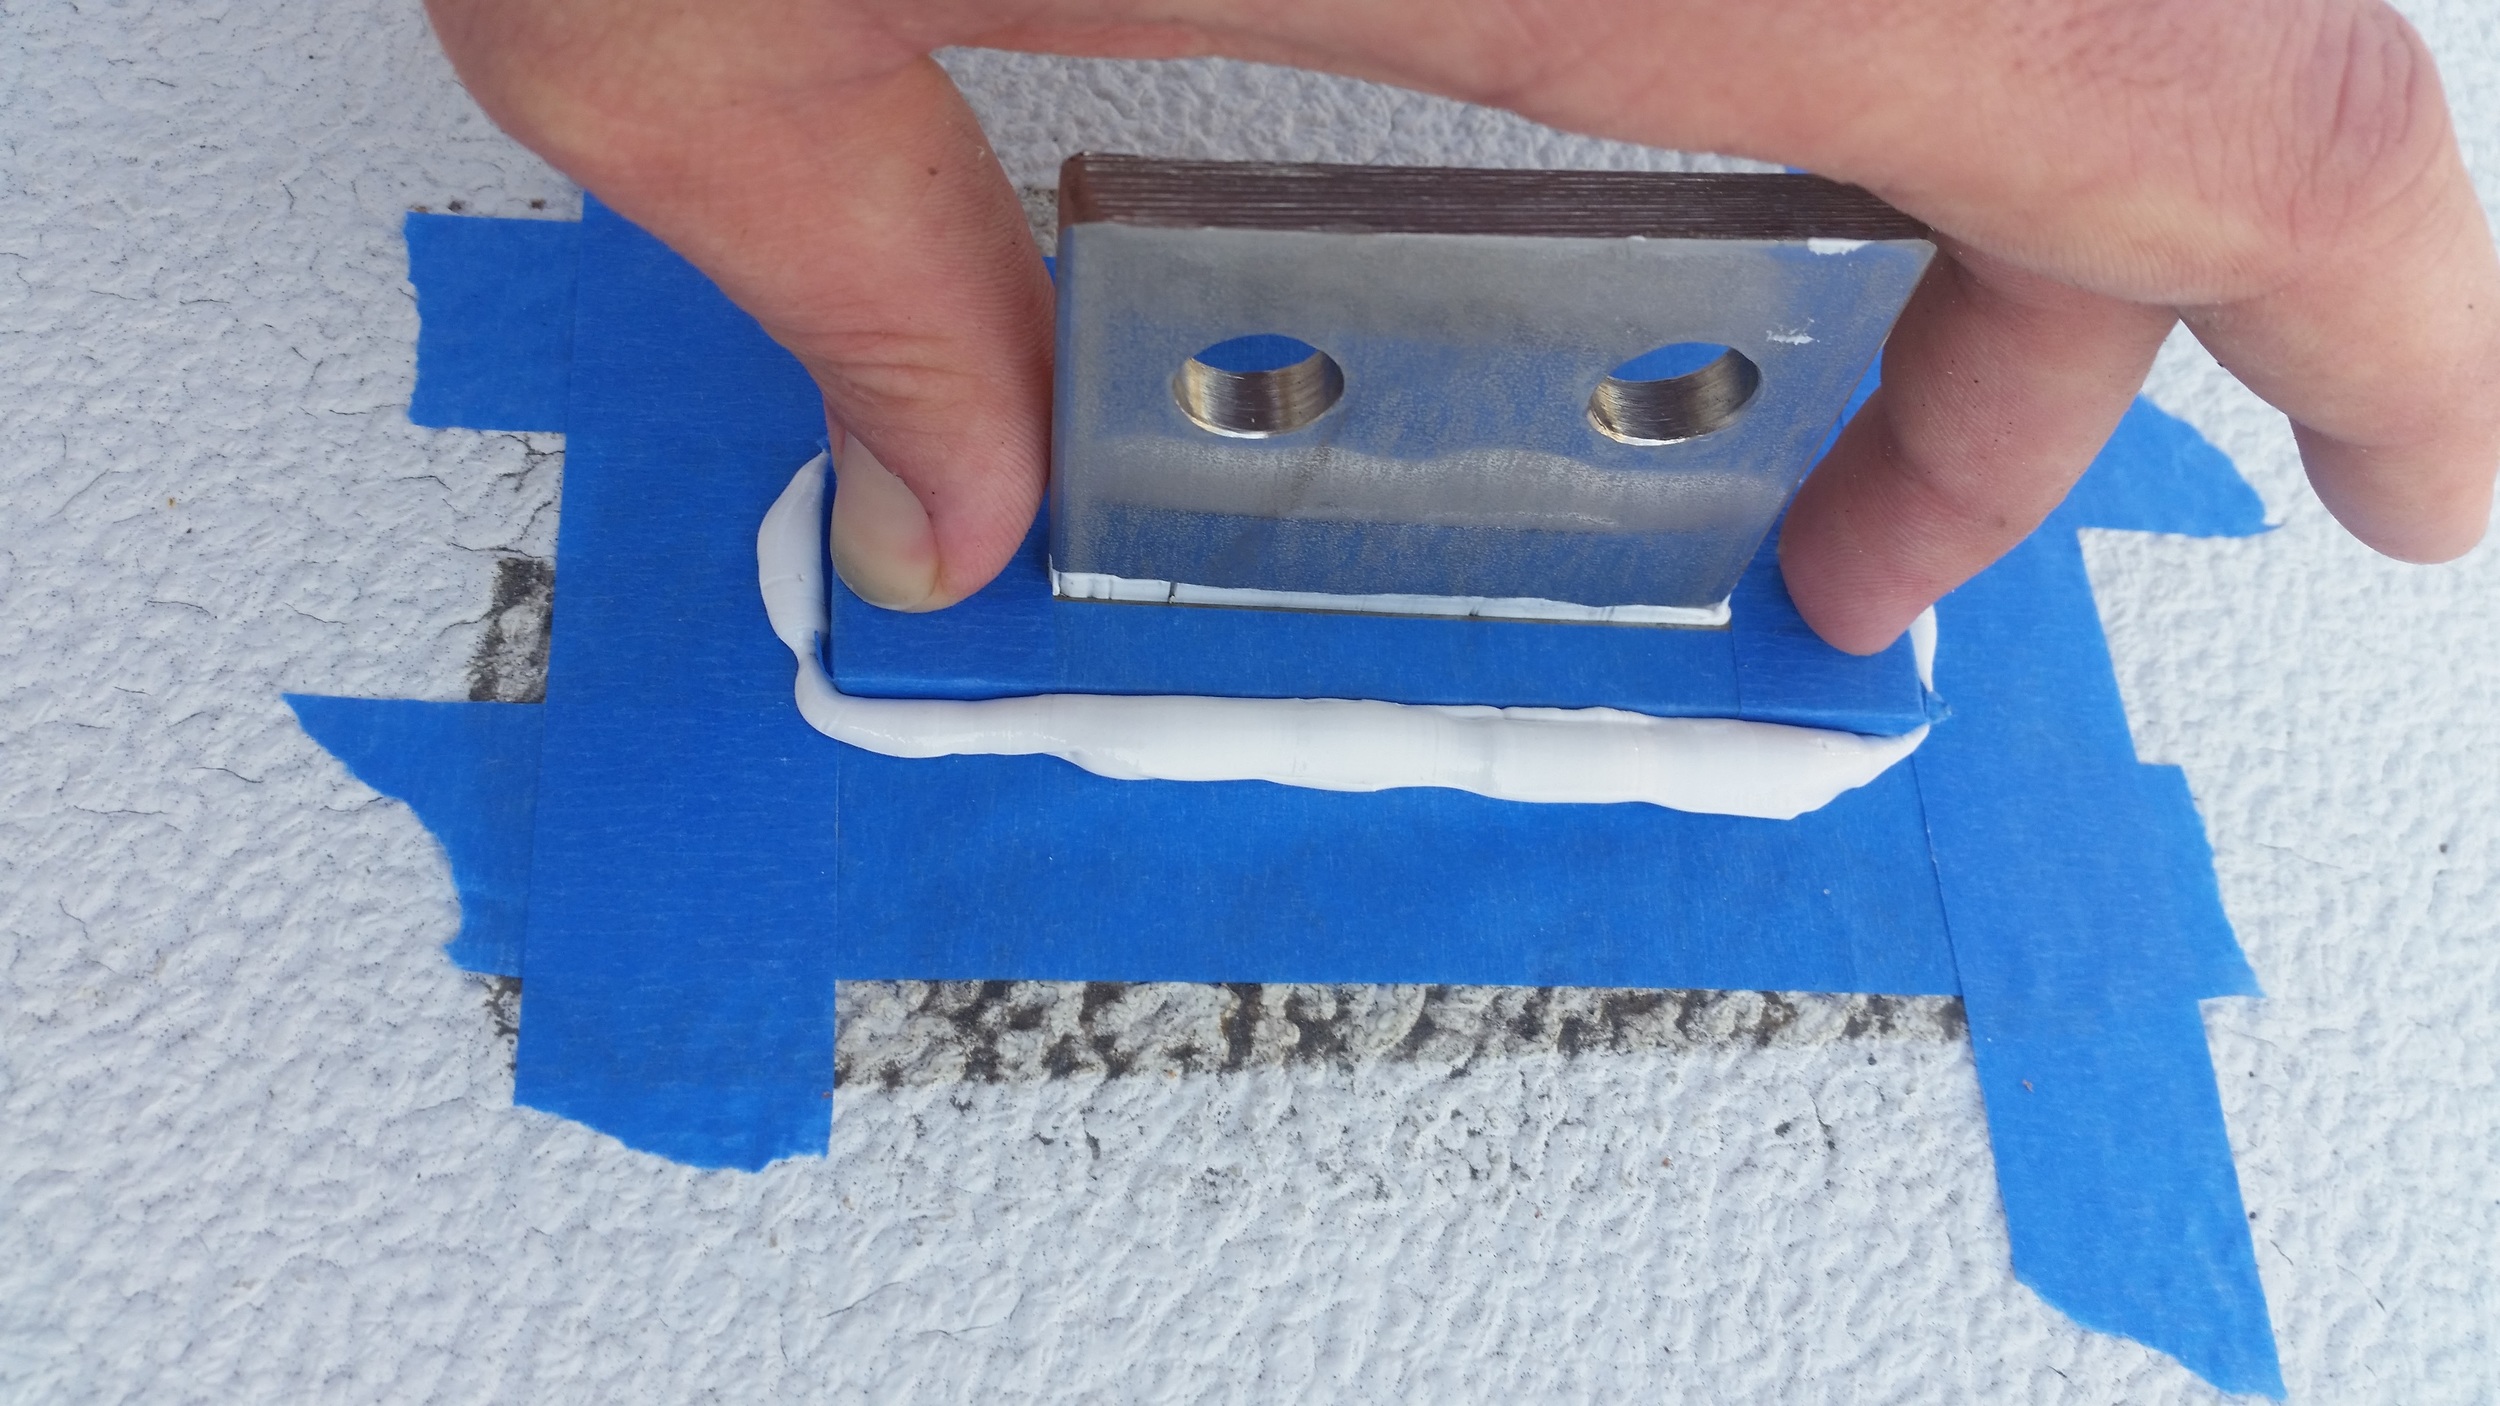
When you load up the space around the chainplate with 4200, be sure to get some into the  screw holes as well. 

As you push down on the cover plate, you will see the excess ooze out of the space and onto the tape. You want to see excess ooze out of all the sides. If one area didn't ooze any, it means that there wasn't enough bedding compound in that area and it might be dry. It is strongly recommended to pull the fitting off and add extra compound to the lacking areas, although this will be very messy! This is why it is best to load it up with way more than you think it will need that way you only have to do this step once.

Once the excess has oozed out, simply peel the tape up and the majority of the excess will come off with it. Any extra squeeze out can be wiped off with a paper towel. 

Be sure you see some squeezing out between the cover plate and the chainplate. Many people will focus on sealing the edges of the cover plate but forget to seal along the chainplate, resulting in a leaky deck that will rot out the deck core!

This is an easy process to do, it just takes some time and patience to get it done right.

Galvanic Corrosion

When inspecting your spars, pay special attention to any fittings attached to the spars. Most spars these days are made of aluminum while the fittings are made of stainless steel. The dissimilar metals will lead to galvanic corrosion of the aluminum spar. 

While it is impossible to see under or inside a fitting connection, there are some clues that can alert you to an internal compromises. Galvanic corrosion will cause bubbles to appear around the fittings under the paint. 

Source: http://www.boatus.com/seaworthy/rigging/BUBBLES.jpg

Source: http://www.boatus.com/seaworthy/rigging/BUBBLES.jpg

When you look at your fittings, check to see if the paint is beginning to bubble. If you see bubbles, you need to address this area before the problem gets any worse! 

Another sign of corrosion is white dust emerging from your fittings. This dust is aluminum oxide, usually resulting from galvanic corrosion with stainless steel fittings. 

To avoid these issues, be sure to isolate the two metals. Plastic separators can be placed between the stainless steel and aluminum fittings and lanocote can be placed on the sides of screws and rivets to isolate them as well.

When you evaluate your rigging, take a close look at all fittings and make sure everything looks clean and perfect! Peeling paint is a preliminary sign that something might not be isolated.

Magnus Hitch

The Magnus Hitch is a handy knot that I use to tie fenders to lifelines and rails. This knot is easy to tie, holds well, and is also easy to untie. The knot is very similar to a rolling hitch but the standing part and the tail exit on the same side of the knot. This knot can also be used to tie a hitch onto another line as it will not twist and distort as much as a rolling hitch would. 

If you need to tie a very secure hitch, the icicle hitch will out hold a magnus hitch, but the magnus hitch is much easier and quicker to tie. 

The reason I prefer the magnus hitch over the rolling hitch for securing fenders is both tails come off in the same direction, making a cleaner appearance on the rail or lifeline. The other advantage is the magnus hitch makes adjusting the length of the fender whip very easy!


We will go over the very easy steps to tie the Magnus Hitch.


Simply pass the working end through the ring


Pass the working end through the ring again, making two round turns on the ring in the same direction. If the knot is going to be loaded and pulled on, the turns would go in the opposite direction of the load; this will keep the knot from slipping on the line it is hitched to.


Now pass the working end over the standing part.


Pass the working end under the ring


Now pull the working end through the loop and tighten the knot.


The finished knot will have the standing end and working end both exiting parallel to each other. If you need to adjust the length of the fender whip, simply work the length of line through the knot and re-tighten.