
The main advantage of a deadeye over a turnbuckle is corrosion resistance and up front cost. Turnbuckles allow quick adjustments with a few pins to keep them locked in place. I can tune a rig with turnbuckles in a matter of minutes; there is no real setup or takedown, they just work great.
They are available in a variety of metals, galvanized steel is the cheapest and will rust the soonest. Stainless steel is much more expensive, but suffers from crevice corrosion, leading to catastrophic failure on a still shiny turnbuckle. Bronze is the most expensive and best option. Bronze suffers the least damage from corrosion, but should be replaced on a 10 year interval due to metal fatigue. When each turnbuckle can cost over $100, it becomes rather costly to replace them all every 10 years.
Deadeyes don't suffer from any form of corrosion, they are made from synthetic fibers known as dyneema. The metal thimble in them is simply there to reduce friction and can be easily replaced if it were to corrode. They are very time consuming to make, taking me over an hour to make just one, but they will last a very long time. Their end will be met by chafe, so long as they are protected from it, they are well worth the investment.
The downside to deadeyes is the difficulty to adjust and tune the rig. There is some setup, work in the interim, and the takedown that needs to occur to tune the rig.
To make deadeye synthetic rigging work, you need to be able to tension the stay, and then maintain that tension while you tie off the lashings. To do this, you need to use the knot that I have developed: The Shroud Frapping Knot. I will explain how the knot is tied later, first I want to explain the whole process.
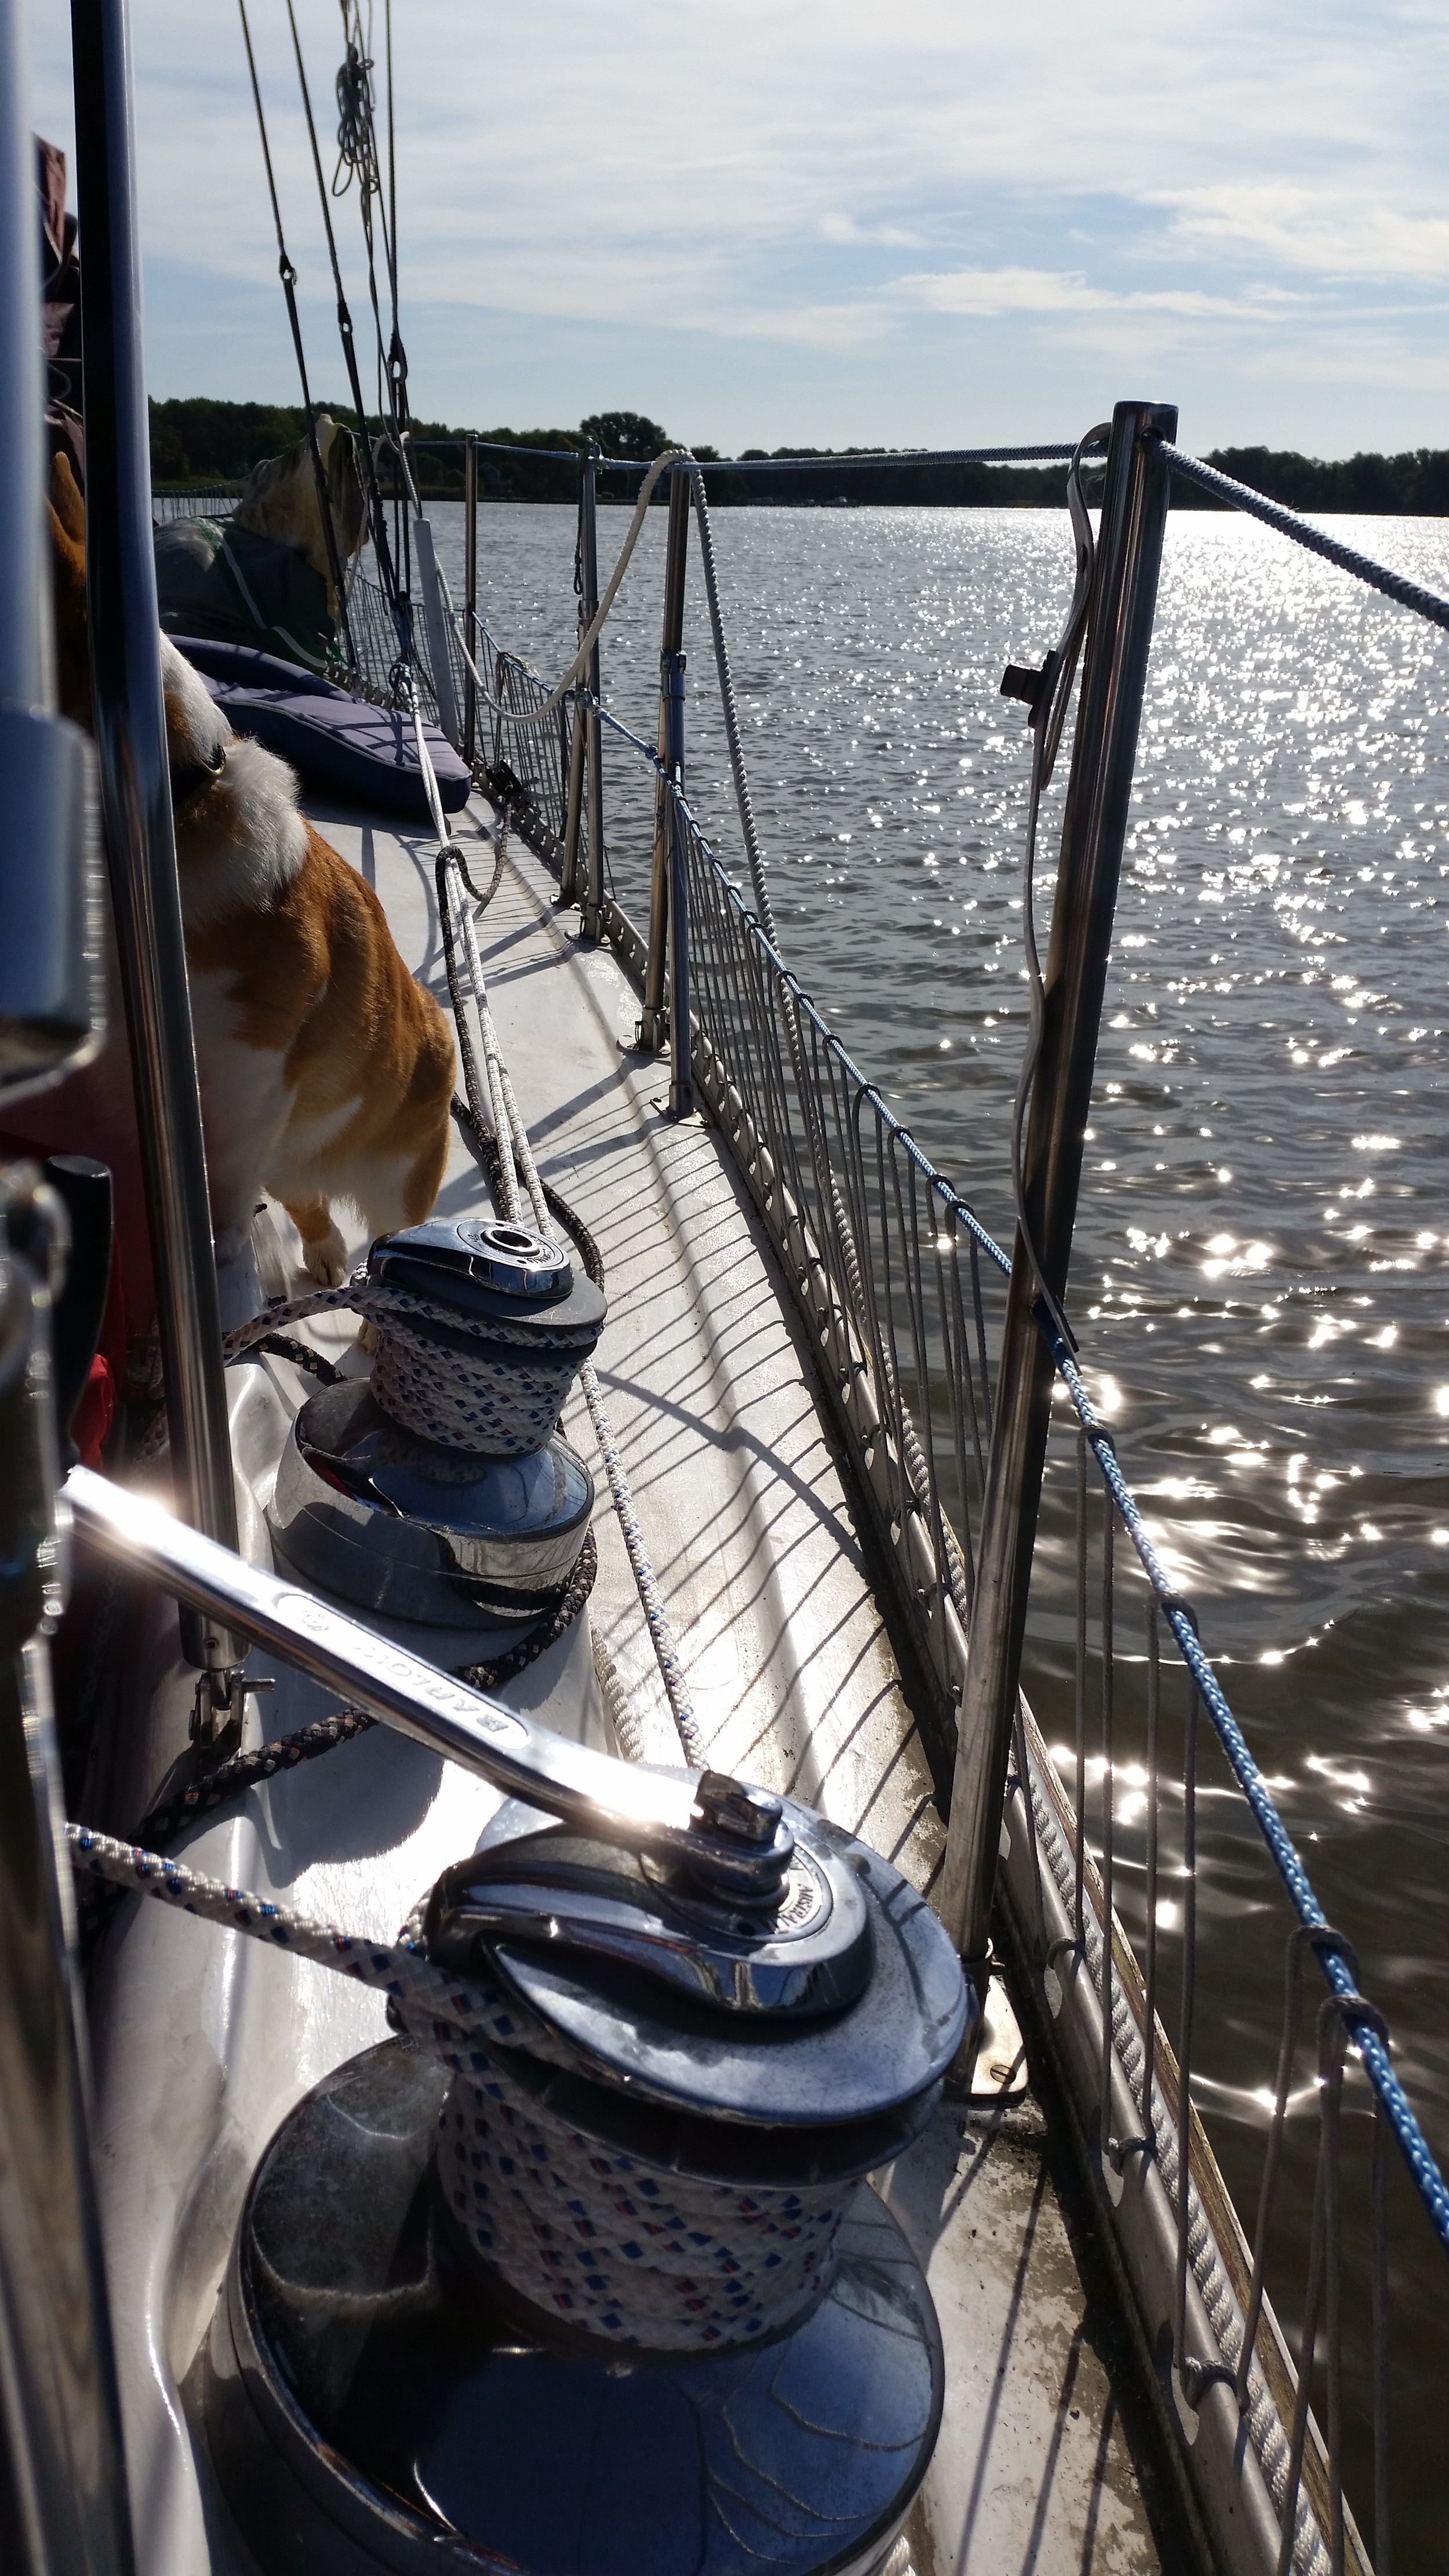
First, a very strong line (I use 10mm VPC) is led from an anchor, forward to the stay, then back to a powerful winch. I use a smaller winch as an anchor.
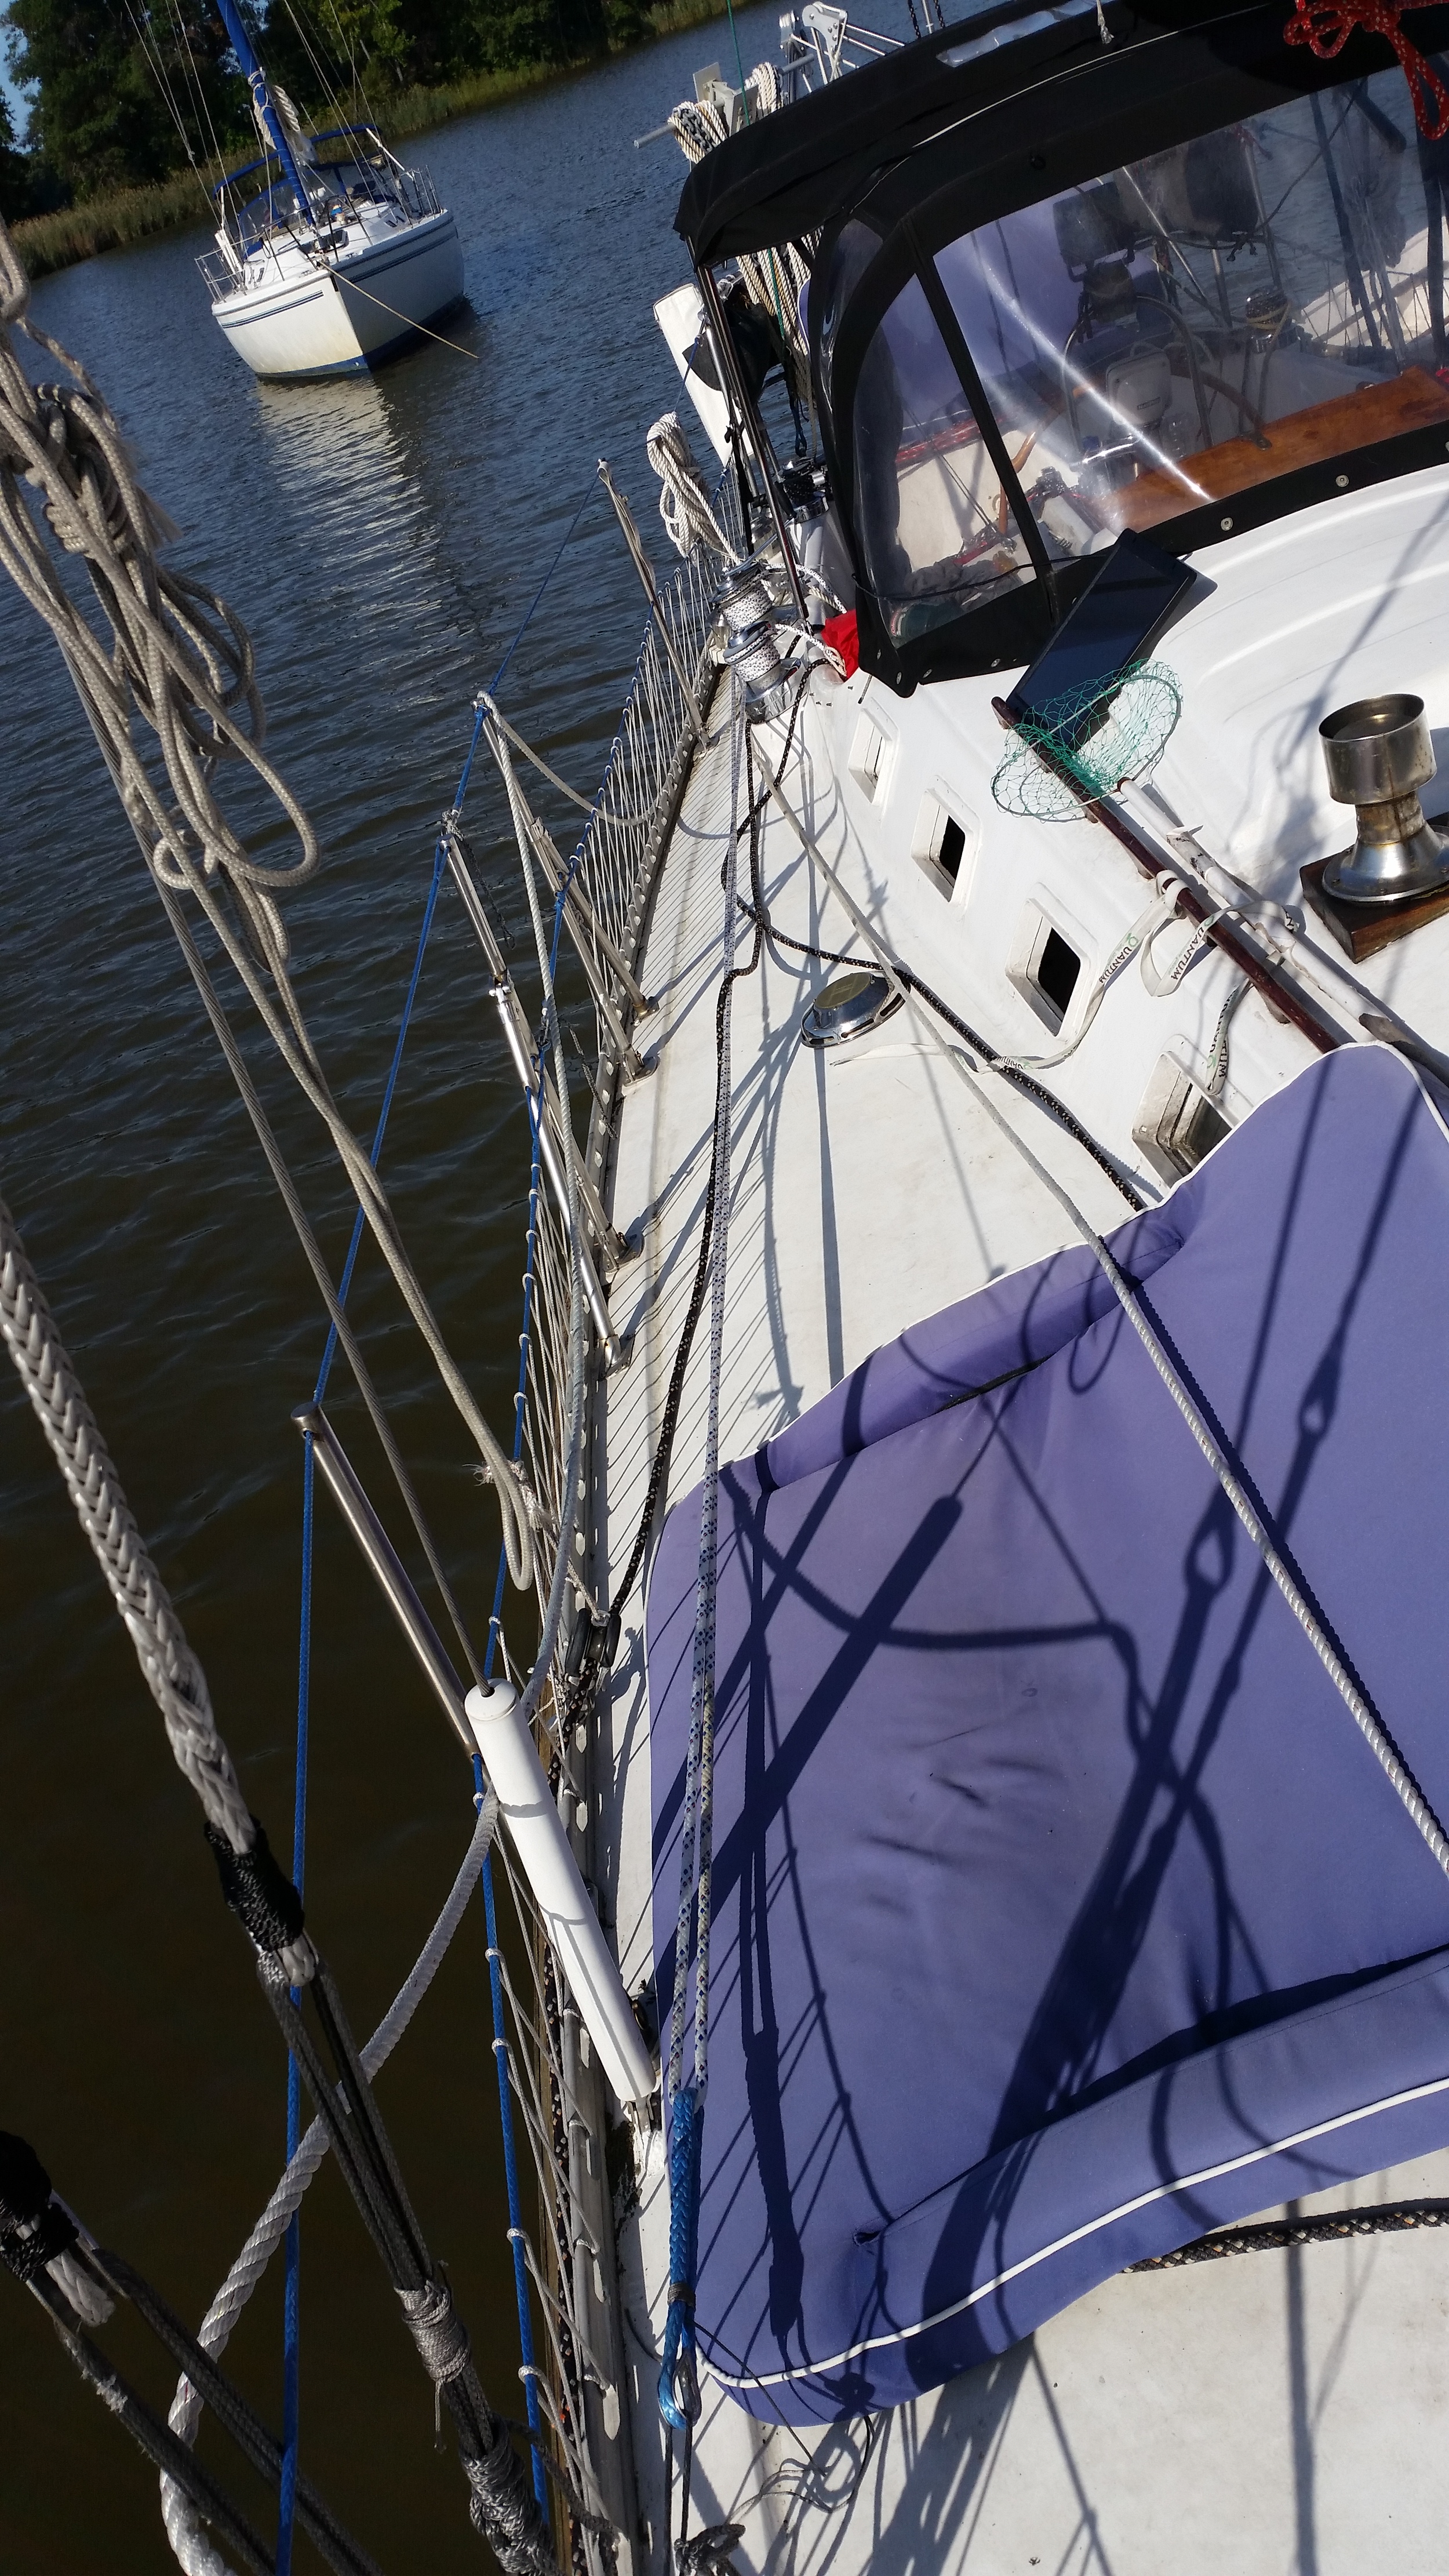
Second, I tie a dyneema grommet to the toe rail so that it is in line with the stay being adjusted. I have a thimble in the grommet to reduce friction and protect the lines from chafe. This dyneema grommet forms a turning block providing a fair lead.
Third, the lashings are passed through the end of the stay and deadeye without overlap and then led through the grommet and finally to the tensioning line. Each pass through the stay and deadeye acts as 1 part in the purchase system.
For example, 4 passes would have 8 lashings providing an 8:1 pulley system on the deadeye, this leading to the tensioning line which is a 2:1 makes the whole sequence in this example a 16:1. Being led to a which then adds to the system, in my case it is led to a 32 winch, effectively making the system a 512:1 system.
By adding additional lashings on the deadeye, you can increase the pulley system.
You can also add more 2:1 multipliers, which will again greatly increase the whole system.
When I tensioned my forestay, I had 7 passes (14:1) and two 2:1 multipliers, the lashings leading to an anchor and being pulled in the middle by the tensioning line (28:1, then 56:1), then led to the 32 winch (1792:1). If I needed more leverage, one more 2:1 multiplier would transform it to 3584:1. As you can see, huge pulley systems are easy to create on the deck of a sailboat to tension the stays. There will be loss due to friction as the lashings pass through all the turns, but you will still be able to achieve the tension needed.
Fourth, the lashings are tied using a sheet bend with a slip to the tensioning line or to another anchor.
Fifth, the winch is used to achieve the desired tension, always working from top down and doing both sides simultaneously to ensure the mast stays in column and centered over the boat.
Sixth, once the stay has reached the desired tension, the Shroud Frapping Knot is tied over the lashings to secure them in place while still under tension from the tensioning line on the winch.

Seventh, the tensioning line is released.
Eighth, the long tails of the lashings are tied over the Shroud Frapping Knot to protect it from chafe.

Ninth, the tensioning line is coiled and stowed for the next time tensioning is needed.
To tie the Shroud Frapping Knot, you must start by laying about 1.5 inches of line parallel to the lashings, then give it 4 frapping turns wrapping over the initial vertical piece. Then tighten the frapping turns by hand making sure the starting piece stays in place.
With a marlin spike hitch, tighten frapping turns fully.
Now provide at least 6 more frapping turns to the knot, tightening every other turn with a marlin spike hitch.
You need a minimum of 10 frapping turns.
As this single knot is holding up the rig, I highly recommend more than just 10, within reason.
Once you are satisfied with the frapping turns, you want to seize the knot.
Begin by passing the line through the lashings and out the other side.
Do at least 2 full loops and tighten the loops with a marlin spike hitch.
Now pass the bitter end between the frapping turns and the seizing turns from left to right when looking at this side of the knot.
Pull tight with a marlin spike hitch.
Now pass the bitter end back through the bottom of the knot between the lashings and to the other side.
Form a loop and pass this loop through the space between the frapping turns and the seizing turns but from right to left when viewing this side of the knot.
This will seize the end but still provide a slip to easily release the knot when you need to adjust it again.
Wrap the excess around the lashings and then cover with the excess lashings.
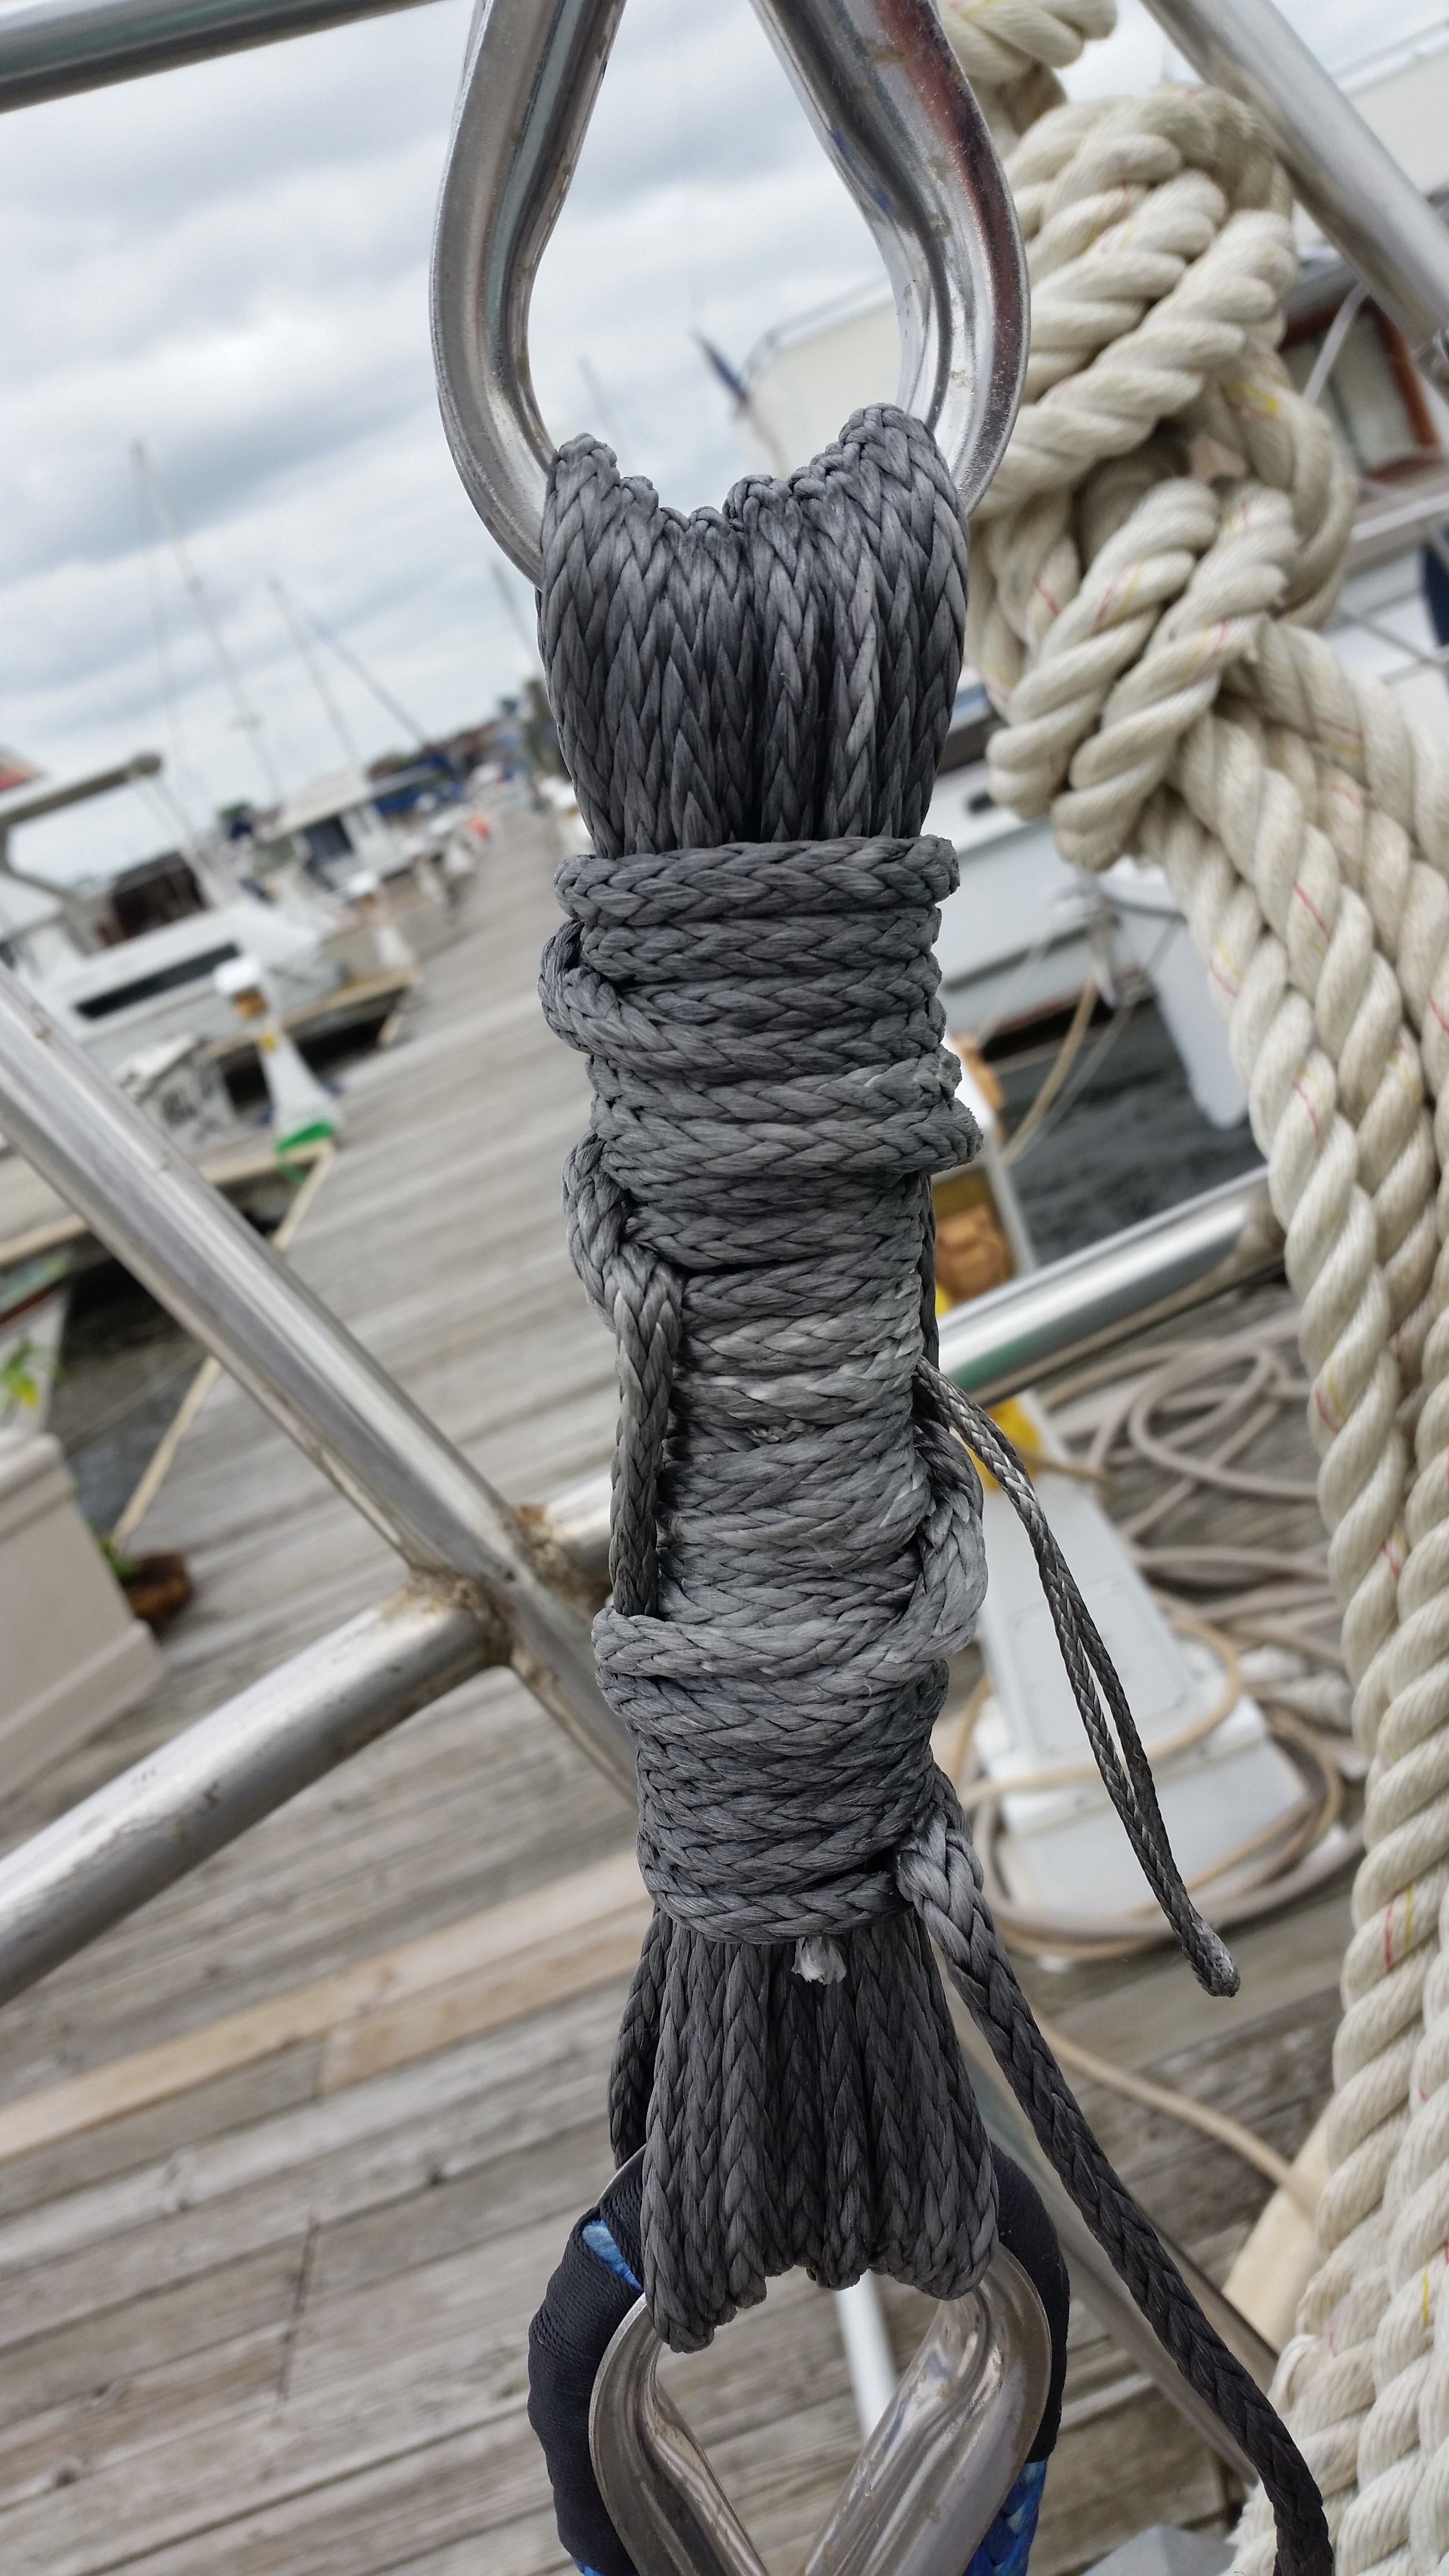
This concludes tying the Shroud Frapping Knot.
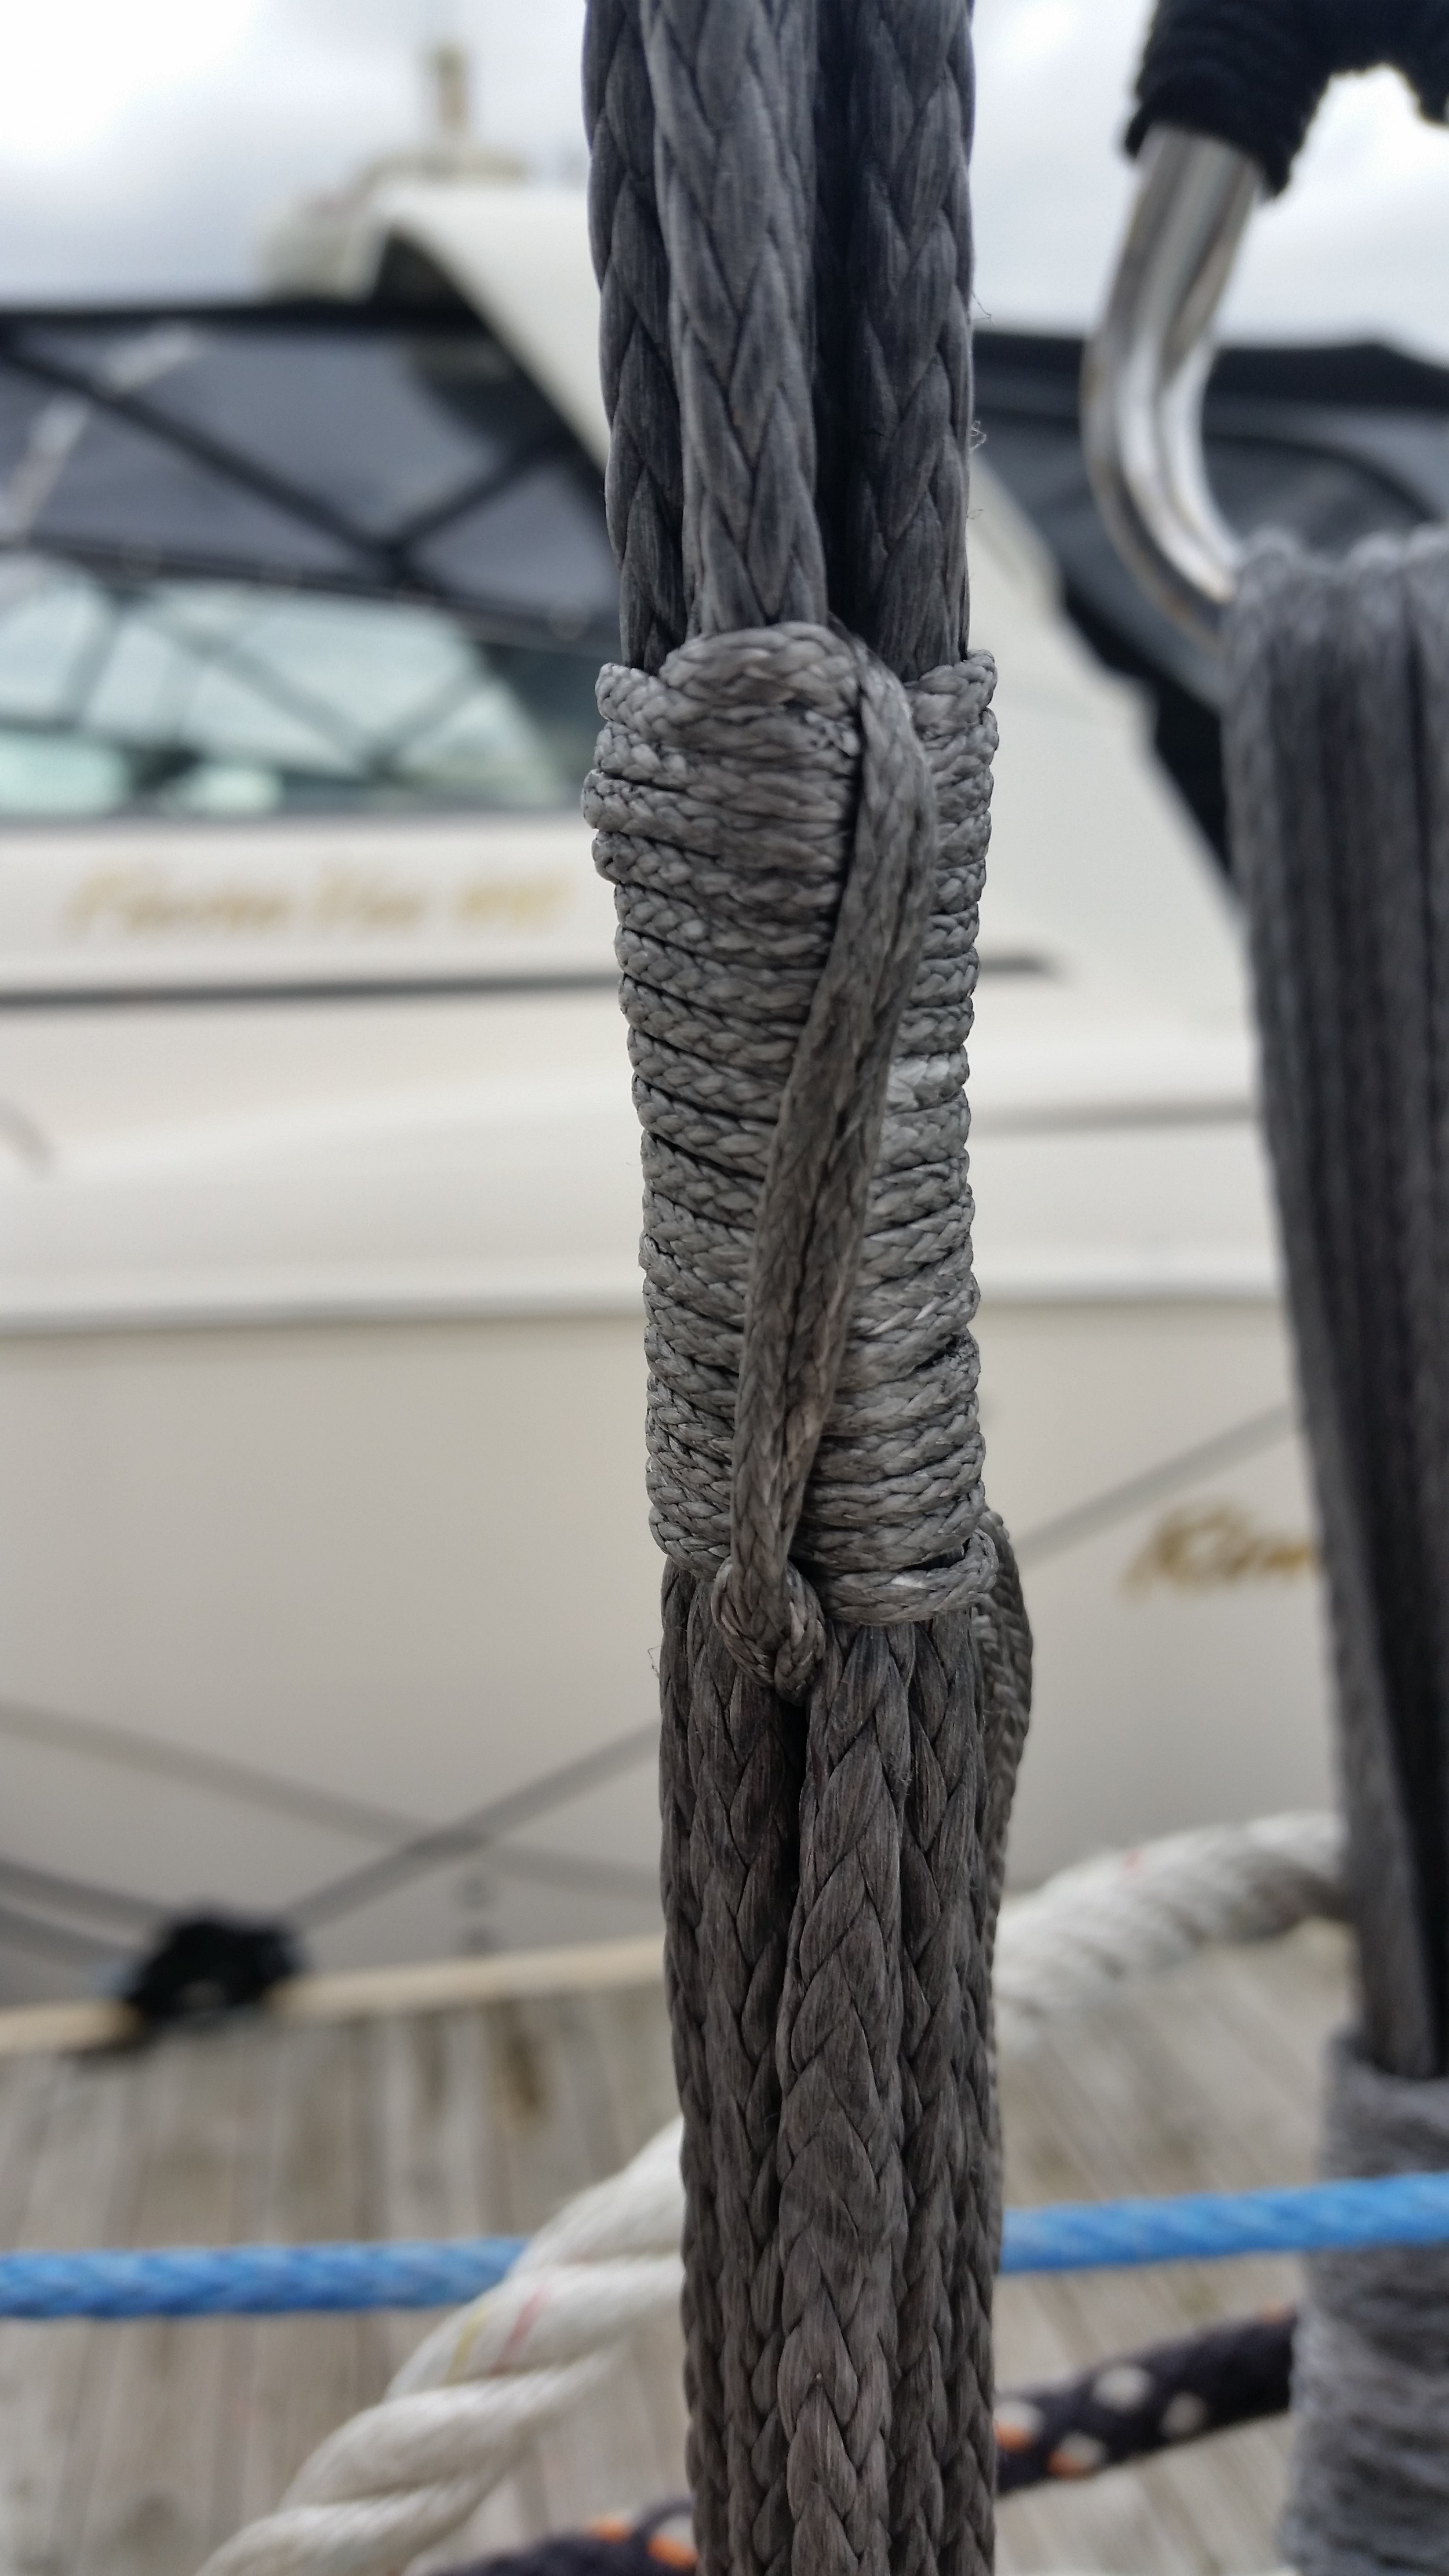
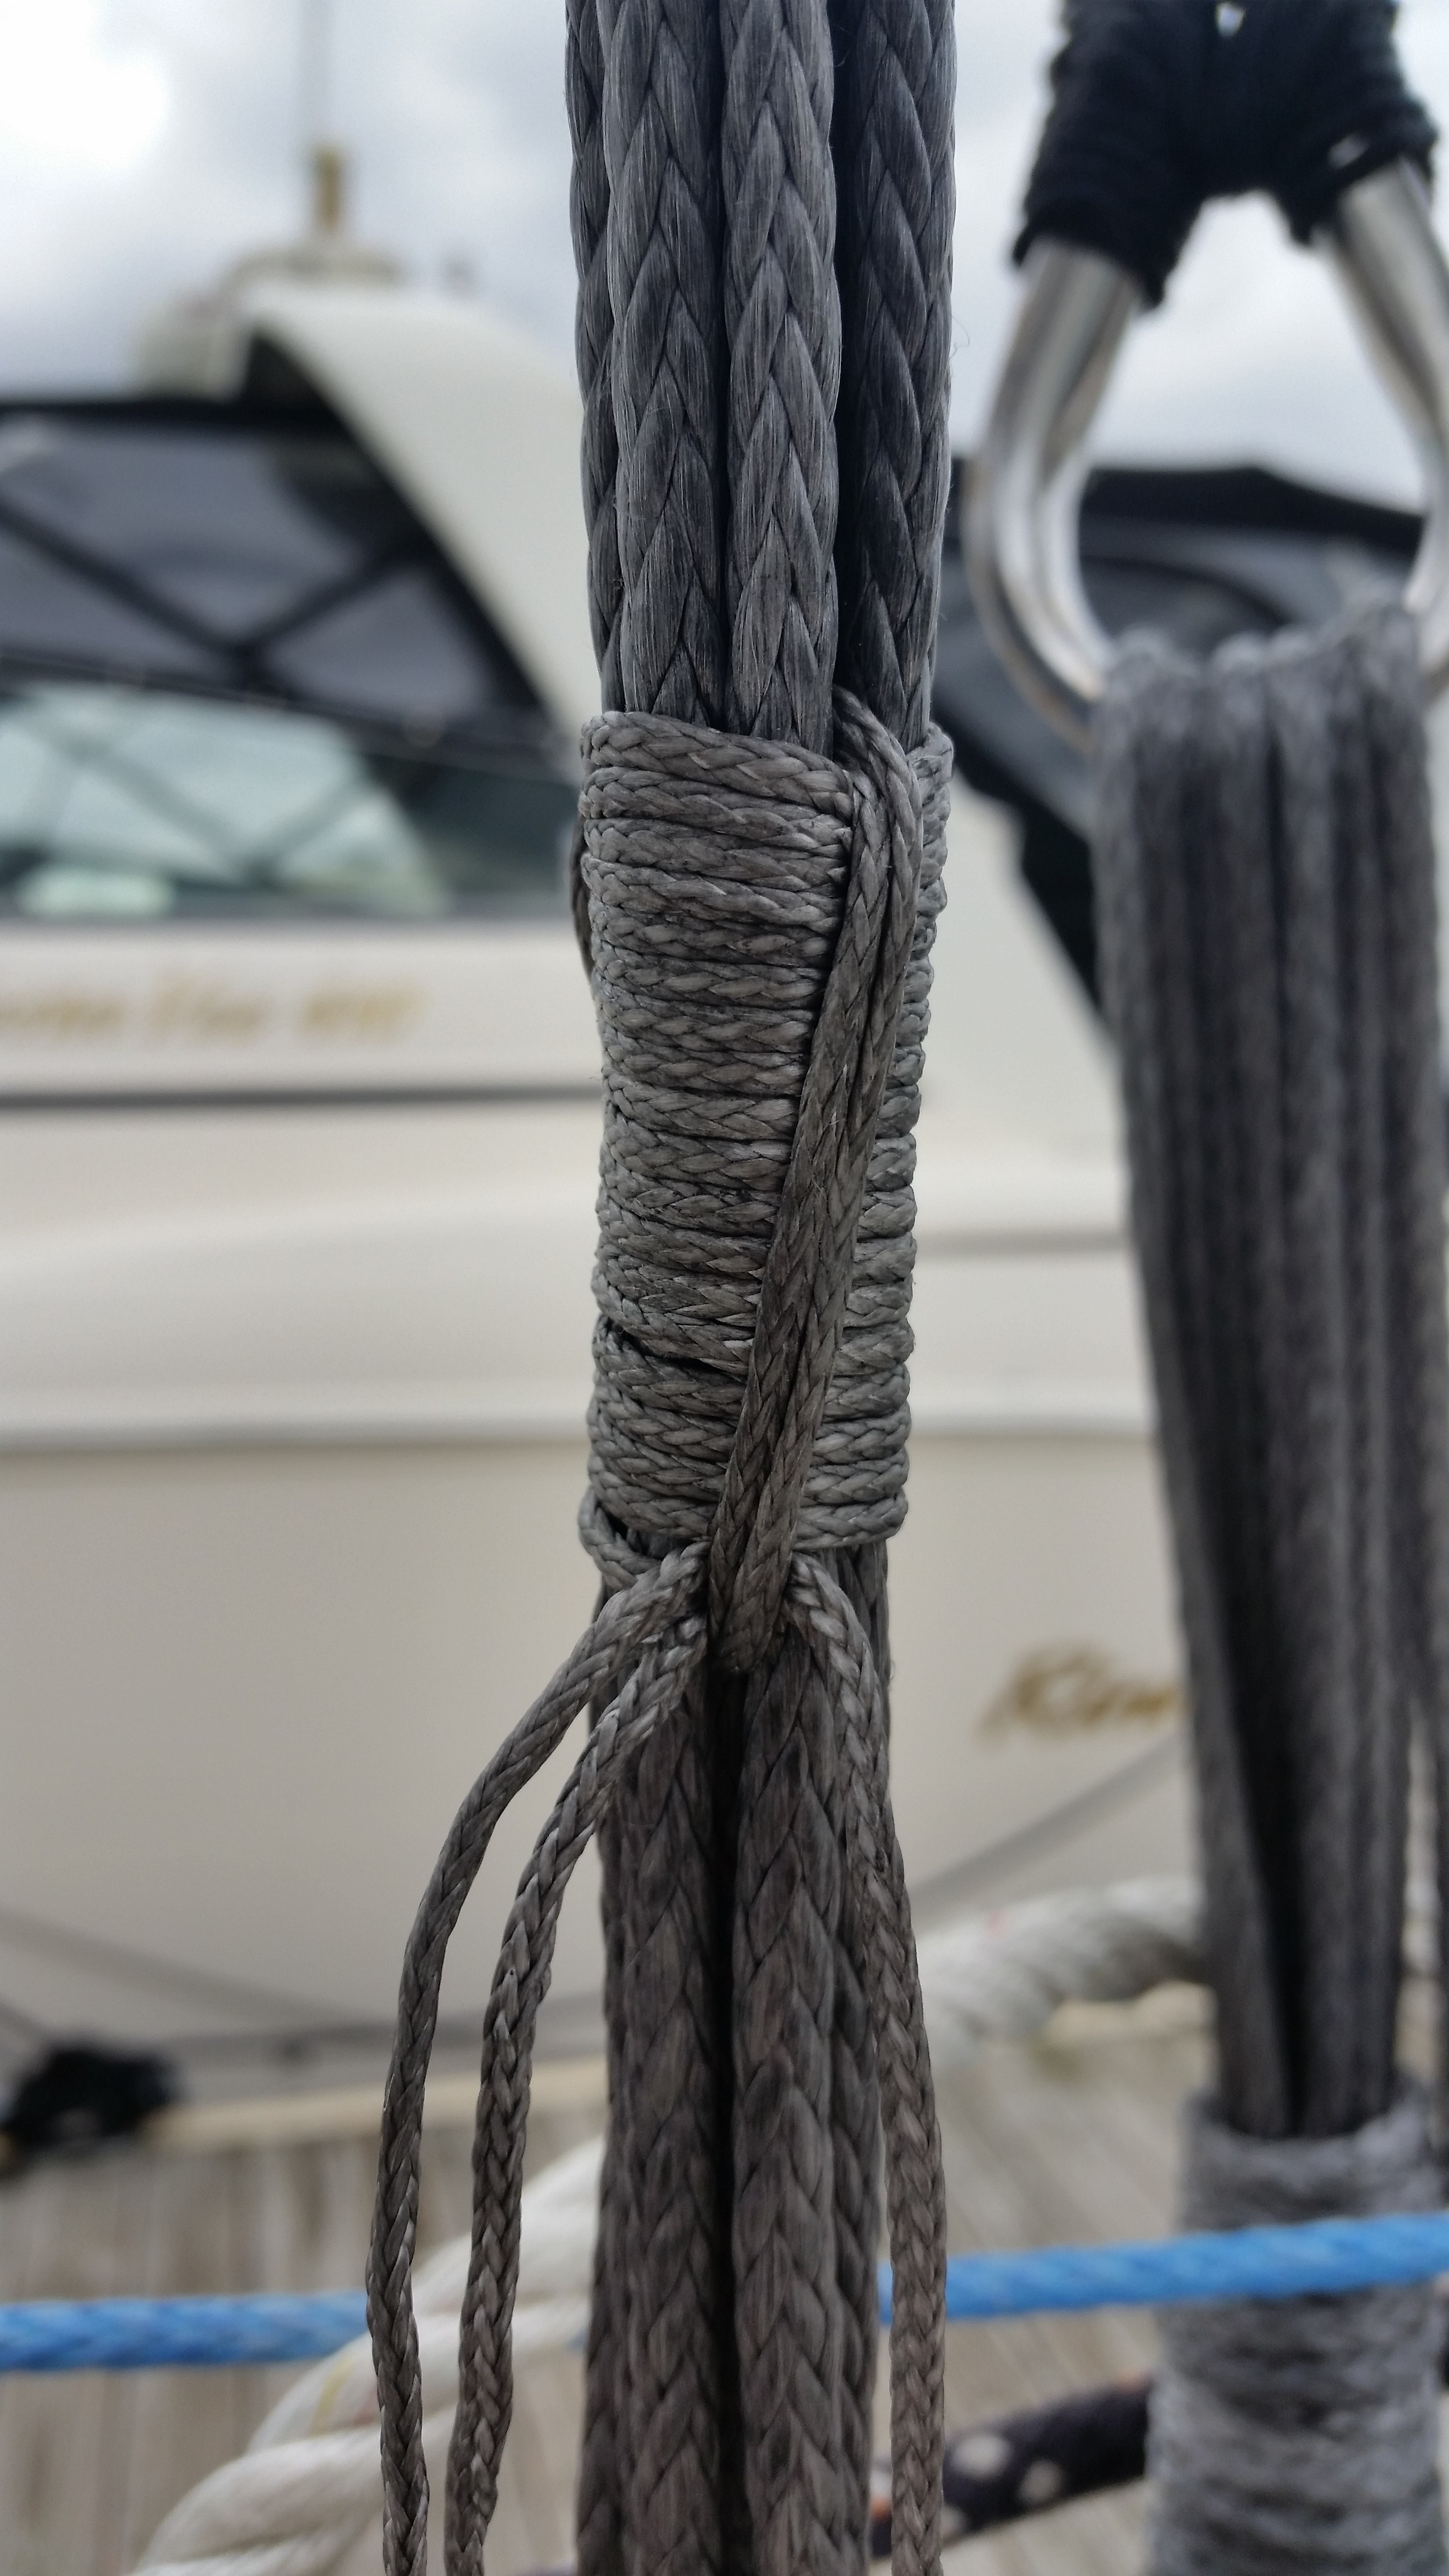
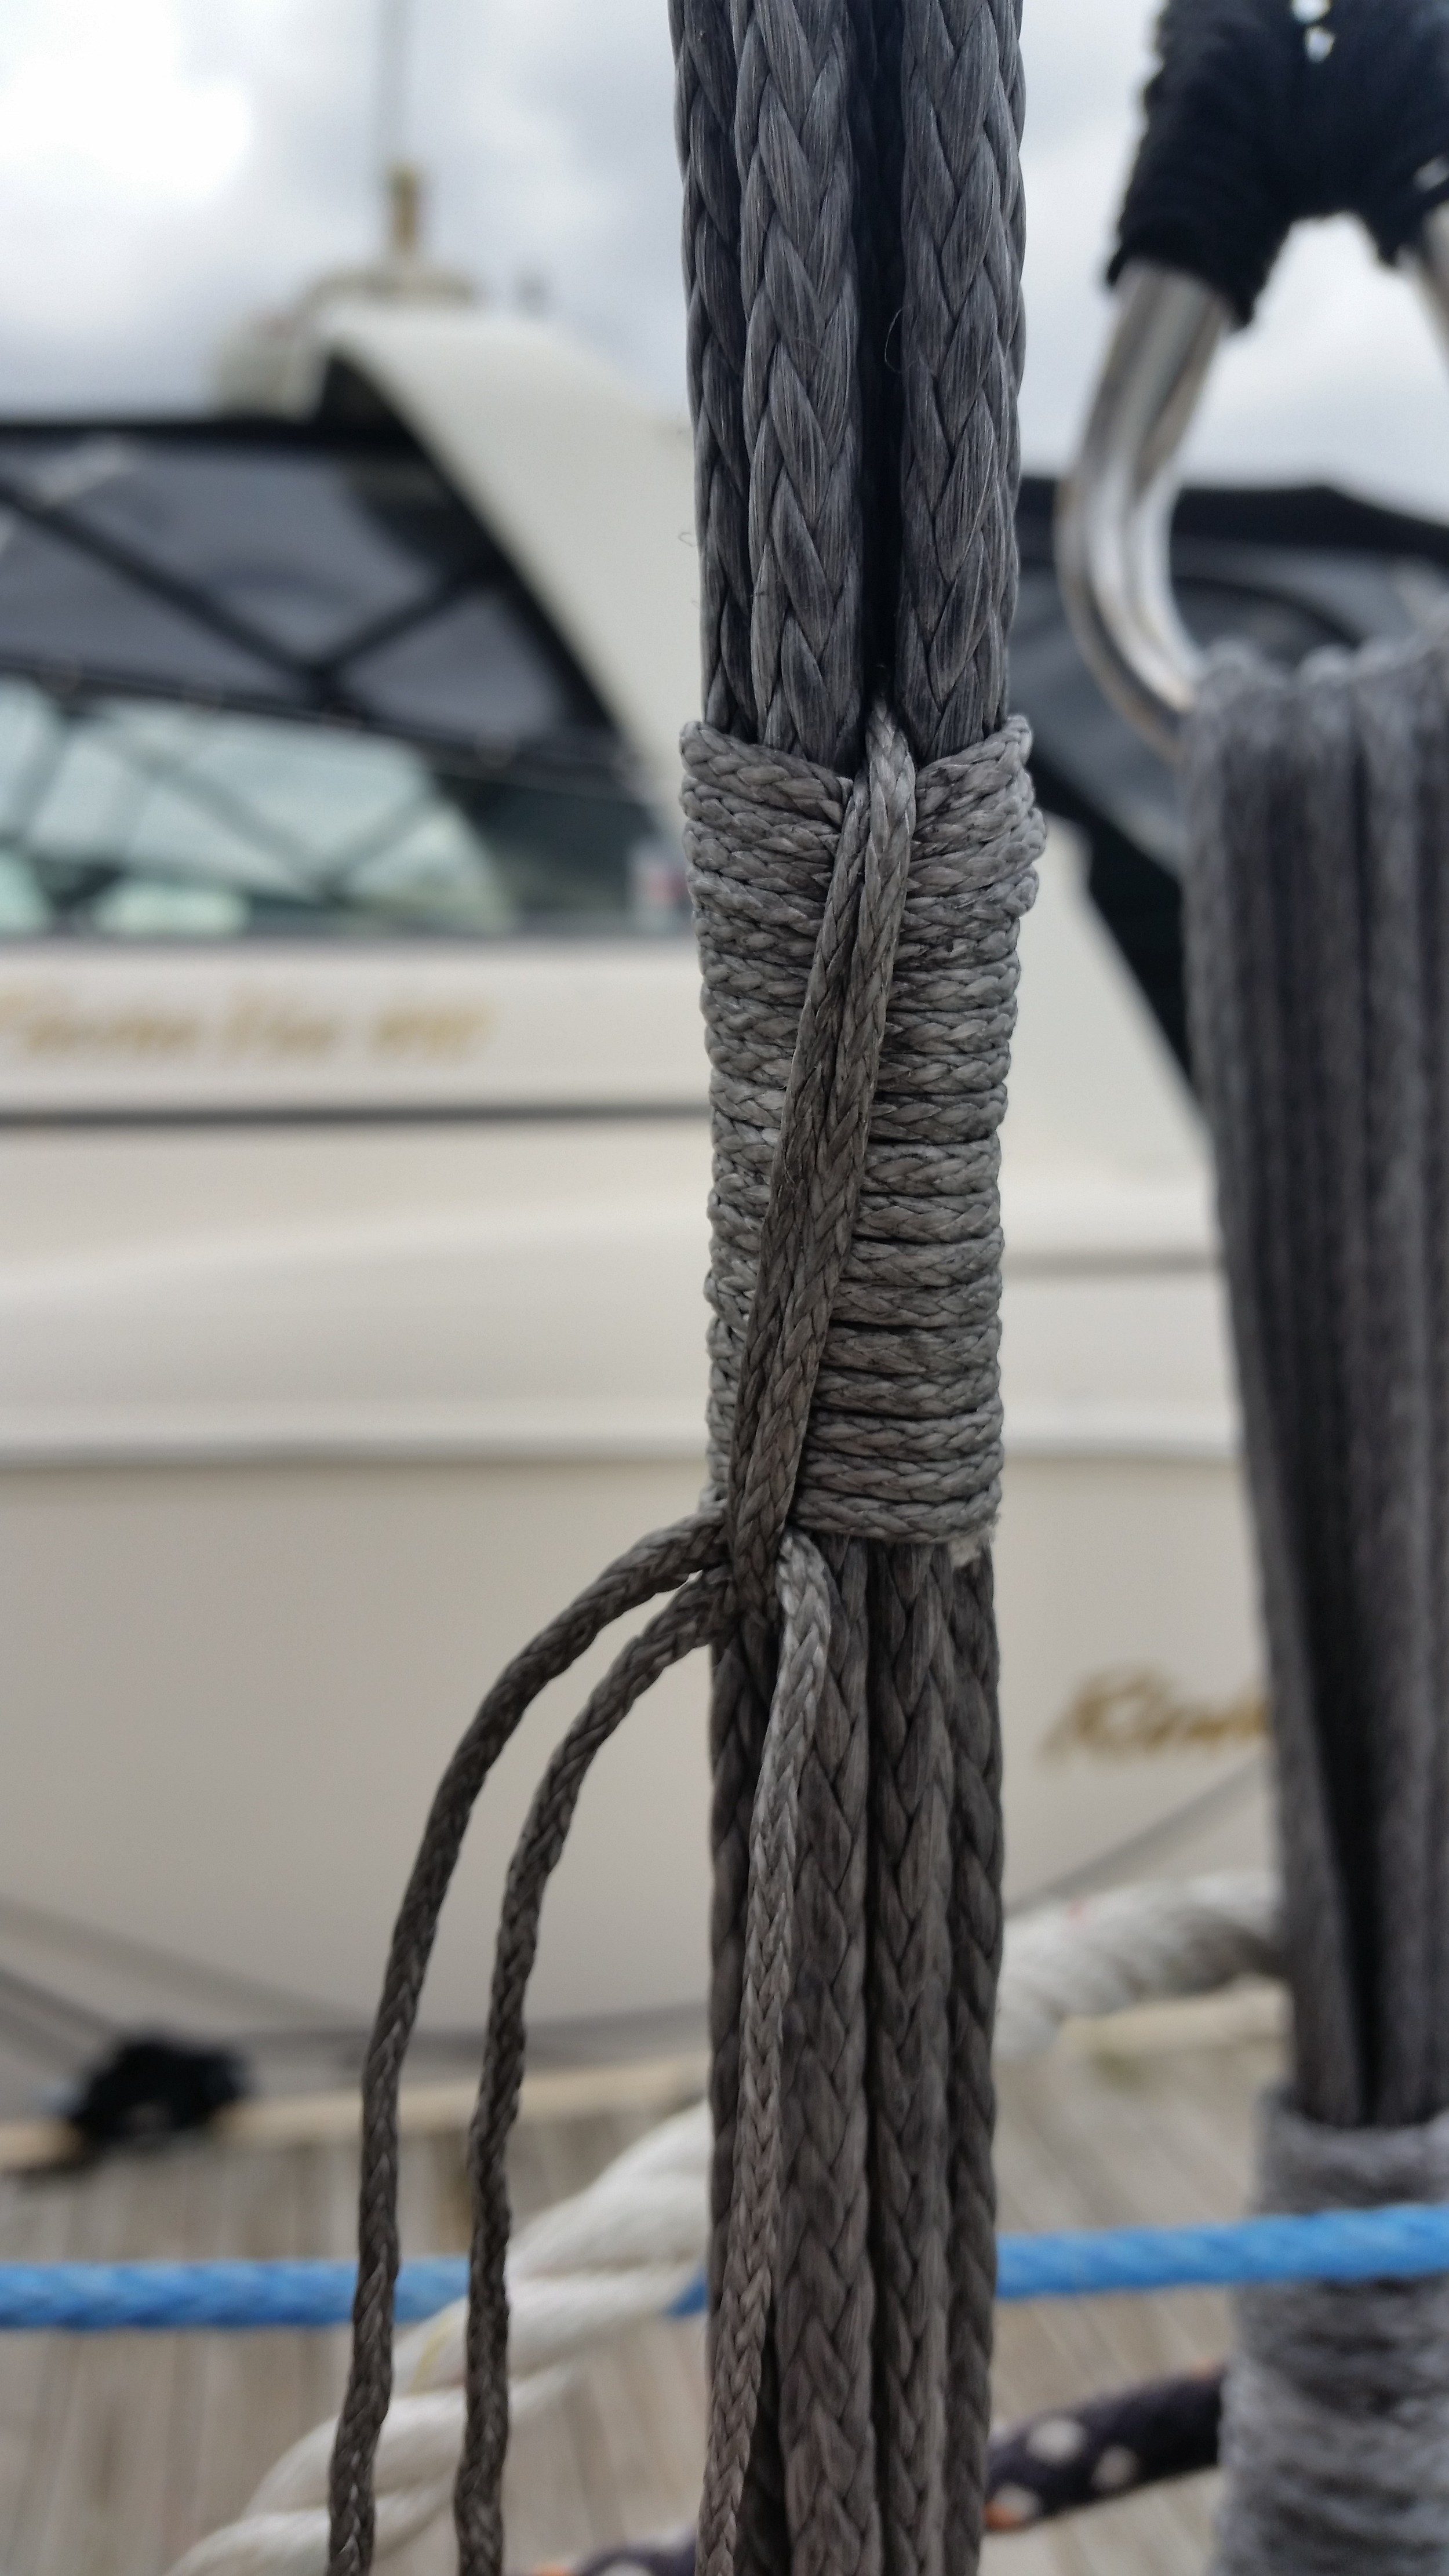
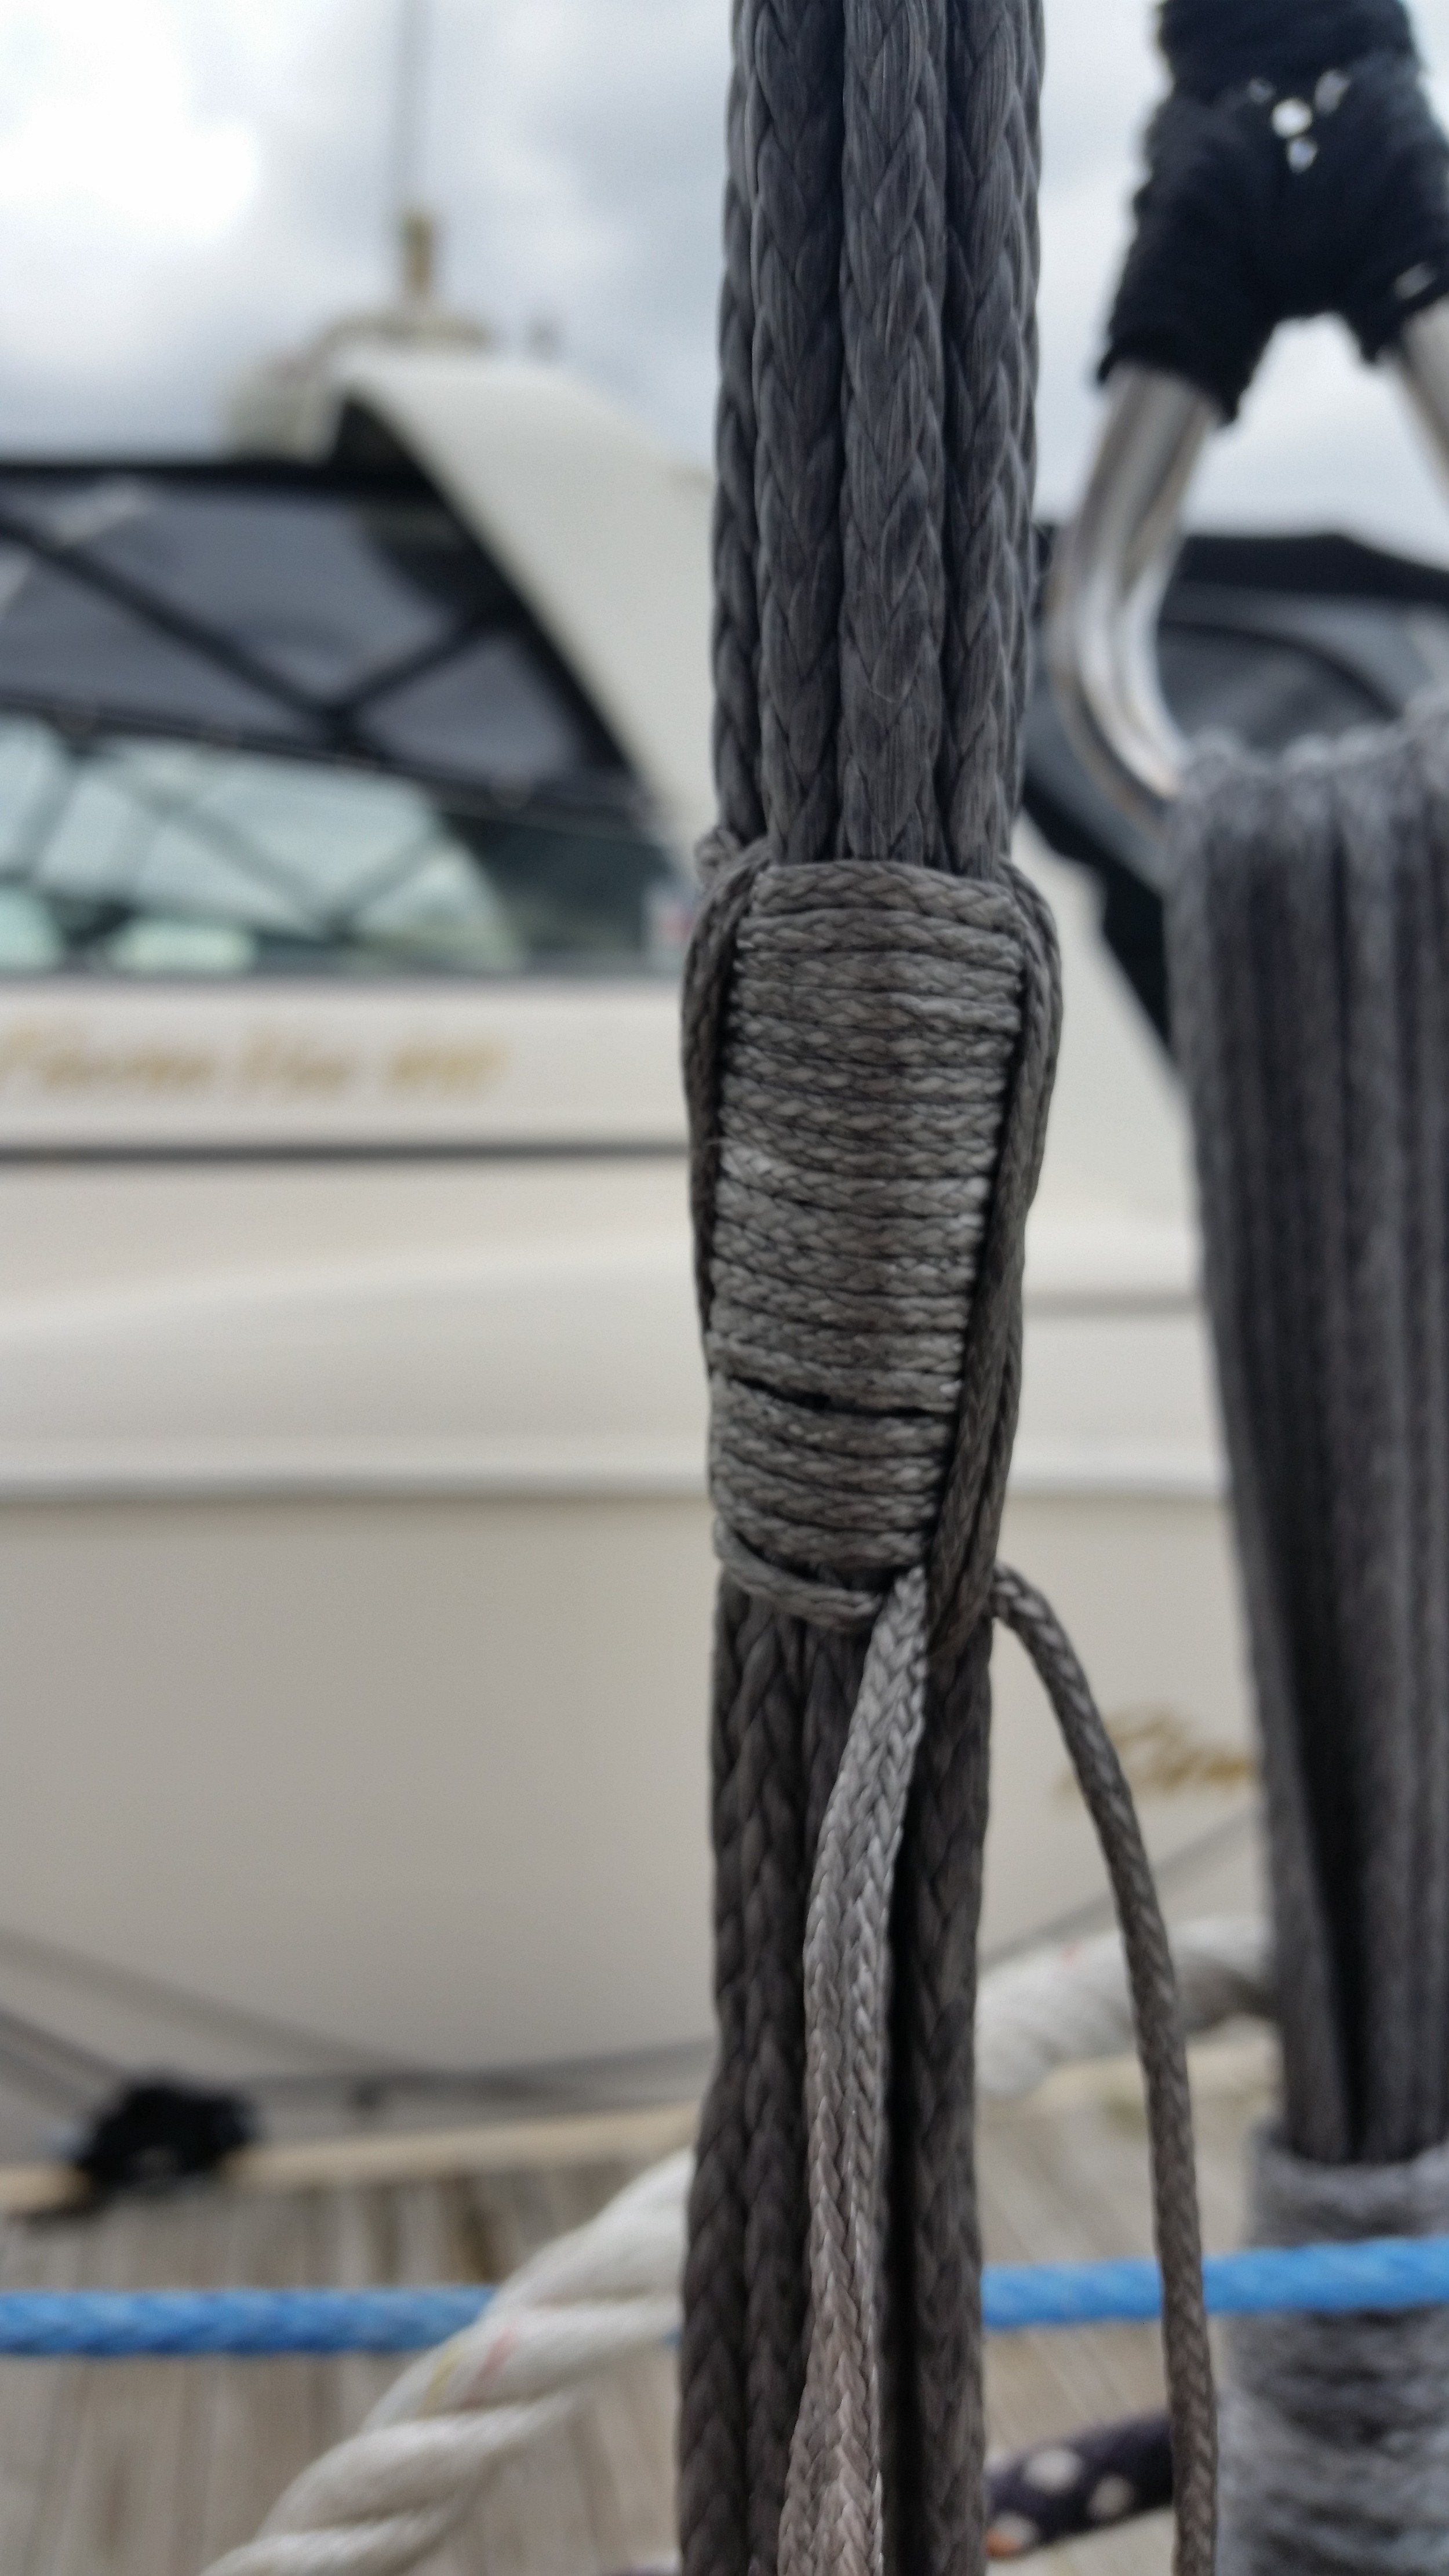

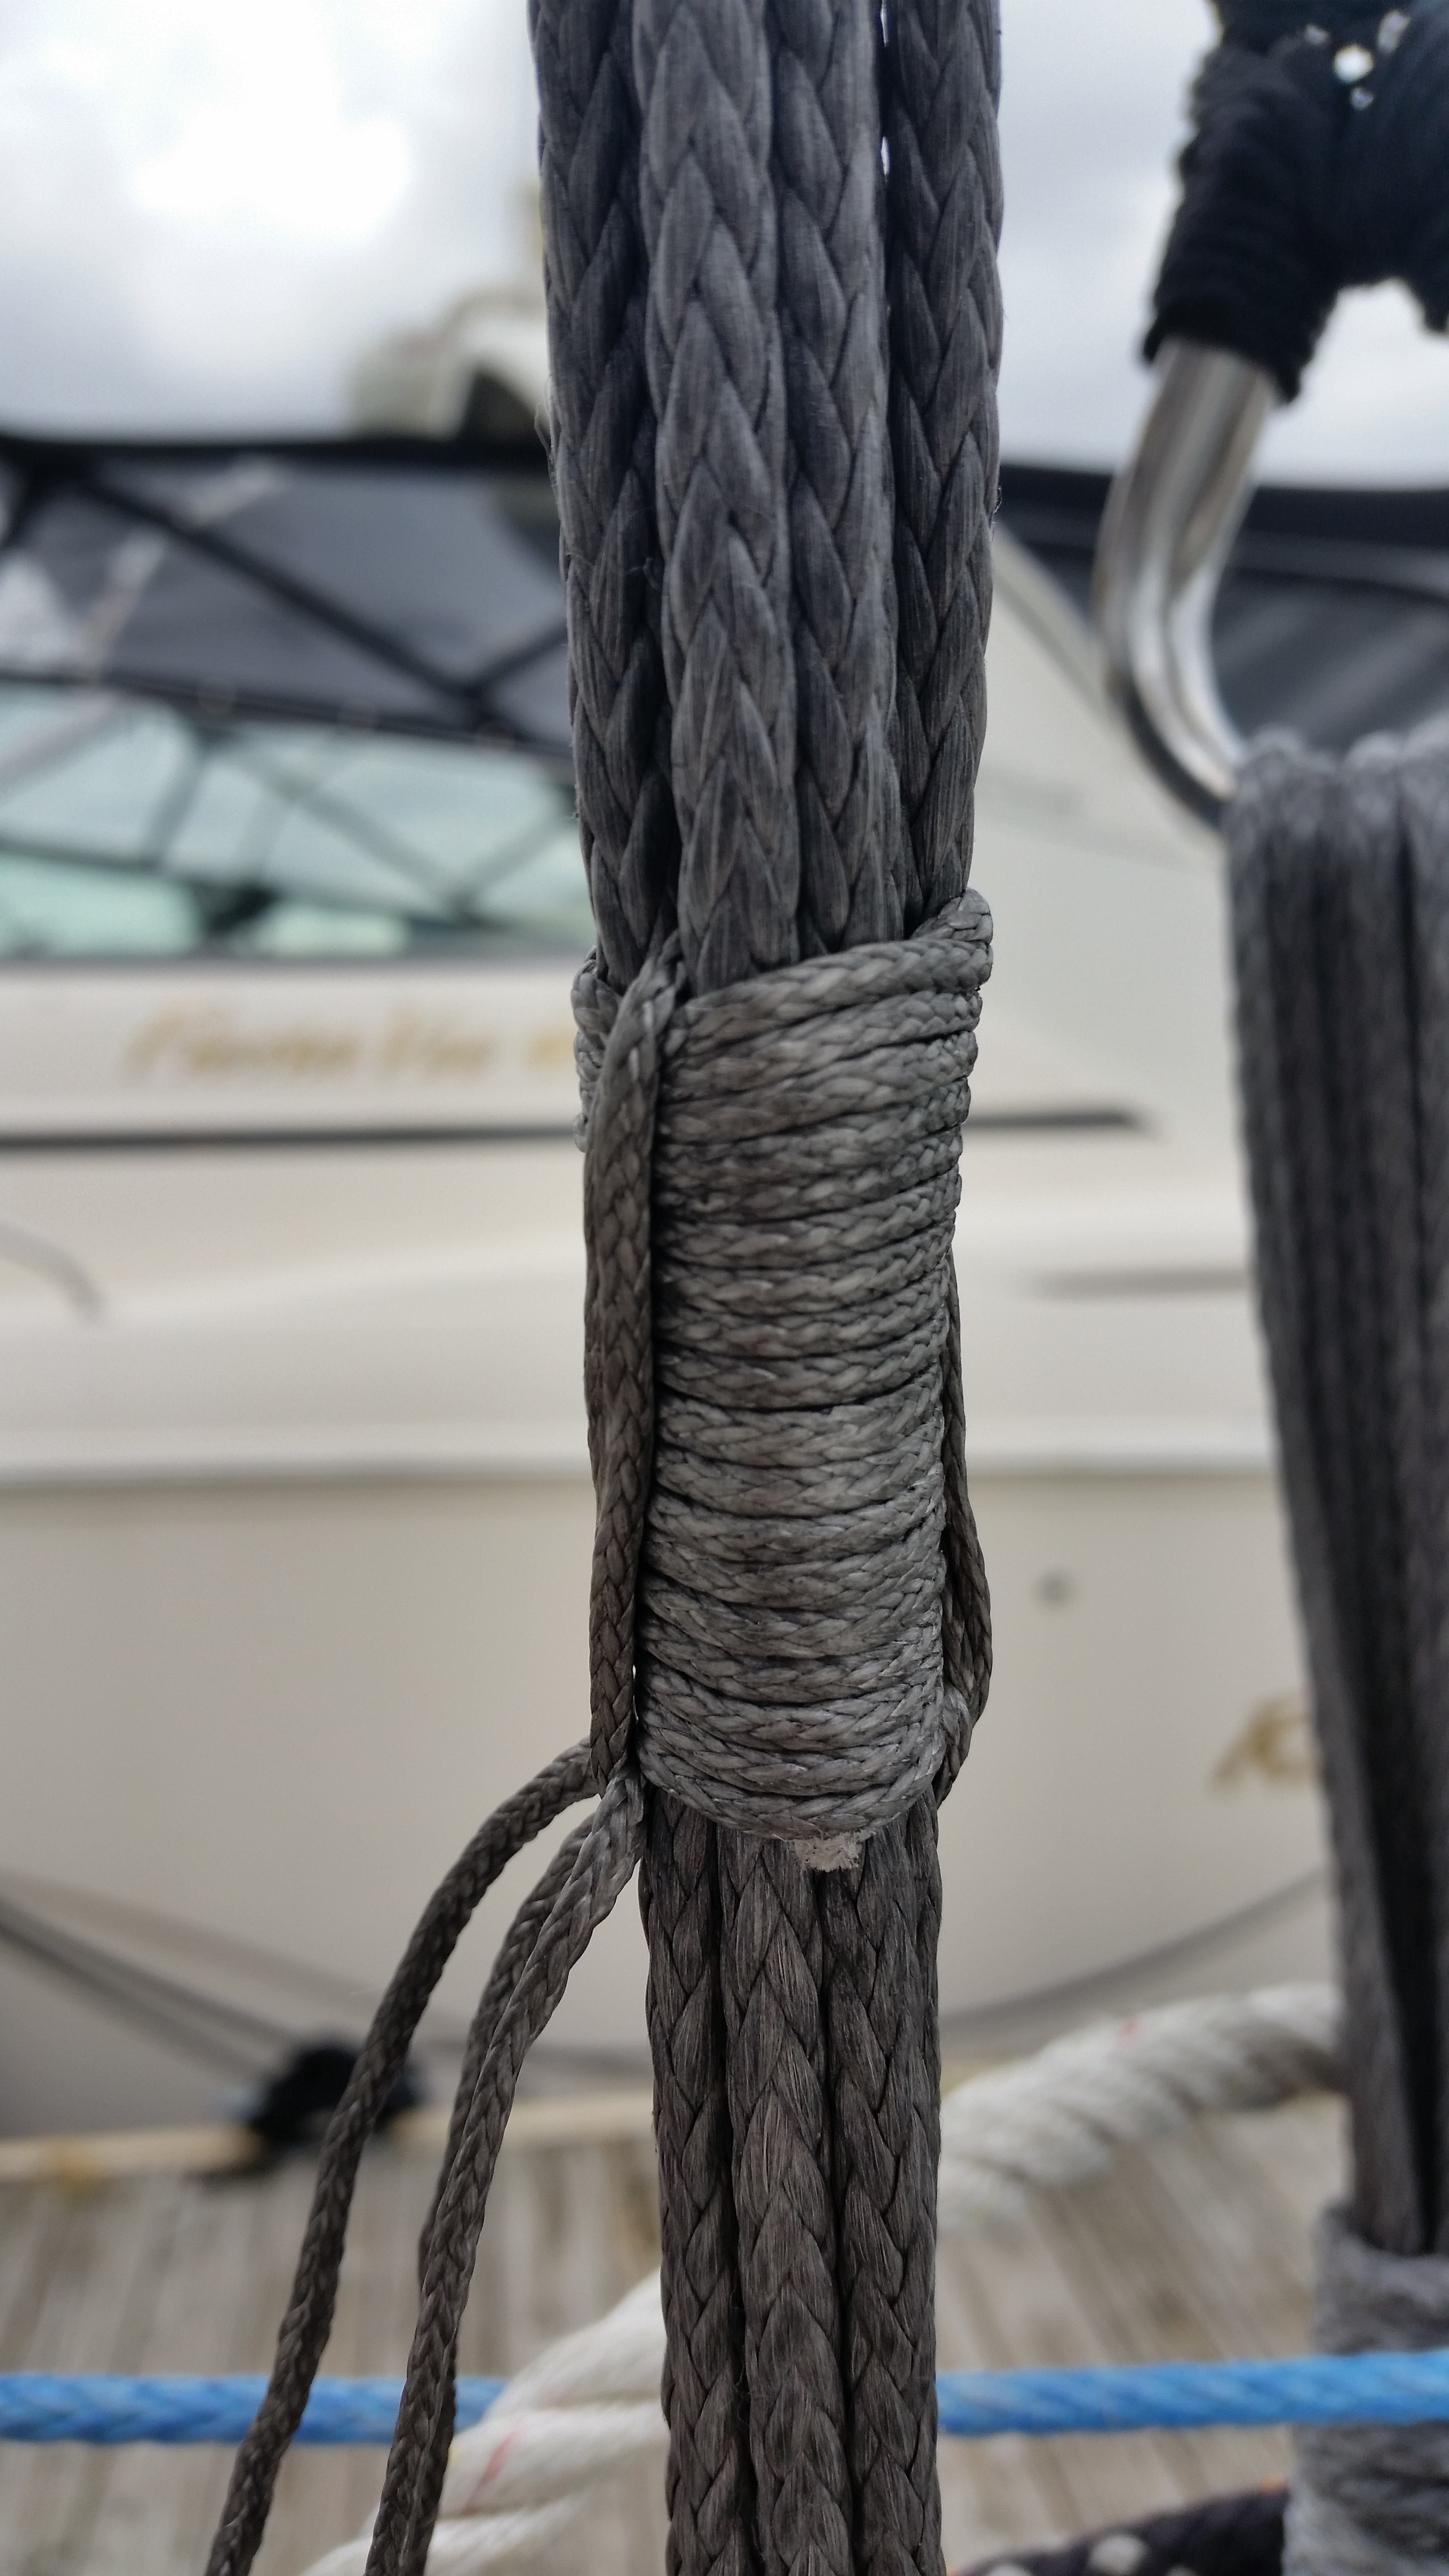
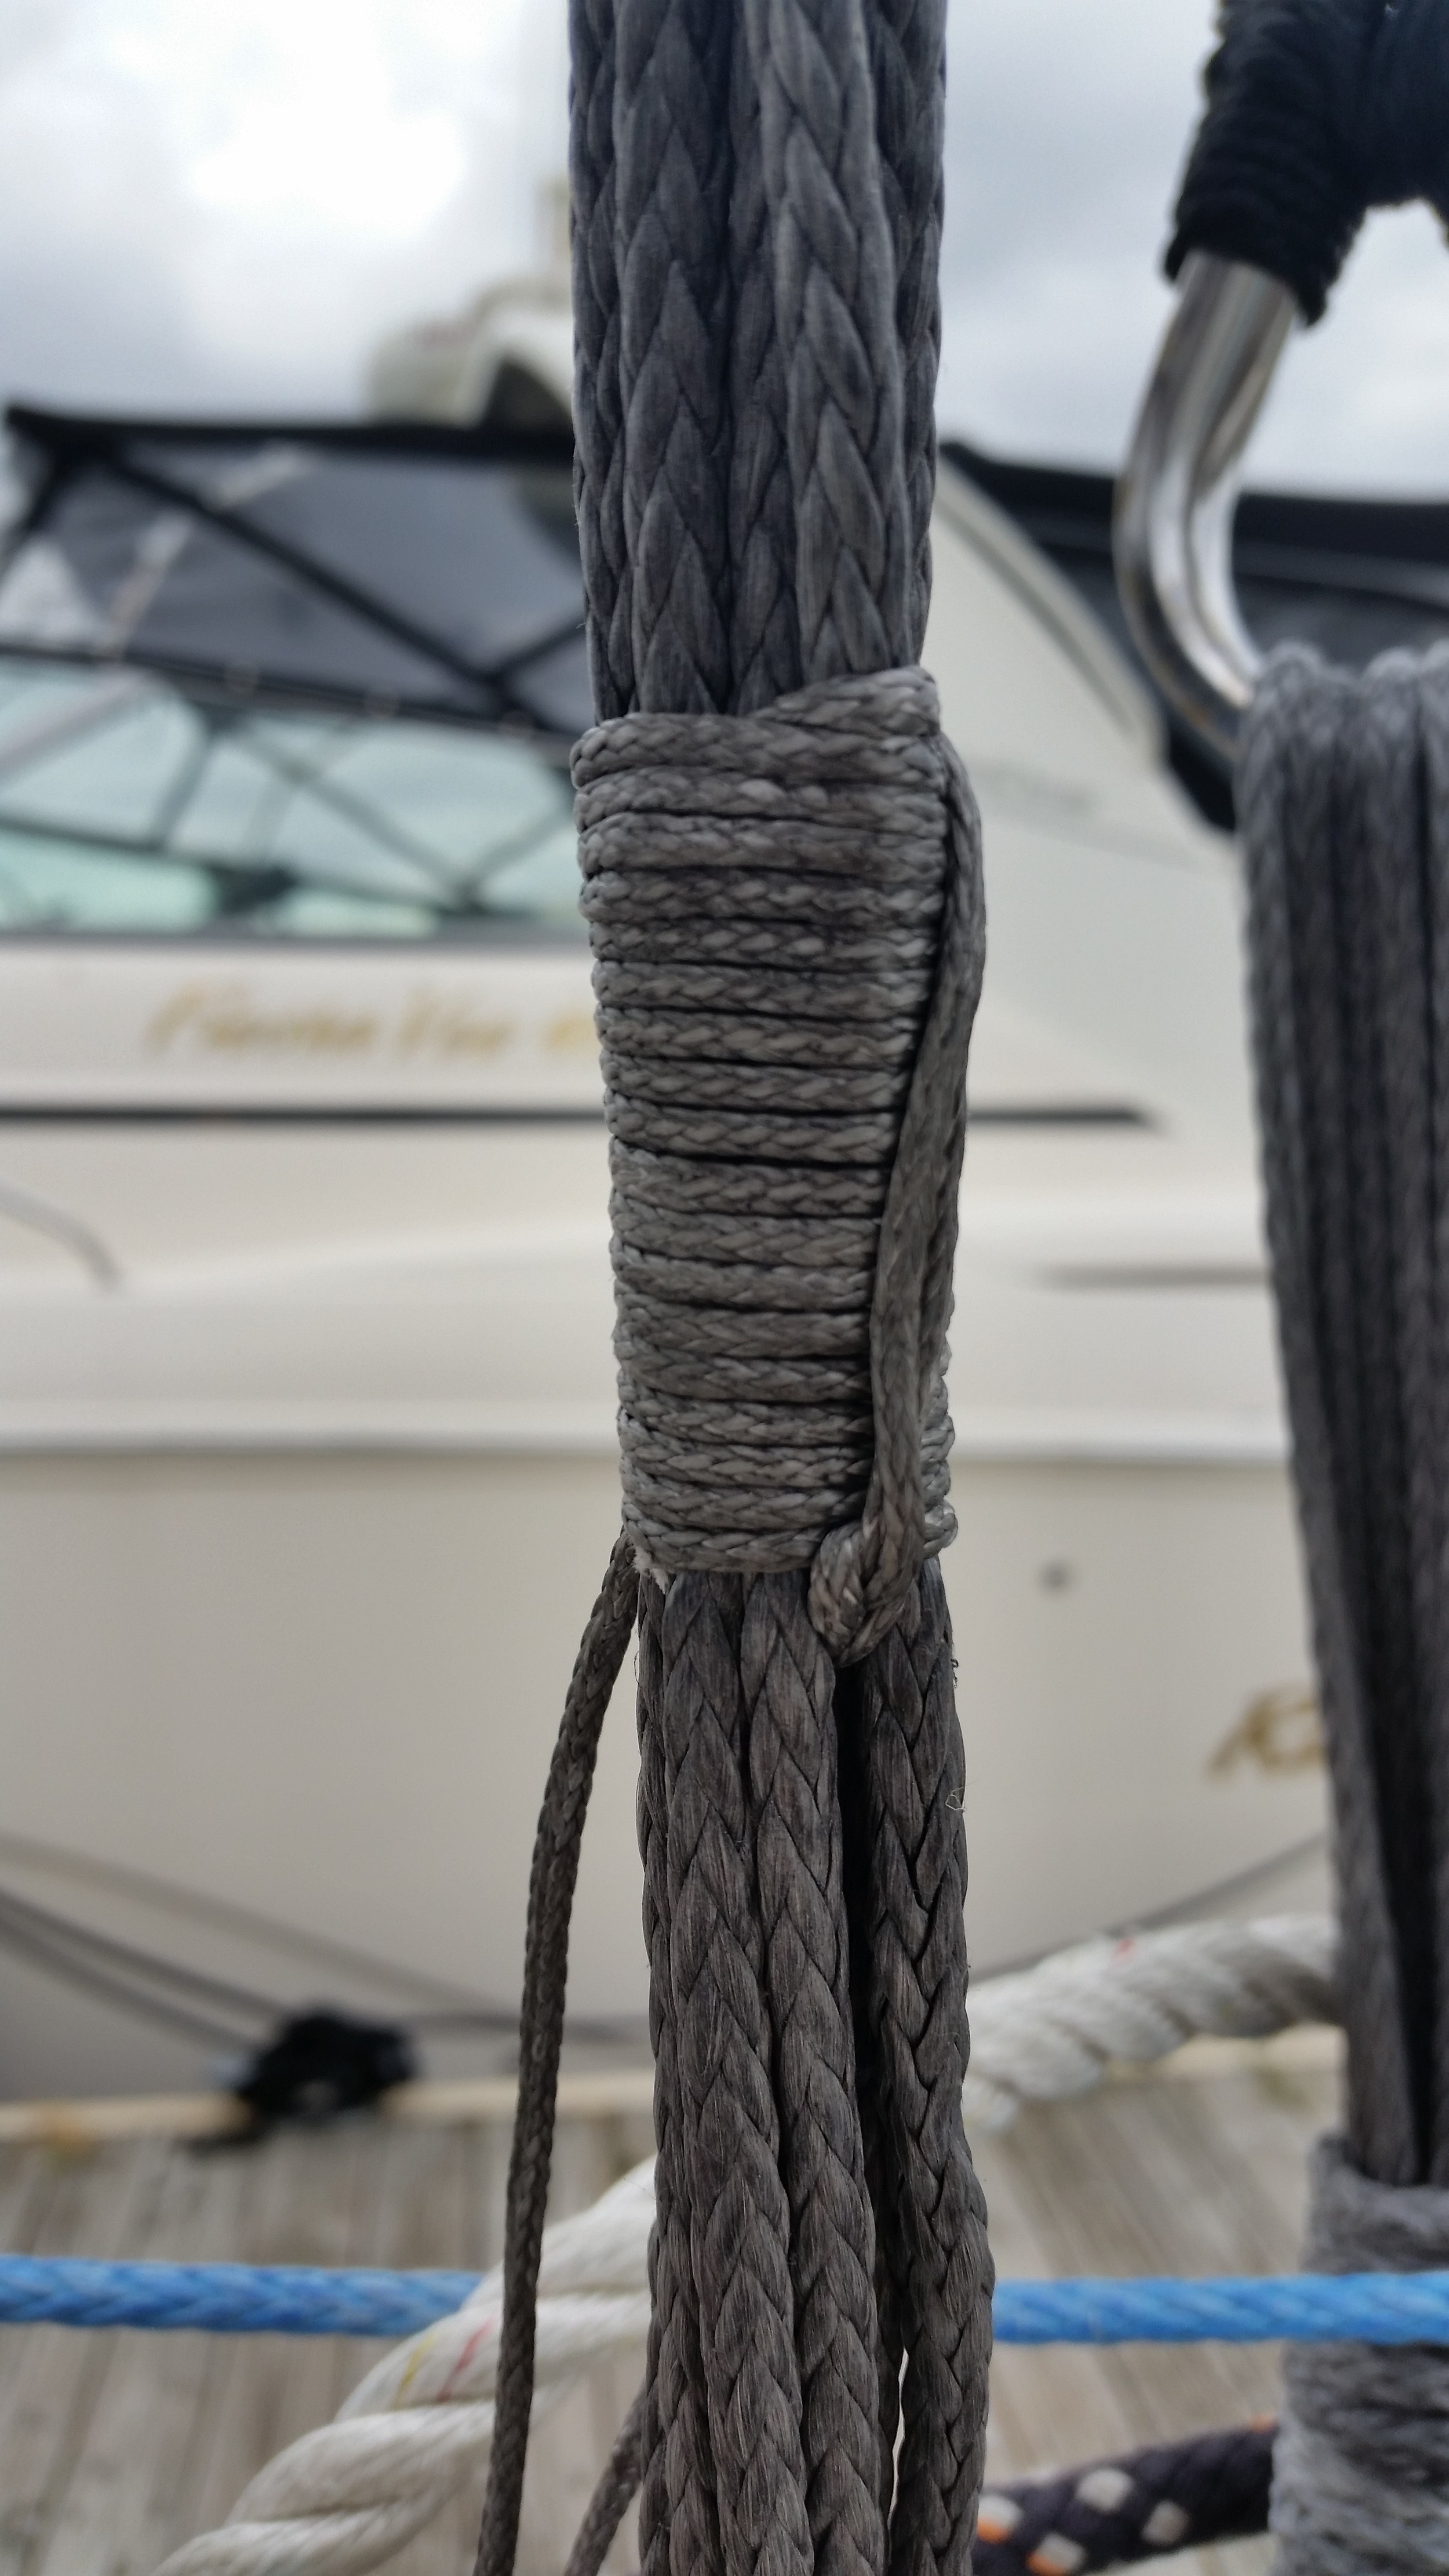

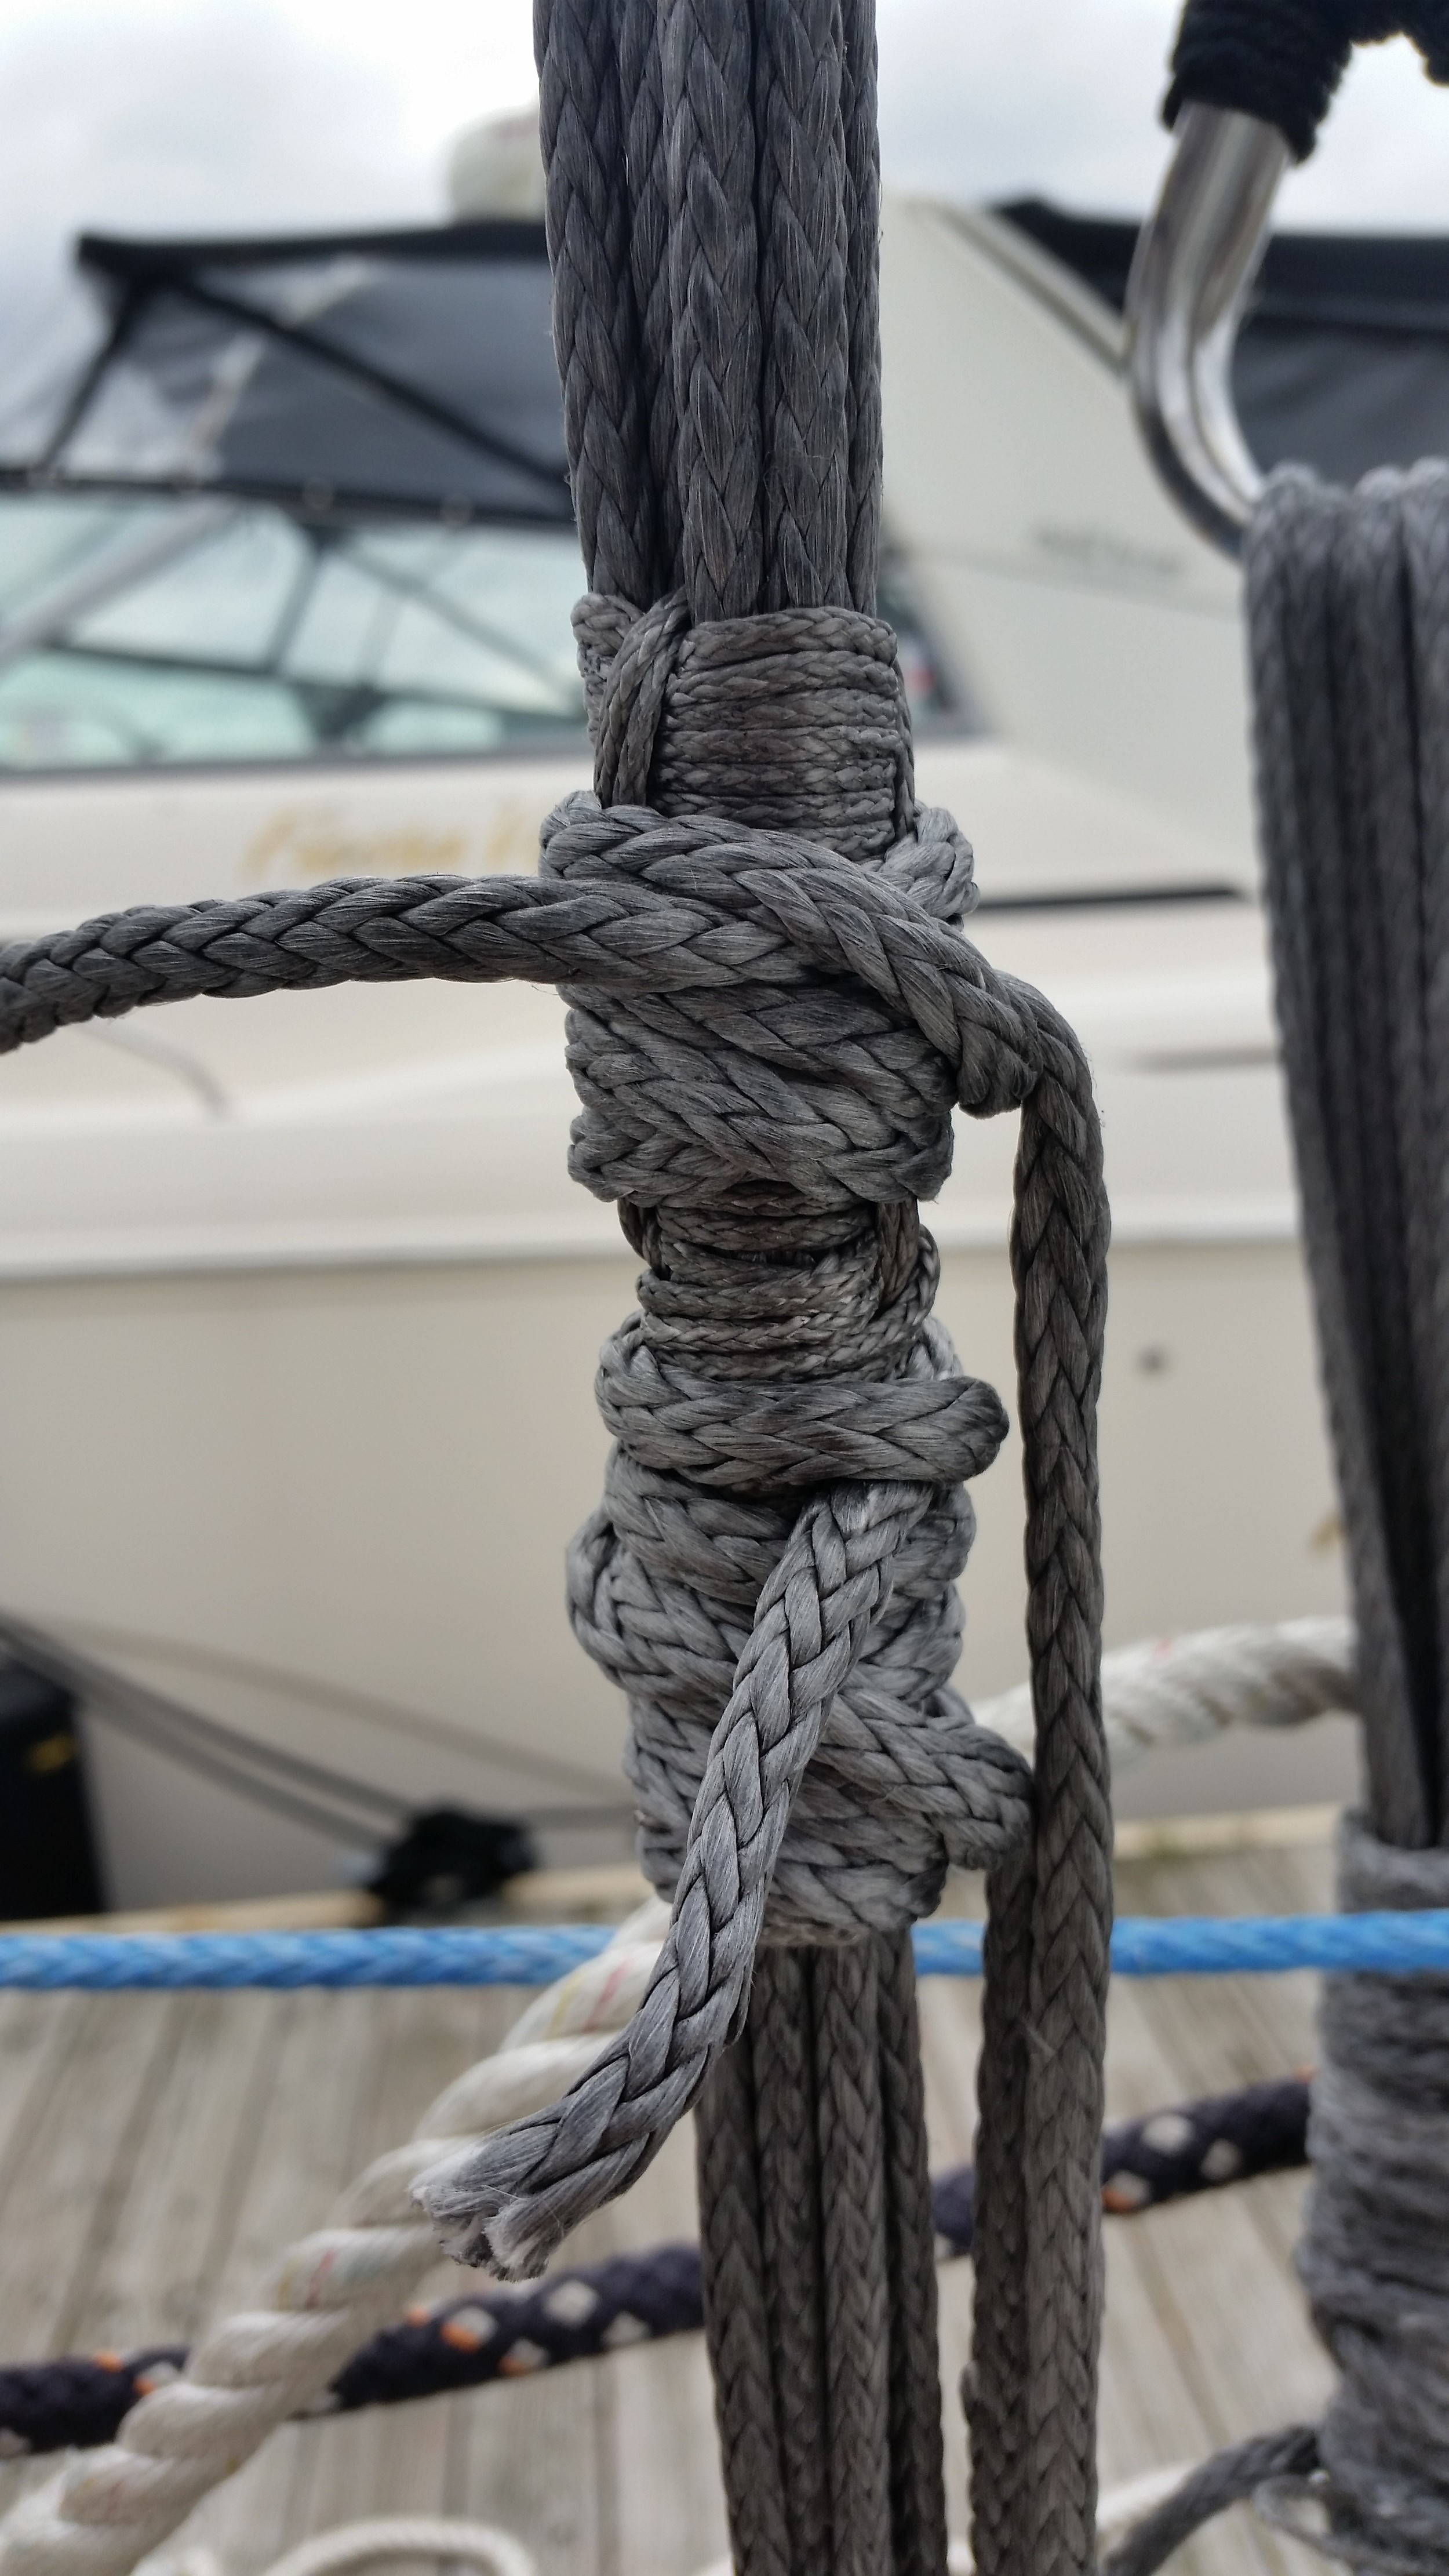
Views of the different sides of the knot.
I know it sounds very confusing, but watch the video where I take you step by step through the whole process.
If you have any questions, post them in the comments section down below and I'll be sure to answer them as soon as I can.
Also, subscribe for updates to the blog.
If you are interested in hiring my services, please feel free to contact me. To give an idea what the cost per foot is for New England Ropes STS-HSR which I used for my stays, please look over the table below

