Life cycles of Dyneema

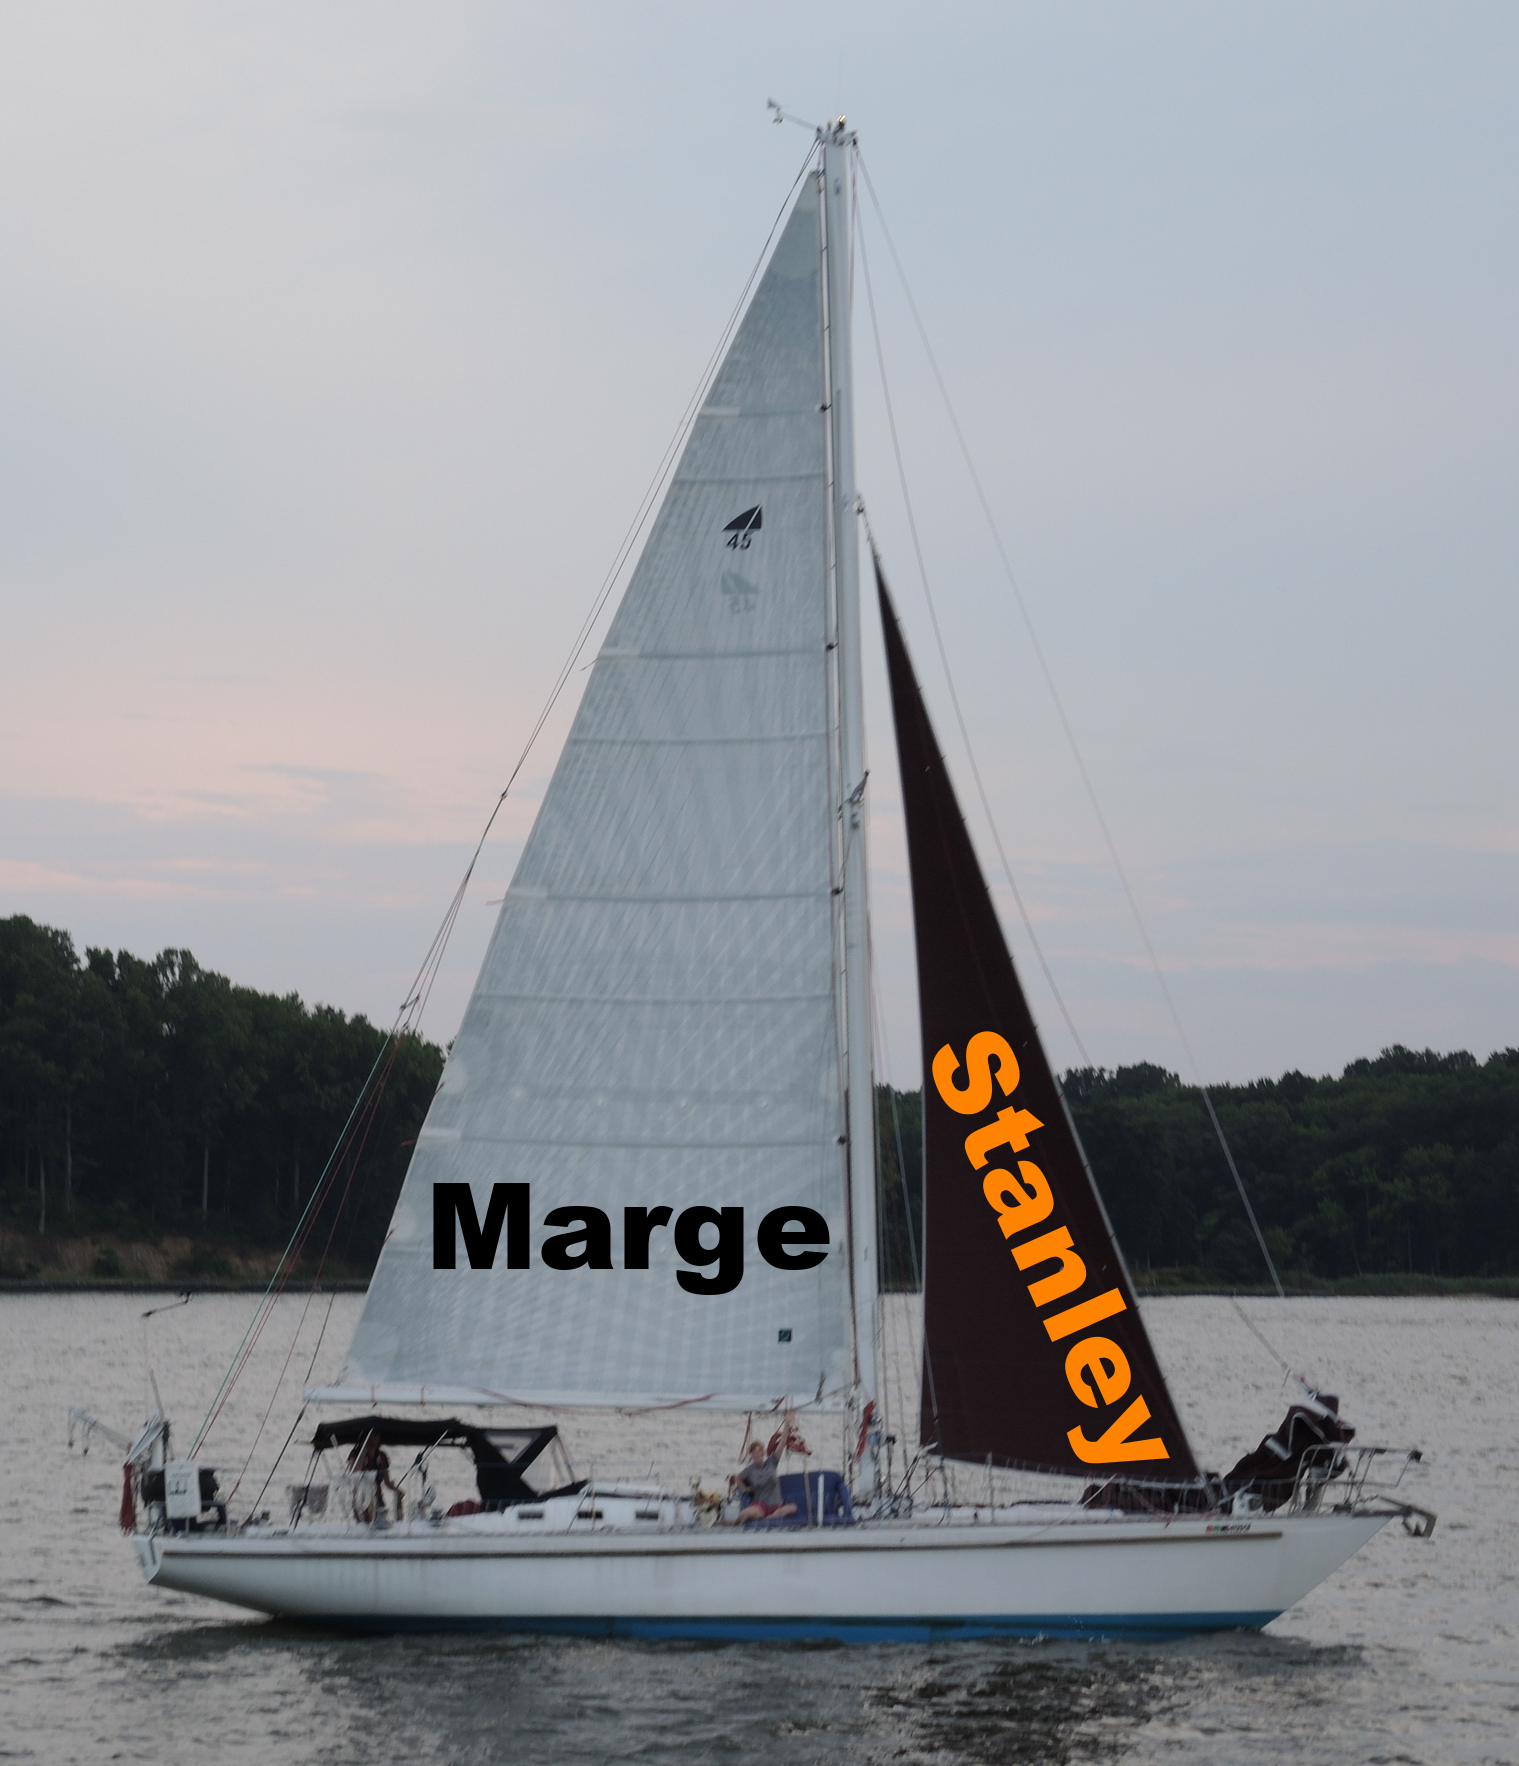
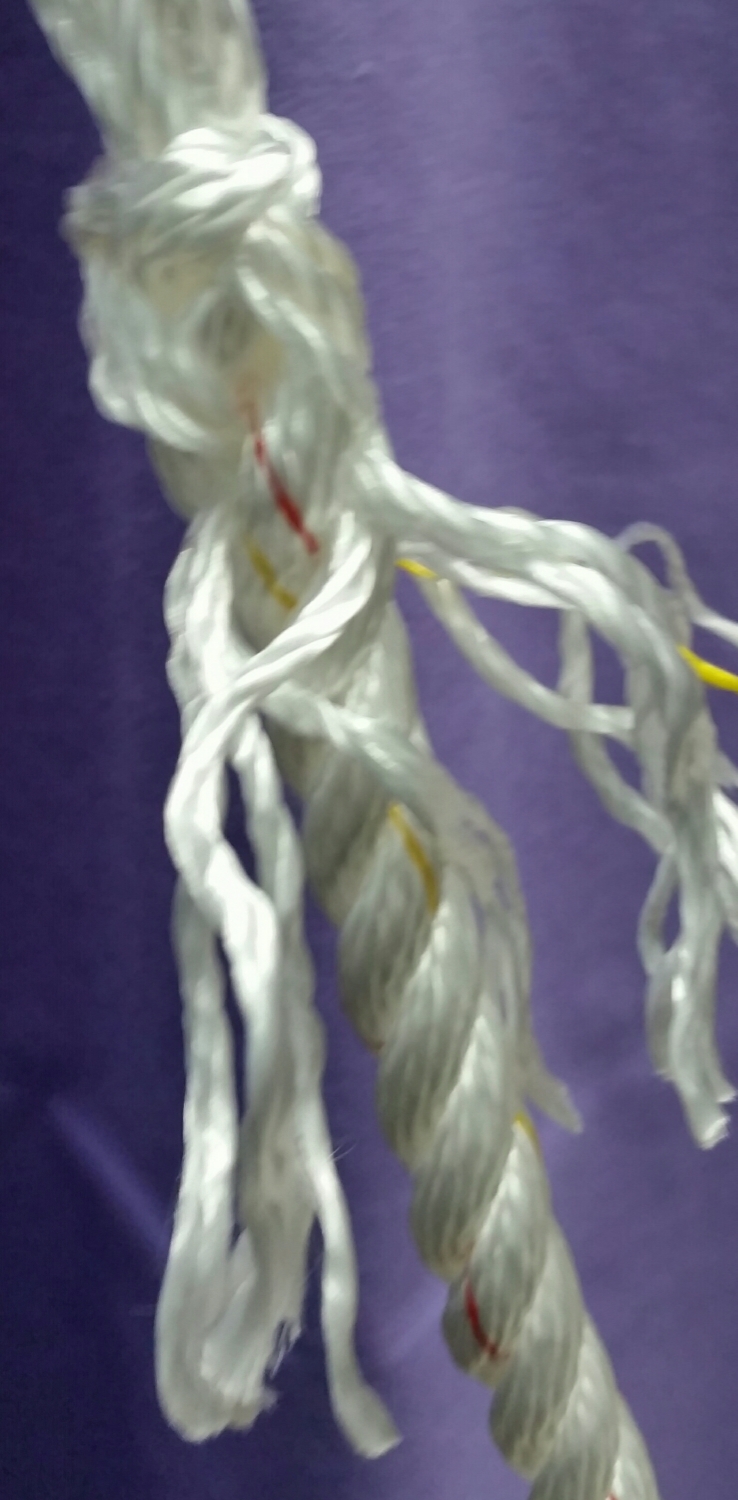
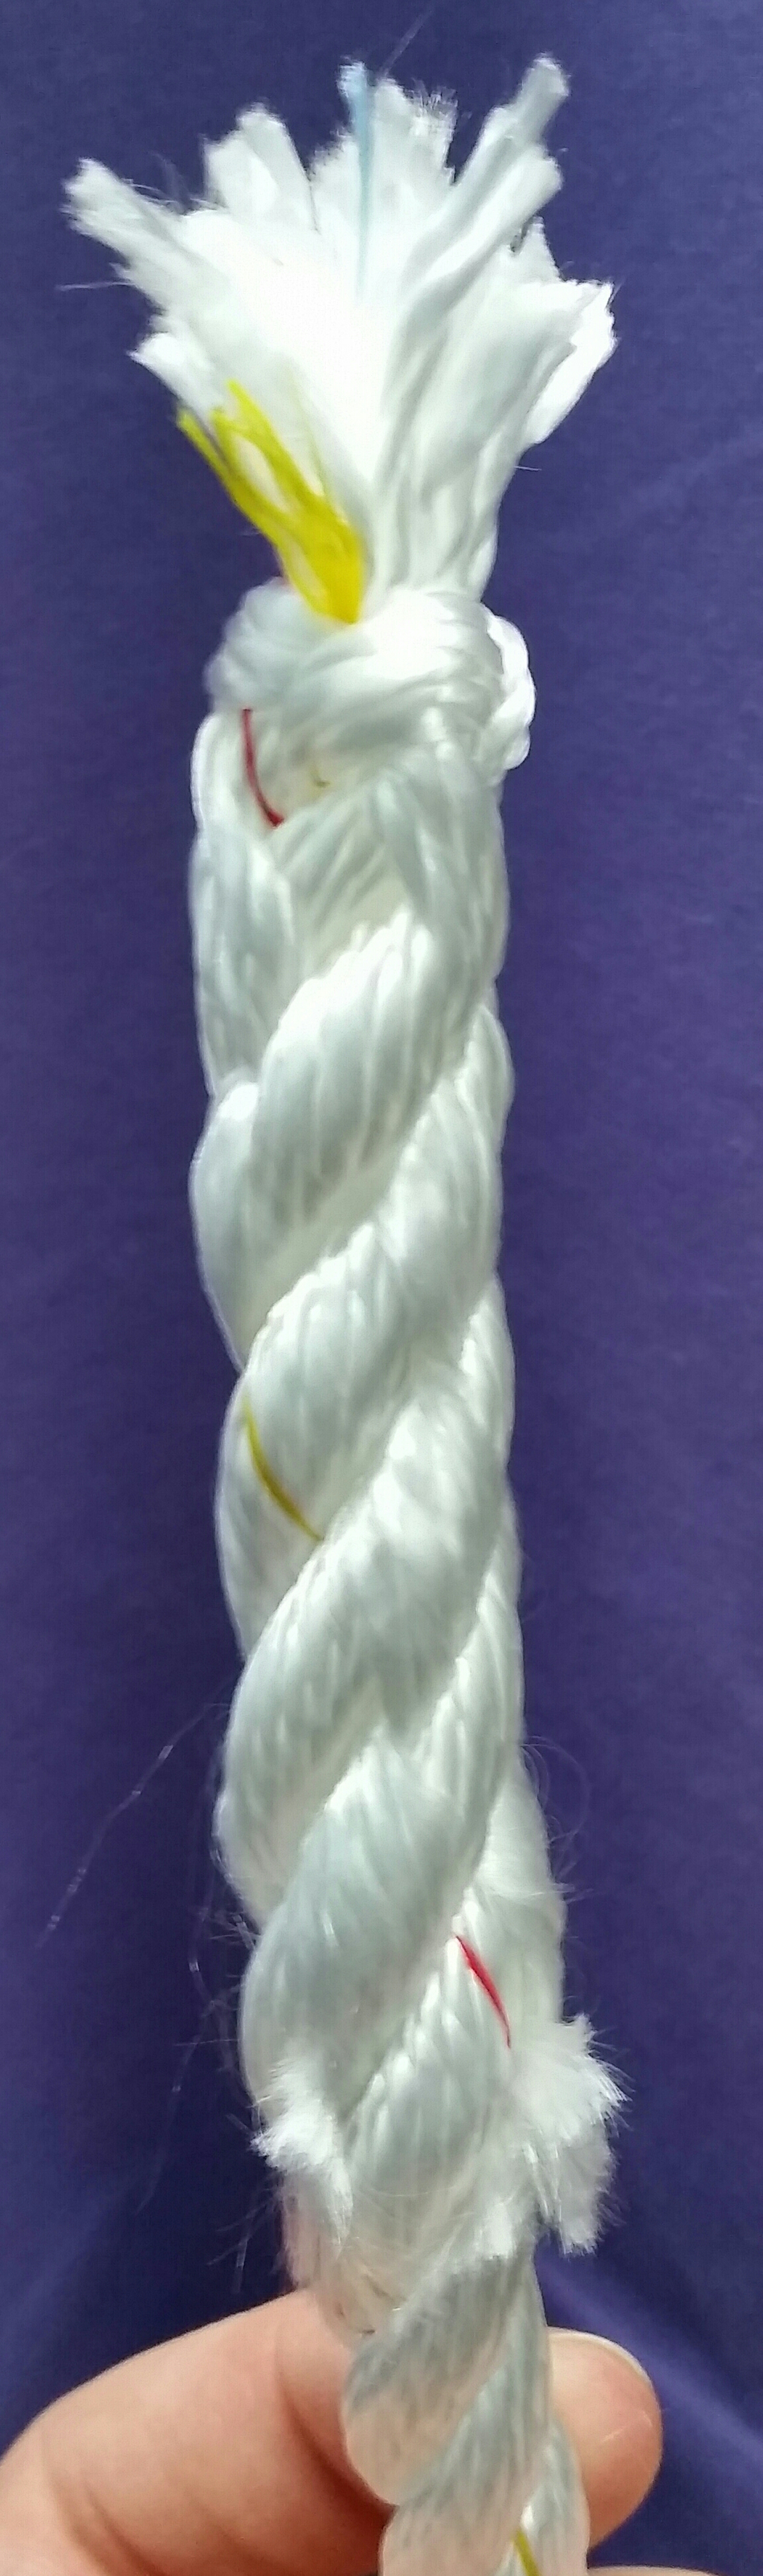
Dyneema is an incredible fiber, it's stronger than steel yet so light that it floats! This wonder fiber has some interesting properties that can take some time to wrap your head around, such as: It expands in cold temperatures, and it will creep as it passes through its life cycles.

Dyneema exhibits negative thermal expansion in the direction of the fiber. This roughly translates into the line going slack on very cold days. This is not an issue with sheets because you are always adjusting the sail trim anyway. It is much more apparent when the standing rigging goes slack in the winter. This is not creep, it is simply the dyneema expanding as it cools drastically.

On Wisdom, the rigging was adjusted in temperatures of 60*F to 70*F. This keeps the rigging nice and tight during summer sailing, but when winter sets in, the stays go slack. It is apparent which stays are set tighter than others when this happens. The cap shrouds are still like rods, the headstay is not as tight as it once was, and the lowers are sagging since they have become completely loose. Once temperatures warm back up, they will regain their proper tensions. 

Winter provides an opportunity to tension the stays, as they are all going to become even tighter once the warm weather returns. For this reason, be sure not to over tighten the rigging in extreme cold, as this will induce unnecessary stress as they contract in the warmer months.

Now that we know that slackness in the rigging on freezing cold days is not due to creep, lets move on to actual creep.

Dyneema passes through three phases in its life cycle. Phase I, Phase II, and Phase III.

Phase I is characterized by rapid elongation due to creep. During Phase I, you will need to tension your rigging weekly as well as immediately before sailing. The rigging will be tight and well balanced today, less tight tomorrow, and completely sack by the fifth day. This period will last for a few months as the dyneema moves into Phase II.

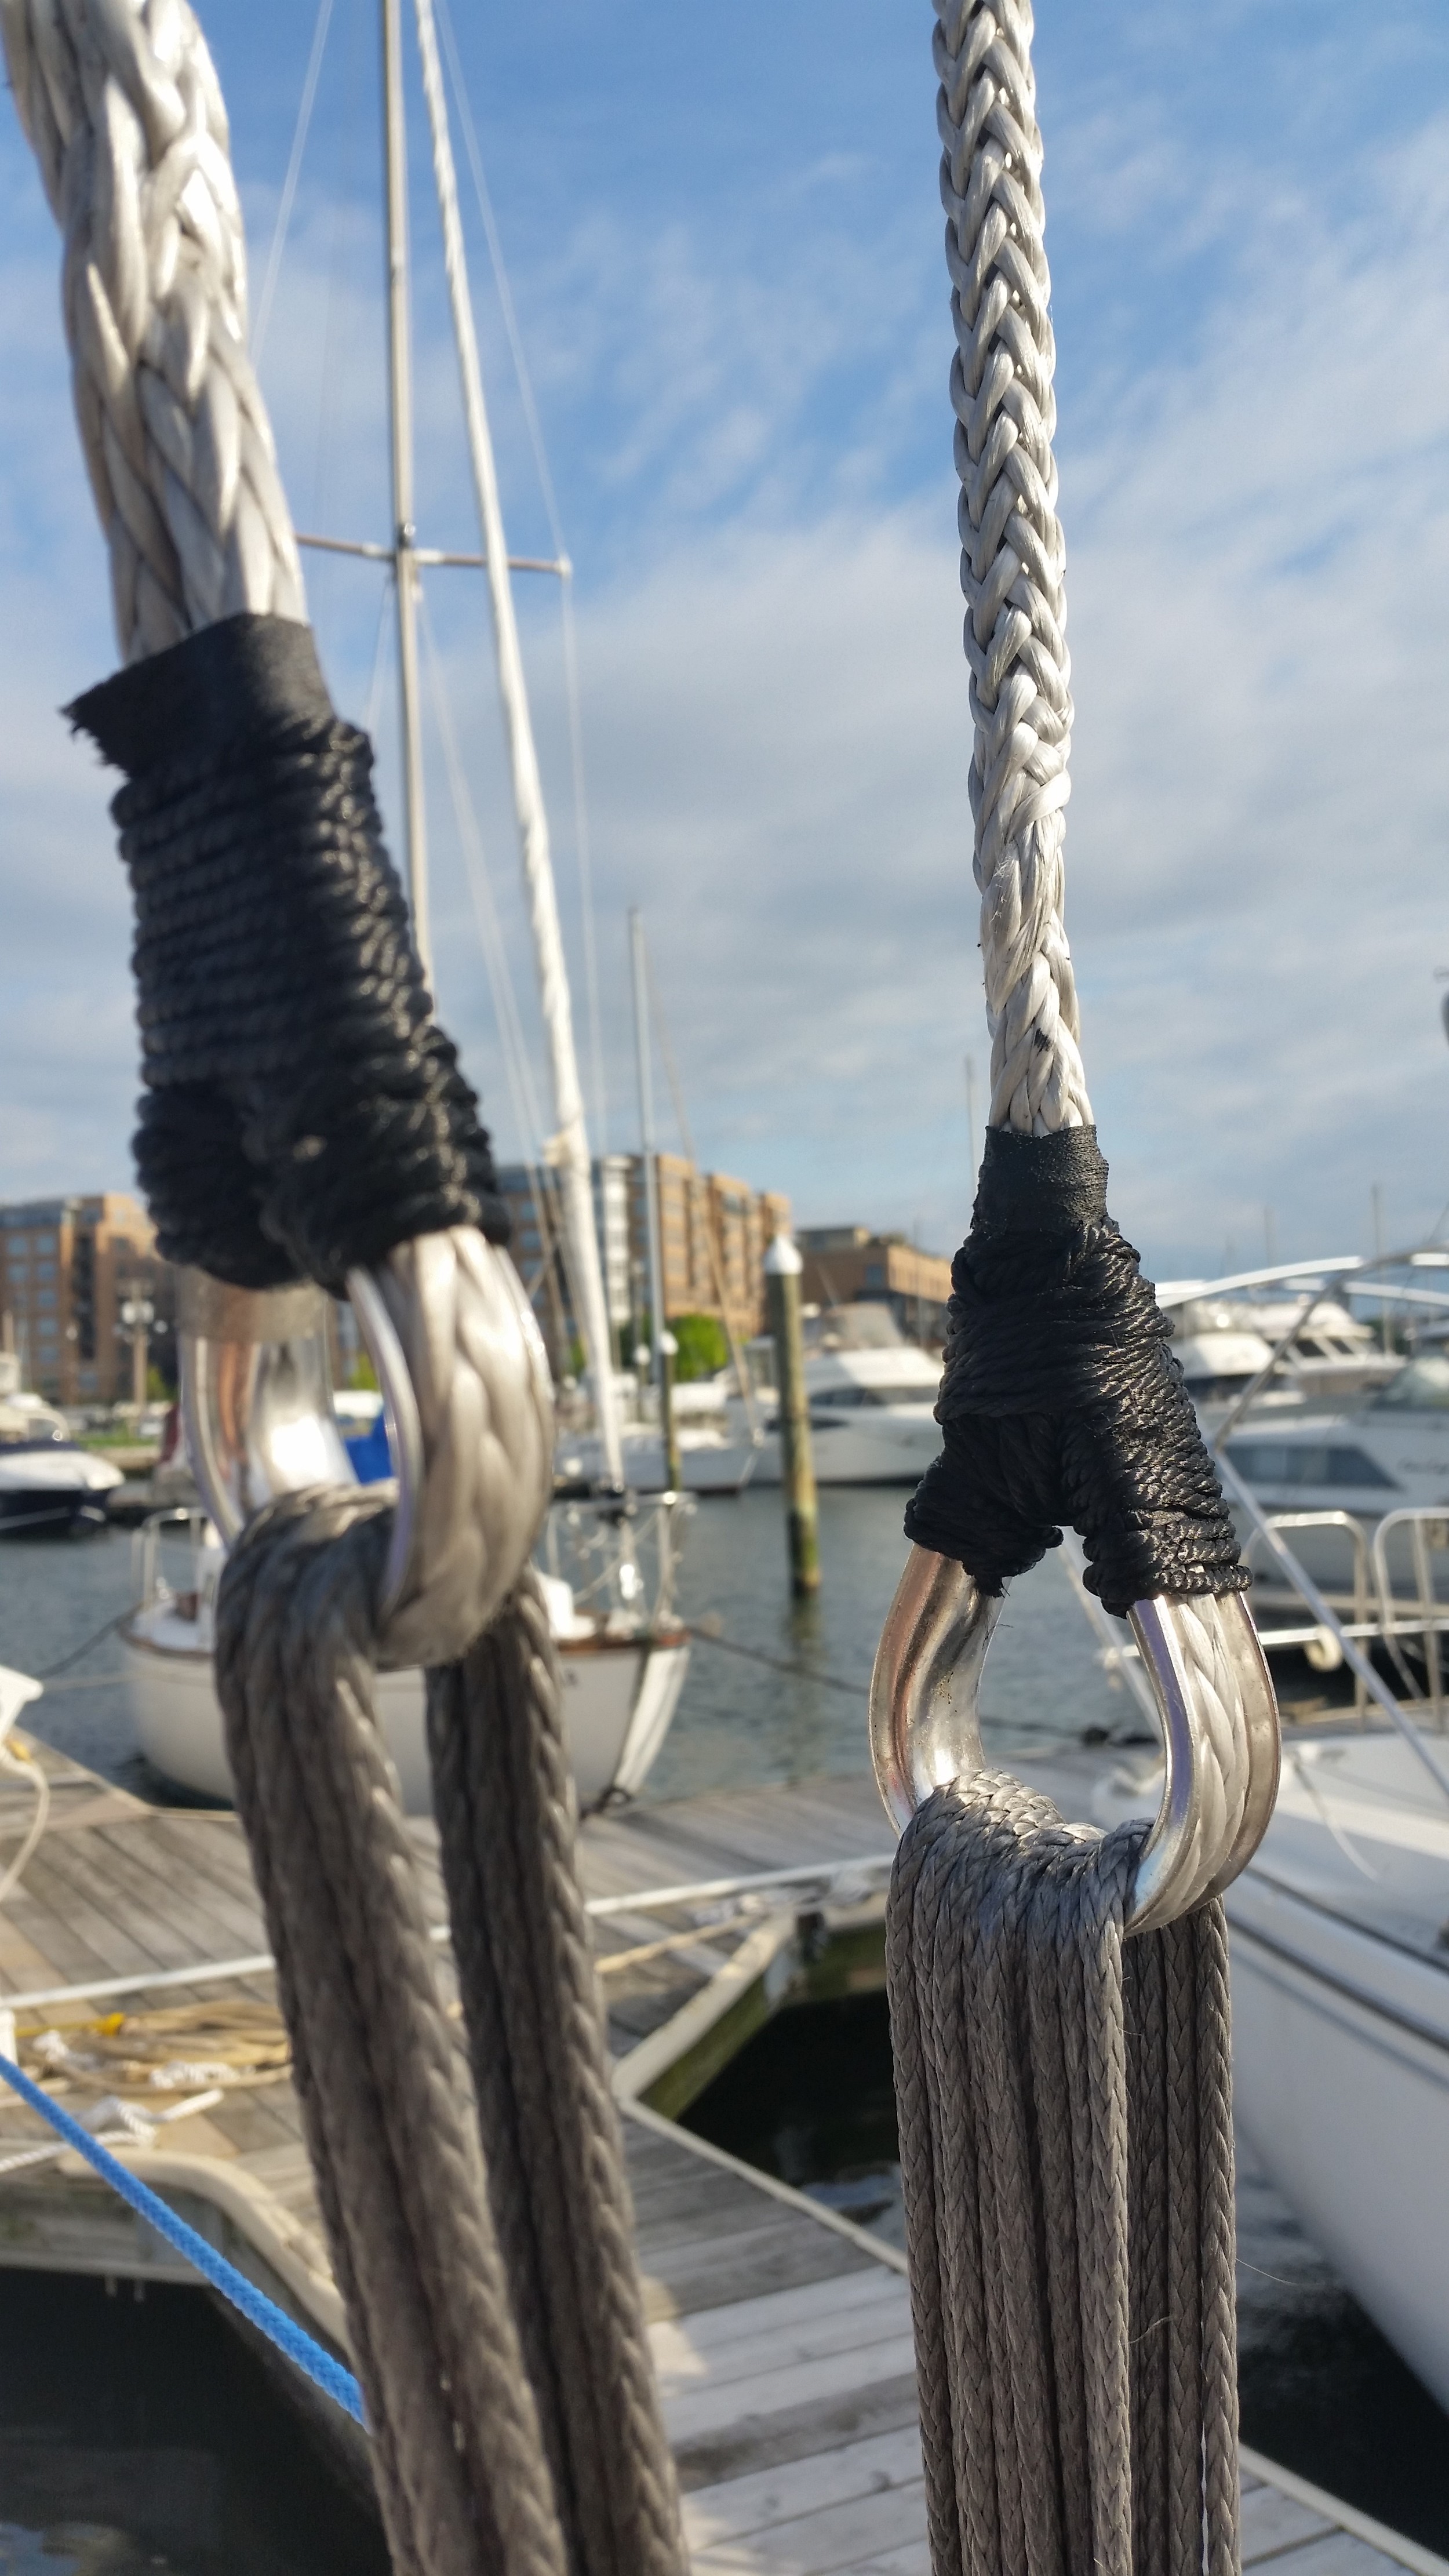
Phase II is characterized by a slower period of creep. During this phase, the stays will need to be re-tensioned every few months. You will know that you are in this phase when the rigging no longer needs to be tensioned before you go sailing. This is when the synthetic rigging shines! Synthetic rigging weighs only a few pounds (compared to the hundreds of pounds for steel rigging) which reduces the weight aloft as well as the amount of heeling while under sail. Phase II will last for years, providing you with a secure standing rigging that is easy to inspect and dependable. When Phase II finally ends, it will enter Phase III.

Phase III is characterized by rapid elongation again and signifies the end of life of the stay. During this phase, the stay will begin to stretch again, needing frequent tensioning again. This is when the stay is needs to be replaced. If you decide to keep using the stay and simply tension it before each sail, it will snap and could lead to a dis-masting, but there were plenty of warning signs before this would happen.

The points to remember with synthetic rigging are:

It will go slack during the Winter, but will tighten back up once Spring returns.
When it's new, it will creep frequently.
After the break in period of a few months, it will not creep as much any more.
When it starts creeping again (many years later) it is time to replace the stay.

Cooking Aboard

When I tell people that I live on a boat, one of the questions that inevitably comes up is "Can you cook in your boat?"

I think they think I live in this


Cooking aboard is easy to accomplish, it just takes some downsizing and preparation. Space is limited and multipurpose, so you need to plan ahead. It sucks to need something from the fridge when you have all your ingredients chopped up on top of the fridge lid.

Most boats have a stove/oven, microwave, toaster oven, grill, and many other kitchen gadgets. On board Wisdom, I like to keep it simple with a two burner stove, toaster, and a grill.

Elaborate meals can be accomplished with this limited armamentarium. The trick is using your available resources wisely. Dishes that need only 1 pan are preferred, as you only need to hold one pan from sliding and only one pan to wash (which translates into using less water). You can also cook two foods in different parts of the pan. 

The grill is an excellent addition to the kitchen as it can replace the function of an oven. I have made entire meals on the grill, including meats and vegetables. Foods wrapped in foil and set in the grill on low fire will cook just like if they were in an oven. 

Toasters are another example of "Nice to have", and not "Need to have" on board. I spent two years without a toaster because I didn't make toast very often, and when I did, the old method of making toast works just fine. Maddie, on the other hand, makes toast almost every day for her sandwiches, so the old way was not quite as convenient for her. When we are in the marina, an electric toaster is very convenient, but when we are sailing, we resort to the old method of making toast.

To make toast without a toaster, simply place the dry bread in a pan with high heat. That's it.

You don't need to add oil or butter to the pan because it's toast! Allow one side to brown, then flip it over and allow the other side to brown. It takes a few minutes to make on a stove, without the complexity of powering an electric toaster.  

Some favorite meals we make on board are:

Rice and beans (2 pots)
Fish and onions (1 pan)
Lamb chops and sweet potato chips (grill)
Steak, Rice and salad (1 pot and grill)
Pasta dishes (1 pot)
Grilled chicken and vegetables (grill)
Poached eggs on toast (1 pan to toast bread, 1 pot for eggs)
Omelets (1 pan)
Sauteed chard with onions, peppers, mushrooms, and egg (1 pan) 

The list goes on and on, all it takes is some creativity in the kitchen!


What do you call that sail?

Typically, when we decide to raise a sail, I will go forward to the mast and begin pulling the halyard. When the sail begins to fill with air, it will flap like a flag, cyclically loading the rigging with each beat. The solution is for Maddie to sheet the sail in as it is raised and then ease the sheet as I tension the halyard. The whole process goes smoothly as long as we understand each other.

Wisdom has 3 different headsails, a mainsail, and a trisail. This means there are a lot of sheets leading to the cockpit. Thankfully, the halyards stay at the mast and don't add to the spaghetti!

The problem is that I would tell Maddie "I am going to raise the jib, sheet it on the primary winch." She wasn't exactly sure which sheet I was referring to, and usually ended up placing the wrong sheet on the winch. This would lead to a state of confusion because I would raise the sail and she would sheet in the wrong one, causing it to flog around wildly.

Maddie came up with a creative solution to our miscommunication. She gave each sail a name!

The Drifter is Dill
The Jib is Josh
The Staysail is Stanley
The Mainsail is Marge
The Trisail is PJ

The first letters coincide to help me learn their names as well. PJ is the odd one out because we would sleep hove to during storms with him flying, hence, he would act as our boats pajamas.

Instantly, our communication improved, and "I'm going to hoist Stanley first, then Josh, please get them on their winches" became a clear command with no confusion. I would go forward, and she would sheet the staysail onto the secondary winch, and the jib onto the primary winch. 

I still don't know why she couldn't learn the real names of the sails, but the important part is that we were able to find a solution to our problem and to keep us sailing smoothly and calmly.

If you guys find yourself having communication issues, an open mind helps to find a creative solution!

Tree Surgeons Backsplice

The Tree Surgeons Backsplice has been mentioned before but there was no explanation as to how it is ma


To do a Tree Surgeons Backsplice, you need to reduce the number of yarns that compose each lay. I separate out 3 yarns from each lay (9 yarns total) to tie the crown knot and then back splice. This results in minimal bulk added to the end of the line so that it can still pass through small openings. 

upload.jpeg
upload.jpeg
upload.jpeg
upload.jpeg

Tighten the crown knot all the way down until it reaches the tape (if you are using tape) or constrictor knot (if you are using cord) and then begin the back splicing.

Be sure to remove the tape or cord before beginning the backsplice, it is much more difficult to remove with the tails in the way.

upload.jpeg

Be sure to skip one lay before beginning the backsplice. This gives enough room for the crown knot to tighten down even more as the splice takes shape. A tighter crown knot will prevent the fuzzy end from working its way free and causing the end of the line to unravel.

Continue splicing the tails into the line as usual until the tails have been spliced in completely. I try to have at least 5 passes, but if I end up around 4 passes, it's not the end of the world. If your tails are long enough that you make it to 7 passes, you can cut off the excess because there is little advantage to making a backsplice longer than 7 passes.

upload.jpeg
upload.jpeg

The last step will be to cut the end of the line off. Be sure to leave around 1+ inches (around 3cm) of line past the crown knot. This line will be held tight and prevent the line from slipping out of the crown knot and causing the line to unravel.

Once it is completed, be sure to tidy up the splice by rubbing it between your hands. This will work the splice into the lay and cause the backsplice to even out. After it has been smoothed out, be sure to fuzz all the ends to prevent them from chafing other parts of the yacht. Lastly trim any long ends to make the splice look more presentable.

If you decide to use cord instead of tape, tie a Constrictor Knot just below where you want the crown knot. The distance from the constrictor knot to the end of the line is going to be a little less than the length of the tails available to complete the backsplice. I like to leave approximately 6 to 7 inches of line to give enough length to the tails.

upload.jpeg
upload.jpeg
upload.jpeg

Be sure that the 3 yarns from each lay occur near the outer edge of the line, that way they will help bind the whole line together rather than originating from the inside, and not having as much pull on the line as desired.

Be sure to remove the constrictor knot before beginning the backsplice, skip 1 lay, and then insert the tails into the line to complete the backsplice.

This backsplice will hold up well to use and abuse. As the ends of the line fuzz, they will become more unlikely to unravel and be less likely to chafe other lines they may come in contact with.

As you may have noticed, the Tree Surgeons Backsplice takes a notable amount of time to complete as compared to melting the ends with a flame. It takes me around 10 minutes to complete it while relaxing on my settee while watching a movie. It doesn't take a lot of thought or effort to complete, but it will last longer than melting and will not scratch the topsides or snag another line. I highly recommend this backsplice as it will last the life of the line!


Crown Knot

upload.jpeg

The crown knot is a very useful knot to keep the end of three stand rope from fraying. This knot is actually very easy to tie. 

It is best to look down at the knot while tying it. I always orient the knot in an anti-clockwise direction so that it will tighten the lay of the line as it holds.  

The crown knot finishes with the tails aiming back into the rope, where as the wall knot finishes with the tails aiming away from the rope. The tails are then poised to be tucked back into the line to complete the backsplice.

The crown knot will untie if the tails are not seized into a splice or other knot, making this knot rather weak when used alone to hold the end from fraying; but when used in combination with a splice, it will hold the line securely and can be used as the permanent termination to the line.