Galley Refit Begins!

It feels like I just finished the head refit and now I’m starting another project. 

FullSizeRender.jpg

Thd big difference is the galley project can’t hide behind a closed door. I have to look at this while I’m not working and I don’t have much time left. 

The head took months, this can only take days! 

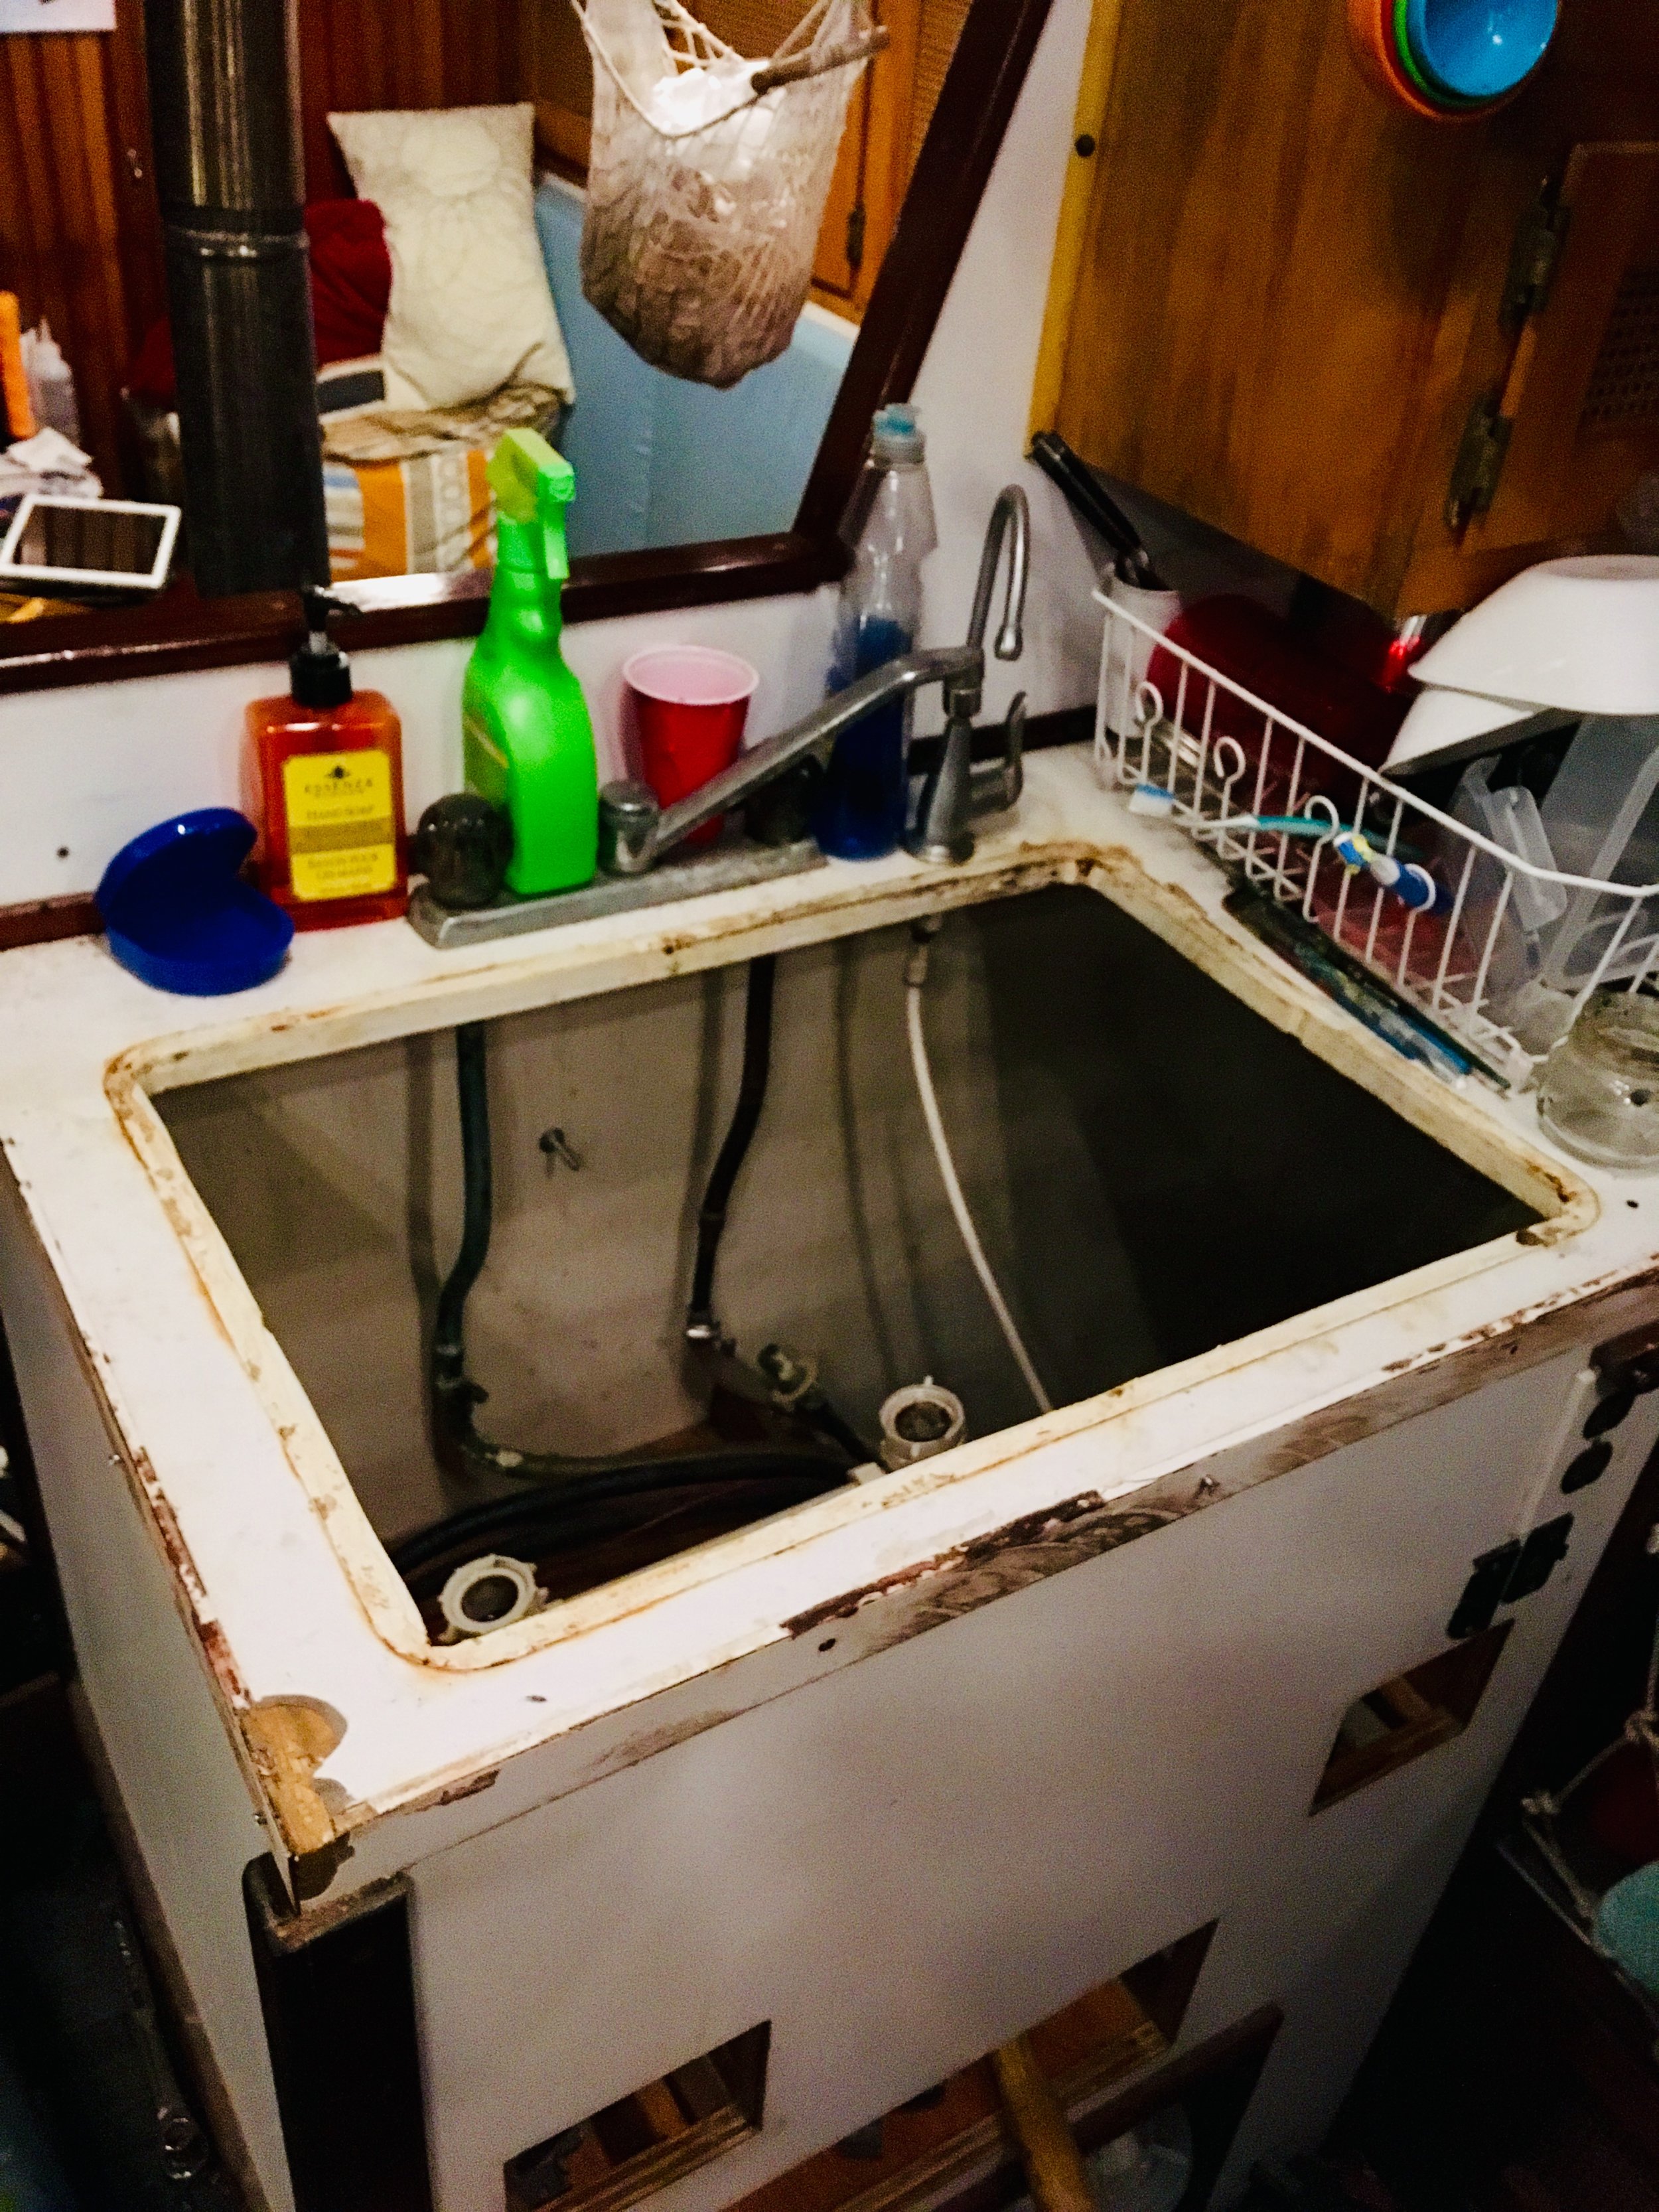
Today started with a regular galley, but by the end, I had gutted it completely.  

Why is this project going so much faster? I think it’s because we have a plan. The head was more fluid. I gutted it, we looked at the space, and then the design came about during the construction process. I was timid because ā€œwhat if we change our minds and I have to tear it out?ā€ 

With the galley, everything is planned. I’m ripping out the counter, new sink, butcher block counter tops, gimballed stove/oven. Under the sink, we will cut a door and install storage shelves.  

Simple, clean, efficient. Let’s get it done! 

Head Refit Complete

The hardest part of any project is knowing when you are finished. 

FullSizeRender.jpg

The biggest difference between an amateur (but very skilled) and a professional installation is that the professional doesn’t give you a bunch of ā€œextra piecesā€ that you might want to keep around. The project ends and they take all the tools and scraps with them. 

The amateur will keep all the extra pieces because they are ā€œtoo good to throw outā€. This makes it look a bit cluttered and messy.  

Lets be honest, if you have to install a little trim work and you haven’t yet, you actually won’t end up installing it. You will carry the materials and tools around for years, using the project area and living it, all while logging around all this stuff that you don’t need. Pitch it and call it complete! 

The Head is done. Everything is finished to the point where we can use it. We have more projects to tackle and very limited time. That means that this project needs to be labeled as completed and any ā€œextra piecesā€ discarded so that the head looks like a professional installation.  

Head Refit: Woodglue

Woodworking in a shower requires the use of some very strong waterproof woodglue! This is why I use Titebond III. 

FullSizeRender.jpg

I used this woodglue to build my first wooden dinghy (Tooth II) and while the dinghy itself was far from a success, the parts that I glued were. The transom of the dinghy was made out of edge glued Douglas Fir that was glued together with this very woodglue. While most of the boat leaked, that transom was watertight and solid as a rock!

Ā 

I have had the misfortune of needing to separate pieces of wood that I erroneously glued, and I can tell you, the glue line did not fail, but instead one of the pieces of wood tore out of the plank! This glue is waterproof and permanent! But, while it is still wet, you can wipe up drips with paper towel and water. The glue is also not toxic to your skin and has no respiratory warnings (unlike other waterproof woodglue).  

If you ever need to glue something out of wood that will live above or below the waterline, this is the woodglue to use! 

Hydrofoil Glass Bottom Boat

In a boat yard, you will see all kinds of creations. This is not a spaceship, it is a hydrofoil glass bottom boat.Ā 

FullSizeRender.jpg

The bow has a glass bottom which comes out of the water when the boat picks up speed and rises up on the foils at the bow. Ā 

FullSizeRender.jpg

The stern is like a normal boat, driven by a massive outboard motor. Ā 

The black orb on the bow of the boat is not tinted glass or anything, it is merely black paint (I was a little disappointed when I found that out). This does make it very useful for getting places quickly while protecting the glass bottom, simply take it out of the water! Zip on over there, then slow down and submerge the viewing scope to the bottom of the sea.Ā 

Primer on the Deck

If you read the instructions on your paint tins, Interlux recommends painting white primer if you are going to paint white for the final color; grey primer if you are going to paint any darker color.Ā 

Five years ago, when I painted the deck, I followed the instructions and had the hardest time telling where I had painted and where I hadn’t yet. This time around, I’m making my life easier and breaking the instructional rules!Ā 

GREY PRIMER!!Ā 

FullSizeRender.jpg

I painted the whole deck with a 2 inch chip brush that I bought in a value pack at Home Depot while were still in the states. I started using it for edging and then began filling in the areas between the edges. In no time, I was painting the whole thing with this tiny brush.

FullSizeRender.jpg

The dark grey paint really does pick up the heat. In no time the inside of our home went from rather cool to very warm. I can only imagine what it’s like to have a dark deck on a tropical summer day!Ā