Head Refit: Wood

The original plan to refit the head was to build all the furniture in there out of fiberglass. I grossly underestimated the cost involved in the materials to build the entire head out of WEST System Epoxy! 

FullSizeRender.jpg

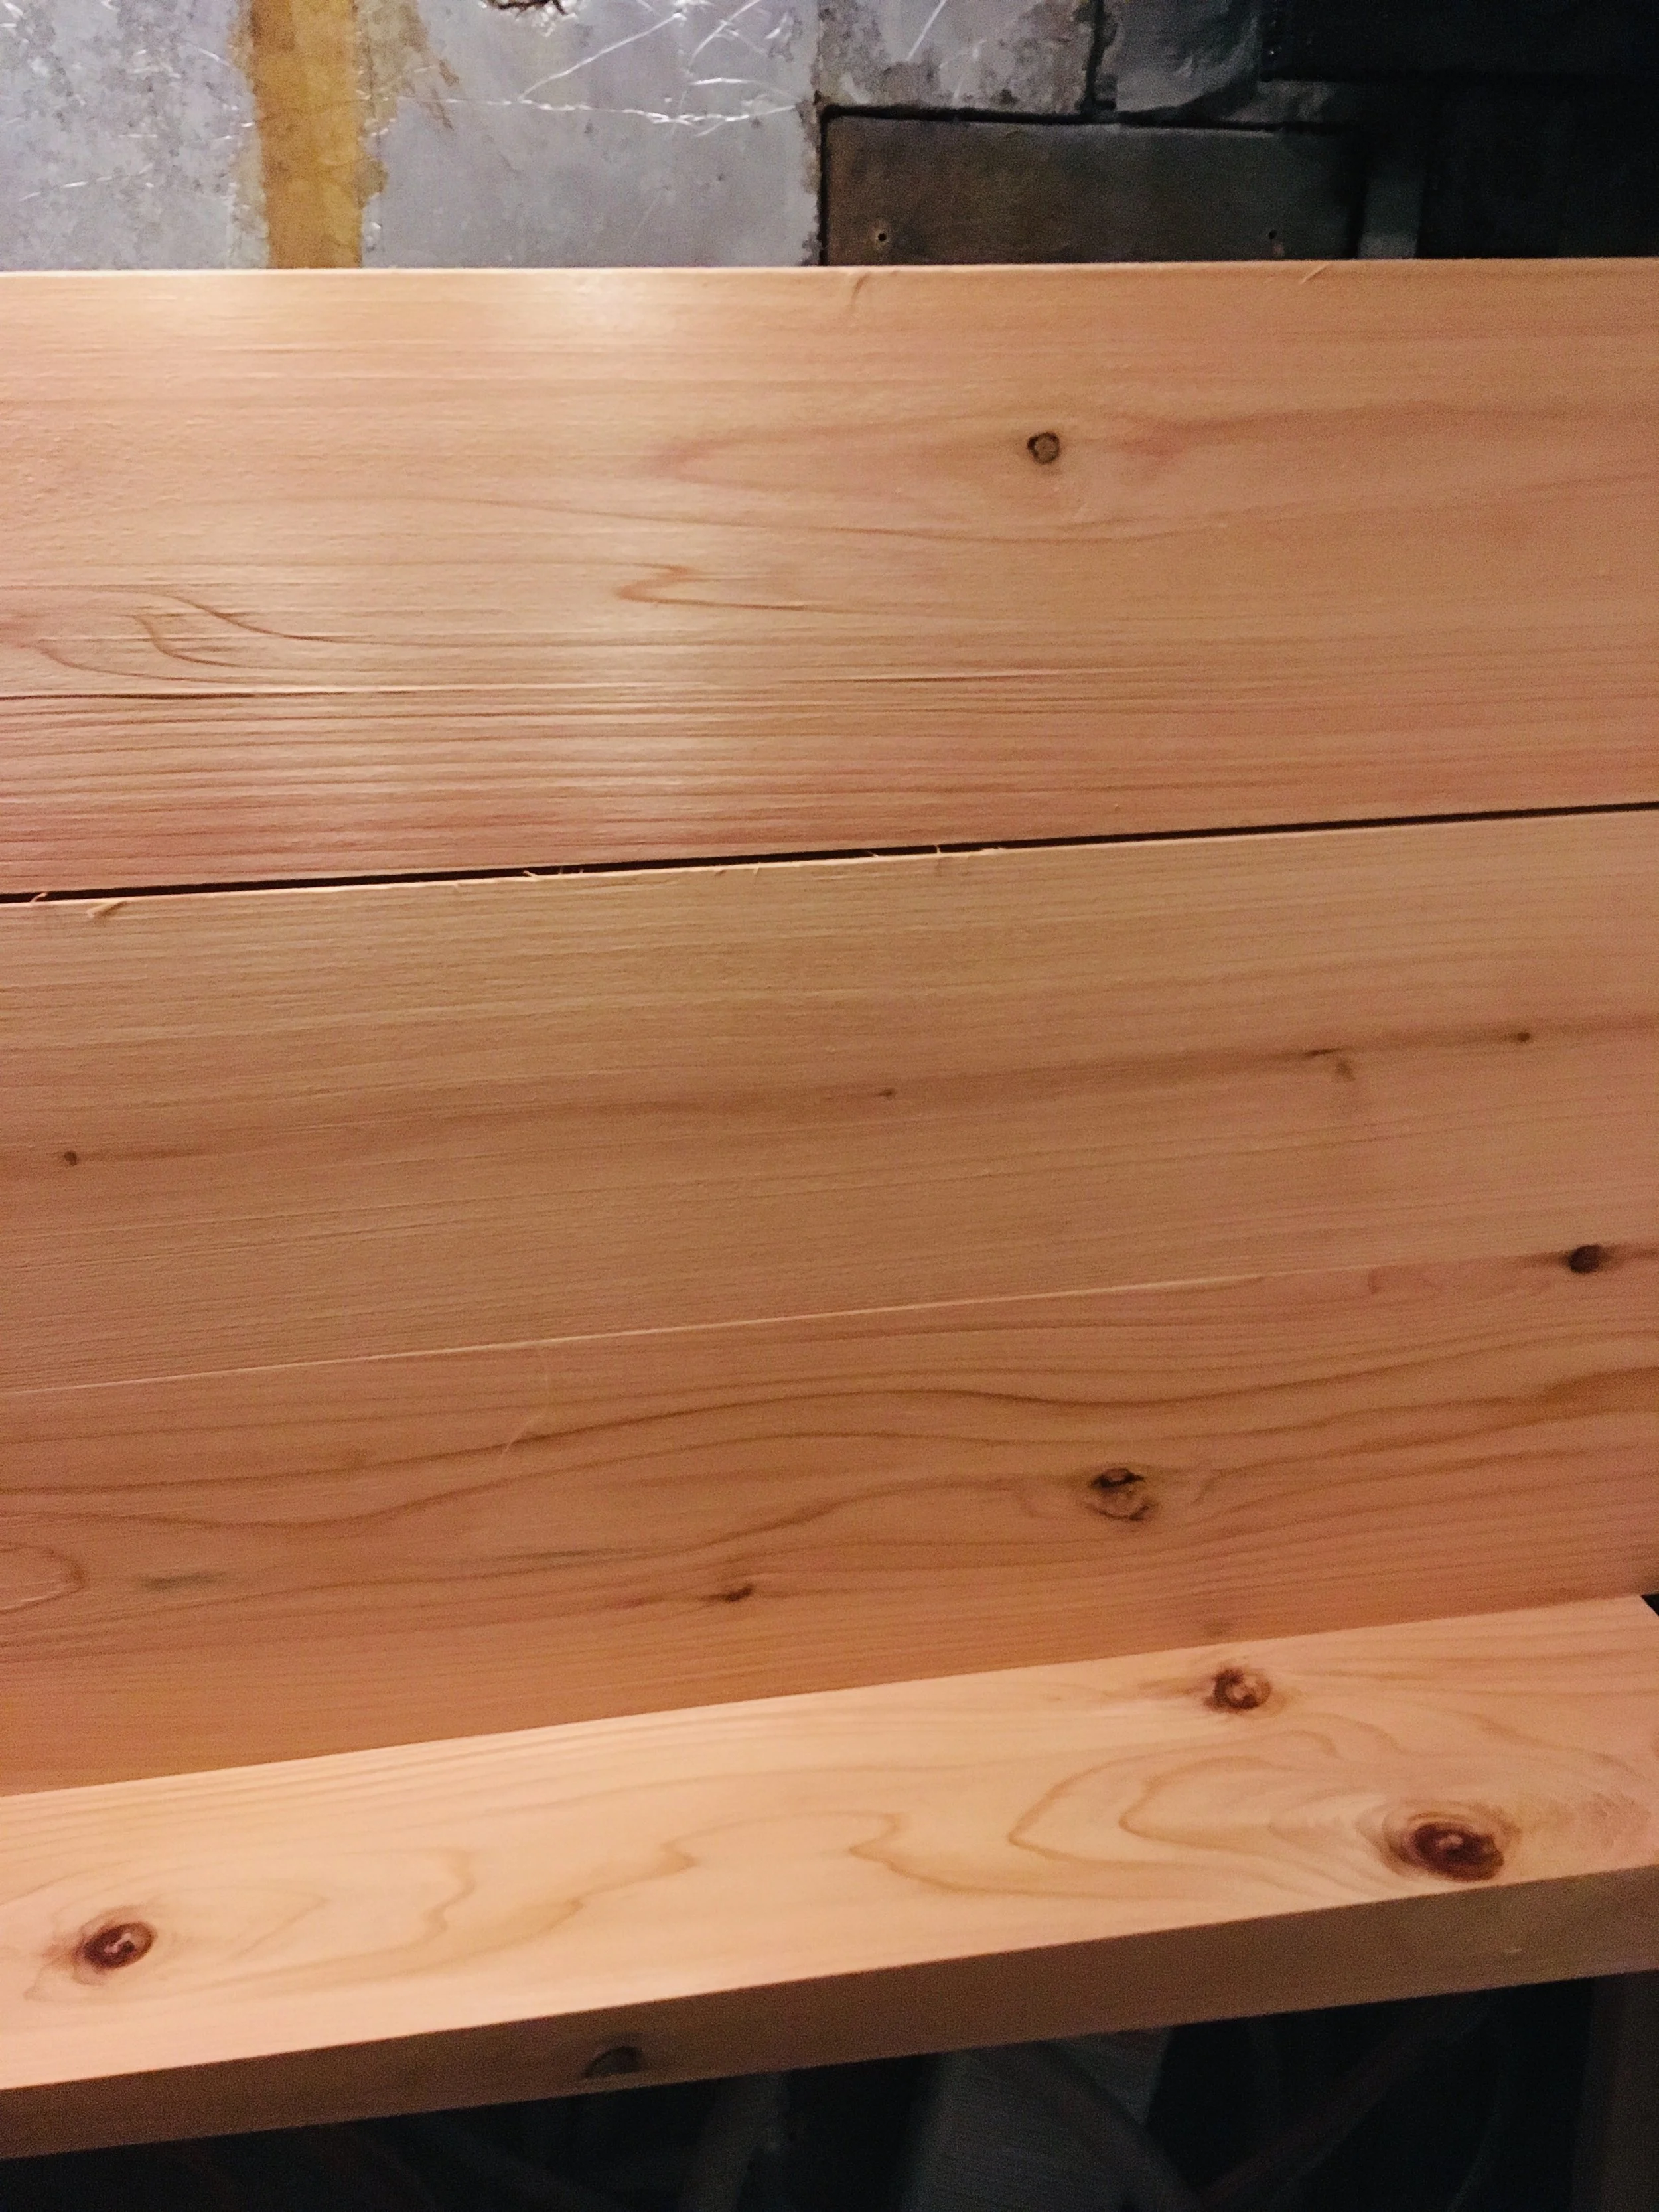
The plan quickly switched from $112 per gallon of Epoxy to wood planking. A long time ago, the island decided that they would export goods to sustain their economy. To do this, they needed wood for crates, so they planted Cryptomeria trees (Japanese Cedar). These trees grow fast and straight, and their wood is lightweight and highly rot resistant.

Best of all, this wood here is very inexpensive! All the wood in the photo cost a whopping  €60!

FullSizeRender.jpg

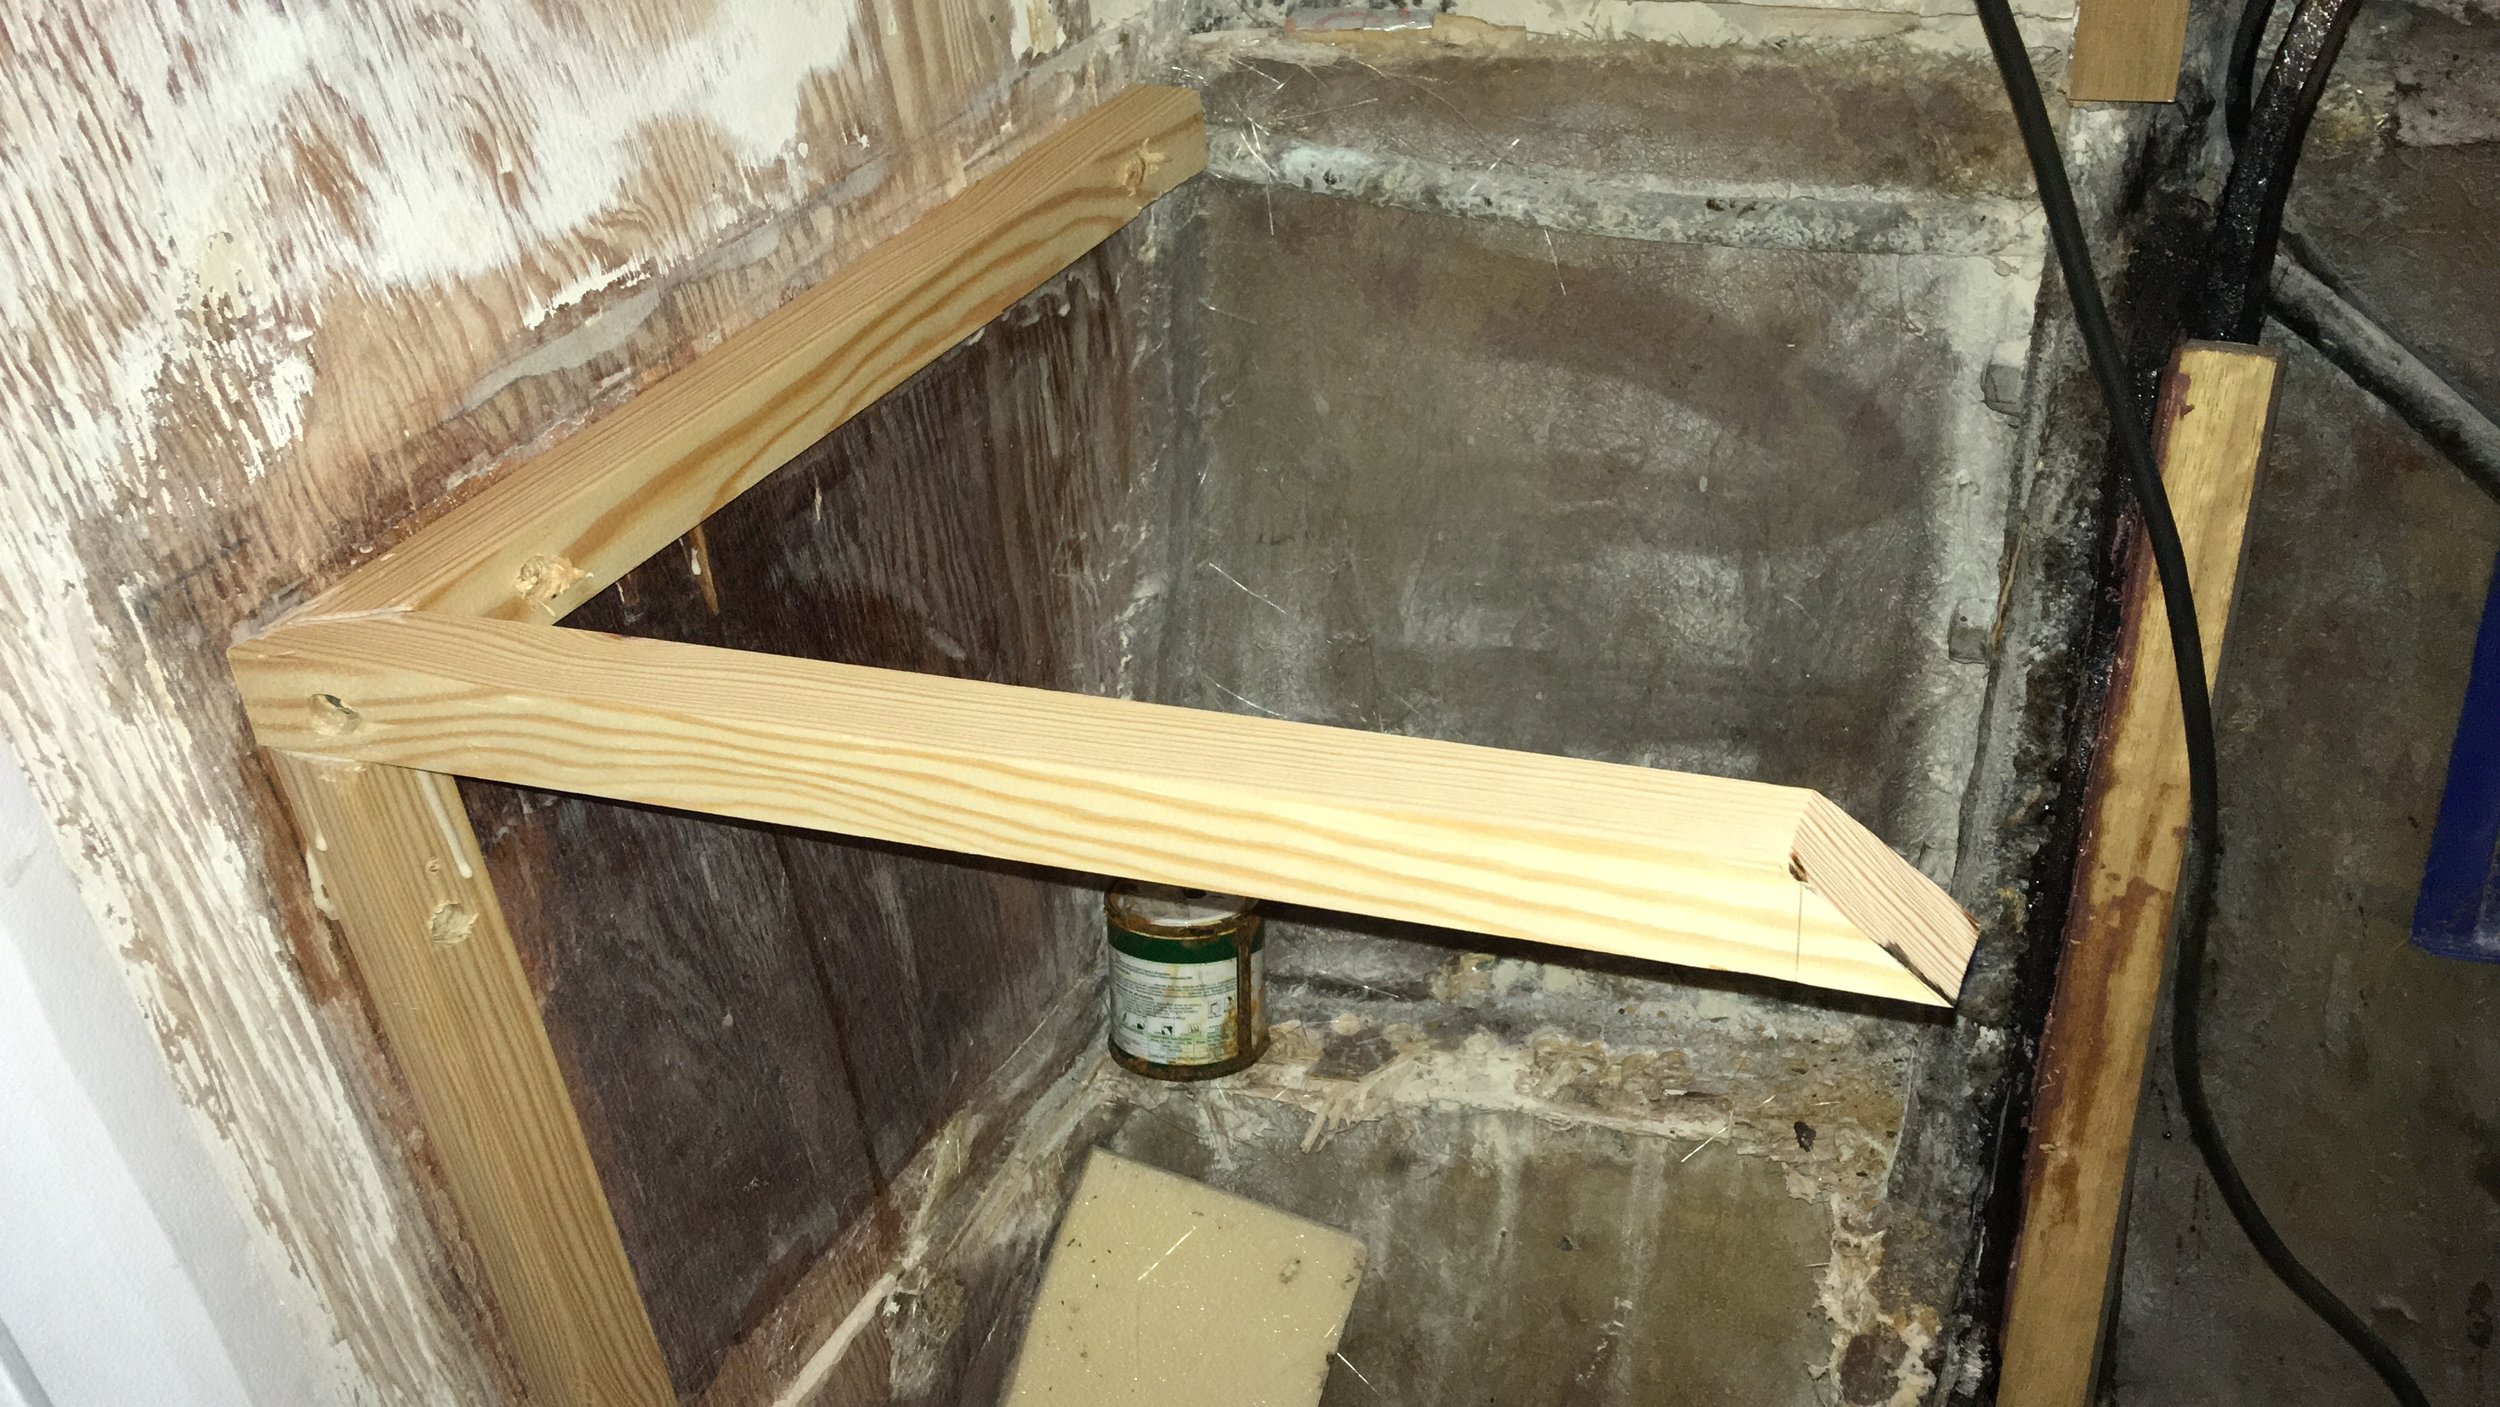
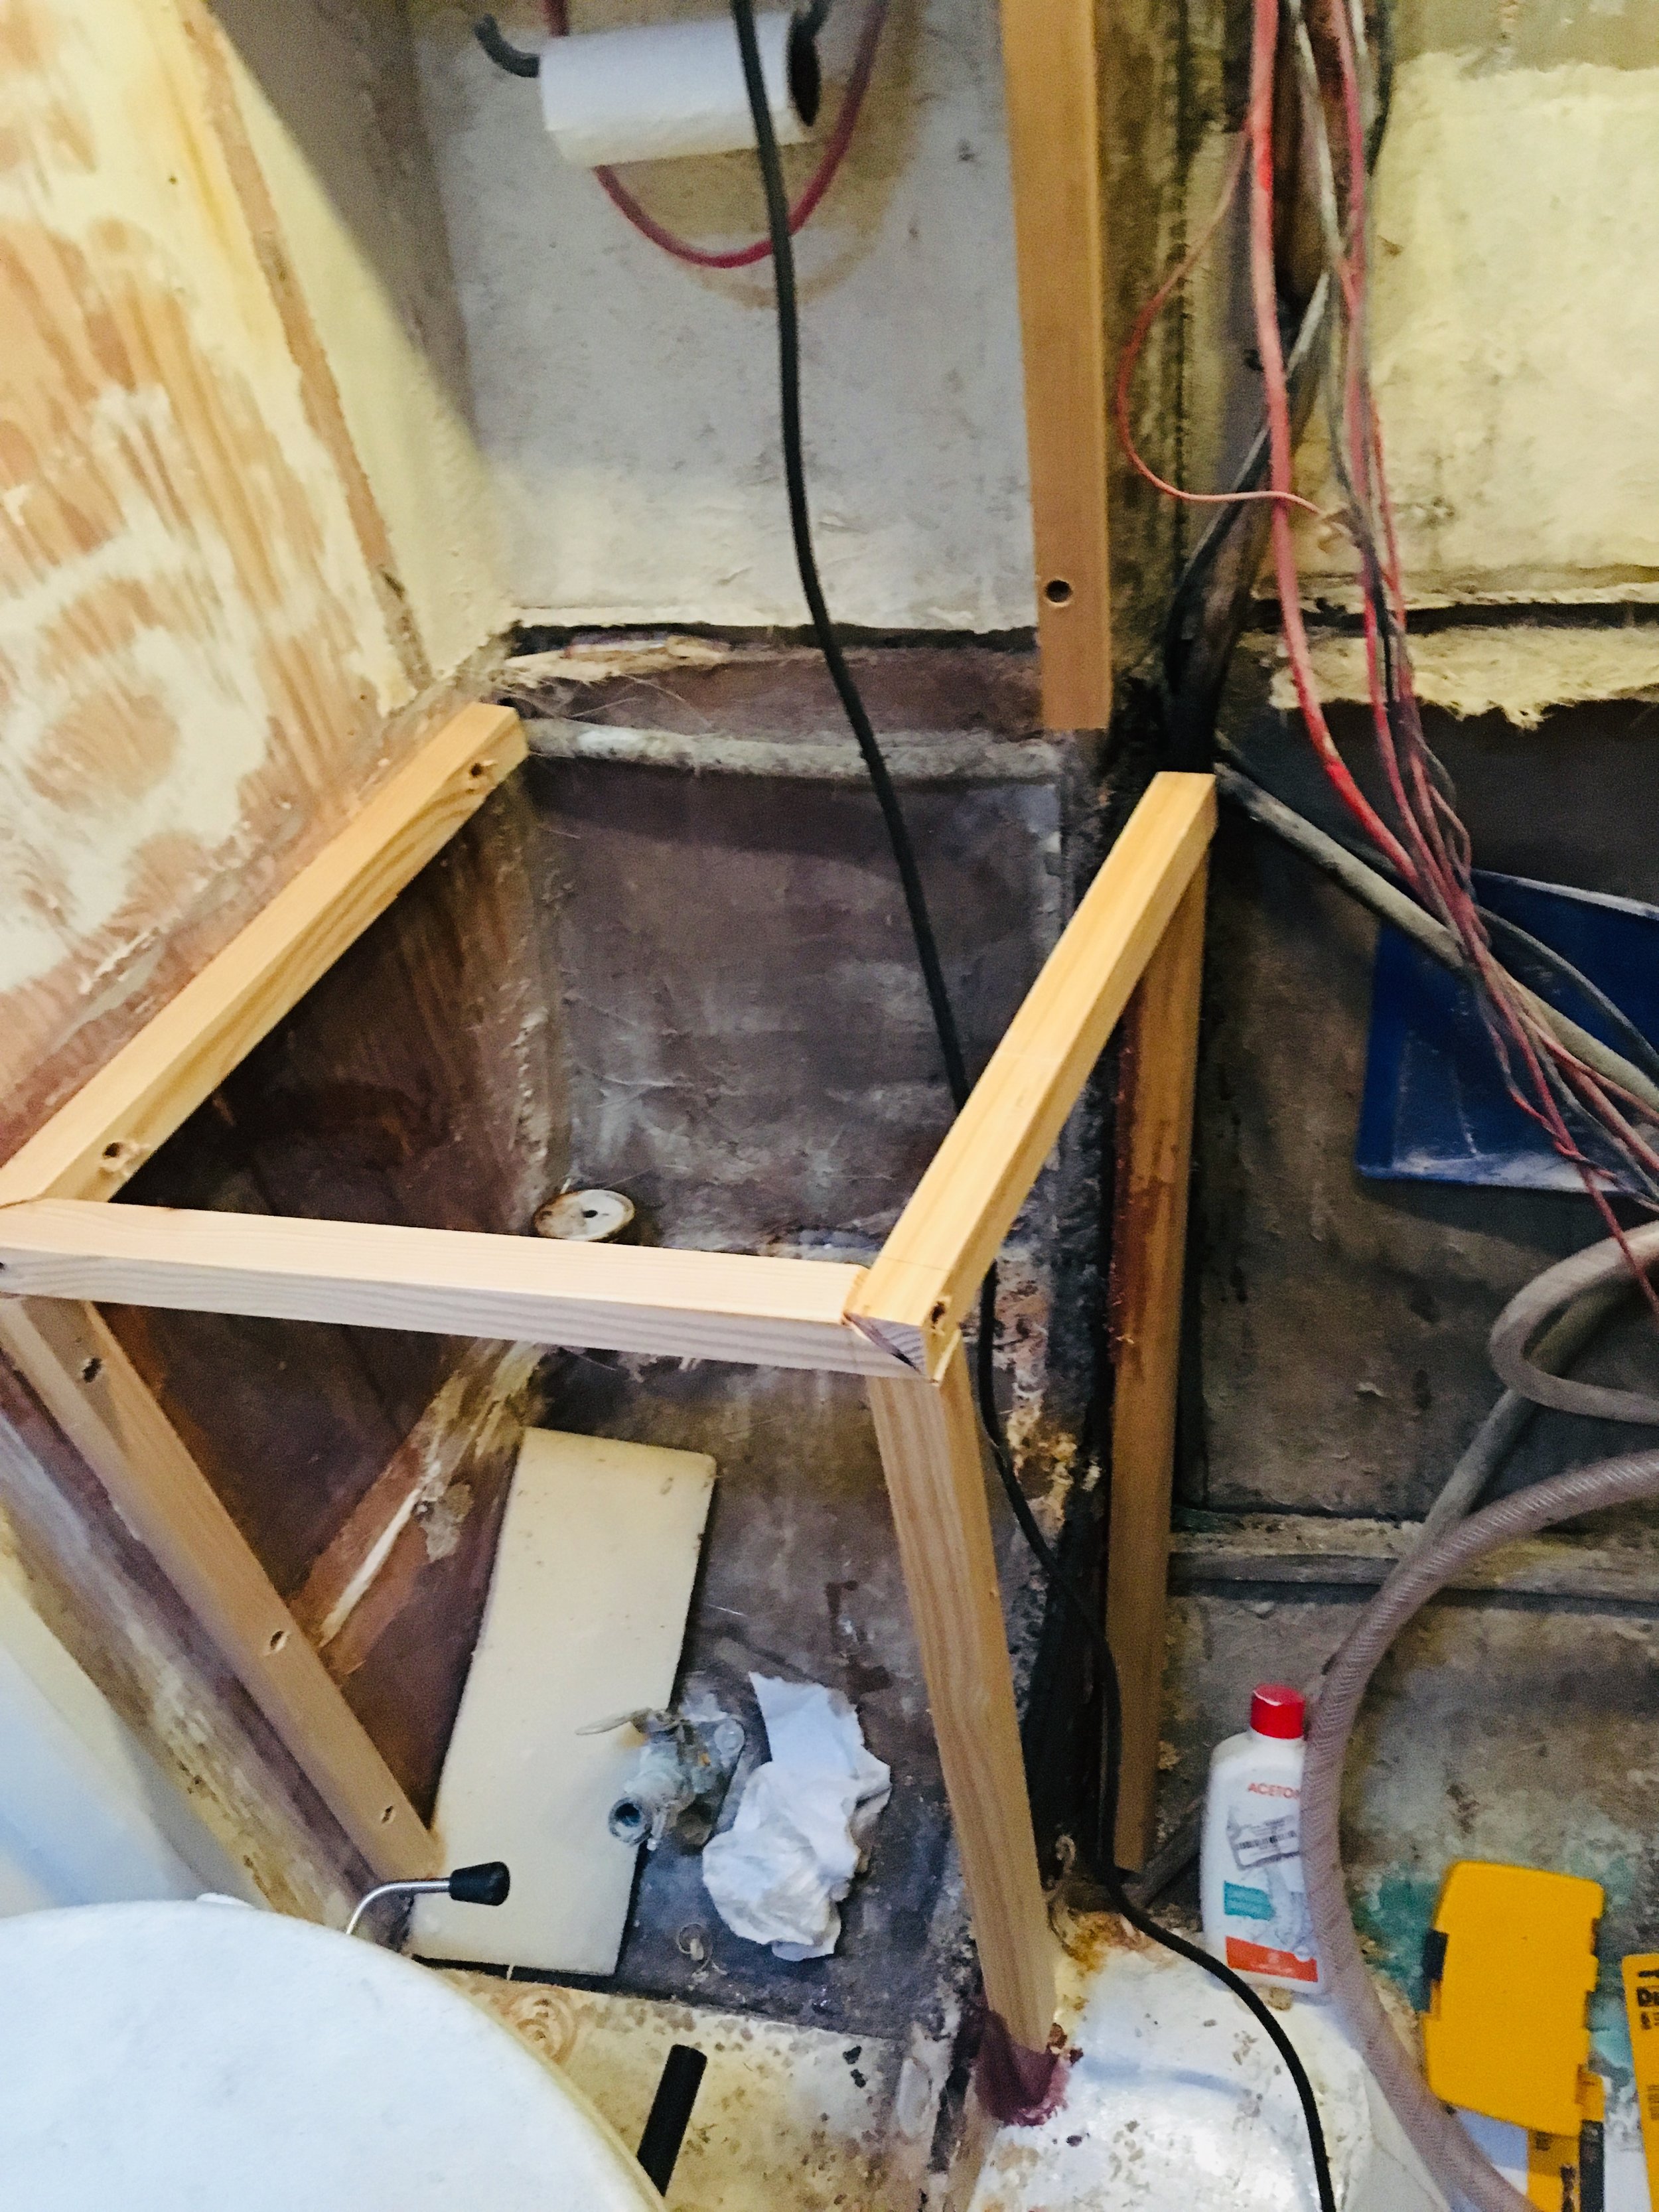
The plan is to plank the side of the head over the chainplates and build a shelf that can hold our showering supplies.

IMG_4913.JPG

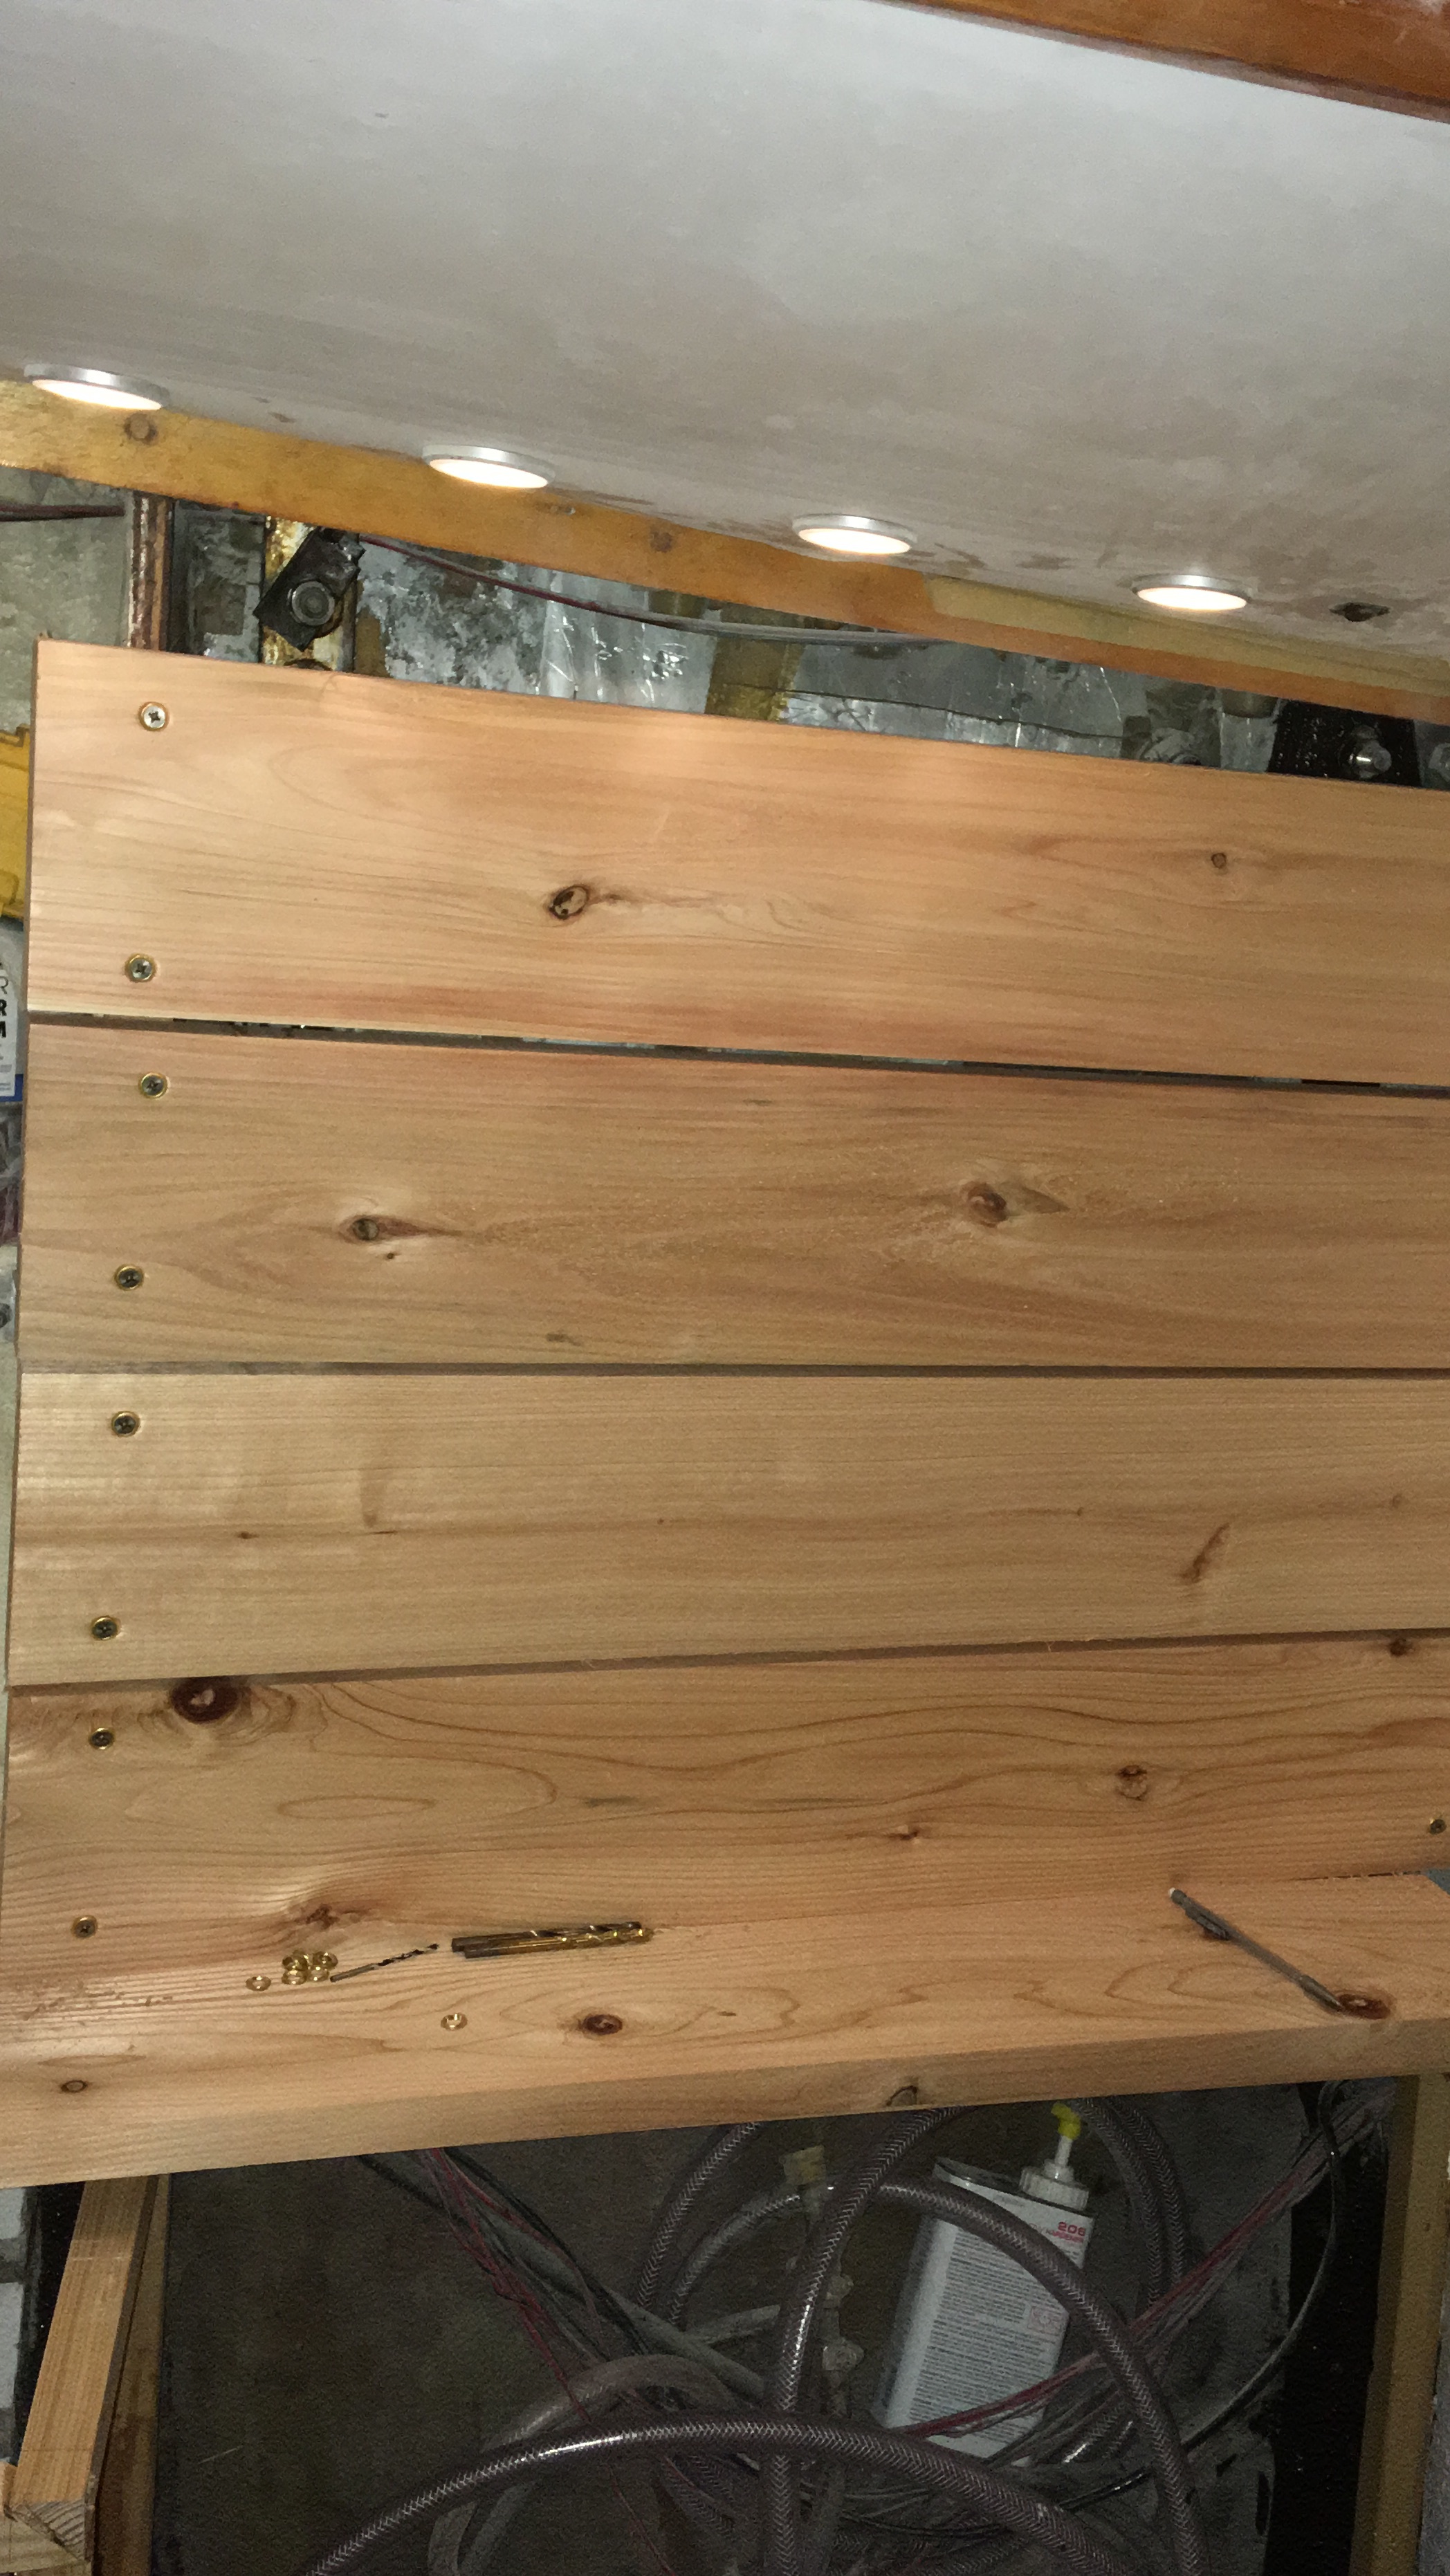
Maddie wanted gaps between the boards and I liked this style because it gives wonderful airflow to the space behind the boards.

FullSizeRender.jpg

In time, the planks go on and head begins to take on form.

Keeping Warm and Dry

On cold nights, what is more comfortable than a fire?  

IMG_4906.JPG

The diesel heater burns the air in the cabin and sends it up out the chimney. Then the box becomes very hot which warms the boat. As it burns, it sends the cabin air outside through the chimney and causes the dorades to draw air in. This fresh air is dry and clean, which leads to the boat becoming filled with warm and dry air. 

It is amazing how fire can make a space change from habitable to comfortable. 

Head Refit: Closing Holes

The shower sump used to discharge through a below the waterline seacock that also served as the intake to the old head. I had long since converted from the standard marine head to a Composting Toilet, which means I no longer required an underwater intake. This also means that I no longer required having this below the waterline through hull.  

It is time to seal it up! 

FullSizeRender.jpg

The seacock was always stuffed away inside this tine cabinet, which means that we couldn’t access it to seal it up. Now that the head is gutted, this is a wonderful opportunity to close up that through hull! 

The sea cock was removed and the hole sealed on the inside with roving and cloth, just to keep the dust out while I grind the outside of the hull to make a proper plug. 

Maddie’s Foot

Surprise! Maddie went to the Museum in Angra and was fixated on the ceiling in the old church. Then she stepped down without realizing that the step existed and twisted her ankle! 

FullSizeRender.jpg

She was in excruciating pain and got picked up by the EMS on the island. They reached the location very quickly and took wonderful care of her. 

After a trip to the local hospital, an X-Ray, and an exam from a traumatologist/orthopedist, she was diagnosed with a sprained ankle.  

FullSizeRender.jpg

Sprained ankles are not conducive to boat living on the hard. Climbing the ladder is not feasible so Maddie went to live on a friends couch for a week while her ankle healed. 

Head Refit: Cabinets Part 1

The cabinet in the head will serve to hold the sink and also to store the bathroom necessities. The main issue we had with the old sink cabinet was that the doors opened towards the midship which means that if we healed hard to port, the doors would swing open and dump everything they were supposed to be storing. 

The solution is to make this new cabinet open with a door fore-aft. But first, we need to build a frame! 

IMG_4881.JPG

To make the corners stronger, I mitered all the corners. 

FullSizeRender.jpg

The outermost corner of the frame needed a compound miter to make sure that all the edges and legs are fastened together properly.

FullSizeRender.jpg

The cleats for the aft side of the cabinet were merely glued to the iron frame that attaches to the chainlate with no mechanical fastener while the cleats on the bulkhead were fastened with screws. 

Now that we have a frame made, we can begin planking the bock and building our head once again!