Runaway Diesel Heater

Diesel heaters are a great way to keep your cabin nice and toasty during the winter. They provide a reliable dry heat that will keep you comfortable. Dickinson heaters are very simple and straight forward to operate, making them a heat source you can count on. As long as fuel is getting to the unit, it will burn and it will heat your cabin!

The problem is sometimes these units get a bit too much fuel and will burn way too hot for comfort. The fuel chamber will find itself too filled with diesel, causing it to burn out of control! The fuel is already past the carburetor, so shutting off the fuel flow won't do very much good. You will just have to let it burn itself out as the fuel is consumed and the fire begins to dwindle.

While the excess fuel is burning off, the unit will glow red hot and begin to rattle. This is a bit concerning and very avoidable. By simply opening the door a smidge, fresh air will enter the unit above the fuel and cause the fire to burn much less intense. The fuel will still burn, just at a much calmer rate which will make everyone inside the cabin much more relaxed as everything returns to normal. Once the fuel level has gotten back to normal, you can close the door all the way and resume using it as normal.

Drilling Holes and Containing the Mess

When drilling holes through the deck, it is impossible to be inside with a dust collector at the same time you are outside drilling! It is nice to have a helper that will stand around and wait for the drill to perforate the deck, spewing its dust everywhere while you push with fury on the drill. The truth is, even with help, dust will manage to get away from you and coat everything inside the cabin with itchy fiberglass debris. 


FullSizeRender.jpg

This is where a synthetic helper can make your life much easier. I love to use Gorrilla Duct Tape set up into a sheet of sticky goodness. As dust comes flying out, the adhesive will catch it and not let it go. When you are done drilling, all you need to do is fold the sheet over on itself and all the mess will remain contained. 

FullSizeRender.jpg

When you attach it to the underside of the deck, you want to leave a pocket where the drill bit can exit without damaging the sheet. All you need to do is stick the edges on and leave a bit of a belly where you expect the drill to exit. This lets you drill away without fear of tearing a hole in the sheet or of dust flying everywhere. 

FullSizeRender.jpg

Now you can drill all your holes in rapid succession without worrying about creating a disaster scene inside the cabin! 

Sealing Holes Temporarily

In an ideal world, you will have all the parts you need to complete a task on hand or at least readily accessible. In reality, you need to drill your holes and then measure the actual depth to purchase the correct length and size of fastener. When you drill your holes and then leave to go get the fasteners, what should you do with the exposed holes?

Do you just do a quick cloud check and then head to the hardware store? Or do you seal up the hole to keep any foreign bodies out of the space? The correct answer is to seal it up! 

Sealing the hole is easy, and the better the seal, the harder it is to uncover it once you have all your fasteners. This is where Gorilla duct tape comes into play. 

This duct tape will seal off the outside of the hole, even on non-skid surfaces, yet it won't leave a sticky residue when the tape is removed. I have left this tape in place on surfaces exposed to the sun for a full week and when I removed the tape, no residue remained. Best of all, the tape was still good to reuse! I don't normally care for brand name products as I feel they are overpriced versions of the generic, but Gorilla tape will keep out moisture and not leave behind a sticky mess. 

FullSizeRender.jpg

In this situation, I had drilled the holes for a clutch bank and winch base. The holes were large and encompassed by non-skid. Worse yet, this is a cored deck and rain was on its way! I safely taped up the holes and the wood was dry the next day, even though we had an overnight downpour. 

Biggest Oyster Ever!

Living in the Chesapeake Bay, I am very aware at the important role played by oysters. They filter out the water at an impressive rate which allows sunlight to penetrate all the way to the bottom. Increased sunlight penetration leads to increased plant growth which boosts the entire ecosystem of the bay! All in all oysters are awesome creatures. 

I personally don't eat oysters because I feel that things are what they eat, and they eat the sludge that floats around in the bay water, thus they are merely an accumulation and organization of all the disgusting factors that exist in the bay water. I appreciate them and encourage their existence, but I take no part in the consumption of these sea creatures either. That being said, I am all for other people eating them, as commercial oyster farming has spurred the cultivation of these impressive creatures that turn filth into clean water.  

The increased demand leads to increased incentive to cultivate these creatures, which leads to more of them filtering the water during their life before the dinner table. This increased consumption does lead to oysters being harvested as soon as legally allowed, leading to small oysters on the table. 

While out with friends who ordered oysters, I noticed this behemoth on the platter! 

FullSizeRender.jpg

My friends mistook my interest into thinking I wanted to eat the giant puddle of snot collected in the shell. I declined their offers to slurp down that salty swallow, simply asking for the shell once the animal had been consumed. 

FullSizeRender.jpg

You can see the other "average" oyster shell sizes next to it, clearly denoting this specimen as a monster oyster! While comparing it to other oyster shells is rather subjective, here it is placed next to a standard dinner knife. This oyster either eluded capture for longer than all the other oysters or it grew remarkably fast in the waters of the Chesapeake Bay.  

Either way, this oyster shell is the biggest oyster shell I have ever seen, ever! 

Making a Bed in the Cockpit: Part 3

With the epoxy all cured, it is finally time to apply the finishing touches. Drips and runs were easily sanded off, and the entire structure was painted with the same paint I used on my top sides and deck: Interlux Brightsides.


FullSizeRender.jpg
FullSizeRender.jpg

Brightsides is a one part polyurethane paint that provides an acceptable result. It won't be confused for gel coat, or a factory finish, but it is easy and durable. 

You could easily spend your entire life perfecting your top sides, fairing out every last tiny imperfection until the result is the fairest and most perfect looking hull in the world! Then you could spend the rest of eternity sanding until you produce a blemish free surface that will be beautiful. When you paint this perfect surface, the paint will take on the shape of the underplaying surface, and as a result will produce the most perfect paint job the world has ever seen. 

Your yacht's top sides will be the pride and joy of your life, and then some idiot trying to dock stern into the wind drifts over and kisses your hull. All of your work is ruined as your top sides now have a very noticeable scuff! This can be repaired, but it will take a lot of hours to get it back to the perfect state it started in.

The alternative is to slap some Brightsides on there and go sailing! From a distance, it looks white and that makes your yacht look like a white hull on the horizon. If something kisses your hull and makes a scuff, all you need to do is sand it a bit and slap some more paint on there! This lets you spend less time worrying about the conditions of your top sides and more time cruising (which is the whole point).  

As far as durability, Brightsides is pretty darn strong for a one part polyurethane paint. My wife and I have lived aboard for 5 years, and we are rather abusive of our deck and top sides. We will slide heavy equipment on the paint, wear land lubber shoes on the deck, the works! The paint has held up well for the past 5 years with only small chips developing in areas where an 80 pound anchor was dragged on the paint, and where a motor mount scraped while dragging the inboard engine over the deck during removal. 

This may sound like we don't care about the condition of the deck, but this is far from the case. We use our deck, and if the paint gets bad looking, we will re-paint it! Brightsides is so easy to apply that we do not fear re-painting. We simply view it as general upkeep that we do for our yacht instead of viewing it as an expensive and time consuming chore. 

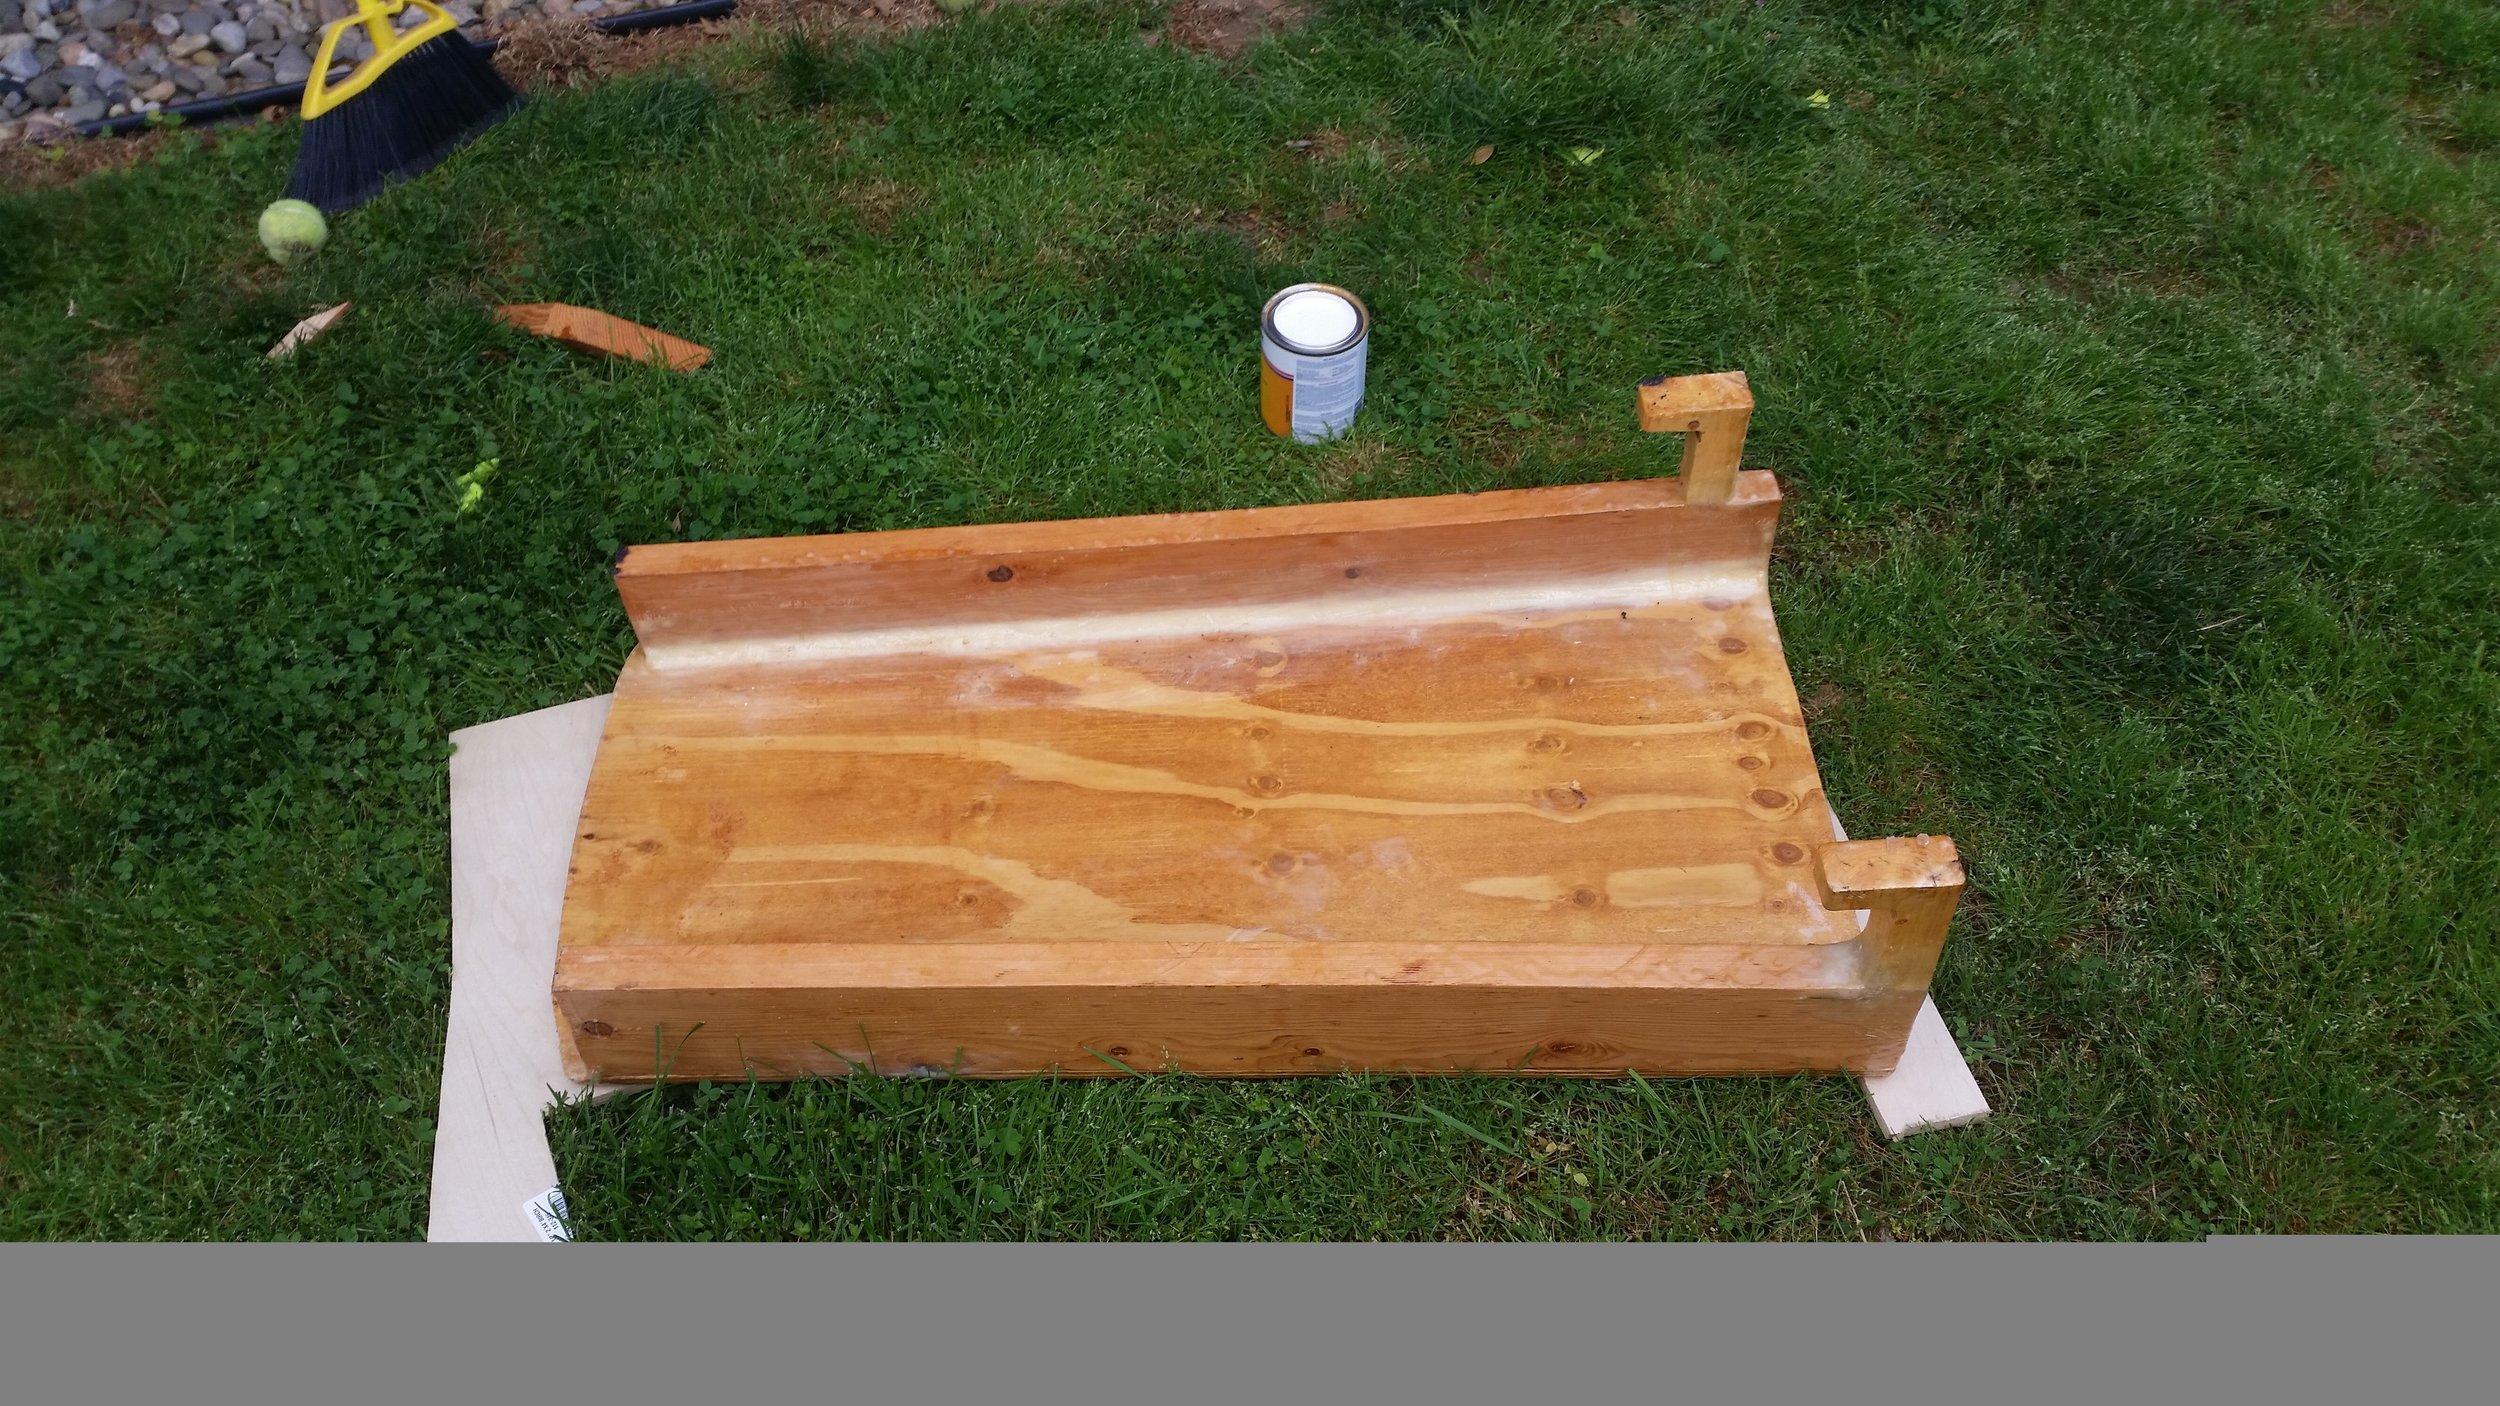
Since the top sides and deck have withstood some serious abuse over the years, this new addition to the cockpit will also receive the same paint and treatment. Thus, it was painted with Interlux Brightsides in preparation for its long life as our bed in the cockpit of the boat.