Walking to the Car

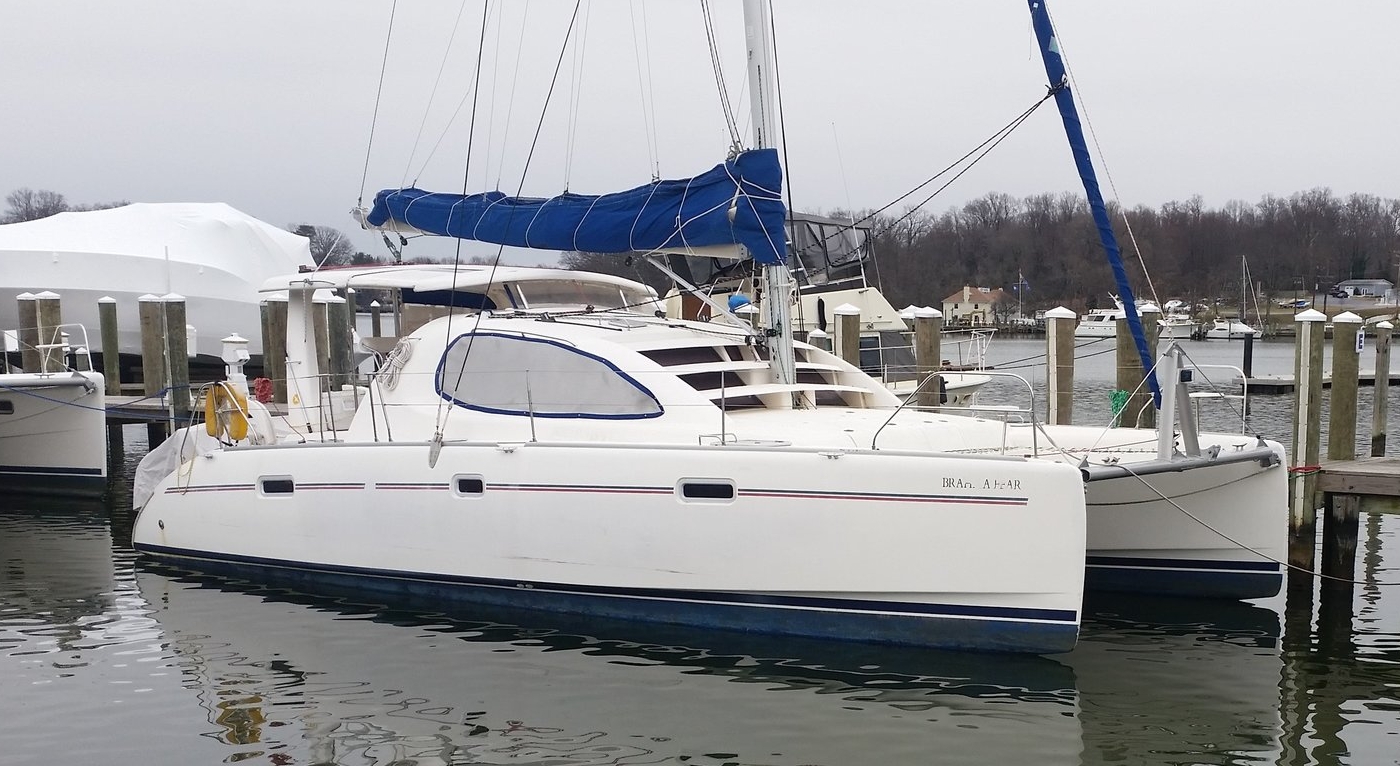
A common question I get asked when I someone finds out I live aboard, especially in the winter, is how do I get to my car. I think they imagine me anchored miles from shore in the middle of the ocean. 

The truth is, walking to the car is just part of the routine. While people who keep their vehicles in attached garages might think this is an extremely uncomfortable way to live, it's really not that different from people who live in row houses in cities. With a row home or town home, you need to find street parking. Sometimes the street parking is blocks away from your house, and you will need to walk a bit of a distance to get from home to your car. 

The biggest difference between a town home and a boat home is the walk from a town home is down city side walks while the walk from a boat home is down a pier. In the winter, when the wind is blowing harder and the frigid wind cuts through your coat, it may seem a bit extreme! Moments like this simply teach you to dress properly so that you can stay warm on your walk down the pier. Once you have the basics covered, walking to your car to go to work in the morning becomes part of the awesome routine that is living aboard!

How to Tell if the Shrouds are Tight Enough

Adjusting the standing rigging may seem straight forward, simply tighten the stays until the mast is in column and in the correct order that way everything lines up and works well together. The problem is, how tight is tight enough?

You don't want to over tighten the stays because the additional stress is just that, additional stress. This stress is transmitted to the spar, the mast tanks, the chainplates, the hull, pretty much everything that is involved with the rigging will now be subjected to unnecessary additional stress.

There are two ways to check the tightness of the rigging, one is at the dock, the second is while sailing.

The dockside check is rather simple, all you need to do is feel how tight the cap shrouds are. They should be tight enough that when you push or pull on them, they don't want to jiggle around too much. If they feel loose or floppy, you need to tighten them further. 

Once the cap shrouds are set, the rest of the shrouds simply follow in sequential order with none of them being tighter than the cap shrouds.

The second method, and the preferred method, is to sail test the rigging. This will subject the yacht to the real loads that it is expected to perform under. If the mast is not in column while sailing, the windward shrouds are too loose and need to be tensioned further. If the mast is in column but the leeward shrouds are floppy, the leeward shrouds need to be tightened to remove the slack.

Eventually, rigging perfection will be reached where the shrouds are the perfect tightness. The mast remains in column on all points of sail and the shrouds never go dangling slack. 

The reason really slack leeward shrouds are a hazard are all due to the practical effects they can have on the rigging. 

If the cap shroud were to slip out of the spreader tip, it would then be too loose and the spreader would no longer be working. The mast would bend violently to leeward as the overlong cap shroud is over stressed. This is why the spreader tip needs to be tied to the cap shroud, that way it won't fall out of place, even when slack.

The second reason really slack shrouds are a danger is made apparent during tacking and especially during jibing. The slack rigging is under no tension while on the leeward side. Should your yacht undergo an accidental jibe, the leeward shrouds would quickly become the windward shrouds in a violent display of force.

The slack shrouds will be shock loaded, and these shock loads can be tremendously greater than what the stay is able to withstand. An accidental jibe could actually snap a stay, which results in overloading the remaining stays and potentially bringing down the mast.

If the leeward shrouds are kept in slight tension, they will not go from slack to fully loaded in an instant and the rigging will have a better chance of surviving a fierce accidental jibe. 

Danger of Relying on Electronics

Electronic charts are great, they offer volumes of information in a tiny concise package! Paper charts need to be purchased, printed, stored, and retrieved individually; whereas electronic charts can be downloaded for free and searched quickly and easily. 

Most electronic charts will change to lower scale charts as you zoom in automatically, saving you the trouble of finding the chart inset and relocating your position on the new page. Since electronic charts are so easy to manage and carry, it is easy to keep your chart collection up to date with the most current charts, all in an easy to carry and read electronic device. 

One favorite seems to be the iPad. These little computers have incredible battery lives and a wealth of programs that load seamlessly into the unit. I can sync the iPad to my Delorme InReach and see our exact position on the most current chart of the area. When we are leaving for new waters, we just need to download the latest charts for our intended destination and any other points of interest along the way (in case we get side tracked). There is no trip to the chandler or payment for tubes containing our paper charts, and best of all, no cost!

Each paper chart usually costs around $20. Most programs that will display navigational charts are free! Those that are not free are still only a few dollars, and then you have the ability to display any and every chart. Technology really is amazing!

While technology is great, it is also fragile. I keep the iPad in a protective case to prevent accidental damage to the unit, but that only goes so far. One morning, I was carrying a block of wood that I had been working on out the companionway. A wake hit the boat and the block of wood slipped out of my hand and fell straight onto the iPad. Luckily, the screen didn't crack from the impact (thanks to the protective case it lives in) but the screen did die.

When I turned it on, half the screen was gray bands while the other half was static. I know that the unit was still functioning because the clock appeared at the top of the monitor. Sadly, the time will not tell me all I need to know about the waters I am cruising in. Because we also carry paper charts, the loss of the iPad was not as detrimental of a loss. We were still able to navigate the waters and sail without questioning where we are.

The take home message is that electronic gizmos are great, but you still need to carry a paper backup in the event that the electronic device were to fail.

Weight Distribution in Light Displacement Yachts

Light displacement yachts are much more sensitive to weight distribution, as any portion of weight in the hull represents a greater percent of the total displacement of the hull. This means that a light displacement yacht will alter its trim in the water faster than a heavy displacement hull because the same mass represents a greater amount of the total displacement.

Boats in their most basic sense are fancy buckets. As you fill the bucket, the bucket becomes heavier and displaces more water to remain floating. A lighter bucket would be analogous to a light displacement yacht, while a heavier bucket would be analogous to a heavy displacement yacht. If you have 90 pounds in the bucket and you add 10 pounds more, the bucket now weights 100 pounds and that last weight accounts for 10% of the total displacement of the yacht. If you too that same 10 pound weight and added it to a 990 pound bucket, the heavy bucket would now weight 1,000 pounds and the last weight would only account for 1% of the total displacement of the yacht.

The positioning of this weight is much more critical in the light bucket, as the weight accounts for 10% of the total displacement. If it were set far to one side of the bucket, the whole thing would tip in the water! In the case of the heavy bucket, where the weight only accounts for 1% of the total displacement, the positioning of the weight is much less critical. The weight can be located pretty much anywhere in the bucket and it won't shift the bucket very much in the water because it is such an insignificant part of the entire mass.

This catamaran has too much weight aft, which has resulted in the entire yacht being tipped back! The sterns are squatted into the water while the bows are completely clear of the water, you can even see light between the bow and the water.

This may seem harmless, but it could have drastic effects on the safety and performance of the yacht. As the sterns squat, any through hulls that are supposed to be high above the waterline are now closer to the waters surface. Many yachts sink in the winter when snow accumulates on the deck and pushes the boat a few inches into the water. Through hulls that are leaking and located above the waterline are now submerged and water begins to flow into the hull, sinking the boat in the slip.

The other issue is the rudders are now located deeper than you thought, and if you are passing through some shallow water, they may hit bottom and be damaged. 

Lastly, squatting the stern will tip the mast aft and increase the effects of weather helm. This will significantly degrade performance as the boat fights to turn into the wind instead of gliding along the pressure difference between the air and water.

It is very important to maintain proper weight distribution and trim of your yacht, especially if you have a light displacement boat.

Galley Net

When I bought Wisdom, she had a pressurized alcohol stove and oven in the galley. This is the equivalent to having a time bomb with no visible countdown. At some point, you know the thing will blow up in flames but you don't know when.

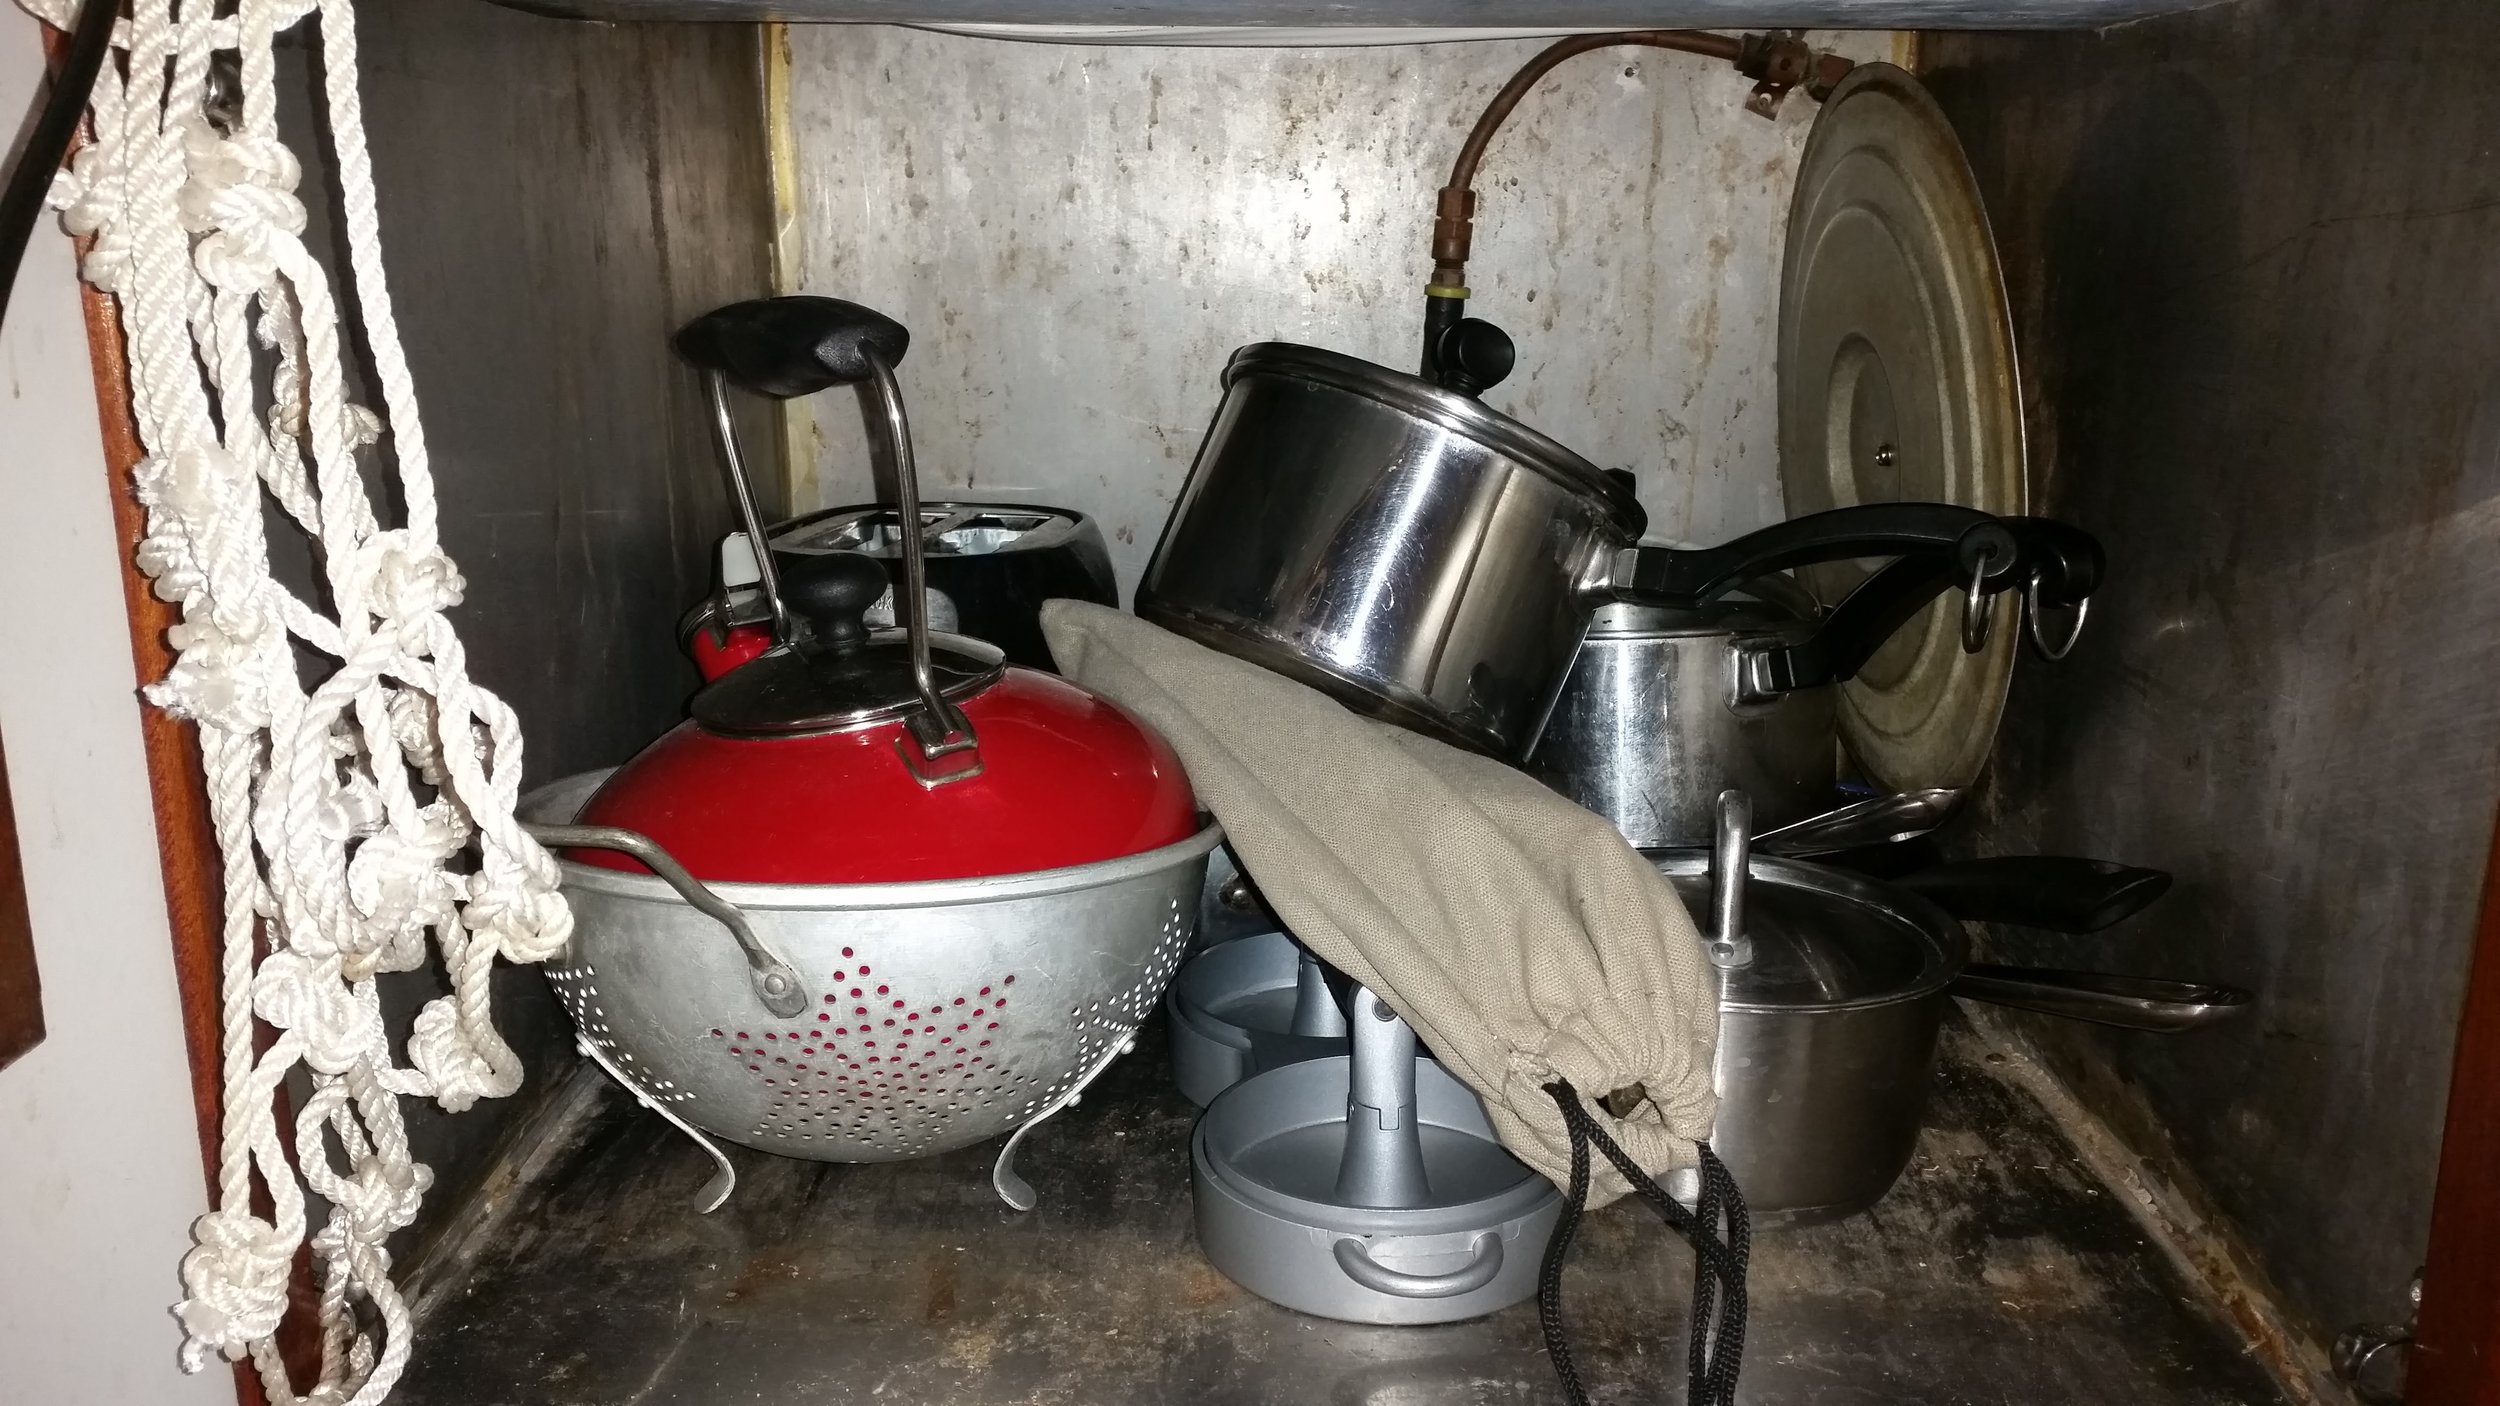
To alleviate my concern about burning Wisdom to the waterline, I quickly removed the stove and oven and replaced it with a simple alcohol and electric stove top. The space underneath the stove, where the oven used to be, is now available to be used as storage! More storage is always welcome, but there is one caveat: no fiddle.

When the boat heels over while sailing, anything in this space is liable to slide out of the storage area and onto the cabin sole. The space is lined with stainless steel, so the surface is pretty slick! I found myself using non-skid pads under particular items that lived in this space, such as the toaster, while other items were simply relocated to a safer place before sailing.

This quickly grew old until I found that the woven basket from IKEA didn't seem to slide too easily on the stainless steel. This opened up a whole new world of storage, as I could put galley and grilling items in this basket; this kept them close to where they were needed without the risk of them flying across the cabin when I heeled over.

For four years, life was simple. The toaster and the basket lived under the stove where the oven used to be. The basket was not the most efficient use of space for this area, and it also limited the size of what could be kept under there. Maddie got tired of us storing the pots and pans in the salon, when we had all that space available under the stove. She asked me to make a way to store these items below the stove where they are needed and to free up storage space in the salon. Her wish is my command!

I screwed small padeyes to the sides of the box, through the stainless steel plate (drilling through stainless steel is a real pain) and then attached an upper and lower section of rope. One end of the rope was spliced into an eye splice while the other end had a simple back splice. The line is tied to a bronze pelican hook, affording us the ability to open the netting in a hurry without much fuss yet still being able to adjust the tension of the net to fit the contents that we cram into it.

With the upper and lower lines set in place, it was time to begin making the net. I tied long lengths of line to the upper line with double constrictor knots. These knots will hold the lines in place without slipping while allowing me to ability to easily position them wherever I desire.

The lines were then hanging from the upper line, looking like a giant mess! I took the lines and tied zeppelin bend knots in them, forming the netting. Zeppelin bend knots are wonderful bend knots because the tails will exit the knot 90 degrees from where they entered. This means that when you tie the knot, the result will be an X. Having many X's set close together will form the net that will keep all our stored items in this area and not flying around the cabin.

A net is technically formed, though it looks like a real mess with all the tails hanging around. Maddie poked her head in to see how it was coming along at this point and she asked: "Can you make it look nice?" It did look like a mess at this point. Making quick work with a rigging knife, it quickly transformed into this:

Now that the net was in place and installed, it was time to get rid of that basket and stuff all our pots and pans into this space.

When we want to pull out a pot, all we need to do is unclip the net and retrieve what we need. Since it is all open and stainless steel, we also have to ability to store pots and pans after washing them before they dry completely without fear of wood rotting inside the cabinetry.

Like anything on a boat, it is all a work in progress. It will be interesting how this space beneath the stove evolves in its use as we sail and cruise.