
Some days, everything works perfectly and sailing feels like a dream come true. Here we were returning to Baltimore after a 10 day cruise through the Chesapeake. The wind was strong and steady, allowing us to broad reach our way into the harbor while making good time without much work involved.
Storing the Cans
Maddie and I have chosen to use rice, beans, and canned meat as our emergency provisions. We will carry fresh foods that have a short shelf life on board. If we find ourselves at sea without land and running low on perishables, we will not need to worry as we have plenty of canned foods to keep us going.

We currently have 97 cans of beans, 24 cans of Vienna Sausages, and 16 cans of lentil soup stowed in this one locker. As you can see, there is still space for more cans, and we will continue to collect canned food through the winter.
A less obvious but equally important choice when organizing the cans is to orient them vertically or horizontally. We chose horizontal for this locker because it is a more stable orientation that allows easier recovery of the desired can. If the cans were oriented vertically, the labels would be harder to read and removing the wanted can would be an complicated task.
In a vertical orientation, the can needs to be lifted clear of all other cans, making it difficult to locate and retrieve a lower level can if they are stacked. With one can missing, the other cans will begin to tip and shift as they try to fill the void. This can cause the cans to bang into each other and dent, as well as make small holes which can lead to botulism poisoning.
In a horizontal orientation, the cans can be easily removed from any where in the locker because they are laying flat and won't need to be lifted as far. I can also stack the cans closer to the top of the locker as less space is needed in the removal. As cans are removed, other cans will roll into the space and settle, but they will be stable and organized once there. Best of all, the labels are easier to read in this orientation, making it easy to find the right can.
Right now, we are not moving much, so it is safe to stack the cans in tall columns next to empty sections. While cruising, we will not organize the cans in such a method. The cans will be re-organized to keep them all level with one another and minimize any risk of damaging our precious food stores.
This is only one of many lockers on board Wisdom that we plan to fill to the top with canned goods, allowing us to worry less about food and focus more on our destinations while cruising.
On another note, the choice of lockers for these massive can stores is based on the boats list. Our yacht tends to list a bit to starboard, so we are loading all the cans into the port lockers in an attempt to help level the vessel and correct this trim discrepancy. The cans are being located as far to the port side as possible and their weight will help balance things out.
Propeller Nuts
The propeller fits onto the tapered shaft tip and is tightened into place by two nuts that thread onto the end of the propeller shaft. One nut is small, the other nut is big. This brings up the question of which order should the nuts be placed?
You could either place the big one on first, tighten it all the way, and then place and tighten the smaller one. Or you could place the smaller one first and tighten it all the way, and then place and tighten the bigger one. So many options on such a tiny part of the boat that is instantly forgotten the moment the boat goes into the water.


The proper order is the small nut first and the big nut second.
When you tighten the small nut against the propeller, the force of the propeller is then pushed onto the threads of the nut and shaft. When you tighten the big nut, the lateral pressure from the small nut is transferred to the big nut which has more threads and transmits the force more evenly to the threads of the shaft tip.
The reason to have two nuts is simple, when they are tightened against each other, they will apply lateral pressure away from each other and seize to the threads that they are pushing against. When the two nuts are tightened into each other, they will not come loose as the entire assembly spins furiously without any inspection. As a safety precaution, the end of the shaft will have a cotter pin just in case the nuts come loose. A loose propeller is a problem that can quickly be remedied. A lost propeller is an expensive problem that is not easy to fix when out at sea!
Next time you are on the hard, take a look at the nuts at the end of the propeller shaft and make sure that the small one is next to the propeller, followed by the big one.
Cutting Planks Around a Knot
When resawing lumber to make planking stock, you have a few goals in mind:
- You want to create clear planks with no flaws or knots
- You want to convert as much wood into planks
- You want to minimize waste
When you buy a massive 2x12, there will be flaws scattered throughout the piece. This is the price you pay when the price you are paying is low. If you opt to splurg, you can easily purchase perfect clear grain wood for an astronomical fee. If you are budget conscious, you will find yourself picking up your Douglass Fir at Home Depot or Lowes, where a 16 foot board only costs $25!

This flatsawn board has a few checks and a few knots, but the majority of the board is clear with very tight rings. Ripping the board into three will yeild one flatsawn section and two quarter sawn sections with tight and close annual rings.
After the board was ripped and cut, it was time to resaw the smaller boards to create the 1/4 inch thick planking stock for the dinghy. It is easy to discard boards that have major flaws such as knots or checks, but this would be wasteful. Yes, a flaw will always be a flaw, but it can be worked around!
Remember, when planking the hull, there is always a section of the plank that overhangs and will be cut off. If the flaw is towards an end, placing it in the cutoff section will make the flaw disappear while making that plank usable!
What if the flaw is smack in the center of the board? Is that whole piece lost? Nonsense! We just need to work around that problem to extract as much usable wood as we can.

This gorgeous quarter sawn board had a big old knot right in the middle! To get as much clear stock out of this board as I could, I selectively resawed this board, carefully taking planks out of the board without involving the knot.

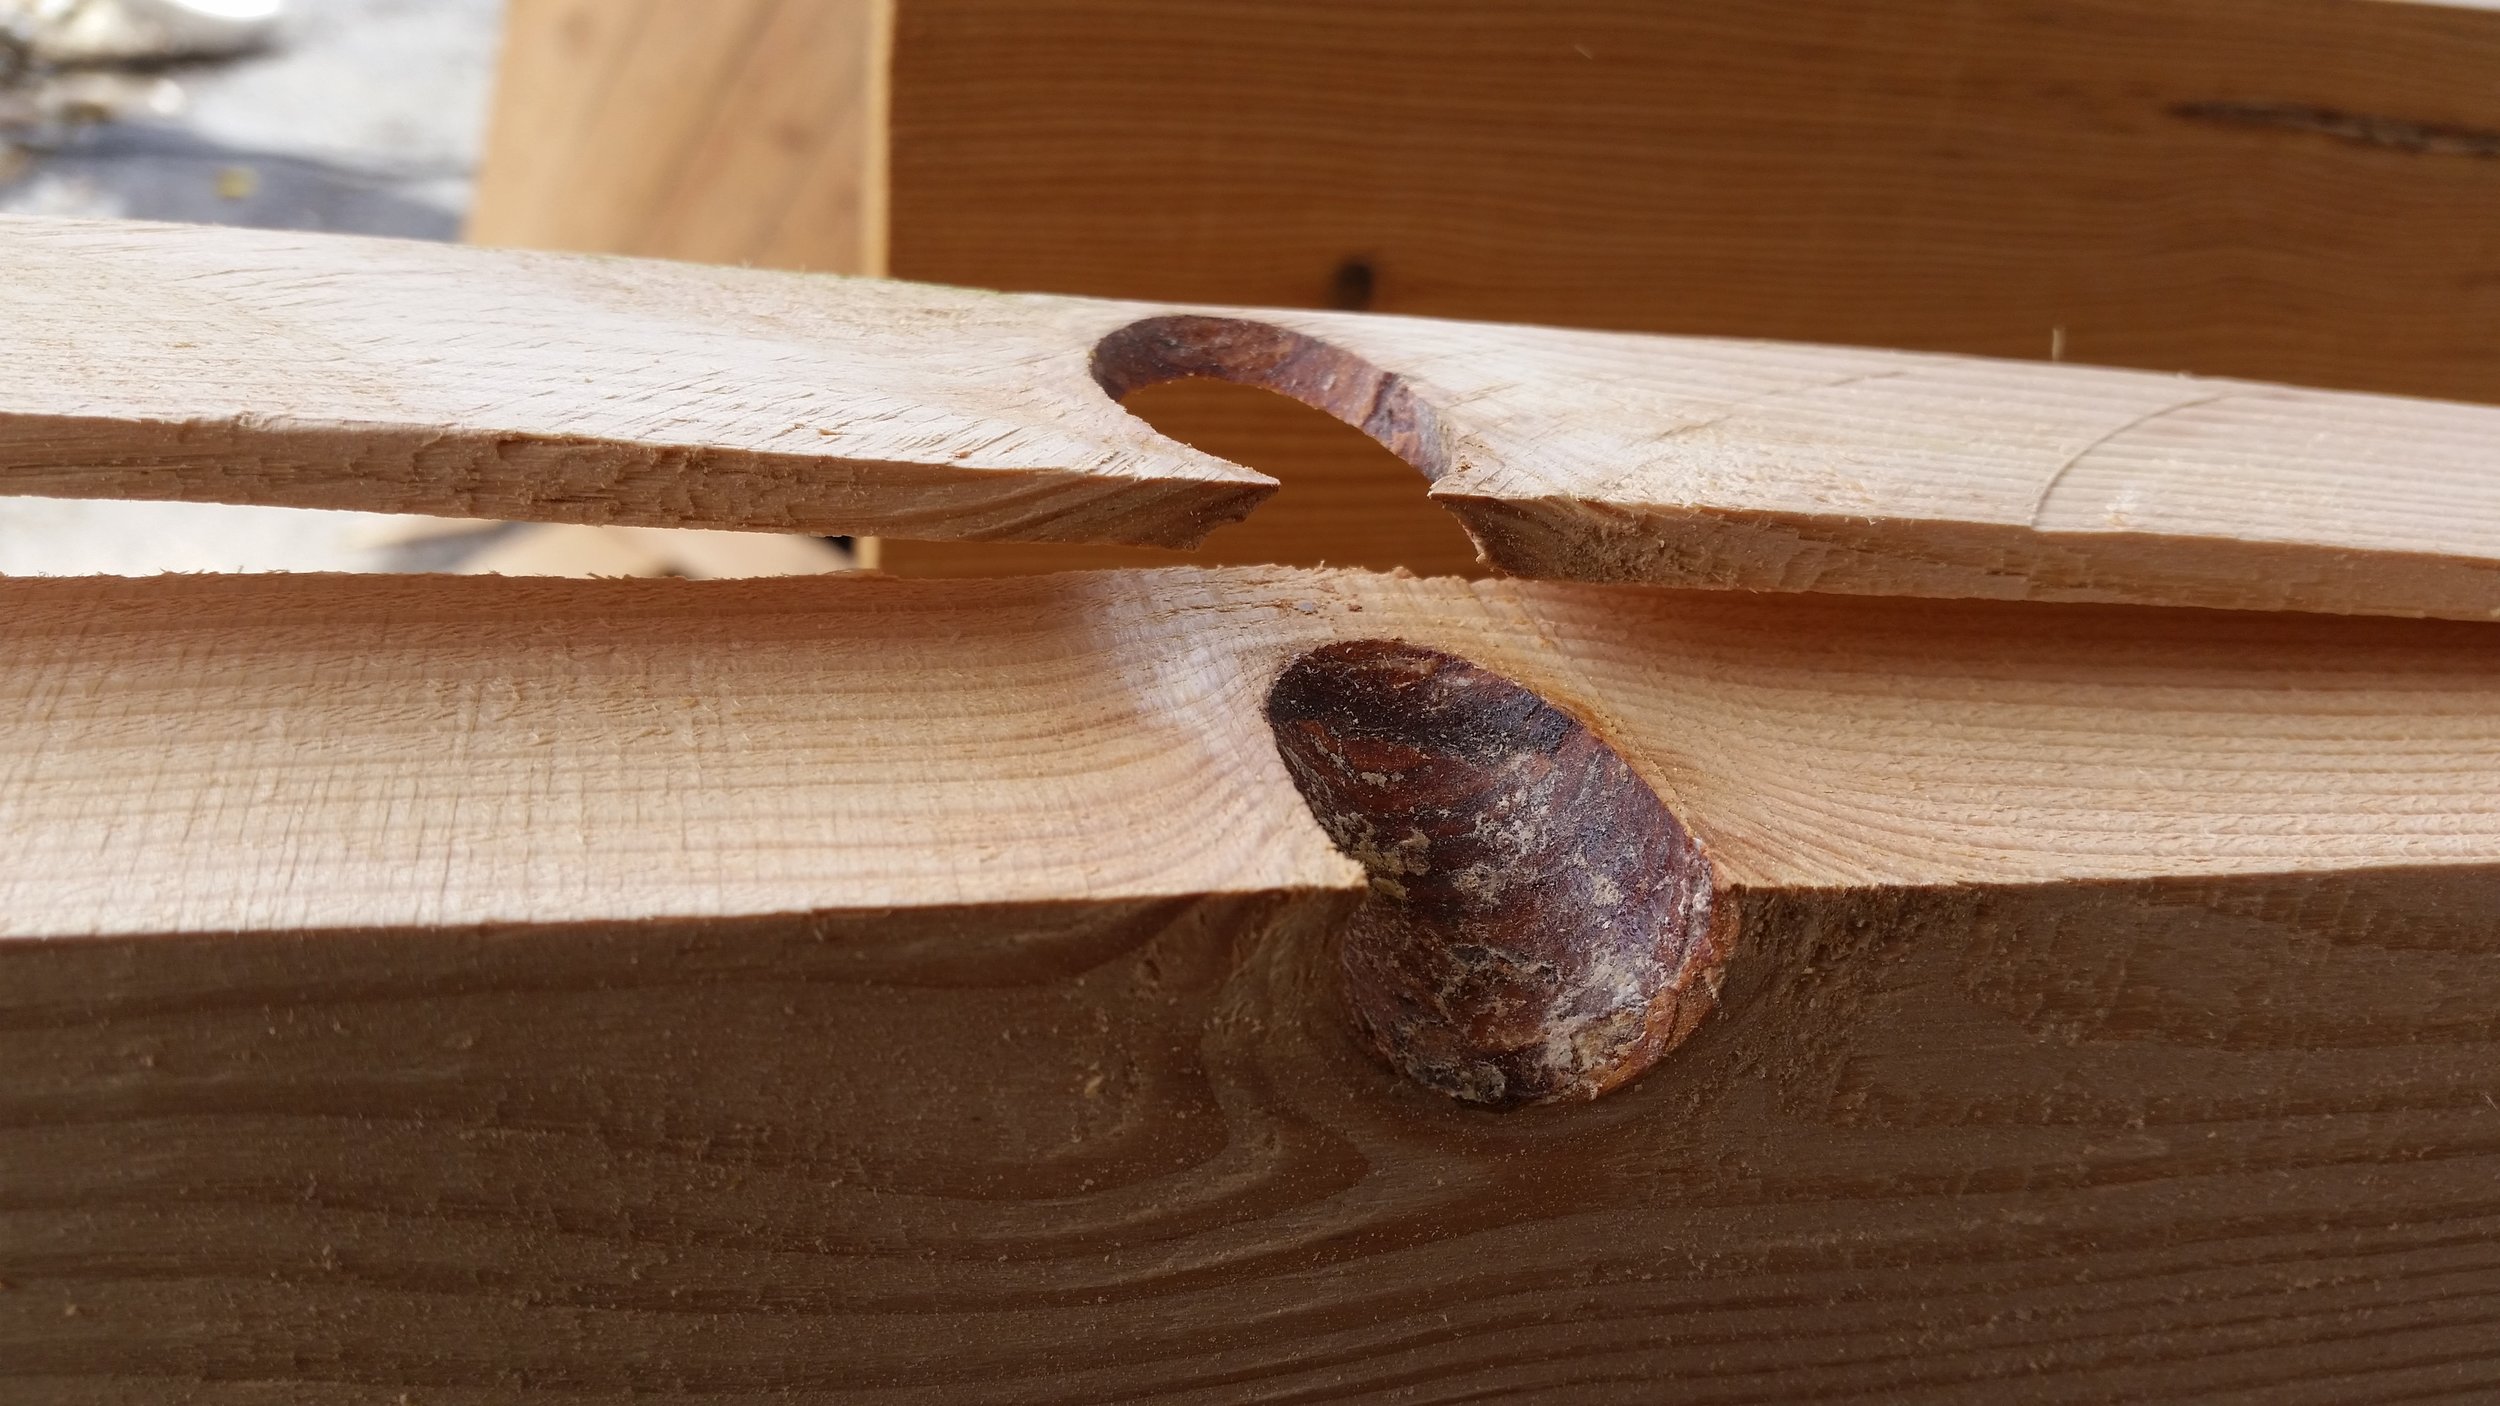

The top cut moves the knot over a bit, allowing the bandsaw blade to glide by in clear wood. This means that the first plank will be full height while no involving the only flaw in the board.

The process of cutting the top off to expose more clear wood on the side continues as you move across the board. The result is similar to the cut pattern when a log is quartersawn, where you form an alternating step pattern in the boards. The planks aligned vertically are all the planks that I was able to extract from this board without any sign of the flaw while the planks aligned horizontally are the scrap pieces that include the flaw.

Here, the board is reassembled, showing all the cut wood that came from it. You can see the off cuts that are flawed or not fair as they rest on top or on the side of the stack.
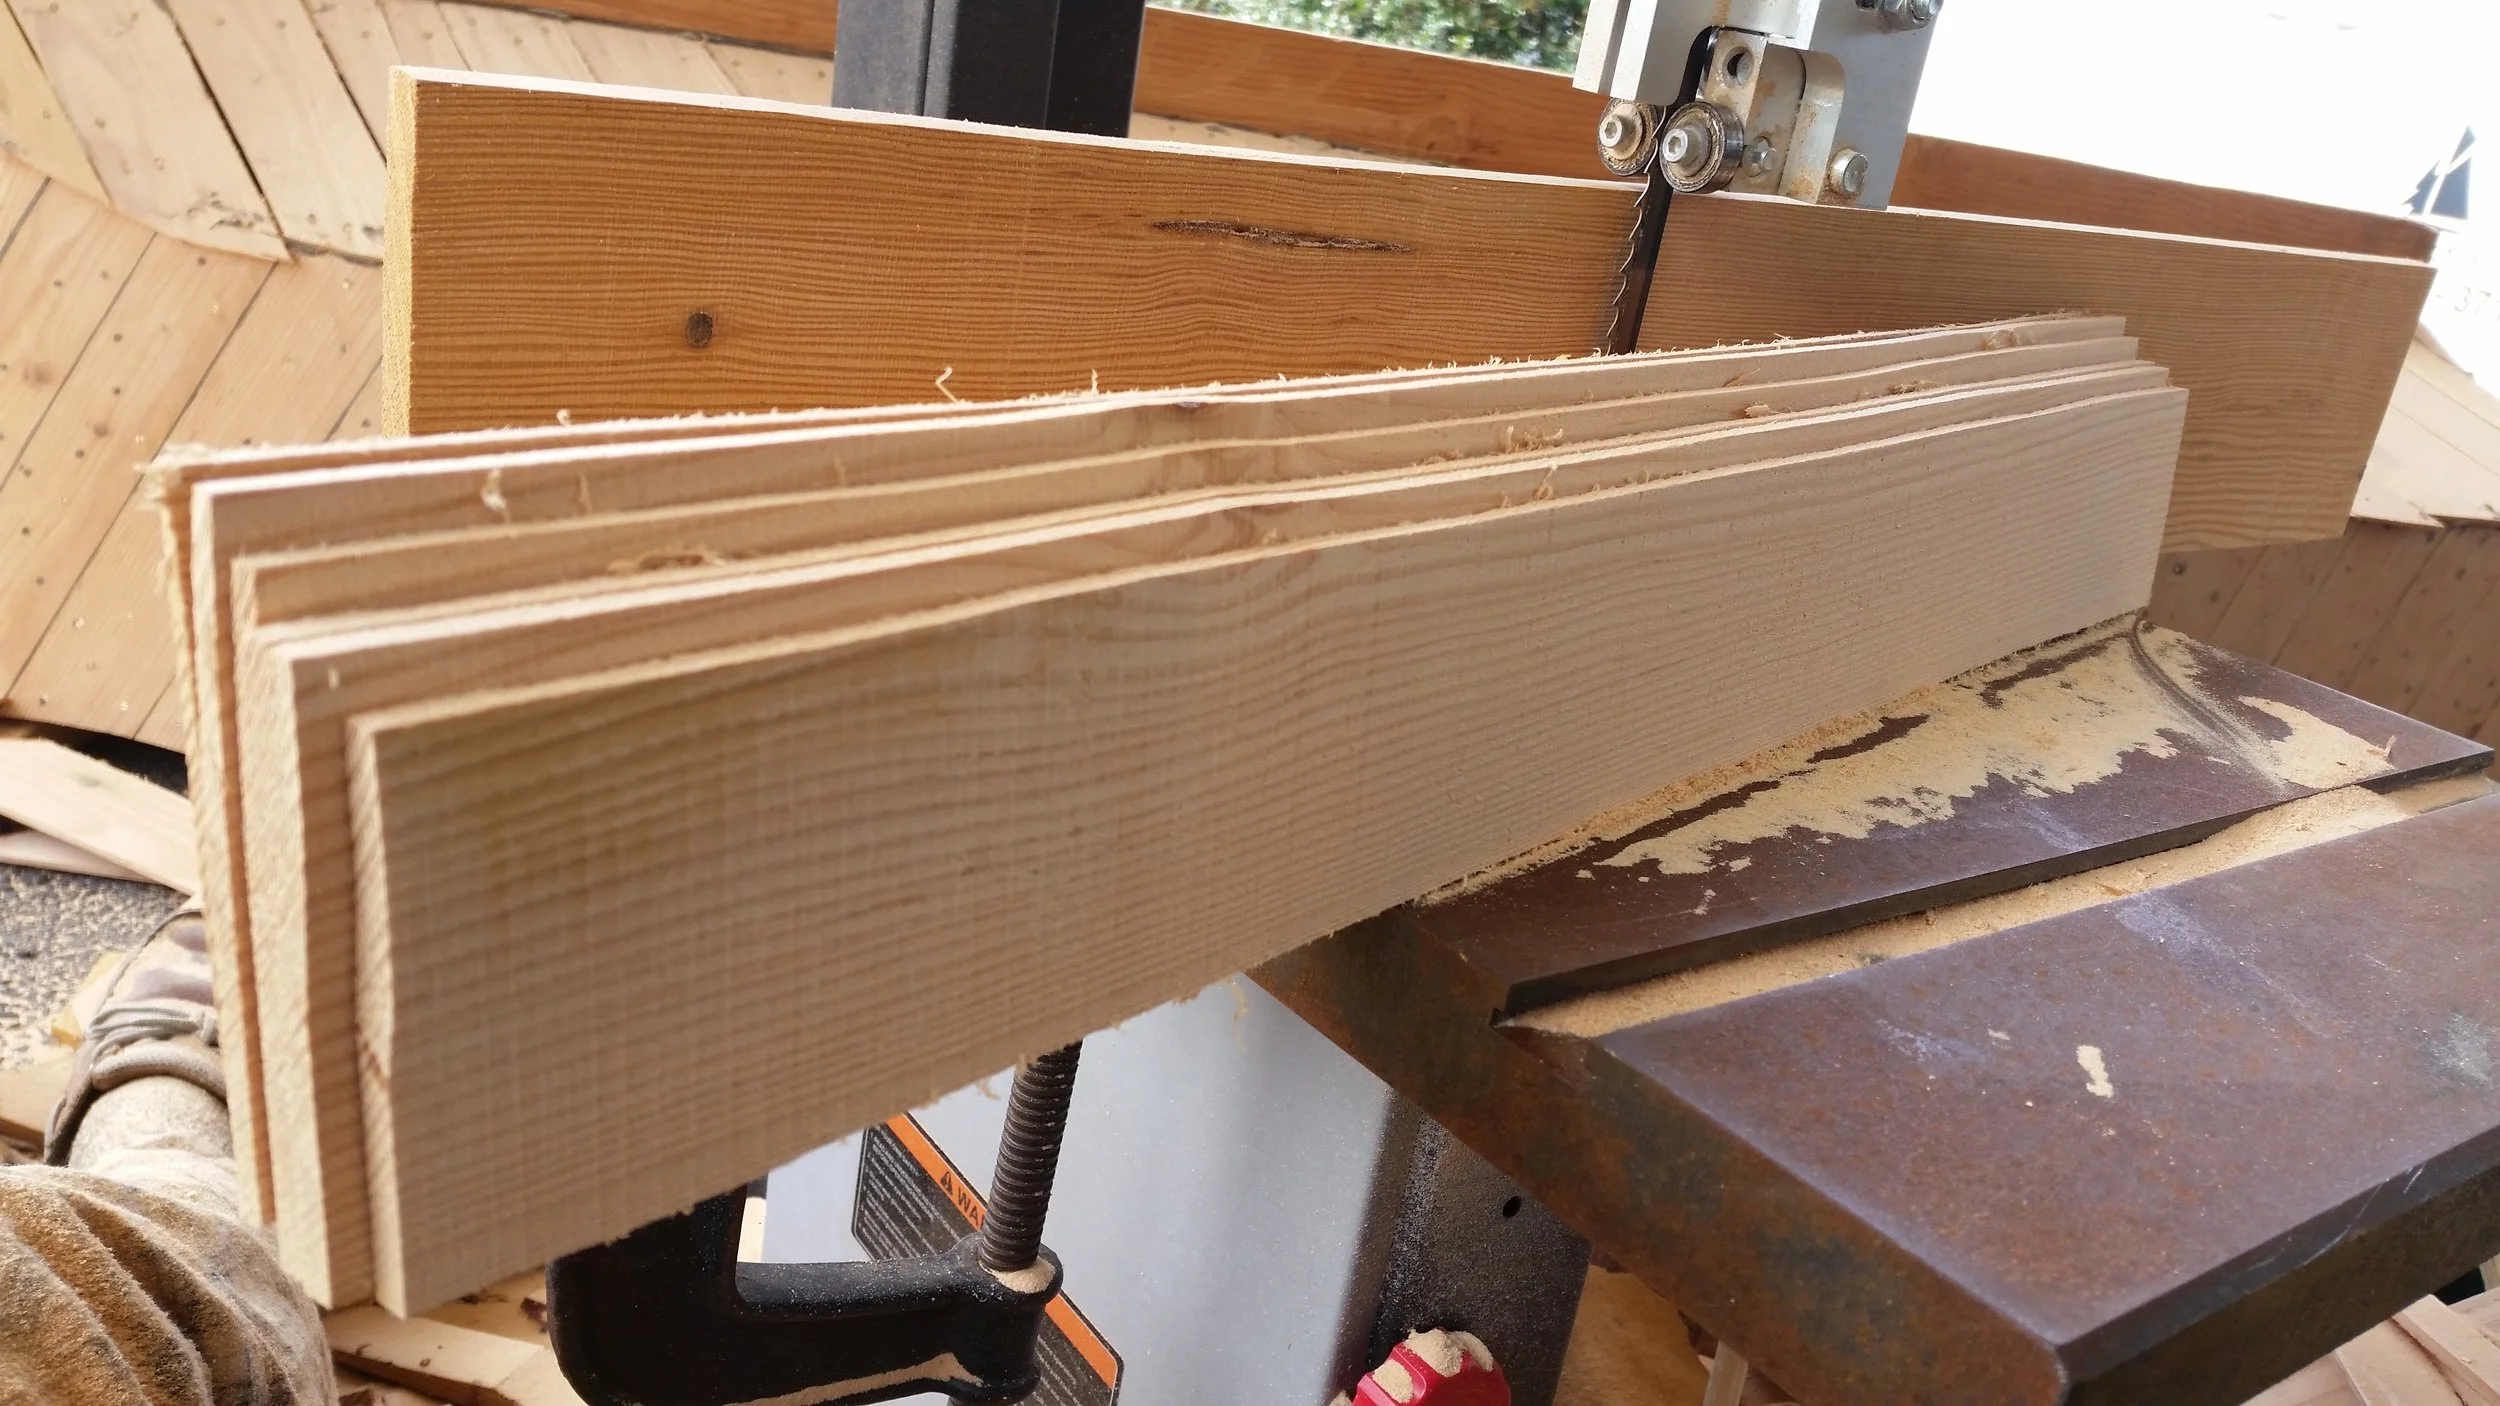
The good planking material extracted from this board will serve us very well as it is without flaws. If this board had been discarded, all of this material would have been lost! If the knotted section were to have been cut off, all the wood higher than the front plank would also have been lost. It is a bit more time consuming to orient the board in such a way as to extract as much clear wood as possible, but the cost savings are substantial and should not be overlooked.
Backstay Adjuster
Split or twin backstays offer a unique opportunity to setup a backstay adjuster: A backstay pincher.


Using three Antal frictionless rings, you can easily fabricate your own backstay adjuster that will pinch your backstays together and add the needed tension to the headstay on the otherside of the mast.
The three rings are spliced together into a Y shape with the two rings on the backstays tied together in a close shape. The third ring is used for the control line.
Above the Y, a block was attached to the backstay which allows us to easily raise the adjuster to ease the backstay. Pulling the adjuster down, the backstay adjuster slides down the stays and pinches the two stays together which will add tension to the headstay. Frictionless rings slide easily over dyneema stays, removing the need for any mechanical advantage from a block and tackle system.
