Keeping Fasteners on a Boat

They say cruising is fixing your yacht in remote locations!

In order to fix your yacht, you need to carry parts for the repairs. Parts need to be fastened, so you need to carry an assortment of fasteners on board. Cruising boats will heel and pitch as they move through a seaway, and your fasteners will do the same inside their containers. If you don't keep them individually organized, you may end up with a jumbled mess of fasteners that are so scrambled that you will never be able to find the right fastener for the job!

If you buy fasteners in bulk, they come in nifty plastic containers that are well labeled and stack neatly. This keeps them all organized and separated in their own container, ready to be used when needed. The only problem is these containers do not offer any way of resealing them after they have been opened. As always, there is a trick to it!

Keeping the plastic label intact, the package will stay sealed, but you can still lift the lid a bit and bow the bottom out just a smidge to pour out a number of screws. Any screws you don't use in your project can be easily returned to the package in the same manner.

Now you can keep your fasteners organized and stored on your boat for when you need to do some random project with no access to a hardware store!

Magical Butt Fluff

The tiny corgi presents many bind blowing qualities. It has short and tiny legs, yet it can run quickly into your heart; it has short fur, yet it will shed relentlessly. Most magical of all would have to be the butt fluff.

When the wind blows at just the right angle, the magical butt fluff will be swept aside. 

Should your wind point fail you, having a corgi on board will put your mind at ease. If you wonder which direction the wind is coming from, simply look at the magical butt fluff to answer all your wind inquiries

If the wind is blowing from an angle, the butt fluff will be swept to the side. If the wind is dead astern, the butt fluff will be parted to form a powerful handlebar mustache.

Behold, the mighty mini corgi! 

Dinghy Planking

With the port side cleaned up and trimmed, it is time to get working on the starboard side. I have a system in place: I place the bedding compound, bang in a nail to hold the strake in place, and then drill and screw the rest of the plank. I also use two separate drills, one with the blade screw driver bit on it and the other with a small 1/16 inch pilot hole drill bit. 

Using the two drills saves me a lot of time that would have been spent switching bits out. Now I am able to power through the planking process with the experience of the other side under my belt!

All this speed meant that in two days, I was able to plank the entire starboard side of the hull.

The excess polysulfide bedding compound can be seen oozing out through the cracks in the boards. This lets me know that the bedding compound is spread all throughout the space between the planks, and the pressure in there was enough to squeeze the material out through the narrow gaps in the boards. What this is telling me is that I now have a watertight seal between the two layers.

With the starboard side planked, all I could do was wait for the polysulfide to cure so I could begin shaping and trimming the topsides.

The View

upload.jpg

I hear people talk about wanting a great view of the water, but they end up never looking out their windows. Living on the water makes you much more aware of the world you live in, especially when you have to walk through it to get to your boat. 

These are the gorgeous days that would have been missed by simply not looking out the window. Living aboard makes you observe this world and all of its splendors!  

As the sun sets and the colors grow warmer, the whole world around you looks more gorgeous and you are there to appreciate it. Everyday you are there, observing and enjoying the view as the sun sets in a vivid display of magical colors. Beholden by those living on boats, ignored by those cooped up in houses.  

Cleaning up the Planking

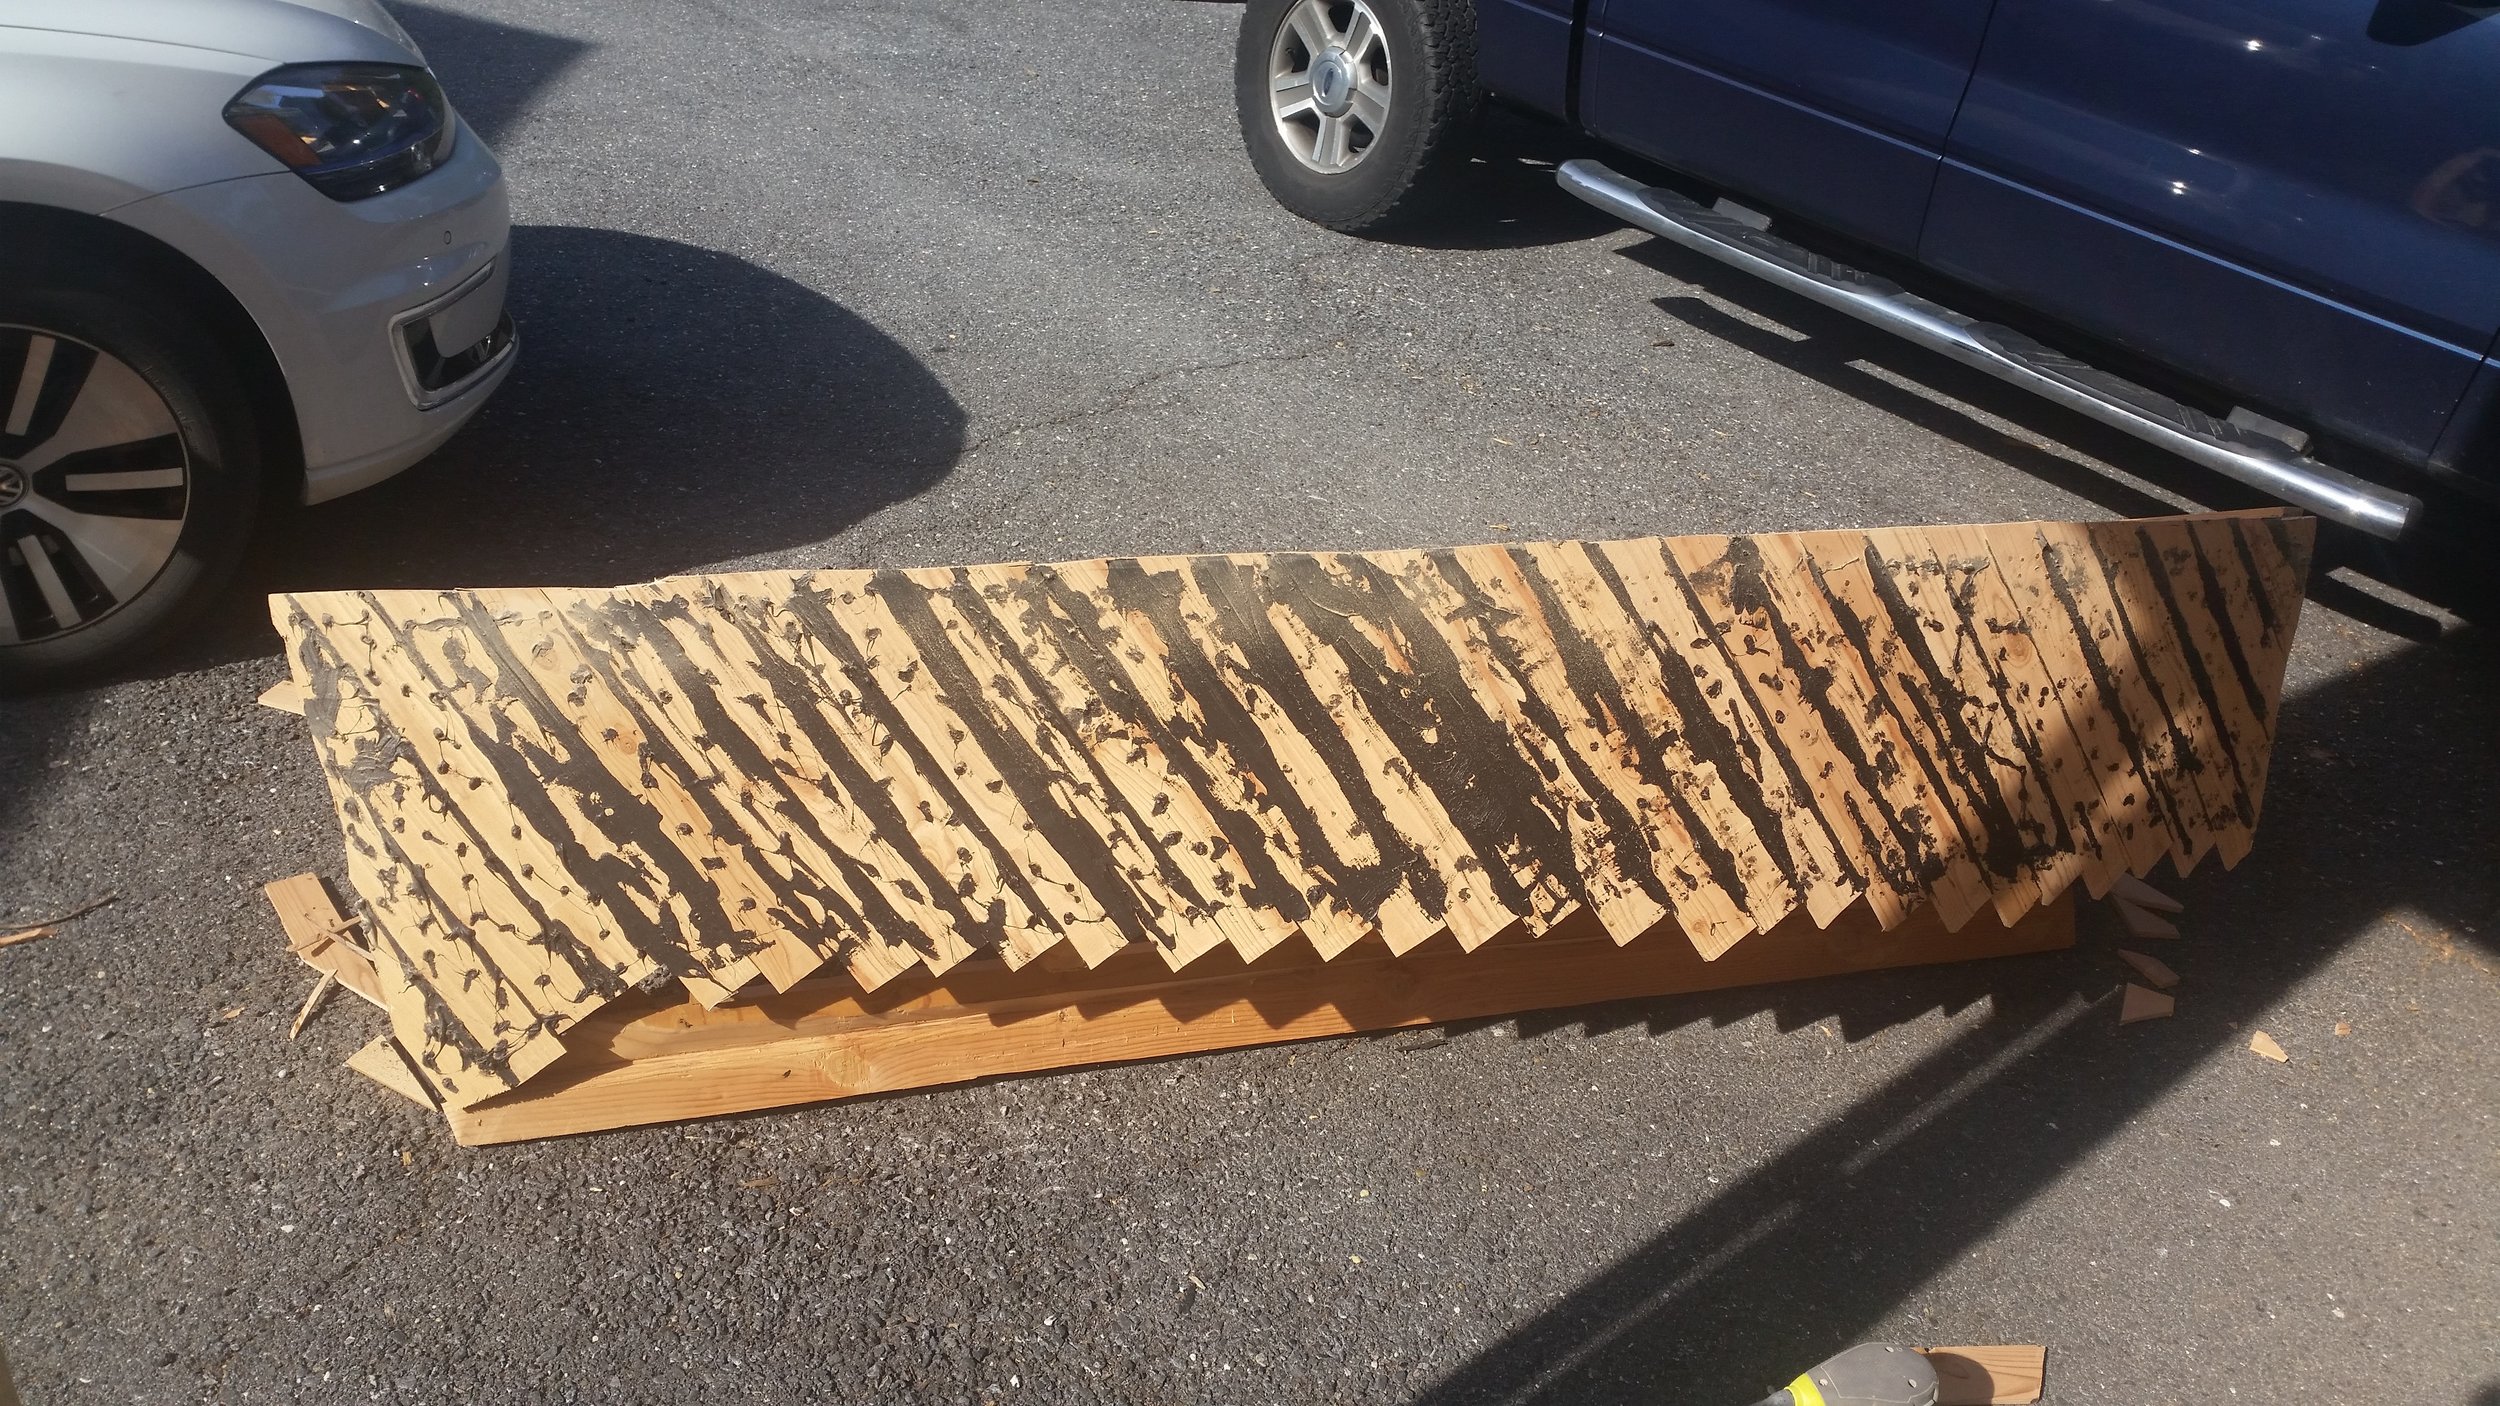
The sheer was cleaned up first that way the dinghy could be flipped over to work on the chine with the dinghy upside-down. Before the dinghy was flipped, I needed to clean up the excess bedding compound that has been smeared through every nook and cranny of the hull.

At this point, the hull looks like a giant mess! The excess polysulfide was somewhat tenacious and didn't want to come off as easily as the transom excess did. This meant that the next best way to get it off was to sand the surface with an orbital sander.

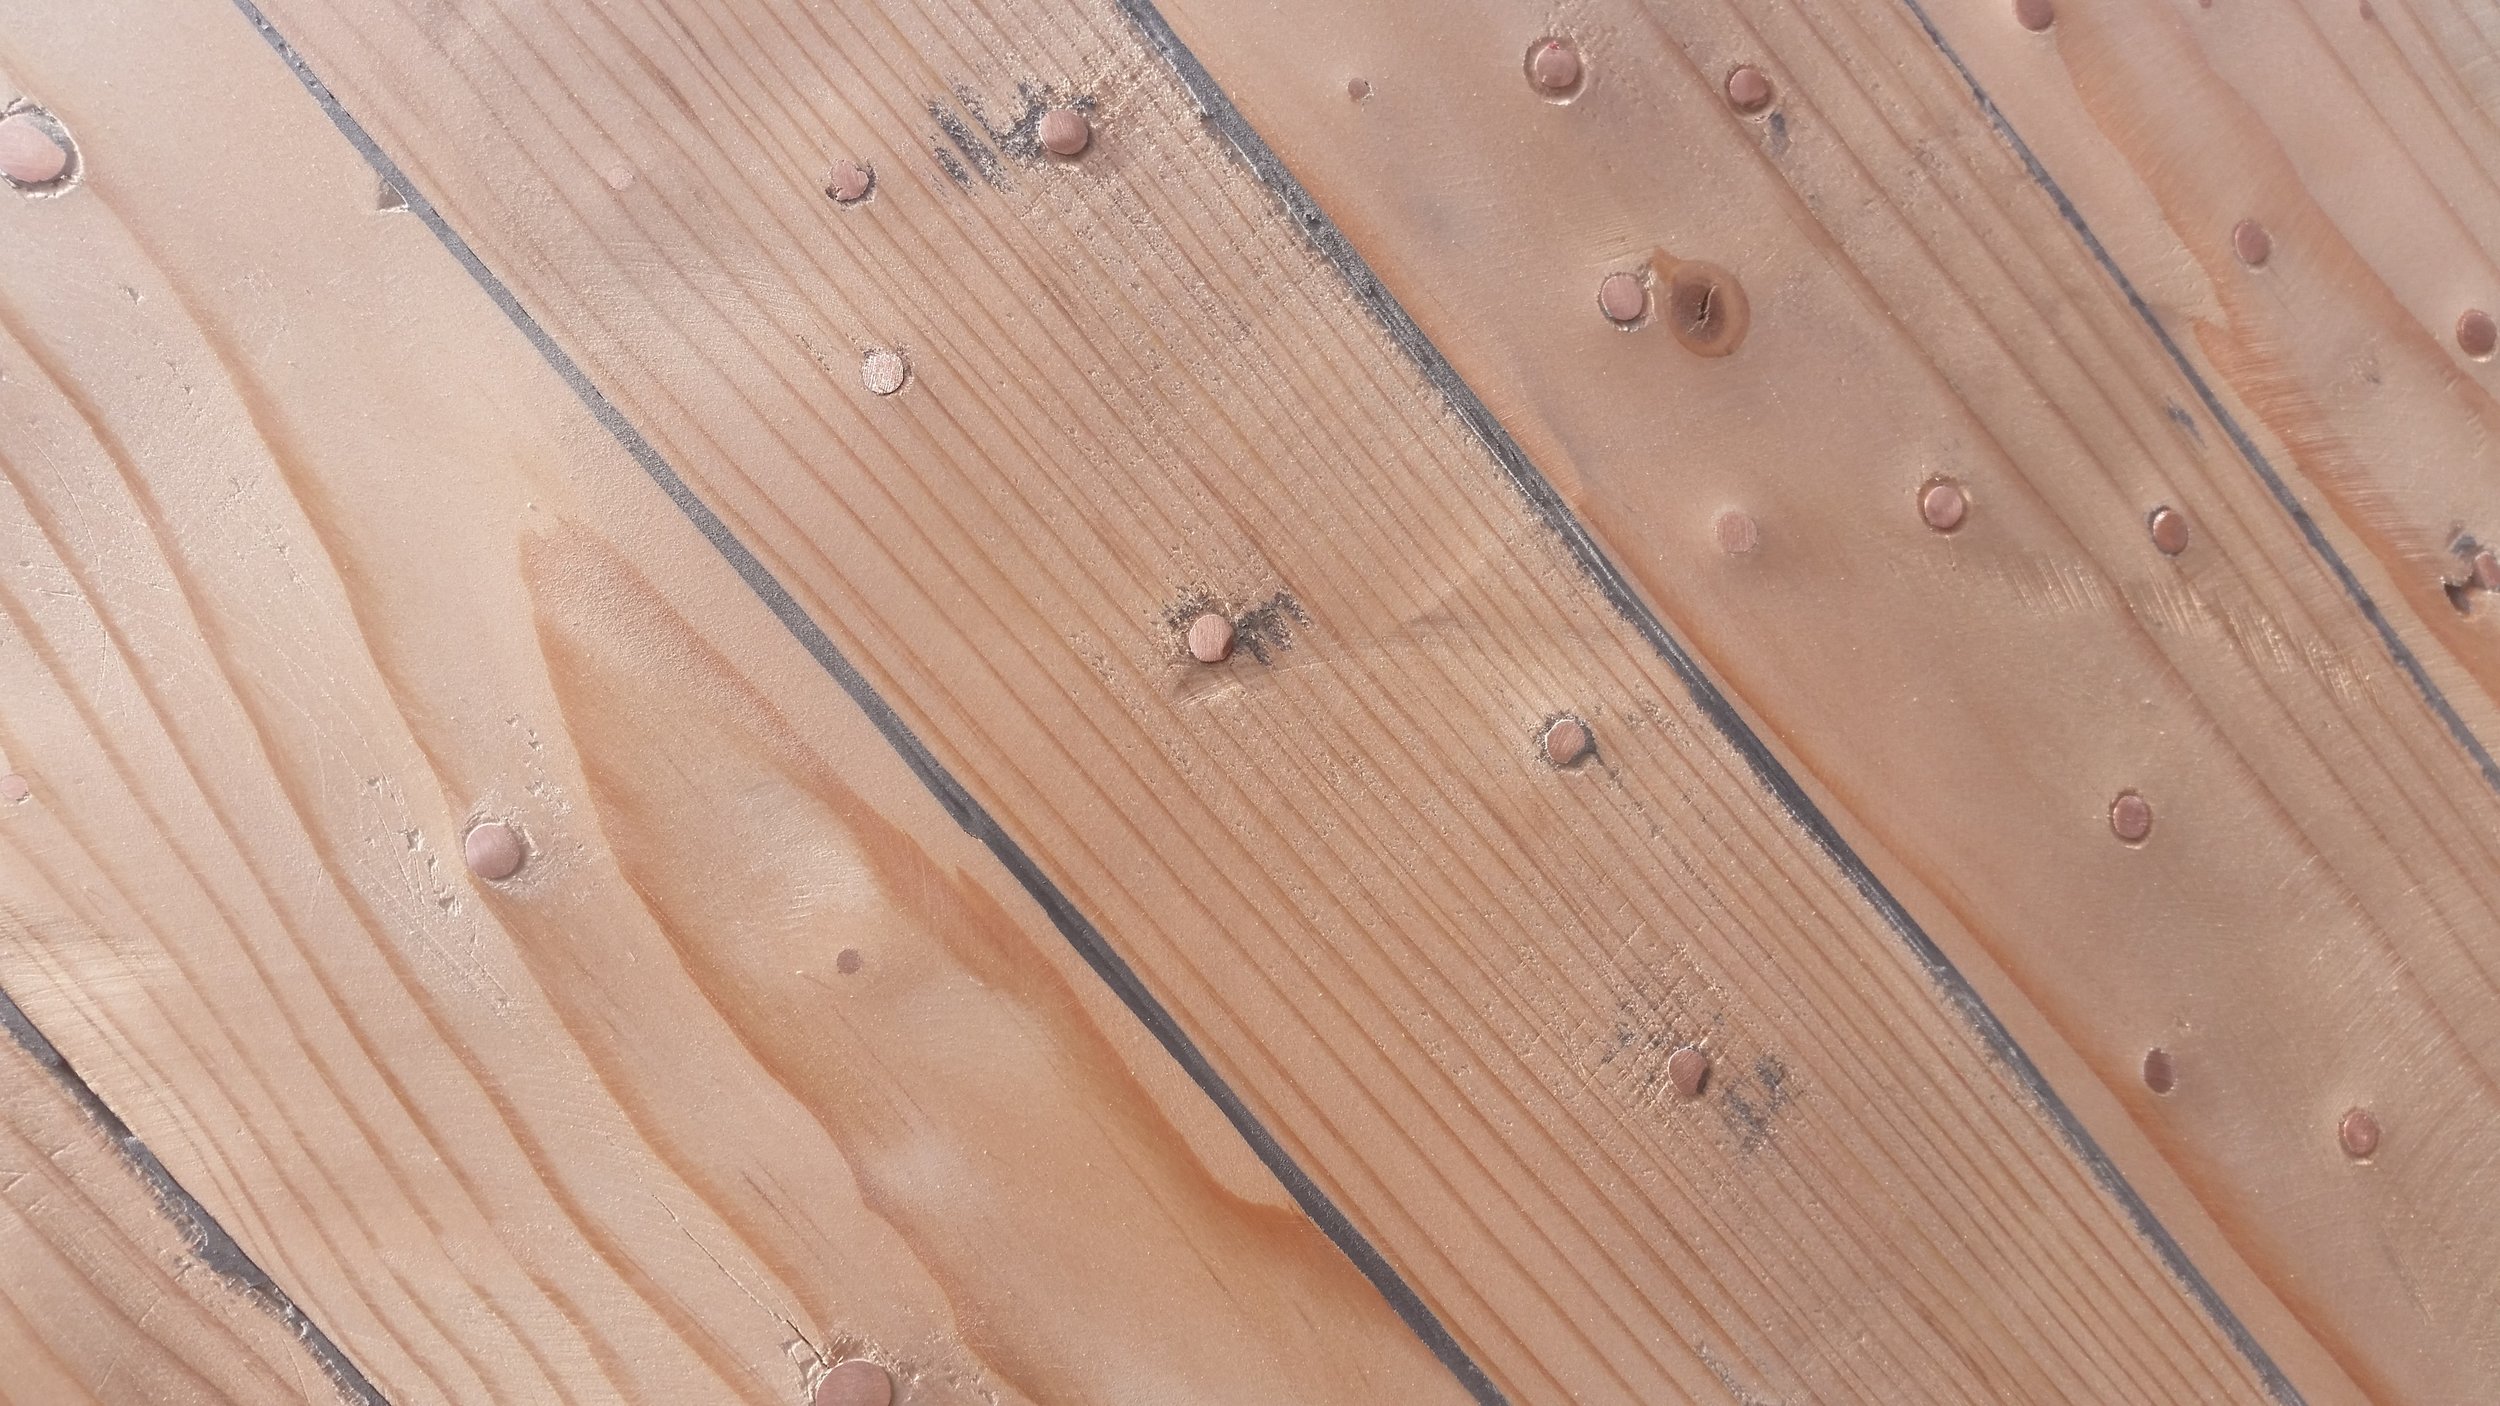
The top layer of bedding compound and a bit of wood was removed to fair the edges up and make the topside smooth. The topsides are currently a bit wavy, but this will be faired up when I sand the hull with a longboard.

It's amazing what a difference a bit of sanding can make to clean up the appearance of the hull!