Thriving without TV

When I mention to my students that I don’t have a TV, they stare back at me as if I had just casually informed them that I’m actually an antelope.  We are living in a very high tech time when the idea of possessing the latest smart TV is as natural and expected as having a dining room table.  “Then what do you do?  How do you watch television?”  Well you see guys, I don’t. 

I grew up in a household where there was a TV in the sitting room, kitchen, and bedroom.  I got home from school and immediately plopped myself down on the sofa with my brother to watch The Simpsons before starting my homework.  I’ll admit it’s an excellent way to rest one’s brain after a long day of school or work.  I thought it would be a strange feeling not to have one in the boat, but I couldn’t argue with Herby when he pointed out that there simply isn’t any space for one.  Now granted, most liveaboards make it work.  They mount one on a bulkhead and run the wires down the wall or set one on the navigation station.  I’d just personally rather have art on my one tiny bit of wall space. 

I harbor no ill will towards those who have found nifty ways to install televisions in their boats.  I’ll admit I find myself wandering the pier on Sunday afternoons to find someone watching the Ravens game.  But if you are at all on the fence about it or even in the mood for a challenge, I highly recommend doing away with the hypnotizing black square in your living space.  I’ve found it to be incredibly liberating and have not once wished that I could watch TV since moving into the boat.  Ok, so when we are connected to shore power, we definitely find ways to cheat.  At this point, anyone with a laptop has either Netflix or Hulu.  Herby and I definitely watch our fair share of movies and shows after we’ve had some time to chat and catch up on each other’s day.  And when I tell this to my students, they are usually somewhat reassured.  But then it hits them and they become wide-eyed once more as they ask, “but Mrs. B, what about when you’re sailing?  What are you going to do on your trip?” 

            “Read.” 

            “Oh my god.” 

Yes, folks, you heard/read correctly.  When we are on our long journey around the Atlantic, we plan to pass the time by performing the ancient ritual known to past generations of humans as “reading.”  The students scoff and tell me that I’m crazy, and honestly, past Maddie would have agreed with them, but living on the boat has reintroduced me to the pleasures of reading and I am eternally grateful for that.  I never thought I could be so excited to crack open a book, and Herby is the same way.  The only difference for him is that he still doesn’t read; he listens.  Some of the most peaceful and pleasant memories of sailing involve a calm afternoon that allows us to sit in the cockpit or even the hammock while I read aloud to Herby.  I’m a fabulous reader as it turns out, and he is a fabulous reactor.  He gets audibly and visually excited, nervous, and sad all at the right moments.  It’s a special experience that brings us much closer together than sitting side by side watching a movie.  It’s somehow much more personal. 

And so, to those folks who are wondering how in the world we are going to pass our time without technology for months on end, I will tell you that there is no greater gift than the absence of these things that we all cling to like our lives depend on them.  We will be completely present in each moment together and notice the wind, the water, and the sunsets. 

We will have real intense conversations about life and about nothing at all.  We will make each other laugh.  We will play games.  We will read.  I am so excited!

Installing the Bilge Pump Through Hull

With the pump bolted into place and the hose securely attached to the barb fittings, the last thing left to do was install the actual through hull fitting in the side of the boat. This may sound like a simple task, but it involves drilling a massive 2.5 inch hole in the side of the boat to accomplish the installation.

Whenever I need to drill a hole in my hull, I always measure everything multiple times to make sure that I will put the hole where I think it will and not somewhere I don't want the hole to be. After I am certain that the hole will end up where I want it, I drill a very small pilot hole. The idea behind the pilot hole is it lets me verify that the hole will come out where I think it will. If I had made a mistake, this small hole is easy to fix and the correct hole could be drilled later.

Most importantly, if you miscalculate your hole position, you run the risk of drilling a hole below the waterline. A small hole will give you much more time to rectify the situation as compared to a massive hole saw hole! If you mess up with a 1/4 inch hole, you now have an inconvenience that needs to be fixed promptly. If you mess up with a 2 inch hole saw, you now have a serious problem that could sink your yacht promptly.

My plan is to have the through hull be located high above the waterline so that we can easily pump while heeled over, yet be below the rub rail so that the wood doesn't get stained by all the dirty bilge water that will be drawn up and out by the pump.

With the pilot hole confirmed, I set about drilling the full sized hole with the 2.5 inch hole saw. The hull was rather thick and the drill took a while to cut through all the solid fiberglass, but with enough perseverance, light started to shine through the outer ring of the hole and I new I was almost there! When the hole saw punched through the hull, a world of bright light began pouring into the interior of Wisdom, but thankfully no water! Sailboats are deceptively deep in the water, this hole is only a bit less than 2 feet above the water line yet is chest high inside the cabin. 

Bedding compound was liberally applied to the flange of the through hull fitting and a bit of extra bedding compound was applied to the threads near the mushroom. This will seep through everything and seal up all the nooks and gaps that might exist to let water pass through and into the hull while we are under sail and heeled over. 

I pushed the through hull onto the side of the hull from the outside while Maddie threaded the lock ring onto the through hull from the inside. After the lock ring was snugged down, the sea cock was threaded on and tightened. I like attaching the sea cock while the bedding compound is still wet because I can always spin the entire assembly to get the handle lined up where I want it to be.

Since we are above the waterline, a plastic seacock that merely threads onto the mushroom is sufficient. If we were doing this below the waterline, it would be mandatory to use a triangular bolted seacock set up on a raised platform for added stability and durability. This lever will rarely be used, since the bilge pump acts as a check valve preventing water from pouring into the bilge while we heel over and submerge the through hull. If the sea cock were to get stuck from lack of use, I would prefer it to be stuck open where we could still operate the pump. 

If the sea cock is too bulky inside the foulies locker, it can always be removed and replaced with a simple barb fitting to connect the hose. This will be something that we will deal with in the future depending on how it behaves in the locker while we cruise.

The excess bedding compound was wiped off the through hull. There was an even bead that oozed out of the entire circumference, letting me know that the material was properly distributed and dispersed when tightened. 

You can also see the filthy topsides and peeling paint, along with the neglected teak. Part of the preparation to go cruising will involve repainting the entire boat (bottom and topsides) along with bringing the brightwork back to life with a healthy application of varnish. 

Trimming up the Planks

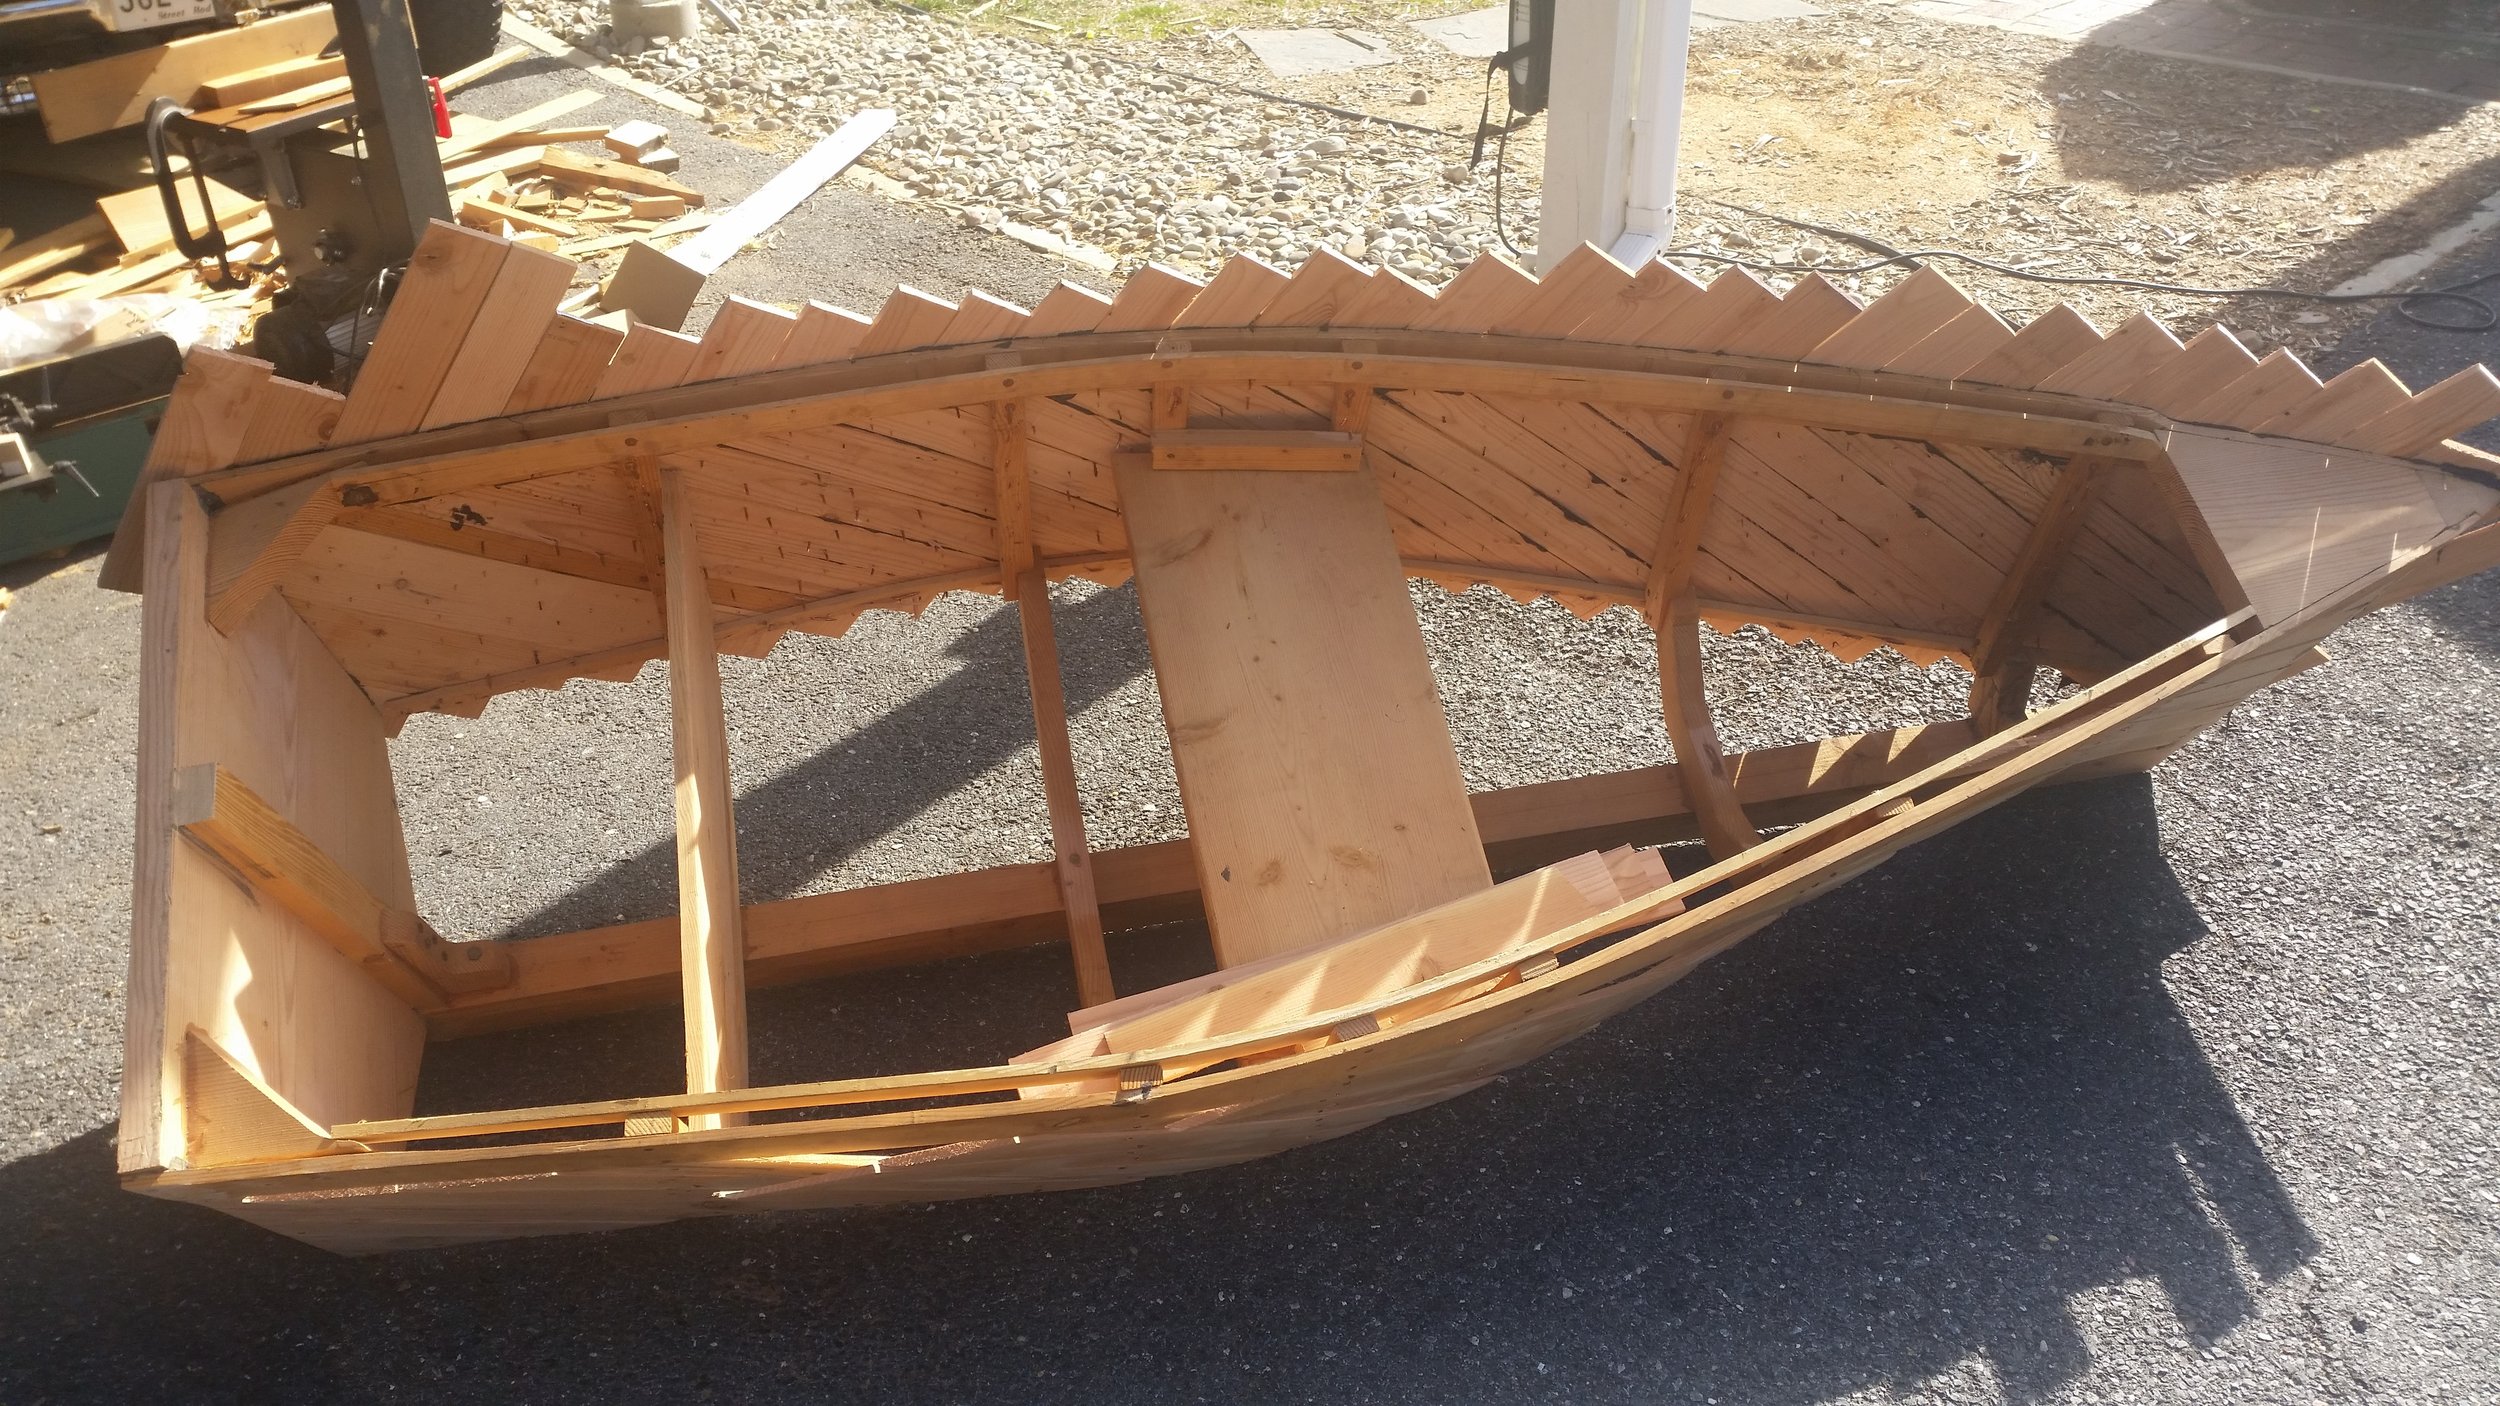
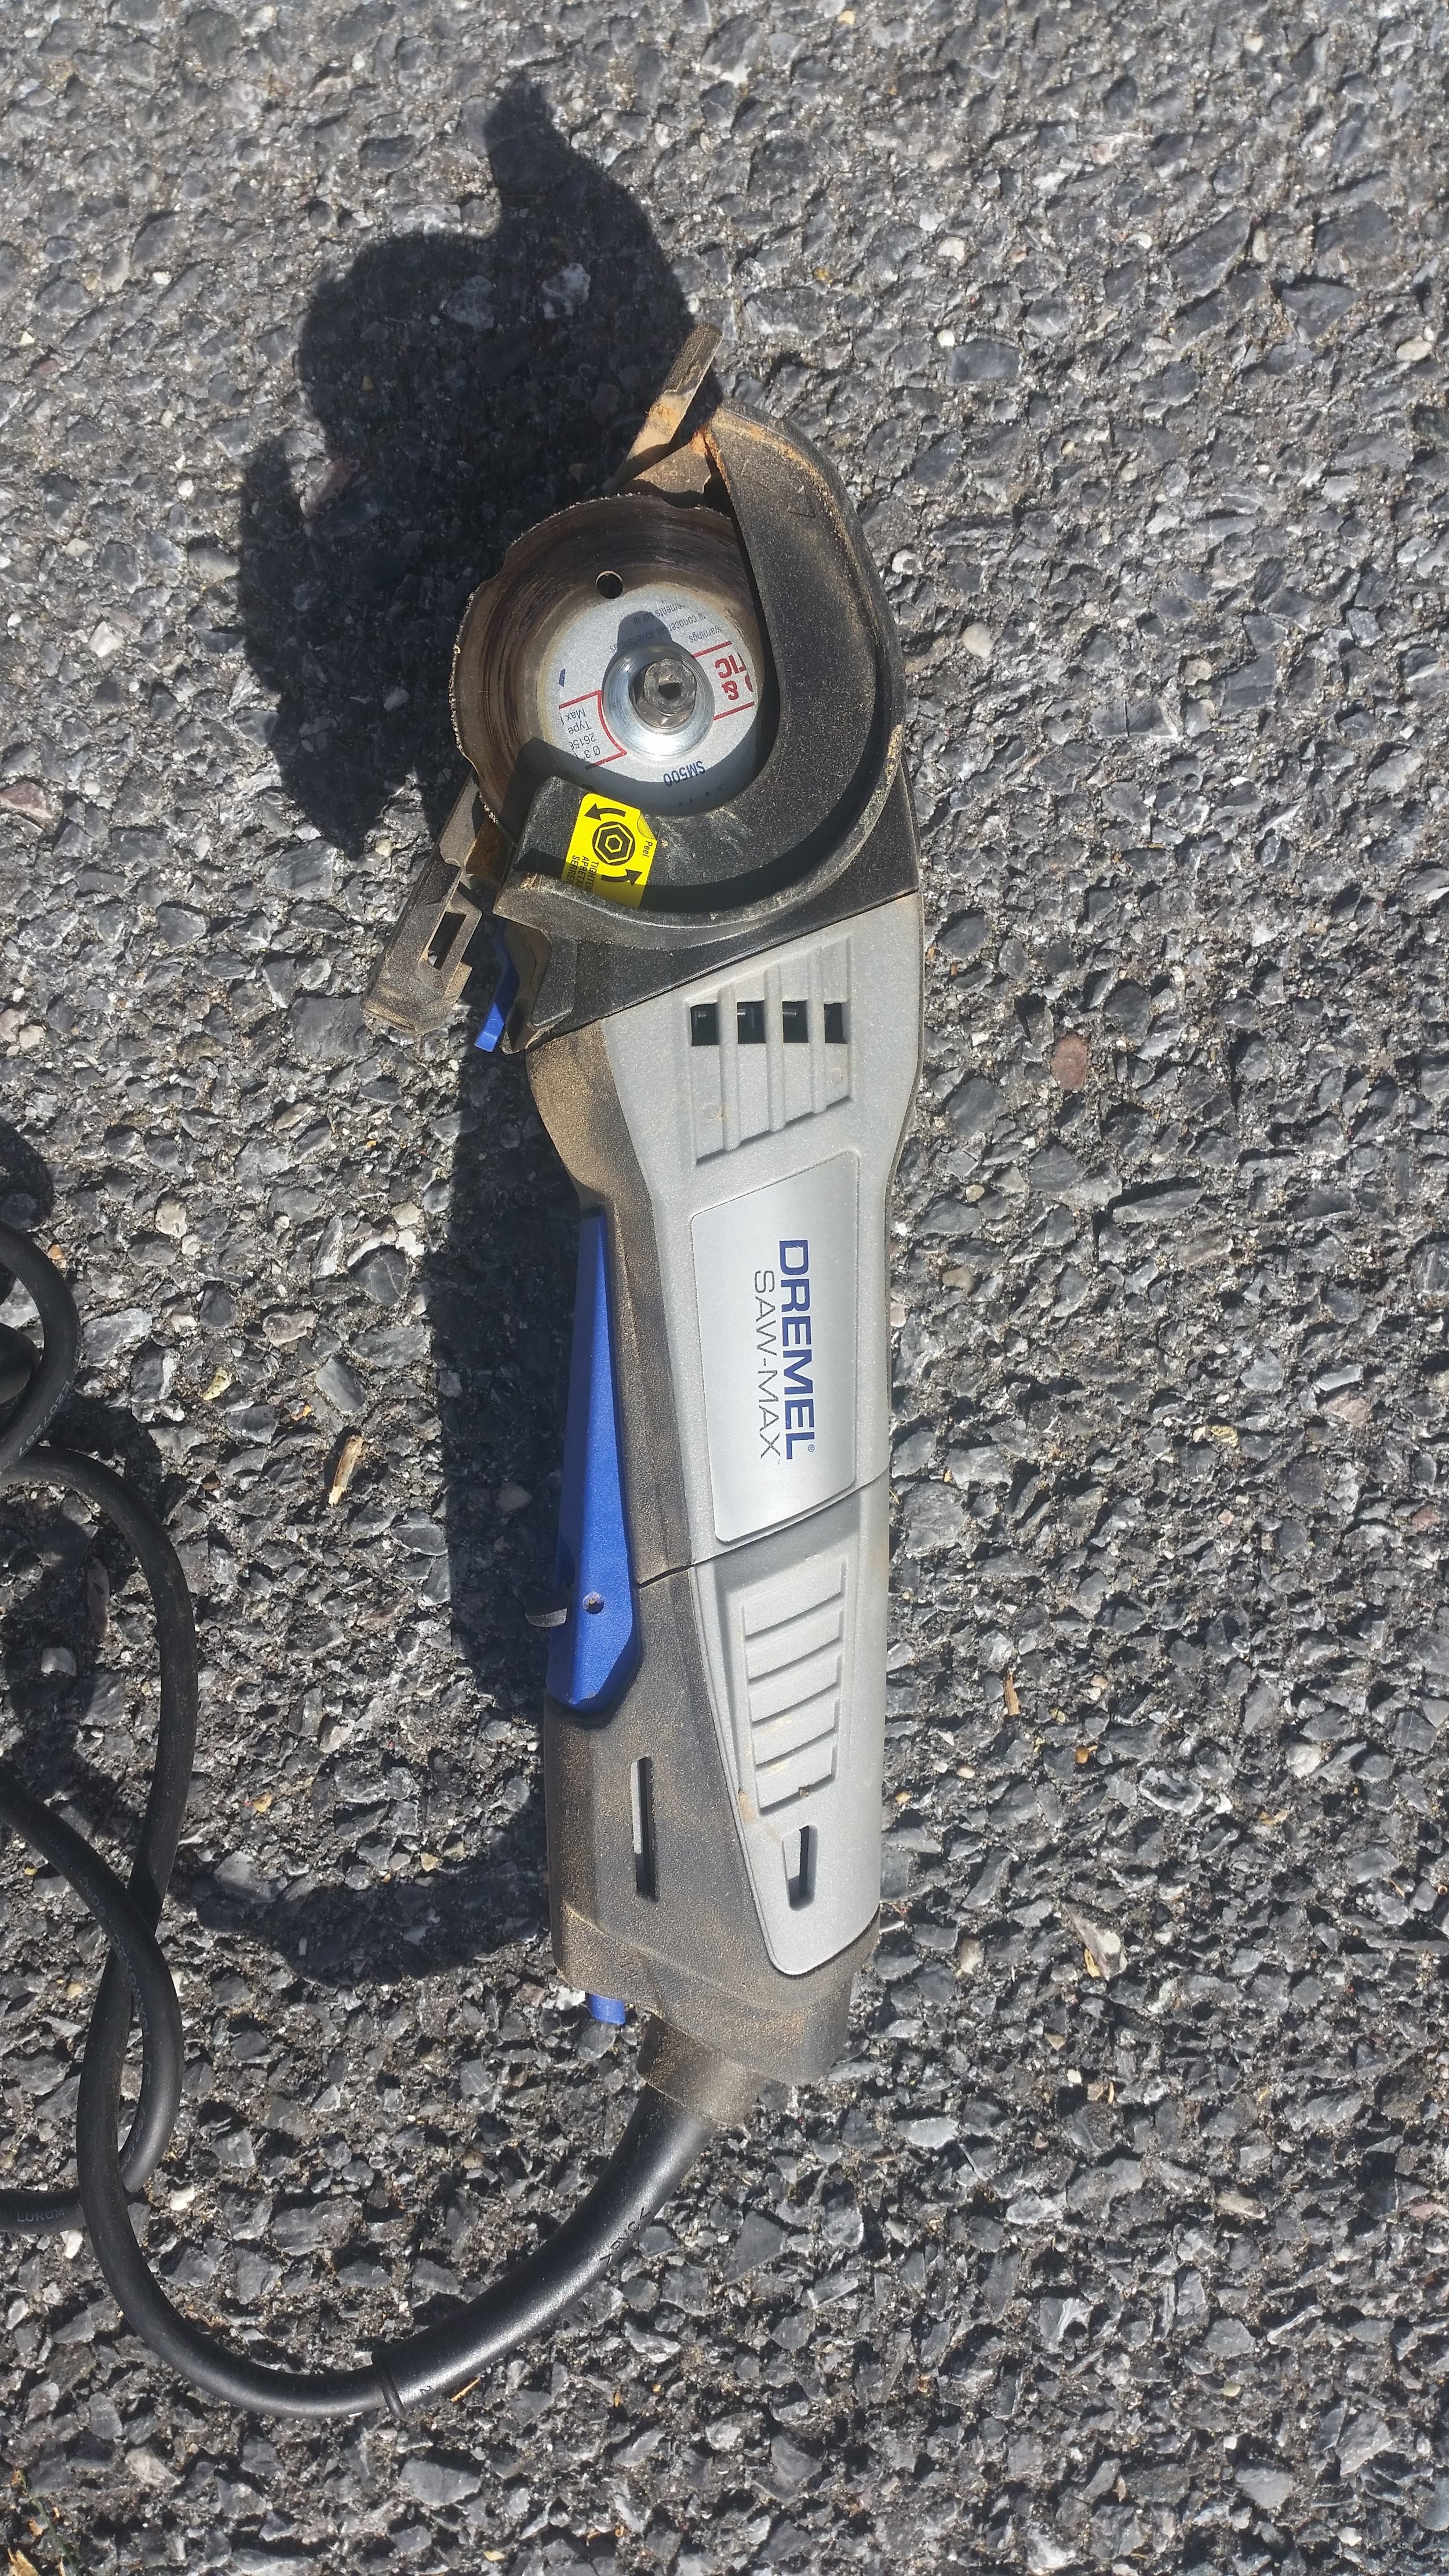
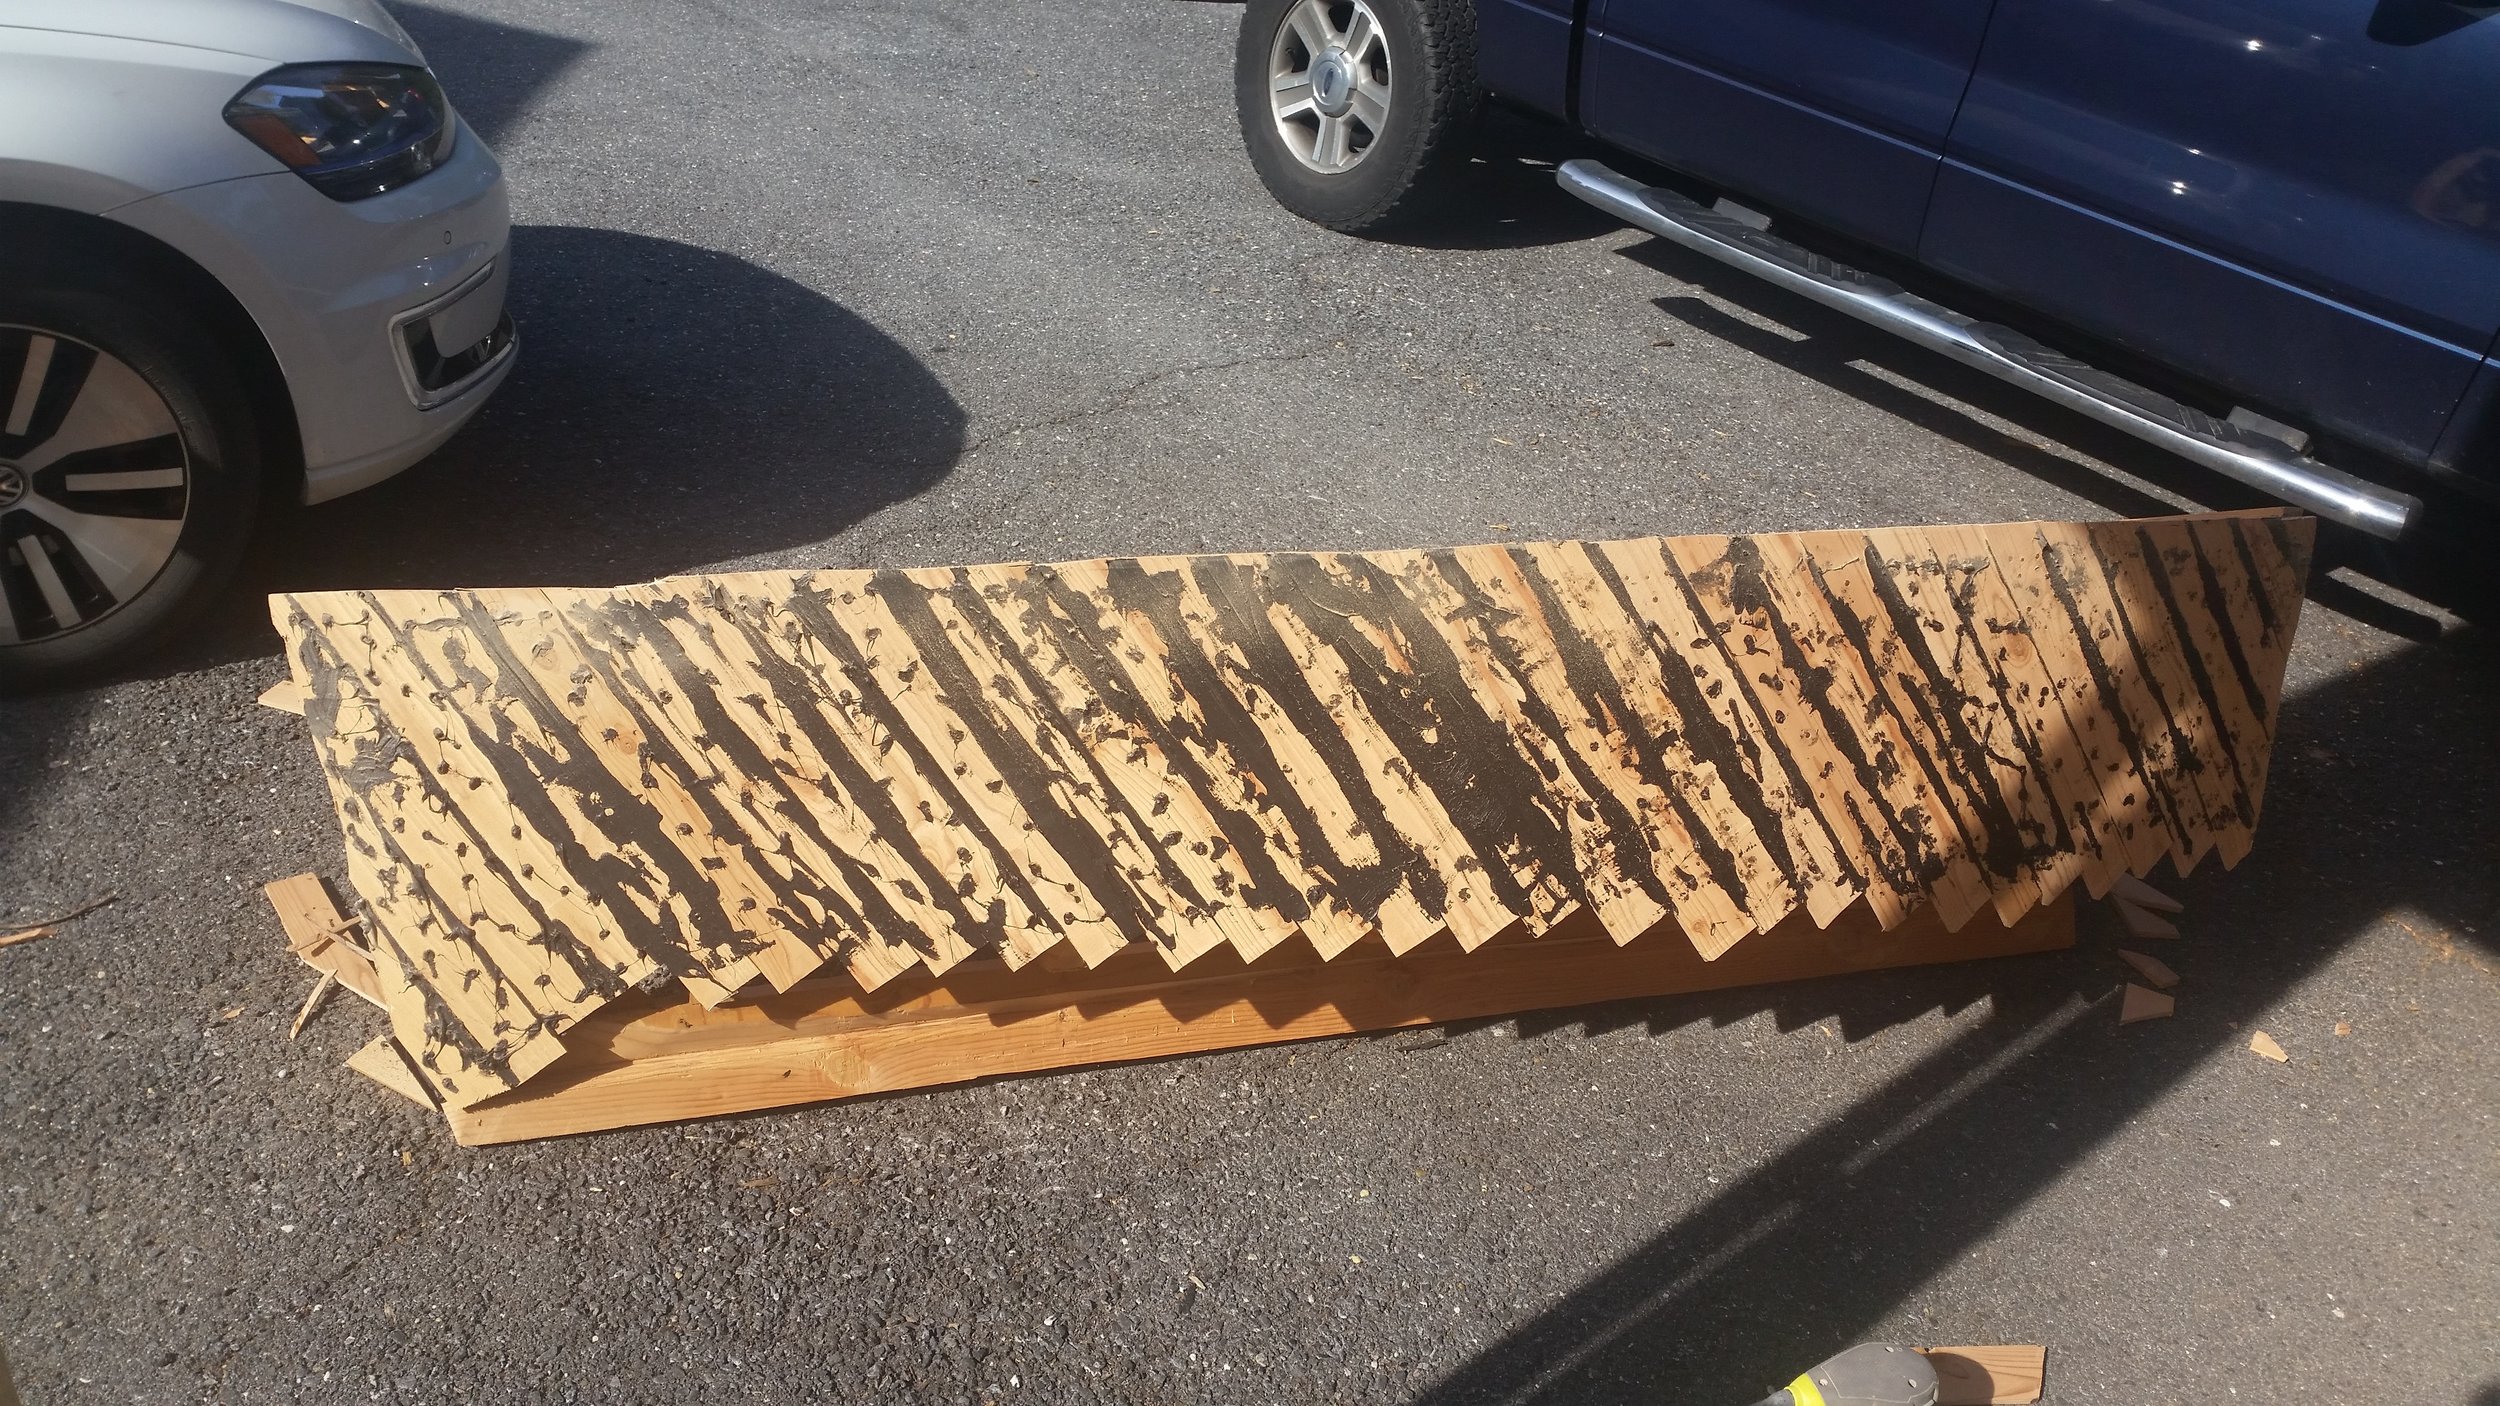
The topsides have been double planked and the polysulfide has cured, it is now time to clean up the excess. To accomplish this task, I used a very small circular saw that allows me to carefully and neatly cut away the excess planking. Since the small saw uses what looks more like a abrasive disc instead of a toothed blade, there is little risk of the teeth causing the wood to split or chip as I trim the edge.

The saws light weight allows you to control the cut much better, and the lack of power in the saw will let you know if your deviating in your cut. The friction from turning the saw mid-cut will cause the blade to stop. This is annoying and good, all at the same time. It is annoying because your cut got stopped partway through, but good because it alerts you that your cut has begun to deviate.

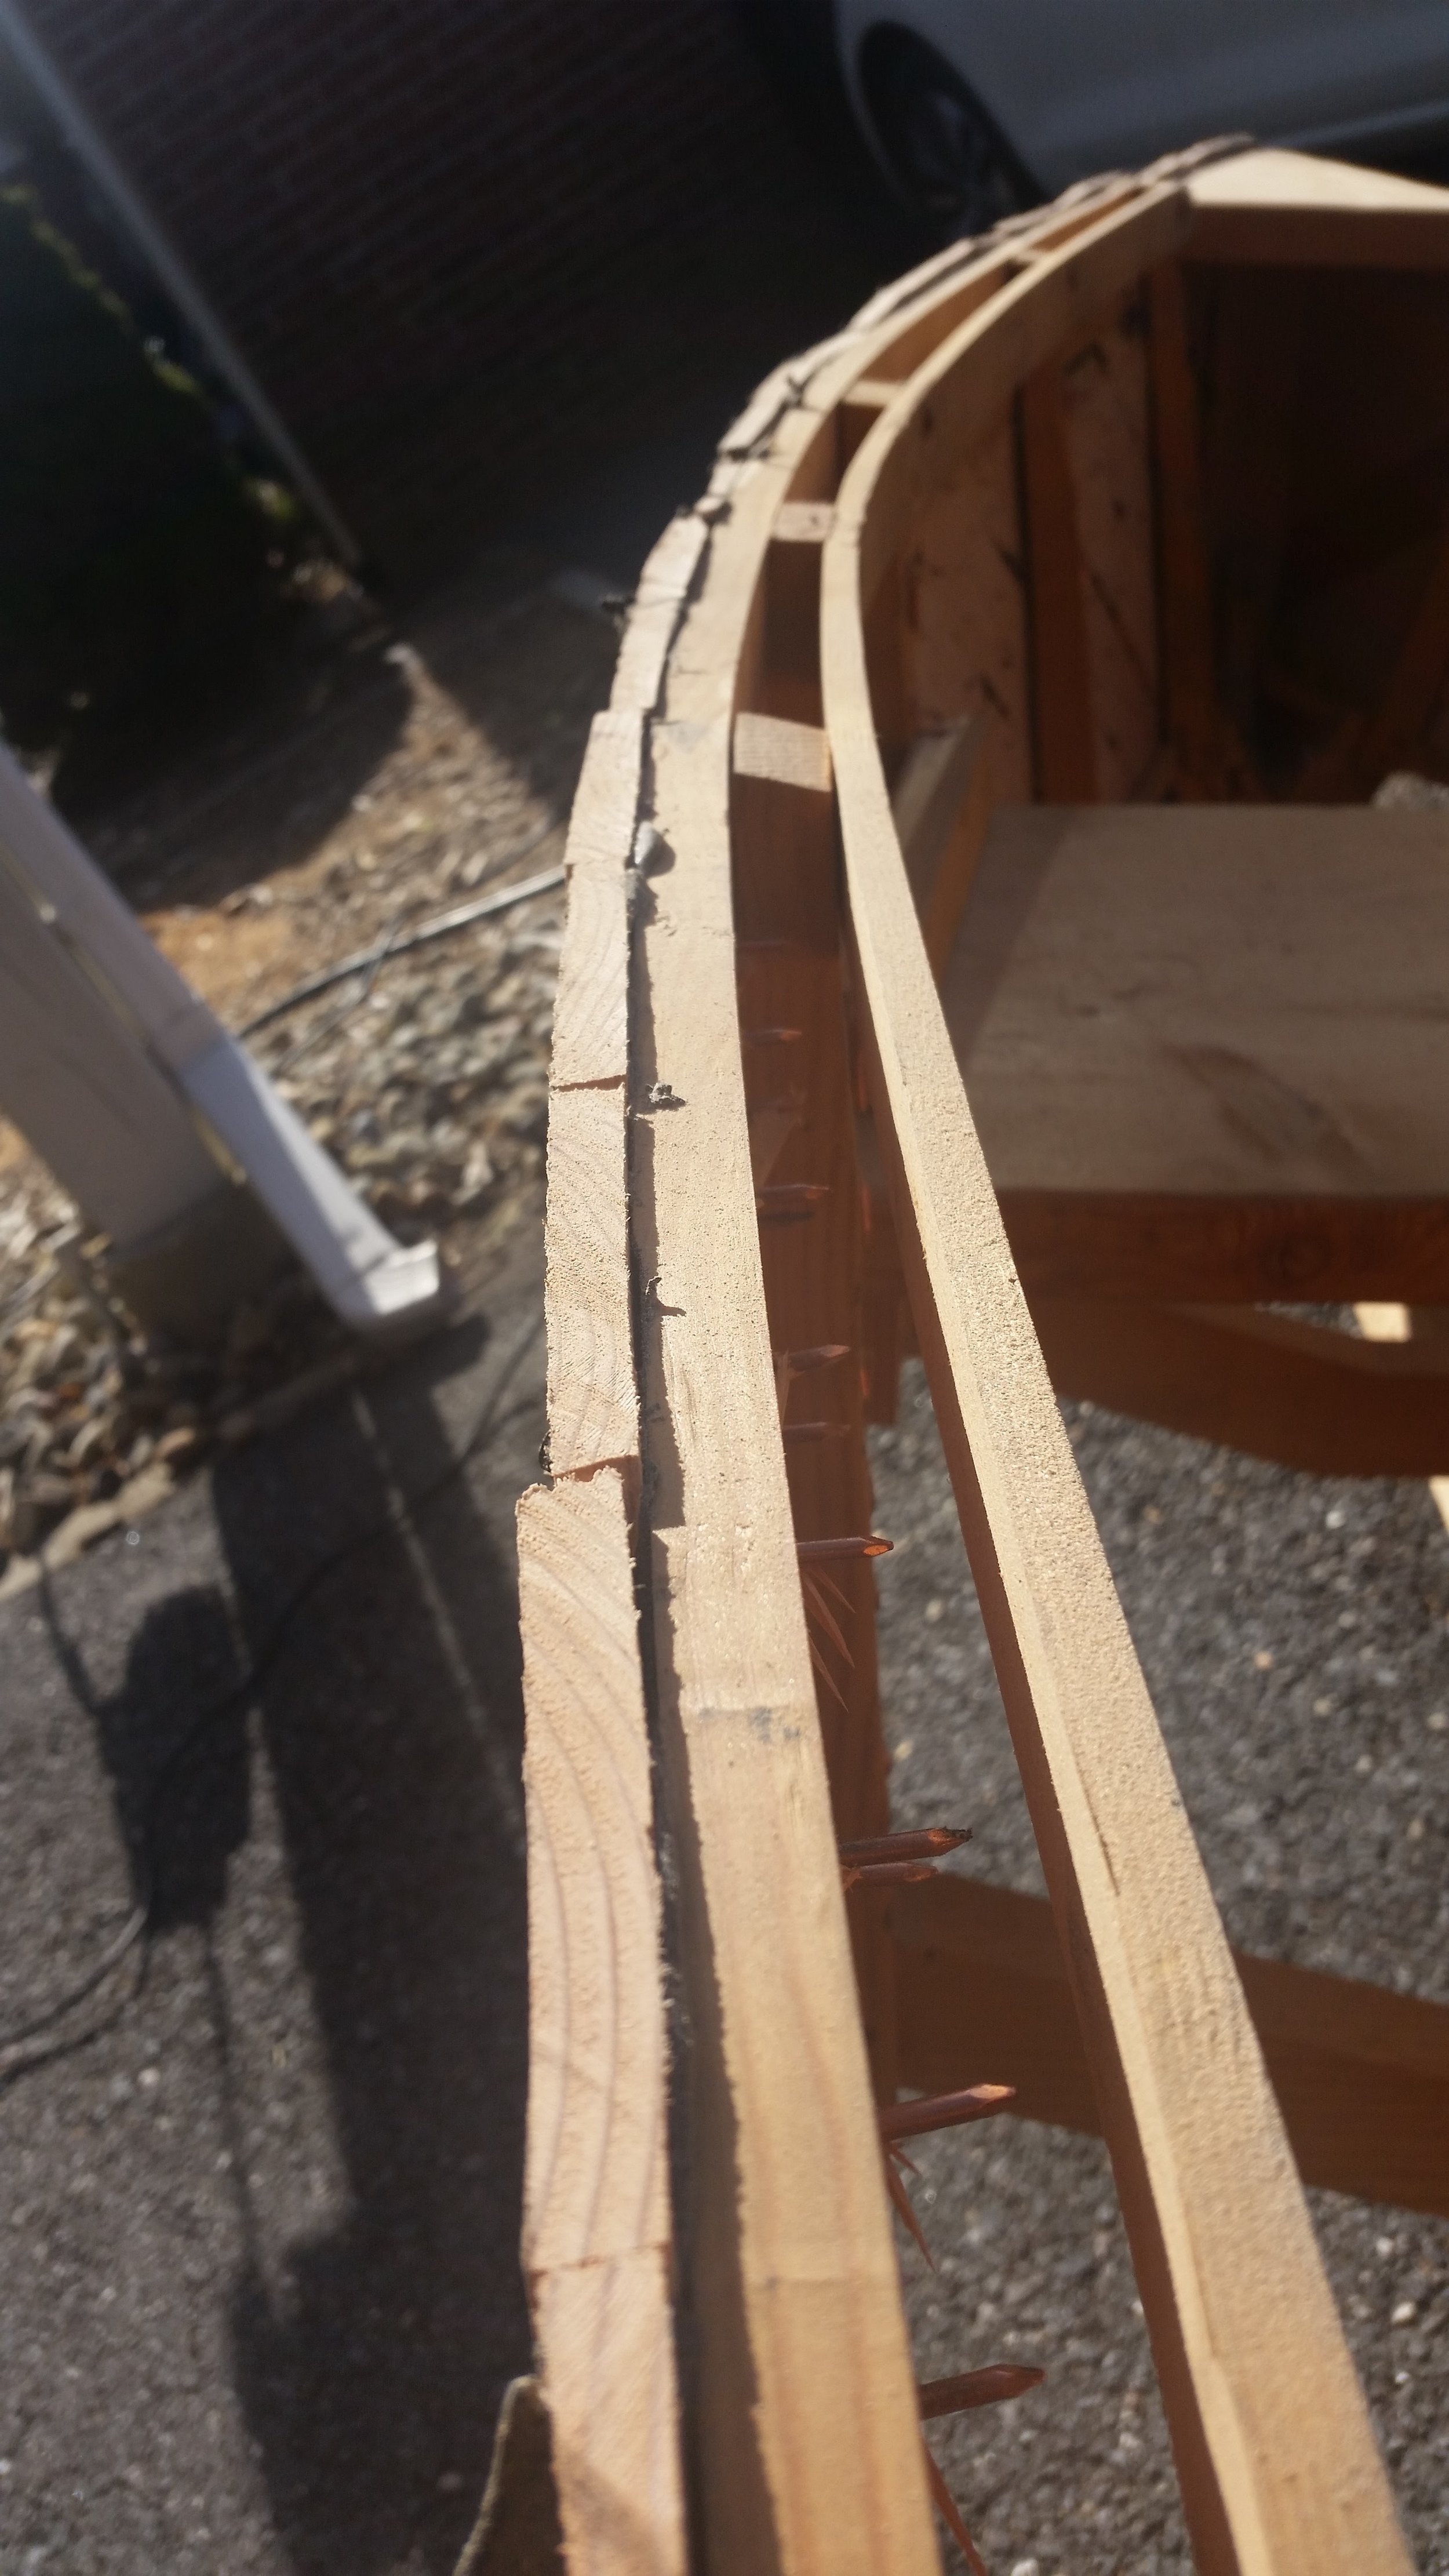
The top was sawn off, resulting in a nice and smooth sheer. The cut was made a bit proud for a few reasons: 

  • It allows me to sand it smooth to result in a perfectly smooth finish
  • It gives me some wiggle room in case I mess up the cut and deviate into the sheer strake

With the top cutoff close to the sheer, I took a sander with 60 grit paper and sanded the topside planing down to the sheer.

Morty Peed!

Morty peed in the boat again! Unlike in a house, where this simply means you need to wipe it up and go on your day. On a boat, the floor is just a false hatch to the space below! This means that his pee will drip down and soak everything on its way to the bottom of the bilge.

Sadly, he does this quite often. We think he is a "revenge pee-er" since he will only pee in the boat when he is mad at us for something. It could be something as simple as we didn't let him play long enough with a dog he met in the park, or we didn't take him to the shore that he wanted to go to. He will wait until we are sound asleep and then pee right in the galley on my tools.

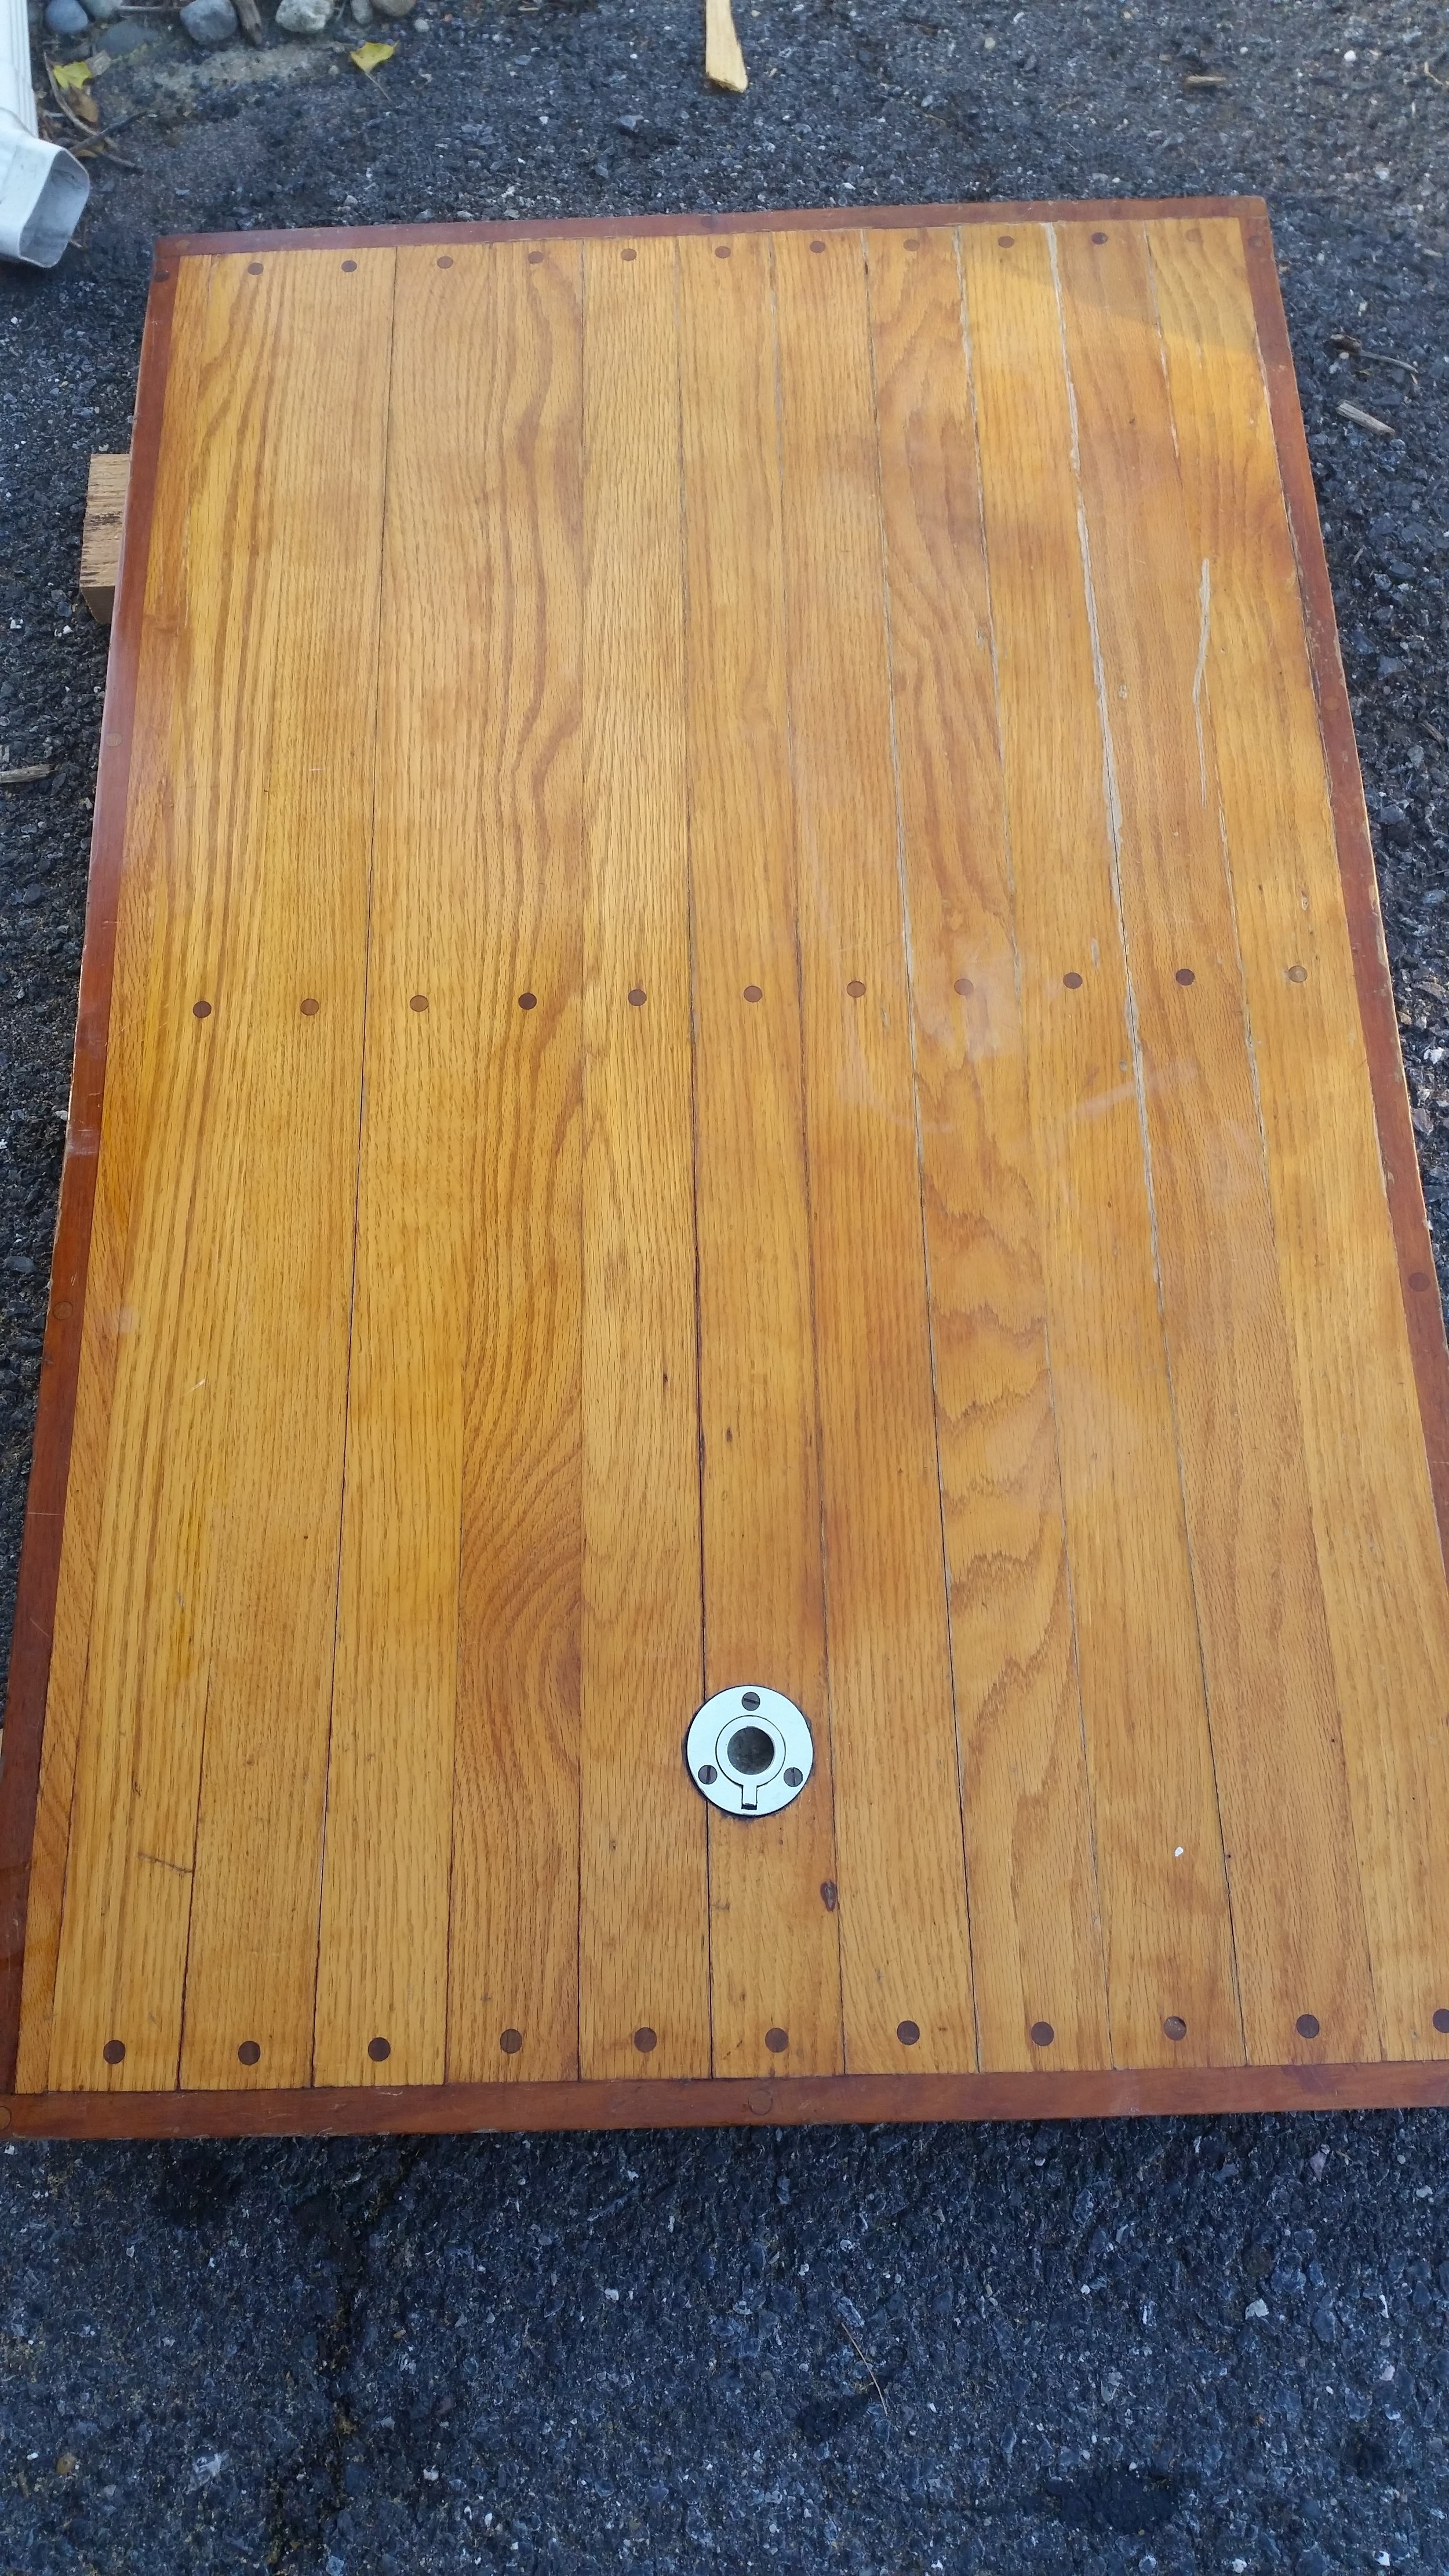
After enough episodes, the wood began to smell like his pee. Yes, we wipe it up as soon as we find it, but if he peed during the night, we wouldn't find it until morning which would be hours later. The constant soaking in urine has led to some serious deterioration of the finish on the wood sole, which has then led to the urine actually soaking into the wood itself.

It finally reached the point where the area he pees has a slight odor and I decided enough is enough. All the floor boards came out and were thoroughly scrubbed. The sole bearers were also scrubbed vigorously until the smell was removed from everything involved. This worked well on almost all the wooden components, except for two of the floor boards.

These two boards just couldn't come clean. The vigorous scrubbing has then lifted off some of the loose finish that was weakened by the constant soaking. Something more drastic had to be done!

The boards were removed from the boat and taken away to be worked on. 

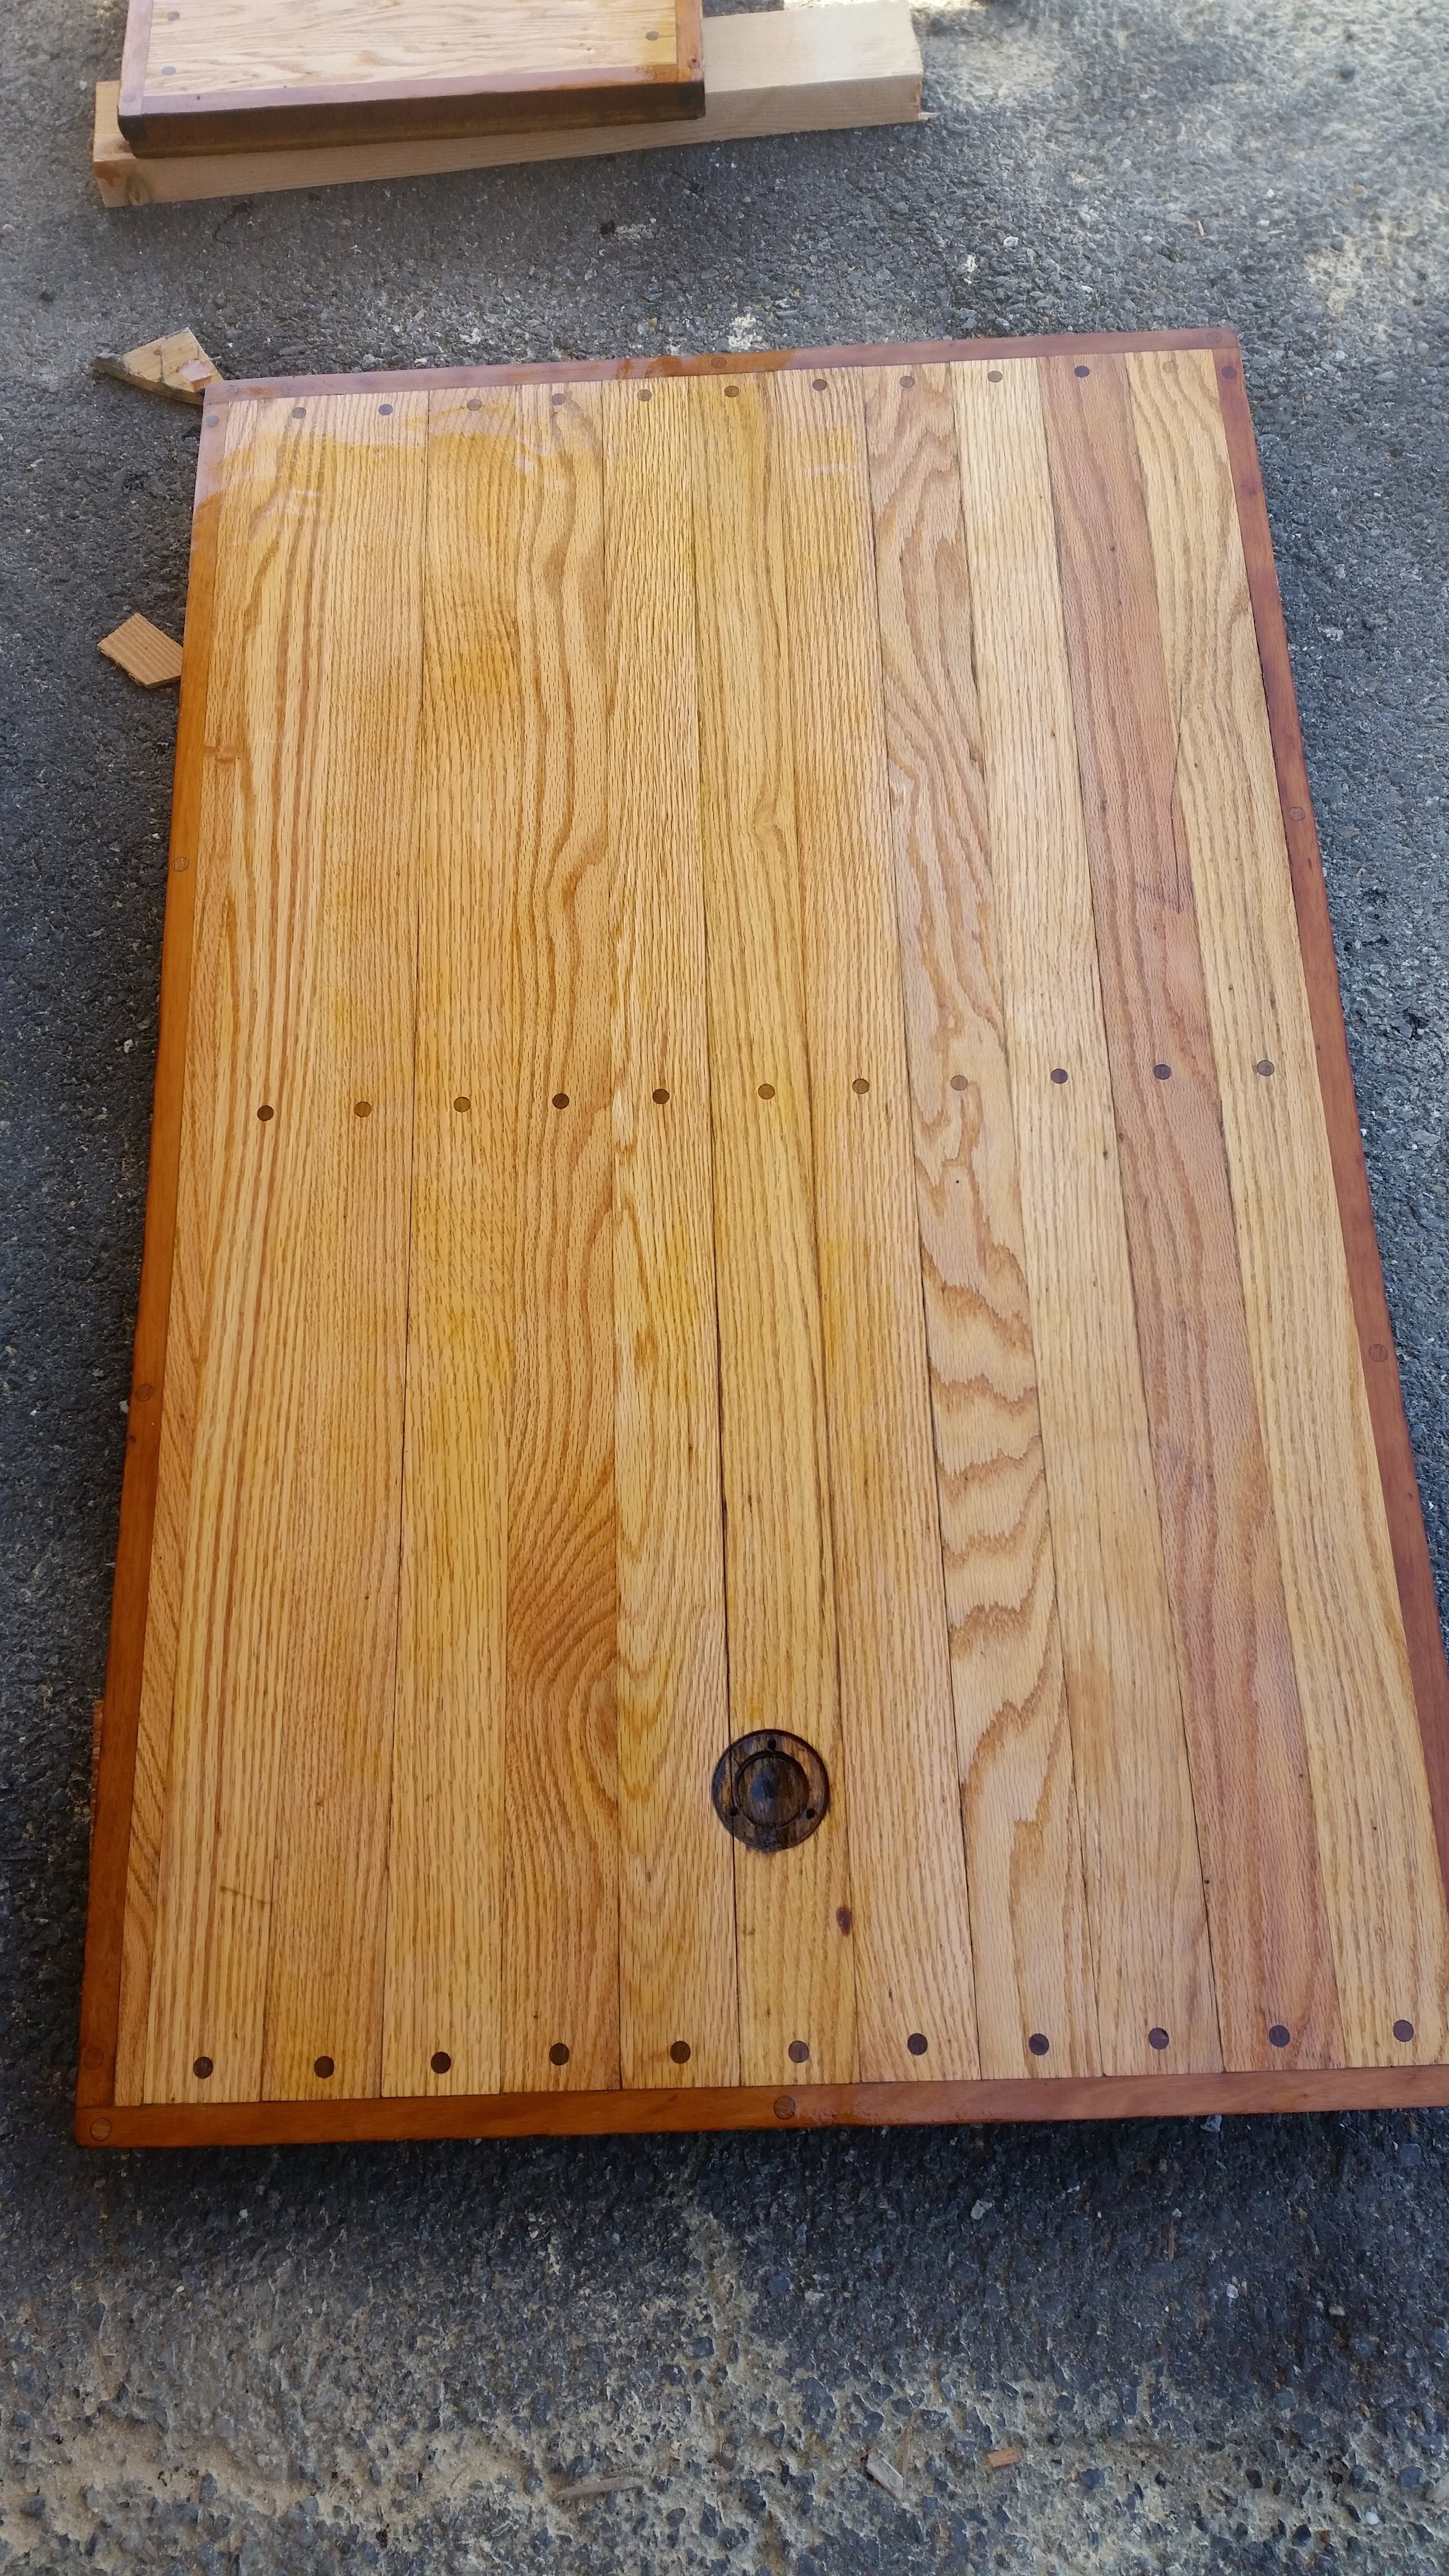
All the varnish was stripped off and the entire board was sanded to reveal fresh grain that will readily accept new varnish.

Fresh varnish was applied over the boards to seal the pee smell in. I was not able to get the smell out, so instead, I will lock it in and seal it away forever! If Morty doesn't smell his pee in this part of the boat, hopefully he will stop peeing in the boat. 

It is surprising how much varnish the boards wanted to take. The first coat of varnish was drawn in quickly. The second coat then started to build up a bit on the surface. The third coat of varnish was the first coat that began to look like a coat of varnish. After six coats of varnish, surface had enough bulk to it that I could begin smoothing it out. 

Lightly sanding the surface with a random orbital sander loaded with 220 weight paper will knock off the rough surface and create a smooth finish. After sanding, a quick wipe down with acetone will clean the surface in preparation for the next coat of varnish.

It is a slow process, but the result will be a strong, durable, and "hopefully" smell free coating for the floor boards. All this time, we are forced to stand on the sole beams as we have no salon sole in place. 

If you choose to liveaboard with a dog, these are the risks that you might need to face should your dog pee in the boat. Lifeaboard is a series of different challenges, but if you love your pet, the added challenges are just another part of boat life.

How to Heave To

Heaving To is one of the most important maneuvers you can carry out on your sailing yacht. This maneuver can be used for such simple tasks as "stopping for lunch" to "riding out a storm". Heaving to is a sailing yachts equivalent to a powerboat putting its engines in neutral. 

A power boats engines will be on a ready to go at a moments notice but there is no forward thrust, instead the boat drifts through the water at a slow pace. In a sailing yacht, heaving to accomplishes the same things; the sails are up and ready to power you forward, but the boat simply drifts along in the water at a slow pace. 

In the simplest form of explanations, heaving to is accomplished by backing the headsail. This means that the headsail will be sheeted on the windward sheet as opposed to the leeward sheet. During normal conditions, the leeward sheet is the working sheet and the windward sheet is the lazy sheet, but when heaving to, the roles are reversed and the windward sheet is the working sheet pulling the clew of the sail into the wind and backing the headsail. 

With the headsail backed into the wind, it will pull the bow to leeward and serve as an air brake to any forward movement. If the headsail were the only sail set at this moment, the yacht would be blown to leeward, jibed, and then set on a run. 

To counter this force, the mainsail is set to oppose the backed headsail. As the headsail pulls the bow to leeward, the mainsail comes into the wind and pushes the bow back to windward. This constant tug of war between the sails results in no forward movement. 

The mainsail is trying to turn the yacht into the wind while the headsail is pulling the yacht to leeward, the end result is the boat sits still and makes no forward progress. Since the wind is hitting the yacht on the beam to bow, the wind resistance offered by the yacht causes the whole system to drift in a leeward direction. As the yacht drifts to leeward, a slick of disturbed water will form on the windward side of the boat and this slick has wonderful properties that will be discussed later on. 

So, the basics of heaving to are: 

  • The headsail is backed to windward
  • The mainsail is set to leeward
  • The helm is turned to windward

In the simplest of measures the combination of these three settings will make the sailboat heave to or at least come to a stop. 

If you are in the middle of a body of water with no risk of collision with land masses or other vessels and you want to stop for lunch, simply tacking without switching the headsail will usually bring the yacht into a hove to position.  The yacht will be sailing along quickly, and then it will pretty much come to a halt and begin to drift backwards at a very slow pace.

This technique is frequently taught as a standard maneuver during a Man-Over-Board recovery, by heaving to, the yacht will stop and the victim can swim towards the yacht or crew members who are still on board can devise a method to retrieve the victim as they slowly drift to leeward. 

In both of these situations, the yacht will stop or at least greatly slow its forward progress through the water which can satisfy the needs of a yacht who wishes to stop for whatever reasons. If you are wondering why you can't just release your sheets and let your sails flog to stop the boats movement if you wish to come to a stop during a lunch break or a MOB recovery situation. The answer has two important points. 

First, flogging sails will cause a lot of noise and the sheets whipping through the air can pose a serious hazard to your yachts gear and crew members. If you are trying to relax during a calm meal on a nice day, the sound of sails beating in the wind might not be what you had in mind. In the more stressful situation of the MOB recovery, the flogging sails will add stress, confusion, and anxiety to an already stressful situation. Hearing commands and relaying information will become very difficult over the noise of the flogging sails.  

Second, flogging sails will quickly work harden the fibers in the sailcloth and lead to early destruction of the sails. A sail violently flogging in a storm will rip to shreds in a few minutes! Deliberately setting your sails to immediate destruction will ruin any plans to sail further when you are ready. For these reasons, heaving to is a much better protocol as it will stop your vessel and protect your sails.

While heaving to during a storm, you need to capitalize on the lateral drift of the yacht through the water which will create a slick of disturbed water to windward. The slick of disturbed water that will appear to windward will settle and calm any approaching breaking wave and transform it into a gentle, though large, roller. If you are fore reaching slowly, you will move out of the protective slick and the bow of your boat will be at risk of being hit by a breaking and boarding wave. If you can remain in your slick, you will be able to rid out a storm without having to take any water over your deck.

Getting the yacht to stop fore reaching can prove easy on some yachts and more challenging on other yachts, but regardless, it can be done. To get the yacht to stop fore reaching and remain in a hove to position, you need to play with various sail configurations to find the setup that works best for your yacht.  

In general, you want to maintain a balanced sail plan with a backed headsail and a set mainsail. This will be the best starting place for configuring your sail plan while hove to. Matching your sail size to the present conditions is also an important consideration.  

If you are heaving to in light airs for lunch, a full headsail and aims ail will work just fine. The yacht will be balanced and will probably hold its position just fine. If you are heaving to in a storm because of incliment weather, full sails would be a death wish for your yacht! Reefing your sails accordingly is very important as it keeps the amount of sails area exposed manageable and heaving to a controlled and predictable operation. A good rule of thumb is that you should heave to with the same amount of sail that you would be willing to fly if you were sailing in these conditions.  

Five knots of wind would allow you to heave to under full sail. Twenty five knots of wind would behove you to heave to under reefed sails. If you are planning to ride out a strong gale, storm sails would be crucial to your survival.

Once again, you will need to test out various sail combinations on your own yacht during strong conditions to see what works best for your setup. During strong winds you might not actually need a headsail set to heave to. Furlers, rigging, deck gear, and freeboard can act as a backed headsail and push your bow to leeward, precluding you from the need for setting a backed headsail. If this is the case, adding a backed headsail will cause your bow to be pulled off the wind and set your yacht beam to the seas. Ideally, you will wish to remain with your bow between thirty to forty five degrees from the wind as this will allow your bow to cut through the approaching waves and keep vessel motion under control. 

Behind the mast, you will want to fly a trysail, as this small scrap of sail cloth will keep your bow into the wind and the vessel's motion steady. I recommend starting with a storm jib and trysail set hove to, and if you find that you have trouble keeping your boat at the ideal angle to the wind, douse the storm jib and lash it to the deck. The bow will begin to turn up into the wind better and the yacht will ride through the seas more comfortably. 

With your yacht turned into the wind, it will attempt to tack. The backed storm jib or deck windage will keep your boat from completing the tack as it stalls and drifts back into ideal posture to the wind and waves. Since the yacht is stalled out as it tries to move to windward, it will be at the mercy of the windage on the entire yacht as it is slowly pushed to leeward as a whole unit. The boat will gently ride up into the wind and then fall off as it slowly drifts laterally through the seas. This lateral drift will generate the protective slick which will calm the approaching seas help you survive the storm in comfort.  

You might be concerned that the small amount of sail up will cause significant heeling and possibly knot the boat down! This is not the case. With the proper amount of sail exposed during a storm, you will be able to ride comfortably through the seas without much heel. We have ridden out several storms with strong winds and minimal heeling.

One storm we had in the ocean had winds of thirty seven knots for more than 14 hours. We attempted to sail during the storm but resistance was futile. We were uncomfortably heeled over while flying only our staysail and trysail. As soon as we hove to, the yacht straightened out and we were only heeled over around ten degrees. 

Another more violent squall hit us where we hove to under just our trysail for around an hour in winds of forty knots and were only heeled over around five degrees. While hove to, the yacht remains relatively straight and the motion of the vessel is very comfortable. There is no jerking or lurching which can cause some crew members to regurgitate their lunch and their morale. Instead, the entire experience becomes a waiting game, where you sit around and find things to do to pass the time as the storm blows over. 

A yacht that is hove to is pretty much the equivalent of a champagne cork. It may be tiny as the seas tower around it, but it floats along without a care as it rides over the crests without much motion. It doesn't move fast during the storm but it does float the whole way through. Heaving to during a storm will convert your yacht from a finely tuned machine that soars through the waves into a cork that floats along mindlessly. Once the storm has passed and the sea state calmed, you can set your sails for performance and race towards your destination once more without any damage nor loss of morale. 

Heaving to is a crucial skill that should be learned, honed, and mastered. It can mean the difference between weathering a storm and surviving a storm. Likewise, it can prove to save your yacht and extend range by granting you the ability to sail in any condition that nature may throw at you.