Dinghy Choices

Most people will quickly picture some kind of vessel when they think of a dinghy. The truth is, a dinghy can be anything as long as it can meet your needs! While some will splurge to purchase a RIB from Zodiak, this purchase should not hold you back from casting off the docklines and living your dream!

We have encountered many cruisers along our short voyage and seen a wide variety of dinghies. While almost all of them are inflatable dinghies with an outboard on the back, there are still many more options.  

A lot of people use kayaks, as they are light weight, easy to handle, and can carry a considerable payload in them. This is great if you just want to get to shore and return with groceries, which is what a dinghy is most often used for!  

Along these lines, we met one person who is using an inflatable kayak that he bought for $50! He needs no fuel, and it deflates to take up almost no space. At the same time, a new 9.5 inflatable from AB Inflatables would cost you $5,000, and this doesn't even include the outboard motor. 

Don't let the debate about what dinghy you need to have to go cruising because any dinghy that gets the job done is perfect! All you need to do is find something that is within your budget and you will be good to go. 

Siding Above the Windows

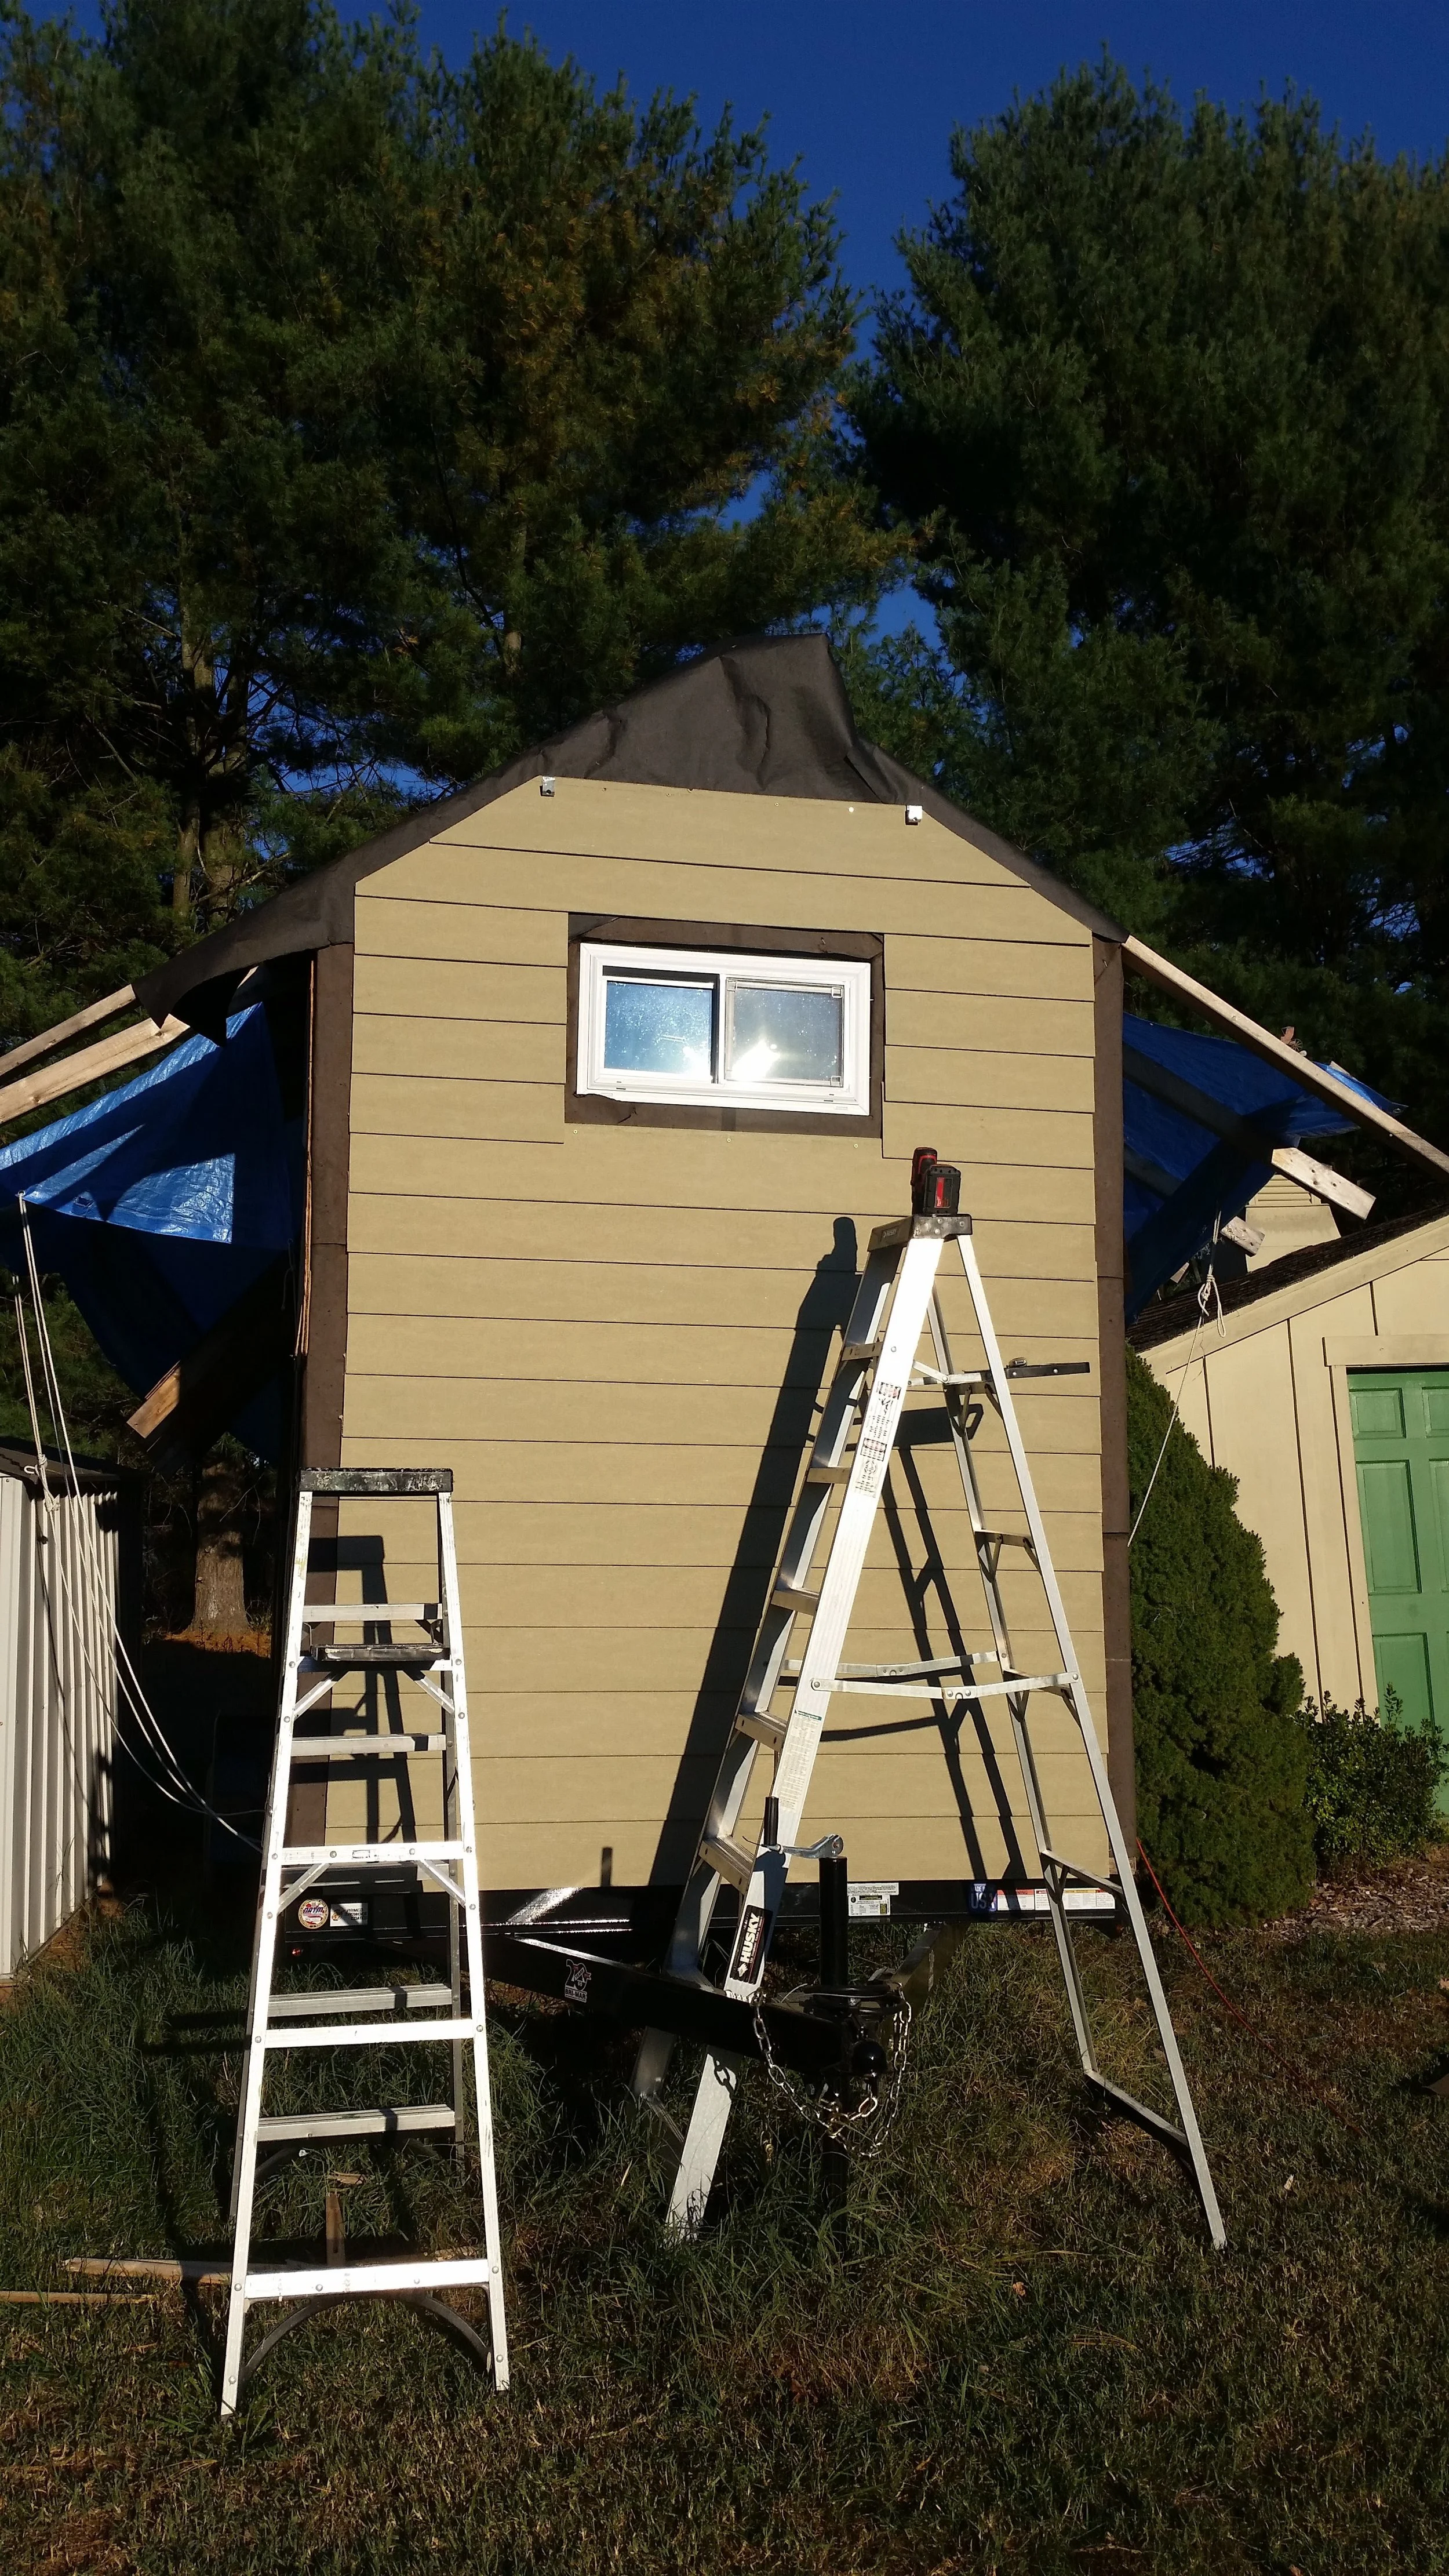
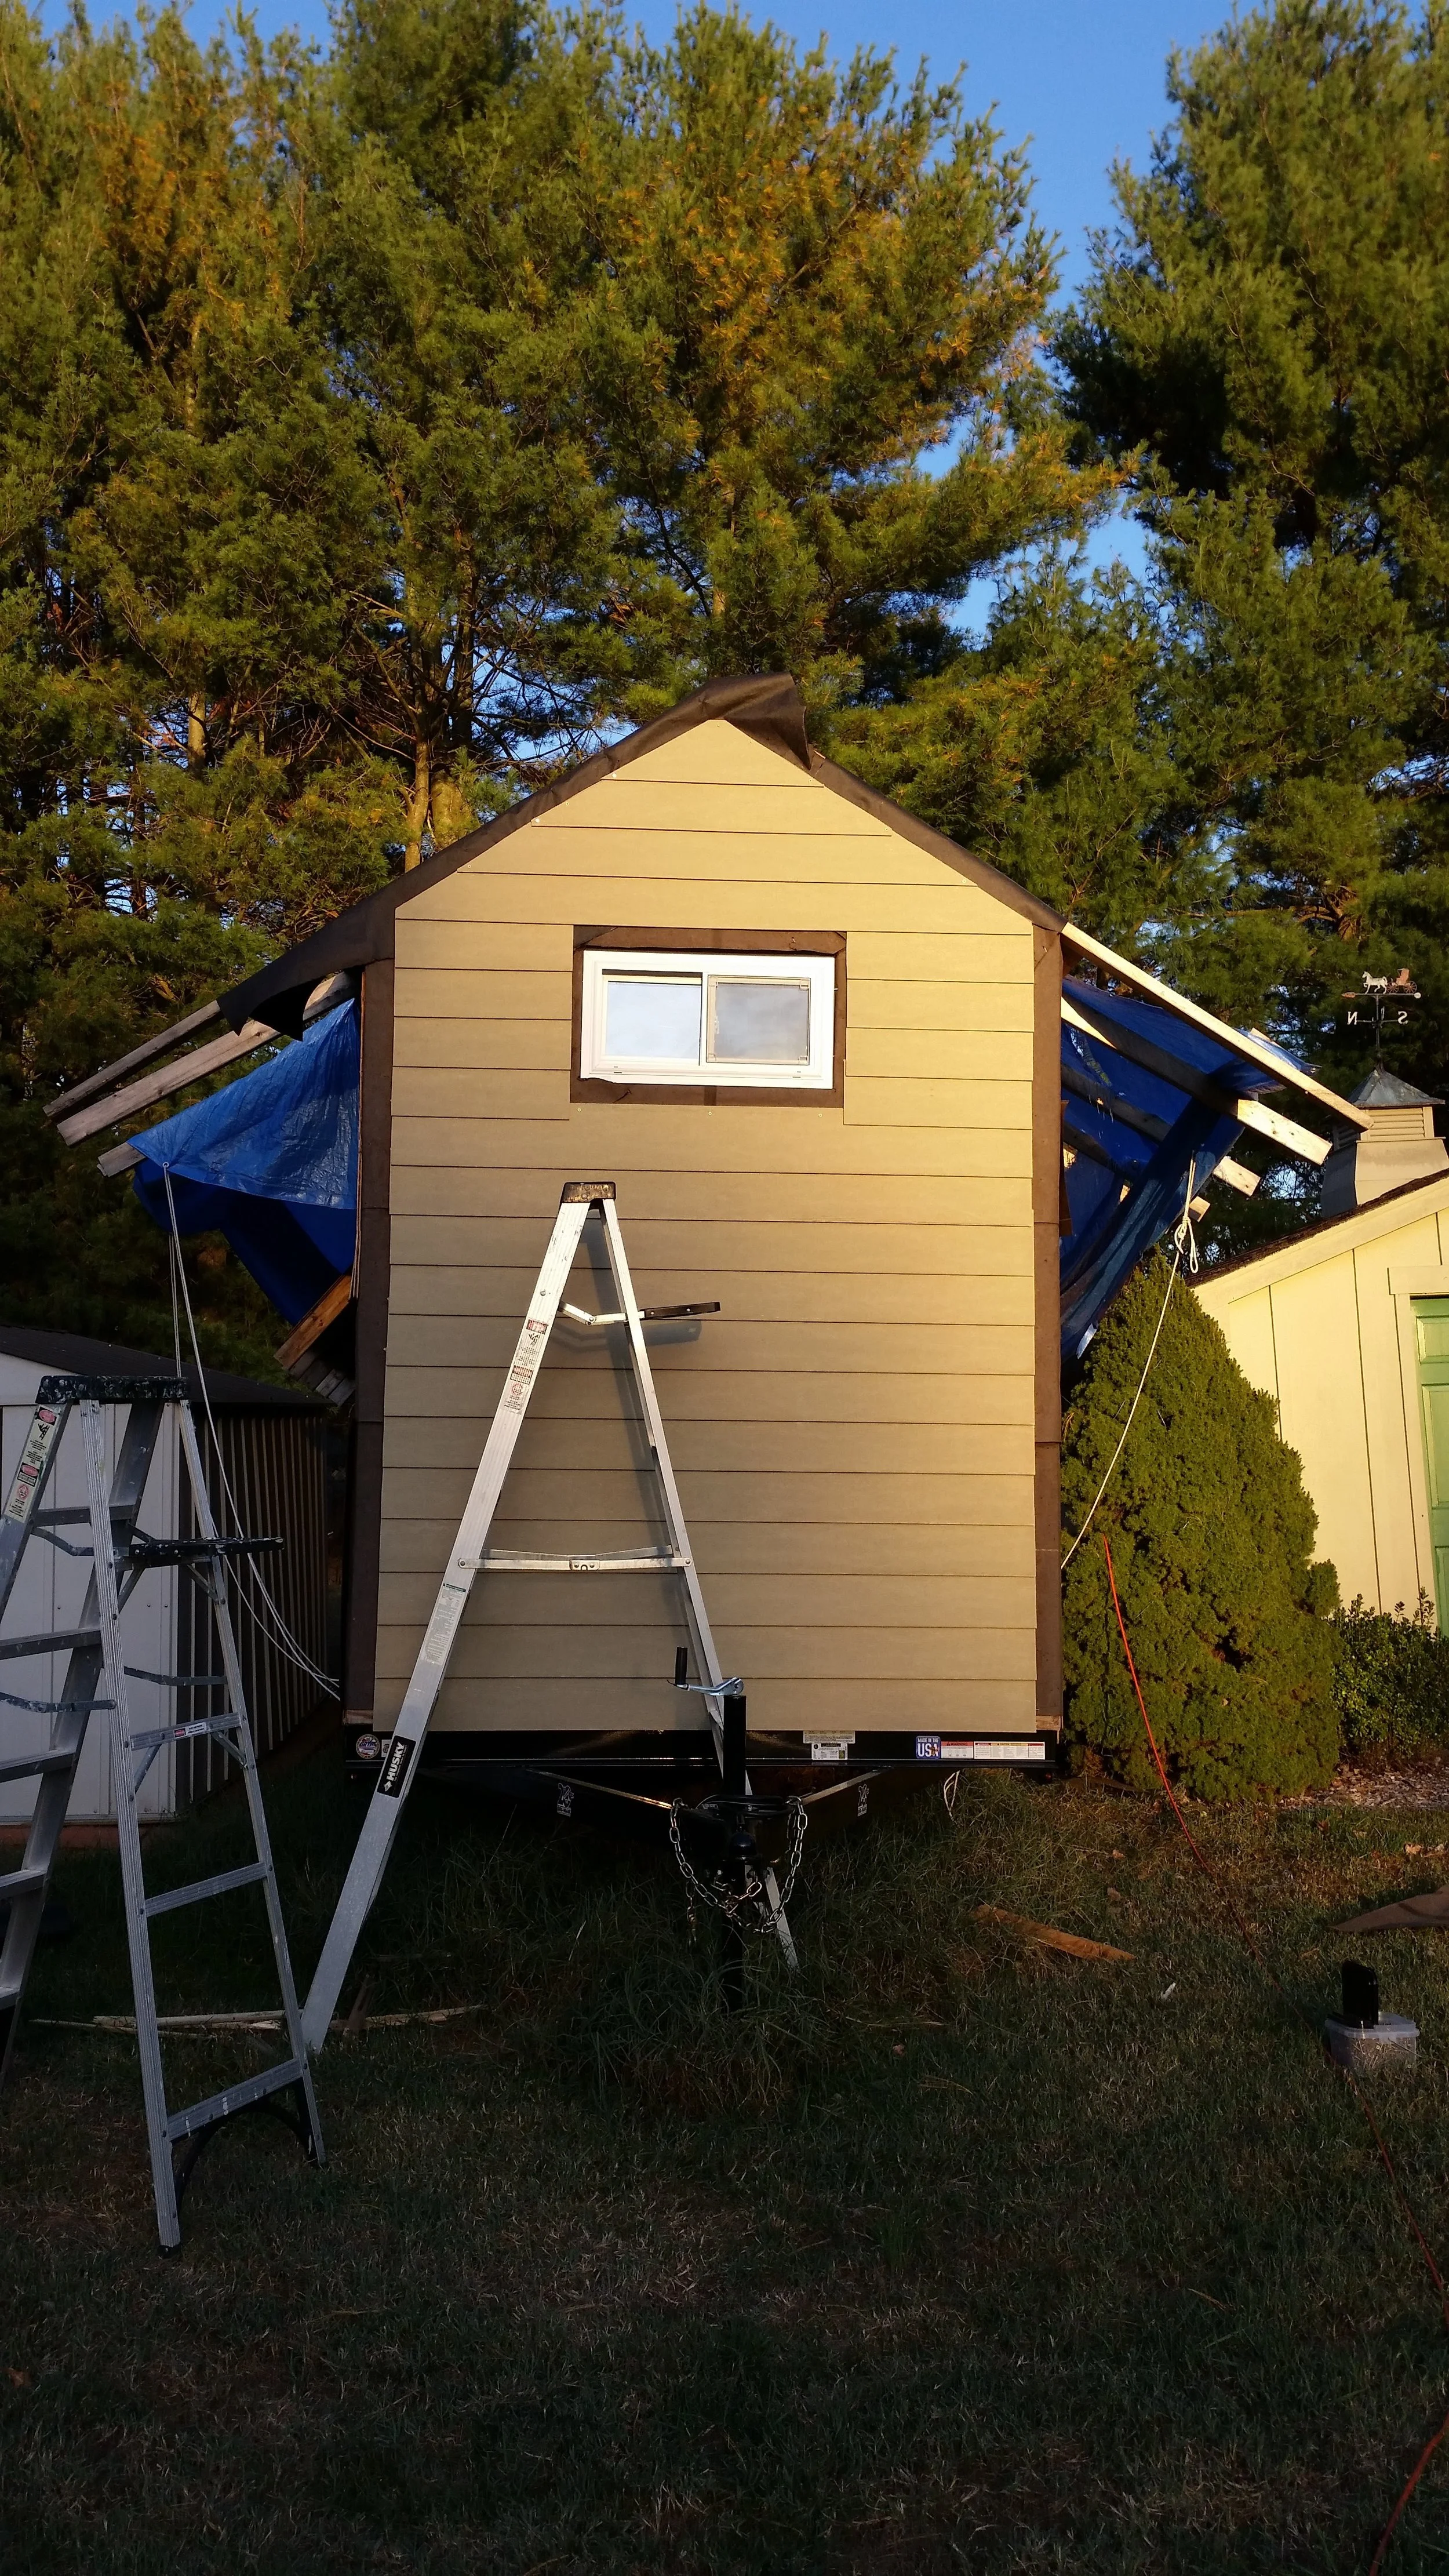
Planking on bare and straight walls is easy to do. Planking around windows or roof peaks are not as easy to do.

Once you reach this point, you have finished the easy work; now begins the more tedious work.

Planking next to the windows requires factoring in the thickness of the trim. I plan to use a 3 inch trim piece next to the siding, and a 5 inch trim piece over it to cover the sides of the siding. The windows need a 3 inch gap between them and the siding, so the gap between the window and edge of the house adds up to 6 inches. This means:

The space between the window and edge of the house - 6 inches = Length of the siding board

After measuring and cutting, these two rows of planks are set and screwed onto the tiny house, covering the ugly siding with these lovely siding planks!

Once the planks next to the windows are complete, it is time to plank into the peak of the roof. Each of these planks will need to be beveled to keep the 3 inch gap necessary for the siding to fit into.

Each plank is set on the hooks and 3 inches are marked perpendicular to the edge of the roof line. Then the plank is removed and cut along these lines, then reinstalled and screwed into the side of the tiny house.

Once you reach the top plank, it will be cut into a triangle shape which will not offer any place to hang the hooks for the next plank. At this point, you are done!

Dinghy Construction

The port sheer and shelf clamp were a bit resistant to being installed, or I was very tired since it was 5AM. Either way, these two strakes refused to take the shape the frames had dictated for them!

The dinghy now has all three stringers installed, giving the hull its intended shape and stiffening up the frames tremendously. The stringers do extend farther than needed as the stem and transom are yet to be installed. When I go the ends of the dinghy get installed, I will cut the stringers to fit; until then, they can overhand the dinghy just like the keel does.

The reason I say the sheer and shelf clamp resisted being bent to the frames is because they literally snapped the first floor! The floor split along its grain just below where the frame attaches. This floor is rather small and yet I have had remake it already. The first floor got over trimmed on the jointer and needed to be remade, so I made this current floor. 

With a split floor, my options are simple, either remake it again or fix it. Remaking it would be the ideal, especially since the boat will be finished bright and varnish will not hide flaws like paint will. Remaking the floor would require that I also remake the frames that are glued to them and attach the stringers on both sides to the new floor and frames. The alternative is to liberally apply Titebond III wood glue and clamp the hell out of it!

One clamp pulls the chines together to pull in the bottom of the station. The vertical clamp pulls the split section down to the floor, while the third clamp approximates the broken pieces. The split sections were able to be properly approximated and allowed to sit in the pressure of the clamps for the next few days. Once the clamps are removed, strips of wood will be glued to the front of the floor to help resist the sheer forces on this station.

Right now, the floor is under a lot of strain, especially while I was bending 1/2 inch planks to the hull. The tremendous twisting force split the floor right along its grain. Once the stem is installed, these forces will be transmitted to the stem and not falling entirely on the first stations floor. The chine logs will be cut into the stem and set in place along with the sheer, passing these loads from the first stations floor to the much more robust and bookmatched stem.

Sleepy Dog

We are often asked what Morty does while we are away from the boat. The truth is, we don't actually know, but we assume it is something along the lines of what he does when we are there: Relax.

Morty is a connoisseur of the comfiest and coziest places on the boat, as he can typically be found curled up or stretched out in the greatest of comfort. 

He sleeps in the bed while we are away, and he sleeps in the bed while we are still there. In the morning, he will typically curl up next to you and rest his head on a pillow and smile as he basks in the comforts of boat life!

While he may seem like a lazy dog (which is true), he does enjoy his runs in the local parks where he can stretch his legs and scoot around for a bit.

He runs around for a while, and then gets tuckered out. We know he is ready to go back to the boat when he walks up to us and looks us in the eye. When we tell him "Ok, let's go home" he then resumes walking.

Once we get back to the boat, he resumes his regular relaxation in comfort.

Right Tools for the Job

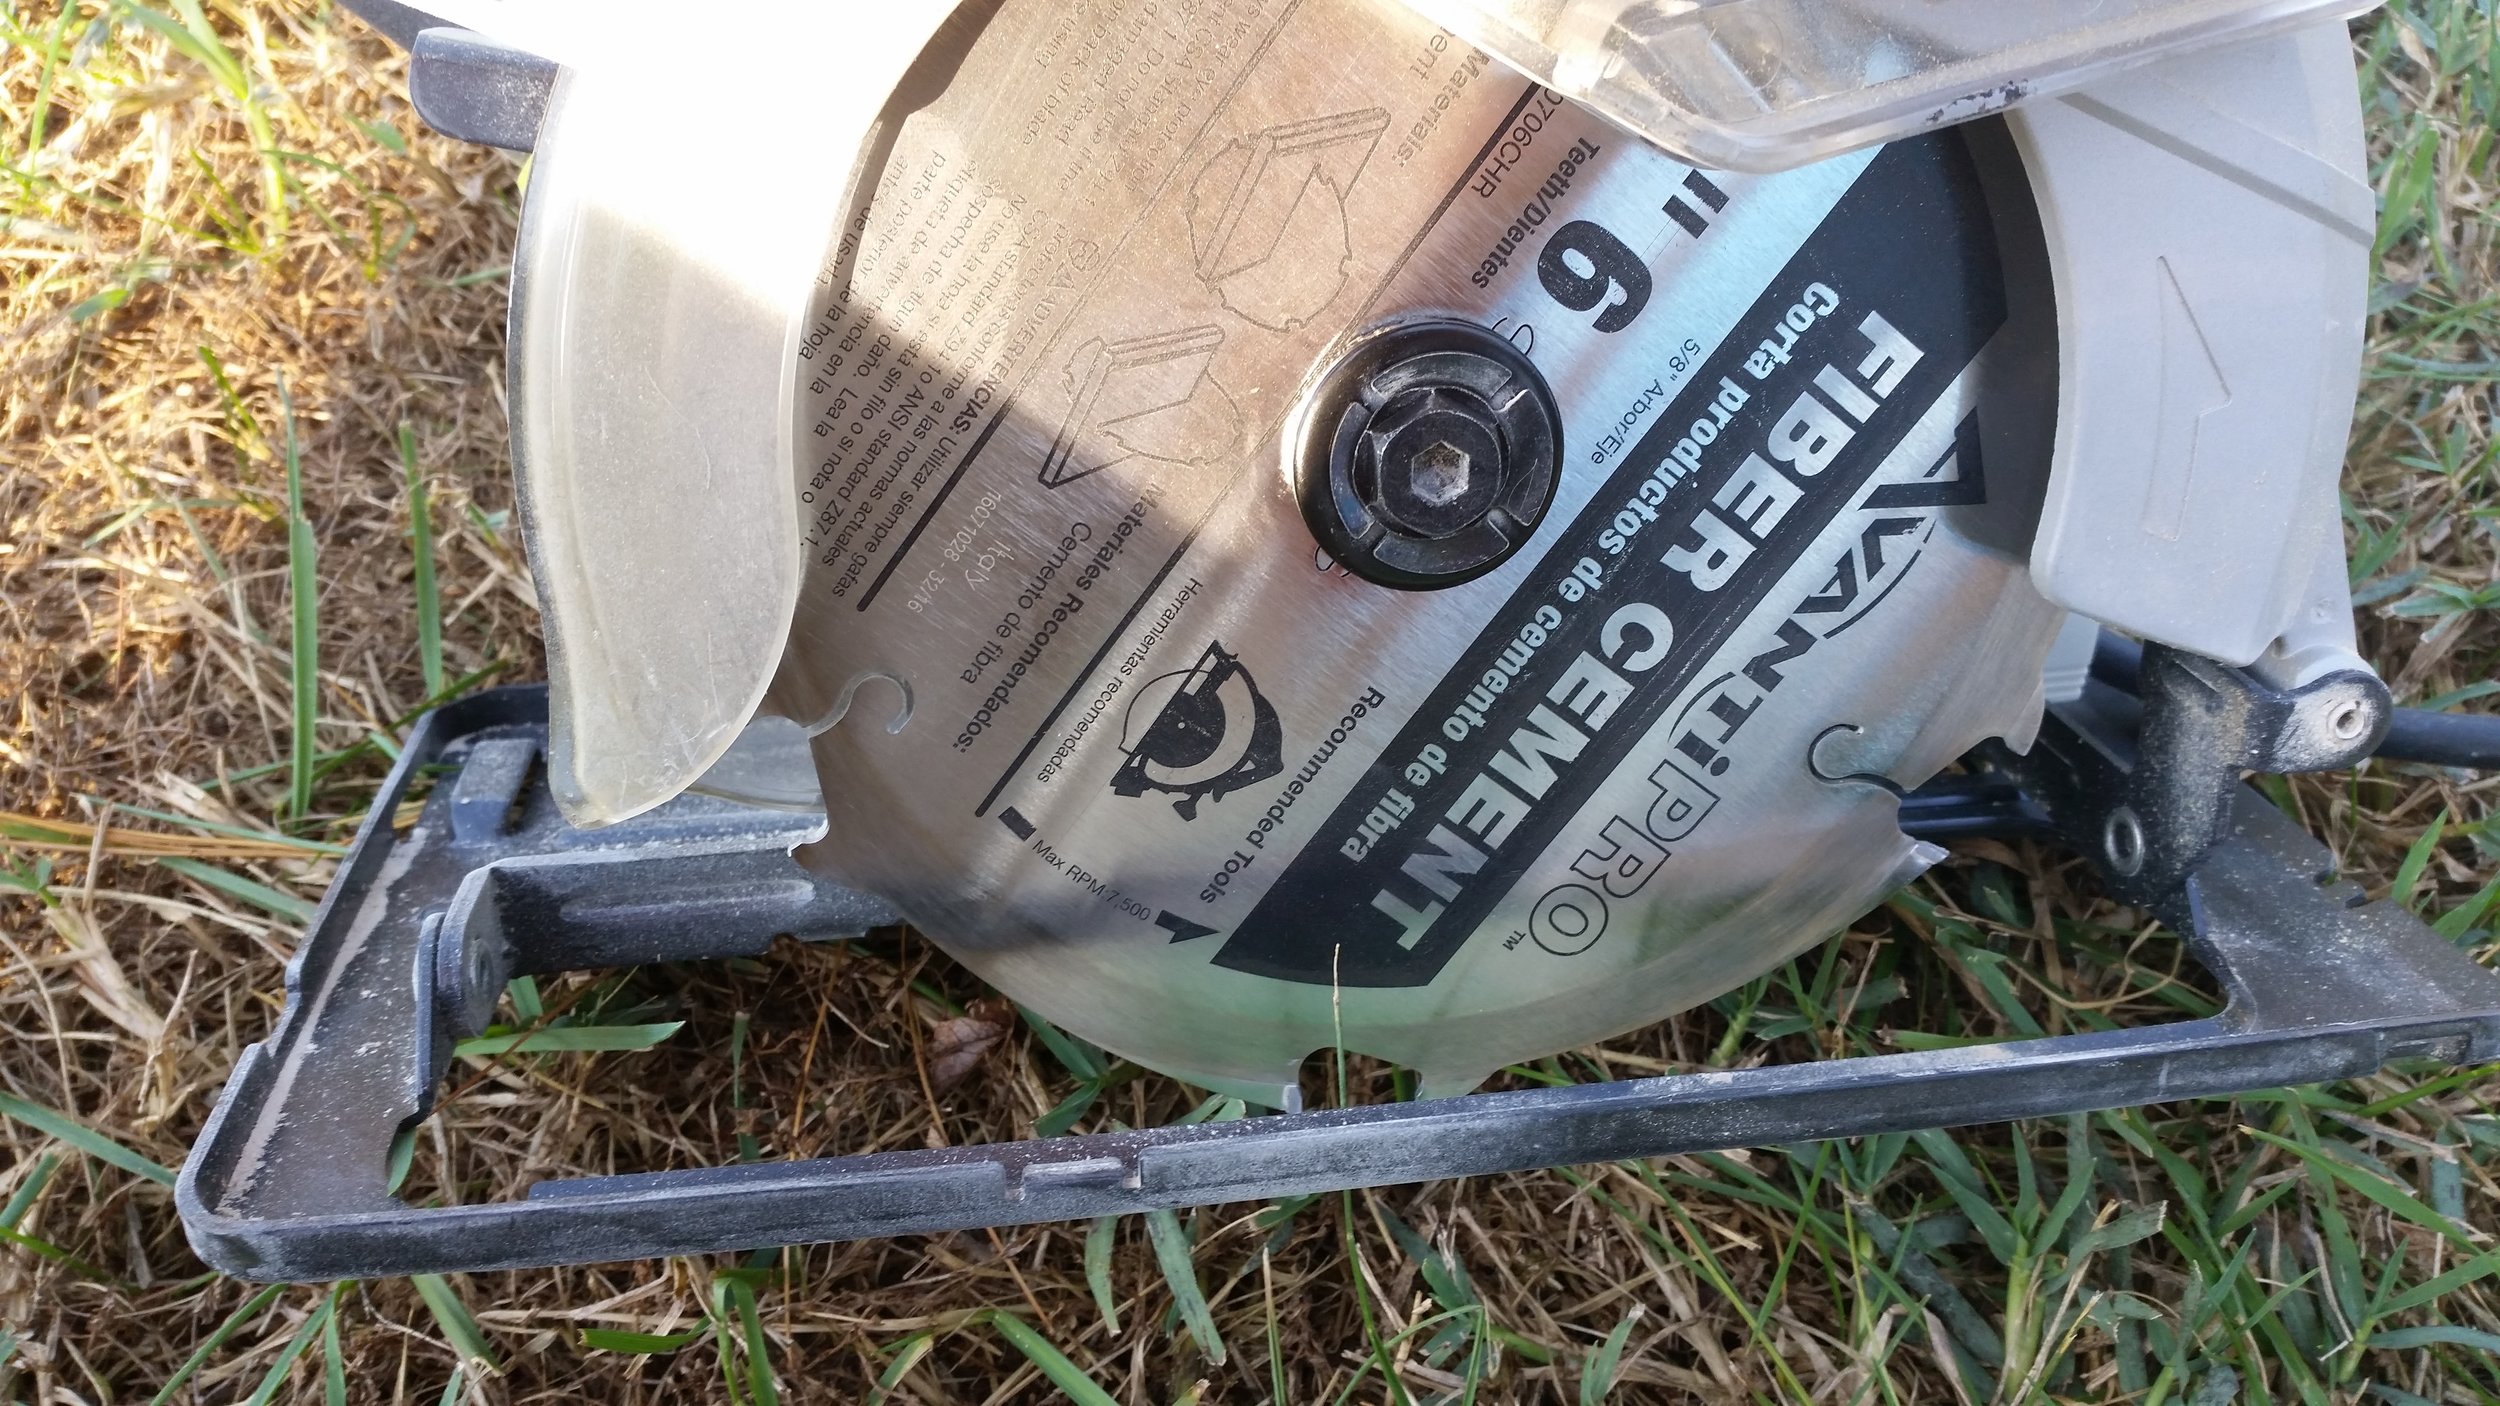
Fiber cement siding is very easy to work with, as long as you have the right tools for the job. The cheapest and easiest way to cut the siding is with a handheld circular saw.

The most notable difference between a regular circular saw blade and a fiber cement circular saw blade is the number of teeth. A fiber cement circular saw blade will have very few teeth, which may make you think it will cut slowly. Truth is it will slip through fiber cement boards like a hot knife through warm butter!

This saw blade will cut quickly and easily, but it will kick up a lot of dust! Be sure to wear a mask or respirator while you are cutting. It also helps to work outside and stand upwind to the saw while cutting so all the dust will be carried away from you.