
Planking on bare and straight walls is easy to do. Planking around windows or roof peaks are not as easy to do.

Once you reach this point, you have finished the easy work; now begins the more tedious work.
Planking next to the windows requires factoring in the thickness of the trim. I plan to use a 3 inch trim piece next to the siding, and a 5 inch trim piece over it to cover the sides of the siding. The windows need a 3 inch gap between them and the siding, so the gap between the window and edge of the house adds up to 6 inches. This means:
The space between the window and edge of the house - 6 inches = Length of the siding board
After measuring and cutting, these two rows of planks are set and screwed onto the tiny house, covering the ugly siding with these lovely siding planks!

Once the planks next to the windows are complete, it is time to plank into the peak of the roof. Each of these planks will need to be beveled to keep the 3 inch gap necessary for the siding to fit into.
Each plank is set on the hooks and 3 inches are marked perpendicular to the edge of the roof line. Then the plank is removed and cut along these lines, then reinstalled and screwed into the side of the tiny house.
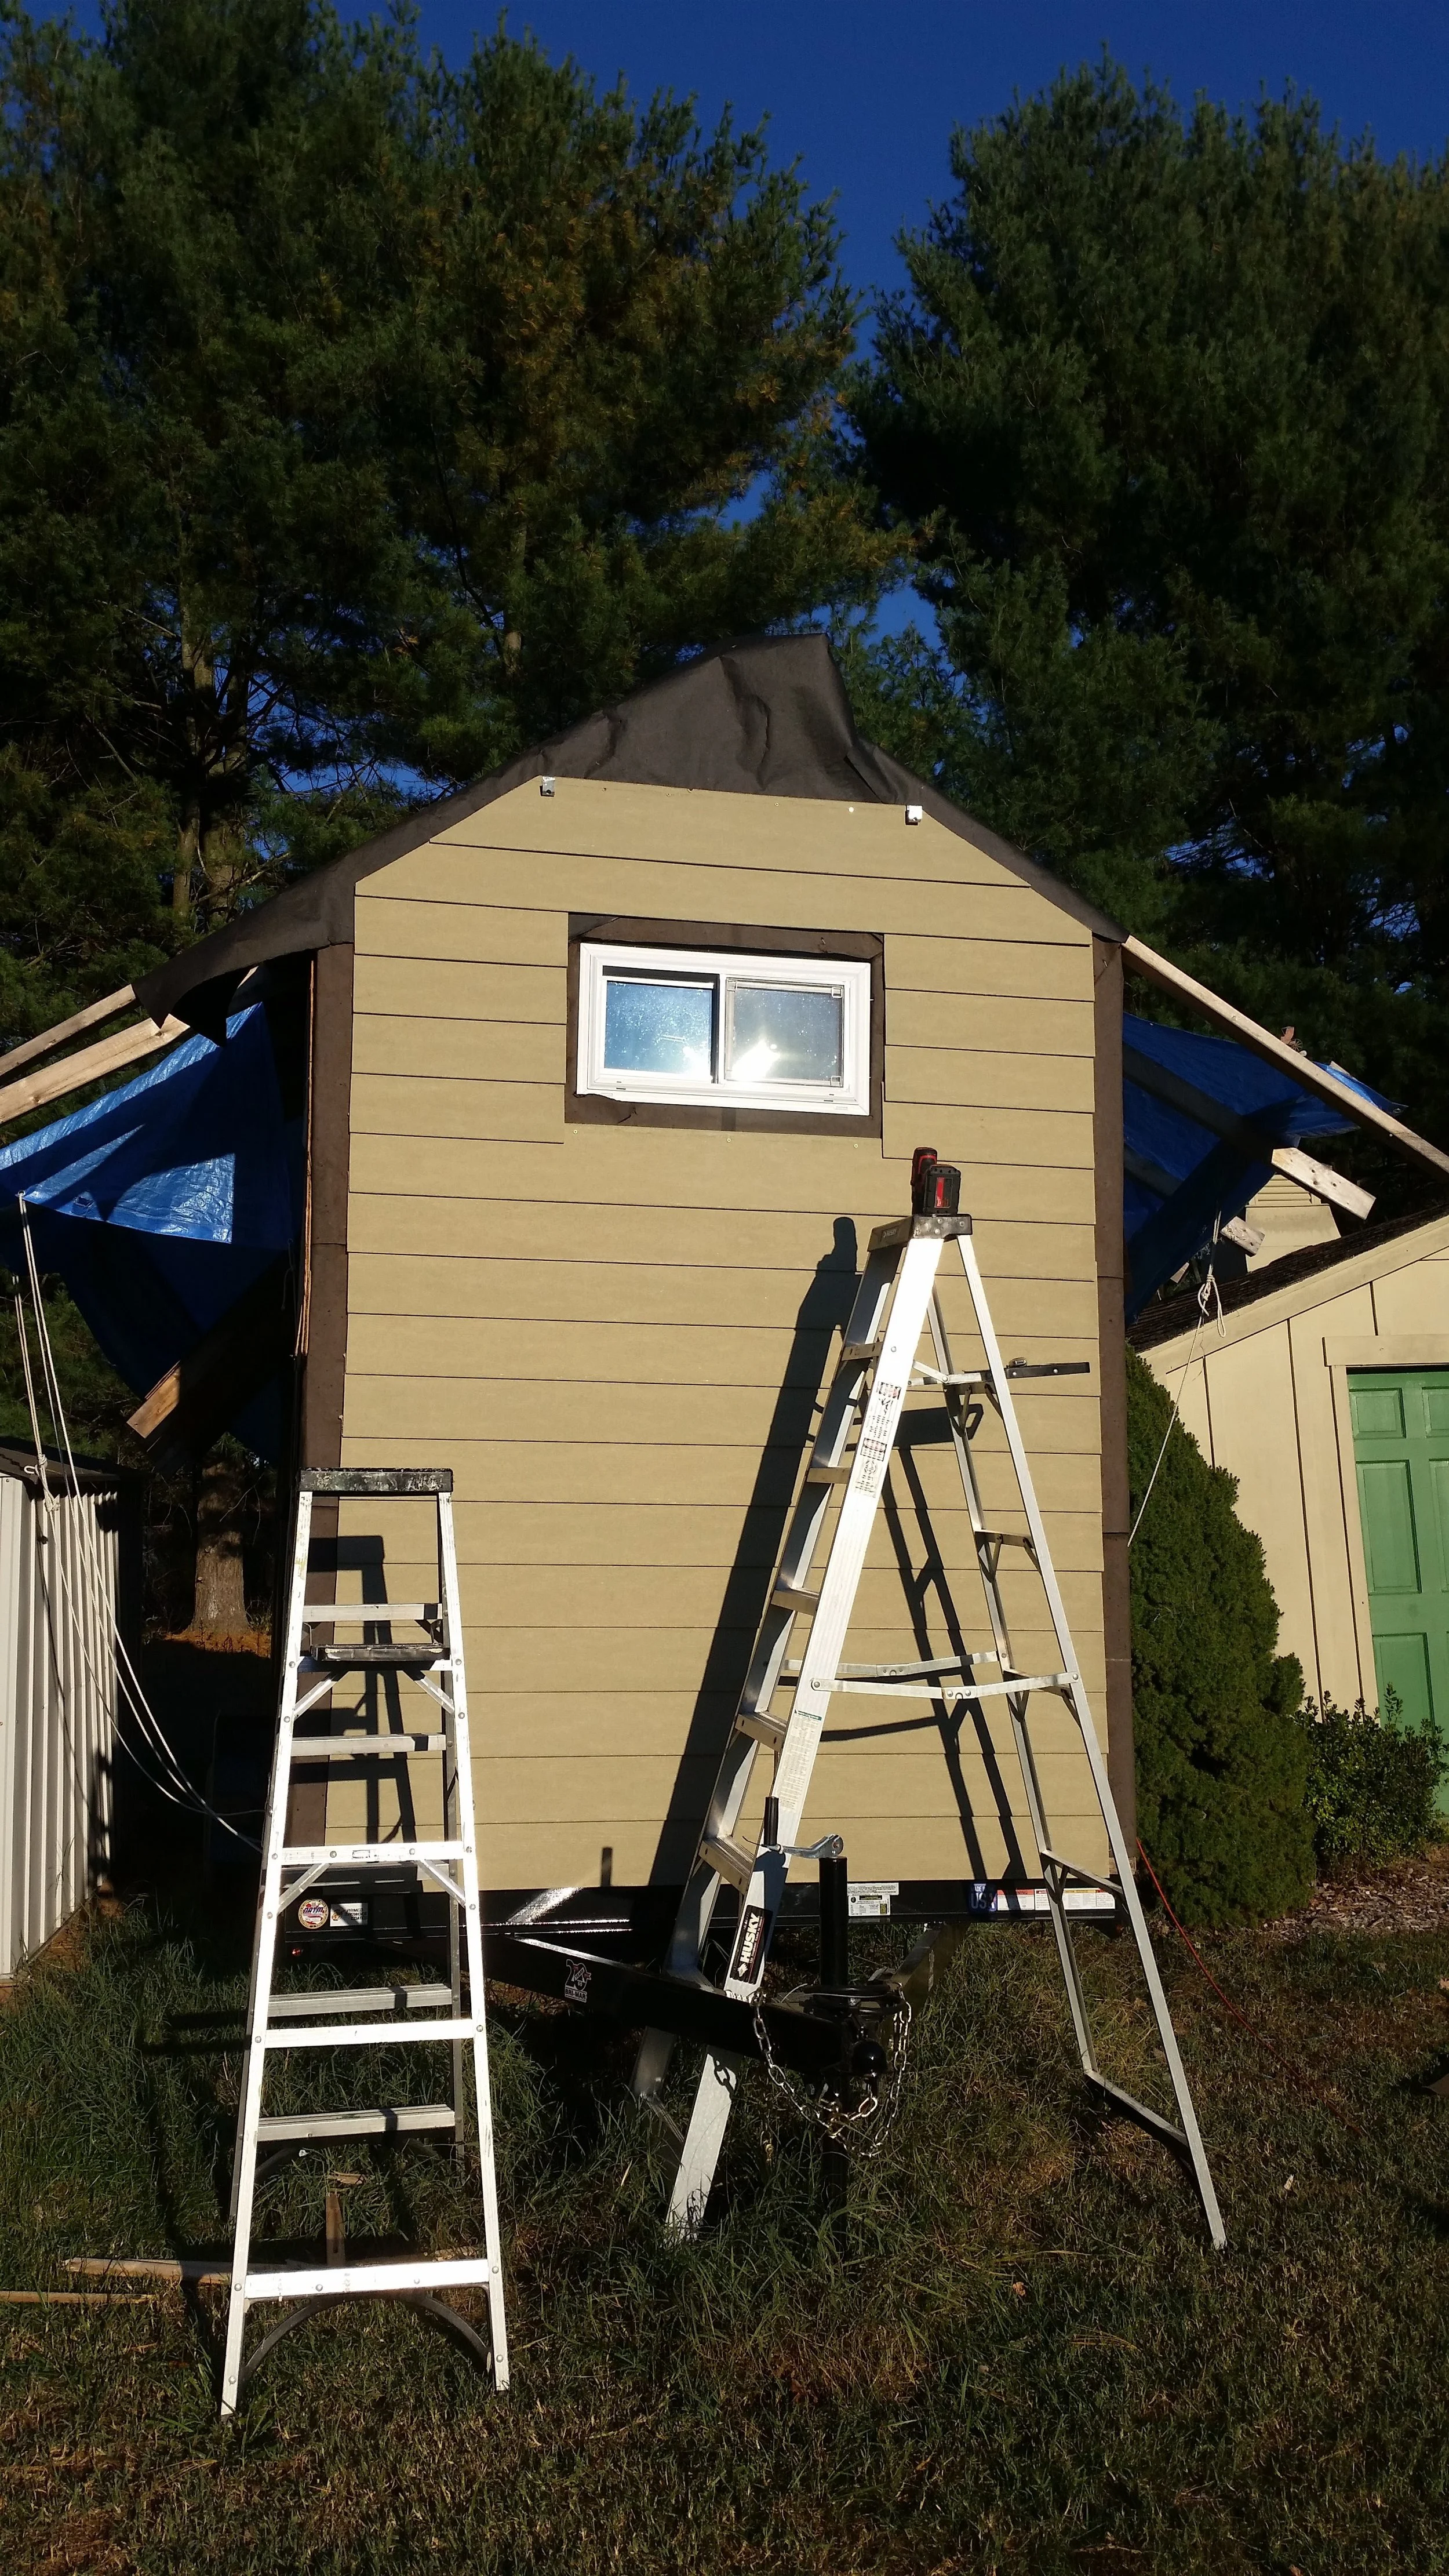
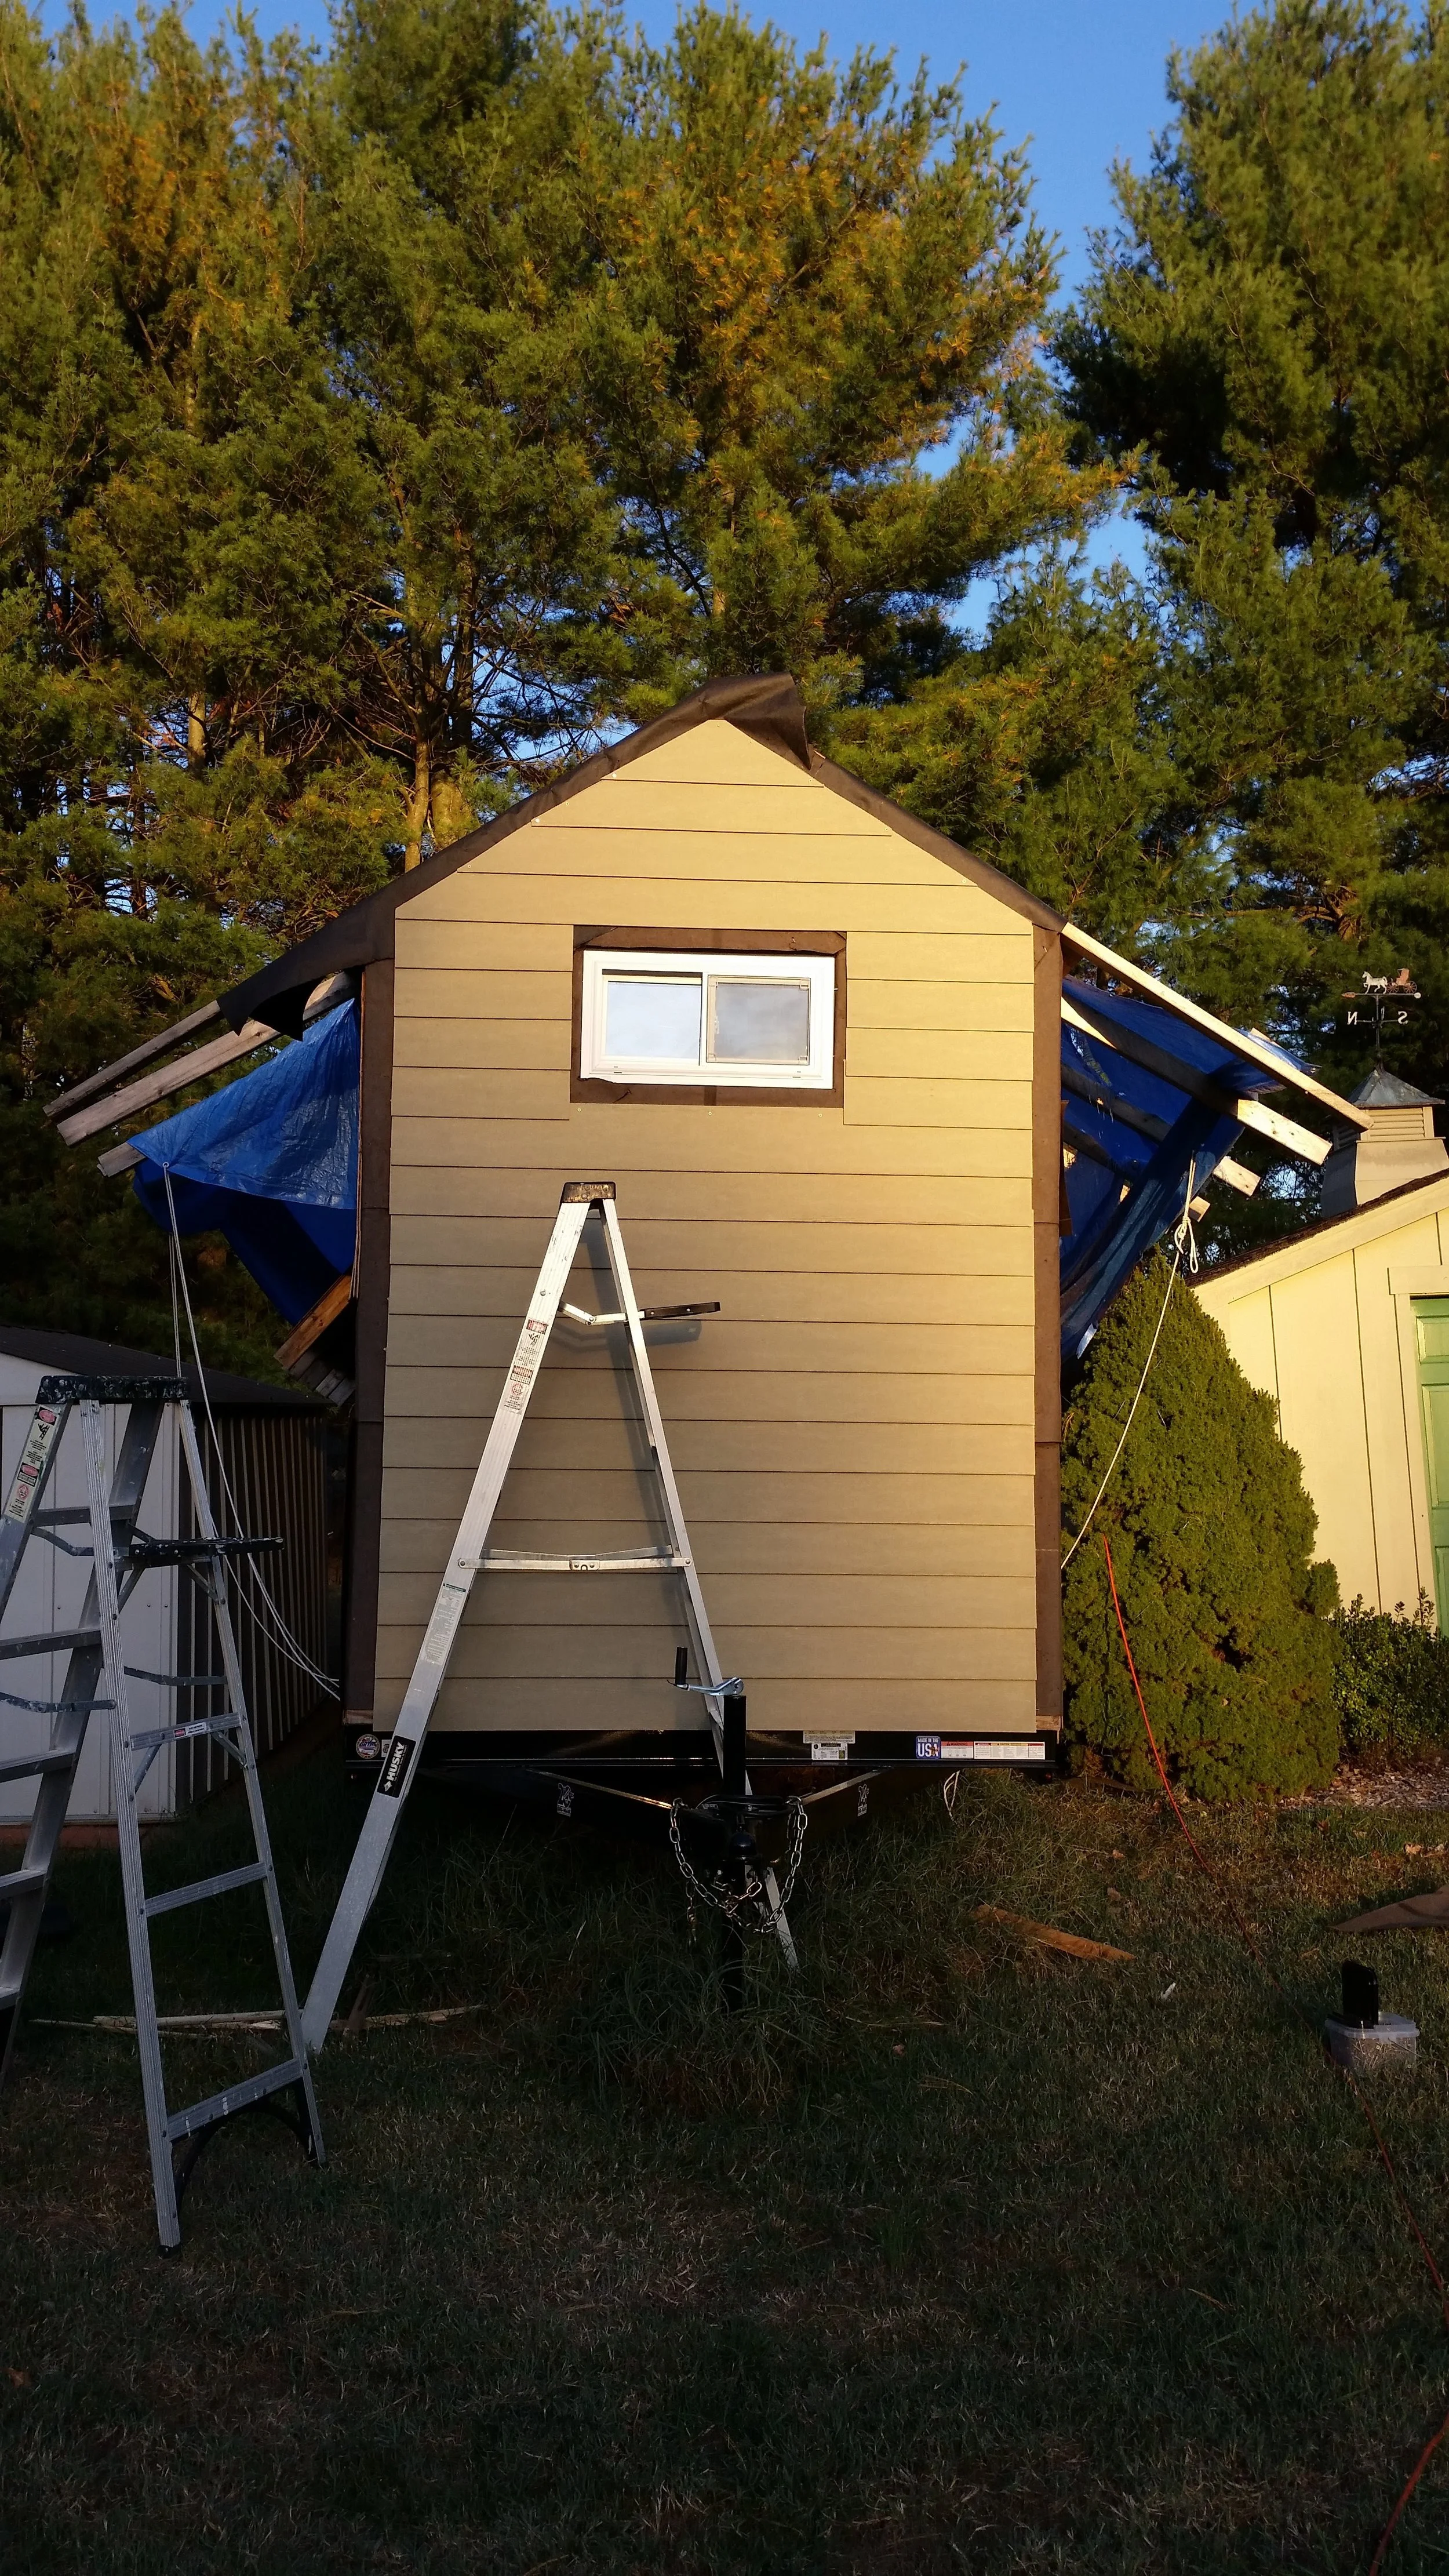
Once you reach the top plank, it will be cut into a triangle shape which will not offer any place to hang the hooks for the next plank. At this point, you are done!
