Sailboat Art

Maddie and I visited an outdoor sculpture garden of mammoth proportions. One of the installations caught my eye from a distance.

It looked like the hull of a sailboat from a distance! As we closer, I was more and more certain that it was in fact a sailboat hull.

When we got up close and read the plaque, I was proven correct! The artist took a retired sailboat and painted a mermaid on the side of the hull. This installation was in stark difference to the other sculptures, mostly metal giants that towered over the landscape; whereas this one floated on along on its small island in a protected lake. No modification needed to be made to the shape of the hull, as the hull of a sailboat is already graceful and pleasing to the eye. All that separates our sailboats from this work of art is a paint job!

Refrigeratior Gasket

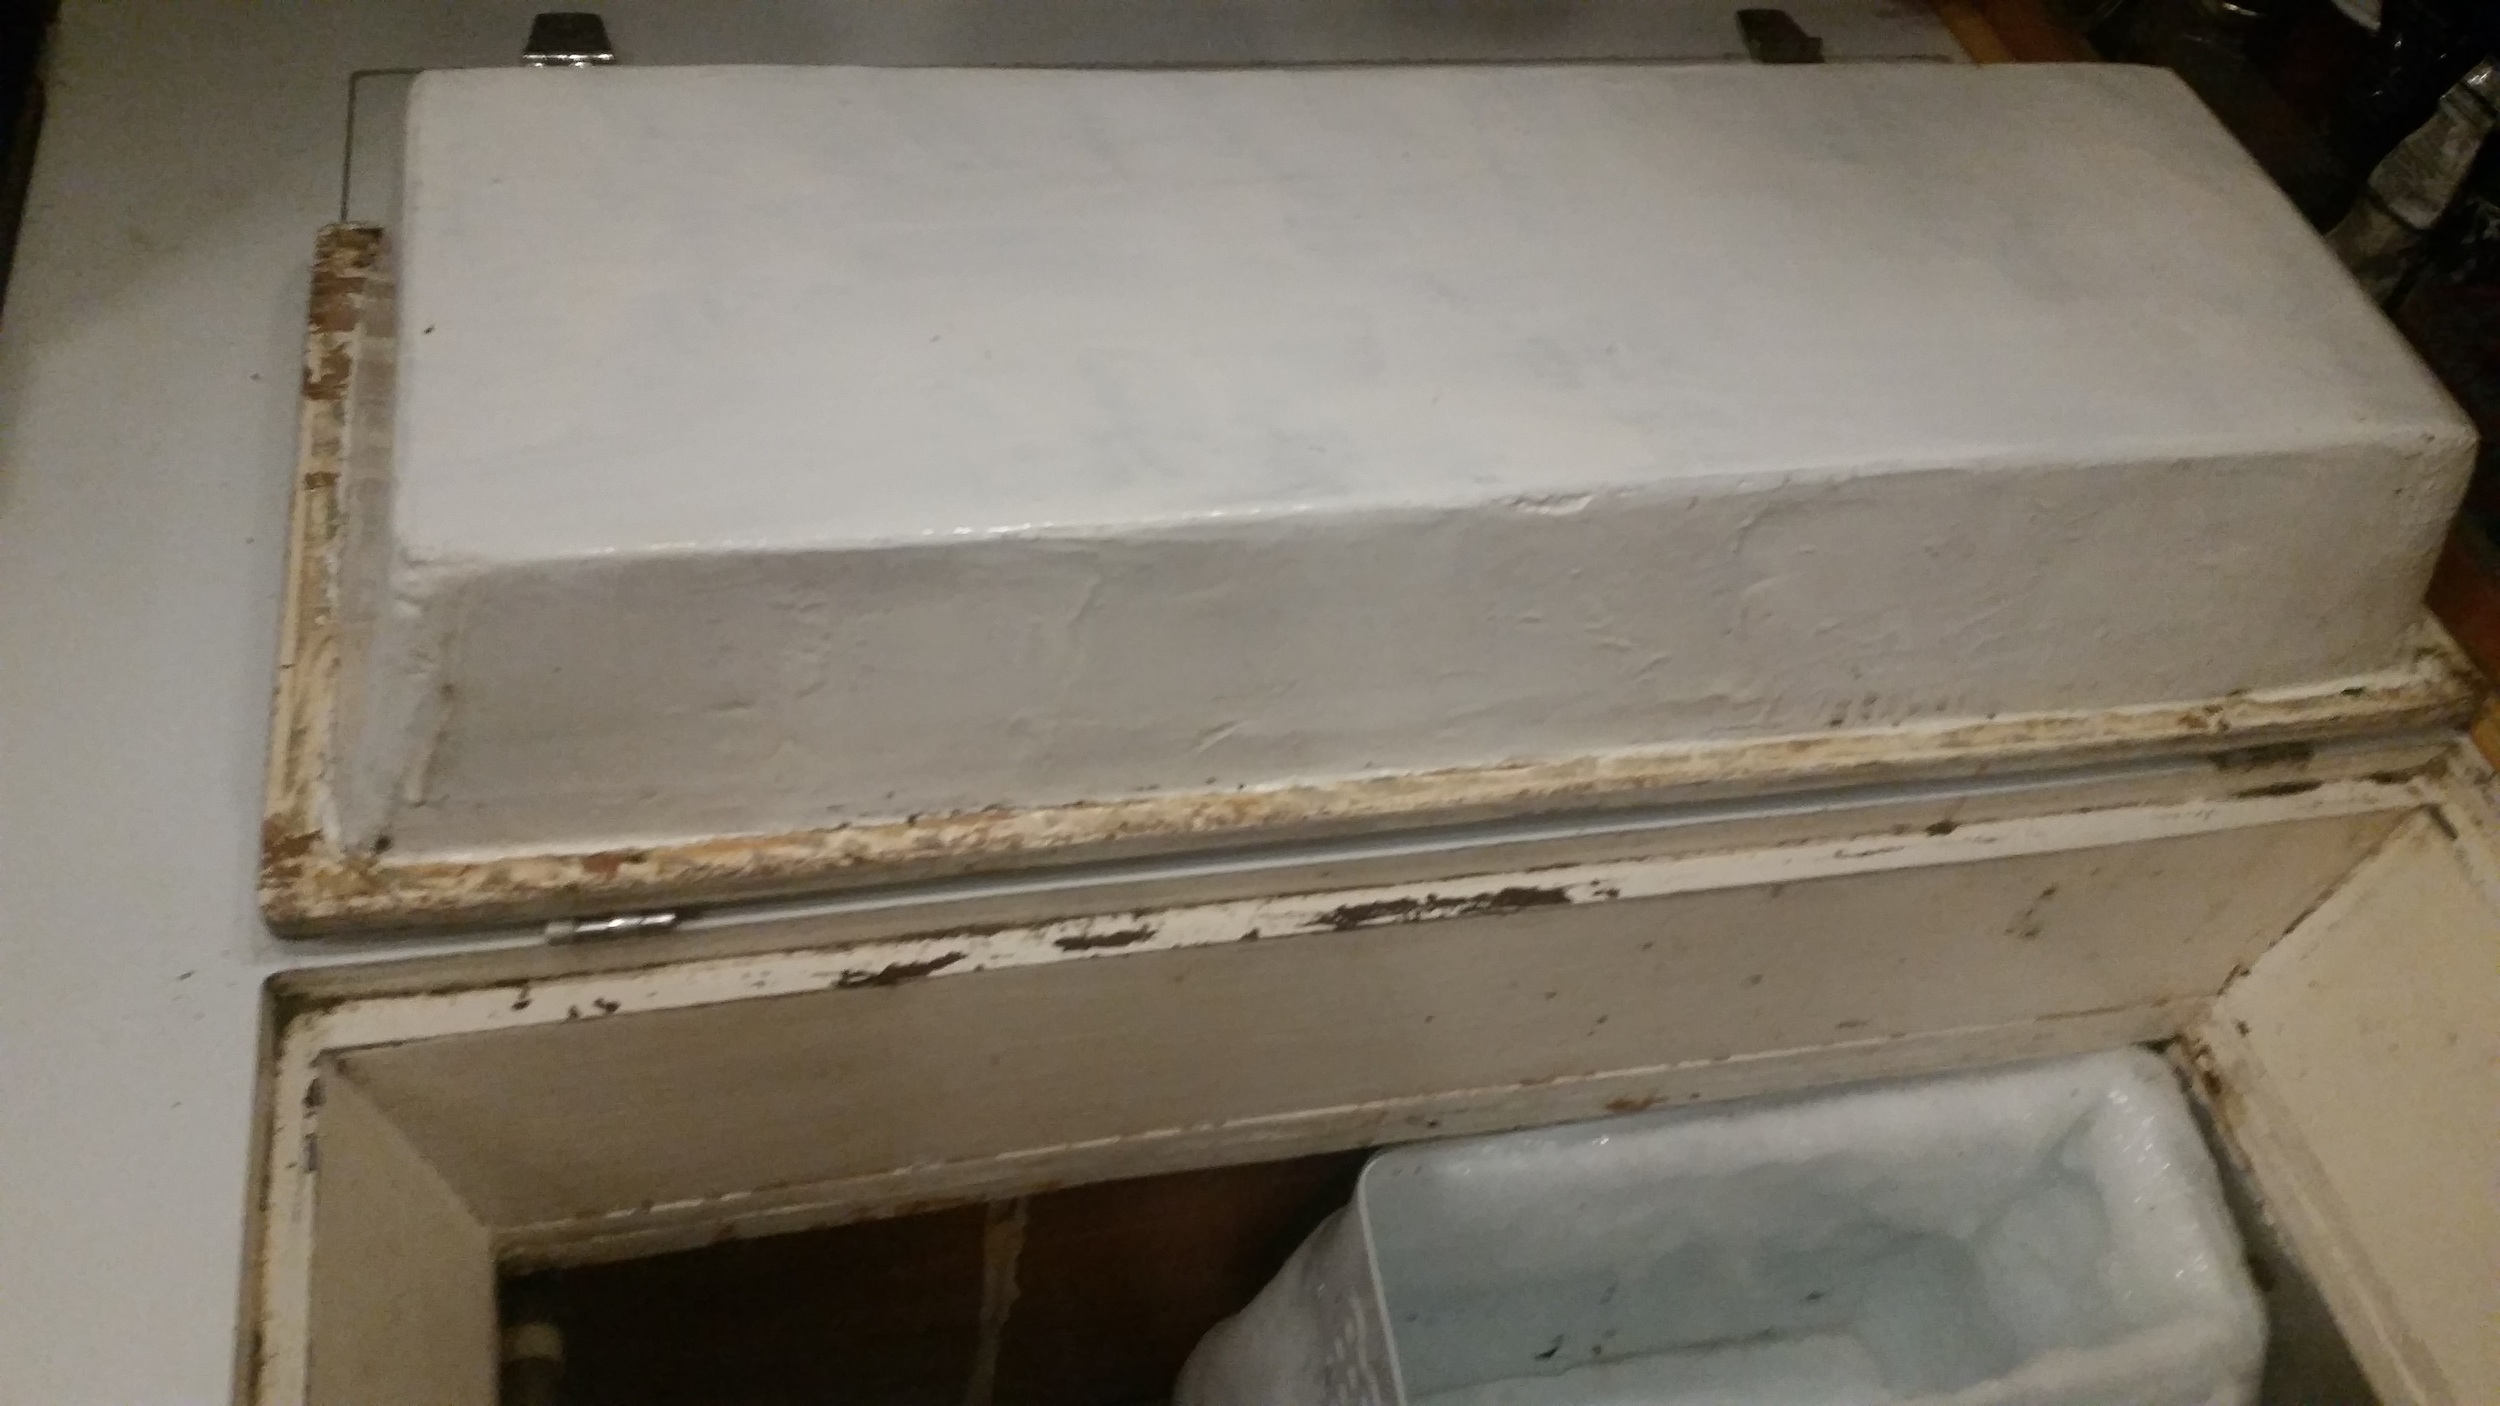
A leaky gasket will let more moisture into the fridge, which will then build up on the freezer plate via deposition. Deposition is the phase change between gas (vapor) and solid (ice). It will build up like snow on your freezer plate, taking up all the space and making it impossible to fit your frozen foods into the compartment. This picture was taken after I had poured some warm water on the ice in an attempt to remove it from the freezer plate. 

Warm water works well, but it is very time consuming. A heat gun is another and quicker alternative. The slowest option is to leave the freezer off and simply waiting for it to melt off. Under no circumstances should you ever take an ice pick to the ice! One small puncture will destroy the freezer plate and drain your system of its refrigerant. If you damage it with an ice pick, the only solution to repair the system is to purchase a new freezer plate and recharge the system; which will set you back several hundred dollars!

Top loading fridges have weather stripping gaskets that get old and beat up over the years, loosing their seal and allowing moist air to enter the fridge. The best solution is to remove the old weather stripping and replace it with new weather stripping. 

Removal is very simple, as weather stripping is attached with a weak adhesive. Simply roll up a corner and begin peeling it off. Once removed, I suggest a thorough cleaning of the lid and sides of the fridge as the weather stripping can make cleansing difficult.

Once everything is cleaned to a satisfactory level, begin laying down the new weather stripping. Set the weather stripping at one corner and unroll it as you adhere it to the edge. Pull it all the way to the other end and then cut it with scissors in place. 

Once it is stuck down, peel the white backing paper off weather stripping. Always pull the backing paper off at a sharp angle to avoid lifting the weather stripping off the flange. If the weather stripping does lift up, simply re-position it and push it back down to adhere everything.

Once finished, check for any open corners where the weather strippings might have pulled back and opened up as these openings will leak in warm and moist air. If the corner is open, lift up the last few inches of the weather stripping and tack them back down in contact with the other leg of the seal; this will ensure that you end up with a tight seal which will keep out moisture and make your fridge run more efficiently!

Flag Etiquette

Flags are an excellent way to signal information to other vessels; but to properly communicate, you need to know flag grammar.

Stern Flag

First off, the flag on your stern pertains to the country you pertain to. If your boat is a US vessel, you would fly a US flag (50 star flag); if your boat is German, you would fly the German flag. When you are sailing in your national waters, you can fly that countries ensign flag in lieu of the national flag. When overseas, this practice is not allowed and you must fly your national flag. 

The size of this flag is dependent on the length of your yacht, the typical guideline is 1 inch on the fly (horizontal length of flag) for every foot of boat length. Flags come in several standard sizes and you should always round up to the next commercially available size.

Port Spreader

The port spreader halyard is the correct location to fly club burgees and other personal flags. This side is considered the personal flag side of the boat. It is recommended that you only fly one burgee on the halyard as opposed to flying every burgee you have on board.

The size of these flags is typically 1/2 inch on the fly for each foot above water that they flag is flown; ie. a 15 inch flag when the spreader is 30 feet above the water.

Starboard Spreader

While the port spreader flies personal flags, the starboard spreader flies regulatory flags. This halyard is where the yellow quarantine flag is flown until customs are cleared, at which time it is switched over to the countries courtesy flag. These flags are also sized as 1/2 inch on the fly for every foot above water that they are flown.

Distress

Distress can also be expressed by way of altering the national flag or ensign. Commonly accepted distress signals are flying the stern flag upside down or tying a knot in the fly of the flag. Both of these signals are accepted as daytime visual distress signals and should only be done during an actual situation of distress.

One of my neighbors was displeased with the US election results in 2012 and hoisted the US flag upside down to the top of his mast while tied up in the marina and the marine police actually came into the marina to investigate the situation and help this boater in his time of distress. When they learned of his reasoning, he was ordered to lower the flag since he was not in distress.

Now you know which flags are to raised and where. Country flag on the stern, personal and club flags on the port spreader, courtesy and signal flags on the starboard spreader.


Sunsets

A major advantage of living aboard is you can enjoy sunsets from various places without straying far from your home.

When you sail offshore, you can enjoy watching the sunset over the ocean (which is a treat for those of us who live on the East coast). 

You can also tie up in a marina located near or in the heart of the city, putting you within walking distance of bars and restaurants!

We have been living aboard for 4 years now (I started in 2012, Maddie started in 2014) and we have really enjoyed the flexibility of living so close to the city night life, yet removed in our own little world inside the boat. The only reminder that we are in the city is the glow of the city light pollution peering in through the hatches and portholes, not much different from a full moon night.

For being in the heart of the city, we certainly don't pay as much as the neighboring land lubbers. Rent in our area is around $1800 per month for a one-bedroom apartment, and the condos cost $250,000 for a small one-bedroom (with $500 per month condo association fees). Our slip fee runs around $500 a month (including electric and water) for a 45 foot sailboat. Spending less on where we live lets us enjoy the area more and still save up to go cruising!

When you live aboard, the different sunsets are a delightful part of daily life.

Barber Hauler Setup

The process of setting up a barber haul is very simple, all you need is a snatch block!

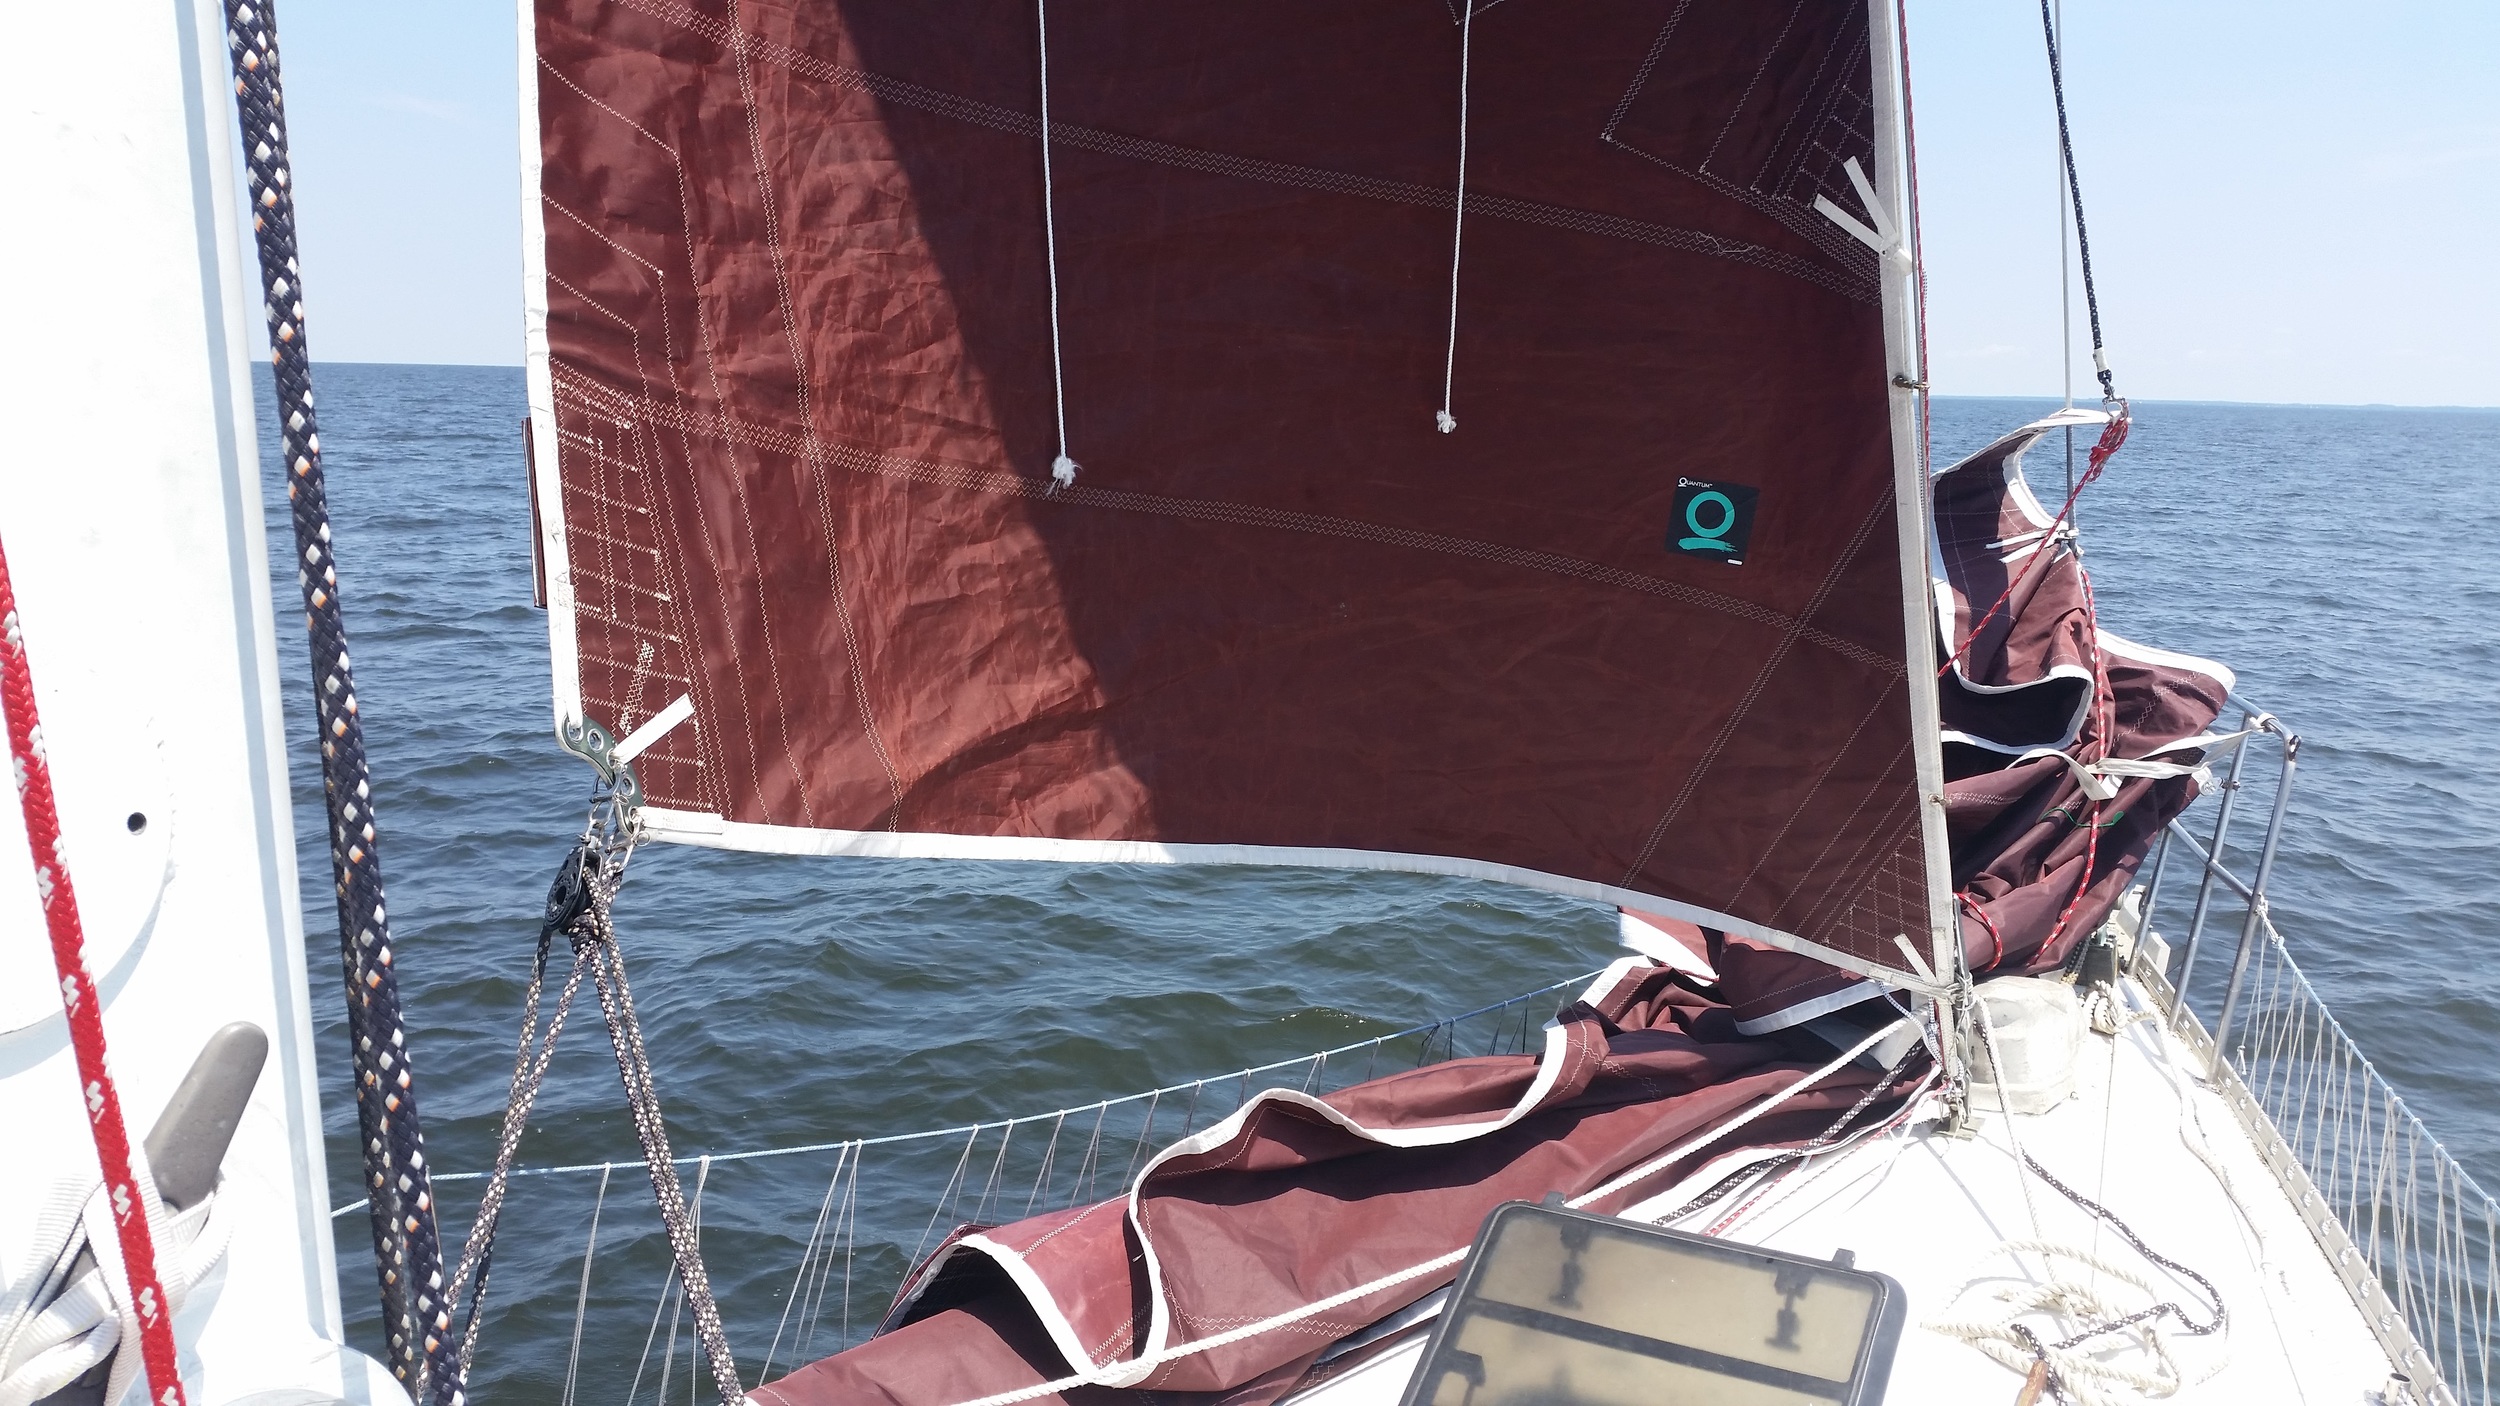
On a beam to broad reach, the headsail is eased, causing it to twist and loose efficiency. 

The first step is to ease the headsail until there is slack in the line but not so much that the sail begins to flog. This will reduce the tension on the sheet, allowing you to place it into the snapshackle by hand. Then sheet the sail back in and trim to the apparent wind.

Now the headsail is able to hold a better sail shape, resulting in higher efficiency and more speed through the water. 

With the better sail shape, you can reach your downwind mark in less time and more comfort!