Fiddle Blocks

Maddie is working on writing thank you cards after our wedding and had everything setup on the table, but we were about to go sailing in a stiff breeze. Instead of clearing everything off the table, we decided to put the fiddle blocks in so that everything would stay put!

This is one advantage of a fixed table (over a folding table), there is space in the salon for the table to be set up with your current projects and go sailing! Without the fiddle blocks, all of her notes and boxes would have slid off the table as soon as we heeled over; instead, everything stayed on the top of the table.

These fiddle blocks are also removable, allowing us to have a smooth and flush table when in port. I must admit that these fiddle blocks get in the way when eating on a regular basis, but are nice for moments like this.

Synthetic Rigging Tensioning System

The setup to tune synthetic rigging with deadeyes is very simple, all you need is a turning block, and some leads that can be run to a winch. This allows you to use achieve the necessary tension in the stays in a controlled and repeatable manner.

To begin, the turning block is tied to the toe rail where a fair lead is in plane with the deadeye. This will ensure that the force on the lashings is vertical with no horizontal component.

Once the turning block is positioned properly, untie the tails and lead them through the turning block, then over to the tensioning line. The tensioning line (9mm VPC) is led to the winches in the cockpit. I use the secondary winch for the anchor and the primary winch to drive the tension. To connect the tails to the VPC tensioning line, I use a sheet bend with a slip; this knot will hold securely as incredible loads are applied to the system, but is also possible to untie after the procedure is completed.

One important trick when tensioning the stay is to set everything up as seen in the photo above, then apply tension to the whole system before untying the shroud frapping knot. This will make sure the tensions are similar between the tails and lashings once the shroud frapping knot is untied. 

Once the shroud frapping knot is untied, tension can be added to the stay via the cockpit winches until the appropriate amount of tension is present in the stay. I perform this adjustment on both sides of the boat at the same time to ensure that the mast stays in column and that the stays are of similar tension. This does require double the setup materials, but the end result is very even tensioning of the standing rigging.

For more details into how to tension your synthetic standing rigging with deadeyes, please read this post.

Bikes On Board

Each bike is designed to excel in a specific field of biking, usually sacrificing the other fields of biking. 

  • Road bikes are great for long distance and efficient riding
  • Mountain bikes are great for off road use, but not as efficient as a road bike
  • Folding bikes are great at folding

Folding bikes are very handy! They provide wheels when you make landfall, and tuck away into tiny spaces while underway. While folding bikes may be very good at fitting into small spaces, they are not the best type of bike for covering long distances or varied terrains. Folding is about all they excel at.

Road and mountain bikes on the other hand are better at covering longer distances. Mountain bikes tend to be heavier and have wider tires which allow them to withstand the abuse of off road riding; whereas road bikes are much lighter and have narrower tires, allowing them to move along with significantly less rolling resistance.

Road and mountain bikes are great at covering distances in new places, but they can never fold up as tightly as a folding bike. This is where the space available in the boat comes into play!

Modern road and mountain bikes have quick release wheels, allowing you to easily transform a large bike into a frame and two wheels with no tools and only a few minutes. The separate pieces can be neatly tucked away into a locker, if the space allows.

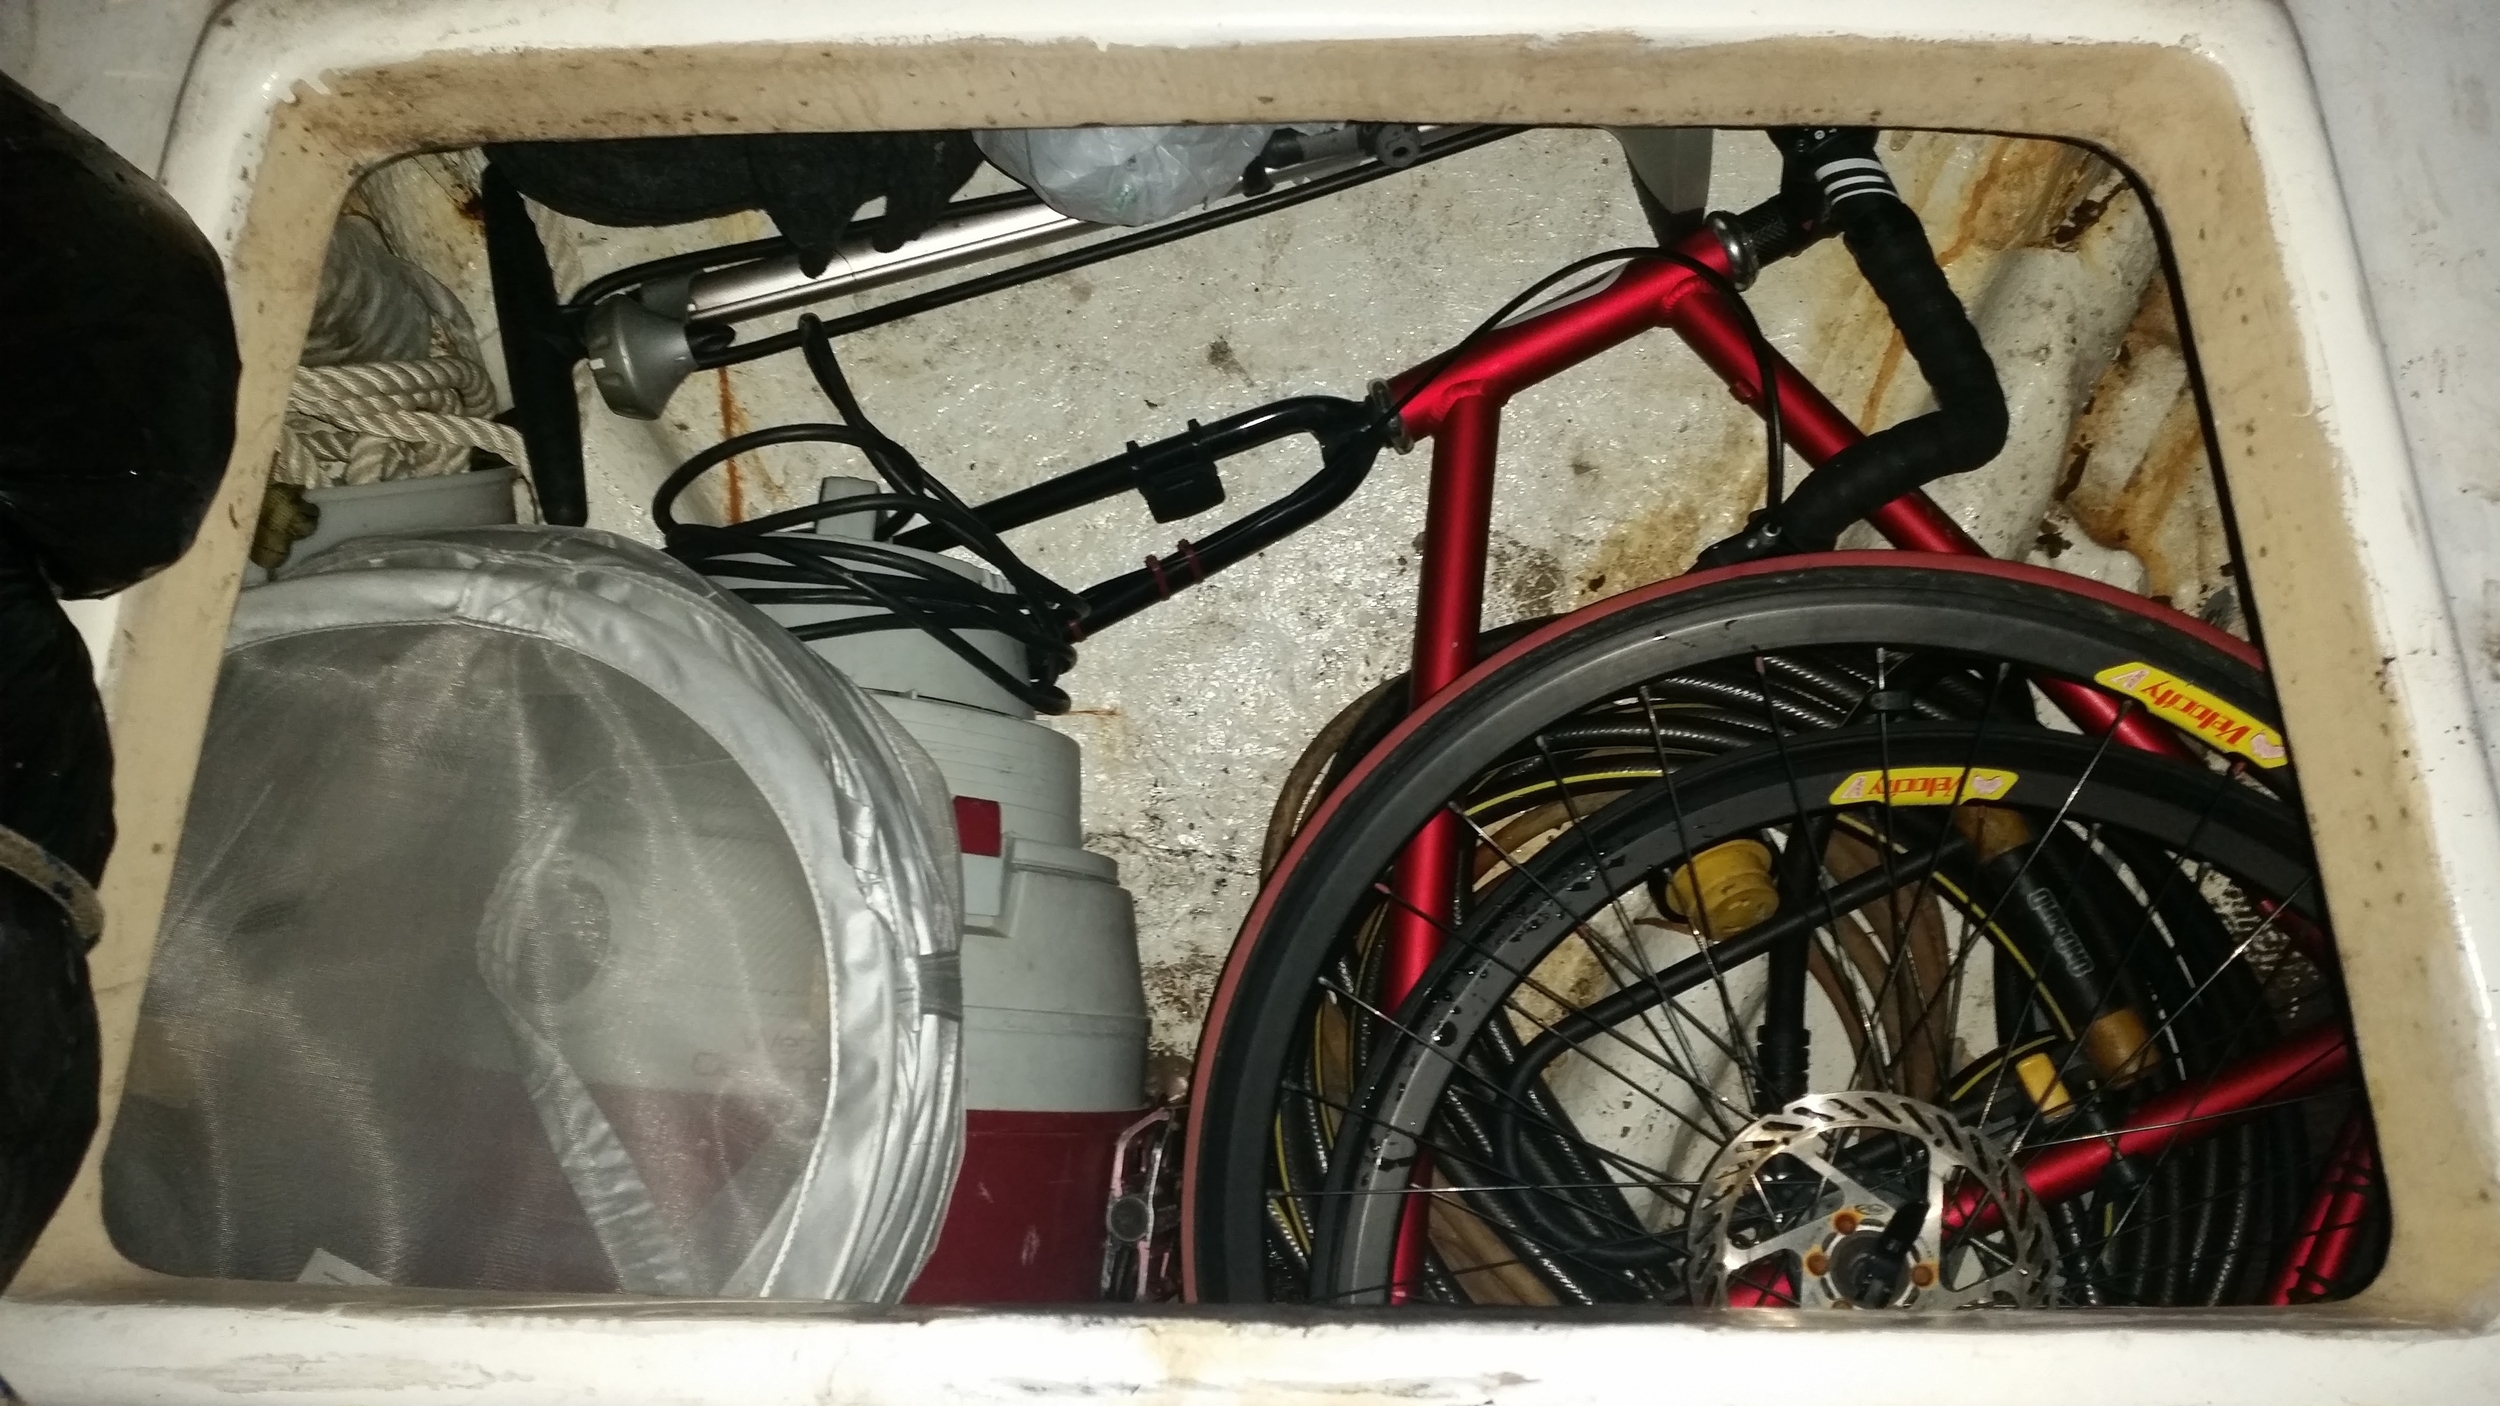
If you manage your space well, you can fit many large items in the lazarettes on a sailboat. In the aft lazarette, we keep a 5 gallon pail full of rope for the stern hook, a shop vac, water hoses, shore power cables, and a large size frame (60cm frame) road bike! The wheels are removed and the frame is tucked into this storage locker. 

I chose to take a road bike with us on our trips because most of the places we arrive are near roads. While I have to carry the road bike across the beach and in to shore to reach pavement, it pays off when I then need to ride a few miles to get to my destination. A mountain bike would let me bike up the beach and into shore, but would not ride as efficiently on the pavement as a road bike would. These are all compromises that we must choose to live with when deciding which bike to take along on a journey.

While a folding bike will tuck away into a much smaller locker and take up much less space on board, it would not be able to bike along the soft sand of a beach, nor cover the miles of pavement as efficiently as a road bike would. If you have the space for a real bike on board, I would highly suggest it over a folding bike. If you do not have the space on board to fit a real bike, a folding bike will still provide you a set of wheels when you make landfall.

Lord of the Flies

Flies are a frequent problem on the boat. It's not because we are messy or because we have a composting toilet (no bugs come out of there!) but because we sail near places that are riddled with flies.

We will be sailing along when a swarm of flies will descend upon us! These flies seem to be very hungry because they will begin biting us and Morty. Maddie and I are not fans of pesticides, due to their toxicity, and conventional fly swatters don't seem to put a dent in the number of flies buzzing about us.

We have seriously thought about breaking down and using chemical pest control devices (bug sprays), but they are very toxic to parrots and birds. Being how we have Sammy (our parrot) on board with us, bug sprays are never going to be an option.

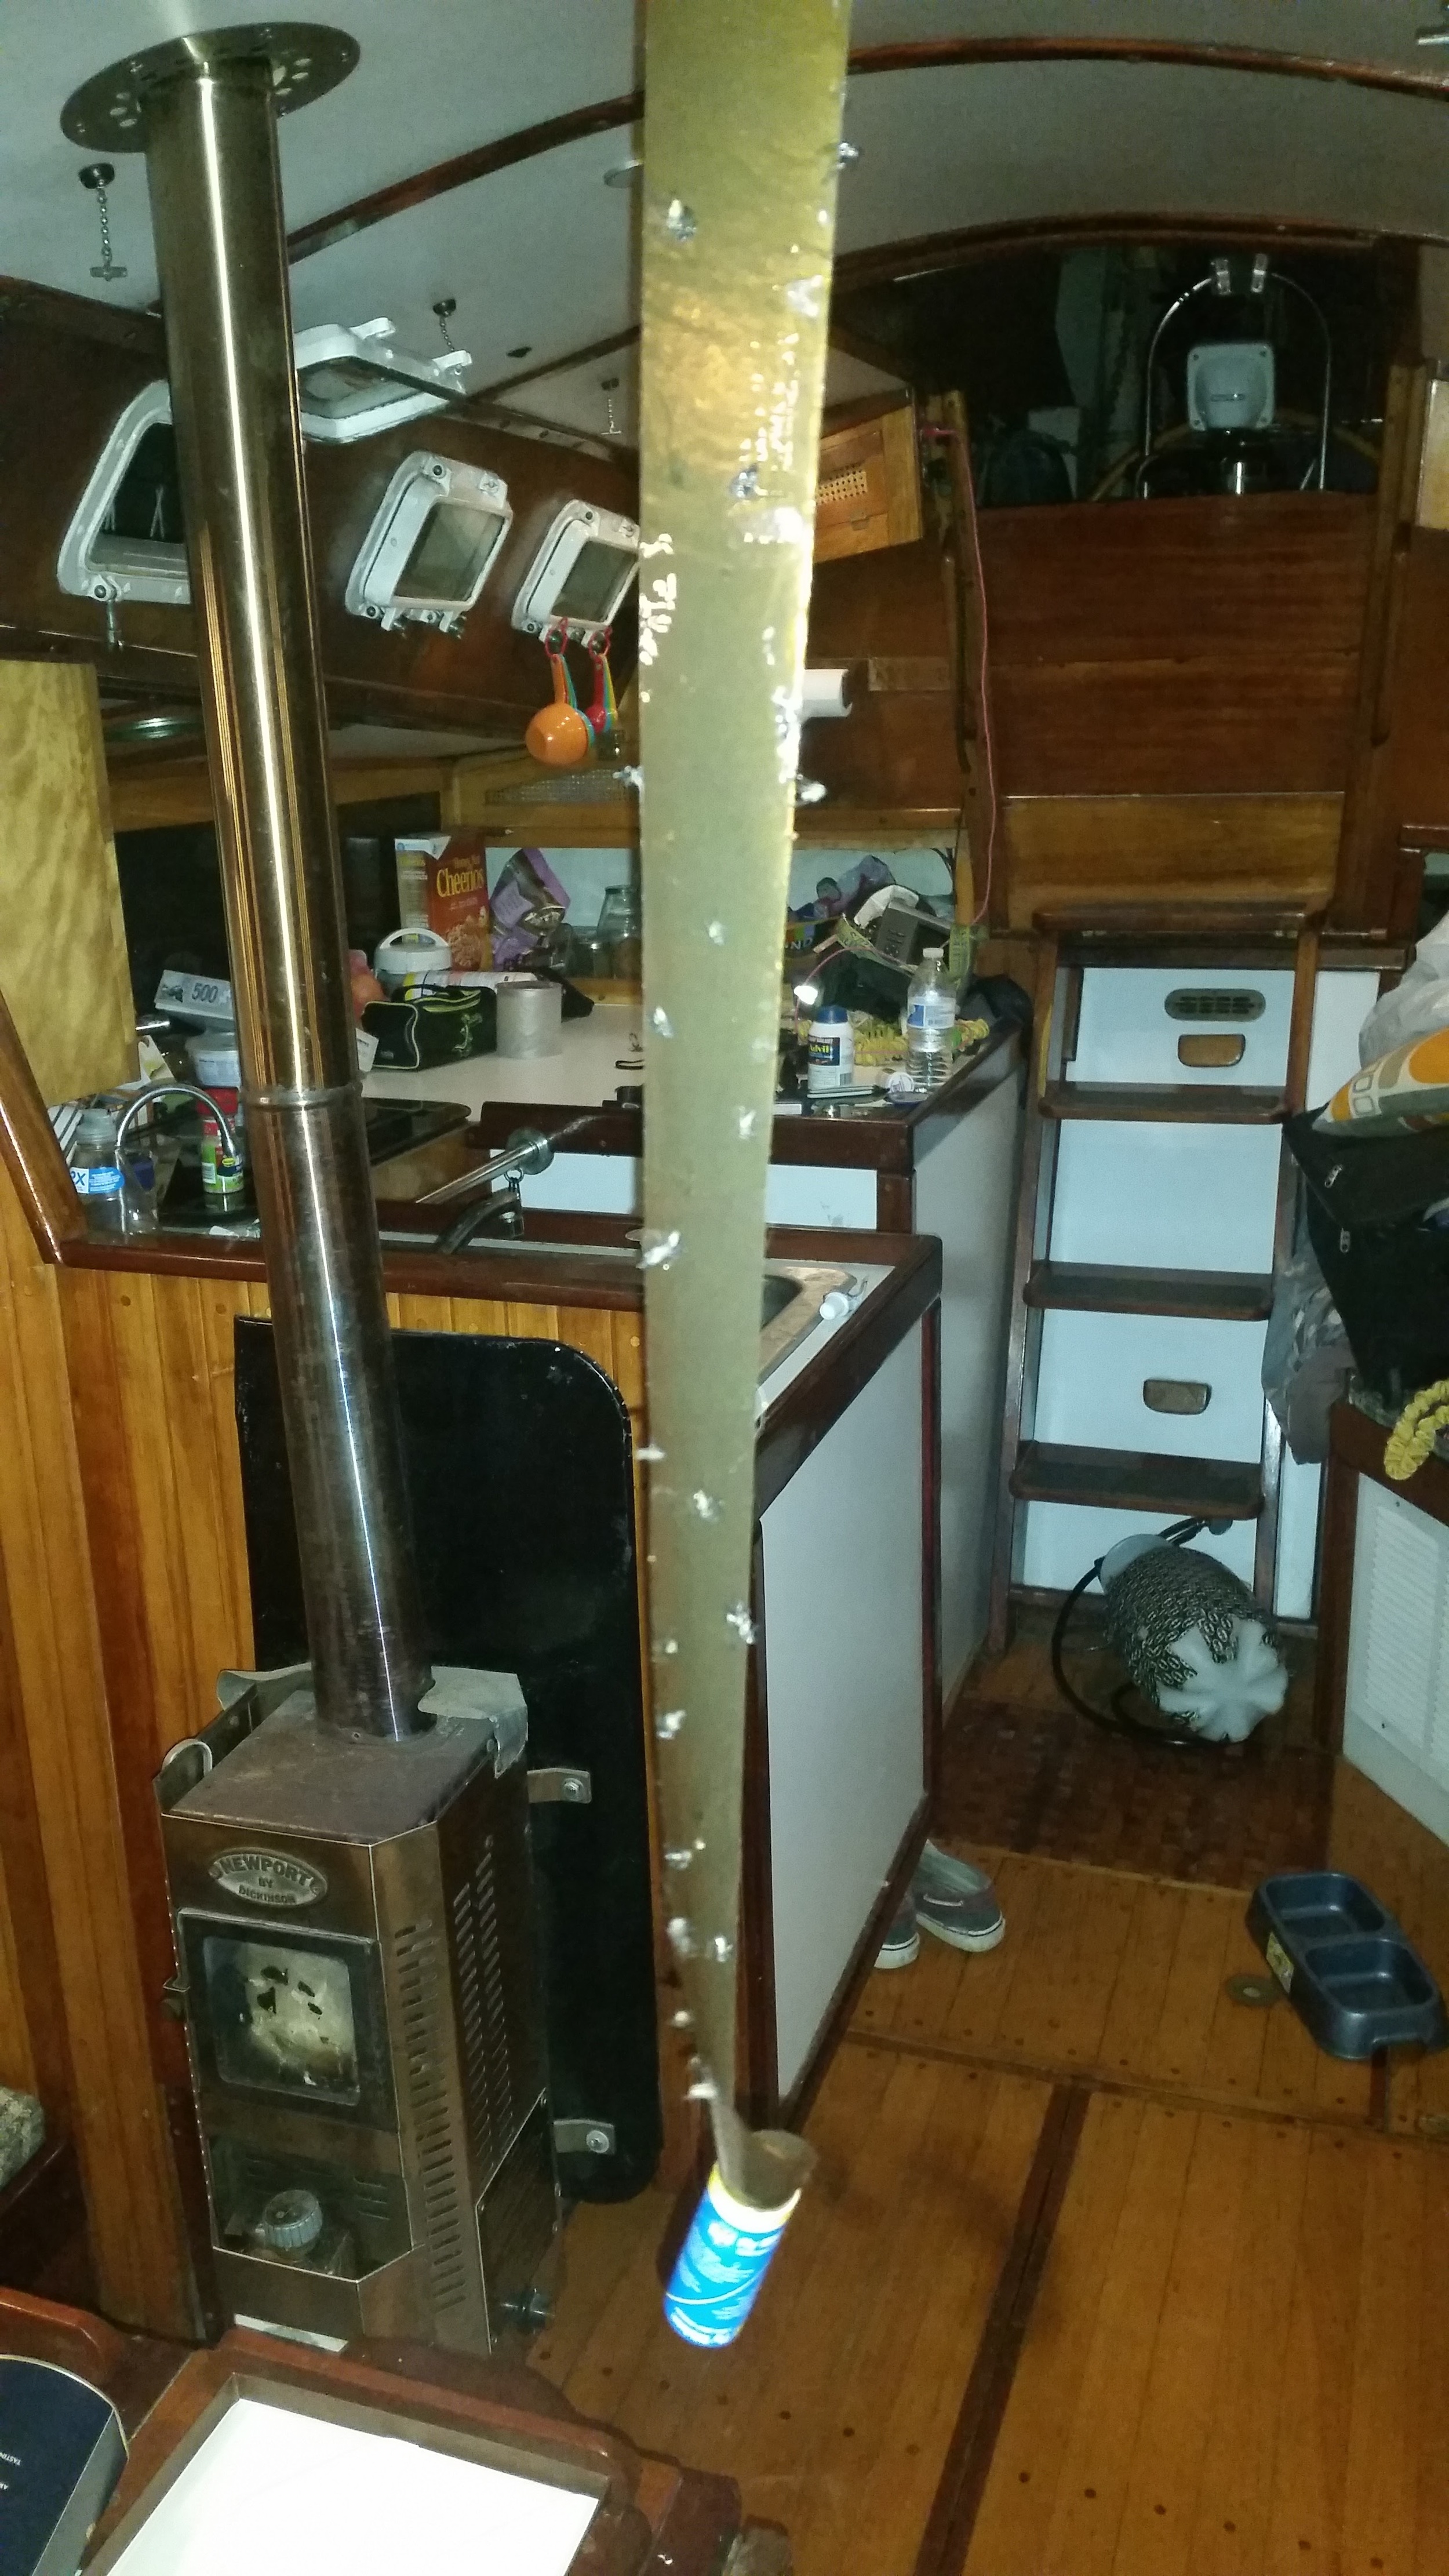
In our search for a better alternative, we stumbled upon fly paper; you know, the stuff you see in cartoons that gets stuck on the characters face and arms. These fly paper coils contain no pesticides or volatile organic compounds (VOCs), they are simply sticky glue on paper and work wonderfully!

Fly paper is not as immediately gratifying as bug spray though, it does not work instantly and it does not attract the flies to it. The fly needs to buzz around and land on the paper for them to get stuck. When you first hang up the paper, it seems that the flies will land on everything but the paper! Over time though, the bugs will land on it and their numbers will reduce.

In order to get more flies to land on the fly paper, you need to make the fly paper more appealing. If you sit back and watch the flies behavior, you will notice that they only land on things that do not move around in the wind. If you have a steady lifeline or back rest, they will walk all over it; but your flapping canvas will not get much fly traffic. 

Following the same logic, if you hang your flypaper in the middle of the cockpit where it will flap around all the flies as the wind makes it dance, not a single fly will land on it. While this may seem like the best place to put the fly paper due to the high concentration of flies, its constant motion will render it worthless. Hanging it inside the cabin where it will stay still will prove much more effective. 

We set up the fly paper one afternoon after we were bombarded with flies and by morning the paper was covered in the annoying insects while the air was clear of any nuisance. If you need immediate bug relief until the fly paper can decimate the numbers of buzzing buggers, try wearing long sleeves and long pants. Keeping the amount of exposed skin to a minimum will provide the insects that much less skin to attack. Rubbing OFF! on your hands and feet can help keep them protected as well. 

With the fly problem under control, we are able to cruise in much more comfort! 

Cleaning Your Bottom

After a week, soft growth will form a thin layer of slime that will drastically reduce your speed and efficiency through the water. Bottom paint can help retard the speed at which this growth occurs, but it will still happen and it will still slow you down. 

Modern day commercially acceptable ways to clean your hull include short hauls, where you power wash the bottom, and hiring a diver who scrapes your hull in the water.  

Both of these options are rather expensive after a while, which has led people in high tidal ranges to explore alternative options. One such favorite is to take the boat into shallow water with a leg tied to it. As the tide goes out, the leg keeps your boat from tipping over as it rests on its keel and rudder. With the tide out, you are able to scrape and scrub the hull clean. I have even seen people paint their hull before the tide comes back in! 

In Maryland, our tide is much less drastic with a range of 1 to 3 feet. This means that my 6 foot keel will not be coming out of the water by natural means any time soon. 

upload.jpg

Since the cost of short hauls adds up over time, I have experimented with other methods to clean my hull as it floats in the water.  

My favorite, and most reliable method is to use a 12 inch wide wallpaper scraper to clean the bottom. It covers a lot of bottom on each scrape makes quick work of the job. The problem is the water in the bay is extremely murkyat times and I can't see where I am or where the surface is. This makes free diving under the hull less than desirable.  

I then tried lashing the wallpaper scraper to a long boat hook. This worked well for the sides of the keel and hull, but was impossible to clean the turn off the bilge! No matter how I positioned the pole, I simply could not reach into that concavity.  I also feared dropping the boat hook or having the scraper slip off the end of the pole. They were well tied, but they were not permanently connected. 

This led to my latest and favorite method, the hoe. The hoe has a blunt blade that turns ninety degrees with the relation to handle. This angulation places the blade perpendicular to the hull, letting you scrape the hull and reach the turn of the bilge all from the surface of the water. 

upload.jpg
upload.jpg

From the comfort and dryness of the dinghy, the blade is set against the hull and guided by the top of my foot. I push the hoe as deep as I can and then draw up with force. The up stroke is where the cleaning occurs! I like to start deep and work my way towards the surface, continually cleaning and scraping until I don't see any more muck floating off in the water. At this point, I move a few inches over and begin the process over again. 

This may seem time consuming, but it's not that bad. In around 20 minutes, I was able to clean from keel to water line on our 45 foot sailboat (with a 32 foot waterline, we have 13 feet of overhangs). 

Later that day, I dove in with a mask and snorkel to clean the keel and rudder. The only differences were I was not dry and I didn't use my feet to guide the hoe. Instead, I would float at the waterline and extend the hoe as far as I could. When I felt the bottom of the keel, I knew I was in position and began cleaning the sides of the keel.  

I know I did a poor job on the keel and rudder, mainly due to visibility issues. The water was so murky that visibility was limited to 1 foot. I have no idea how the keel looked before or after the cleaning, but I know some improvement occurred.  

The reason I didn't dive under the keel with a wallpaper scraper was I could feel barnacles with the hoe near the bottom of the keel. The last thing I wanted was to puncture myself on an unseen spear of a shell in filthy water. If we were in clear waters of the Caribbean, diving under would be the ideal method of cleaning growth off of the bottom of the keel. Dangers under the hull could be located and avoided as the cleaning process takes place.  

The final test came when we set sail the next day. On our sail to this creek with a dirty bottom, we were running with 15kn of wind apparent at times while only moving 4kn. Now that the bottom is "cleaner" we were able to ghost along at 3-4kn in 5-10kn of wind on a run as well. Later in the trip, we were broad reaching at 6.5 knots during stronger winds. 

While we had minimal hard growth, the soft growth adds a lot of drag to the hull, slowing it's motion through the water.  

upload.jpg

Morty certainly approved of the cleaner bottom as it meant we got to our destinations quicker and his walks came sooner!