Rigging Toggles

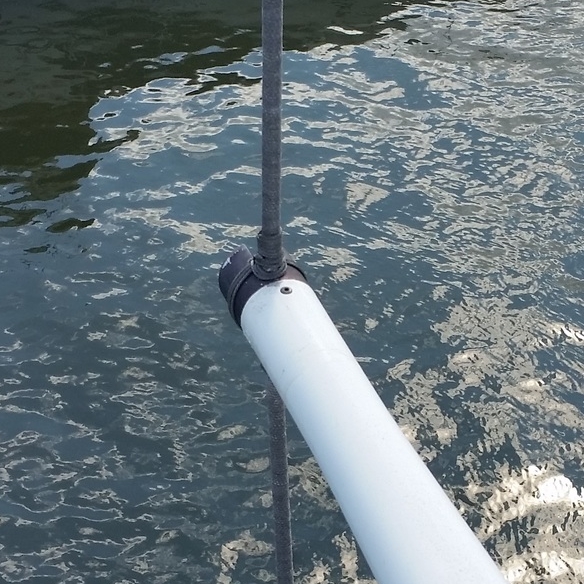
Rigging toggles are simply connectors placed between the stay and the mast tang. They are typically considered an after thought, since they add between 1.5" to 2" of length to the stay. Typically, if  a stay comes out a bit short, toggles are used to bridge the gap and connect the stay to the tangs. Because of this, toggles have taken on somewhat of a bad image; broadcasting to the world that the stay was measured a bit too short!

The reality is toggles should be used at the mast tang connection, especially with metal rigging! Metal rigging is very unforgiving when torqued, usually resulting in stress cracks. These cracks in combination with crevice corrosion will lead to the early demise of a steel rigged vessel. 

You would think that these wonderful and relatively inexpensive toggles would be in widespread use, but look around and you will rarely see a boat with such toggles. 

Toggles add one more axis of rotation to the stay. When the sail fills with wind and the boat heels over, the mast moves! It might move less than an inch, but it will move laterally. In heavy seas, the boat will be pitching back and forth, and the mast will also scoot forwards and backwards with each wave. The combination results in a mast that will move side to side and fore to aft. If your stays are connected to the tang directly, they would only have articulation for fore and aft movements. Lateral movements would cause stress on the fittings which can lead to premature failure.

The addition of the toggle makes the stay a universal joint so the fittings can articulate fore/aft as well as laterally. This will greatly reduce the amount of stress on the terminal fittings which will extend their serviceable life.

Synthetic stays are much less sensitive to these forces, as they are made of rope which can move around more easily. I reused the toggles that were on my mast for the lowers to place the eye splices in a vertical orientation so that their sides would not be in contact. If I had connected them inside the tang, their sides would have been rubbing, leading to chafe and premature failure. At the masthead, the stays are connected directly to the tang because the space was available. 

While toggles on metal rigging should be considered mandatory, with synthetic rigging, they are considered a convenience item and used to help orient the eye splices as they connect to their mast end fittings.
Tiny House Assembly

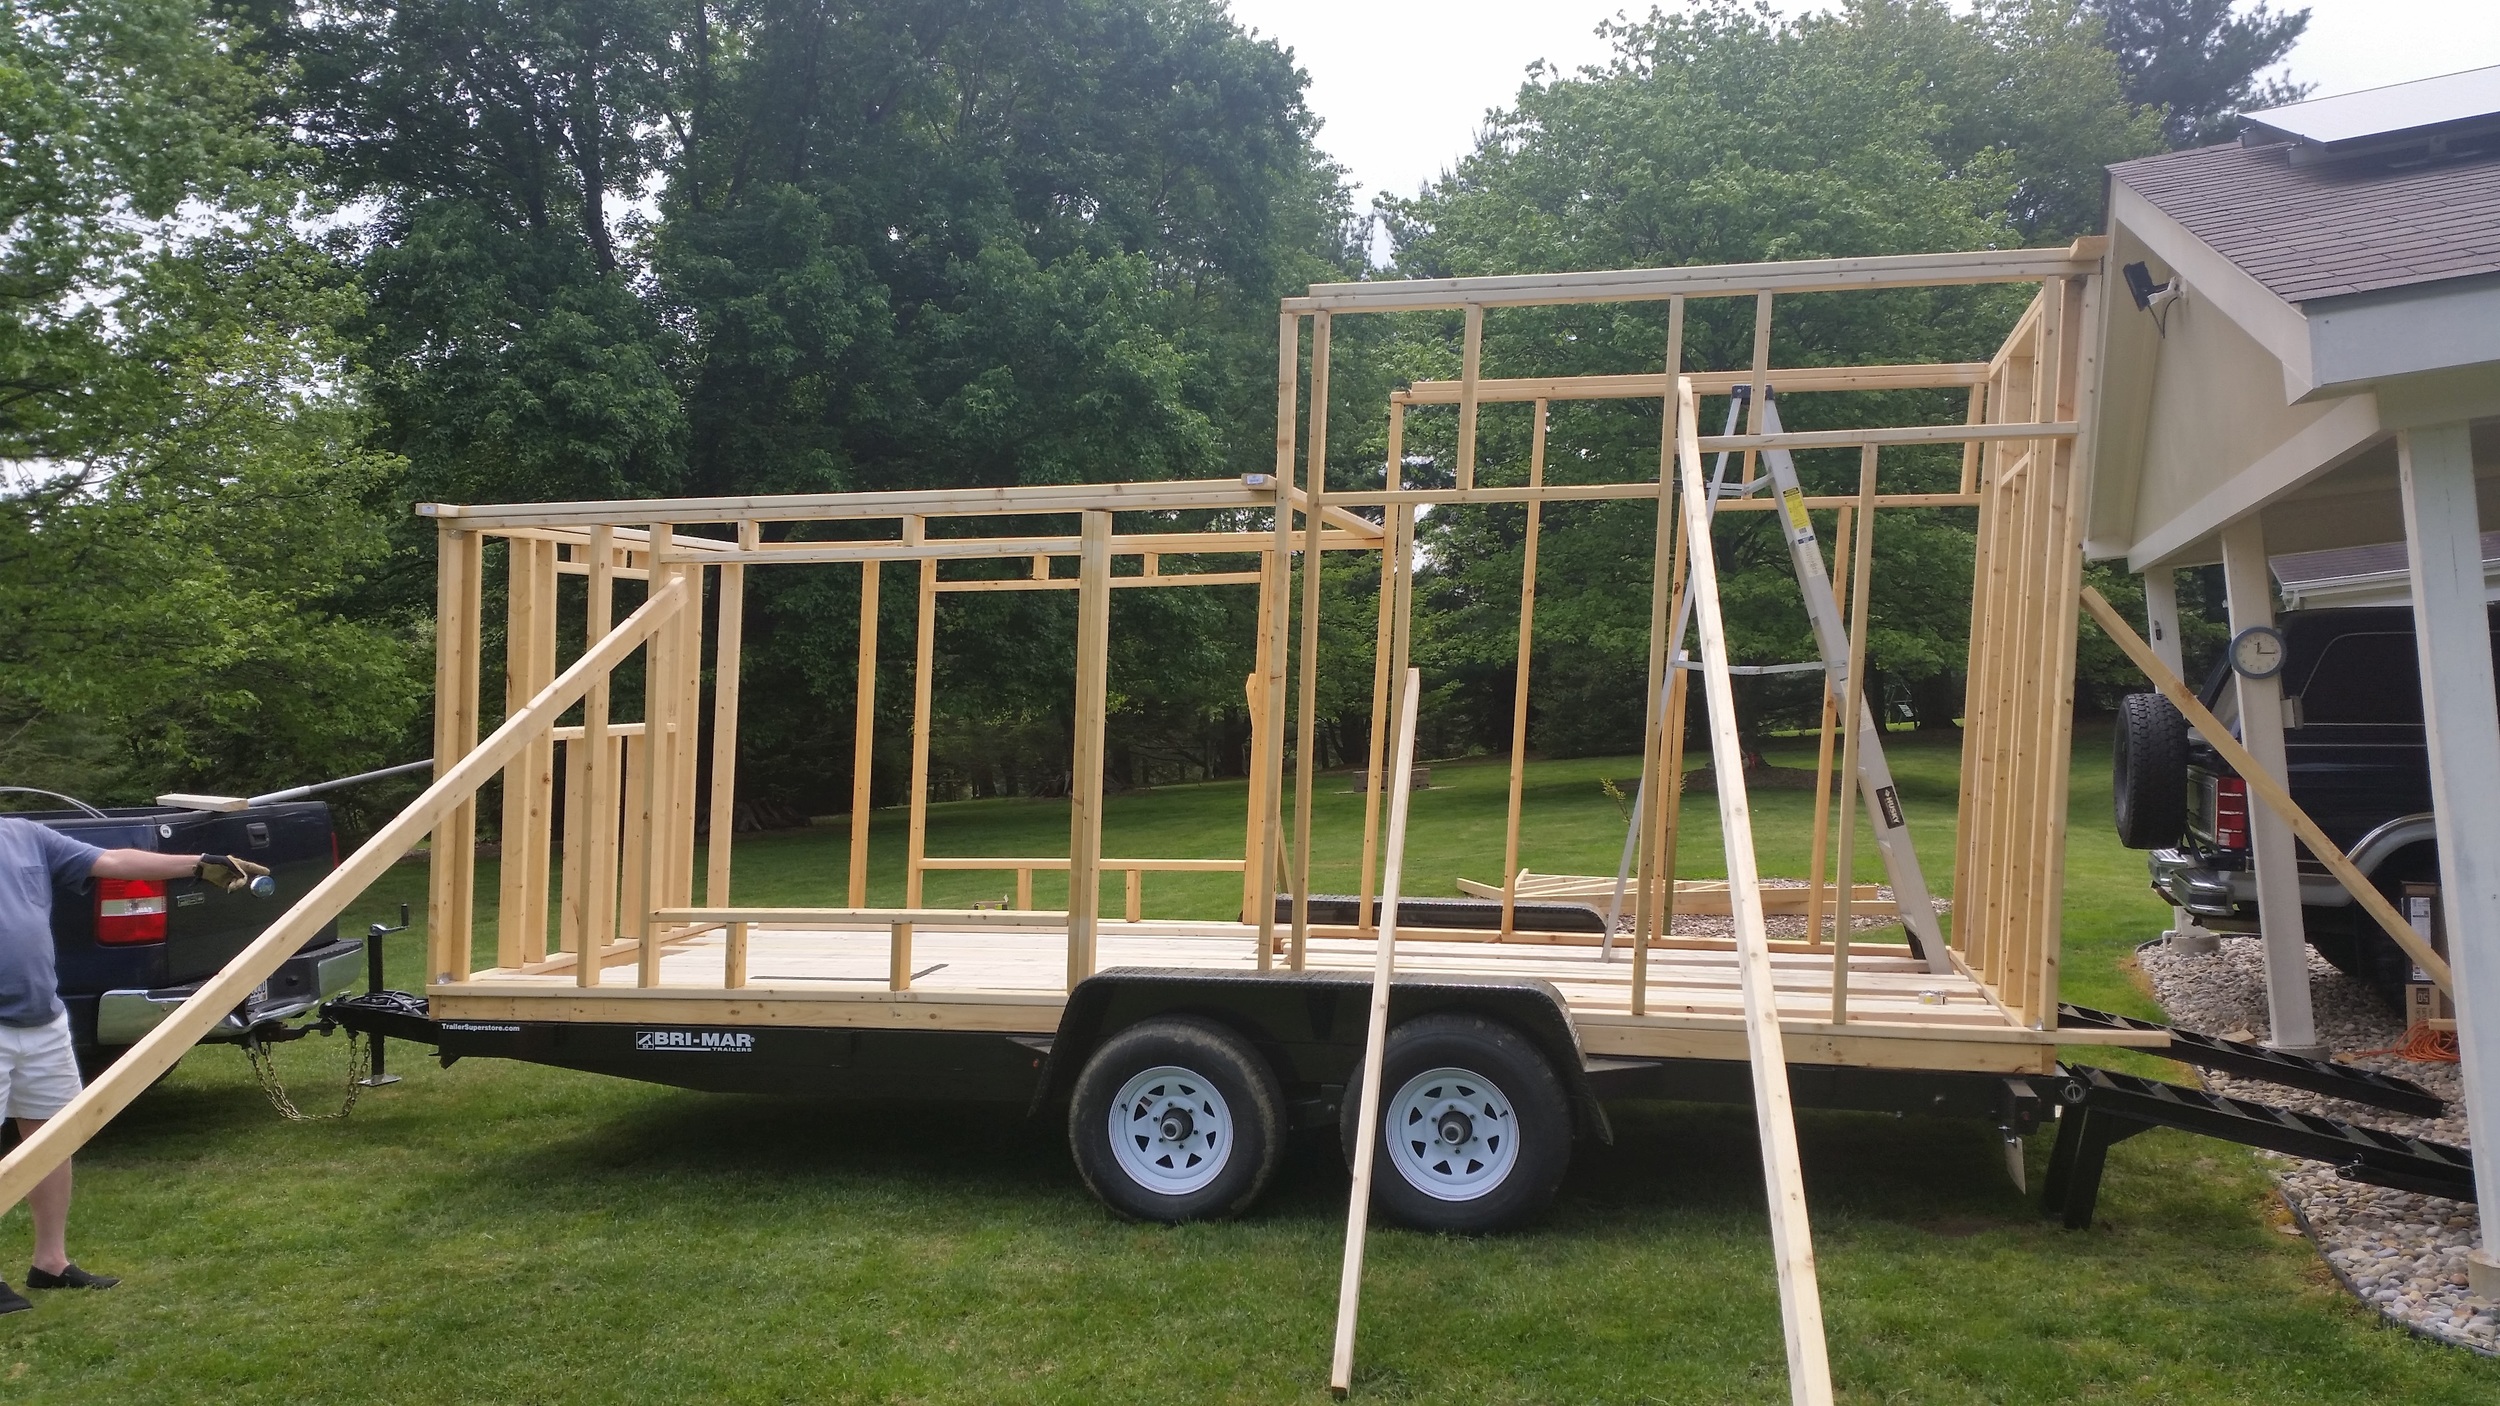
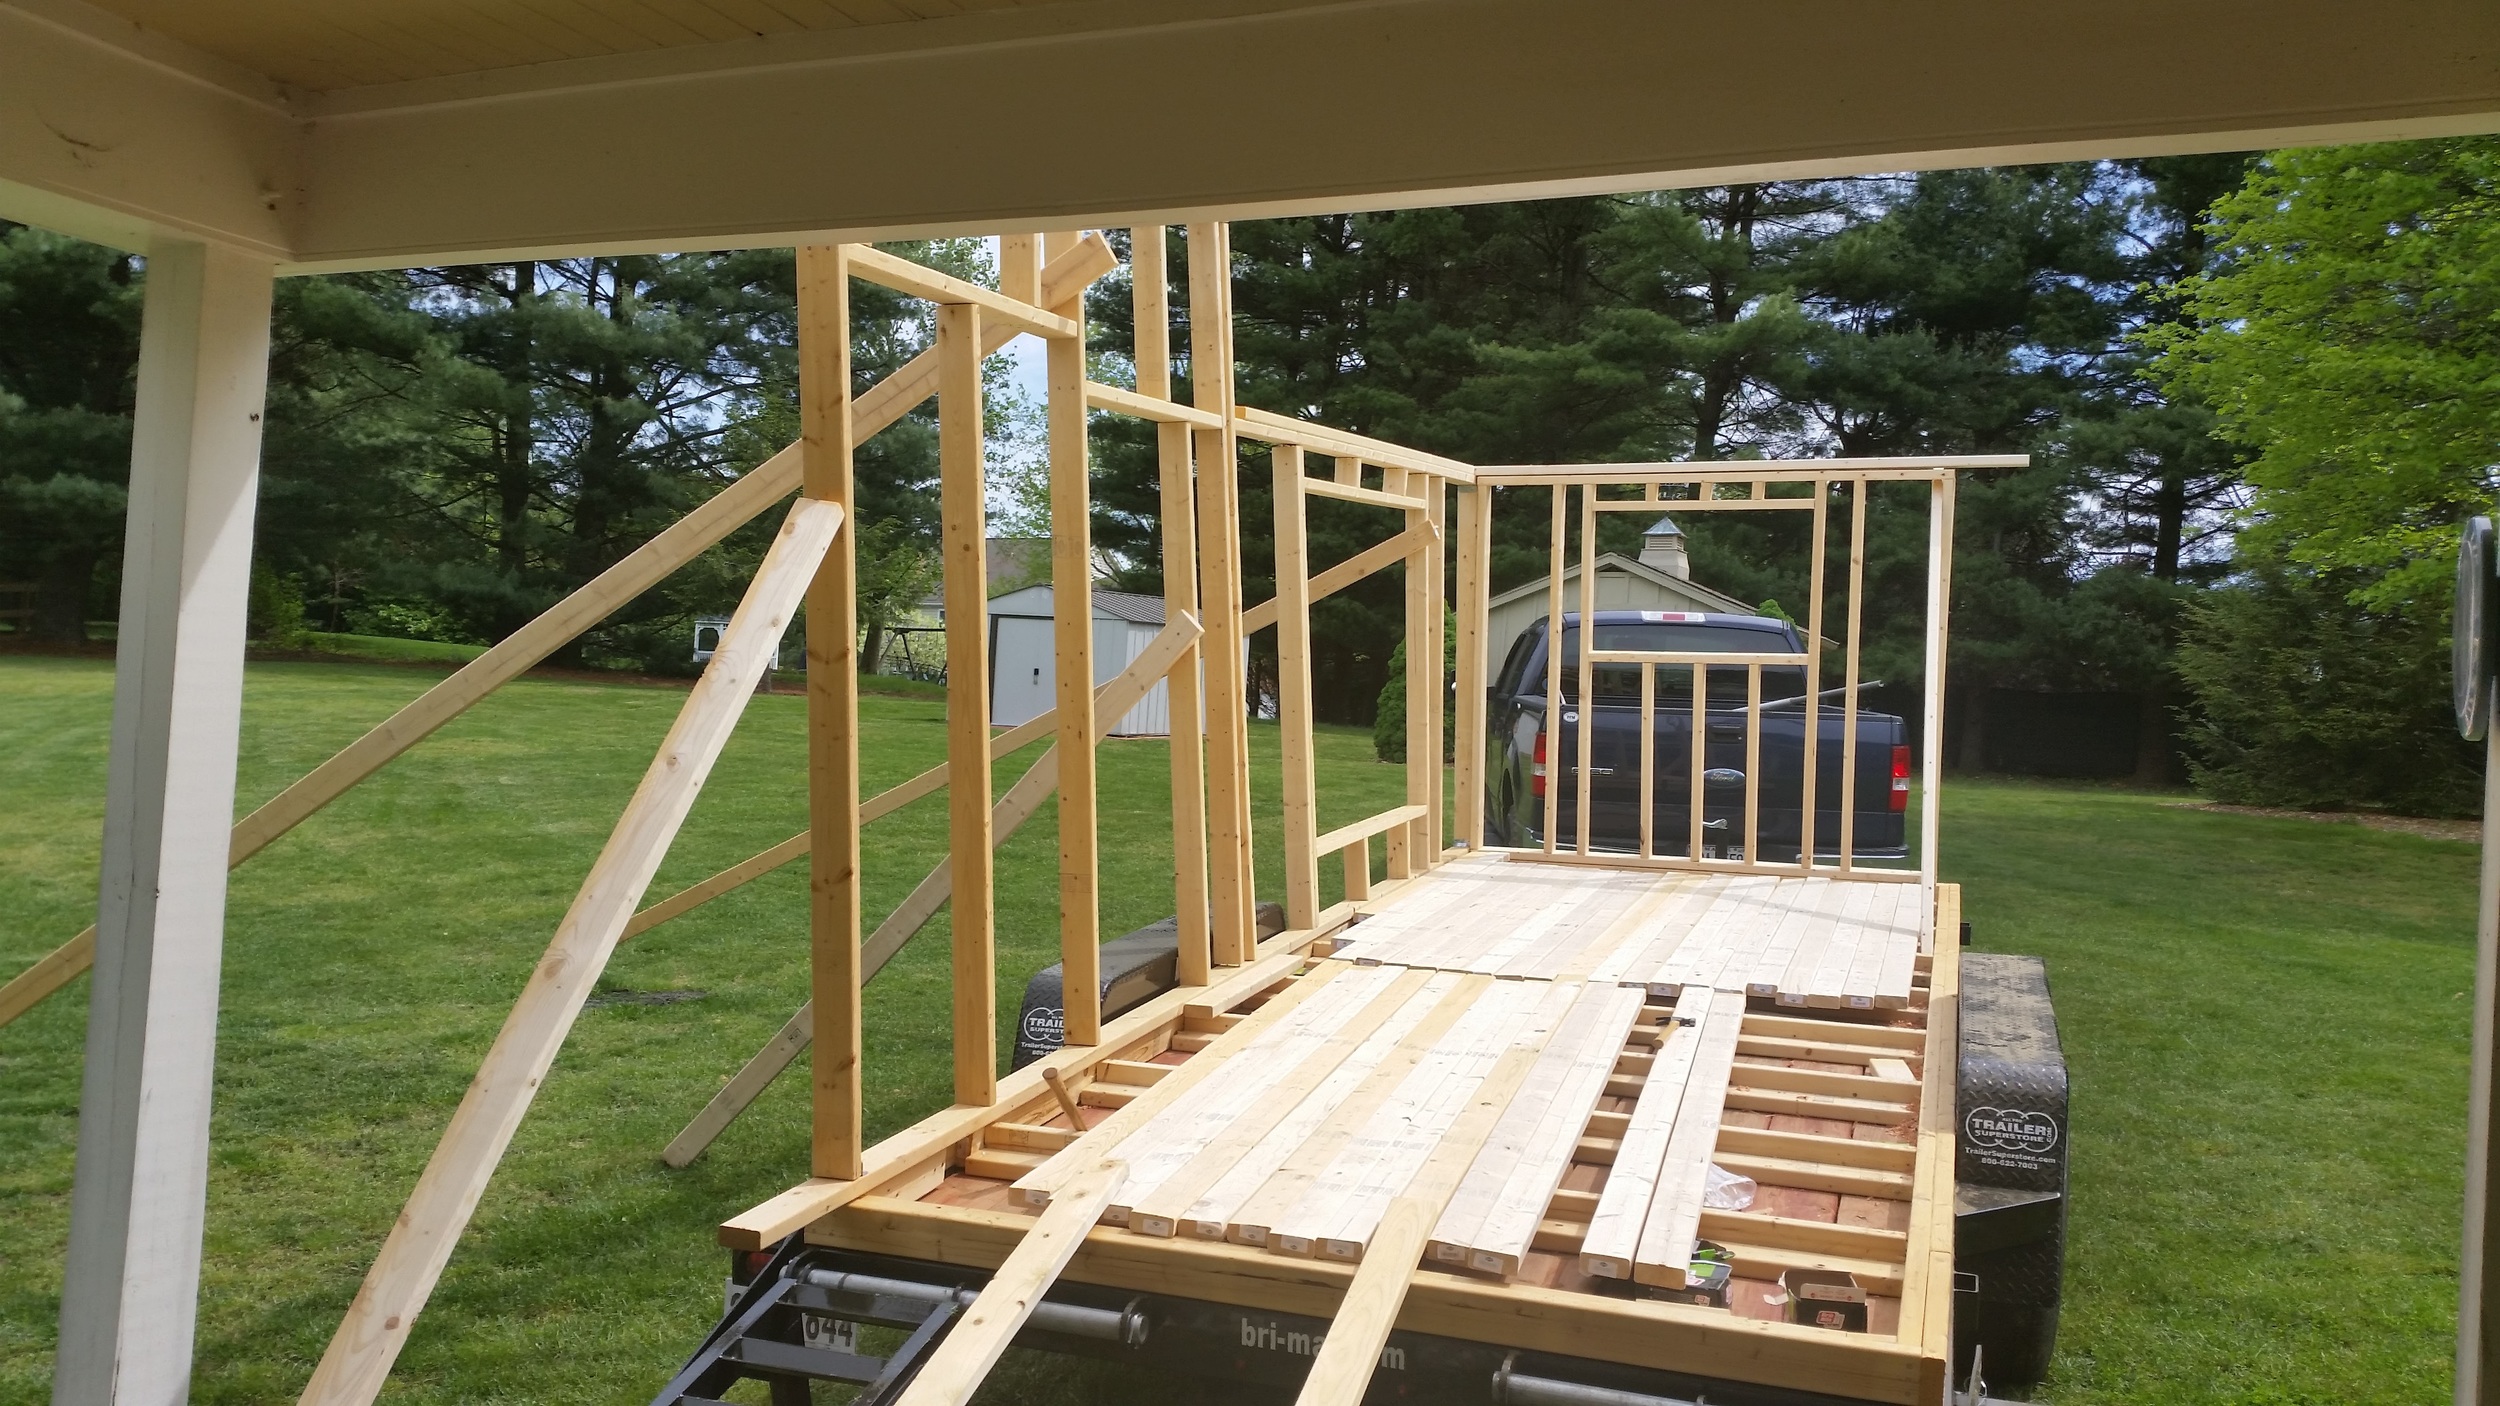
All the individual parts have been assembled as best they can before any "true" construction has occurred. Everything had been sitting in wait during our two week long period of rain, waiting for the clouds to part and construction to resume.

The trailer was driven out from the carport and set on the grass near an outlet and all the wall frames were carried out to the trailer. Each wall was set up with the frame tilted outward and supported with long wooden stays to keep them in place.

The walls were coming together nicely and quickly!

In no time flat, we had all four walls up! Then we realized that we had built the house backwards. The pop-up is supposed to face the truck and the low end hangs off the back! This meant that everything came down and had to be reassembled.

We were much faster setting the walls up the second time around! Now that the pop-up is facing the truck, we are able to continue building.


Dinghy Bilge Pump

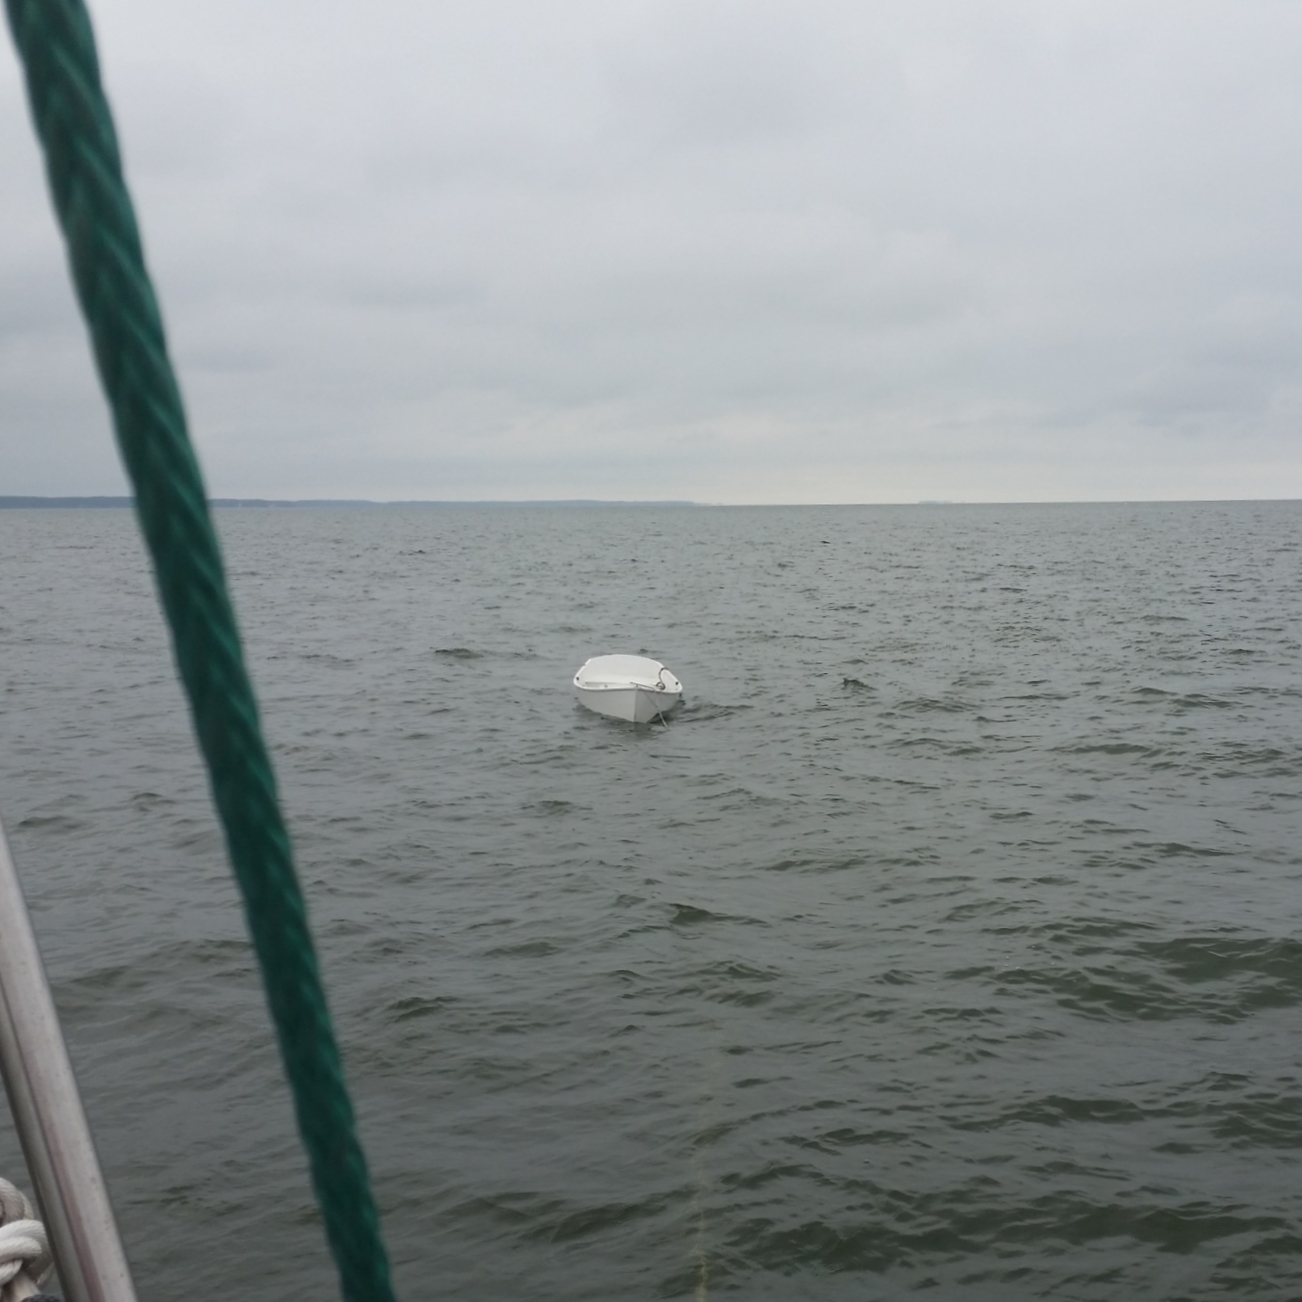
I originally built Tooth to fit upside-down on the deck of Wisdom, but I eye-balled the space available instead of measuring. Don't do this! I spent months building Tooth, only to find out that it is too long to fit on the deck. Tooth is a great row boat, but is forced to live in the water. 

When it rains, Tooth fills up with water and slowly sinks down as the water inside rises. After each rain, I would pump out Tooth with a hand pump. When we are on a trip, I would try to position Tooth next to Wisdom  and hang over the side to pump the water out of Tooth. It takes me around 20 to 30 min to pump all the water out of Tooth after a good rain. When we were in choppy conditions, it would take me almost an hour and the whole experience was miserable!

These past 2 weeks have been constant rain and I finally got tired of running my hand pump. I went to West Marine to get a lever action manual bilge pump to mount on a board with some long hoses that I could drop into Tooth and take the water right out! While I was there, the store manager talked to me about a battery powered electronic bilge pump.

As you may have noticed, I have my biases: 

  • I don't like electronics
  • I don't like combustion engines

I just feel that they they are waiting for the perfect time to fail you when you need them most! For these reasons, I prefer the manual approach to everything. You can spot a problem that is developing and fix it before it actually becomes a problem.

When he told me it was electric, my first concern was having enough battery power to run this pump and running the wires to power the pump. Then he told me it is self contained battery powered! Once again, my thought was trying to keep the re-chargable batteries would be a nightmare on the boat.

Then he told me that they run on 3 D batteries! I carry batteries in Tupperware for flashlights and other electronic devices, so powering a the pump with disposable batteries when it's needed is right up my alley! 

The pump is simply lowered into Tooth and it pumps all the water overboard! I can easily do this from the side of Wisdom via a lanyard and retrieve the pump once the boat is dry. I tried it out at the pier, and it worked wonderfully. It took around the same amount of time as my old hand pump but it also took no effort! When Tooth was dry, I was not tired with a sore shoulder.

While I don't typically rave over electronics, this pump is awesome. Best of all, if it does fail, West Marine has a wonderful warranty policy through their Plus Plan. The pump is not "installed" in the boat, so I can easily take it in and pick up a replacement! If it does fail, I still carry a manual hand pump to pump out Tooth.

Self tacking Staysail

Staysails are the smaller jib on a cutter. They are mounted to the inner forestay, which is the stay inboard of the headstay and attaches only partway up the mast. When tacking a cutter, you have the jib and staysail to sheet on each tack. This can become quite a chore when short tacking through narrow waterways.

To reduce the number of sheets that need to be adjusted, I have made the staysail self tacking. This lets me short tack up a narrow waterway, while only having to adjust the sheets of the jib (if I'm flying it). If it is a very narrow waterway, I will lower the jib and fly just the main and staysail, allowing me to short tack without having to adjust a single sheet. This lets me direct all of my focus to avoiding obstacles and other boat traffic while working to windward.

The reduced sail area does lower my speed, which is a good idea when sailing in crowded and cramped waters. If we were to collide with an obstacle, our slower speed will give us more time to react while lessening the damage of the collision. 

Self tacking staysails are nothing new, but most require very complicated systems and hardware to work properly. There are a few requirements that must be met for a headsail to self tack:

The sail can not overlap the mast
The sheets must be free and clear of any deck hardware
The sail needs a clew block to allow for trimming twist from the sail (optional but very helpful)

If the sail overlaps the mast, any self tacking hardware would hit the mast on each tack. It simply would not work.

The sheets need to be free and clear of any deck hardware to avoid them getting hung up on said hardware. Also, laying on hardware can cause stress points that will lead to chafe on the line.

Source: http://ipy.com/wp-content/themes/ipy/yacht-gallery/estero/estero-overview.jpg

Source: http://ipy.com/wp-content/themes/ipy/yacht-gallery/estero/estero-overview.jpg

Some common self tacking systems include the Hoyt Boom which is used on Island Packets to make their staysail self tacking.

Source: http://www.harken.com/uploadedImages/Tech_Corner/Systems/jib2.gif?n=4850

Source: http://www.harken.com/uploadedImages/Tech_Corner/Systems/jib2.gif?n=4850

Booms are wonderful for sail control, which is why your mainsail has a boom under it. The problem with booms on the foredeck is they hurt when they smash into your shins! If your headsail is flogging around, so will the boom under it! The alternative is to negate the boom and instead mount a traveler on the foredeck ahead of the mast. 

All these extra parts, in the form of booms or traveler tracks cost a fair amount to have made and installed on your yacht. There must be an easier way?

There is! Simply installing a block on the clew will convert your staysail into a self tacking staysail. The block runs on a bridle which allows the sail to slip from side to side as you change your tacks. If you get hit by the block while the sail is flogging, it doesn't hurt that bad (as long as you use a light weight block). 

While this self tacking system is inexpensive, it is also less than perfect. The sail will have less than ideal sail shape while sailing to windward and significant twist when sailing off the wind. This is because the sail is sheeted onto a bridle. To help counteract the twist, I attach the block higher up on the clew block. This is effectively the same as moving the sheet blocks forward to apply more tension to the leech. 

The first version of this system involved my old staysail which had a clew cringle and a very heavy block. The bridle was sheeted to the toe rail, fixed at one point with the other end running back to the cockpit. The principle concept was there, but it needed a lot of tweaking to get to its current state.

The theory was: "As the sheet is eased, the bridle will loosen and the clew can rise and fall off the wind towards the leeward side. As the sheet is brought in, the bridle will tighten and the clew will stay more midship. As you tack, the block would slide along the bridle to fall onto the other tack. Sheet control was simply bridle tension, the sail would always fall towards the leeward side." This worked, but the lead angles were so wide that I was never able to point very high with it; I simply was unable to sheet it in all the way.  It was also a tripping hazard when walking forward on the deck. This led to the second version of the system.

The second version involved the new staysail which had a clew bock installed on it. The clew block allows for adjusting the lead angle on the sail instead of moving the lead blocks fore and aft. I also moved the bridle leads inboard to the staysail track. This version worked better to windward and I was able to remove some of the twist by attaching the block further up on the clew board. As you can see, the sail still cups at the clew and doesn't have the best of sail shape. For short tacking, this isn't such a big deal, but when on a long tack, this is lost efficiency.

This led to the third and current version of the self tacking staysail. The self tacking block is left attached to a higher hole on the clew block. On a lower hole, a standard sheet is attached to the staysail, allowing excellent sail trim and shape to be achieved on long tacks. The self tacker is also a very lightweight Carbo Harken block, further reducing the agony from getting hit by the block when the sail is flogging.

Development of the self tacker has finished, because I am pleased with where it has come to. While short tacking into or out of a harbor, I can set the self tacking sheet on the winch and work my way to windward. Once out of the harbor and into larger water ways, I can set the non-self tacking sheet on the winch and work my way towards my destination with perfect sail shape. 

While the self tacker is not perfect, it only cost me a few blocks (three to be exact) to rig and is easy to convert back to a regular sheeting system if I were to require it. This was very important to me since I heave to during storm conditions and a self tacker will not allow the sail to be backed. The simple act of switching the sheet on the winch is all that is required to convert from self tacking to regular sheeting.

I use this on my staysail, but if you have a sloop rig, you can use this on your non-overlapping headsail to convert your regular jib into a self tacking jib for short handed tacks.


First Year Inspection

The synthetic rigging has been up and used for the past year now and it's time to perform the yearly rig inspection to make sure everything is holding up well and to identify any problem areas so that they can be addressed before the problem arises.

I did not evaluate the mast head on this climb because I was installing two new check stays for the staysail and time was a concern. I did perform a through evaluation of the lowers and the spreaders.

The stays are holding up very well! I was concerned that the rigging might suffer from chafe aloft when the halyards swing through the wind. If there is any rubbing, there has been no damage from said potential rubbing!

The lowers have settled into their thimbles nicely, with all the strands of the line set neatly within the lip of the thimble. There is no sign of fuzzyness or degredation from UV exposure nor any broken strands. 

One point of relatively low concern is the clevis pin on the aft lower had rotated 180* so the cotter pin is now head down. The legs are properly splayed so there is little risk of the cotter pin falling out, but I still like the cotter pin oriented head up. I tried to rotate this pin, but it was not cooperating with my efforts. Other pins that had rotated were re-oriented to have the head of the cotter pin aiming up, but this one did not and I will have to loosen the stay, climb the mast, orient that pin, and then re-tension that stay. I will first climb to the mast head to inspect the headstay and backstay connections before I worry about a single inverted pin.

The spreaders were my second area of focus. The spreader tip is seized onto the cap shrouds as they pass through the jaws. I wanted to make sure that the small line (5/64" or 1.9mm) has held up well. I did have a few issues with halyards getting caught in the jaws, as well as the drifter rubbing over the spreader tip. To my great pleasure, everything out at the end looked in fine shape with no signs of chafe to the service placed over the stay. If the service were to become severely chafed, I would simply replace the worn service before the stay suffered any damage.

The rigging looks very new and is holding up wonderfully, even in full exposure to UV radiation, harsh winters, and sweltering summers!

On a final note, when you go up the mast to inspect your rigging, don't forget to enjoy the view!