New Visitors

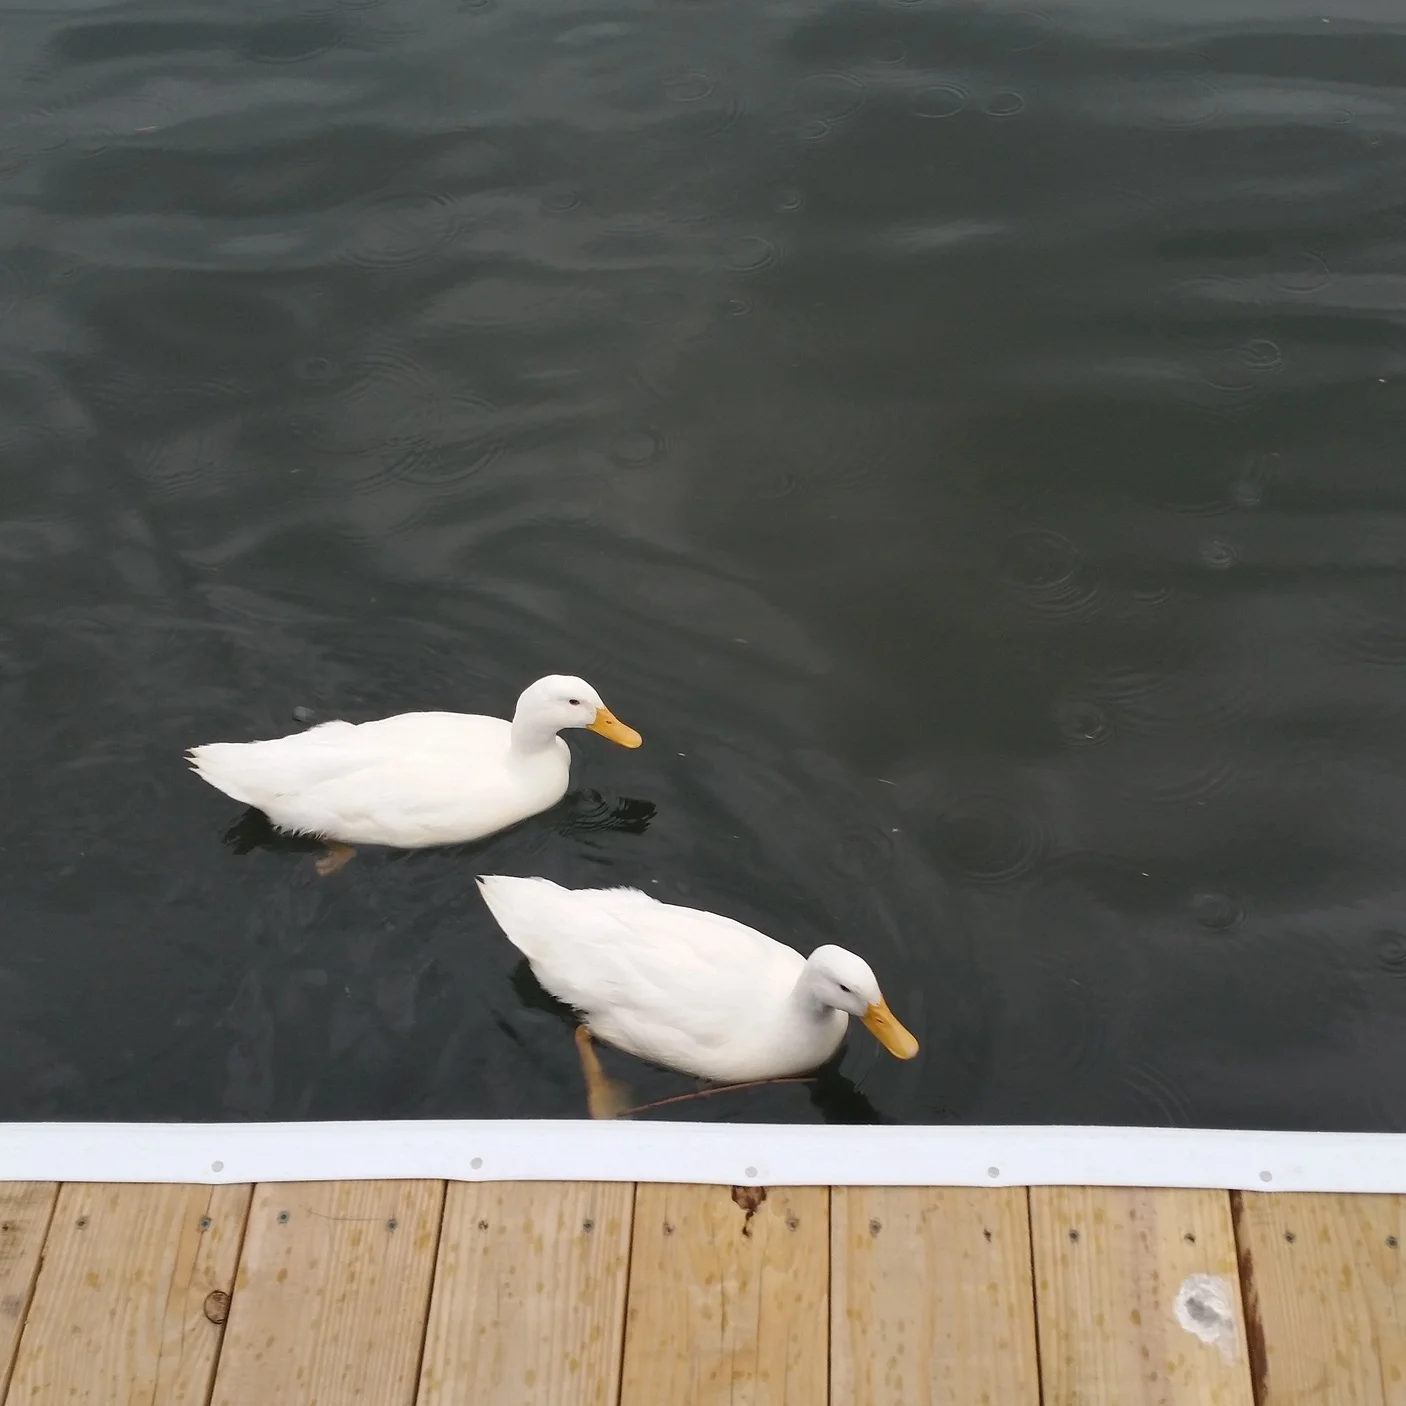
Two white ducks arrived in the marina a few days ago! These ducks are very friendly, coming up to people (expecting food to be tossed at them).

The usual duck population consists of mallard ducks which are weary of people. They usually swim around the boats and keep to themselves, but these new ducks will swim right up to the side of the pier!

I personally don't interact with the ducks in the marina since I don't want any viruses or diseases to be transmitted to my parrot Sammy, but it is nice to see some new faces swimming around the marina!

While I do feel that these two ducks may have been pets that flew away and found themselves here, it is still nice to see a bit more biodiversity in the marina fauna.

Dropping Things in the Water

As mentioned before, everything you have while living aboard will eventually fall into the water. Many friends that come to visit us have dropped their phones, car keys, and wallets into the harbor; lost forever. 

Luckily (knock on wood) I have never dropped anything important into the water by following a few simple rules.  

1. Never pull anything out of your pocket while on the pier.

2. If you plan on pulling something out if your pocket while on the pier or deck of the boat, put it in a pocket by itself.  

3. Never pull anything out of your pocket when you are drunk. (Batman Dave dropped his cell phone, wallet, boat keys, and car keys into the harbor on Halloween while dressed as batman) 

4. If you have zippers on you pockets, keep them zipped shut.  

Most items are lost when you pull something out of your pocket and it slips from your hand or pushes something else out with it. For example: you take your phone out of your pocket and your keys are hooked on the corner. When the phone comes out, the keys fall. You reach for your falling keys and open your hands to catch them before they fall into the water, but you just let go of your phone! You watch as both your phone and keys fall into the water and sink to the bottom.  

If you must pull something from your pocket, do it over land or inside your cockpit/cabin. It only takes a few moments to do this and it will save you a lot of frustration. If you are expecting a call, or your phone in a pocket alone. If you are not expecting a call, let it ring and call them once it is safe to retrieve your phone from your pocket.  

Lastly, it would behoove you to get insurance on your cell phone. I have my phone through Verizon and the sales representative told me: If your phone falls into the harbor, simply report it as  "the harbor stole my phone" and the insurance will cover its replacement. 

Try to avoid the frustrating moment when you drop something in the water, it only takes a few simple steps to keep it from happening but it takes a long time to replace whatever falls. 


Going up the mast

No one likes to go up the mast, but when you do go up the mast, you should make it as safe as possible. This requires the proper gear and knowledge of how to use it.

There are three important parts to mast climbing

Going Up
Staying Safe
Coming Back Down


Going up

Going up may seem simple, but how do you raise all your weight to the top? You can have a trusted friend grind the main halyard winch to raise you up, but if you can't find a friend who is willing to hoist you up, you might have to go up alone. 

They sell many different systems such as mast steps and mast climbers, but these are systems are bulky and complicated.

Metal mast steps add weight aloft, offer more places for halyards to foul, and are very expensive. They also entice sailors to climb the mast without a harness which can lead to deadly falls from the rigging.

Soft mast steps are attached to the main halyard and offer the same problem, you are tempted to climb them just like a ladder without any safety gear.

Mast climbers are interesting devices that attach to a line and allow you to shimmy your way up the halyard. They work well and offer a way to climb the mast in a hurry, but you are forced to stand up there while you are working aloft. Coming down is also rather tricky since you don't want to accidentally disengage the system and plummet to the deck.

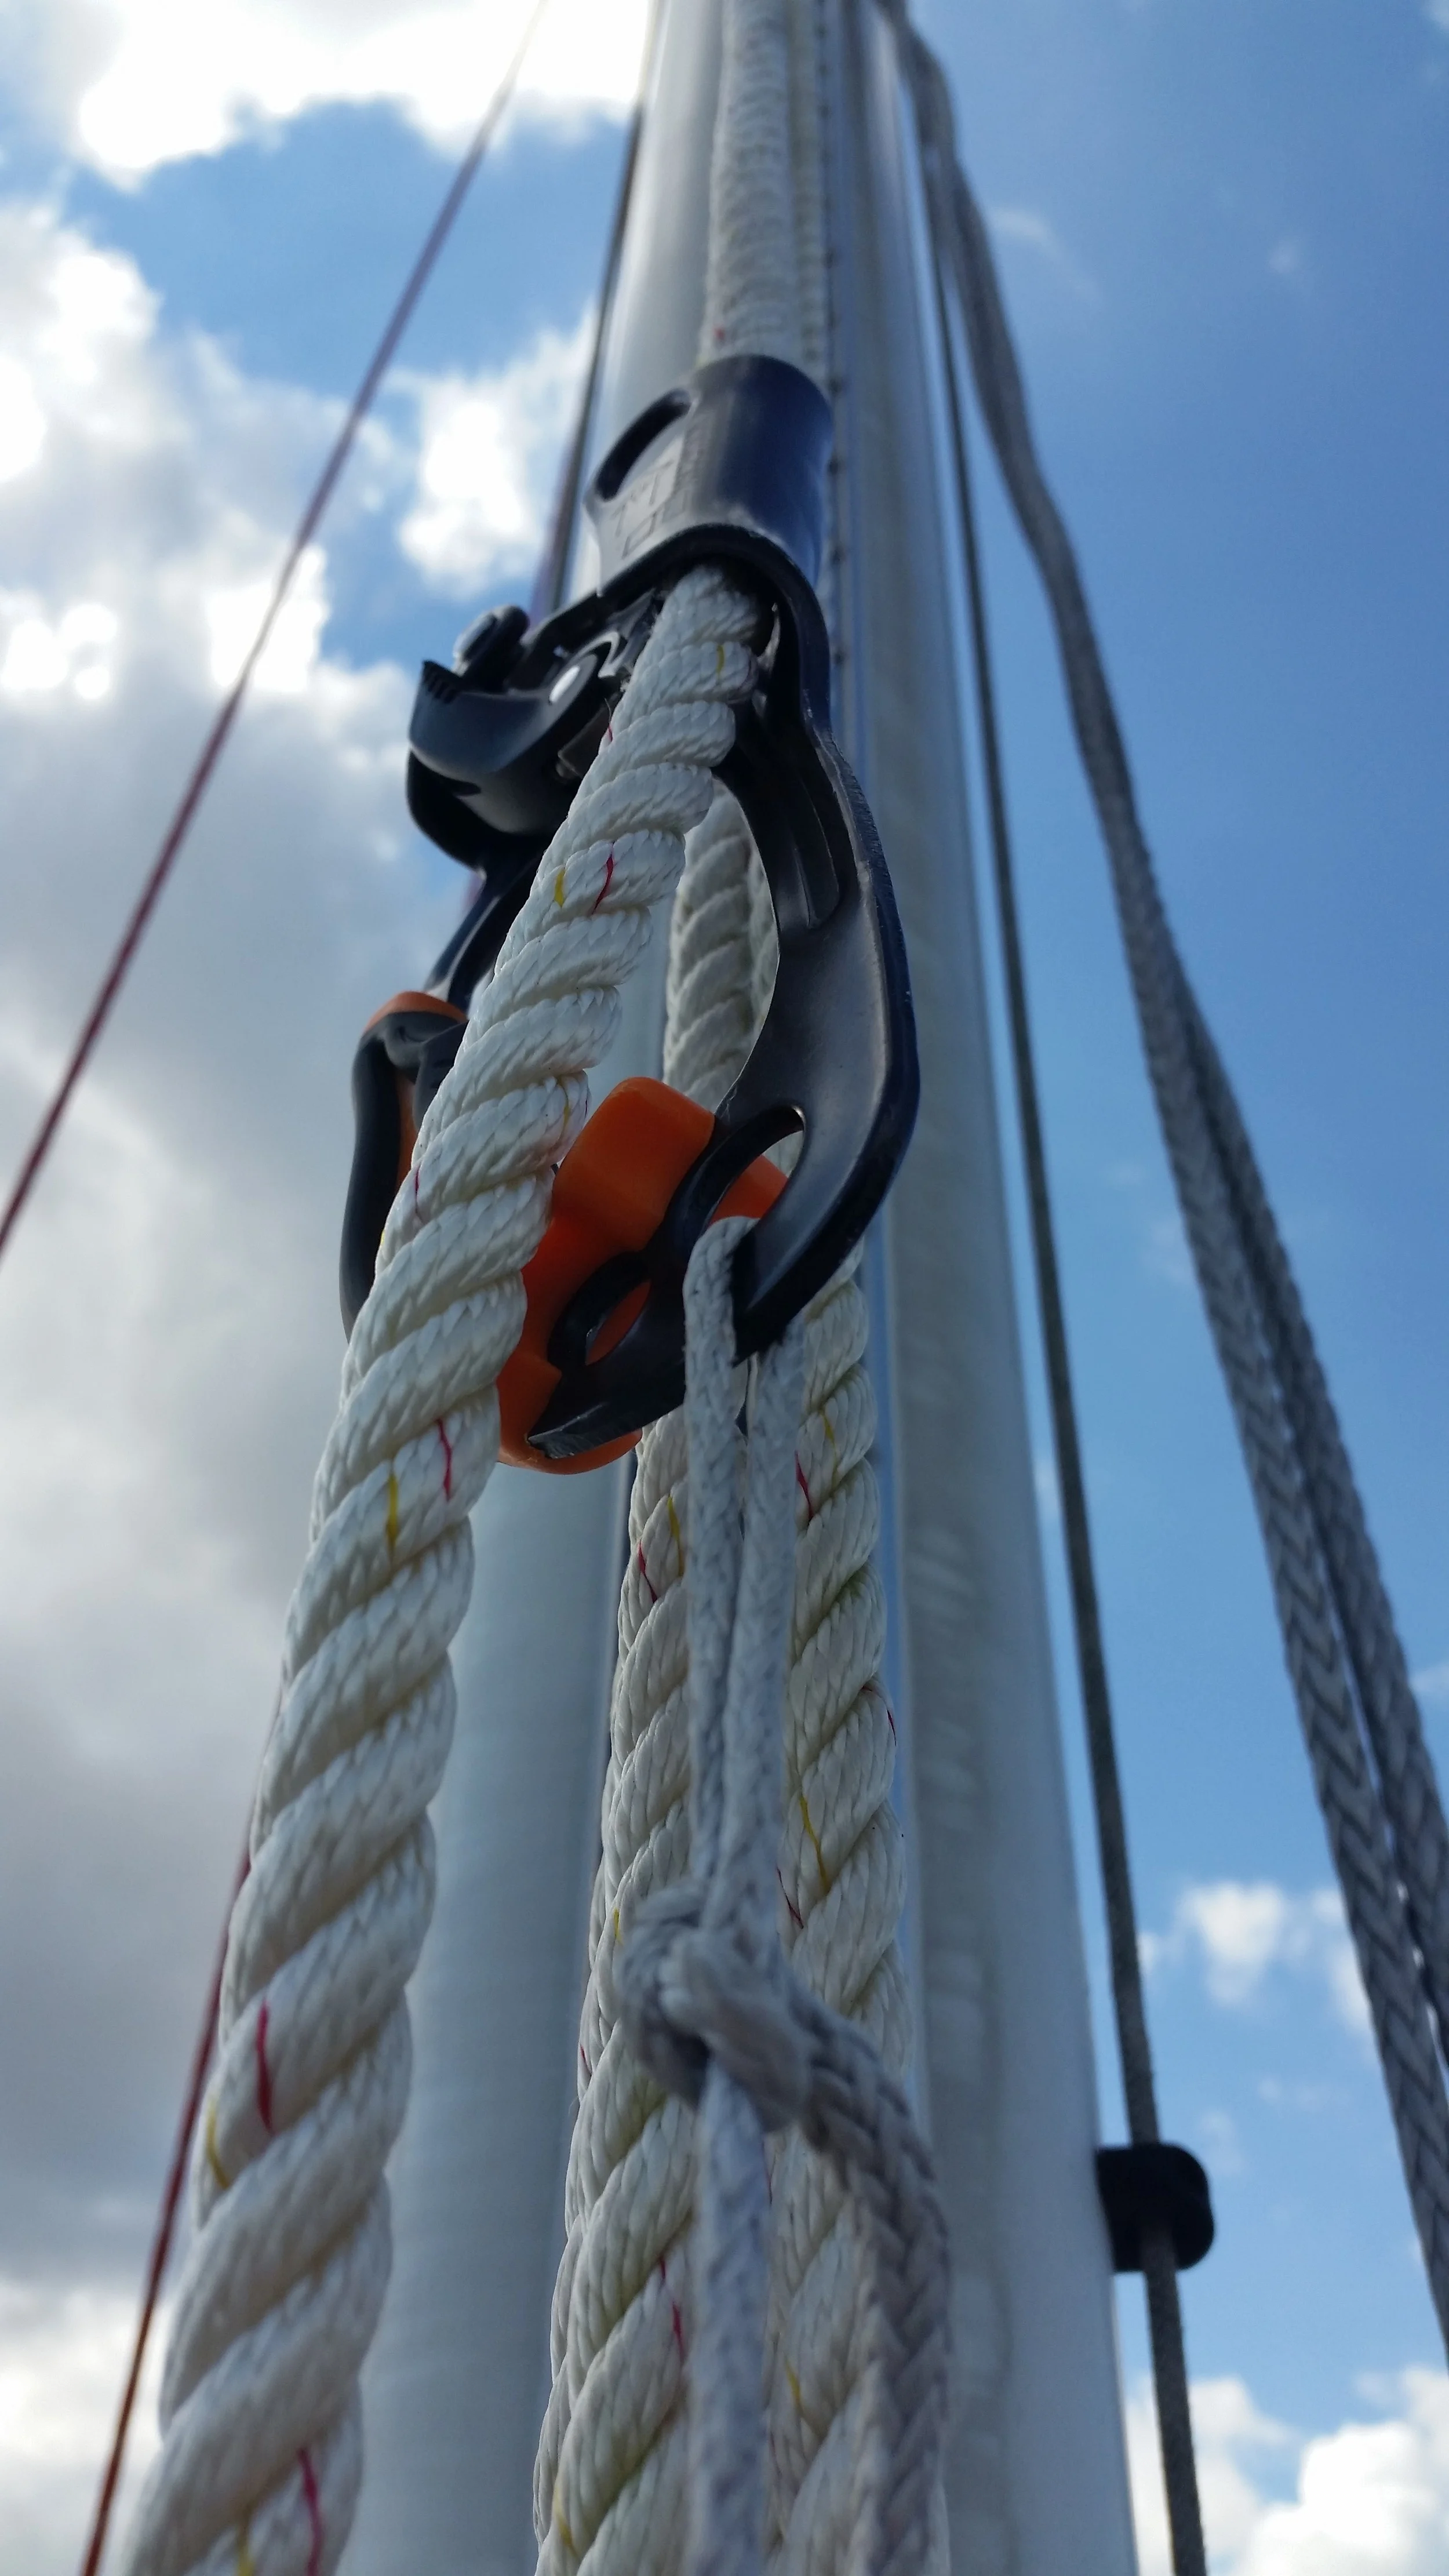
I prefer the use of a gantline to climb the mast, it offers the safety and control of a pulley system and attaches to the bosun chair and safety harness. This system consists of three parts, two blocks and an ascender. These parts are not regular marine grade blocks, but rather blocks designed to hoist humans during rock climbing. They can not accidentally be opened and make the process very safe. The ascender is optional but it makes grabbing the gantline much easier.

The double blocks are made by C.A.M.P. and are relatively available at REI.

The ascender is made by Petzl Ascension and also relatively available at REI. I tie a small piece of dyneema to it and connect it to my harness. When I reach my desired location on the mast, I can let go of the gantline and the ascender will hold me in place while I work. The first time you let the ascender go may seem scary, but trust me, you will be fine (as long as it's tied to your harness!)

To go up, I feed the line through the double blocks and attach one block to the main halyard and run it up the mast. The main halyard is securely cleated to secure the upper block at the mast head and the lower block is securely attached to the bosun chair. I attach the ascender to the gantline and begin pulling myself up. This system offers a mechanical advantage of 4:1 and allows someone with weak arms like myself to hoist my heavy body to the top of the mast. If I were to loose my grip on the line and fell uncontrolled, I would be slowed somewhat by the friction imposed by the block system. I don't recommend testing out a free fall, but it will give you enough time to grab the gantline. If you were falling, the best way to stop your fall would be to grab the four lines involved in the pulley system which will easily bring you to a halt. Best yet is to avoid a free fall all together, which will be discussed in the safety section below.


Staying safe

Safety aloft is the most important thing to maintain while climbing a mast. With this in mind, we shall look at proper safety protocol.

The line for the gantline should be strong enough to support your body weight easily. I use 1/2" Three Lay from New England Ropes. I recommend the use of Three Lay because it offers more warning to chafe and if chafe occurs, it will usually only affect one of the three strands. Two of the three strands will be enough to hold your weight as you lower yourself down from the mast. If double braid were to get cut or chafed severely, your safety could be severely compromised, three lay is a little more insurance to a deadly fall.

The blocks should be inspected before each and every use to make sure they are free of cracks or corrosion. If there is any question, don't go up on them!

All attachments should be made with knots or threaded shackles. Never use a snap hook as a primary attachment. If the snap shackle opens, you will fall straight down.

20150321_125601.jpg

The mast is both your friend and nemesis. It will keep you safe as long as you are close to it. If you move too far from the mast by wind or wave action, you will end up smashing back into the mast. This can be extremely dangerous and damaging! To avoid being swung away from the mast, you want to tie a safety line around the mast and to your safety harness. This will keep you close to the mast at all times. If you need to swing out to the end of the spreaders, simply tie it to the shroud and pull yourself out in a controlled manner. Never jump or swing because if you miss your target, you will smash back into the mast!

Attach a safety line from the bosun chair to your safety harness. This way, if you slip out of the chair, you will still hang by your harness. 

Tie the rope ascender to your harness. This way if you let go of it by accident, you will not fall. The ascender will rise up until the safety line is tight, then it will hold you at that height. 

Carry a messenger line with you so tools or parts can be passed from the deck up to you. This will allow you to send things back and forth without needing to climb or descend to retrieve them.

Tie a line that is secured to you to all tools you value. If a tool slips, it will reach incredible speeds as it plummets to the deck. This will damage your deck when it smashes into it and the tool will then bounce into the water to be lost forever. By tying a line to the tool, it will stay tethered to you and avoid all the damaging consequences.

Never use tools while someone is below you. Have any helpers relocate themselves to the bow or stern. If a tool or clevis pin slips out of your hand and hits them in the head, they could die from brain trauma.

If you are replacing your rigging, never disconnect all the shrouds or stays at the same time. Replace just one at a time and have that stay supported by a halyard. This way the mast head will always be supported. The lower shrouds are much less sensitive to this and can be replaced all at the same time.


Coming back down

After the job is finished, it is time to come back down to the deck. The safest way to do this is slowly. I take a firm grasp on the gantline and remove the ascender and let it hang by its tether line to the harness. I lower myself down hand under hand, never letting myself build up momentum.

Do not let the rope slide through your hands in a controlled manner. The friction will build heat leading to rope burn. When this happens, your instinct will be to let go! If you save yourself from the fall by grabbing the gantline bundle, you will still have rope burn on your hands, making any successive projects painful. This is why you avoid the whole situation by lowering yourself in a controlled manner until you reach the deck safely.

Lower yourself down slowly, and keep the safety line tied around the mast. When you get to the spreaders: wrap your legs around the mast, make sure there are no waves or wakes coming, untie it, pass it around under the spreaders, and tie it again. If conditions are not calm, use two safety lines. Keep the first one tied, tie the second on the other side of the spreaders, then untie the old safety line.

Following these steps you will be able to safely climb, work, and descend the mast without injury or casualty. Remember that anything you want to do will take longer to accomplish aloft and you need to be extremely careful to maintain perfect safety while aloft.

Choosing an Anchorage Part 2

When it is not calm and you need to find protection for the elements for the night, choosing an anchorage becomes a very important skill! Last time we talked about dropping the hook in the middle of nowhere in calm weather where the only important factor is tide/current and bottom conditions. With stronger conditions, all the other important factors come into play.

When choosing an anchorage in strong weather, all of these points become a priority:

  • Length of time anchored
  • Protection from wind
  • Protection from waves
  • Tides and currents
  • Bottom composition

Now imagine you are sailing along in a stiff breeze and the sun is starting to set. In the distance, you see huge storm clouds coming right at you and you know you are going to be in for a rough night! Finding protection is crucial for anchoring because you will not get any sleep otherwise!

Length of time anchored: At least the entire night, maybe into the next day because you won't want to pull up the anchor to start sailing during a gale!

Protection from wind: Wind load on the rigging and spars is almost inevitable. The total windage from the hull, spars, and sails will try to pull the anchor out of the bottom and send it dragging along the bottom during the storm. To hide from the wind, you need to stay in the wind shadow of something else. To stay in a wind shadow, you need to know which way the winds will be coming from. If the wind will most likely blow from only one direction, you only need to have one feature causing a wind shadow. If it could be blowing from more than one direction, you need to have more features providing protection from different wind directions.

Wind shadows cast by an object are twice as high as the object and extend out a distance of 20 times the height of the object. That means that if the object is 100 feet high, the wind shadow is going to be 200 feet high and 2000 feet long! This means that hiding behind a small island can actually provide protection from the wind. 

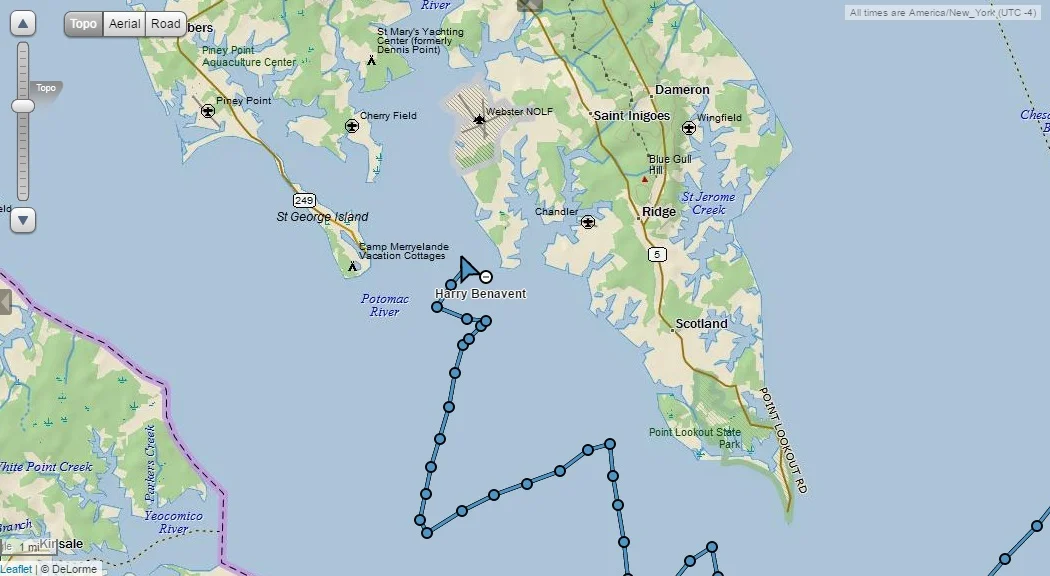
This is one example where we were looking for an anchorage to protect us from a strong wind. It was slack low tide when we arrived, so the current was going to be flowing North overnight (in the same direction as the wind) and slack high tide by morning when we would be leaving. We draw 6.5 feet, dropped anchor in 7 feet of water and slid back into 9 feet of water while leaving out 180 feet of chain. If we were to drag, we would slide into deeper water and I wanted it to set again! The bottom was hard where we dropped the hook and the deeper water was softer. We did drag anchor that night, but it quickly re-set.

The small island provided protection from the wind (we know this to be true because the wind died down as we arrived in the lee). The shallow water around the island also broke up the seas, providing us a less windy and less wavy nights sleep.

While it might seem that we were anchored in the middle, we were actually very protected from the weather, hiding in the lee of the island.

Another important point to remember when anchoring during strong weather is the shock loads on your anchor and the scope of the rode. A 2:1 scope will pull more vertically as compared to a 10:1 scope which pulls more horizontally. When the boat rides up on a wave, the boat pulls back and this puts additional stress on the anchor, trying to pull it out of the sea bed. With a nylon rode, these forces are somewhat dissipated by the stretch of the rope. Chain is much stronger than rope, but offers zero stretch! This is where having extra chain out helps to provide some form of elasticity because of the chains catenary. 

Catenary is the sag that the chain will have as it comes out of the bow roller and leads to the anchor. The weight of the chain will help form catenary and act as the absorbing force. When the boat is pushed back, the force is translated into a lifting motion on the chain. The heavier the chain, the more force it will take to lift the chain, translating into more shock protection for you. 

When we anchored in the lee of the island, we had 180 feet of chain out in 7 feet of water with an effective depth of 11 feet (6 foot bow roller) giving us a scope of 16:1. Overkill, I know! I did this so that I would have enough scope if I dragged into deeper water and to give more catenary in the chain. While the lee of the island provided some protection, I believe the mast was in the wind because the boat was being pushed back quite strongly. With 180 feet of chain, the rode exited the bow nearly vertically. This means that we had plenty of chain that would need to be pulled off the bottom before the anchor would be subjected to a shock load. In addition to this, a nylon snubber was tied to the chain to give even more elasticity and to protect the ground tackle gear on the deck from shock loads.

In this example, we were sailing North when we needed to anchor for the night. The wind was from the South, so anchoring right next to the land provided us protection from the wind and the very short fetch between shore and boat provided us protection from the seas.

This river also experienced very strong currents when the tides would change. The current runs parallel to the shoreline, so I wasn't worried about being beached by the current. Current strengths are depth dependent, so staying in the shallower water was very beneficial. The difference was rather dramatic, 1.4 knot current in the shallows along the waters edge and 5 knots in the deeper water. The additional current adds strain to the anchor which adds even more benefit to hiding in the shallows in the lee of the land, hidden from wind and currents in completely open water right by the bay!

Both of those examples involve short, over night anchoring to escape some short term weather. What if you are hiding from a large storm and don't know which direction the winds will blow from or how long you will need to stay hidden? You will need much more protection!

In this occasion, a series of large thunderstorms were going to be coming through the next day and we needed to seek more protected waters. We didn't know what direction the winds would be coming from, so we searched the chart book for a protected anchorage. What I was looking for was high land encircling the water on all sides to protect us from the wind. 

While looking over the charts I came across St. Mary's River. The topography surrounding the river is composed of high cliffs providing plenty of protection from the wind. Since the wind was blocked, there were no seas to speak of at anchor!

When we arrived in the anchorage, the wind was starting to pick up. We were expecting to work our way up the river into one of the creeks to find protection from the wind, but as soon as we entered the mouth of the river, the winds died and the sails dropped. We ghosted along and dropped the anchor in the sandy bottom and settled in for the night in preparation for the horrible storms that were to come. 

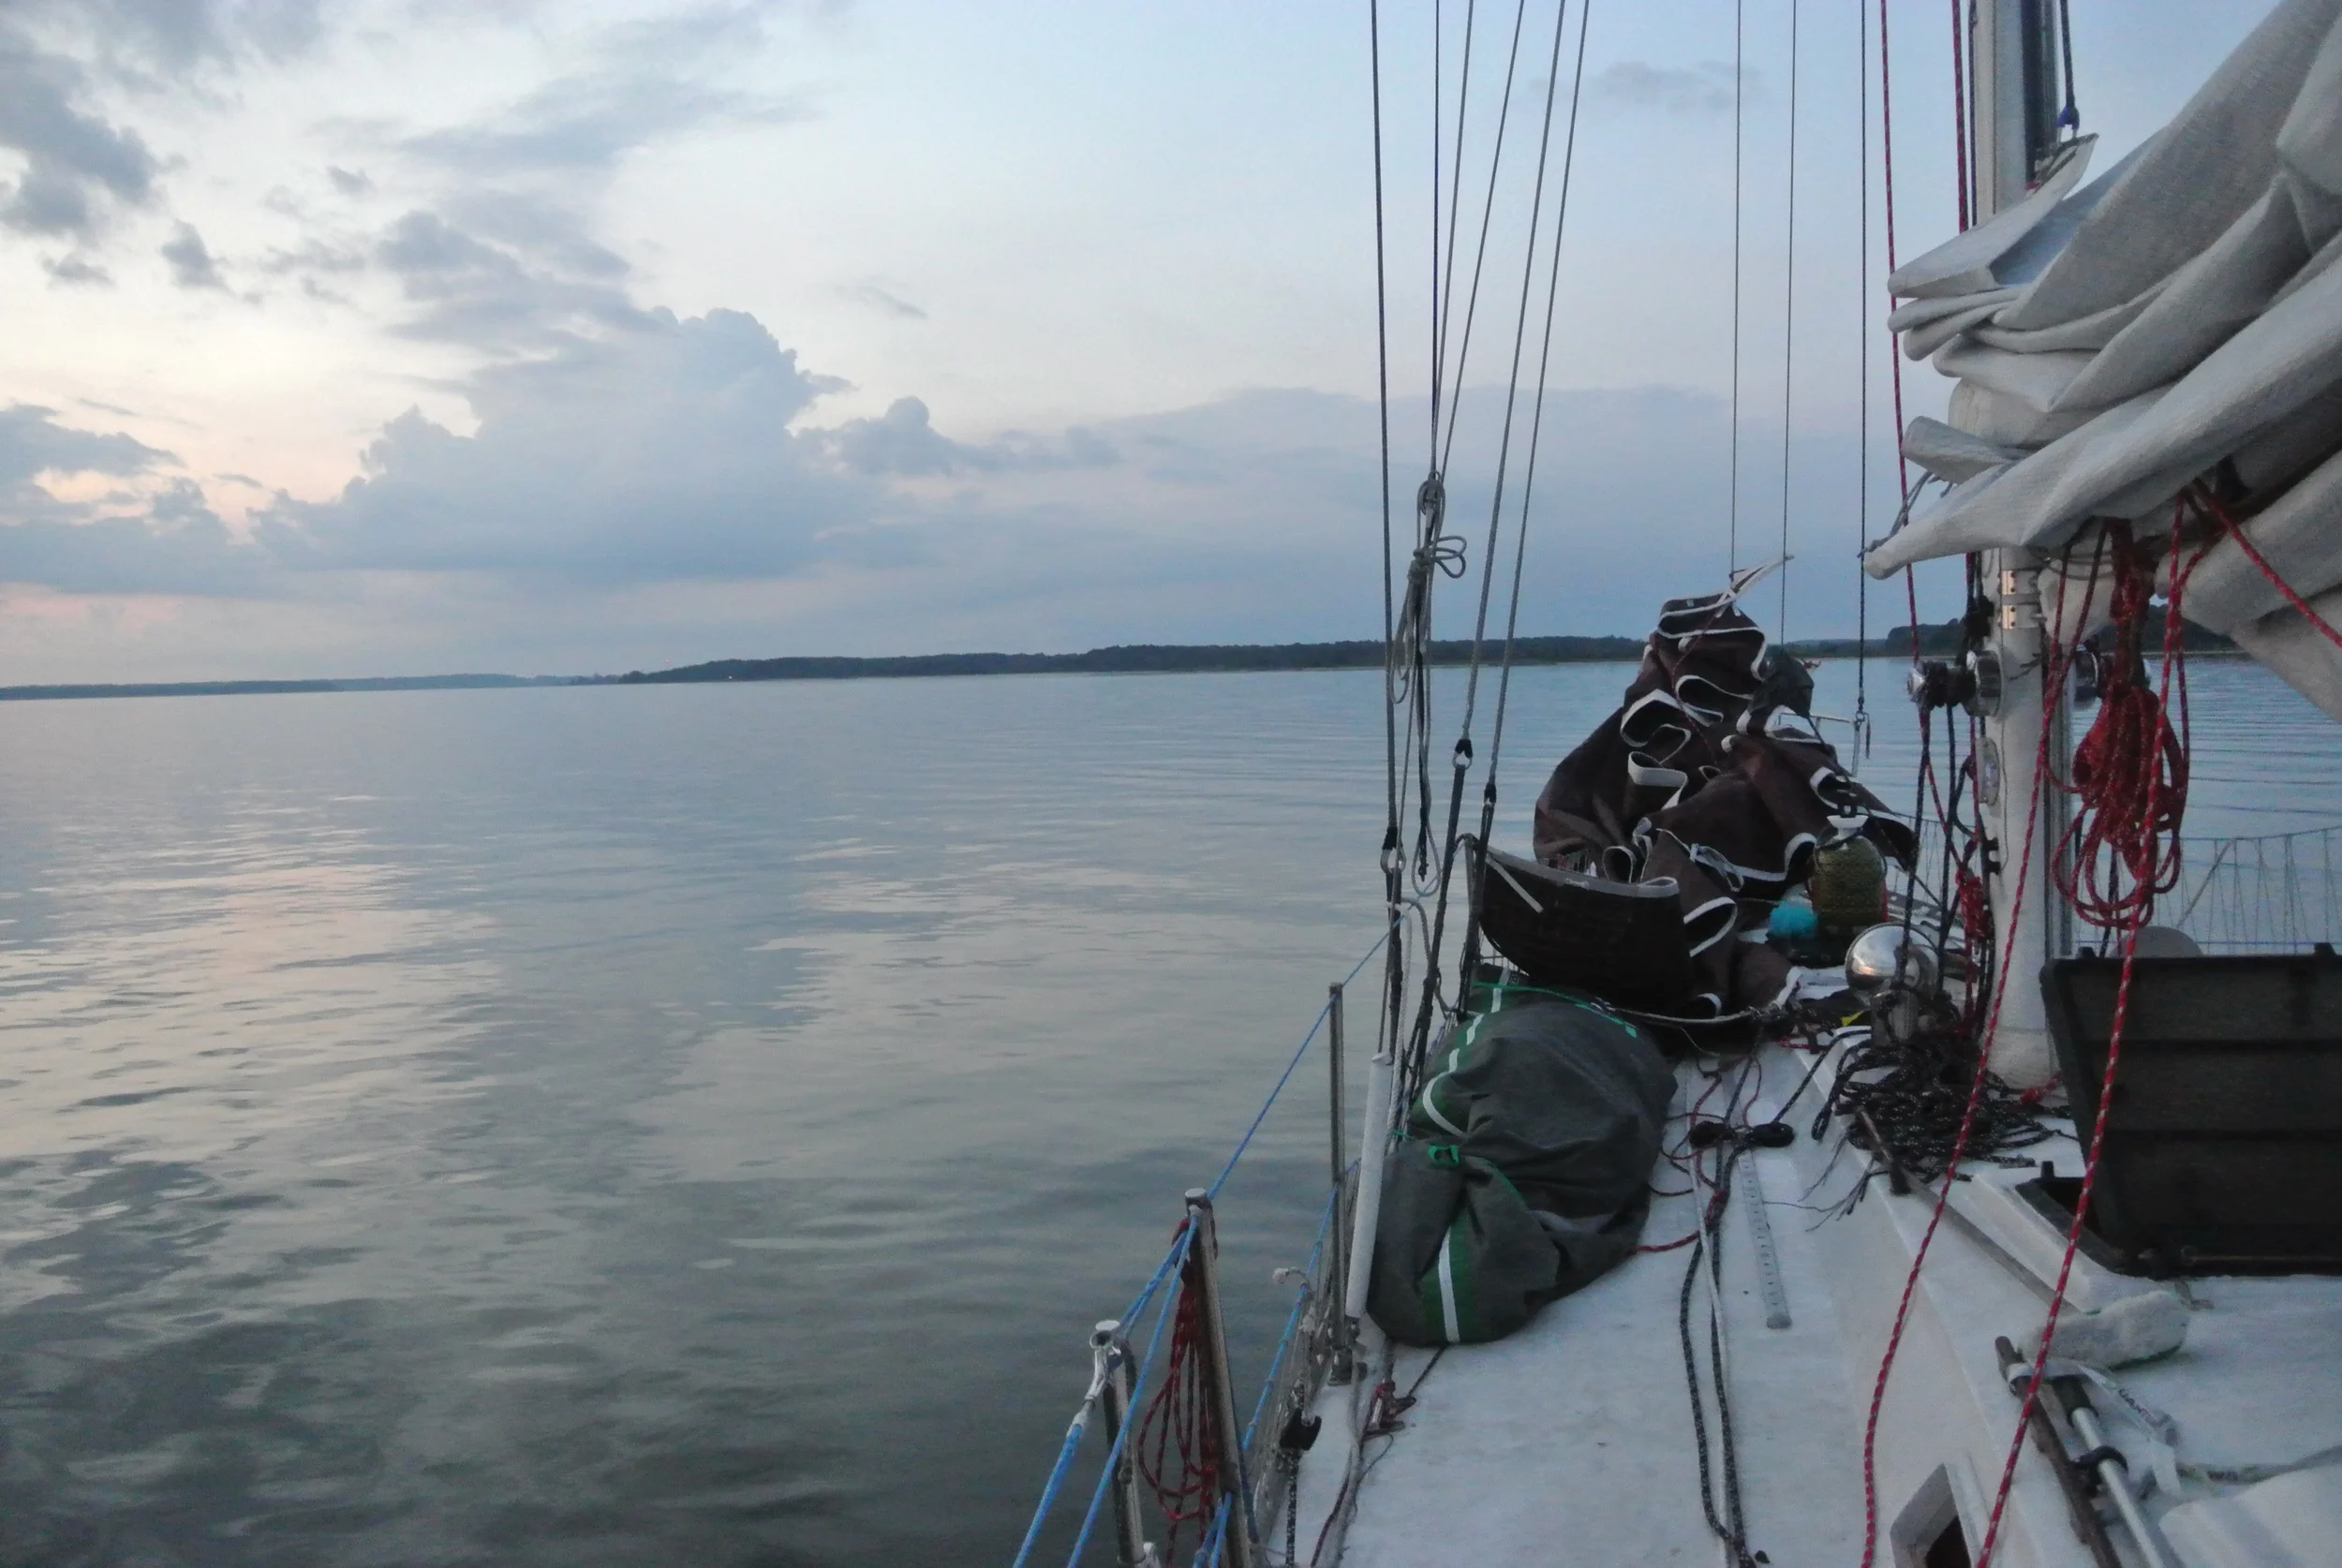
The clouds passed overhead, but the winds and waves never came. This photo was taken during the time when heavy thunderstorms were passing over.

We had a very peaceful nights rest anchored in the protection of the river, where the high lands (even far away in the distance) protected us from wind in all directions. By staying in the mouth of the river, we found it easier to get out of the river and into the wind when it was time to leave. We left the safety of the river with the ebbing tide, once outside of the wind shadow, the winds returned and we were on our way once again.

Choosing an Anchorage Part 1

When the day draws to an end, it's nice to pull into a protected anchorage where you can calmly cook a good meal and get a good nights rest!

Short sailing trips tend to involve sailing from one anchorage to another, this means that every night will be spent in designated and well charted anchorages where the conditions are comfortable (or known to be uncomfortable). On the Chesapeake Bay, anchorages tend to be miles up a river or creek. When traveling only by sail, these anchorages can take a good part of the day to reach! This is fine if your destination is the next anchorage, but if you are sailing to a far away destination, these journeys to the anchorages are a waste of time!

On longer sailing trips, traveling 2 hours up a river to reach an anchorage means 4 hours of sailing are lost each day (2 hours to leave the anchorage in the morning, 2 hours to enter the new anchorage in the evening). Over 1 week, this would be 28 hours of sailing time spent entering or exiting an anchorage. As you can see, your progression would be greatly slowed! 

If you can sail all day and begin searching for an anchorage around sunset and reach it rapidly, almost no time is lost while traveling towards your destination. This is where learning how to pick an anchorage becomes an important skill.

When choosing an anchorage, there are several points to consider:

  • Length of time anchored
  • Protection from wind
  • Protection from waves
  • Tides and currents
  • Bottom composition

Length of time anchored plays into how protected you need to be. You don't have to be worried about changing weather conditions if you are anchoring for lunch as much as you do if you are going to anchor for the weekend. The longer you will be on the hook, the more protection you will need. 

If you are anchoring for the night, you will only be on the hook for 7 to 10 hours and will need to find a protected anchorage so you can sleep soundly for the night, waking up recharged!

Protection from the wind is important because wind load will cause strain on your anchor. If your boat is in the face of a lot of wind, you run the risk of the anchor dragging. By staying out of the wind, your anchor is less loaded and will be less likely to drag throughout the night.

Protection from waves is very important for quality of sleep. I don't get sea sick, but I worry that the anchor will drag if we are bouncing around in high seas instead of sleeping soundly. Maddie does get sea sick, and spends the whole night throwing up! For these reasons, protection from the waves is very important!

Tides and currents also come into play when anchoring overnight. It is important to check the tide tables to see if you can expect a tide reversal during the night. Some anchors do better than others with reversals while others run the risk of not resetting. Currents are also important to consider. If you anchor with wind and tidal current in the same direction, this means that after a tide reversal the wind will be opposing the tidal current and the waves will kick up with the boat anchored in a confused set of waters.

Bottom composition is also important. Different anchors work best with different bottoms and matching the anchor you use to the bottom you are anchoring in is very important. The bottom conditions tend to be marked on charts as well. This means that if your favorite anchor is best in mud,  choose a section that is charted as mud to anchor in and avoid hard pack or rock bottoms! If you are unsure of the bottom condition, you can place some bees wax in a sounder, drop it to the bottom (this also tells you the depth) and then pull the sounder back up. A sample of the bottom will stick to the wax and let you know exactly what bottom substrate you are working with.

Now that we have looked at all of these factors individually, it is time to put all of this knowledge together to select your anchorage while sailing along.

Imagine you are sailing along and the day is drawing to an end, it's time to find an anchorage and get there before the sun goes down. If it is a calm night and the weather is going to stay calm, anywhere is fine!

Just because it's calm now and looks like it is going to stay calm, doesn't mean that it will stay calm. Most nights when we anchored in the middle of the bay, we would cook dinner, relax, and go to sleep, all in very calm and still water; it's wonderful! 

Some nights though, late in the evening, the wind and seas would pick up. We have found ourselves anchored out in the middle of the bay with no protection, feeling everything since we were fully exposed.

If you decide to drop the hook in the middle of nowhere, simply check your charts and find someplace with shallower water and a good bottom. Bottom condition is very important when anchoring on these underwater hills because if your anchor drags, it will probably not re-engage the bottom. As you drift, your anchor falls off the top of the hill and into deeper water which relates to reduced scope. 

Say you are sailing by this area and the sun is getting low to the horizon on a calm day. When you look at the chart, you can see various bottom conditions. You have deep water with broken shells, shallower water with hard pack bottom and another shallow area with a sticky bottom. The sticky bottom is on the edge of the depth contour line. When you drop the hook, let out enough rode so that if you do drag over the contour line and into deeper water, you will still have enough scope to re-set. If you drop the hook in 12 feet of water (with a 6 foot high bow roller), your effective depth is 18 feet. If you let out 90 feet of chain, you will have 5:1 scope which is adequate. If you drag into the 16 feet depth, your effective depth becomes 22 feet and the scope is reduced to 4:1. If you were dragging in the 5:1, you will probably continue to drag with the 4:1 scope into the 21 feet deep water and your effective depth is 27 feet with 3.3:1 scope. At this point, your going to continue drifting as your anchor drags all night long! To avoid this, simply let out more rode so that if you do drag into deeper water, you will still have enough scope to re-set once you get there.

When you anchor in 12 feet of water with a sticky bottom for the night, let out 154 feet of chain. This will give you 8.5:1 scope which is overkill, but if you drag into the deeper section, you will still have a 7:1 scope. You won't drag anchor with 8.5:1 scope, but if you do, your anchor will most likely reset quickly in the deeper water.

To decide how much rode to let out, simply look at the deeper sections that you could drag into and let out the appropriate amount of rode for that depth. This will give you the depth to calculate your scope from. In the example above, the deeper sections had an effective depth of 27 feet. 27 x 7 (from a 7:1 scope) gives you 154. This is the length of chain you need to let out, even though you are in much shallower water at the moment.

Next we will discuss anchoring in "not calm" conditions when anchoring out in the middle is not an option but sailing into a distant "well known" anchorage is not feasible.