Cleaning the Bilge

We came home from dinner one day and Maddie told me: "It's time to clean the bilge".

We don't have any issues with bay water leaking into the bilge, but we do have issues with rain water! It gets in through different places and works its way into the bilge where it begins to "grow". What starts off as innocent rain water mixes with Morty's fur and general dust that accumulates in the bilge. After a few months or so, it begins to develop an odor which Maddie's sensitive nose can detect. When the Admiral gives the order, I do as commanded!

Cleaning the bilge isn't as difficult as it may seem. Yes it's deep and I can hardly reach the bottom of it; but since I keep it pretty clean, it's never that daunting of a task.
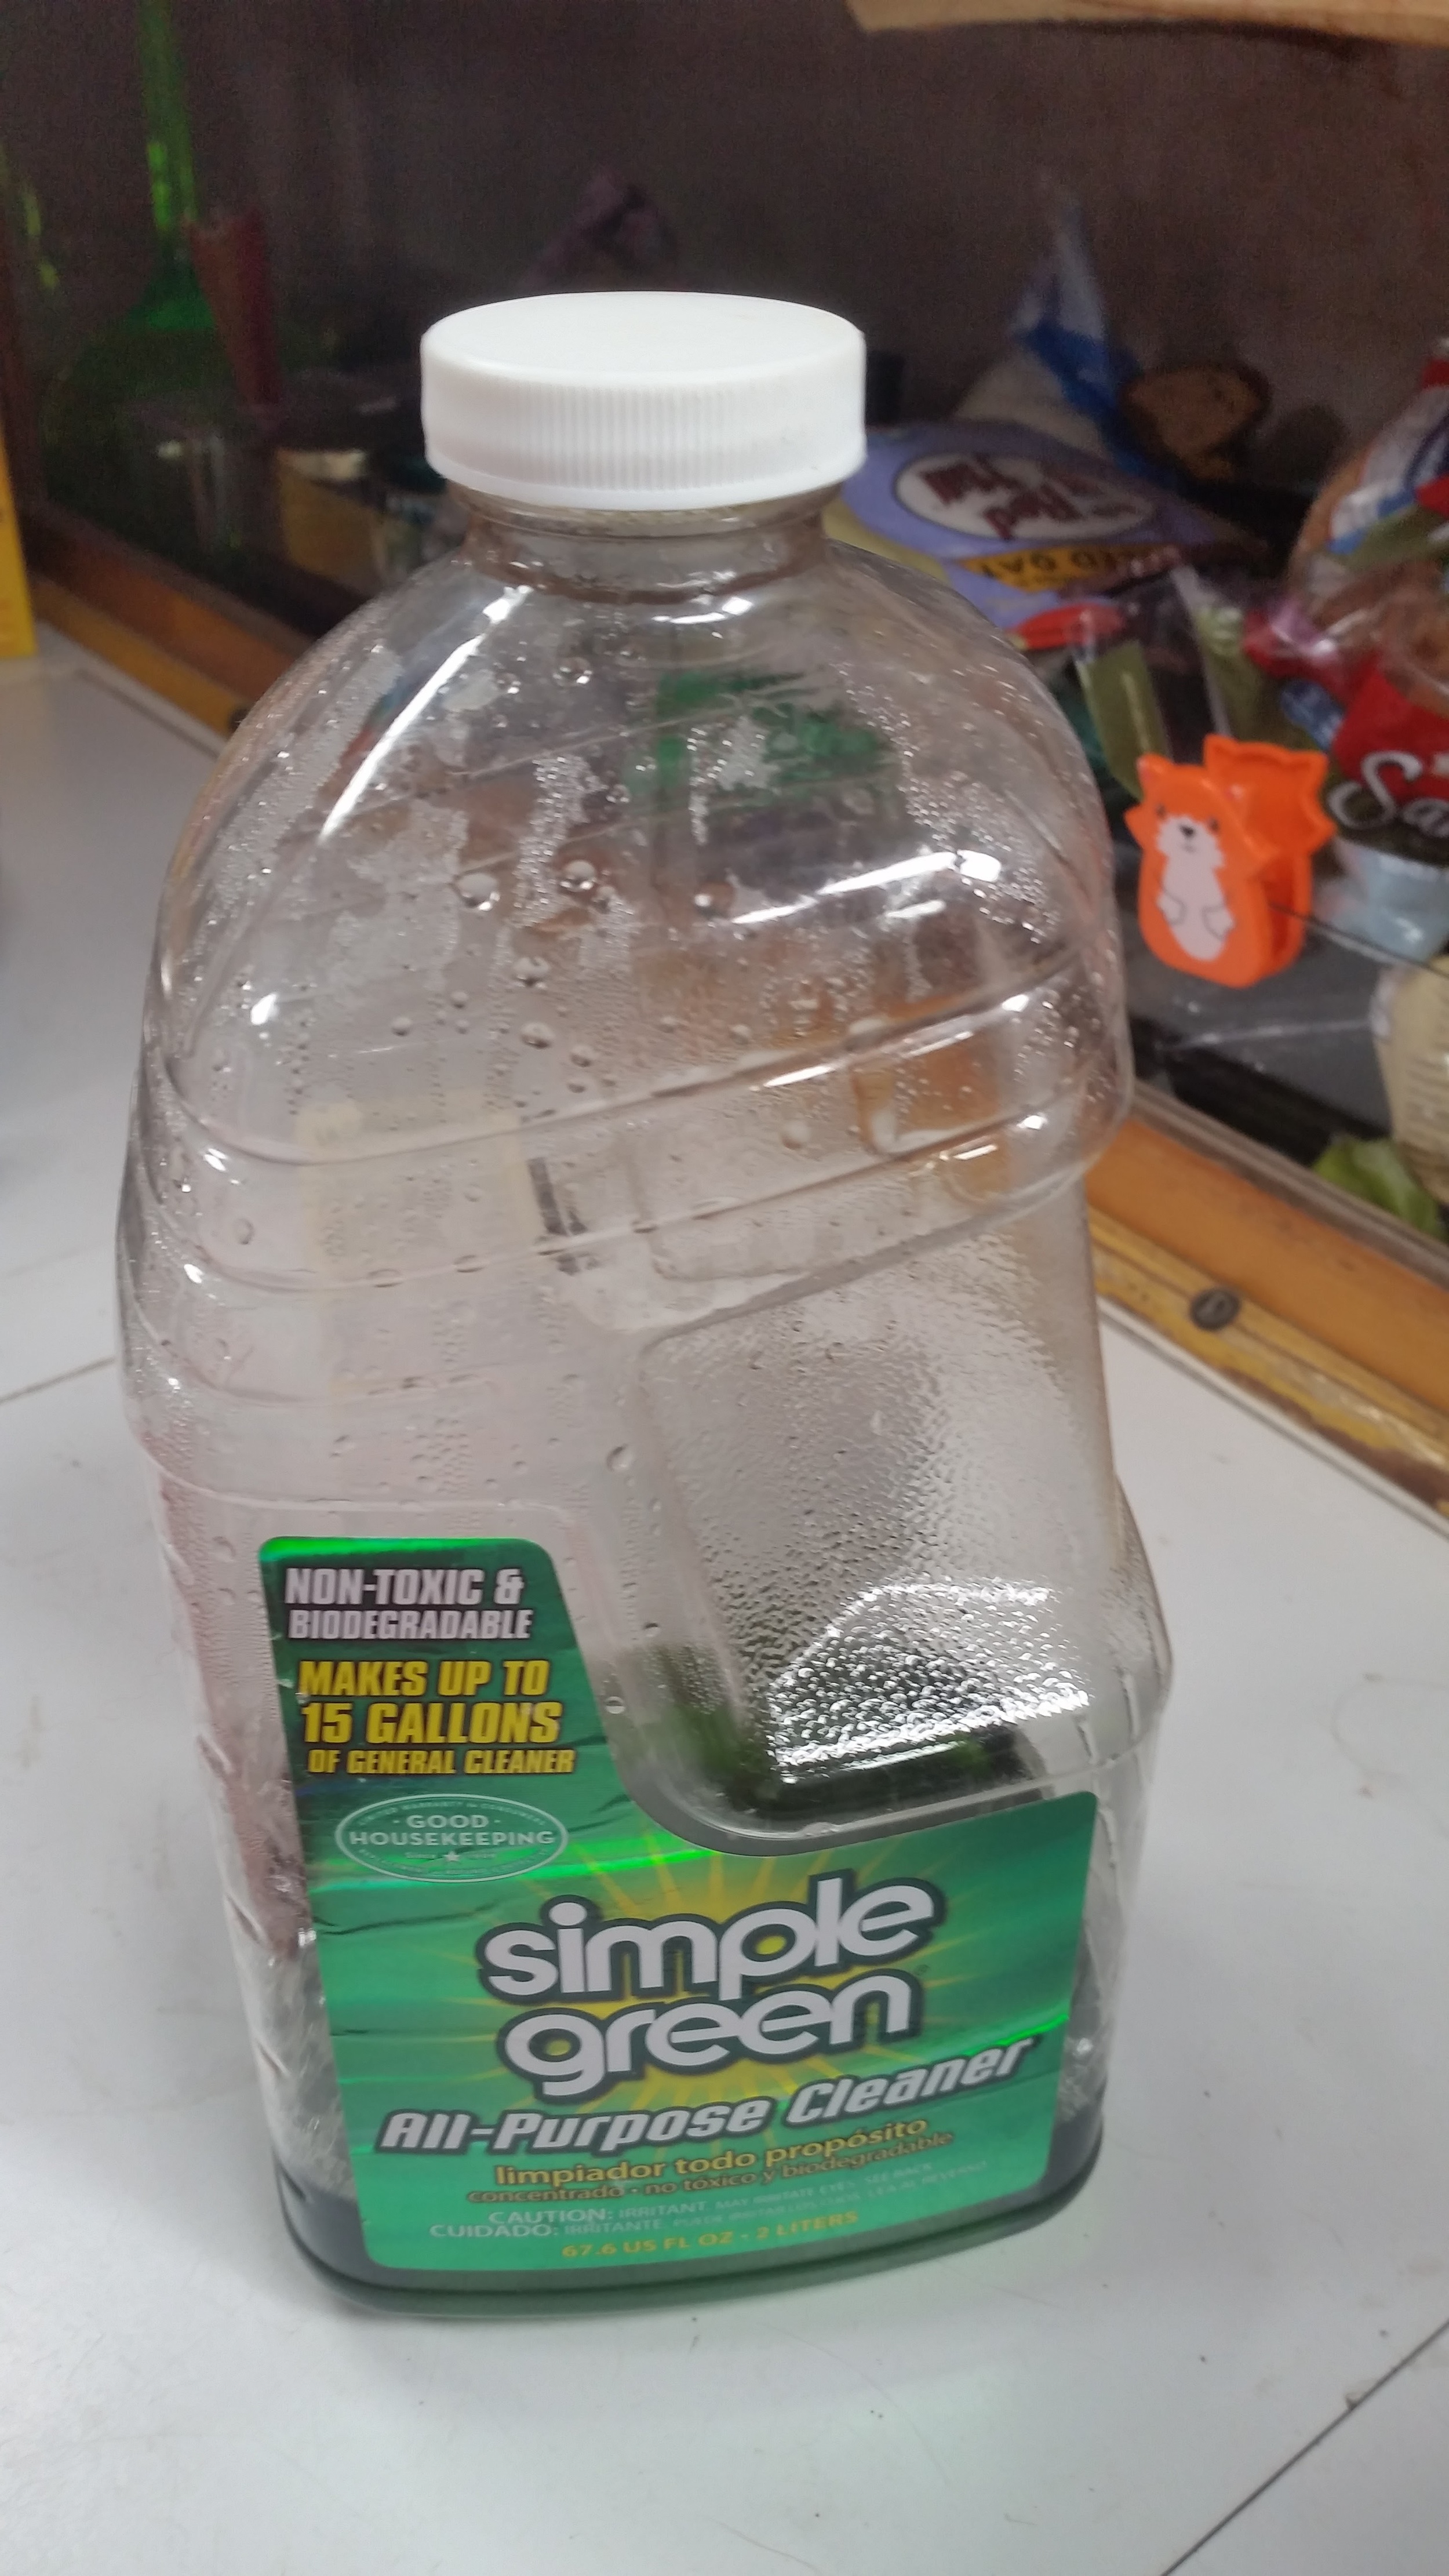
A variety of bilge cleaners exist, some use caustic and harsh chemicals, others hardly do anything at all. I strongly caution you away from using the harsh and caustic chemicals, because these cleaners will be dumped into the water shortly. I use Simple Greene because it works really well and is biodegradable. 

If your bilge has never been cleaned, you will have to get in there and scrub the crud off the walls and floor of the bilge. If you have a deep bilge (common in full keep boats), you will need a scraper mounted on a long stick. My bilge is around 4 feet deep and is a nightmare to reach the bottom (hence my knowledge of the scraper stick).

If your bilge is very dirty, I highly recommend cleaning it. This is not because of smells, or aesthetics, or bragging rights, but because of safety. If you have a lot of crud and gunk in your bilge and you spring a leak, all of that stuff can clog the strum box and stop your bilge pump from pumping. If left unchecked, your boat could sink!

After the initial cleansing of the bilge, subsequent cleanings are pretty easy to carry out. I simply pour some simple green into the bilge and drop a hose down into the bilge. I let the hose run for a while to suds the bilge up a bit and bring the water level higher than the strum box.

With the hose still running, I go outside to the bilge pump lever and begin pumping.

I pump the lever until I stop seeing suds bubbles form on the surface of the water around the boat. Simple green will have some bubbles, but they pop rather quickly and disappear. When I can't see bubbles anymore, I go inside to see how the bilge looks.

If the water in the bilge is completely clear, I pull the hose up and shut it off. Then I return to the pump lever and finish pumping out the bilge. As the strum box reaches the bilge waters surface, it will begin to gurgle. This is a good time to stop pumping as no more water can be drawn out of the bilge.

I then take a shop vac with a long hose and suck out the rest of the bilge water. While you have the shop vac in the bilge, it's a good idea to vacuum the strum box intake, incase any debris is laying on it. Now that the bilge is completely clean and dry, the smell that was just beginning has now vanished.
Butt Blocks

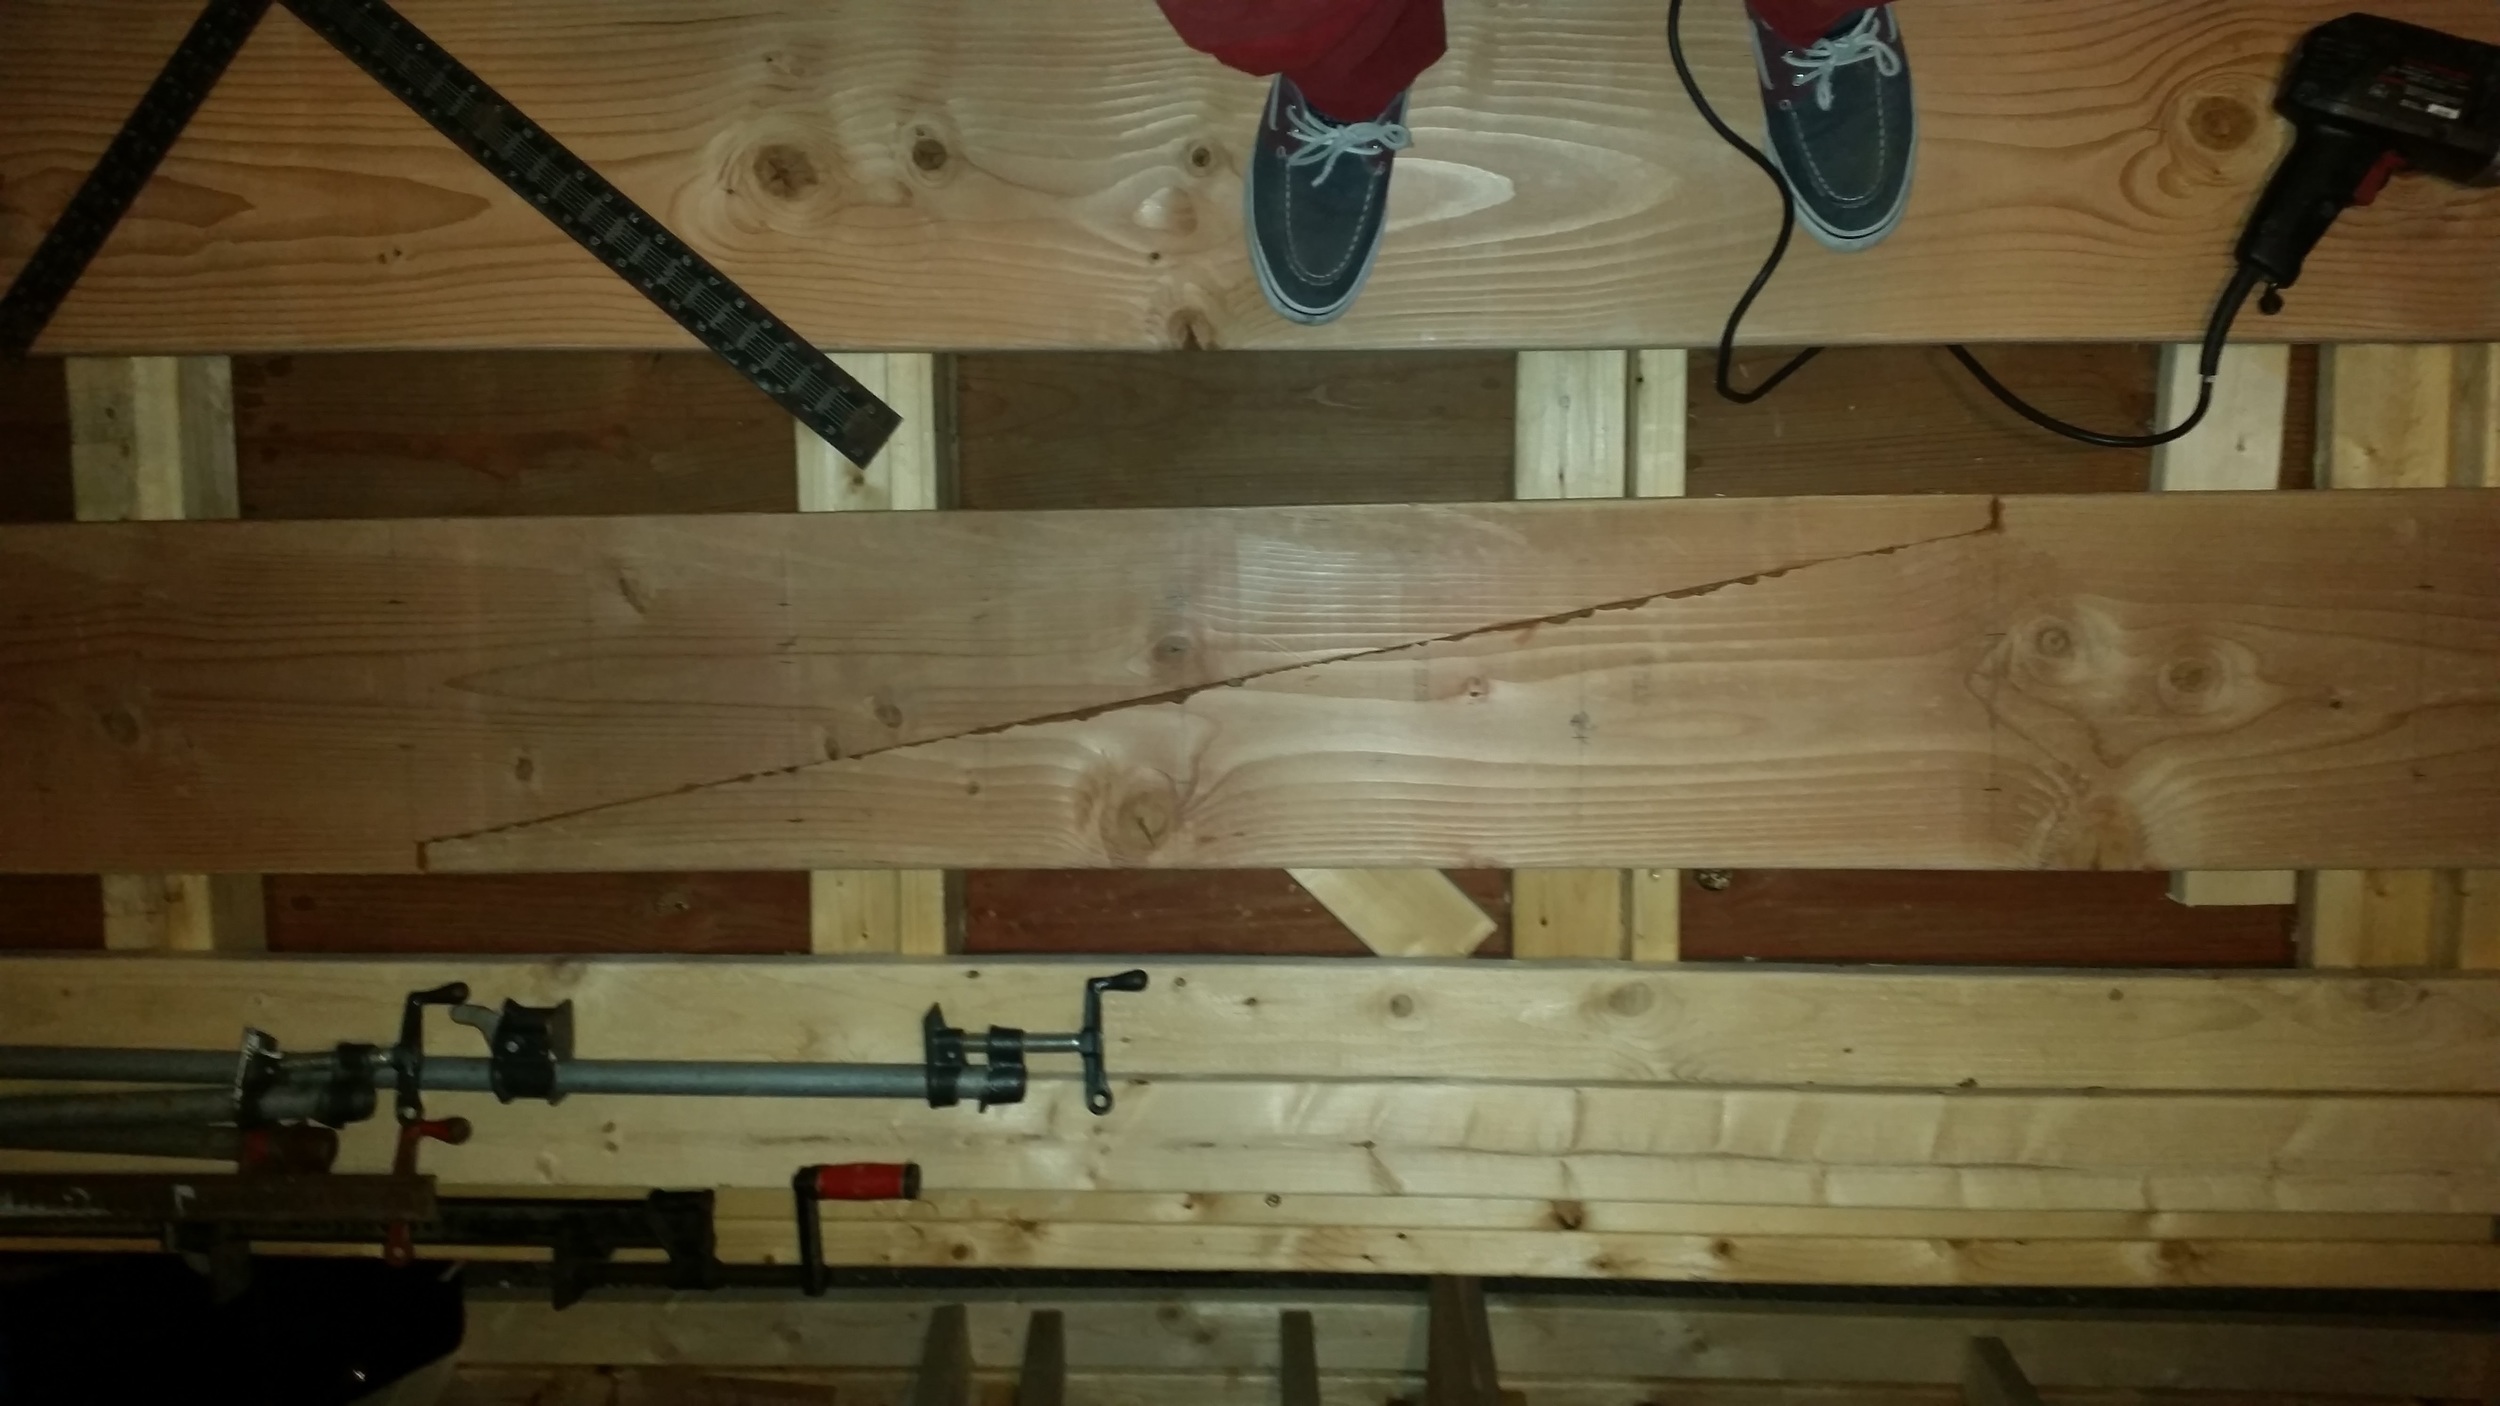
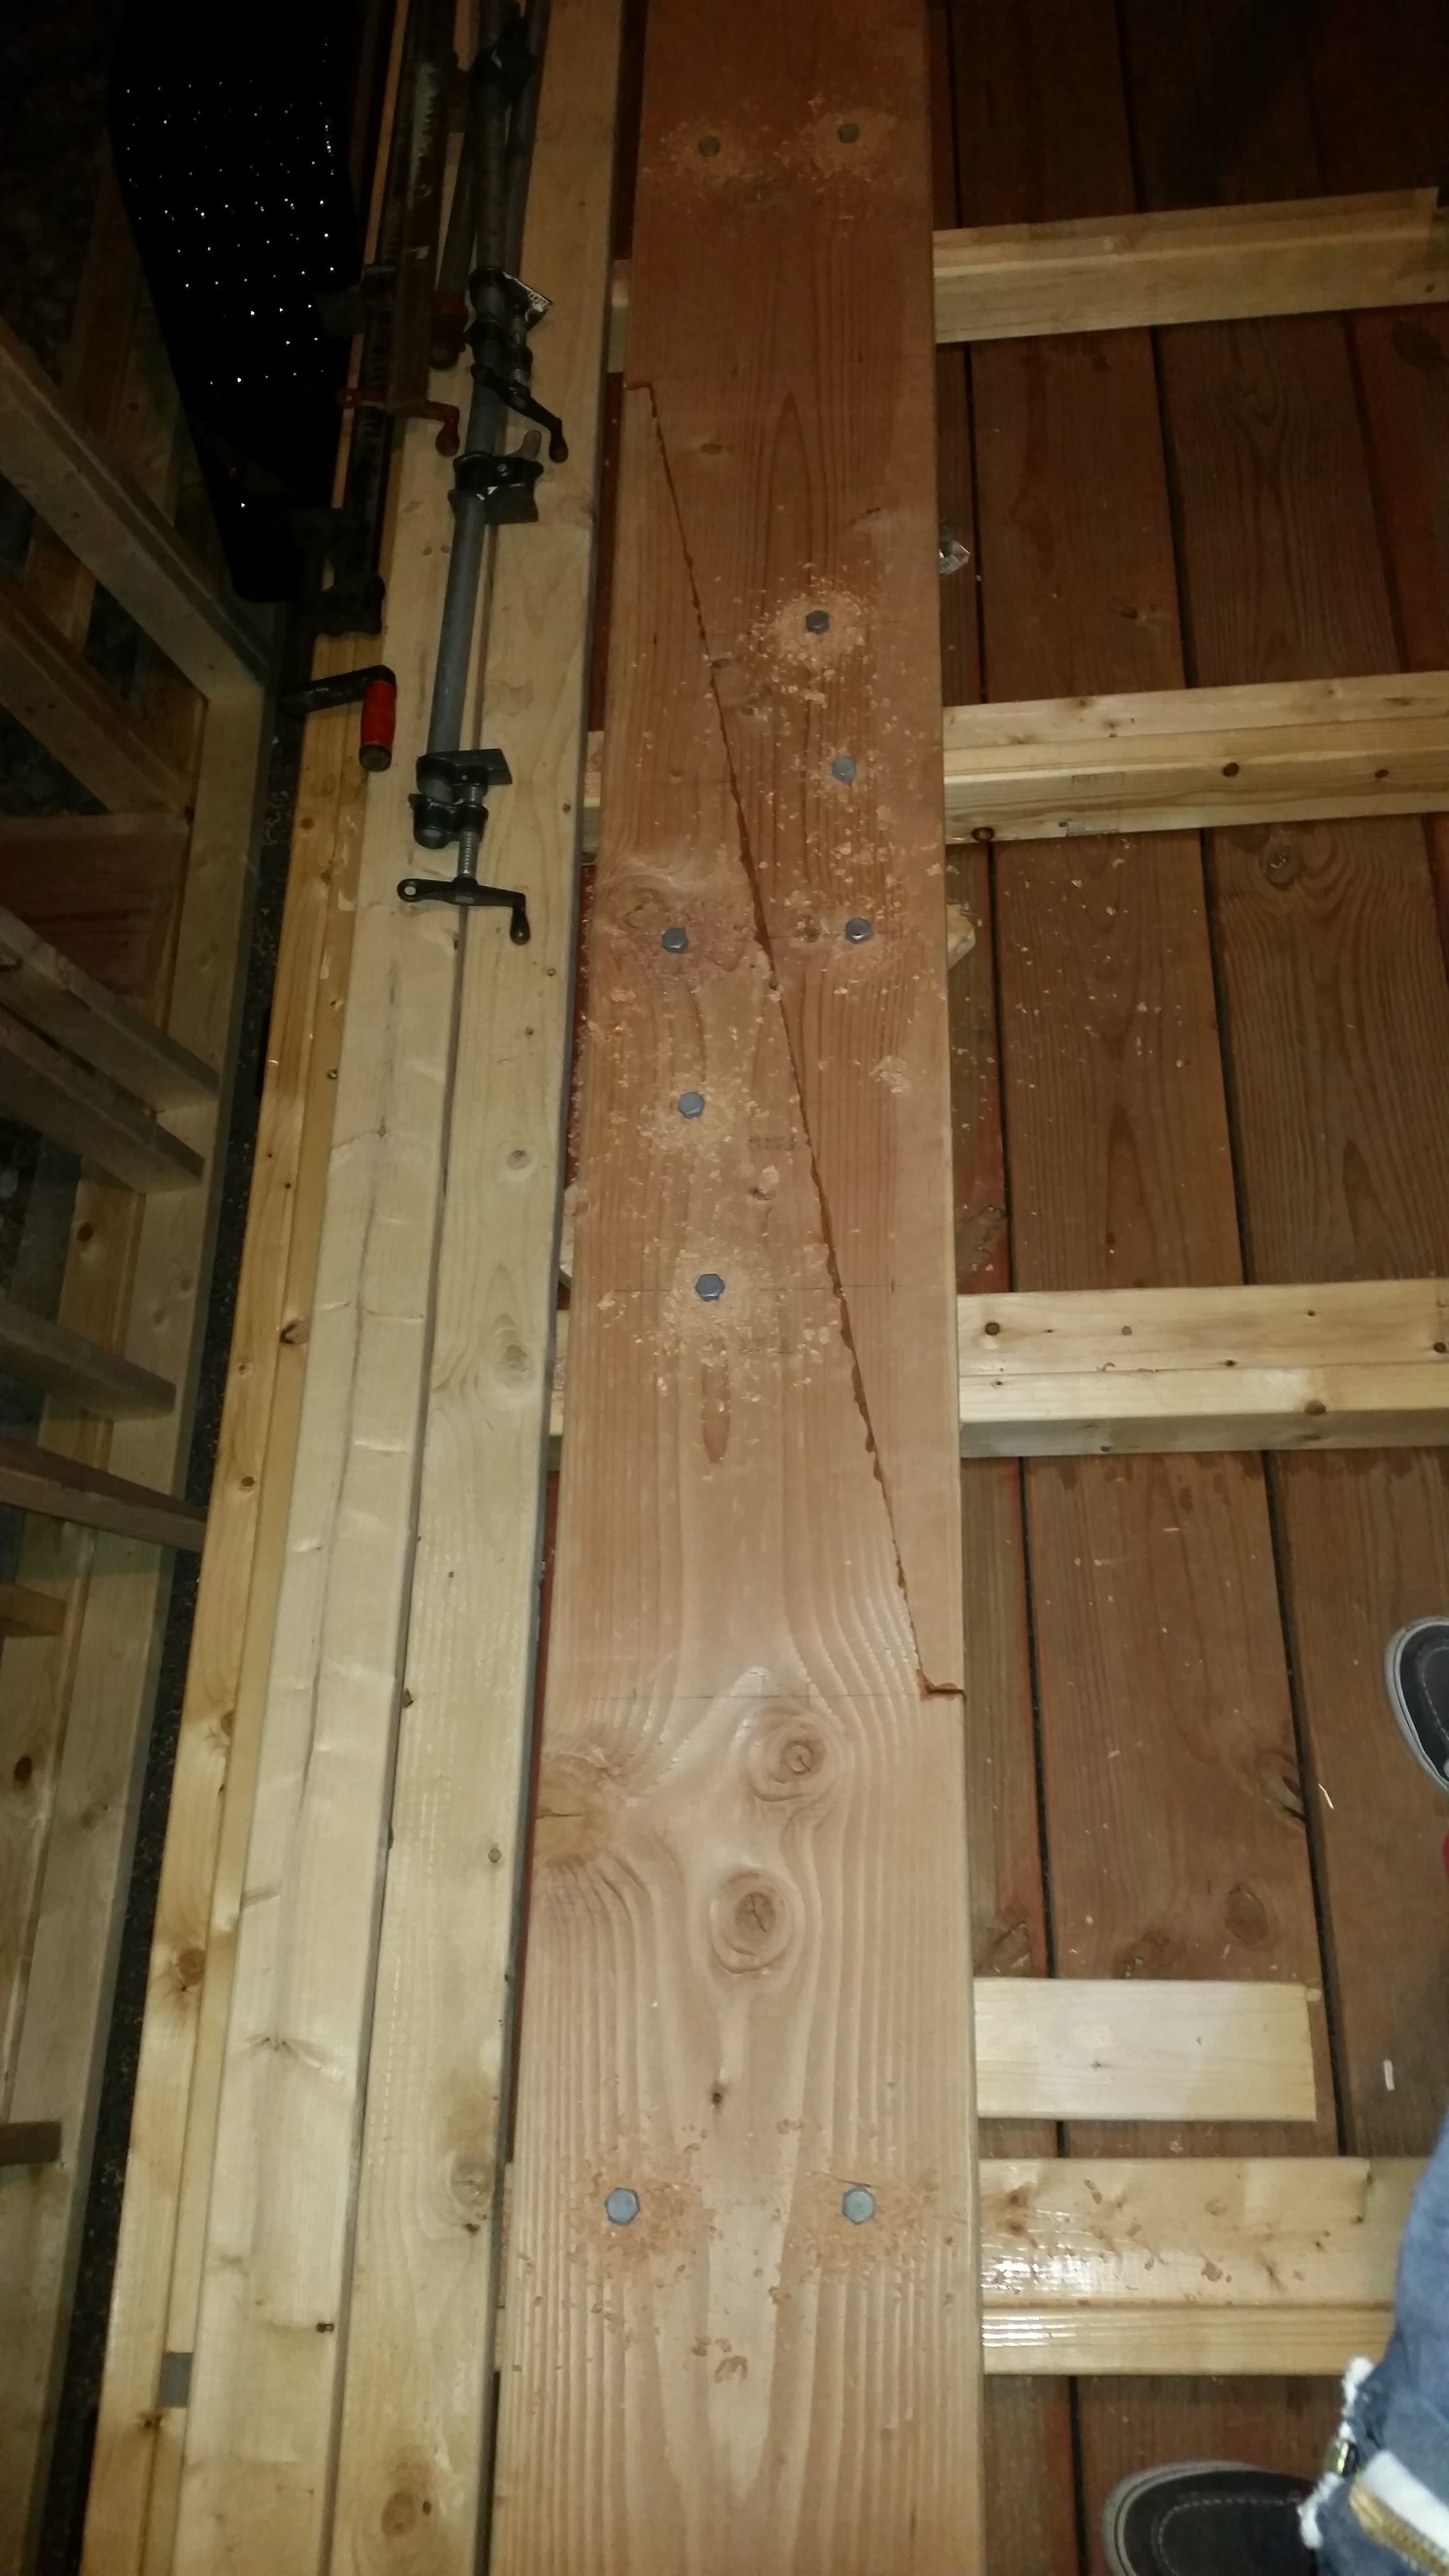
The scarf joint for the ridge beam has dried in the clamps for a full week, now it is time to prepare the butt blocks.

The butt blocks flank the sides of the joint and can hold both beams together without the scarf. Having the scarf and butt blocks is overkill and mental insurance for my peace of mind. If I overbuild that important structural member, I won't have to worry about it being strong enough for the task!

The butt blocks extend 2 feet past the scarf on each side of the joint to further support the whole structure. The boards are through bolted to apply pressure and keep everything close and tight.

The problem with the assembly is I am working alone and these boards are very heavy.

I decided to do each board individually and then assemble everything once. I started by measuring and drilling the holes on the scarfed board.

Then I set the first butt block under the scarfed board and drilled again. After each hole, I would put a bolt through it to hold it all in place and avoid the boards from squirming around. The bolts helped keep all the holes aligned for the further steps.

After this, I flipped the boards over onto the other butt block and drilled down through the bolt holes. I would pull the bolt, drill the hole all the way through, and then re-seat the bolt. This was a very slow and tedious process, but it resulted in a perfect fit where all the bolts lined up.

After all the holes were all drilled, I planed and sanded the faying surfaces of the boards and prepared them for the final glue-up.

I took this moment to sand all the other surfaces as well and to radius the corners of the butt blocks.

I then positioned the king beam in a vertical position and set the butt blocks next to it with the faying surfaces properly oriented. This was my last time to check that everything was in order, as the next step involved permanent glue!

I painted Titebond III wood glue onto the faying surfaces of the butt block and king beam with a paint brush. I set the glue-up upside down so that any drips will drip out onto the top of the beam and not be visible from inside the house. 

I positioned the first butt block with the through bolts and mated it closely to the king beam. Then I painted glue on the second butt block and set it onto the bolts. With the bolts going all the way through the joint, I began tightening them down. I decided not to use washers since the bolts were not long enough to run all the way through the joint and fit the washers. Without the washers in place, they had just enough thread exposed to engage the nuts.

Tightening the bolts all the way only sank the heads and nuts into the wood a small amount. The glue and scarf joint will be plenty strong without washered bolts in place. 

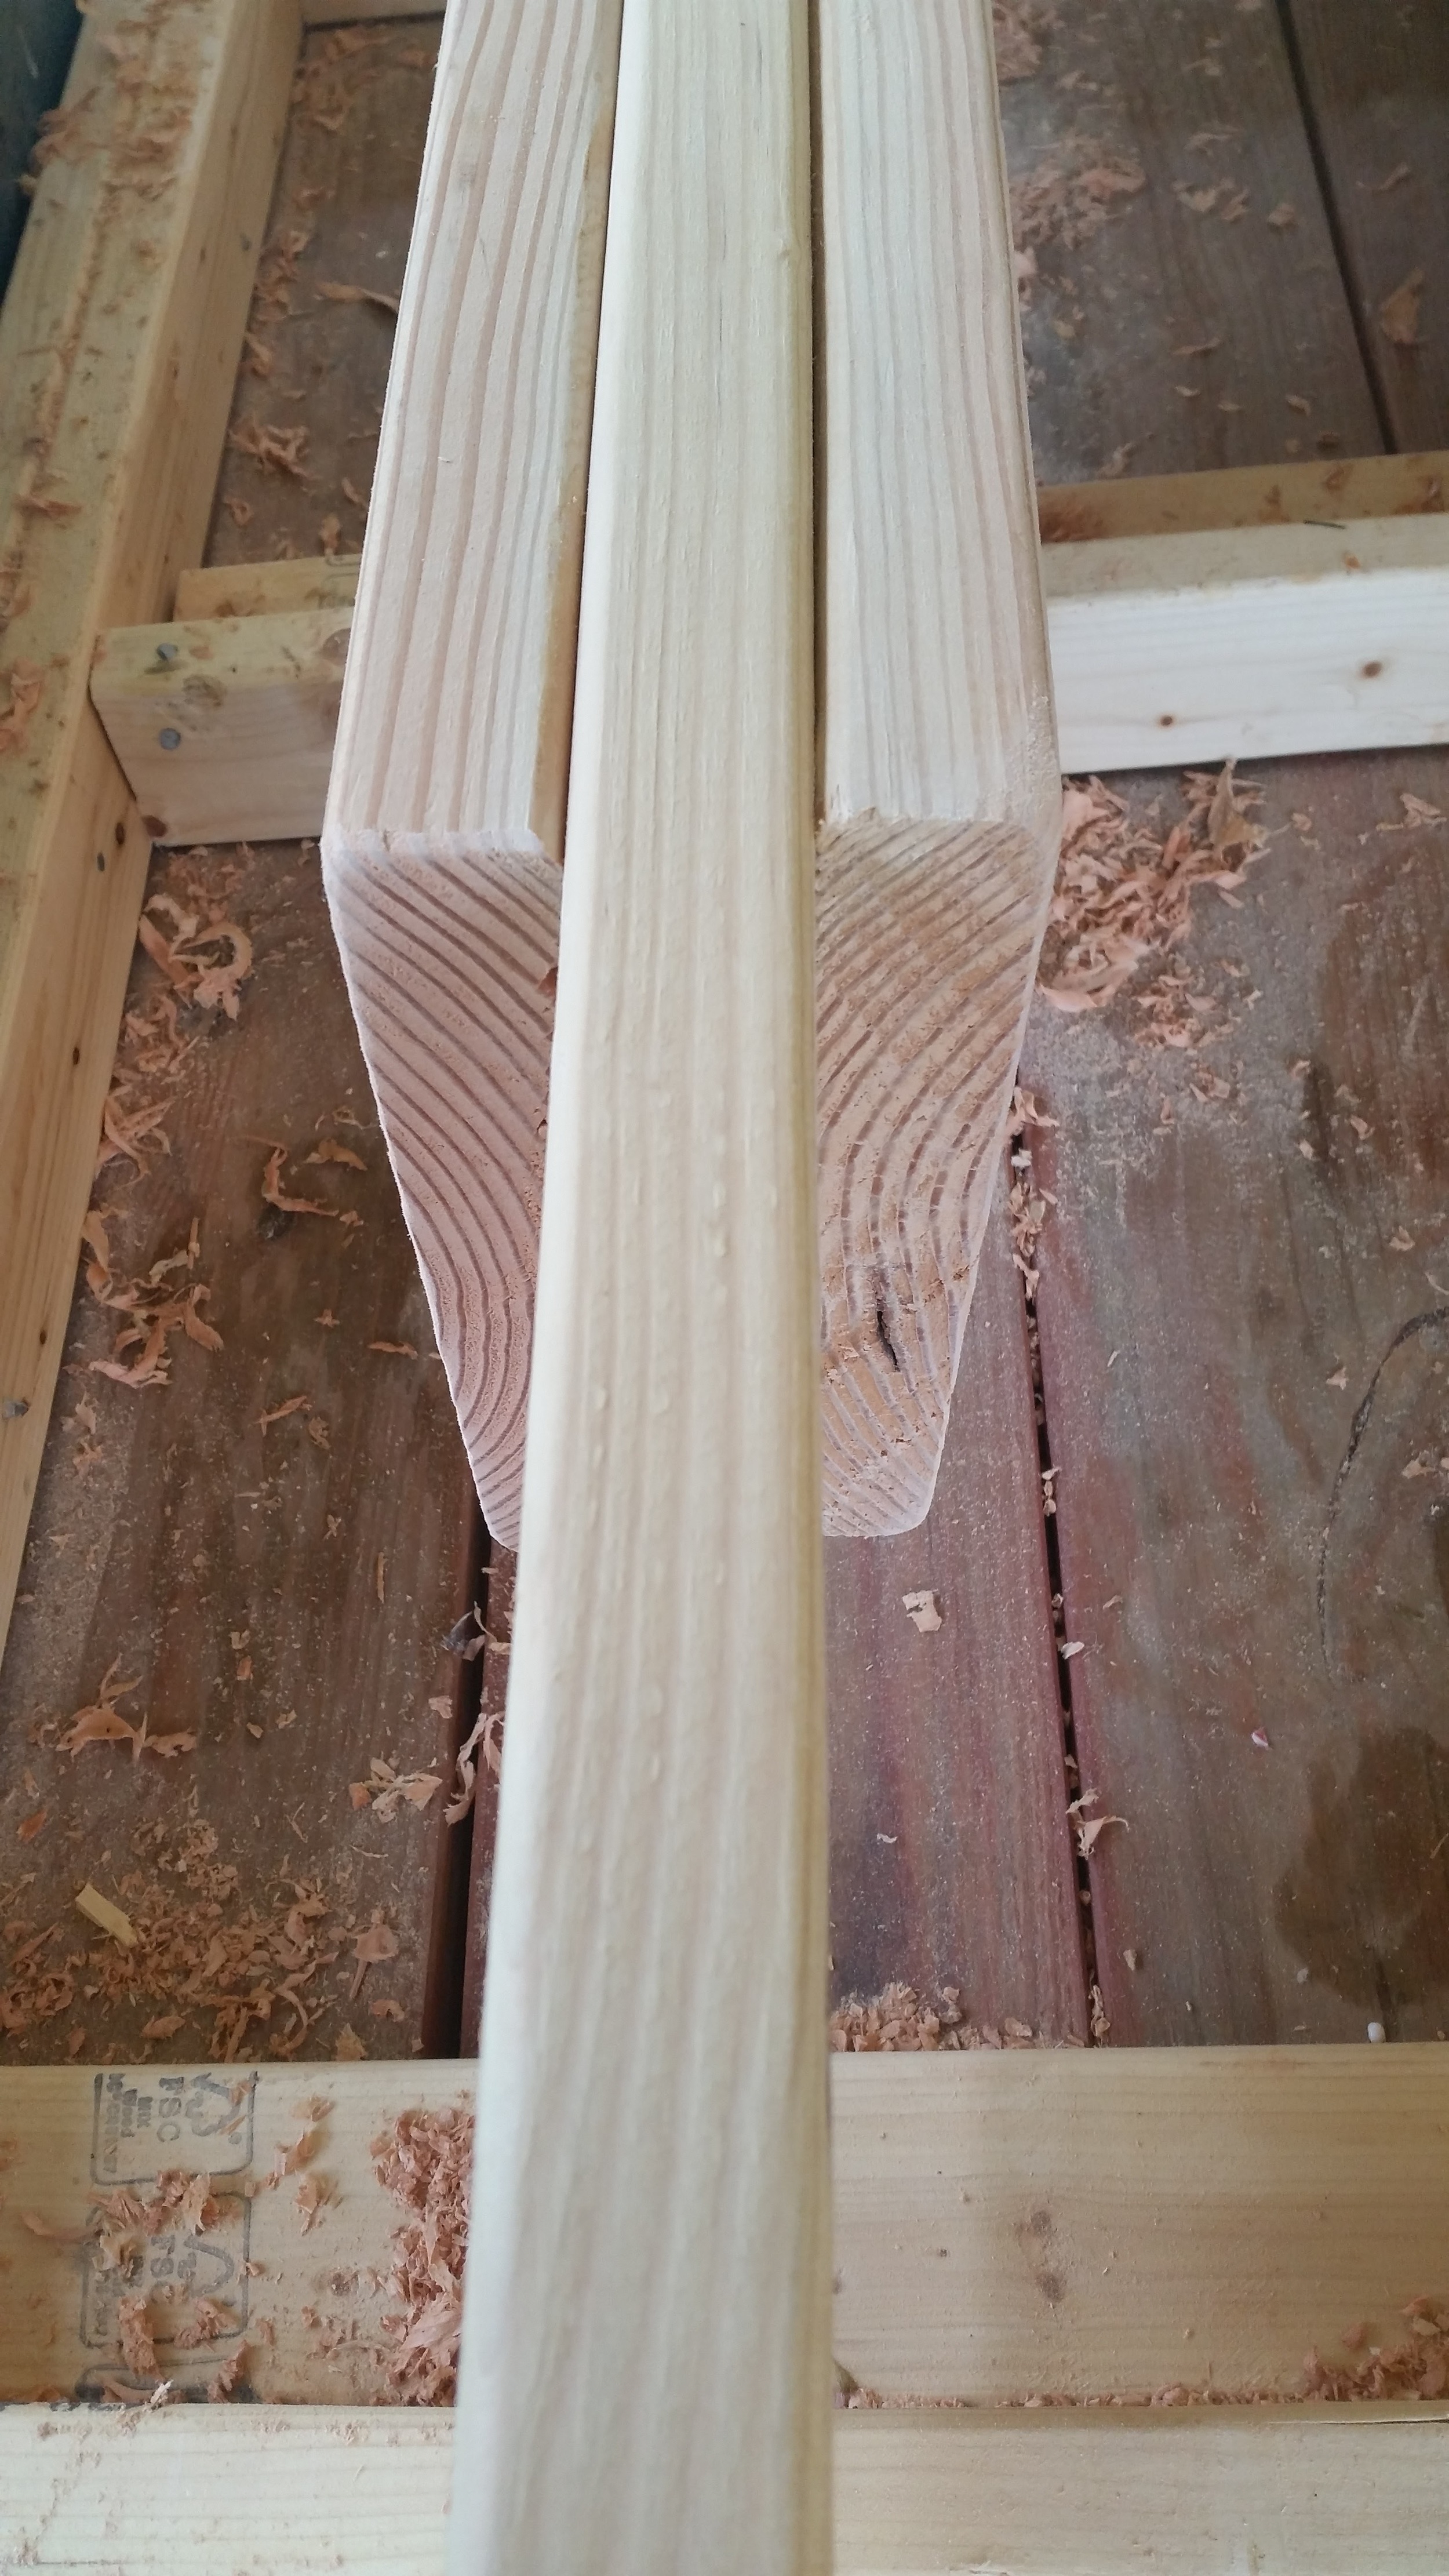
On a final note, the grain orientation is important when setting up a joint like this. The grain orientation in the scarf joint should be identical, that way any warping will not stress the joint. 

The ideal grain orientation for any and all of these boards is called "Quarter sawn" where the grain runs diagonally across the end grain. The problem is this kind of wood is exceedingly expensive in these sizes. The next best grain is called flat sawn or rift sawn. These have grain running along the width of the end grain. These boards are easy to spot in a pile because the end grain looks like rainbows. The worst grain to use would be vertical grain because the fasteners would cause the board to split along the grain.

The reason Quarter sawn is ideal is because it will not warp. Vertical grain will warp very minimally, but the tendency to split makes it undesirable for such a beam.

Flat or Rift sawn boards tend to warp in all sorts of directions. They can twist, cup and bow! This may sound like the worst grain pattern to use for such a beam, but understanding what they are going to do helps you eliminate its ability to warp. 

When you look at the end grain, keep in mind that the rings want to lay flat. This means that those rainbows will become flat lines and the board will cup on the side that the rainbow apexes. When you set your butt blocks on the beam, if you set them so that they arc in a ring around the beam, they will end up pulling off the beam and opening up the seams.  

By setting the butt blocks like I have here, the apex of the rainbow faces the beam. As they warp, the edges of the beams will be smashed into the beam which will cause them to further tighten the seam while the middle of the board will pull off of the beam. The through bolts will counteract this action and keep the board smack up against the beam. The warping process will actually make the butt block junction even stronger since both sides are pushing in symmetrically.

As far as twisting goes, care must be taken to keep the beam dry until it can be coated in oil or varnish and be sure to keep it resting on a flat surface at all times. Once in place in the structure, the beam will be fastened to the walls and trusses, unable to twist or cup. 

Understanding how the boards will try to warp can actually help you create the structure that you desire. Working with what the wood wants to do can make the whole building process go so much easier.

Keys

The inevitable end of all your possessions while living aboard is "falling into the water". At some point, everything that you cherish: tools, keys, phone, ect. will fall into the water and be lost forever. The trick is to postpone this inevitable end! 

Keeping your keys on a lanyard around your neck is a very secure way to make sure you remain in possession them. It might not look stylish, but this is the safest way too keep ahold of them. 

It doesn't take long for a new liveaboard in the marina to start carrying they keys on a lanyard around their neck. Maddie started almost immediately, despite her resistance based on fashion reasons.  


upload.jpeg

I use the BoatUS lanyard that came with my insurance policy and Maddie uses a lanyard from college. These simple lanyards have kept our keys attached to us for years, and hopefully the day they fall into the water never comes! 

Morty

Morty is not a human. He is a dog.

We are pretty sure Morty knows he’s a dog because every now and then we give him treats like bones and raw hide, which are primarily meant for the pleasure of dogs.

He does, however receive many human amenities on the boat since he is special and lives on a boat. For instance, Morty gets a life jacket that he is required to wear while on deck if we are sailing. He also receives frequent helpings of human food. Tuna, which can also be seen as a food for cats, is his favorite.

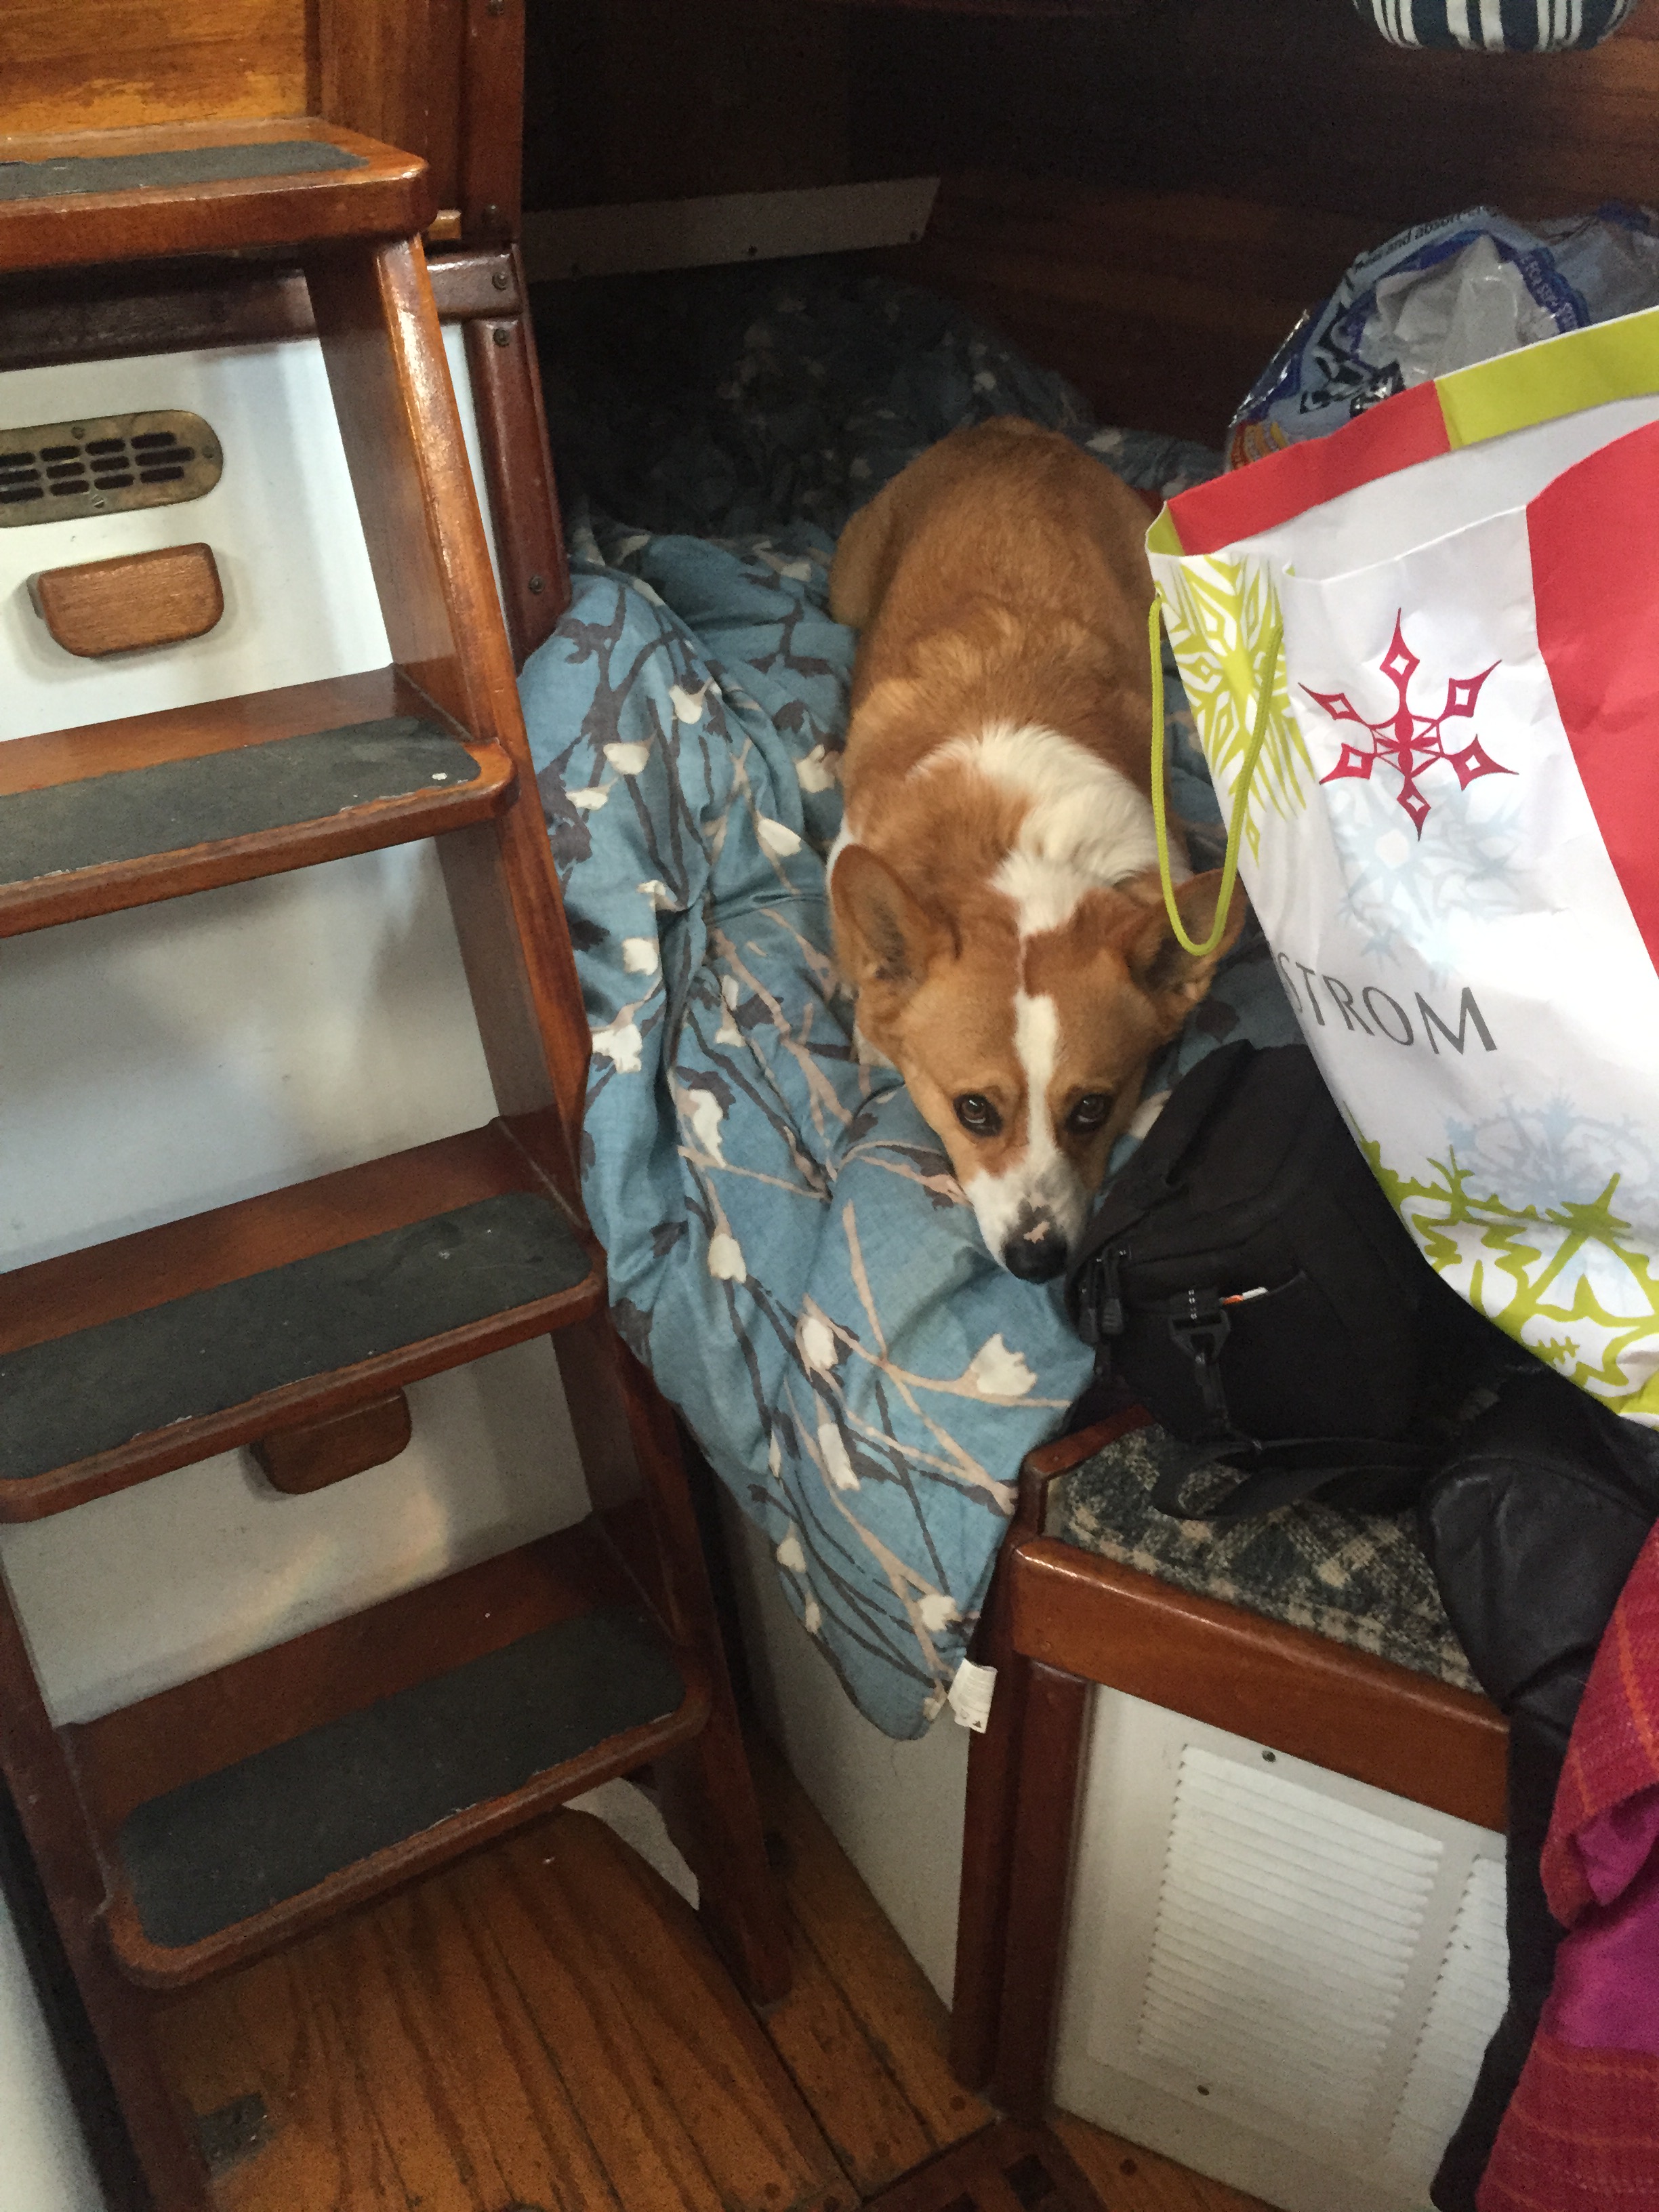
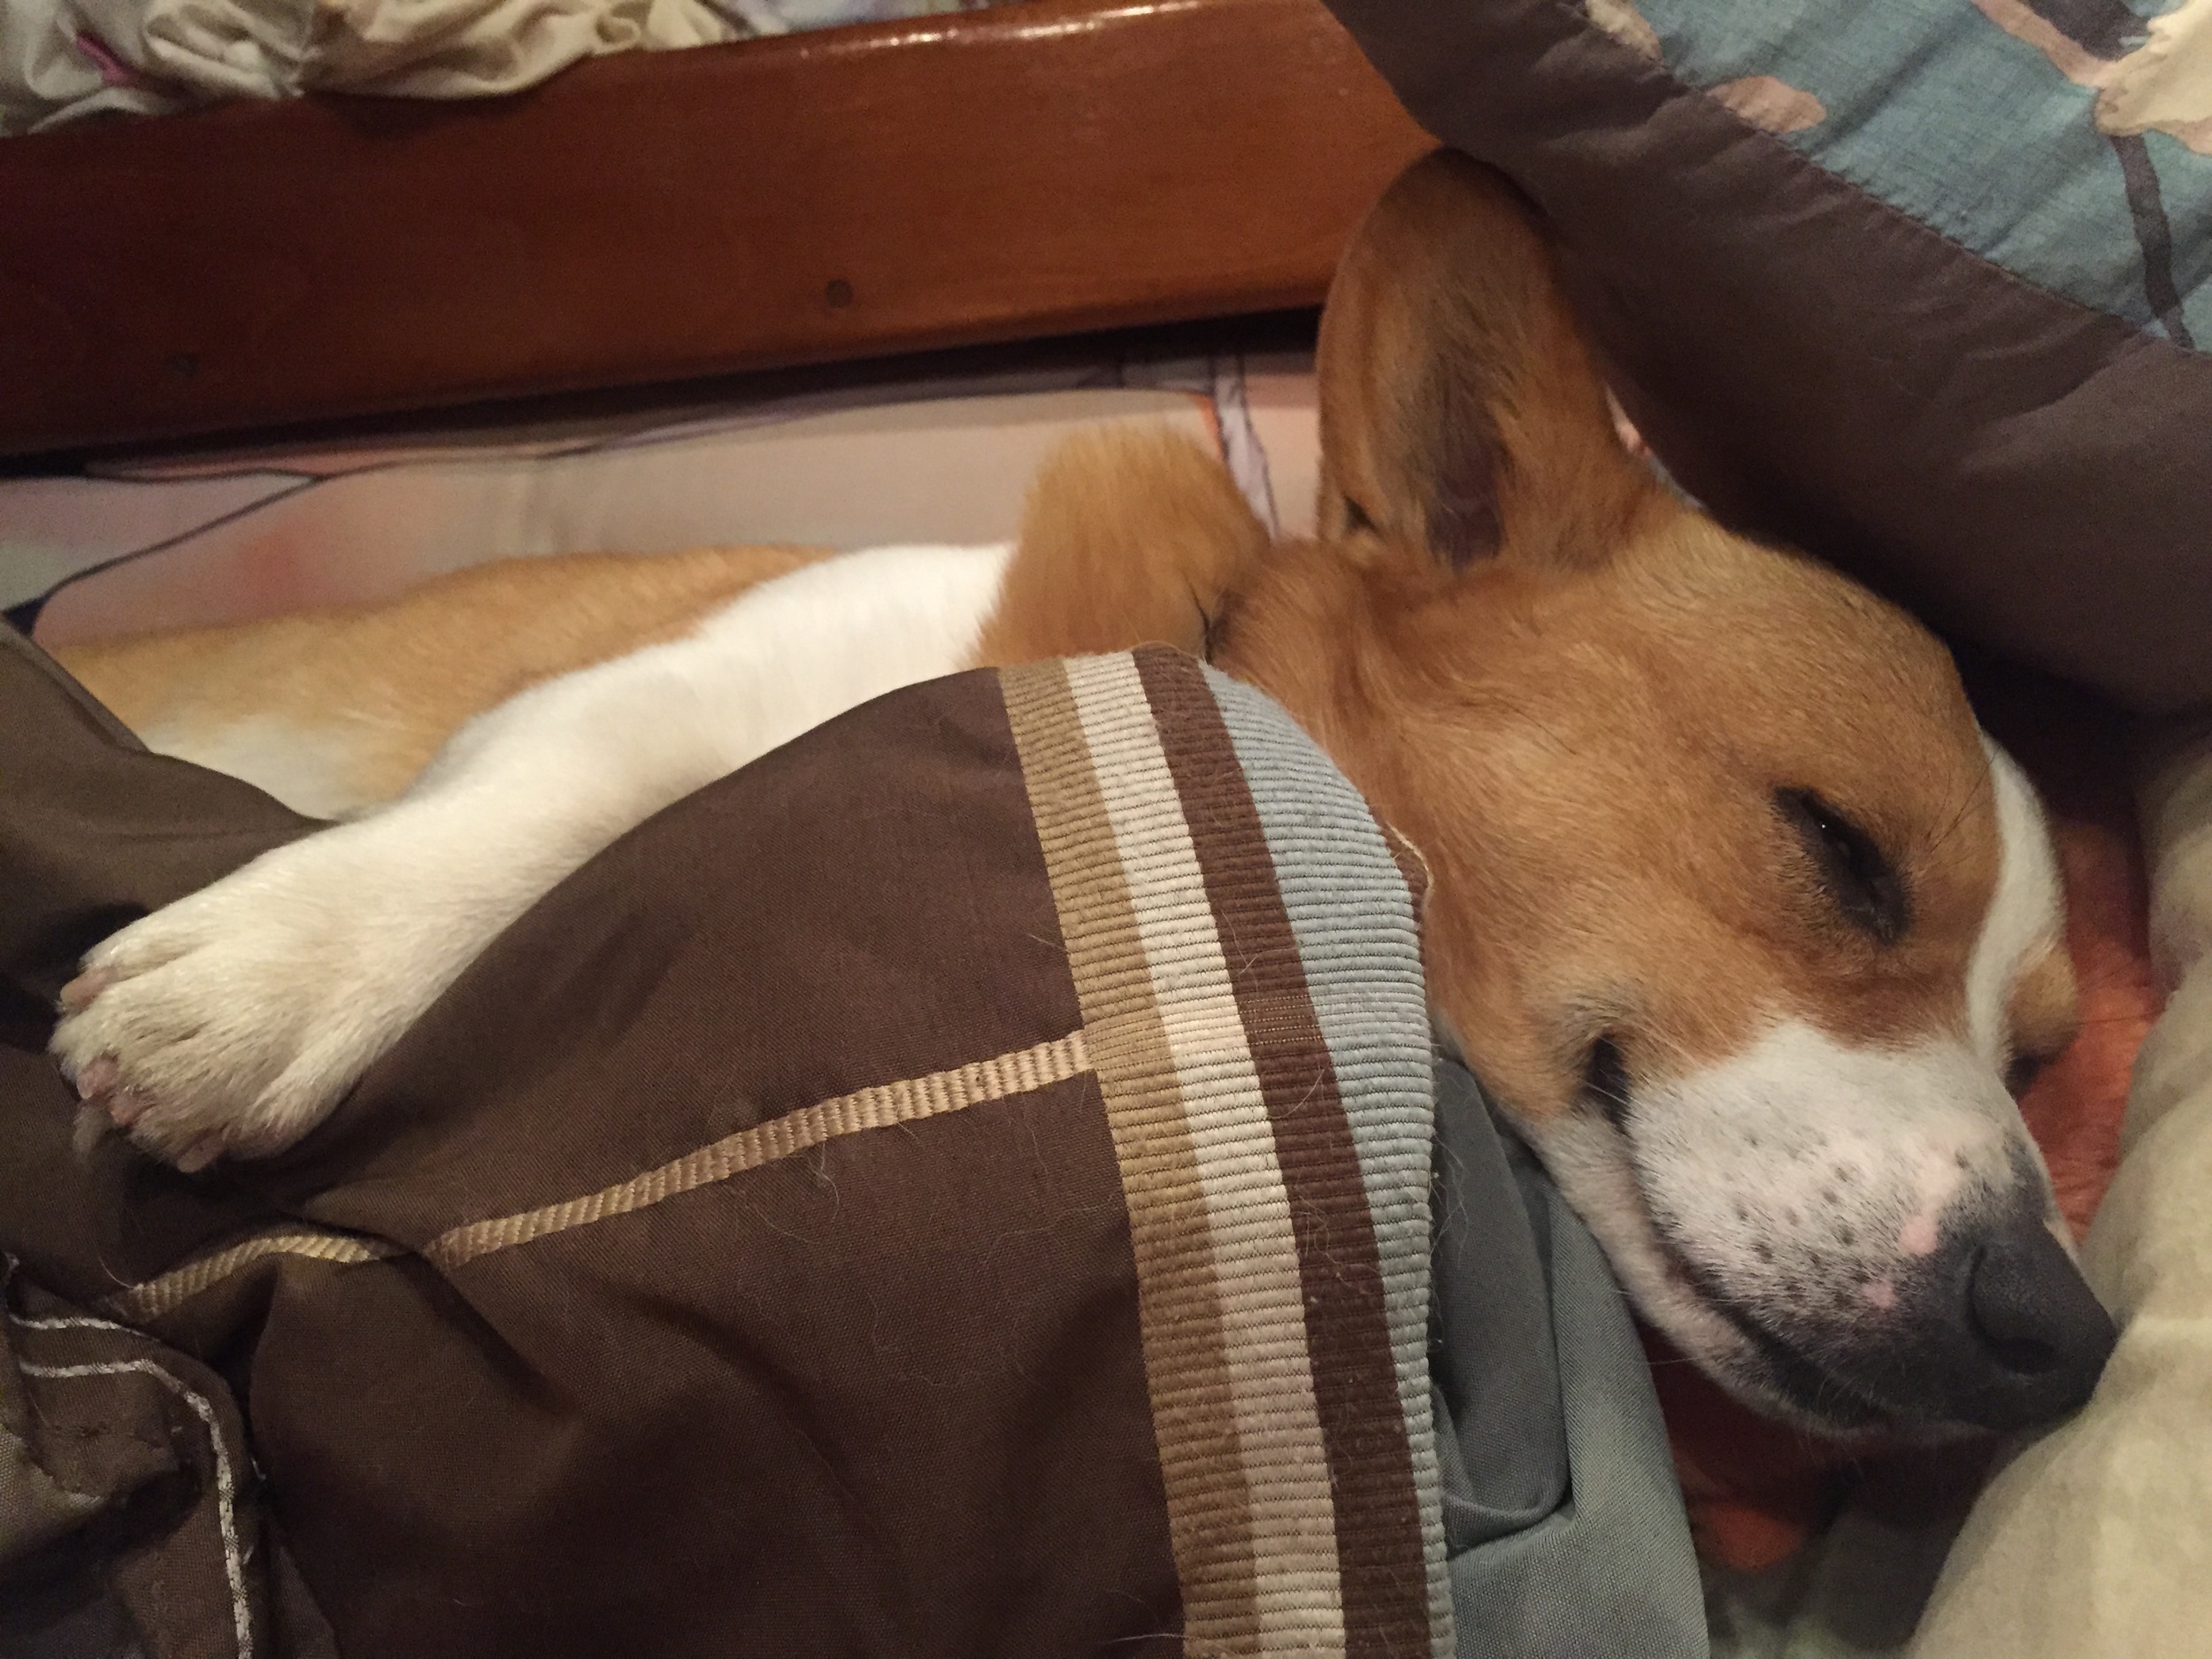
The largest thing Morty has is a bed. He gets the entire quarter berth even though he is a corgi and corgis are small. When we are in the quarter berth watching a movie or napping, Morty pretends that he can’t get up to join us so that we are forced to pick him up and place him in his bed. However, if we leave him in the boat for extended periods of time, he is almost always magically in the quarter birth when we return.

Morty very much enjoys his bed because it is like a dark cave of cozy blankets and pillows. He is a happy dog.

This is Morty in his bed. 

Warping out of a marina

Mechanical propulsion is wonderful, but if you don't have it for some reason (no motor or dead motor) you will need to rely on other methods to work your boat through close quarters. Marinas are especially tricky to sail through. The fairways are not wide enough to short tack a full keel yacht, and any mistake will lead to a very expensive collision. 

Oars, sculling or sweeping, work as a wonderful solution to the call for mechanical propulsion, but it does have its limitations. Rowing a boat is the equivalent of using a tiny outboard on the back of a large barge. Yes, it will move but it will be very slow. Other forces such as wind and current will have a greater influence on your vessel than you could ever hope to have with your oar. This is why I reserve oar power for windless days in still water when I can maintain complete control over the boat via a single oar.

When the wind pipes up though, the oars are stowed and the warp lines are deployed! Warp lines offer "nearly" complete control over the craft while moving about in close quarters.

Warp lines are long ropes that extend from the boat to a fixed object in the distance. Marinas offer plenty of these fixed objects, be it pilings or mooring cleats, they are plentiful and in close proximity! 

I like to use 300 foot warp lines (I carry two of them) because they are long enough to reach a distant cleat, but not so long as to be un-manageable. If I find that my 300' warp line is not long enough, I can tie other lines to it with sheet bends to extend its range.

To use a warp line, simply tie one end to a cleat on your yacht and keep the rest of the coil in the dinghy, ready to pay out as you go. As you row towards your fixed point in the direction you wish to go, the warp line will pay out to your boat with minimal drag on your rowing craft. If you left the coil on the deck of the boat and payed it out to the dinghy, you would find it incredibly difficult to row and drag all that line through the water; the resistance would be intolerable. When you reach your distant fixed object, simply tie the line off to it and return to your boat. 

Standing on your deck, you may begin pulling yourself towards this fixed object. Your boat will move straight and steady towards this fixed point! This sounds like a wonderful solution to get out of a marina, but as always it has its drawbacks.

Strong winds
Strong currents
Lack of straight line path

Strong winds and strong currents can make it very difficult to pull a heavy yacht by hand. Luckily, most windlasses have a section for rope which can be used to crank in the warp line (by un-clutching the chain gypsy). If your windlass does not have this feature, you can also use the sheet winches in the cockpit, just make sure you have a fairlead near the bow to keep the boat pointing forward instead of turning around and leading by the winch.

If you are trying to move side to the wind, you must be careful that the boat will not swing into other moored vessels as you journey towards your fixed attachment point destination. If you are moving beam to the winds, a beam warp line might be necessary to control lateral swing. These lines will be tightened and loosened as you progress towards your destination.

Similar to these concerns of traveling beam to the wind or current, traveling through close quarters without straight line access to your destination can create a situation where multiple warp lines are needed. When you tie up in your slip, you don't just use one line, you use many! All of these lines work in harmony to keep the boat in position and under control. The same holds true with warp lines. The use of various warp lines in multiple directions will ensure that control over the vessel can be maintained as you move about. 

As you may be thinking, each of these lines adds complexity and the need for additional crew to deploy and control all of these lines. It also takes time to run the lines out and bring them back and you need to be carrying all of these long lines on board, hence why engines gained such rapid popularity! 

When I warp out of a marina, I like to keep it to one line. A second line adds a great amount of complexity and I can't always manage both at the same time. By planning ahead, single warp line departures can be successfully executed without much fuss. Next time you need to get out of a tight slip, consider using warp lines instead of praying that your propwalk will help you this time.