Rainy Nights

Laying in the V berth, I hear the pitter-patter on the hatch above me. A low pressure has been moving in from the south for the past three days now, ever intensifying the rain. 

The constant southern wind kicks up little waves that slap the stern and gently rock the boat in a soft swaying motion.  

The water on the hatch let's me see clearly through the frosted lexan at the mast, towering above me.

I wonder what it would be like to grow up as a child on a sailboat, looking at these things and assigning them human qualities. Would they see the mast as a towing figure looking down on them or as a guardian that keeps a tall eye looking out over the horizon? 

I rather do enjoy these rainy nights. I feel so much closer to the world around me. The rain outside is just above my head, the waves rolling by right next to my shoulders, the sea floor many fathoms beneath me; obscured from sight by the murky water. Always hiding what unknown life may exist below me. Everything is occurring so close by yet I am removed from the elements in my cozy berth, peacefully being lulled to sleep. 

Pooped! Cleaning a Composting Toilet

Composting toilets work very well, Maddie and I both use ours everyday and I dump it every 6 months! The reason I dump it at 6 months is not that it "needs" to be emptied, but because I think that it has been long enough and it is "time to do it".

I'm going to spare you the pictures of emptying it, but "most" of the container is filled with a rich black dirt. Then there are some "fresh" additions to the pile that haven't broken down yet. Dumping it is easy. I place the container in a dock cart with a bag over it and carry it over to the dumpster. Then I dump the container into the trash bag and place the trash bag in the dumpster. Easy and mess free!

Then I let the container sit in the sun for a few days to "dry and air out". Luckily, it doesn't smell, so Maddie lets me dry it out in the cockpit of the boat. After everything is good and dried out, I begin the filling process again.

The instructions that came with my toilet (by Natures Head) state careful measurements of how much dirt you need to add, and how often you need to add more dirt. Just like with the Dickinson Heater, the supplied instructions are much more complicated than they need to be.

I simply fill the bottom up to the crank with peat moss, then I add diatomaceous earth to the peat.

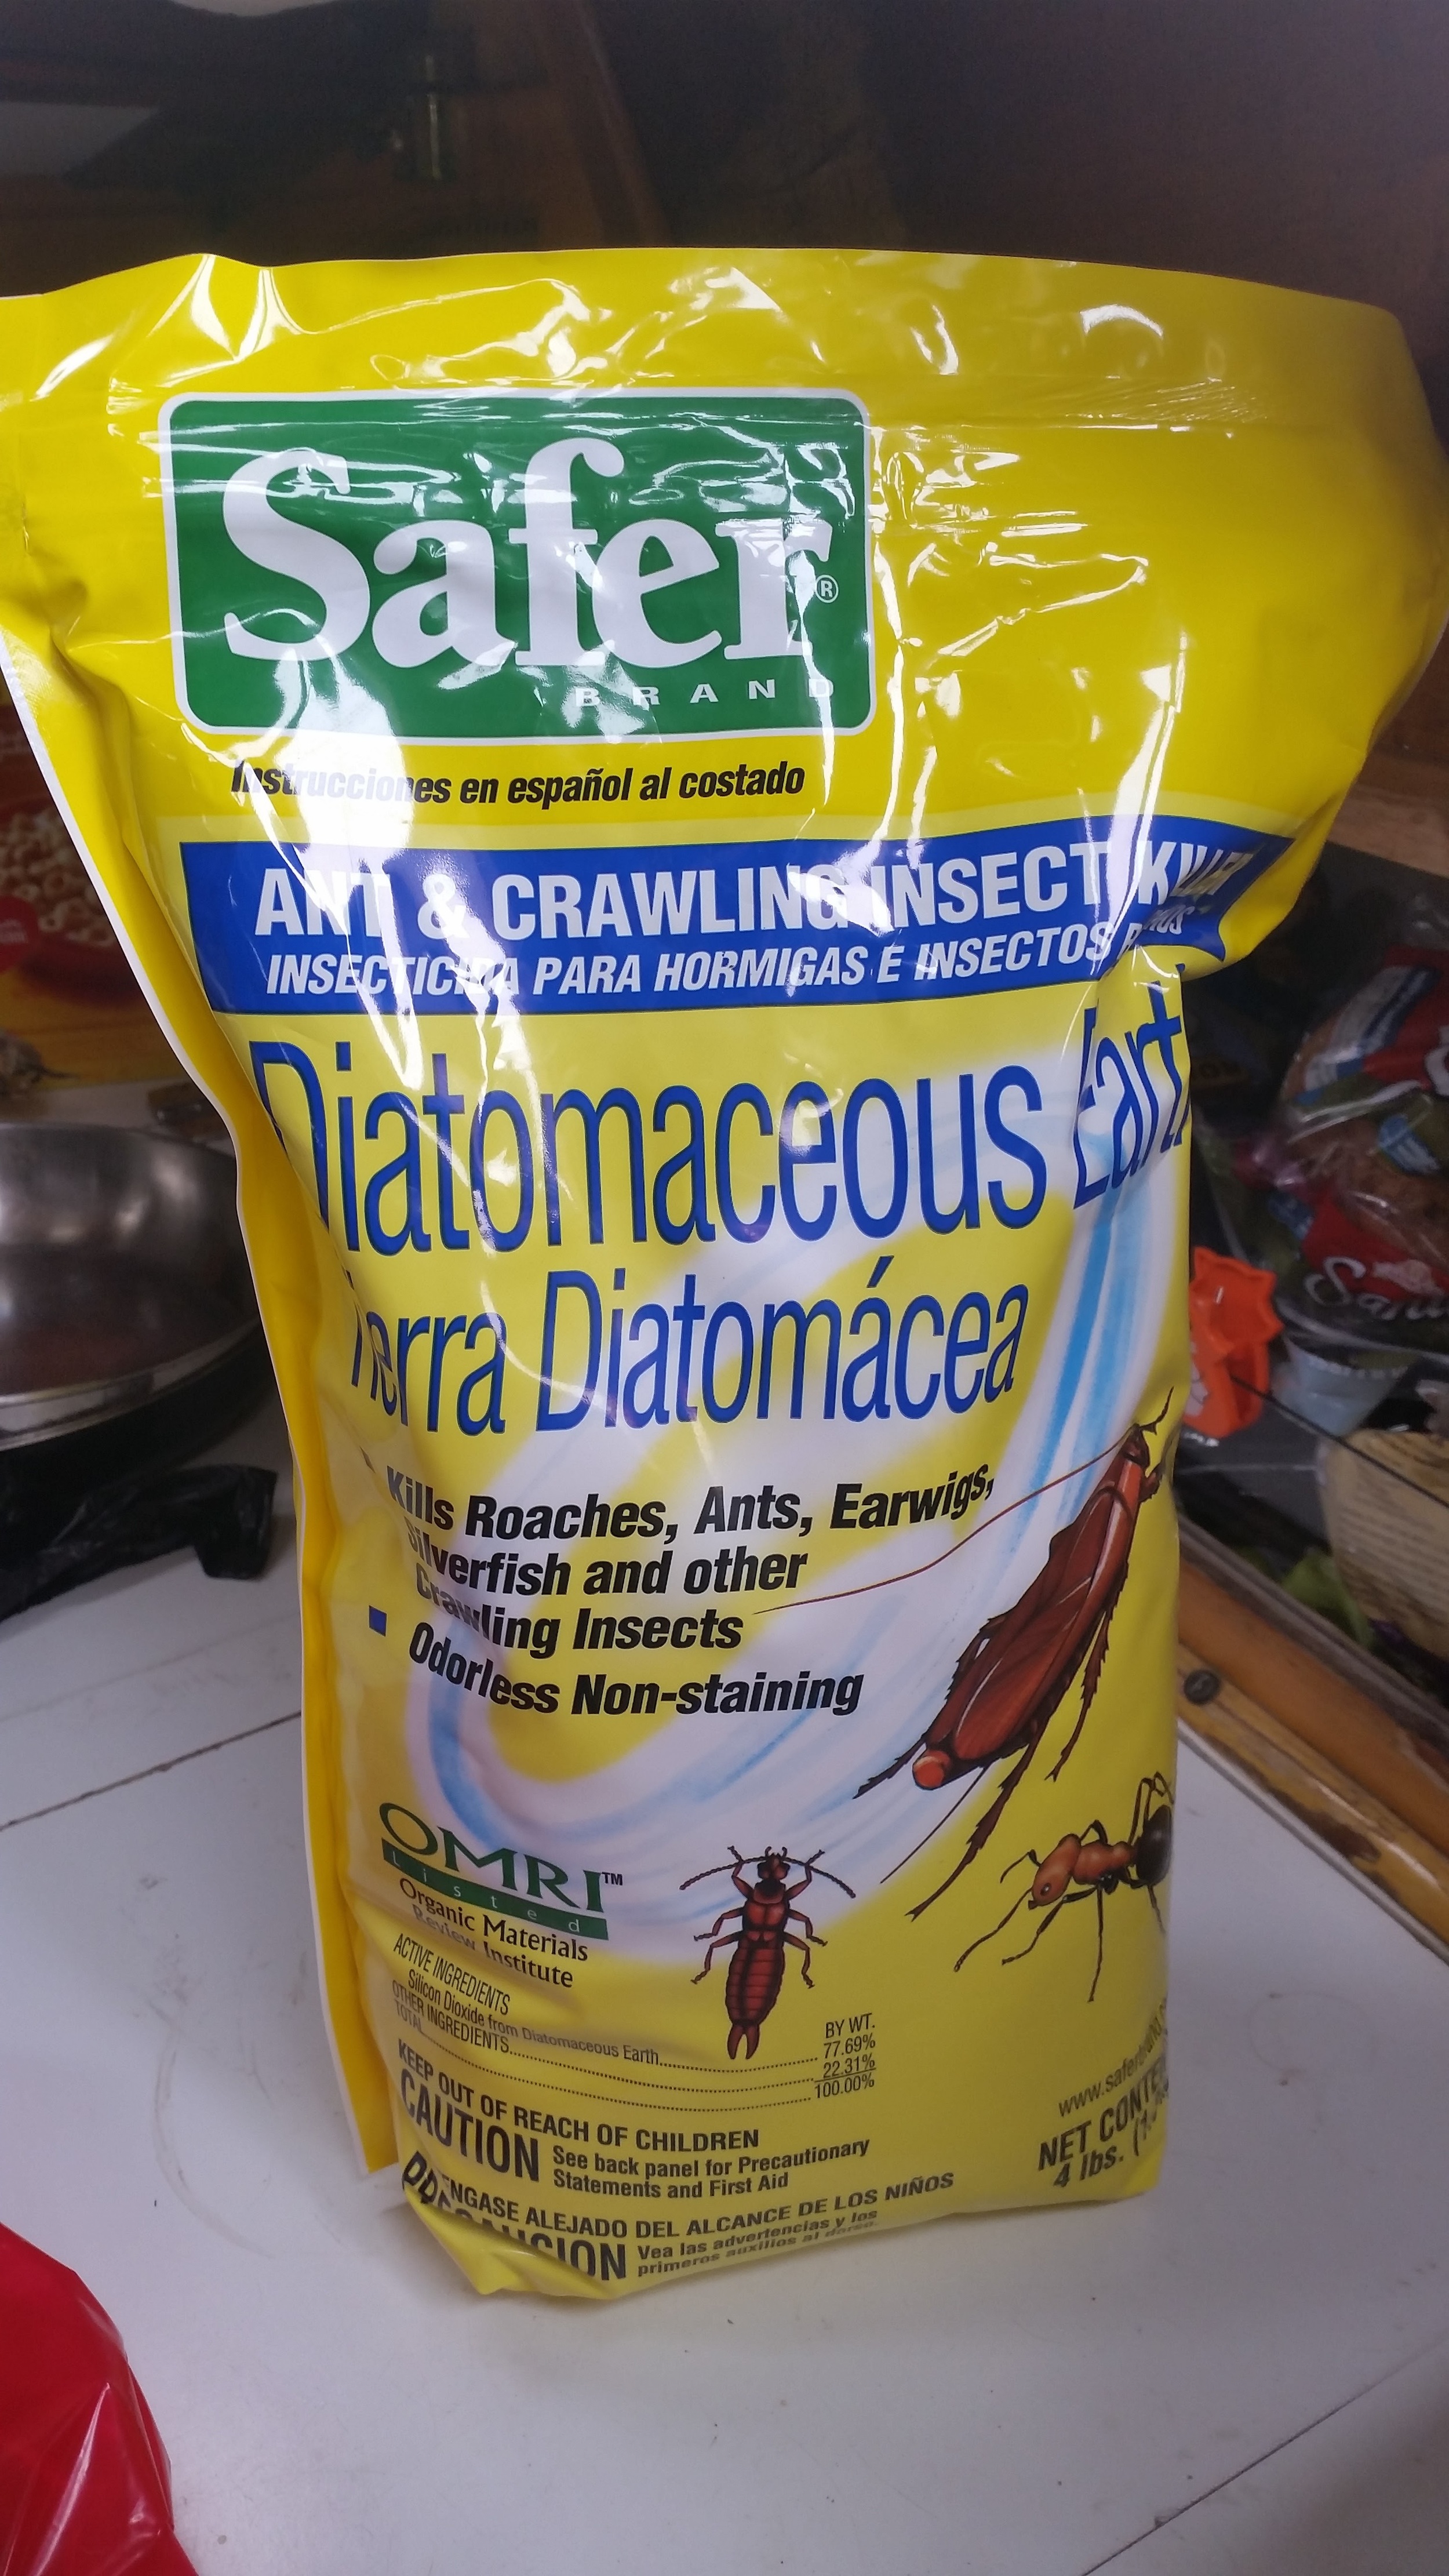
The diatomaceous earth comes in a 4 pound bag from a hardware store. Diatomaceous earth is very safe to use. In the United States it is marketed as a pesticide, but outside of the United States it is used to treat stomach issues by eating it. Diatomaceous earth works as an absorbent which helps settle upset stomachs and runaway intestines by absorbing whatever is irritating the area and passed in a more controlled manner. 

When mixed in with the peat, it acts as a mechanical pesticide by drying out the fats and oils in the insects exoskeleton. Poop and peat makes a wonderful breeding ground for gnats and flies, add some diatomaceous earth and no insects will thrive!

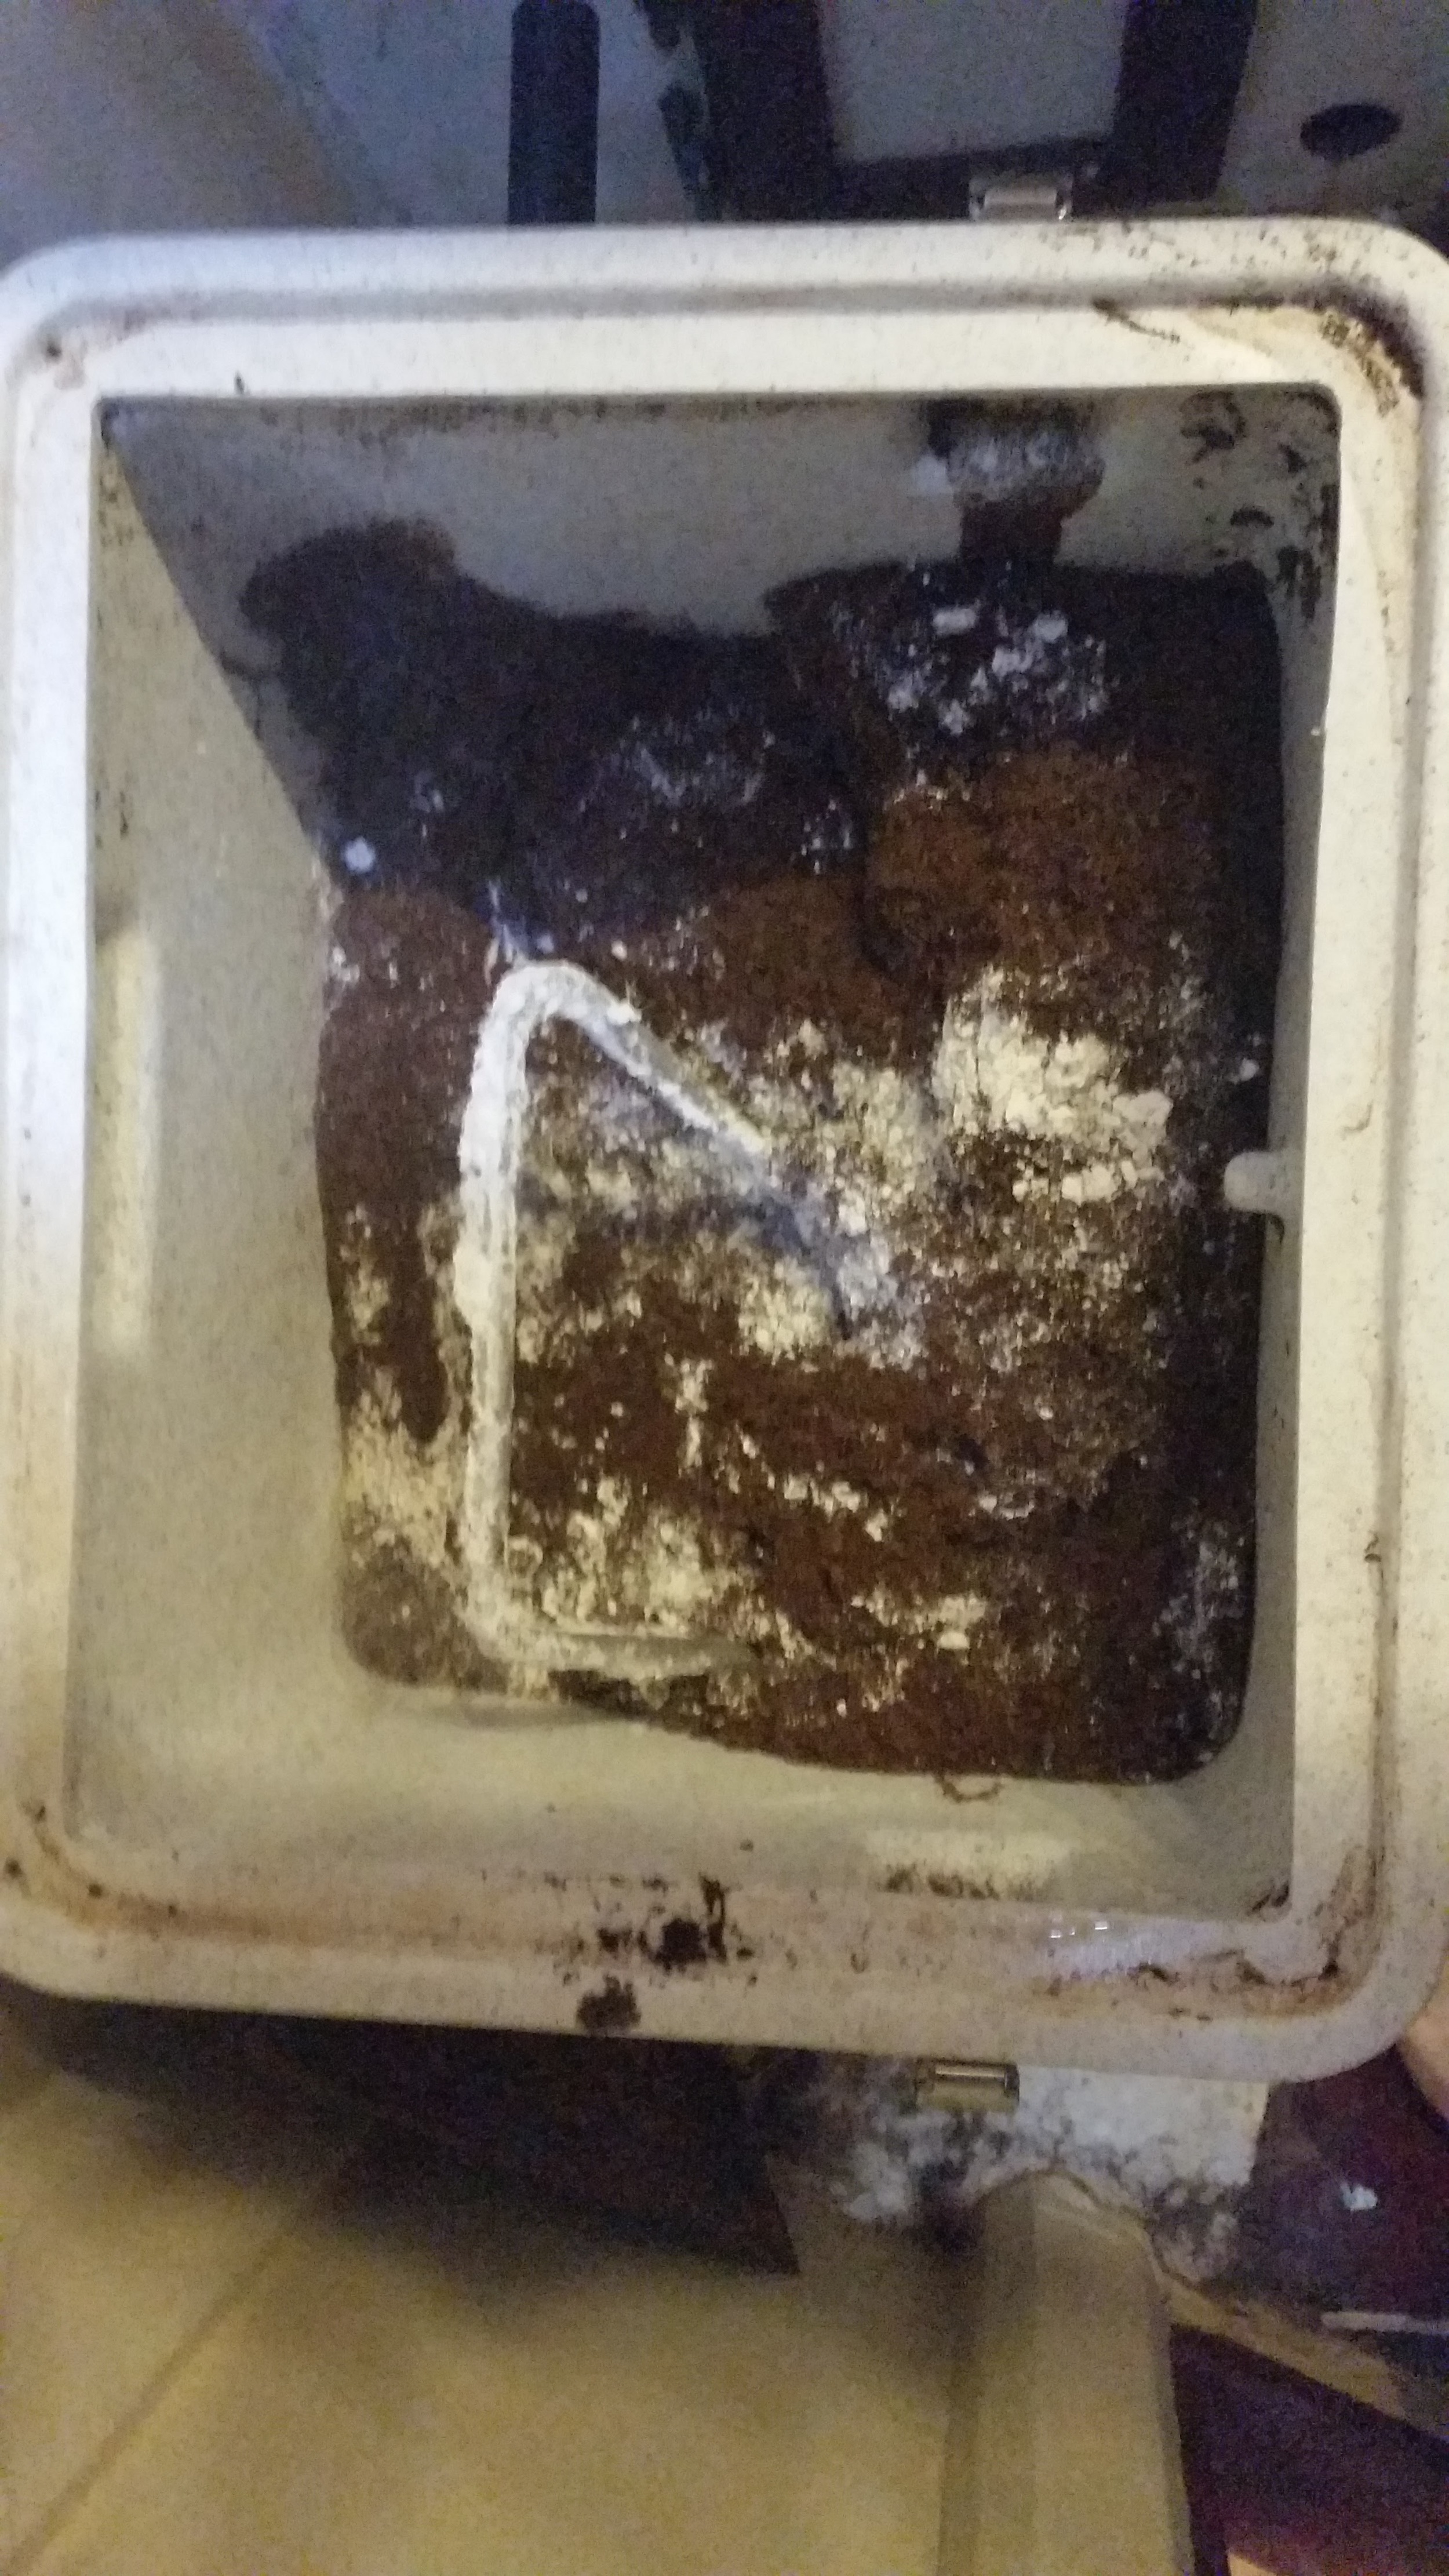
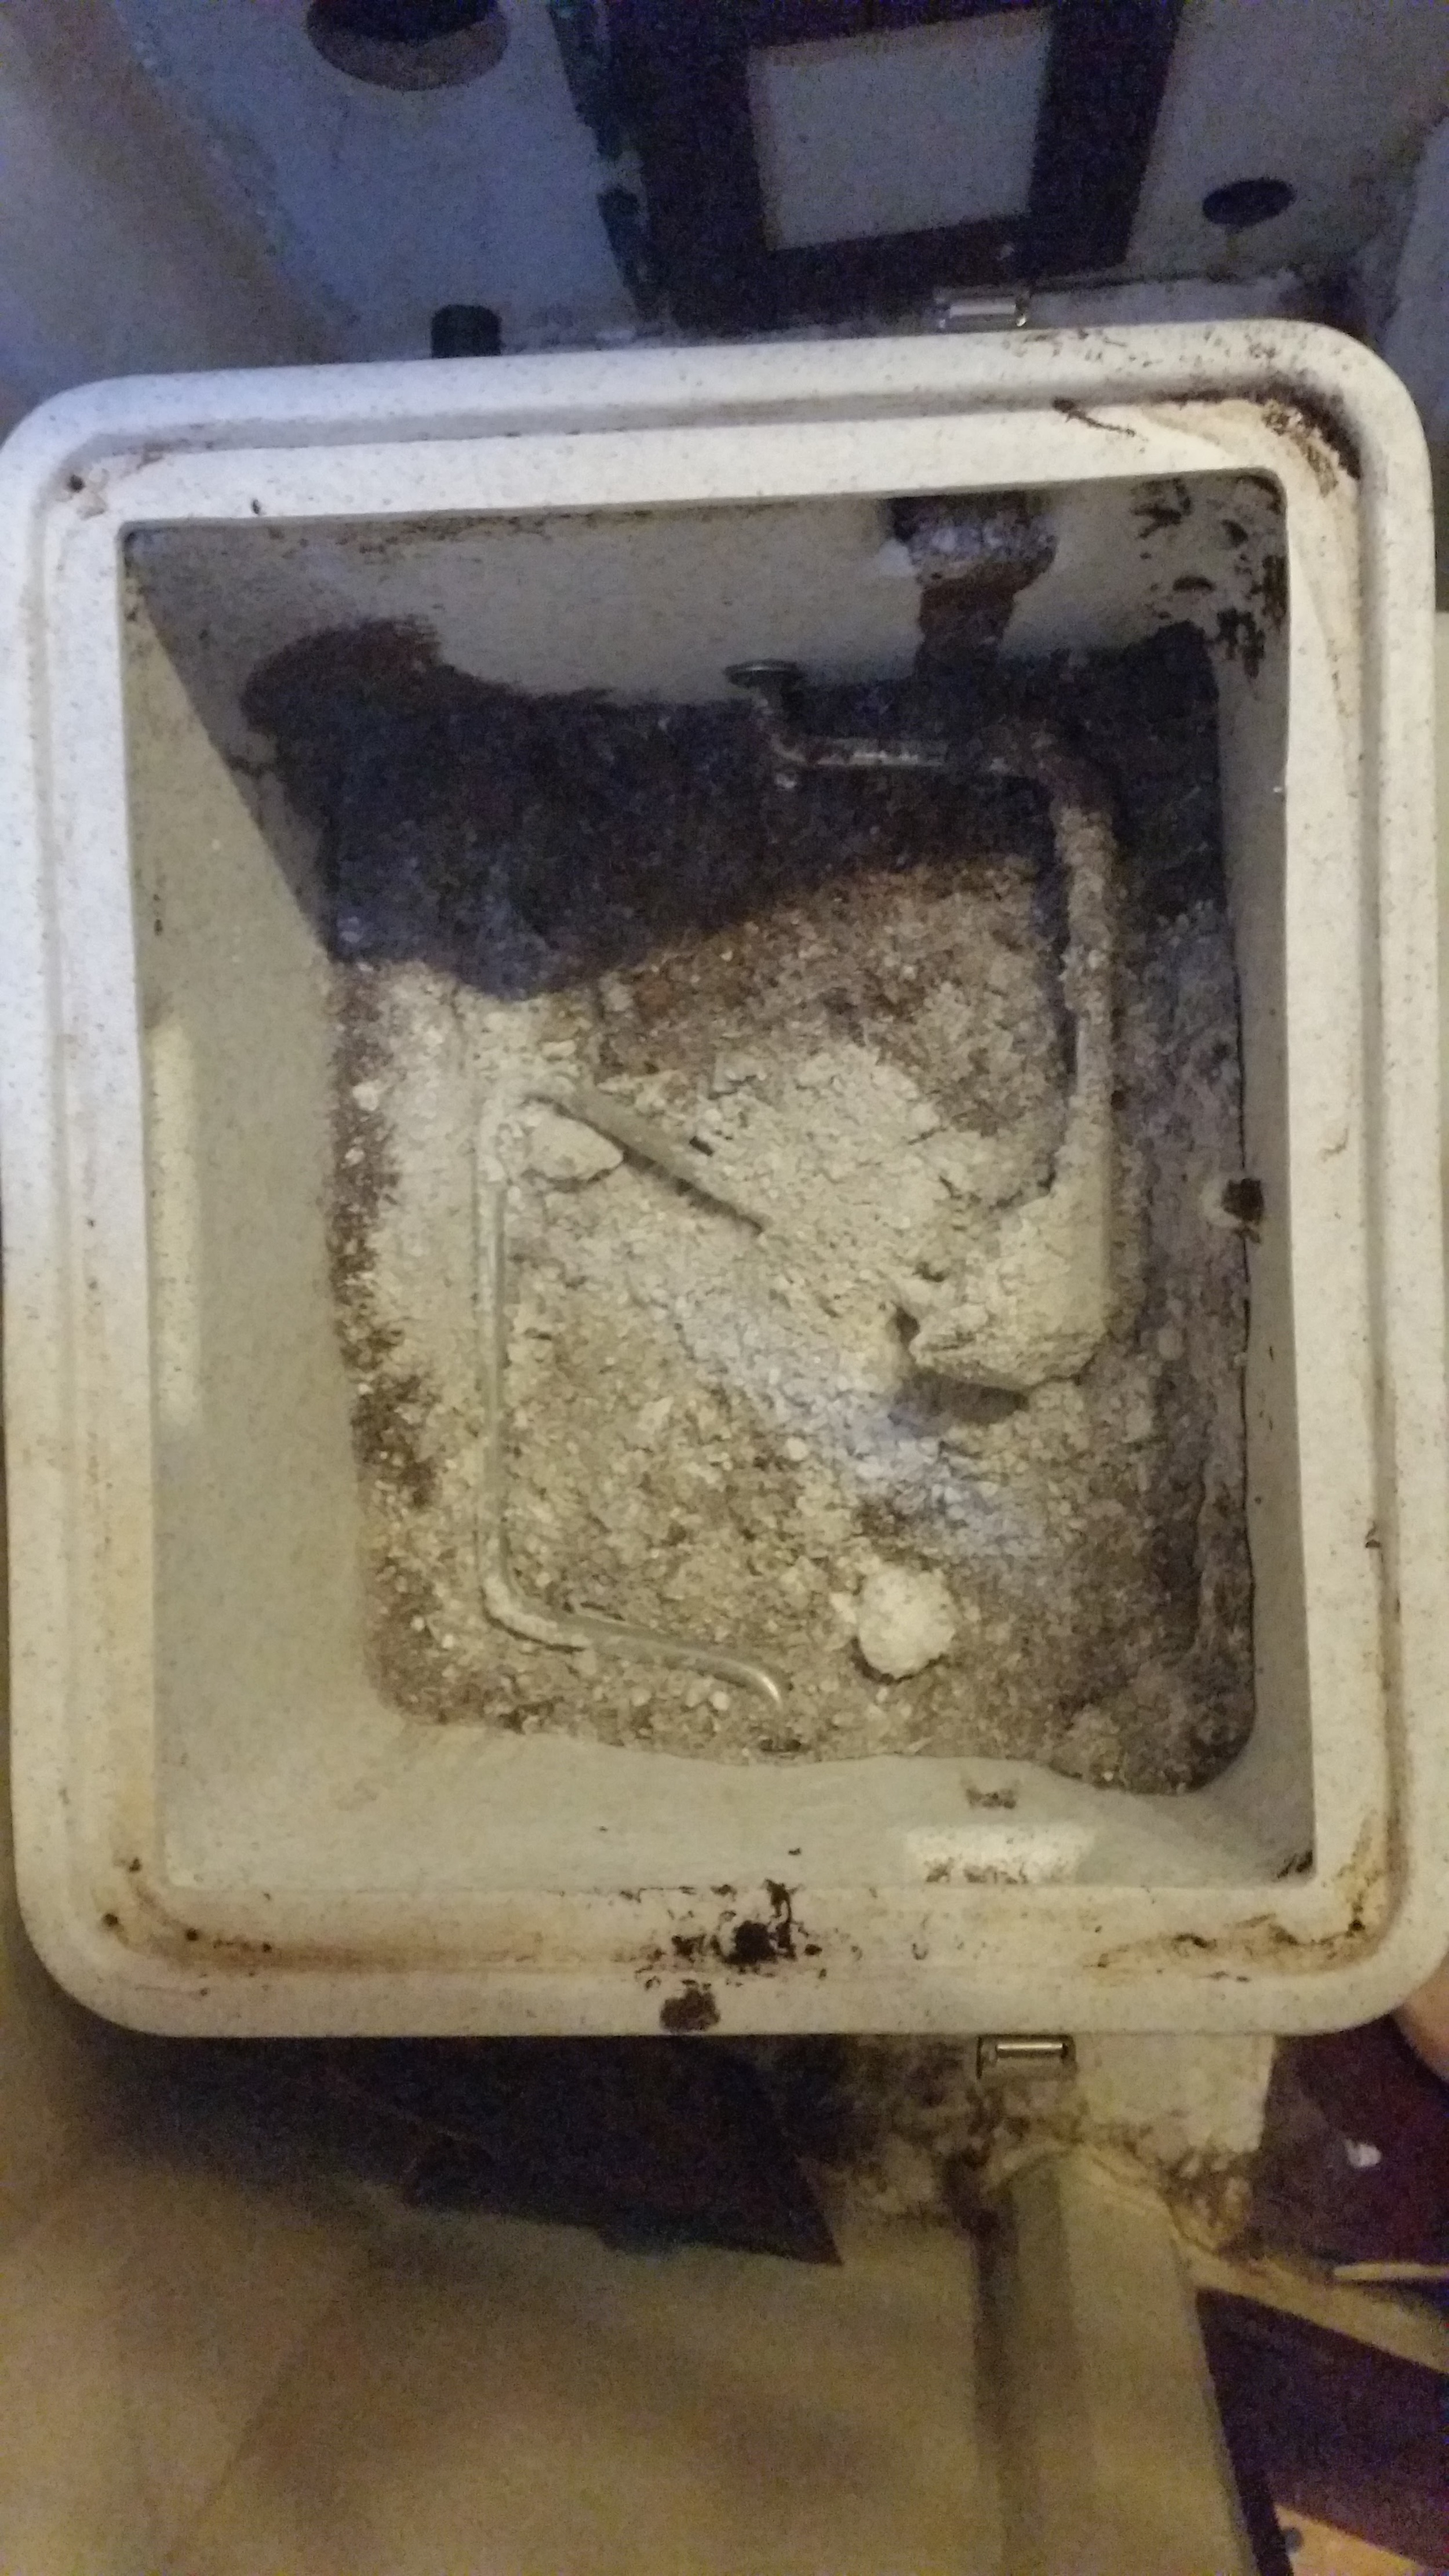
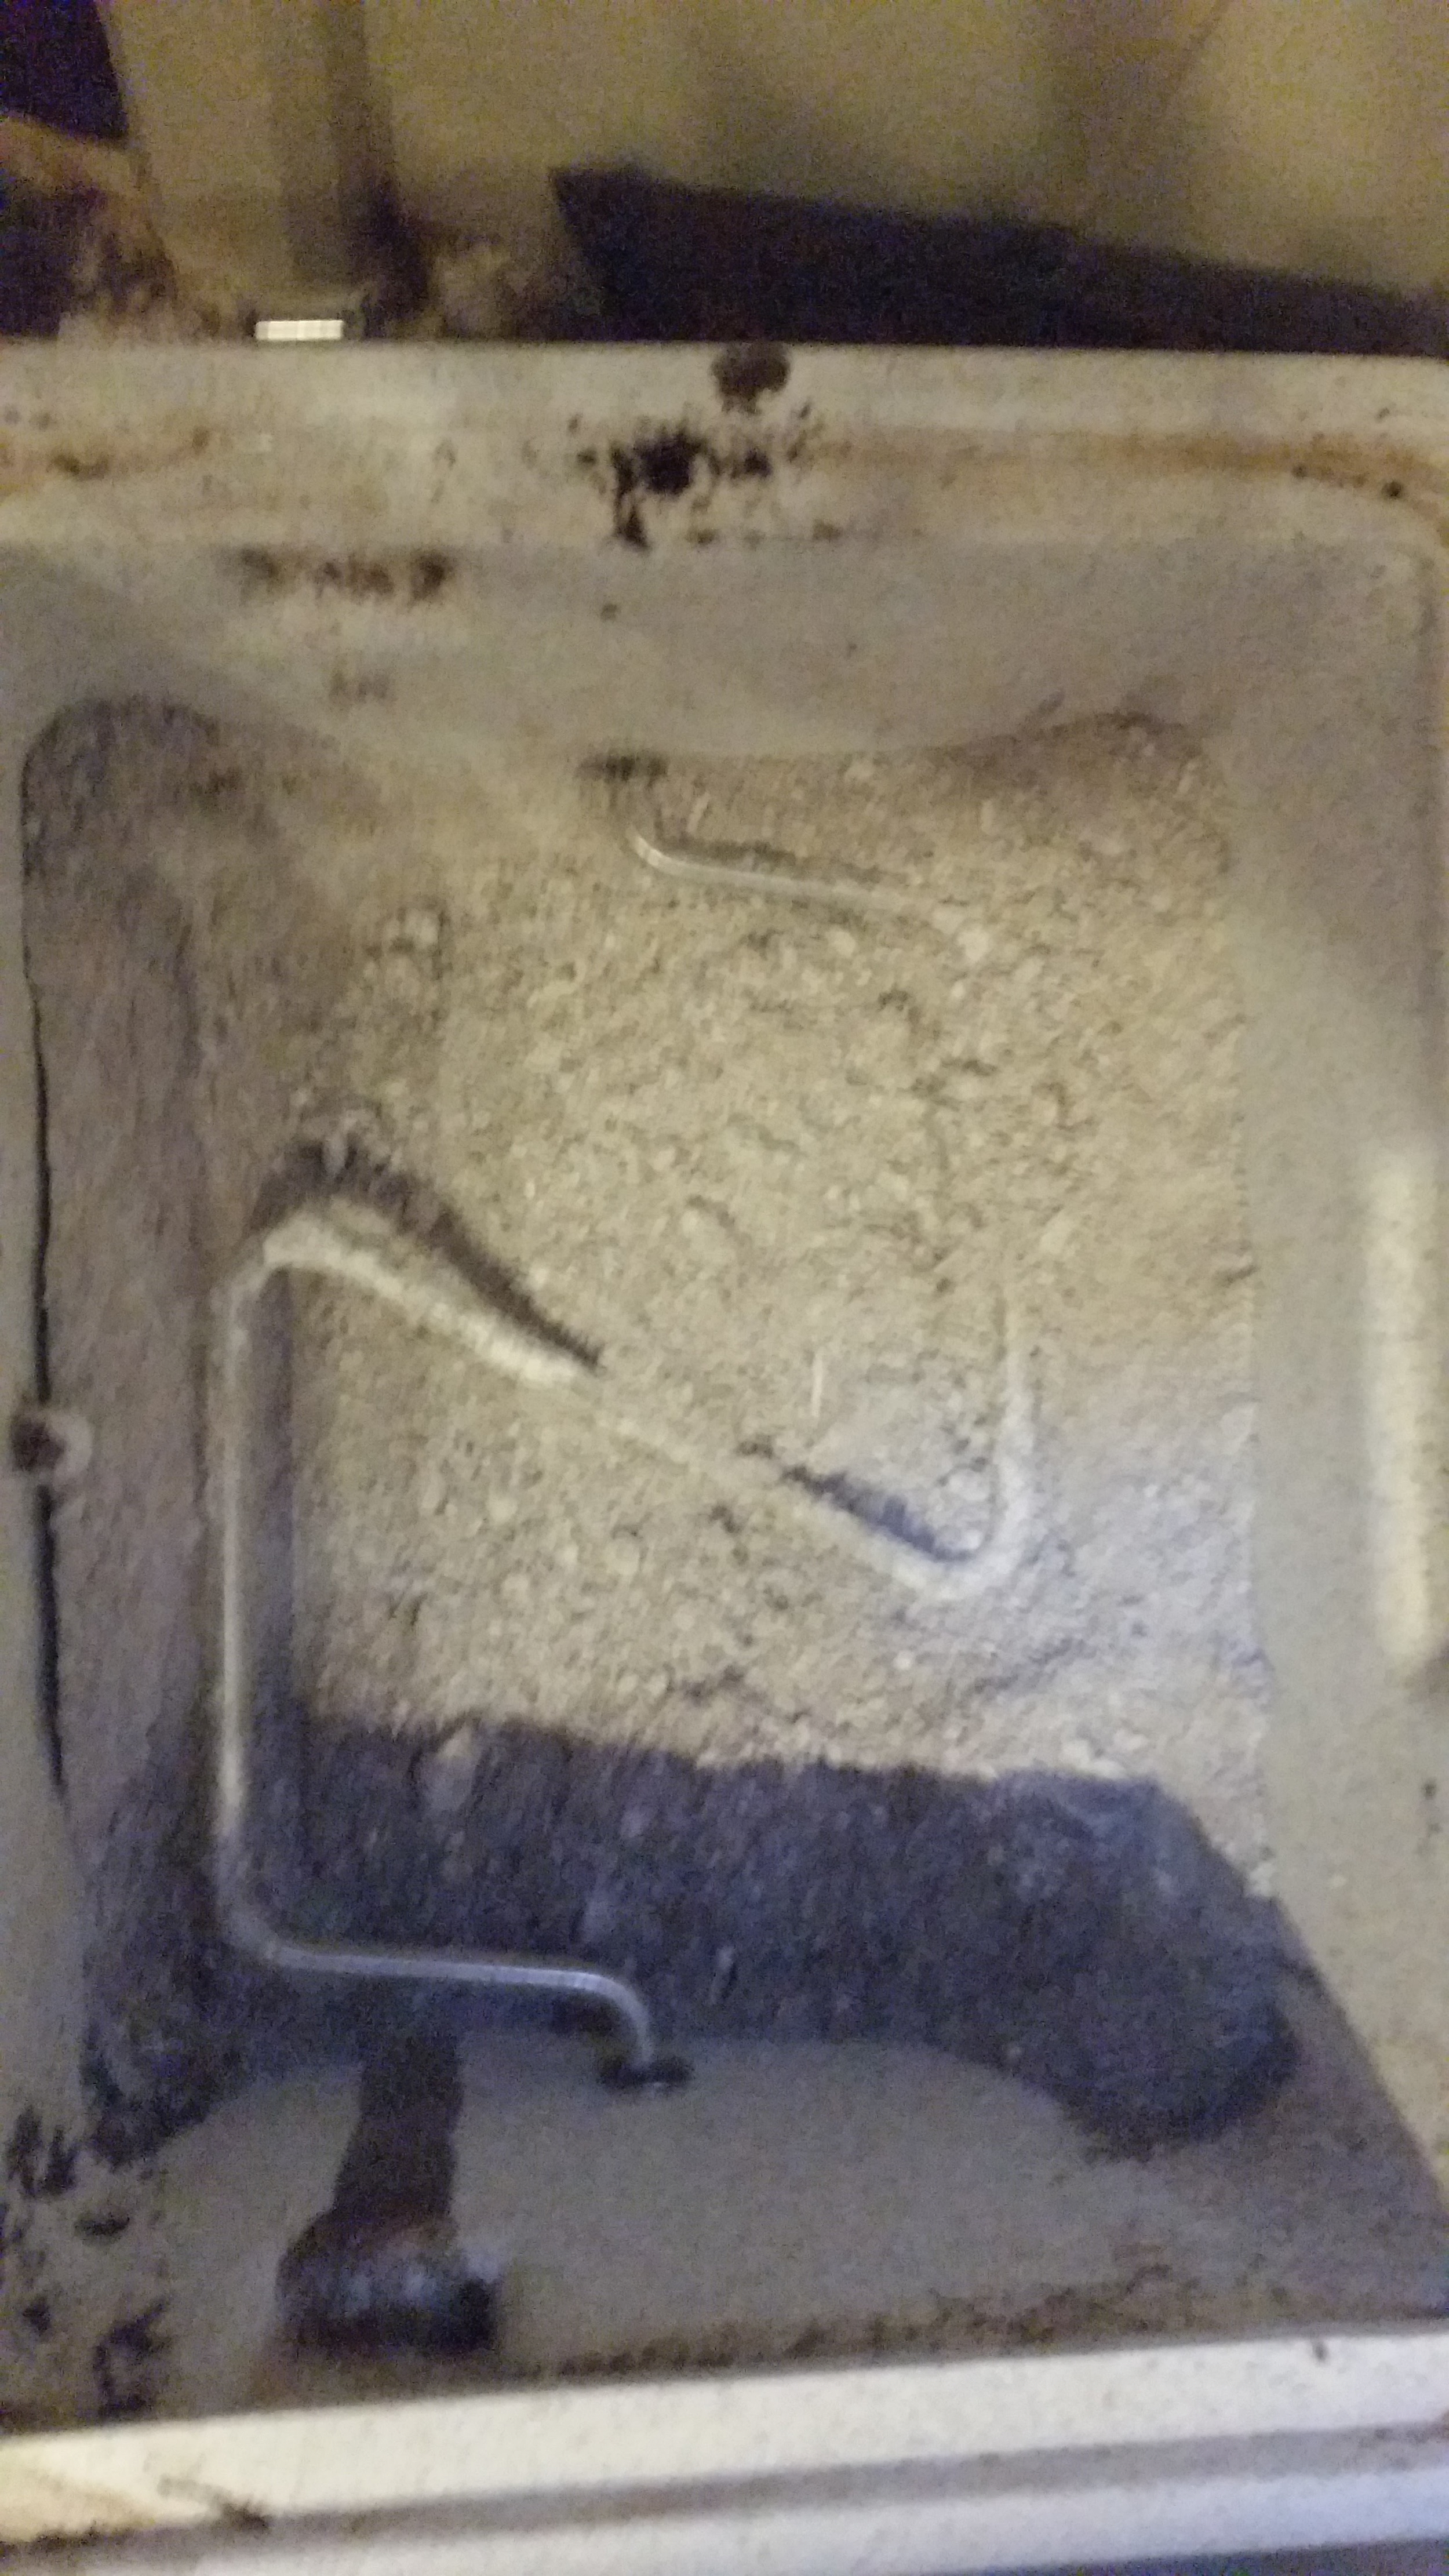
I just dump half the bag (approximately 2 pounds) into the peat and turn the crank until the lot of it looks grey in color.

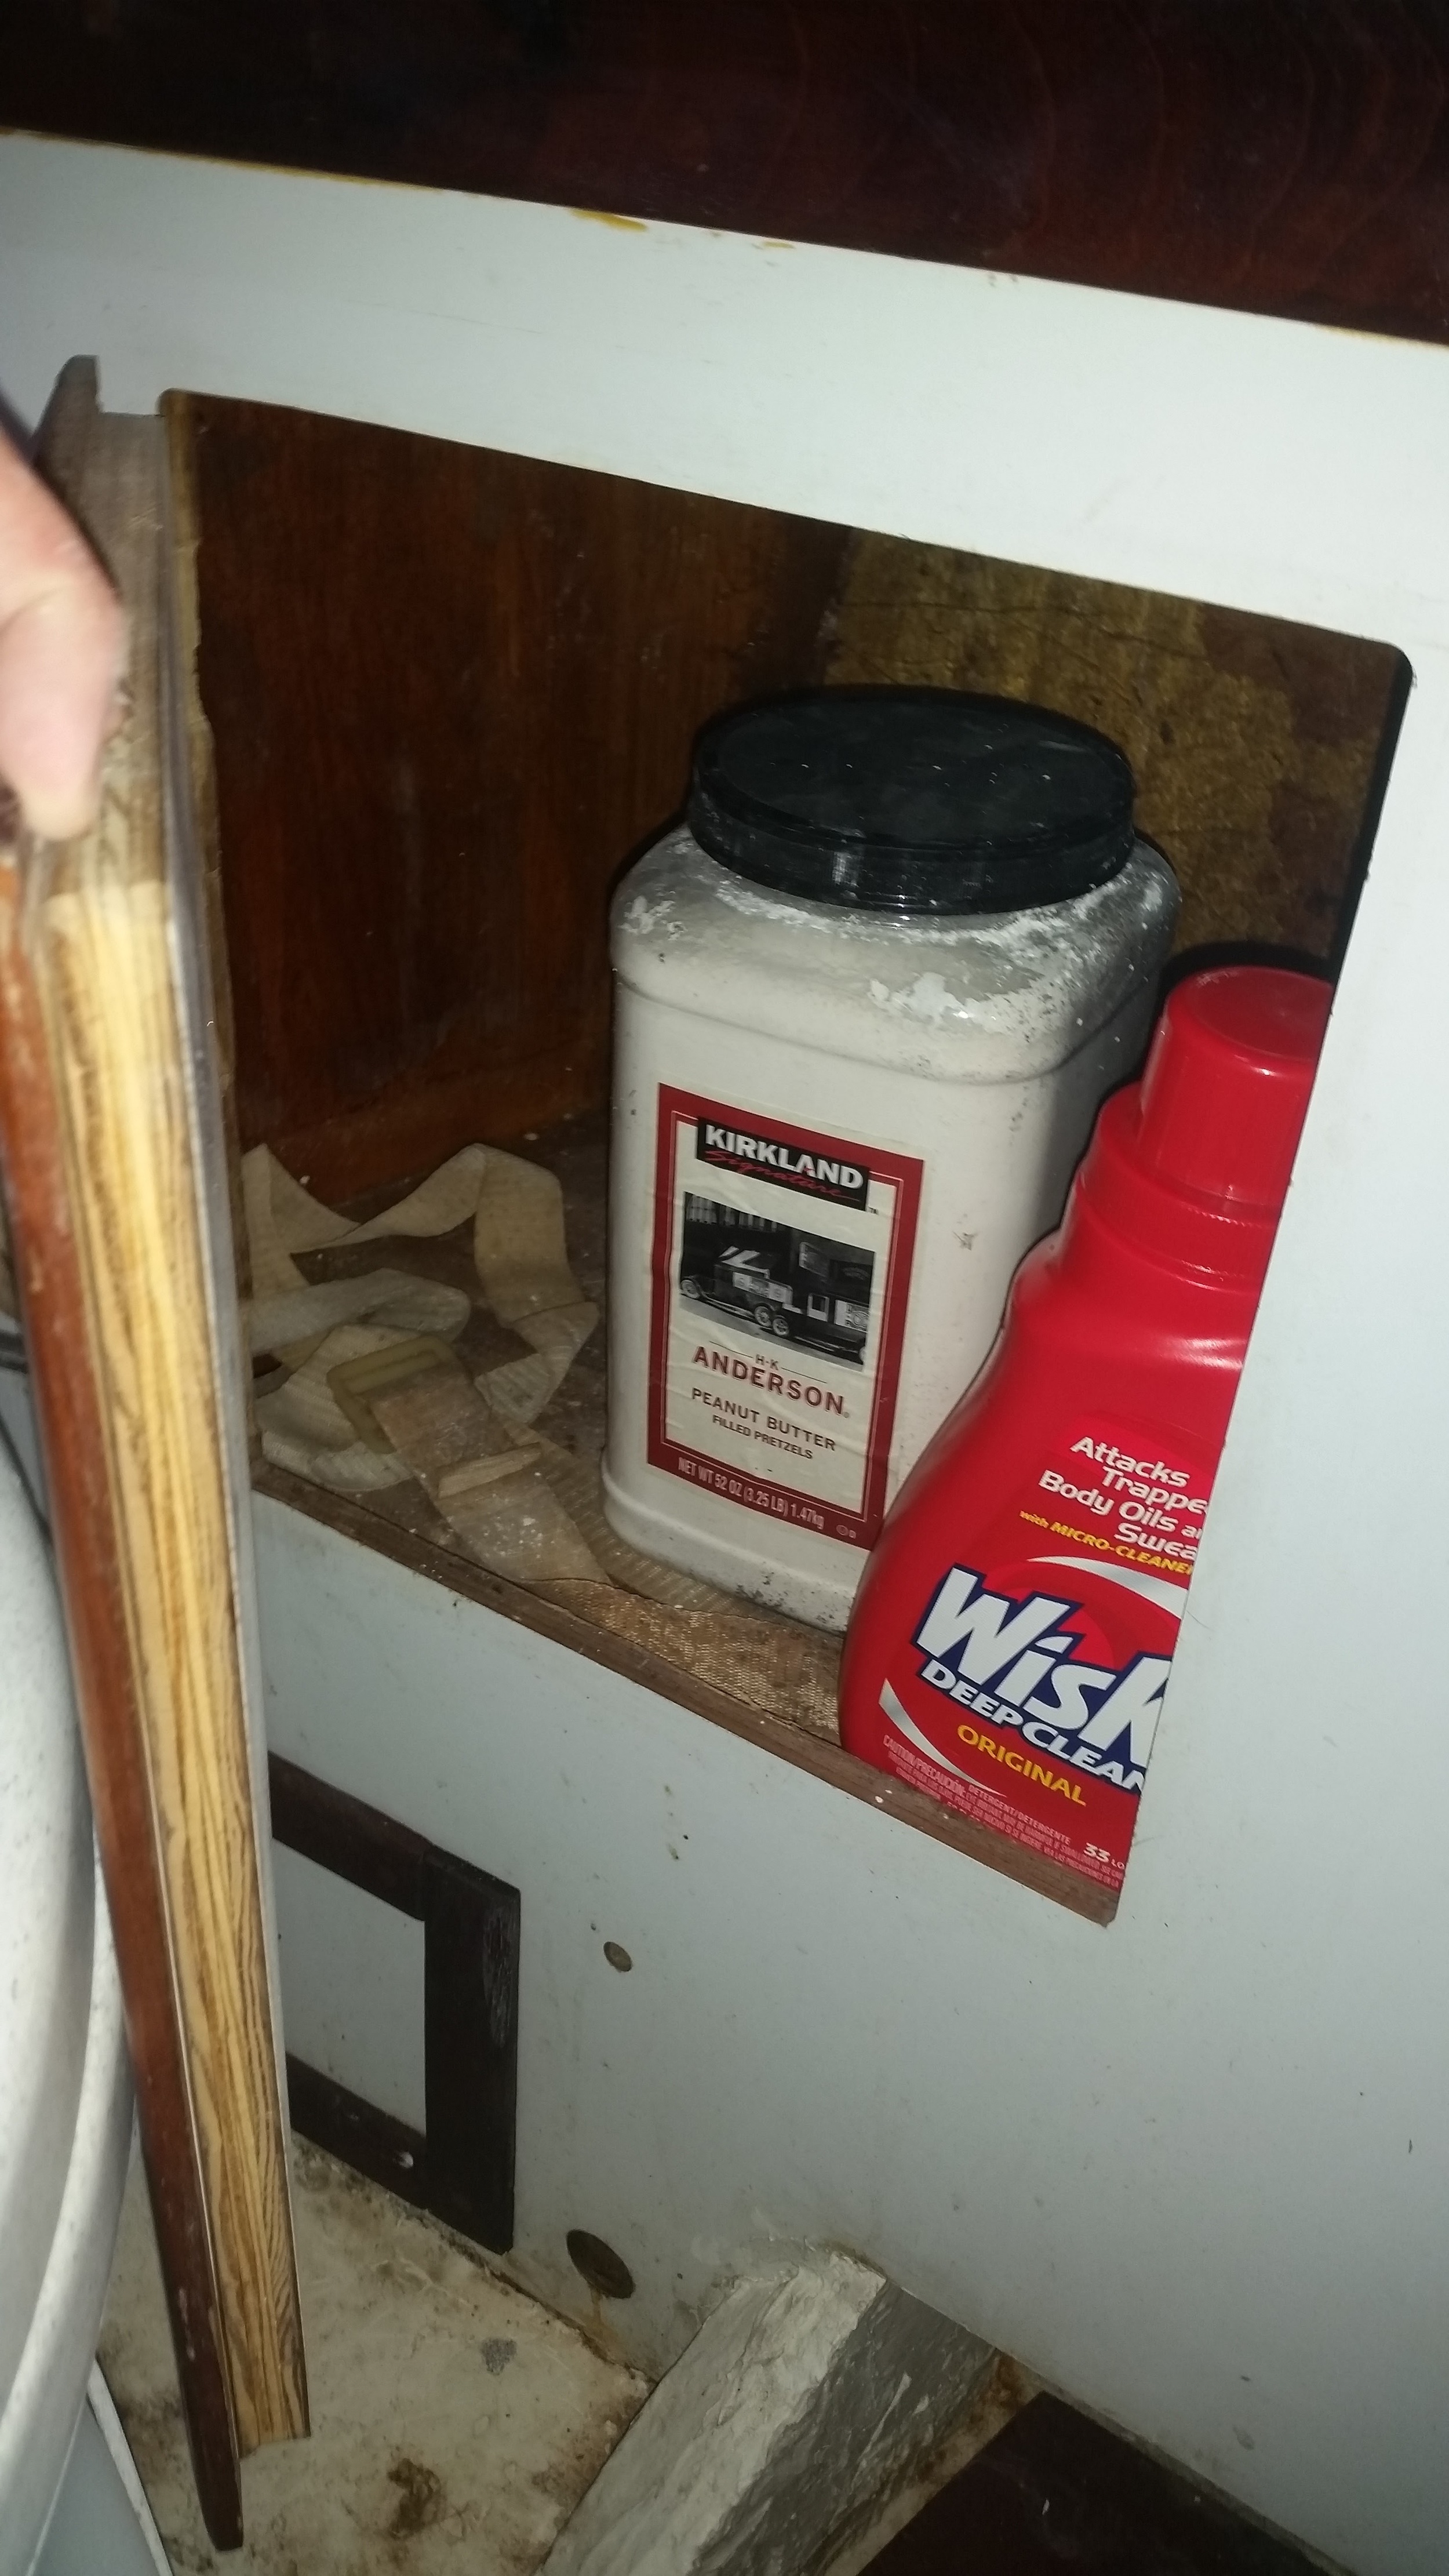
The rest of the diatomaceous earth fits nicely in an old container of pretzles, with a secure screw on lid. This will prevent acidental spills in the locker while heeling over or being tossed around by the seas. 

For the next six months, no further soil or peat is added to the solid container. I simply turn the crank after every use and empty the liquid container when it is near full! While explaining how to use a composting toilet is "interesting" to some guests, never needed to repair a blocked joker valve because they flushed something they shouldn't have is awesome! I've been using a composting toilet for over 3 years now, and this is all I have to do every 6 months.

Liveaboard Safety

Living on a boat has many advantages as well as its disadvantages as compared to life on land. The biggest issue I am frequently asked about is drowning. (This is going to be such a chipper topic)

Motor boats typically have swim platforms and ladders placed conveniently on the stern. If you were to fall into the water, this ladder will let you climb back out with some effort. 

Sailboats, on the other hand, typically have no such platforms or ladders. Instead they have tall smooth sides that offer no aid in your climb from water.

The piers are also unforgiving. most floating piers are 2 feet above the waters surface. 

The only option is to swim to shore and come onto dry land at the waters edge. Once again, marinas are huge and this could end up being a very long swim from some slips.  

If it were winter with freezing cold waters, you would only have a few minutes of working time before hypothermia sets in and everything ends.  

You can not rely on a neighbor to hear you splash, as boats are well insulated and no one will hear your cries for help.  

This is why you must have your own emergency plan set in place and ready to save yourself if you were to fall in the water. 

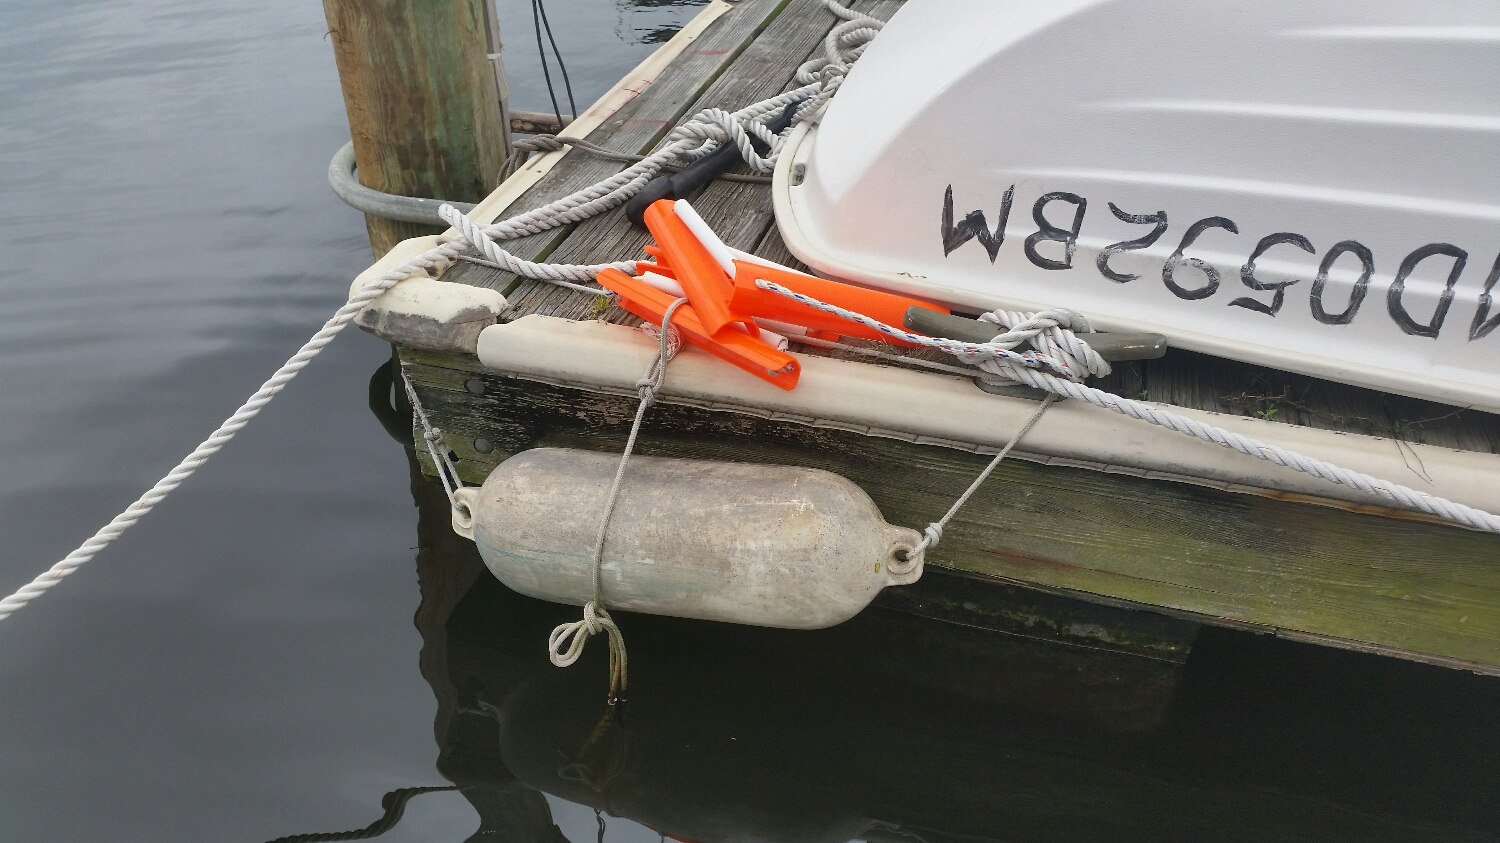
At the end of our finger pier, I have a rope ladder tied to the cleat at the corner of the slip. Since I didn't want it to get covered in growth, it remains on the pier with a line hanging from it into the water. I tied some knots near the end to make it easier to grab and pull into the water.

In a moment of panic, it will be hard to find this safety line, so it rests conveniently on a fender.  

upload.jpeg

All we need to do is swim over to the fender and pull on the line. The ladder will drop into the water and we can climb out to safety. 

I (thankfully) have never tested this ladder in this location, but I have tried it out in a creek. It isn't the most comfortable thing to climb, but it will get you out of the water!  

Obviously, the first priority is to not fall in. If you do happen to fall in, having these safety measures in place will make all the difference.  

Scarfing the Ridge Beam

The ridge beam runs from the front of the house to the back of the house and is one continuous piece of wood that supports the entire roof structure. Naturally, this timber needs to be very strong!

I chose to use a 2x12 of Douglas Fir for this beam as it will be more than strong enough to carry out the task at hand. The problem is our tiny house is 18 feet long and the longest cut I can easily get is only 16 feet long. This is where this beam gets complicated.

In order to reach the full 18 feet, I decided to scarf two pieces of wood together and then reinforce the joint with butt blocks on either side.

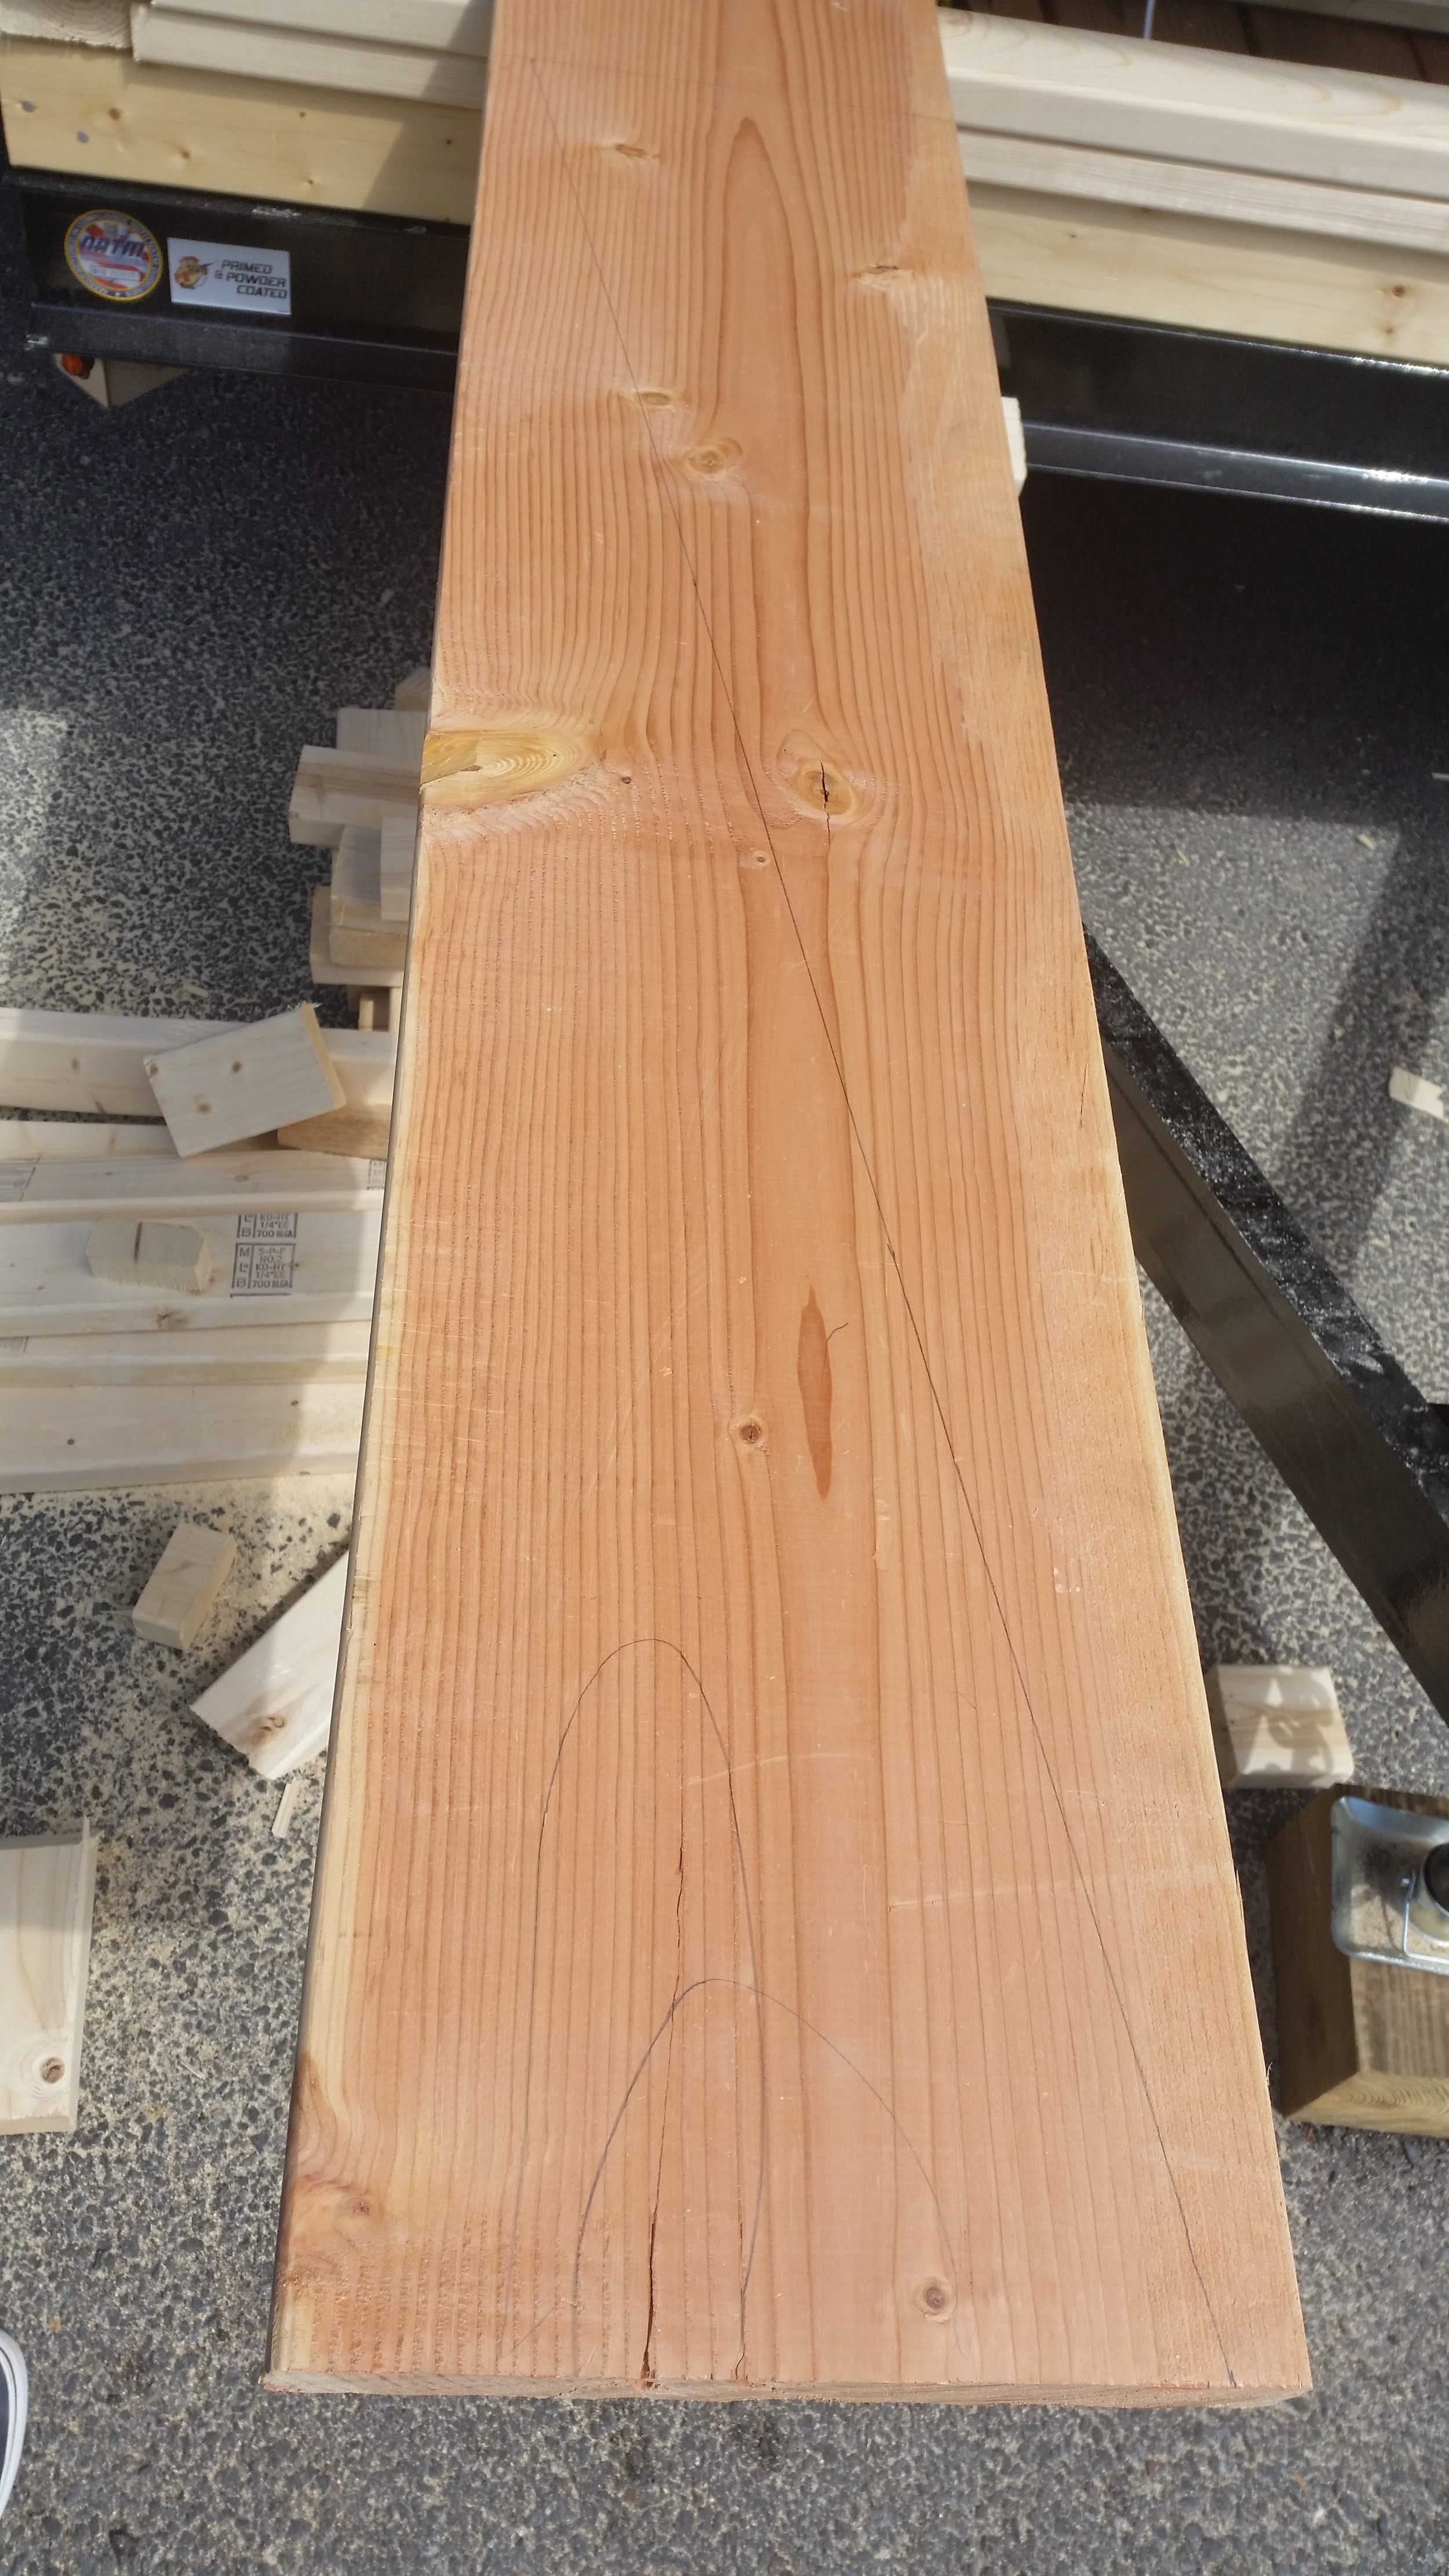
The scarf was calculated and drawn out on the timbers. I highlighted cracks and checks in the wood to make sure that these defects were removed in the cut.  The cut was made with a circular saw a bit proud of the line. I then brought the faying surface right down to the line with a jack plane, chisel, and a rasp. All this work payed off because they fit very well on their first test fit!

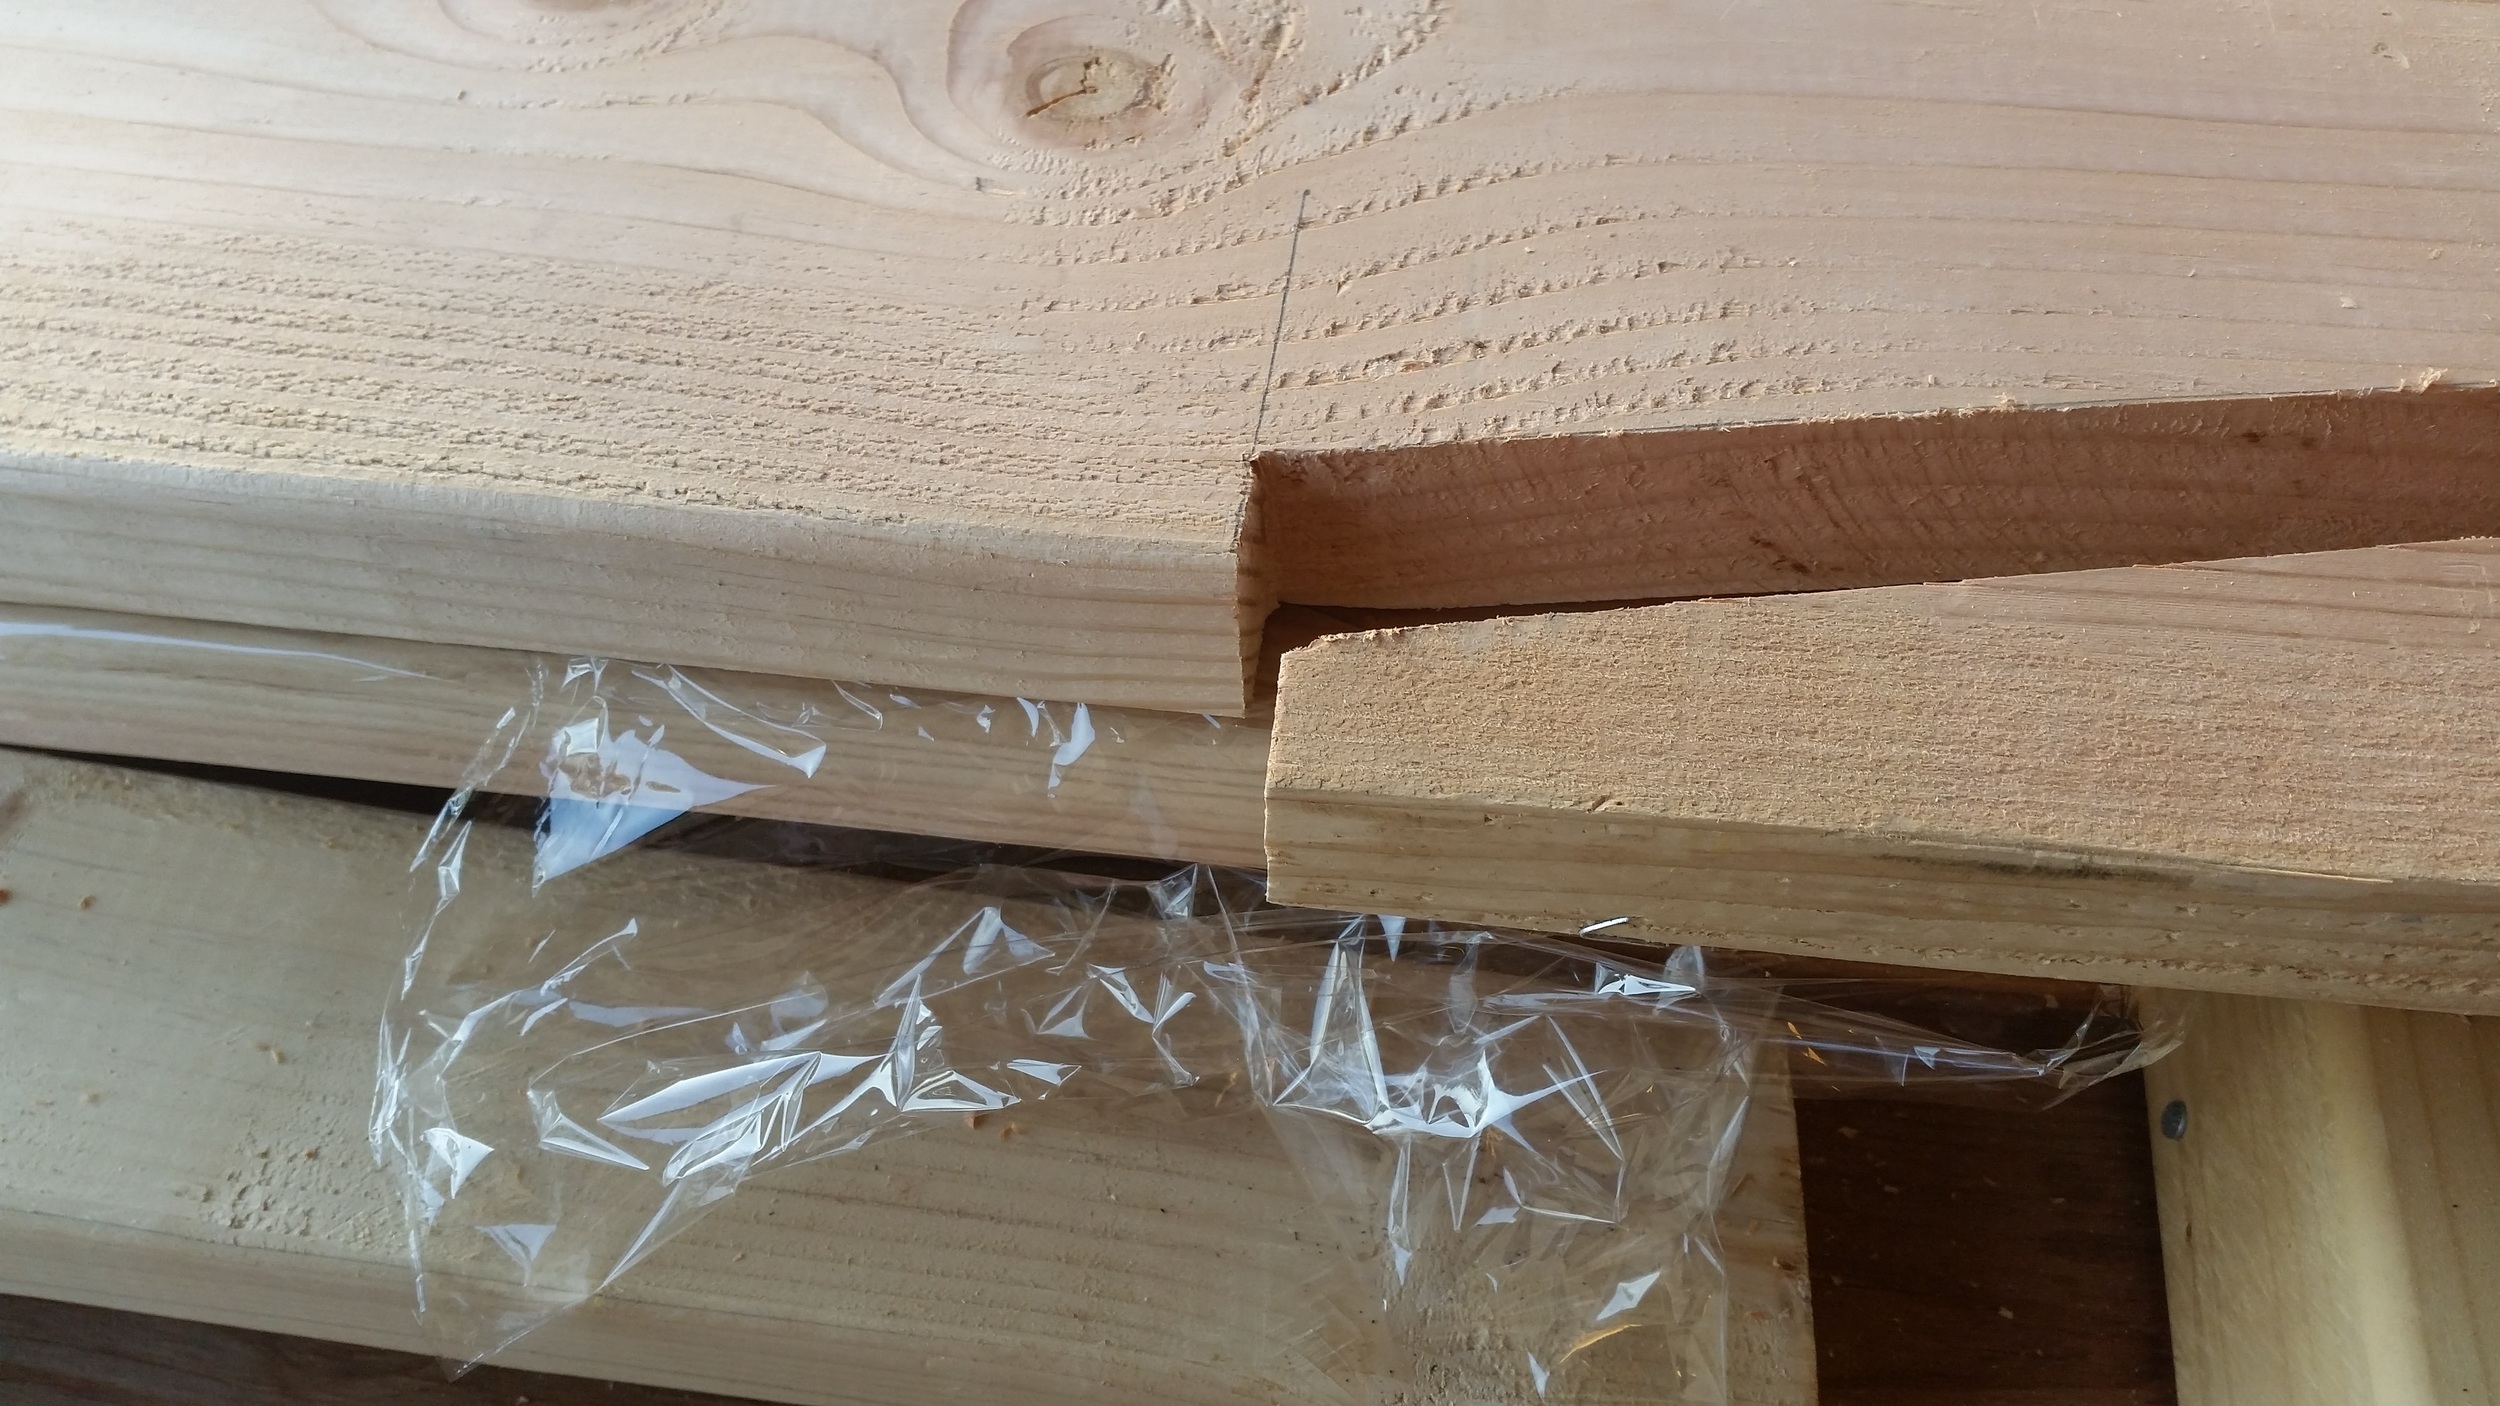
Dry test fit shows how tight the seam is between the two boards

Dry test fit shows how tight the seam is between the two boards

I made a 4 foot scarf with nibbed ends, creating a very secure and sturdy junction between the two boards. A little bit of fine tuning got the boards very close together, producing a very tight seam that will be very strong once glued.

I separated the boards and set plastic wrap under them to prevent them from gluing themselves to the wood beneath them.

After applying a liberal amount of glue to the faying surfaces, I presented the edges of the scarf to make sure everything is lined up properly.

I then set the five clamps to hold everything together very tightly and squeeze out the excess glue.

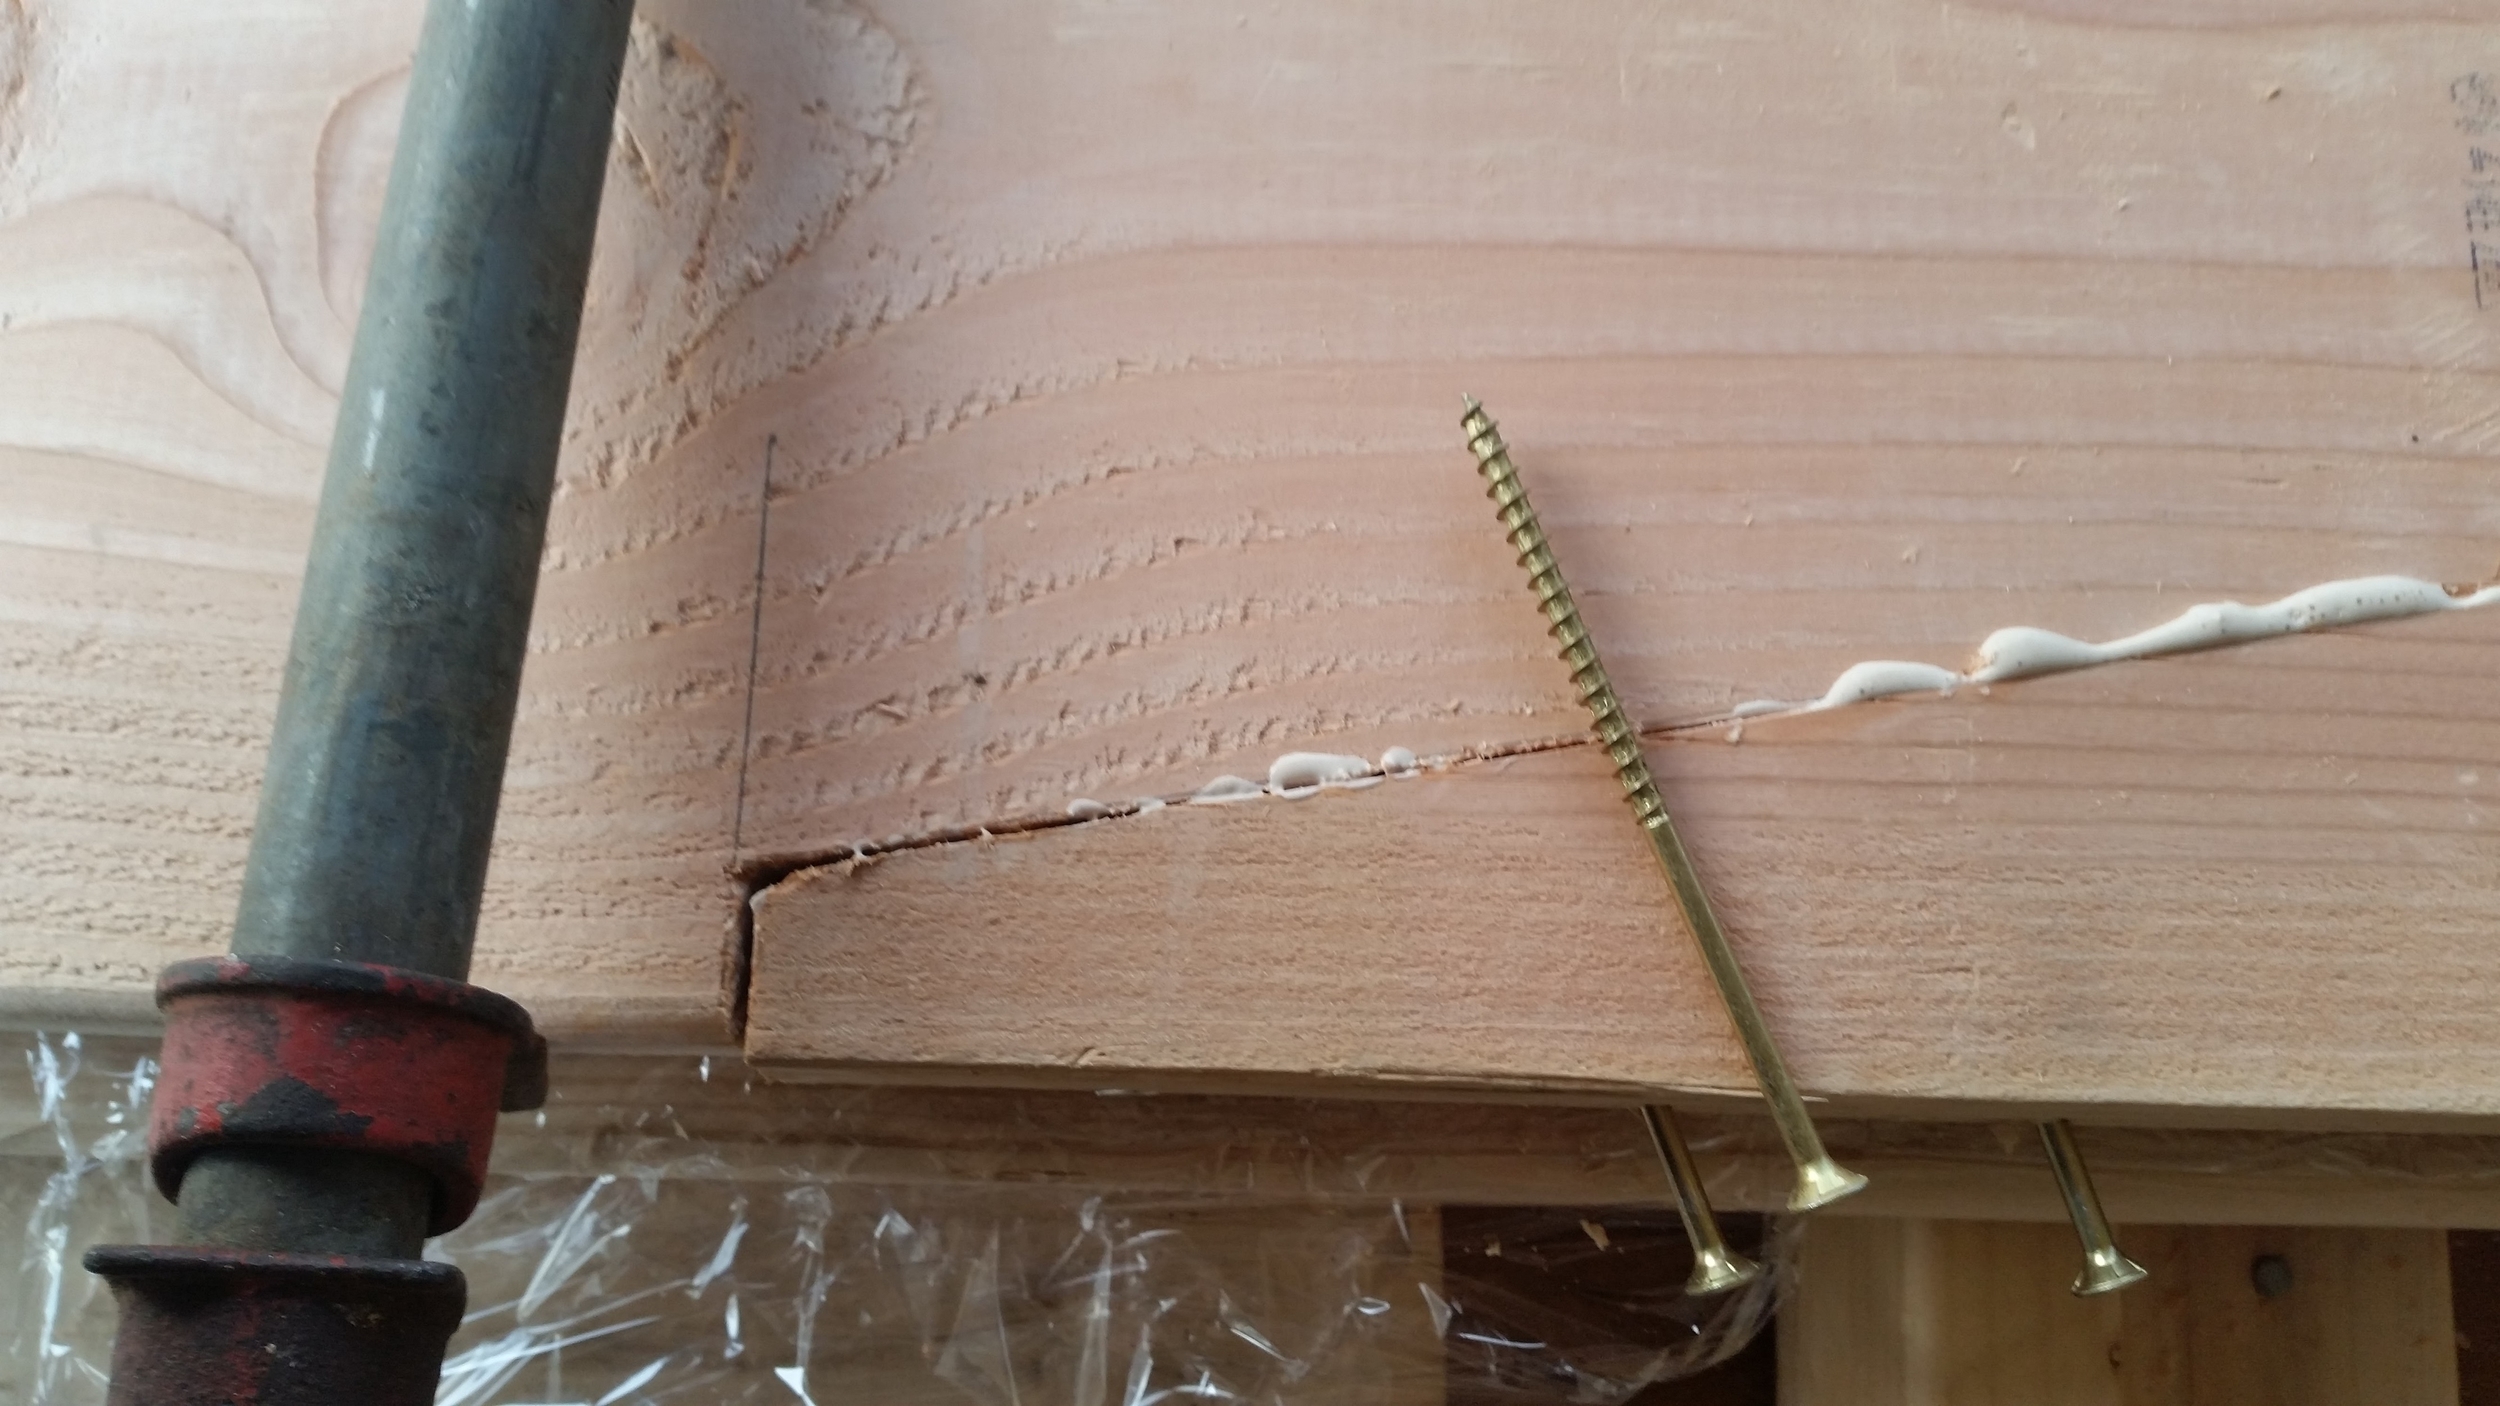
For extra insurance I set 4 long screws to into the boards at an angle to help pull them together and offer structural support as well.

The clamps were all tightened down fully with the four 4-3/4" long screws holding the scarf nice and tight for the next few days while the glue sets. After the glue fully cures, the excess will be removed with a block plane as I prepare the sides of the boards for the butt blocks which will really tie it together!

Making Wide Mast Wedges

Oval mast sections require wide wedges to spread out the forces on the broad side of the extrusion. The problem is wide wedges are hard to come by! Narrow wedges are easily created by cutting wedges off a board of rot resistant wood. Broad wedges are created via bandsaw or by splitting the board along its grain. 

I do not currently own a bandsaw, and if I did, it would not fit on the boat, so I must resort to the other methods of creating broad wedges.

To begin, you must select a board with proper grain orientation. The grain must run up and down the blank of the wedge you wish to create. If the grain runs across the blank, it will not split properly.

Now that the grain is oriented properly, cut out a blank of the wedge you wish to create from your board in the desired dimensions. Now begin to resaw the blank with a handsaw, this will create a notch which your chisel will follow. Resawing is pretty much the same as "cutting the board into a thinner piece" whereas ripping is "cutting the board into narrower pieces".

Now that the notch is cut, place a beater chisel in the notch and drive it through the grain to split the board. The reason you want to use a beater chisel is this will quickly dull a good chisel. 

As you drive the chisel in, the board will split along its grain, separating the board into two wedged shaped pieces.

Some points to remember when making wide wedges:

When resawing, make sure that the width of board is wider than the gap between mast and deck partner. This will ensure that no matter how the board splits, you will not end up with a wedge that is wide enough to secure the mast.

You want a slight taper to the wedge, that way a longer portion of the wedge is mating up to the mast and spreading the load over a greater area.

If a piece comes out too small, keep it! You might need to shim something else later.