Cutting the Studs

Assembling the subfloor went rather quickly because all the wood was cut at the same time. There wasn't much measuring to do, so assembly quickly proceeded the cutting. The walls on the other hand have many more studs at various lengths.

In order to keep construction moving along quickly, I decided to cut all the studs for the entire structure before beginning the assembly process. The assembled walls will not fit under my parents car port, so once the first wall goes up, the trailer will be exposed to the elements. This means that I need to work fast to get it water-resistant as soon as the first wall goes up.

By cutting all the studs to length and organizing them in the trailer by wall, assembly should progress very quickly. The downside to this concept is that I will spend a few days cutting lumber and not seeing any progress happen.

When friends ask to see a picture of the construction, it looks like a trailer with a pile of lumber on it. Not really what they were expecting when they ask to see a picture of the tiny house under construction.

An important trick that I have done which avoids any confusion with the cut lumber and off-cuts of lumber is I write the measured length of the stud on the end grain. Before I cut a piece of wood, I make sure there is no writing on it. This will also make assembly go faster. I will not need to measure anything as the plans tell me what length of board goes where, and the number on the end grain is the length identifying that board.

This actually saved me from re-cutting a long piece of wood into something smaller. I grabbed a rather long piece of wood thinking it was a long off-cut, and before I cut it smaller, I noticed it said 69.5 on the end, signifying that I don't want to cut that board! When assembly time had come, I would have been very frustrated trying to find this missing cut piece; thus slowing down the assembly process.

Companionway Slats

Sailboat companionways are an interesting doorway to land lubbers. They sometimes create some confusion, but I can assure you that every part of them serves a purpose.

The sliding hood is very important. Without it, the companionway would need to be much taller and it would be hard to fit that on a smaller sailboat. It also serves to keep water and spray out of the companionway and cabin. If a storm quickly approaches, simply sliding the hood will greatly reduce the amount of water that will ingress the cabin. It also allows good ventilation of the cabin by removing the slats and closing the hood.

The slats are the next point of contention. Doors would be much easier, and do not need to be stowed when the companionway is open, why must we have these boards? The boards serve many purposes:

They are stronger than doors
They protect against water entry to the cabin
They can be removed in stages
They work

Doors are convenient, but if a wave hits them, they will burst open and allow the force of the wave into the cabin. Boards will help resist this force! 

Doors are either open or closed, they can't be anything in between. Slats offer many options. Have all the slats in and the companionway is shut. Take the top one out and you can get air flow through the cabin while keeping rain out. Take out all the slats and it's an open door. Leave the bottom slat in and you have insurance against wave ingress into the cabin. If a wave boards your yacht and the companionway is open, all of that water is going into the cabin. Leave the bottom slat in and you have greatly reduced the amount of flooding below. 

The bevels on slats help keep out water. When a wave smashes into them, they will squeeze down on each other and close the gaps, yet they can be removed with one hand. You can't do that with a door!

In time, you will find that you don't have to remove all the slats to get through the companionway. We usually only take out the top one and step over the lot of them. This makes for quick and easy entry and exists while still having the protection offered by the slats.

It may seem cumbersome at first, but with practice, companionway slats will become second nature and you'll be able to do it in the dark! 

If you are in the market for a new yacht or are building one yourself, try to find one with some taper to the companionway opening. Parallel sides will cause the boards to get stuck and bind as you try to put them in or take them out. Some degree of taper will reduce this problem and make the process of inserting and removing the slats very easy. If you are already the proud owner of a yacht and you have parallel sides on your companionway, try keeping the sides of the slats lubricated with soap. This will help them to slide more easily without binding as often. 

As always, practice makes perfect! Do resist the temptation to switch from slats to doors. There is a reason they have been the standard form of closure on sailboats for many years, it's because they work!

Checking Off The List

This past winter, I was feeling kind of down due to the never ending project of making the rope fenders. I felt like everyday was wasted on making fenders and keeping the boat warm. 

I outlined a list of projects that I want to tackle instead of the rope fenders, and this year has been off to a great start! 

The list included:

Wedging the mast partners [Completed]
Make a sail bag for the jib (Josh)
New check stays with baggy wrinkles to avoid chafing the main again
Install solar panels on the transom [In Progress]
New house battery bank (our batteries are close to 10 years old and very dead) [Completed]
Build a wooden tender to Wisdom that fits on the deck
Install a Monitor windvane on the transom

As soon as the fenders were finished, I started knocking out the projects on the list rather quickly. As always on a boat, there will be an endless supply of new projects to do as well. 

Repair chafe on main halyard
Build a tiny house

The tiny house will be a studio for Maddie built on a trailer platform. This project will happen around the same time I build the wooden dinghy, since they will be using the same tools and materials. 

I was feeling some serious winter blues a few months ago, but now that the weather has changed (and I finally finished the rope fenders) I feel great with the projects getting completed!

Solar vs. Wind vs. Hydro

In the realm of alternative energy production, there are three main players: Solar, Wind, and Hydro.

Each of these systems has its advantages and disadvantages, making none of them a magic bullet on their own. When used in combination, they will overlap and cover for each others downfalls.

To be happy with any of these, you must understand what they can do and what they can't do. If you want it to do something that it can not, you will be very displeased. Learning how to work within the limitations will lead to a very pleasant cruising life.

Solar works by converting the suns radiant energy into electricity. It works completely silently without any moving parts! While this sounds incredible, it does have its limitations. Solar panels need direct sunlight to work their best. If a shadow is cast over a small portion of the panel, its energy production will drop drastically. They also do absolutely nothing during the night hours, as well as on cloudy days.

While cloudy days and darkness will limit your ability to keep your batteries topped off, solar generators can help alleviate this issue by helping to bridge the gap until the sun returns and you can resume producing power. A comprehensive evaluation of different solar generators, as well as a look into "what is a solar generator" can be found by following this link:  http://www.allthingsboat.com/best-solar-generator-reviews/

Source: http://d19vj6yy87fjj8.cloudfront.net/wp-content/uploads/2009/08/wind_generator_cruising_boat.jpg

Source: http://d19vj6yy87fjj8.cloudfront.net/wp-content/uploads/2009/08/wind_generator_cruising_boat.jpg

Wind works by converting fast moving wind into electricity. These devices have many moving parts and are anything but silent. The quiet ones sound like a wispy whistle howling through the air while the loud ones sound like a helicopter. They do wonders for night cruisers, as they can produce loads of electricity on an overnight passage to keep the electronic autopilot energized. The problems with wind generators is they require fast moving apparent wind to operate; this means you will not generate any electricity in a protected anchorage or while sailing downwind. If you only have a wind generator and stay an extended period of time in a quiet creek, you can expect your batteries to run down after a few days. While sailing downwind on long crossings, you may find that the light apparent wind will not be enough to produce the necessary amounts of electricity your vessel demands.

Source: http://www.wattandsea.com/sites/default/files/Hydro-cruising-5-617x292.jpg

Source: http://www.wattandsea.com/sites/default/files/Hydro-cruising-5-617x292.jpg

Hydro is a relatively new player on the scene, it works via a similar concept to the wind generator, but the blades run through water instead of air. These units will produce massive amounts of power under the right circumstances. Hydrogenerators require a lot of boat speed to produce their power, so sailing downwind in the trades will produce plenty of power, even with the light apparent breeze; while ghosting along on a quiet day will not produce much power.

As you can see, none of them work perfectly all the time. If you have all three, you will always be able to rely on at least one of them to produce enough power to meet your needs.

The electric motor we installed from Electric Yachts also works as a hydrogenerator. As we sail quickly, the water rushing past the propeller causes the prop to spin, which in turn spins the motor. In these situations, the electric motor functions as a massive generator, cranking out the amps! 

When we did our summer trip in 2015, we only had a Hydrogenerator (the electric motor) and it did supply us with our needs for electricity when sailing quickly. The problem was we were not always moving fast enough to generate enough to meet our needs. A few consecutive days of light airs would cause our batteries to run down. We are now in the process of installing solar panels to help fill in some of the gaps. 

If you ever feel like charging your batteries through alternative methods, consider the pros and cons of each system. If you can accept each system for how it works and live happily with the energy produced within its constraints, you will be able to maintain your battery bank while supplying your electrical needs without the use of fossil fuels!

Window Shopping

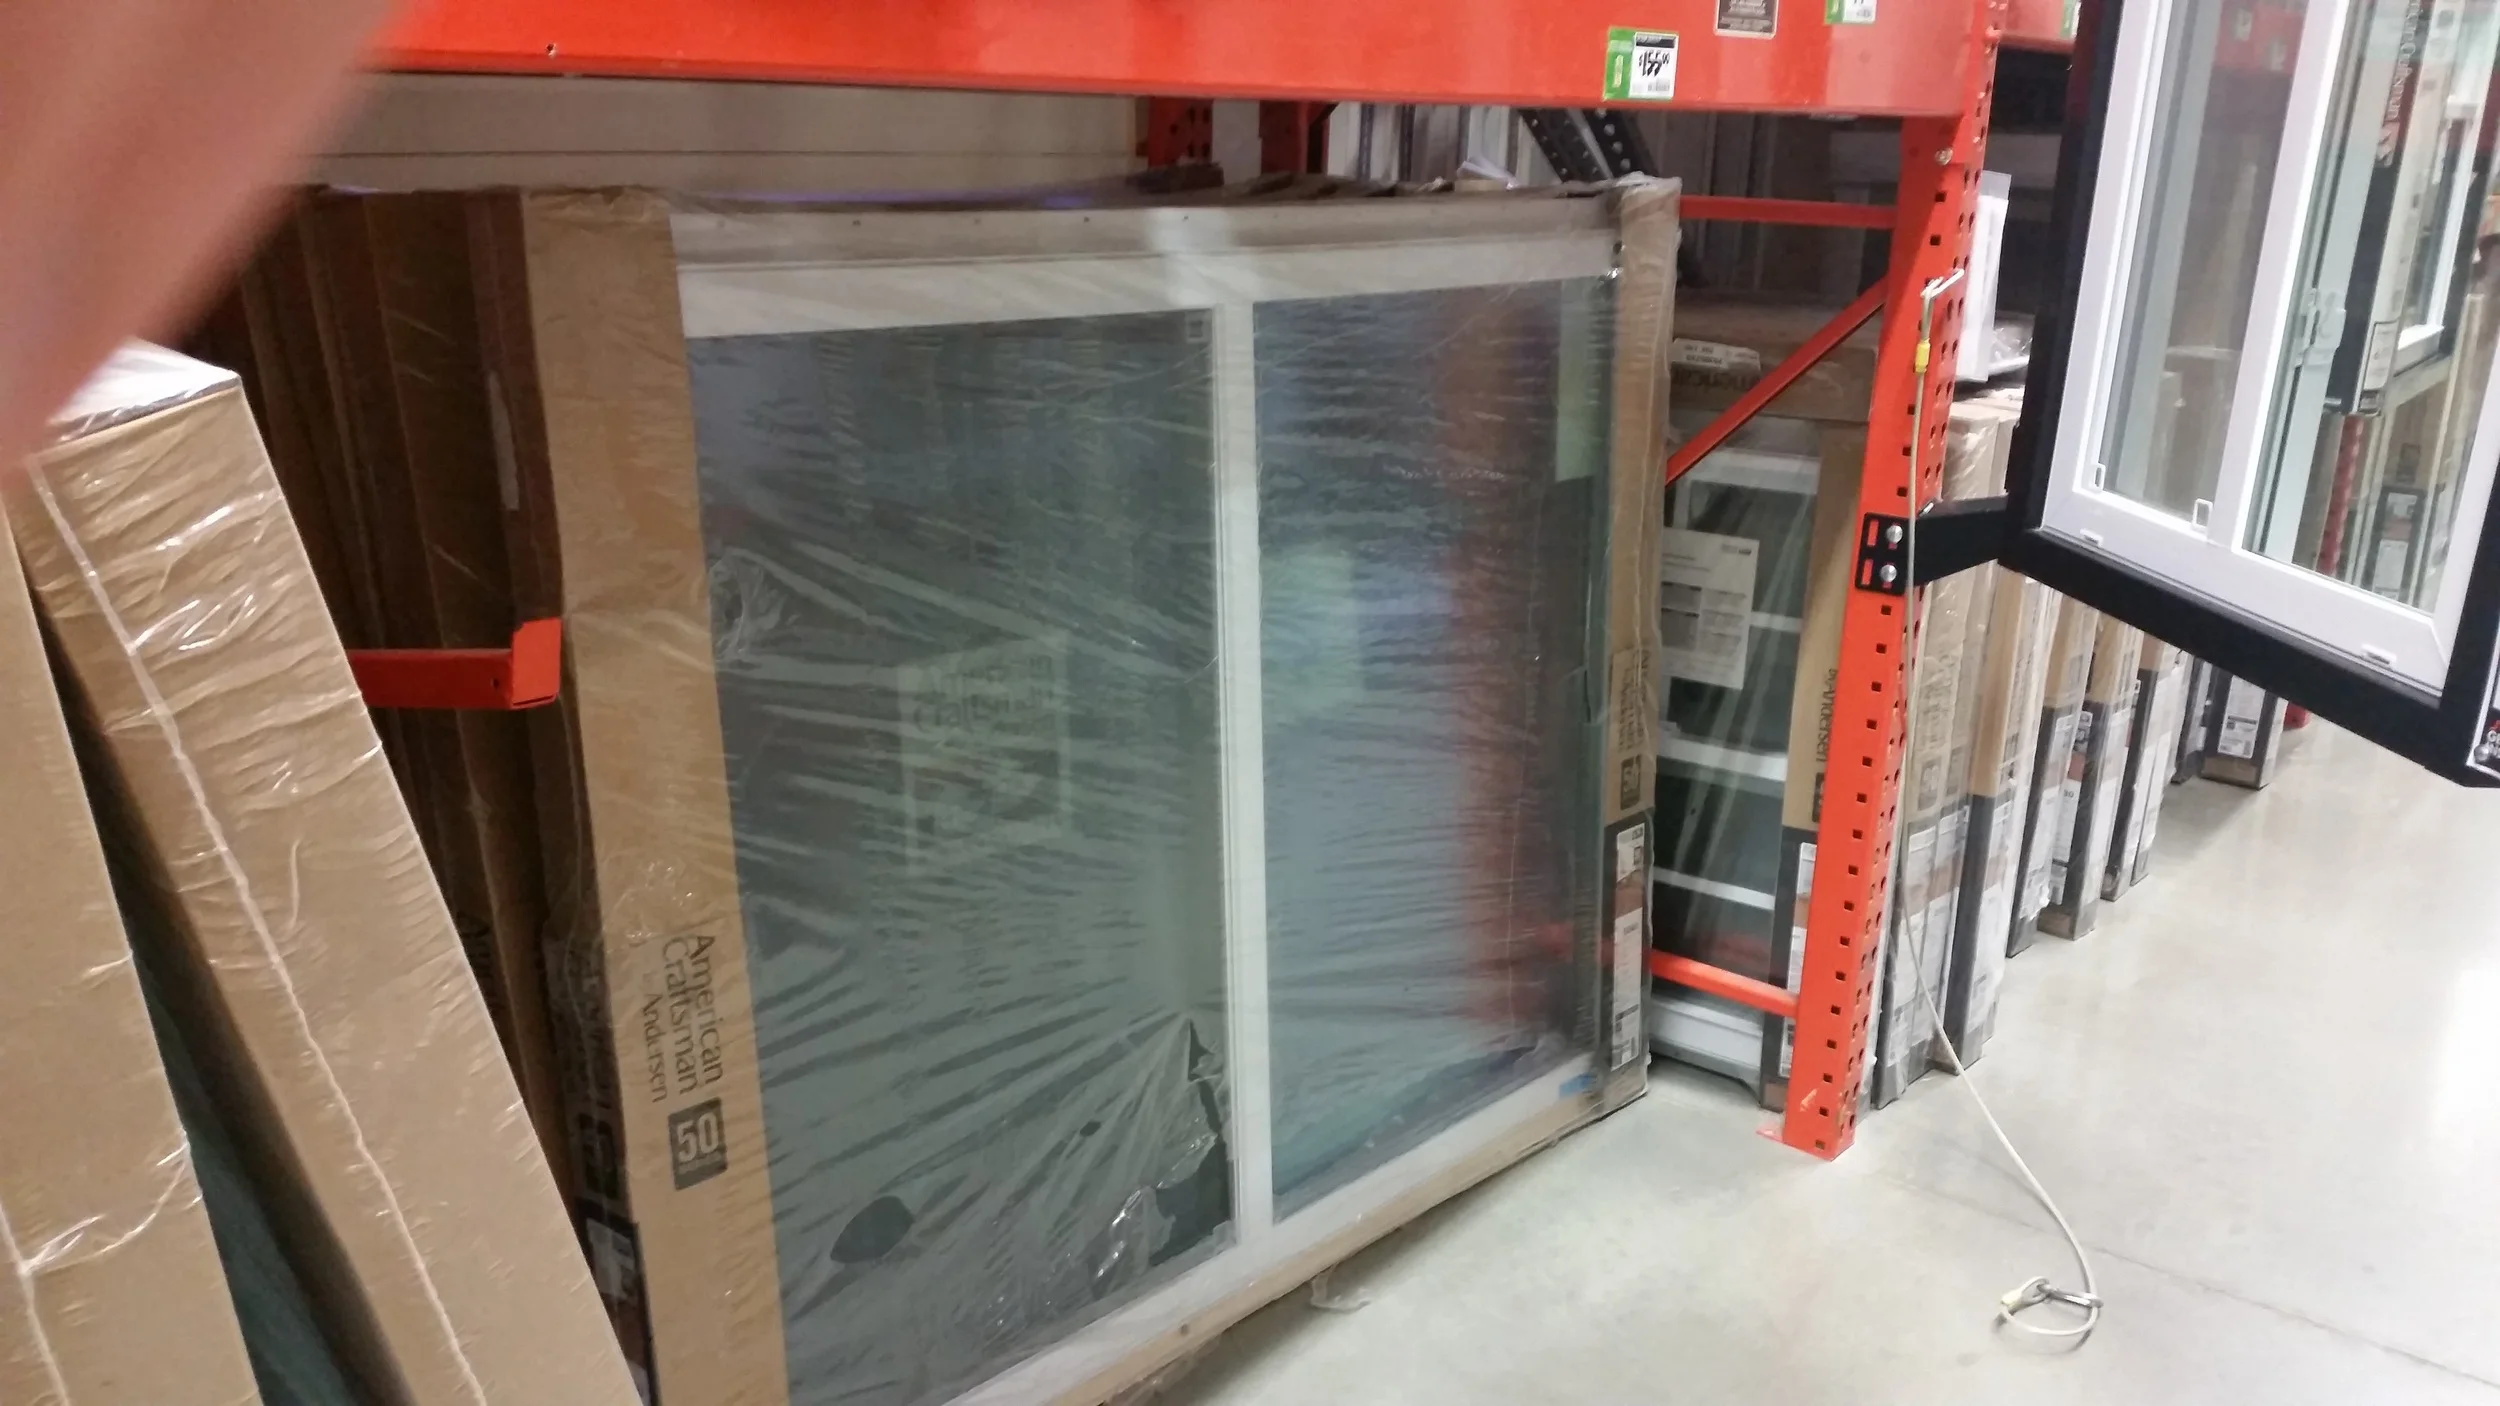
20160403_184336.jpg

The subfloor for the tiny house is complete and attached to the trailer base. The next phase will be to build the frames for the walls. In order to do this, we need to know which windows and where they will be placed. 

Every time I ask Maddie what she wants, I hear something completely different! This has been very frustrating to be since it mean's I can't continue building. The general premise of what she wants is the door located between the tires and the tongue, and many windows!

How big and where these windows will go is an ever changing story, so I decided it would be best to head to Home Depot and have Maddie pick out the windows she likes and evaluate the prices.

We were pleasantly surprised by the prices of the large sliding windows. Small single hung windows were over $200 per window and wouldn't let in that much light. I expected the price of the larger windows to be proportionally higher as well. We were very excited to see that huge sliding windows were only around $155 and would let in tons of light!

Once again, we began deciding on how many and where the windows would be placed. The final (as of this moment) decision is two massive windows on the sides, a smaller massive window on the back, and three small windows up in the lofted bed. No windows in the bathroom or kitchen.

Maddie has some time to change her mind yet. I told her the decision is not final until I cut the wood. Once I cut though, no more changes are allowed!