Wedging the Mast Deck Partner

The mast may appear stiff and rigid, but it is best to think of it as a wet noodle! In order to get a wet noodle to stand up straight, you need to support it at different points along its length. 

Even though the stays pull down, it is best to think of them as "support points".

The top of the mast is "supported" by the cap shrouds.
The middle of the mast is "supported" by the spreaders and the lowers.
The bottom of the mast is "supported" by the mast step.

The more support points a mast has, the less strength the mast needs on its own; which translates into the ability to use a much lighter and thinner mast. The longer the span between support points, the stronger the mast needs to be. This is the reasoning behind double spreader rigs (2 support points in the middle) over single spreader rigs (1 support point in the middle). As you go adding more and more spreaders, you go adding more and more support (and complexity)! This allows the rig to be taller without adding much more weight.
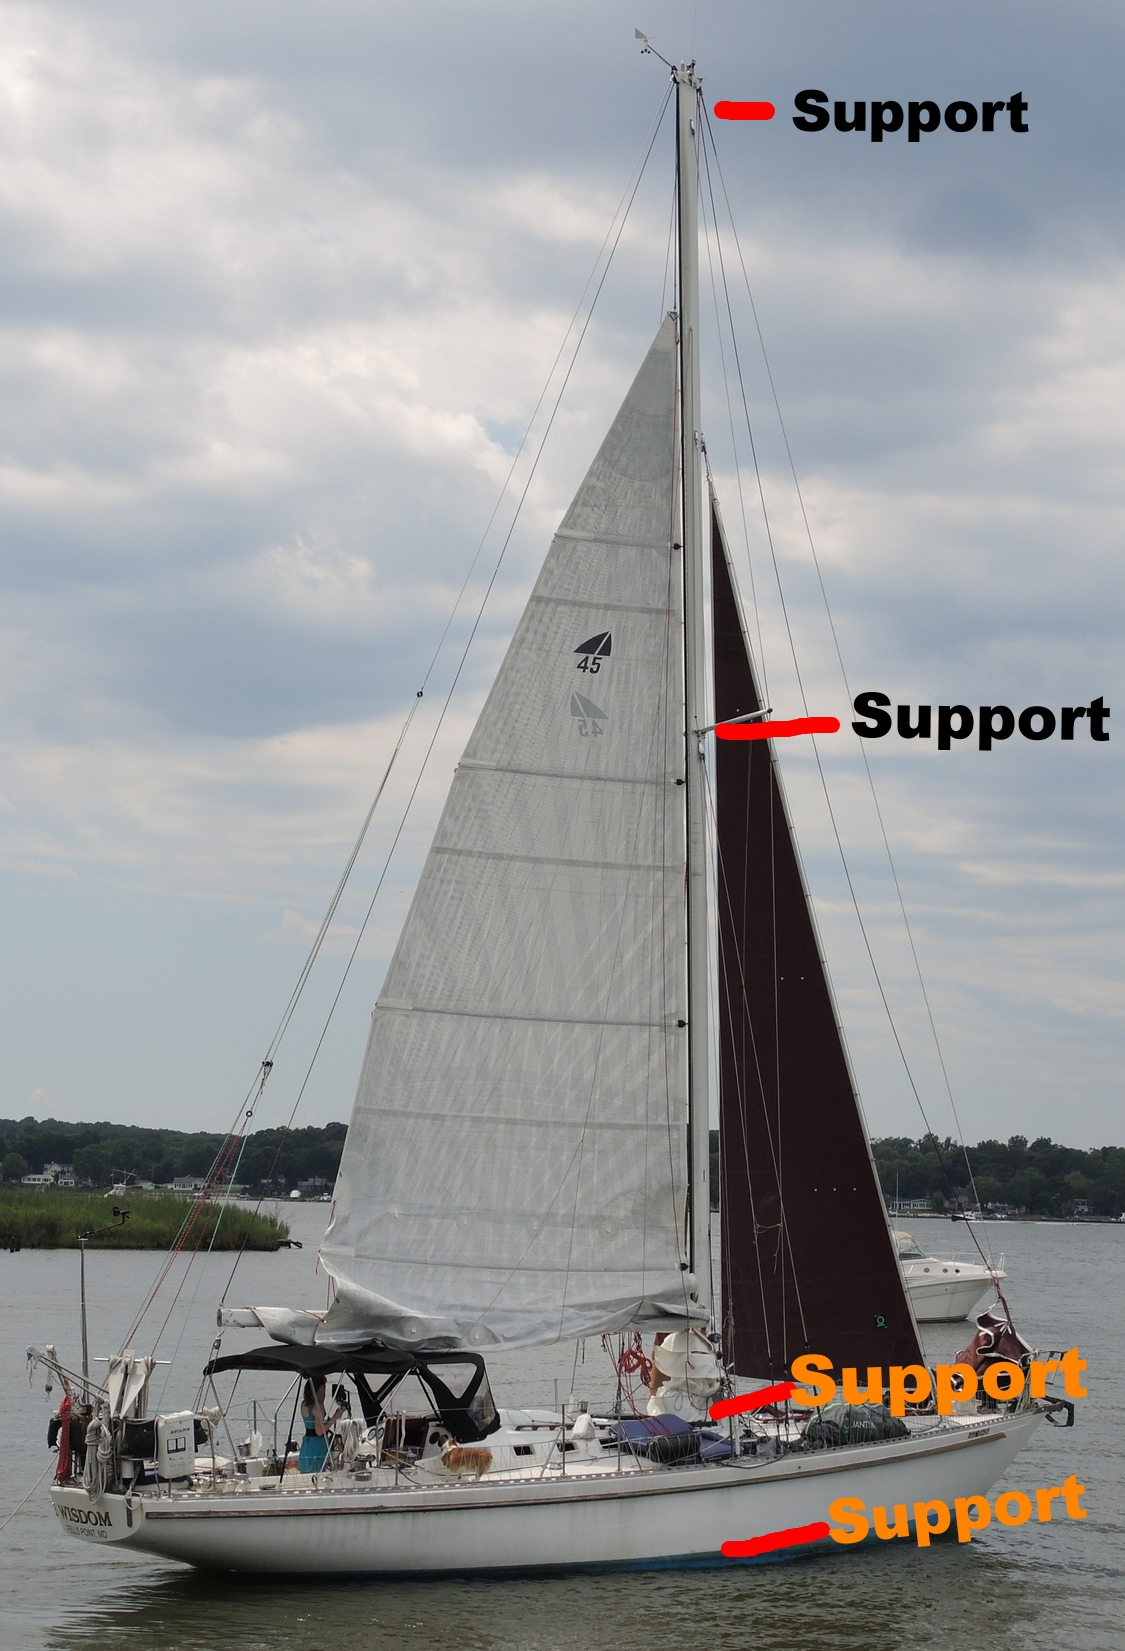
One advantage of a keel stepped mast over a deck stepped mast is the keel stepped mast gets one more support point: the deck. As the mast passes through the hole in the deck, it is firmly connected to the deck structure; providing an additional support point and making the whole rig considerably stronger.

A keel stepped single spreader rig is as supported as a deck stepped double spreader rig, but without all the added complexity of intermediate stays. Less complexity directly relates to less to go wrong when underway.

Traditionally, the mast firmly connects to the deck is via wooden mast wedges. Nowadays, all sorts of contraptions exist to take the place of wood. I have seen starboard wedges, goo that solidifies (spartite), and countless of other inventions. While advancements in technology are great, it's important to understand why wood was used in the first place.

Wood wedges will hold in place and not slip out due to the high amounts of friction present in the space available. The cellular structure of the wood will crush if the load is too great, protecting the mast. The wood will greatly increase the pressure pushing on the mast to ensure that it is very snug!

Starboard wedges are made of polyethylene, the same stuff used to make dyneema. It is very strong and will not rot. This sounds like an excellent quality to have in a mast wedge! They are also rather hard and if they do dent or bend from an extreme load (the mast crushing down on them) they will not bounce back once the pressure is released. Wood will crush down like plastic wedges will, but it will also swell back up with the addition of moisture.

Spartite will offer a complete seal around the mast, preventing water from intruding (something wood can't offer) but it provides no pressure to the mast. It is also a nightmare to pull the mast! The spartite will not let go and can turn a complicated situation into a desperate situation. Mind you that the yacht owner is paying the crane by the hour to unstep the mast. If it takes a lot of more time due to the spartite, the owner will have to pay the crane for that additional time.

While wood doesn't provide leak protection, this can be remedied with a mast boot. 

When wedging, regardless of the wedge material, it is important to take various precautions. The sides of the mast are actually much weaker than the rounded sections. If you place a narrow wedge in the middle of the side of the mast side and drive it home into the deck, you can very easily buckle the side of the mast! Avoid this issue by using broad wedges on the side with much less tension as you drive them in with a mallet.

On the curved sections (front and back) of the mast, narrow wedges are preferred as they can be tightly packed to provide maximum support the mast/deck partner junction. 

When you are done, it should look like a nice ring of wooden wedges running around the mast as it goes through the deck.

When you cut your wedges, it is best to make the bottom too thin and slowly taper up to too wide. This way the wedge will slide into place and gradually apply pressure to a large section of the mast. If the taper is too great, the wedge will not be able to go in far enough and the support will act more as a pressure point instead of a pressure area.

If a wedge gets stuck before you can drive it home, try to remove it and plane the side a bit to allow it to pass all the way. If you can't get it out, try chiseling some off a corner to loosen it. If that doesn't work, you can go inside and tap the wedge out from the bottom. If you got the wedge close to home but it got stuck a bit early and you can't get it out, you can cut the top off to make it line up with the other wedges so it will fit under the boot. Just be sure the neighboring wedges are perfect to avoid too much pressure in one area.
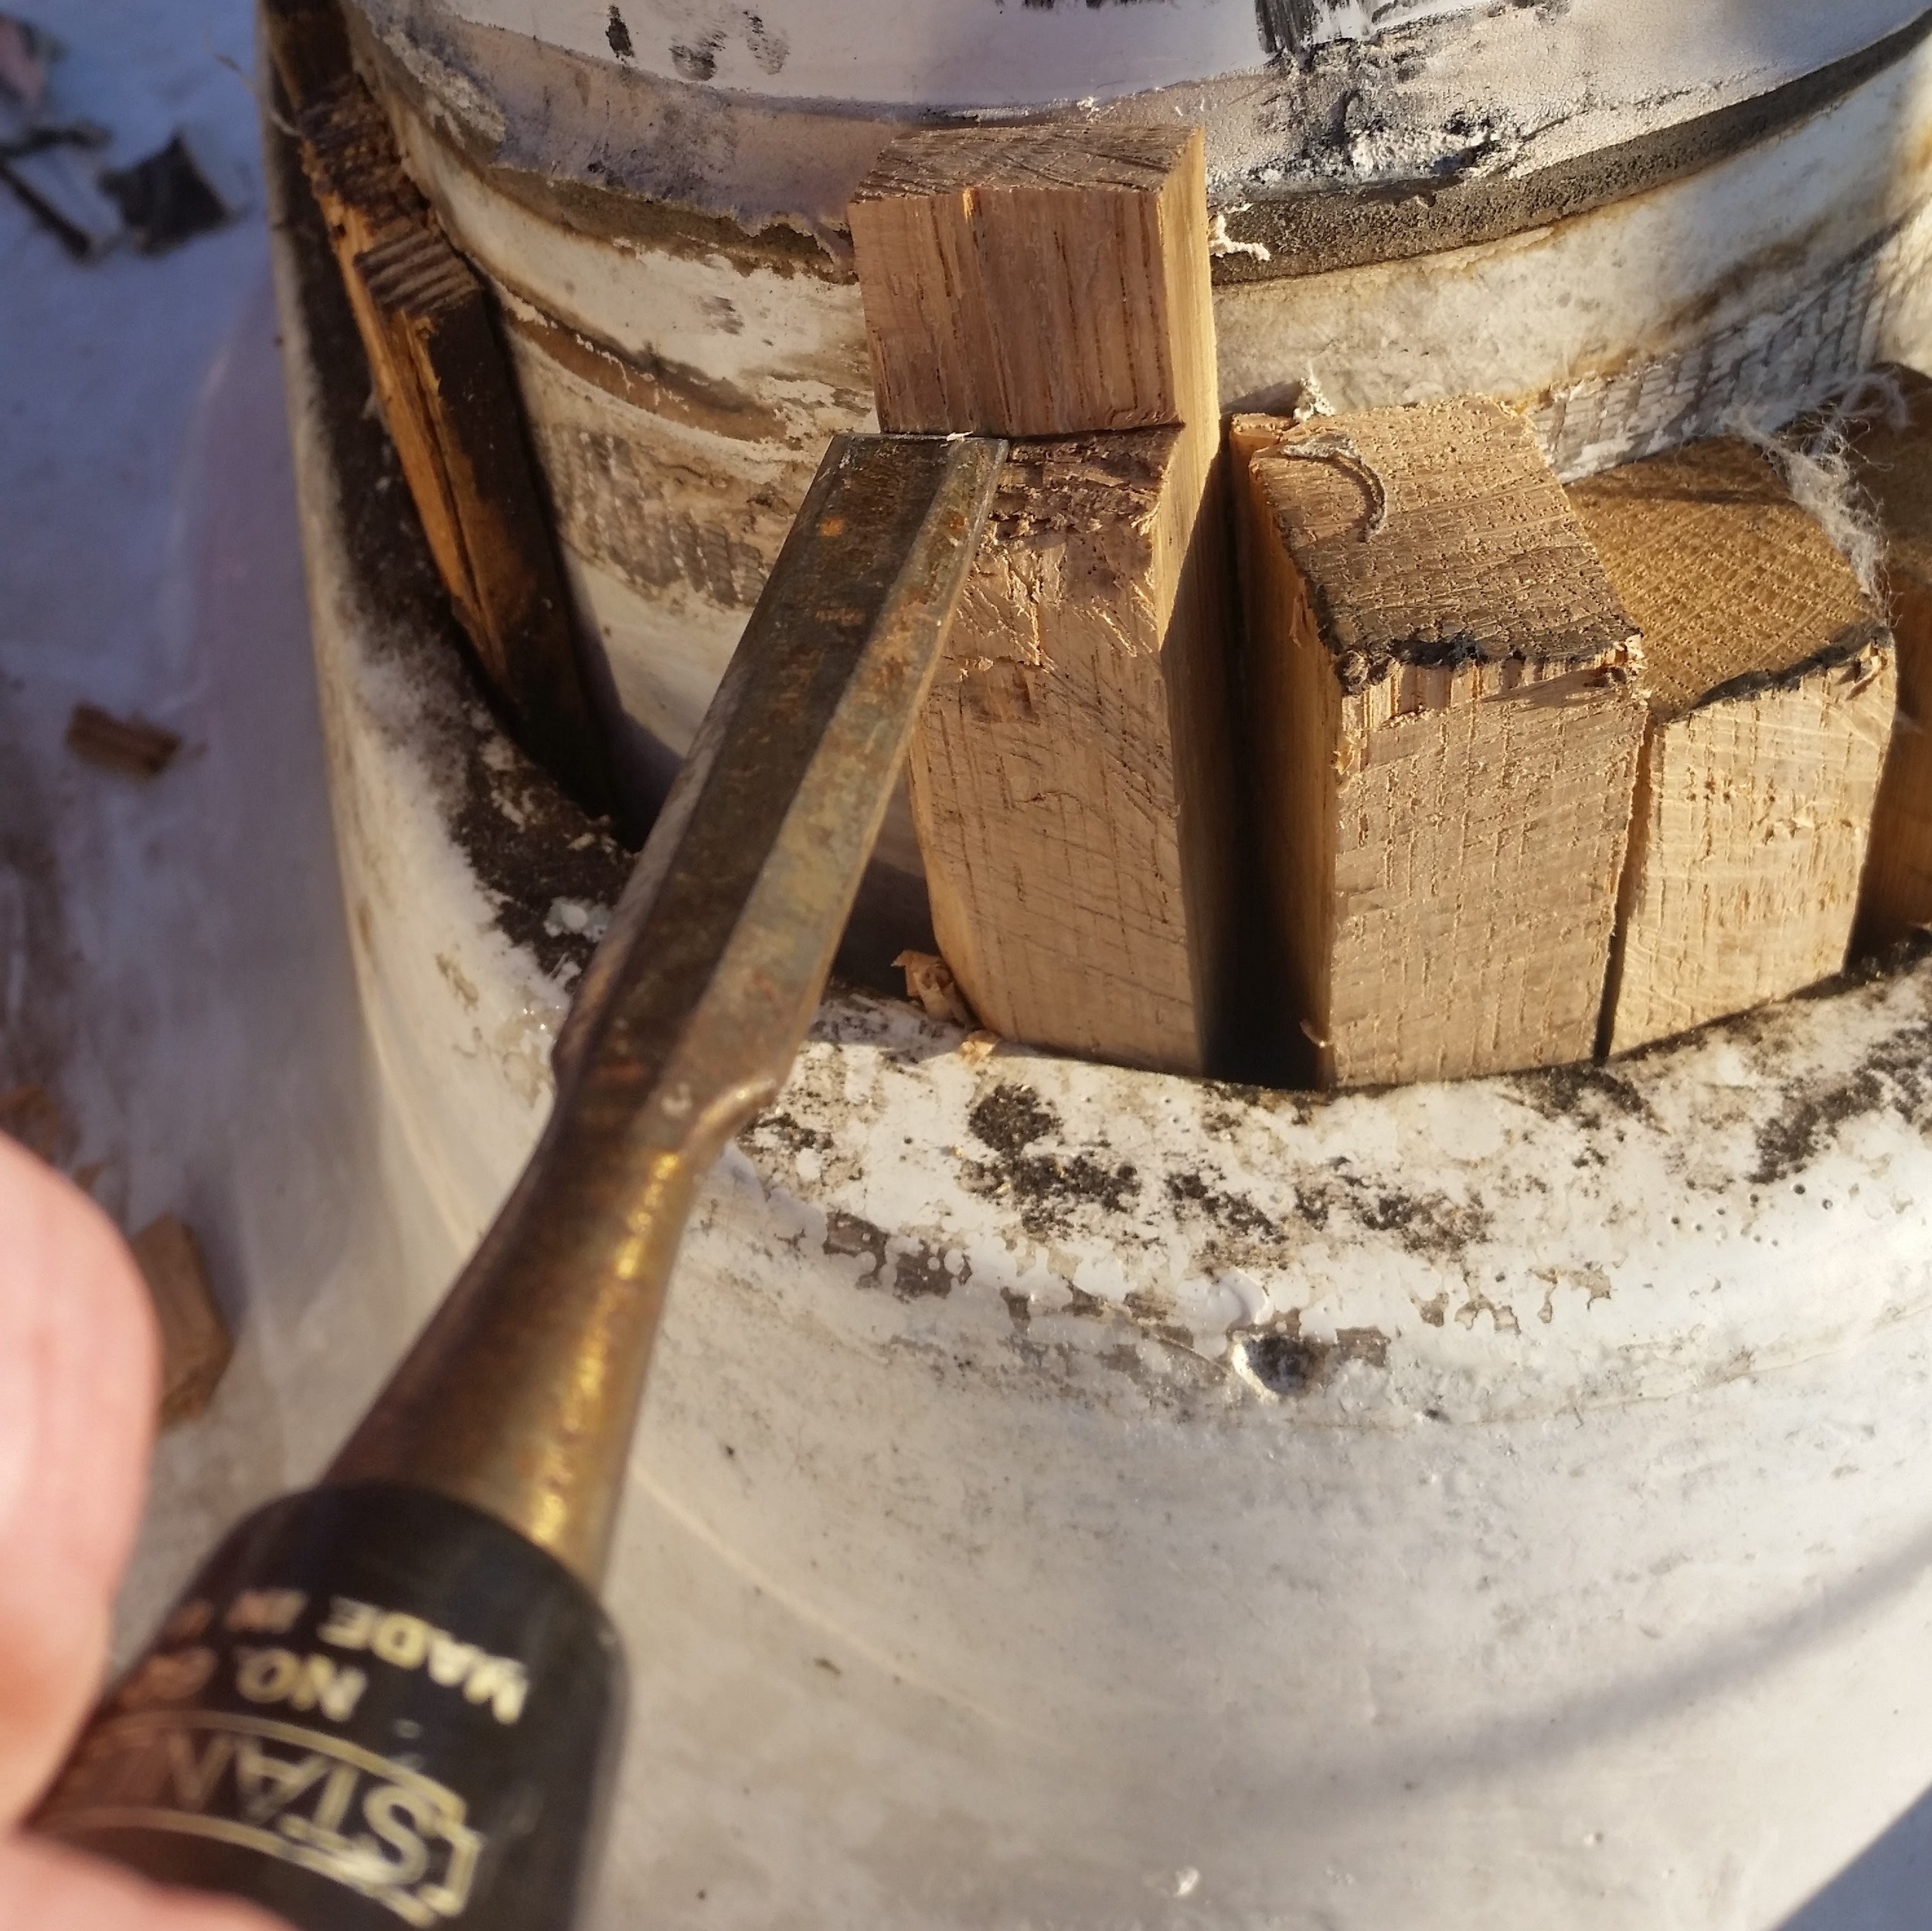
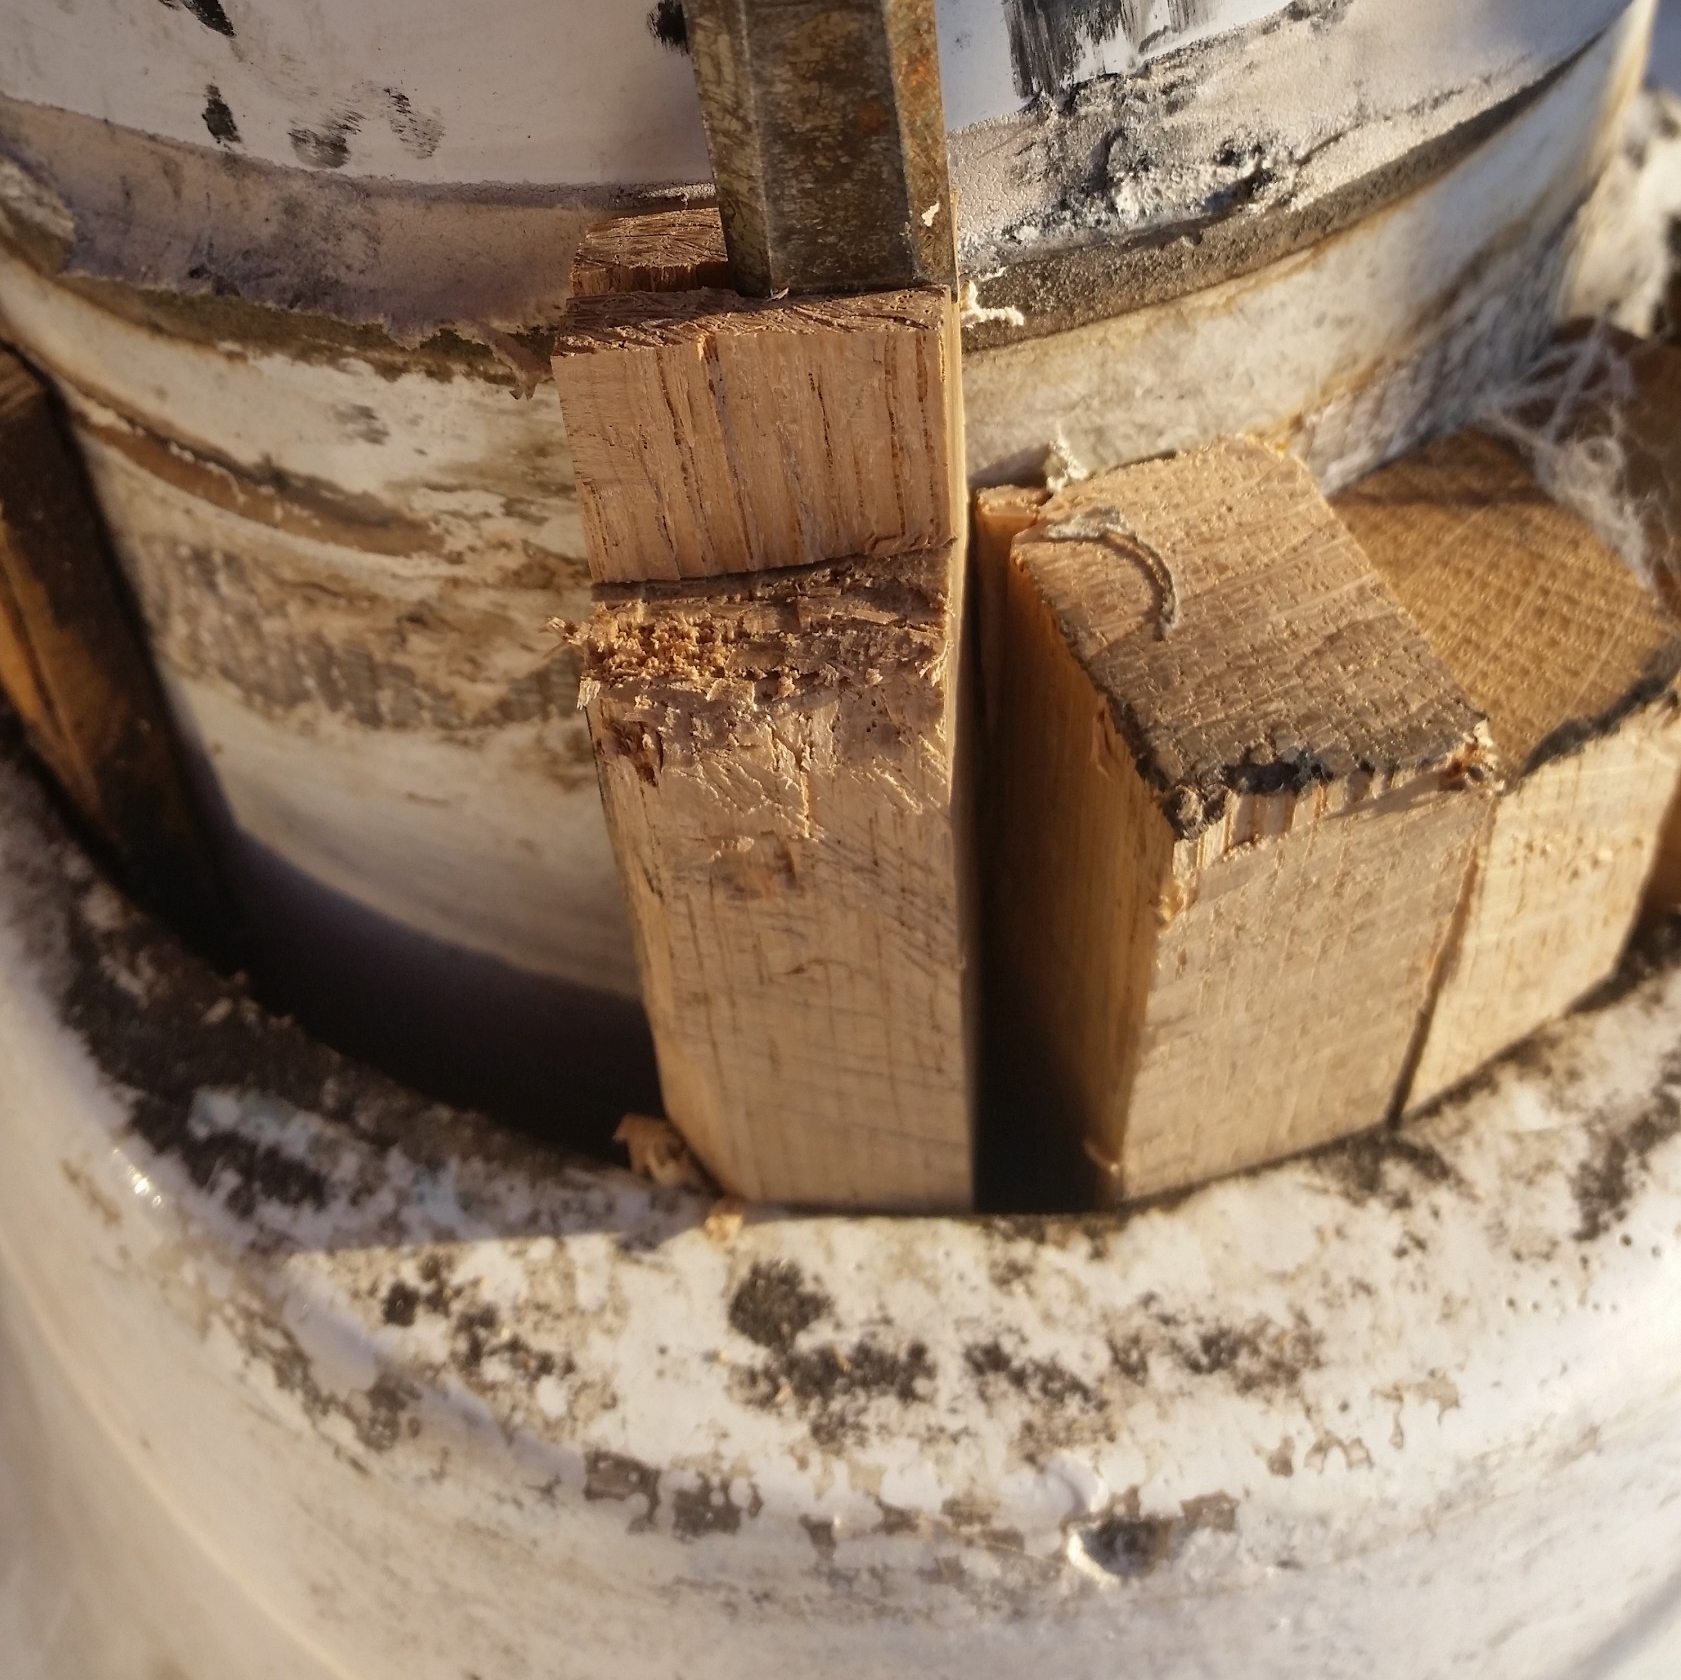
I would caution away from using a saw to cut the top off a wedge in place, instead use a mallet and chisel. I score the bottom side of the wood, then chop down from the top, splitting the wood along its grain. The split will stop as soon as it reaches the score line. I repeat this process over and over until the top is trimmed off.

The last point to consider is what wood to use for wedges? As you may know, not all woods are created equal. The mast/deck partner is going to live under a boot, exposed to condensation a moisture from leaks, along with poor airflow. This adds up to a dark, moist area with stagnate air which is a breeding ground for rot! This is why it is very important to use a rot resistant wood, such as white oak.
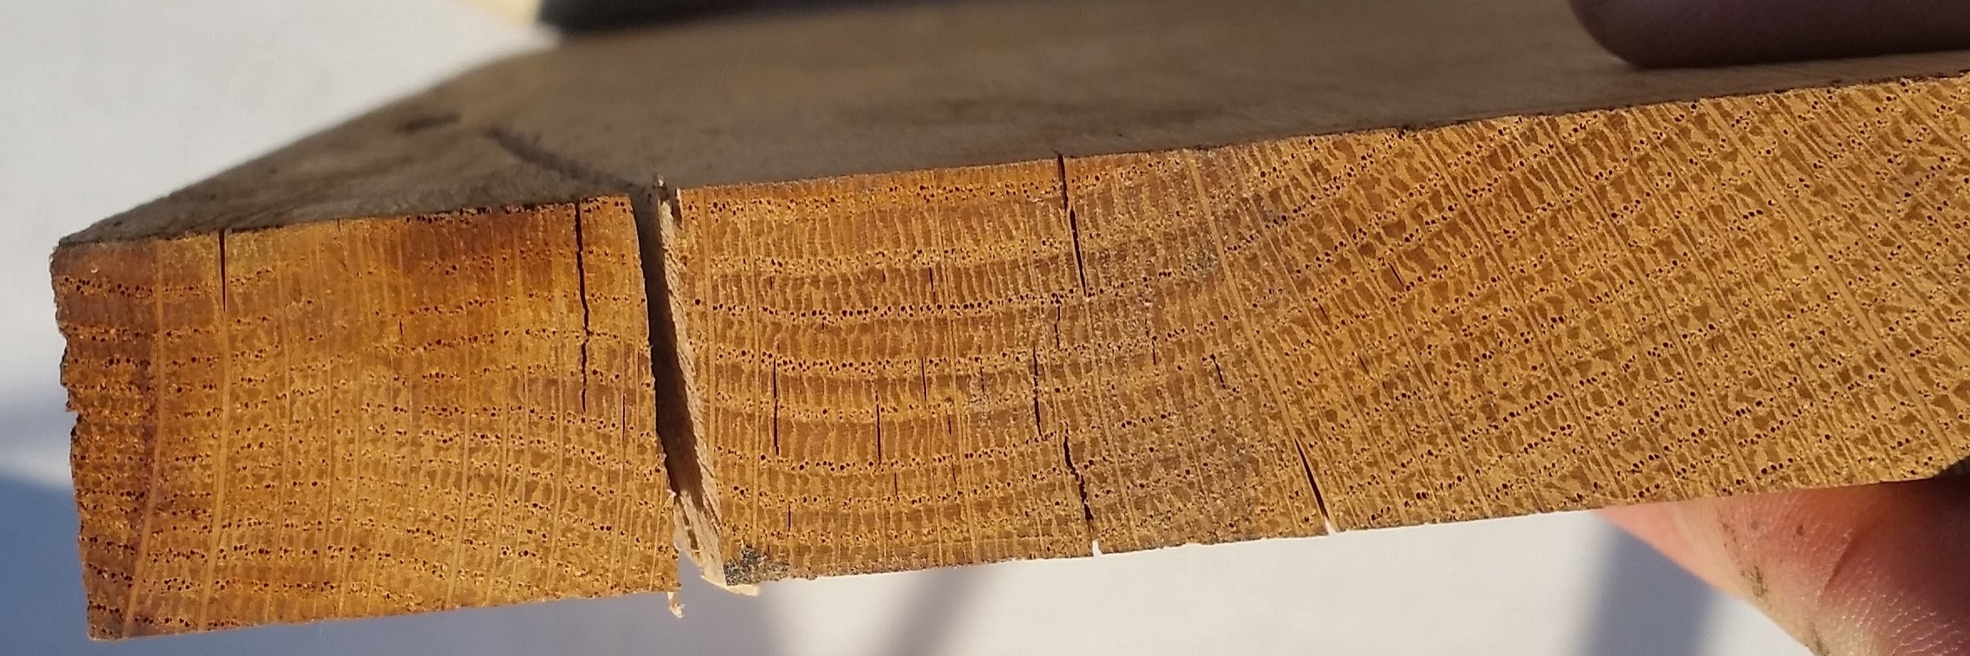
When you buy your piece of lumber, make sure that it is white oak and not red oak. Red oak will rot away in a few weeks in this environment, where white oak will last a long time! Also try to get a rift saw plank, that way your wedges will have their rings oriented so that they run parallel to the mast. This way the pressure from the mast will simply compress the wood instead of splitting the wedges. 

I replaced my wedges because I noticed that the mast was shimming around at the deck. When we would ride up a wave, it would scoot back. When we would come down the wave, it would scoot forward. This instantly became a top priority for my winter projects list. 

The old wedges were long leaf pine, which is also rot resistant (I even reused some of the wedges), but you can see there simply were not enough of them in there to support the mast. Two of the wedges had fallen through the deck partner and were sitting down by the step. Two other wedges were completely loose, held in place by tape. You shouldn't use tape to hold them in, you should use pressure.

After wedging the whole mast, you can see how it is important to look under the boot to see what is really going on in there rather than assuming that it is all in order. Next time you inspect your deck partner, you will know what to look for to evaluate if it needs a little sprucing up or not.

An Argument Against Gloves and Headset Communicators

Every once in a while, you will see a couple pull into an anchorage wearing gloves and head set walkie talkies. This is our cue to get out the boat hooks and prepare to fend off!

Sailing gloves are marketed towards people who don't sail often and need protection from rope burn. They say that sailing gloves will protect your hands if you don't have the callouses developed from frequent line handling. In the winter, my callouses go away, and once it warms up, they come right back. If you handle the lines properly, you will not have pain on your fresh hands until the callouses return.

You never want to let a line slide through your hand. Callouses will not protect you from the burn that will develop as your skin is chafed away! Instead, let the lines pass through your hands in a controlled manner and no gloves or pain are needed. I hold the line and pay it out using two hands, never letting the line slide.

The second thing that I consider the red flag are the headset walkie talkies. These are wonderful devices that allow you to communicate effectively even if wind and dodgers are in the way! This does not replace going through the plan with each other before the maneuver is executed. Maddie and I always go over the whole plan before coming into an anchorage or jibing to make sure we are both on the same page even though we do this time and time again! 

These people with the headset walkie talkies will pull into an anchorage and talk back and forth while they are in action. Neither of them are on the same page, and the ease of communication simply ensures that they both hear those words that would typically be whispered into thin air. This leads to arguments that everyone can hear in the whole anchorage.

We have found that these people are not willing to accept help and would rather do it themselves. This is why we simply get the boat hooks out to fend off if they come too close. 

Since they don't sail often (hence the gloves) they don't know what parts of their gear are broken, and all these surprises escalate the situations that are clearly discussed between them. 

If you feel the need to wear sailing gloves and walkie talkies when you go out sailing, consider that people have been sailing for thousands of years without them. Instead of more gadgets to fail and need repairs, consider learning how to properly handle lines and to discuss everything before you execute a maneuver. This way simple hand signals will suffice and no one else in the anchorage will be expecting an entertaining show when you arrive. 

Reef Clew Line Setup

When setting up your reef lines, you have many choices. 

Single Line Reefing
Double Line Reefing
Slab Reefing

I want to discuss the clew lines which are run in a similar fashion through the sails in all of these different systems. The standard way of running the clew lines involves running the clew line from a fixed point on the boom, up through the sail's clew cringle, and down the other side of the sail. This will pull the sail down to the boom when reefing, but it will also bunch up under the cringle and get pulled into the cringle by the reef line. This can pull a chunk of sail through the cringle with the line and make a nice hole in the leech. To fix this problem, the clew line can be run a different way and avoid the whole problem all together.

Standard reef line setup

Standard reef line setup

Alternate reef line setup

Alternate reef line setup

The alternate way to run the clew reef line is to pass it up between the boom and sail (putting the line on the same side as the cheek block), through the cringle, over the leech and back down the same side to the cheek block. This will cause the sail to be pushed to the side of the boom as the reef is being drawn in. Since the sail is out of the way, it will not bunch up and get pulled through the cringle. While this sounds wonderful, it will cause more wear on the leech of the sail, leading to chafe issues which are easily remedied with chafe patches.

The sail will be dumped to the side of the boom, avoiding any risk of it getting caught in the cringle and torn. It is helpful to have lazy jacks to collect the sail as it gets tossed to the side.

Synthetic vs Wire Standing Rigging

When looking at the materials available to rig a sailboat, you will find a few different options:

Metal Wire
Metal Rod
Synthetic Fibers

These three options offer solutions to the different problems of rigging in their own distinct way. Common challenges to deal with are weight, windage, and strength. Each of the options available offers to deal with these issues in their own way while introducing more problems to the equation. As you will see, there is no perfect or best solution, it's just a matter of finding a solution whose problems don't bother you.

Metal Wire rigging is the most common form of standing rigging today. It consists of thin wire strands spun together to form a very strong cable. Metal wire comes in two flavors, Galvanized 7x7, and stainless 1x19. Stainless took over the scene because it is more corrosion resistant than galvanized steel. Metal wire offers minimal windage and incredible strength. It's pitfalls are high weight.

Metal Rod, also know as Rod Rigging is an evolution from metal wire rigging. It consists of a solid rod of stainless steel that composes the entire stay. Rod rigging offers minuscule windage and high strength, but it is also heavy.

Synthetic Rigging is composed of a variety of different fibers which offer incredible strength and minimal weight, but they do pose more windage when compared to metal rigging.

The take home messages of these three points are:

Metal: High Strength, High Weight, Low Windage
Synthetic: High Strength, Low Weight, High Windage

While the three major challenges of rigging (Weight, Windage, and Strength) are dealt with in their own way by metal and synthetic rigging, each type also introduces their own list of problems.

Metal rigging suffers from corrosion. The marine environment is a grueling place for anything made of metal. Galvanized Steel (7x7 wire) will rust in a few years if left unprotected, leading to the supremacy of stainless steel rigging. Galvanized steel can last nearly indefinitely if properly cared for, this involves worming, parceling, and serving the rigging; and regularly coating it in "slurry" which keeps it well oiled. This will allow the rigging to live in a permanent oil bath which will keep water and rust out. The problem is you need to paint this slurry on the rigging all the time! For your average pleasure boater, this is not an option.

Stainless Steel (1x19 wire) will not rust as quickly when left unprotected and uncovered, but it will suffer from crevice corrosion. These are small cracks that form in the metal which can lead to catastrophic failure when the crack breaks open. 1x19 wire also requires special terminals to allow it to connect to the other fittings used in the standing rigging. These terminals can either be swaged or swageless. Swaged terminals use a large and fancy machine to crush the terminal onto the cable and pinch it with such great force that it is impossible to extract it. This act distorts and stresses the terminal which advances the formation of cracks and crevice corrosion. Swageless uses much smaller tools and a one-time-use cone which pinches the wires in the fitting. Swageless fittings are less prone to cracking and can be repaired without the use of fancy machines.

Rod Rigging is a bad choice, the heads of the rod are beat into shape which causes stress cracks to form. Rod rigging offers no warning that a failure is about to occur, and when a failure does occur, it is catastrophic. When the head separates from the rod, the whole stay disengages from its point of duty, leaving the mast unsupported and at high risk of dismasting.

Synthetic Rigging comes in many flavors: PBO, Vectran, Spectra, and Dyneema are some of the most common options available. Each tries to deal with the problems of synthetic rigging while negating all problems of corrosion. Synthetic rigging will not corrode, even in the harsh marine environment. The problems that synthetic rigging does introduce deal with creep, chafe, and UV degradation.


A closer look at these different fibers is discussed here.

Creep is the permanent elongation of a fiber, and it is a problem that plagues synthetic rigging. There are ways to overcome this problem, usually by sizing the stays in a way that creep is a minimal problem to deal with. Over the life of the say, minor adjustments will be necessary to keep the rigging fully tuned.

Chafe is a serious concern with synthetic rigging. A sheet rubbing on a stay will saw through it if left unchecked. Chafe patches can be placed in areas where chafe is known to occur to protect these areas, also negating the issue of chafe.

UV degradation is a concern, but technology has come a long way and Dyneema has the best UV resistance. The way it works, the outer layer is damaged but protects the underlying layers.

It may seem like synthetic rigging is the answer to our sailing dreams, rigging that wont corrode and has minimal weight! It's drawbacks are the need for constant adjustments and windage.


A final point to consider when selecting the material for your standing rigging is how repairable is it in a remote location? If you find yourself in a remote island or out to sea and notice that a stay needs to be repaired or replaced, will you be able to do it with the tools and spares you carry on board?

It is recommended that boats with steel rigging carry a length of wire equivalent to the longest stay on the boat. This way, if a stay were to break, they would be able to manufacture a replacement stay and continue sailing on. The reason they don't recommend carrying more wire is this spare wire is extremely heavy! If more than one stay is damaged, and you only have wire for one, you now find yourself in a difficult situation.

With synthetic rigging, it is very easy to carry a spool of rope in a locker. It doesn't weigh much and stores in a small area. The tools you need are only simple splicing fids, allowing you to repair or replace any number of damaged stays in any location. This repair-ability is a very valuable attribute in favor of synthetic standing rigging.

At the end of the day, you need to ask yourself: "What do you find most important?" and "What downfalls are you willing to work with?"

Metal rigging offers set-it-and-forget-it rig tuning, but suffers from corrosion, high weight, and requires special tools to repair.

Synthetic rigging offers corrosion free, light weight, and ease of repairing; but will need frequent tuning throughout its life.

What do you value most in your rigging? 

Broiling on the Grill

For dinner, I made broiled tilapia without the use of an oven or broiler, instead I used the grill! 

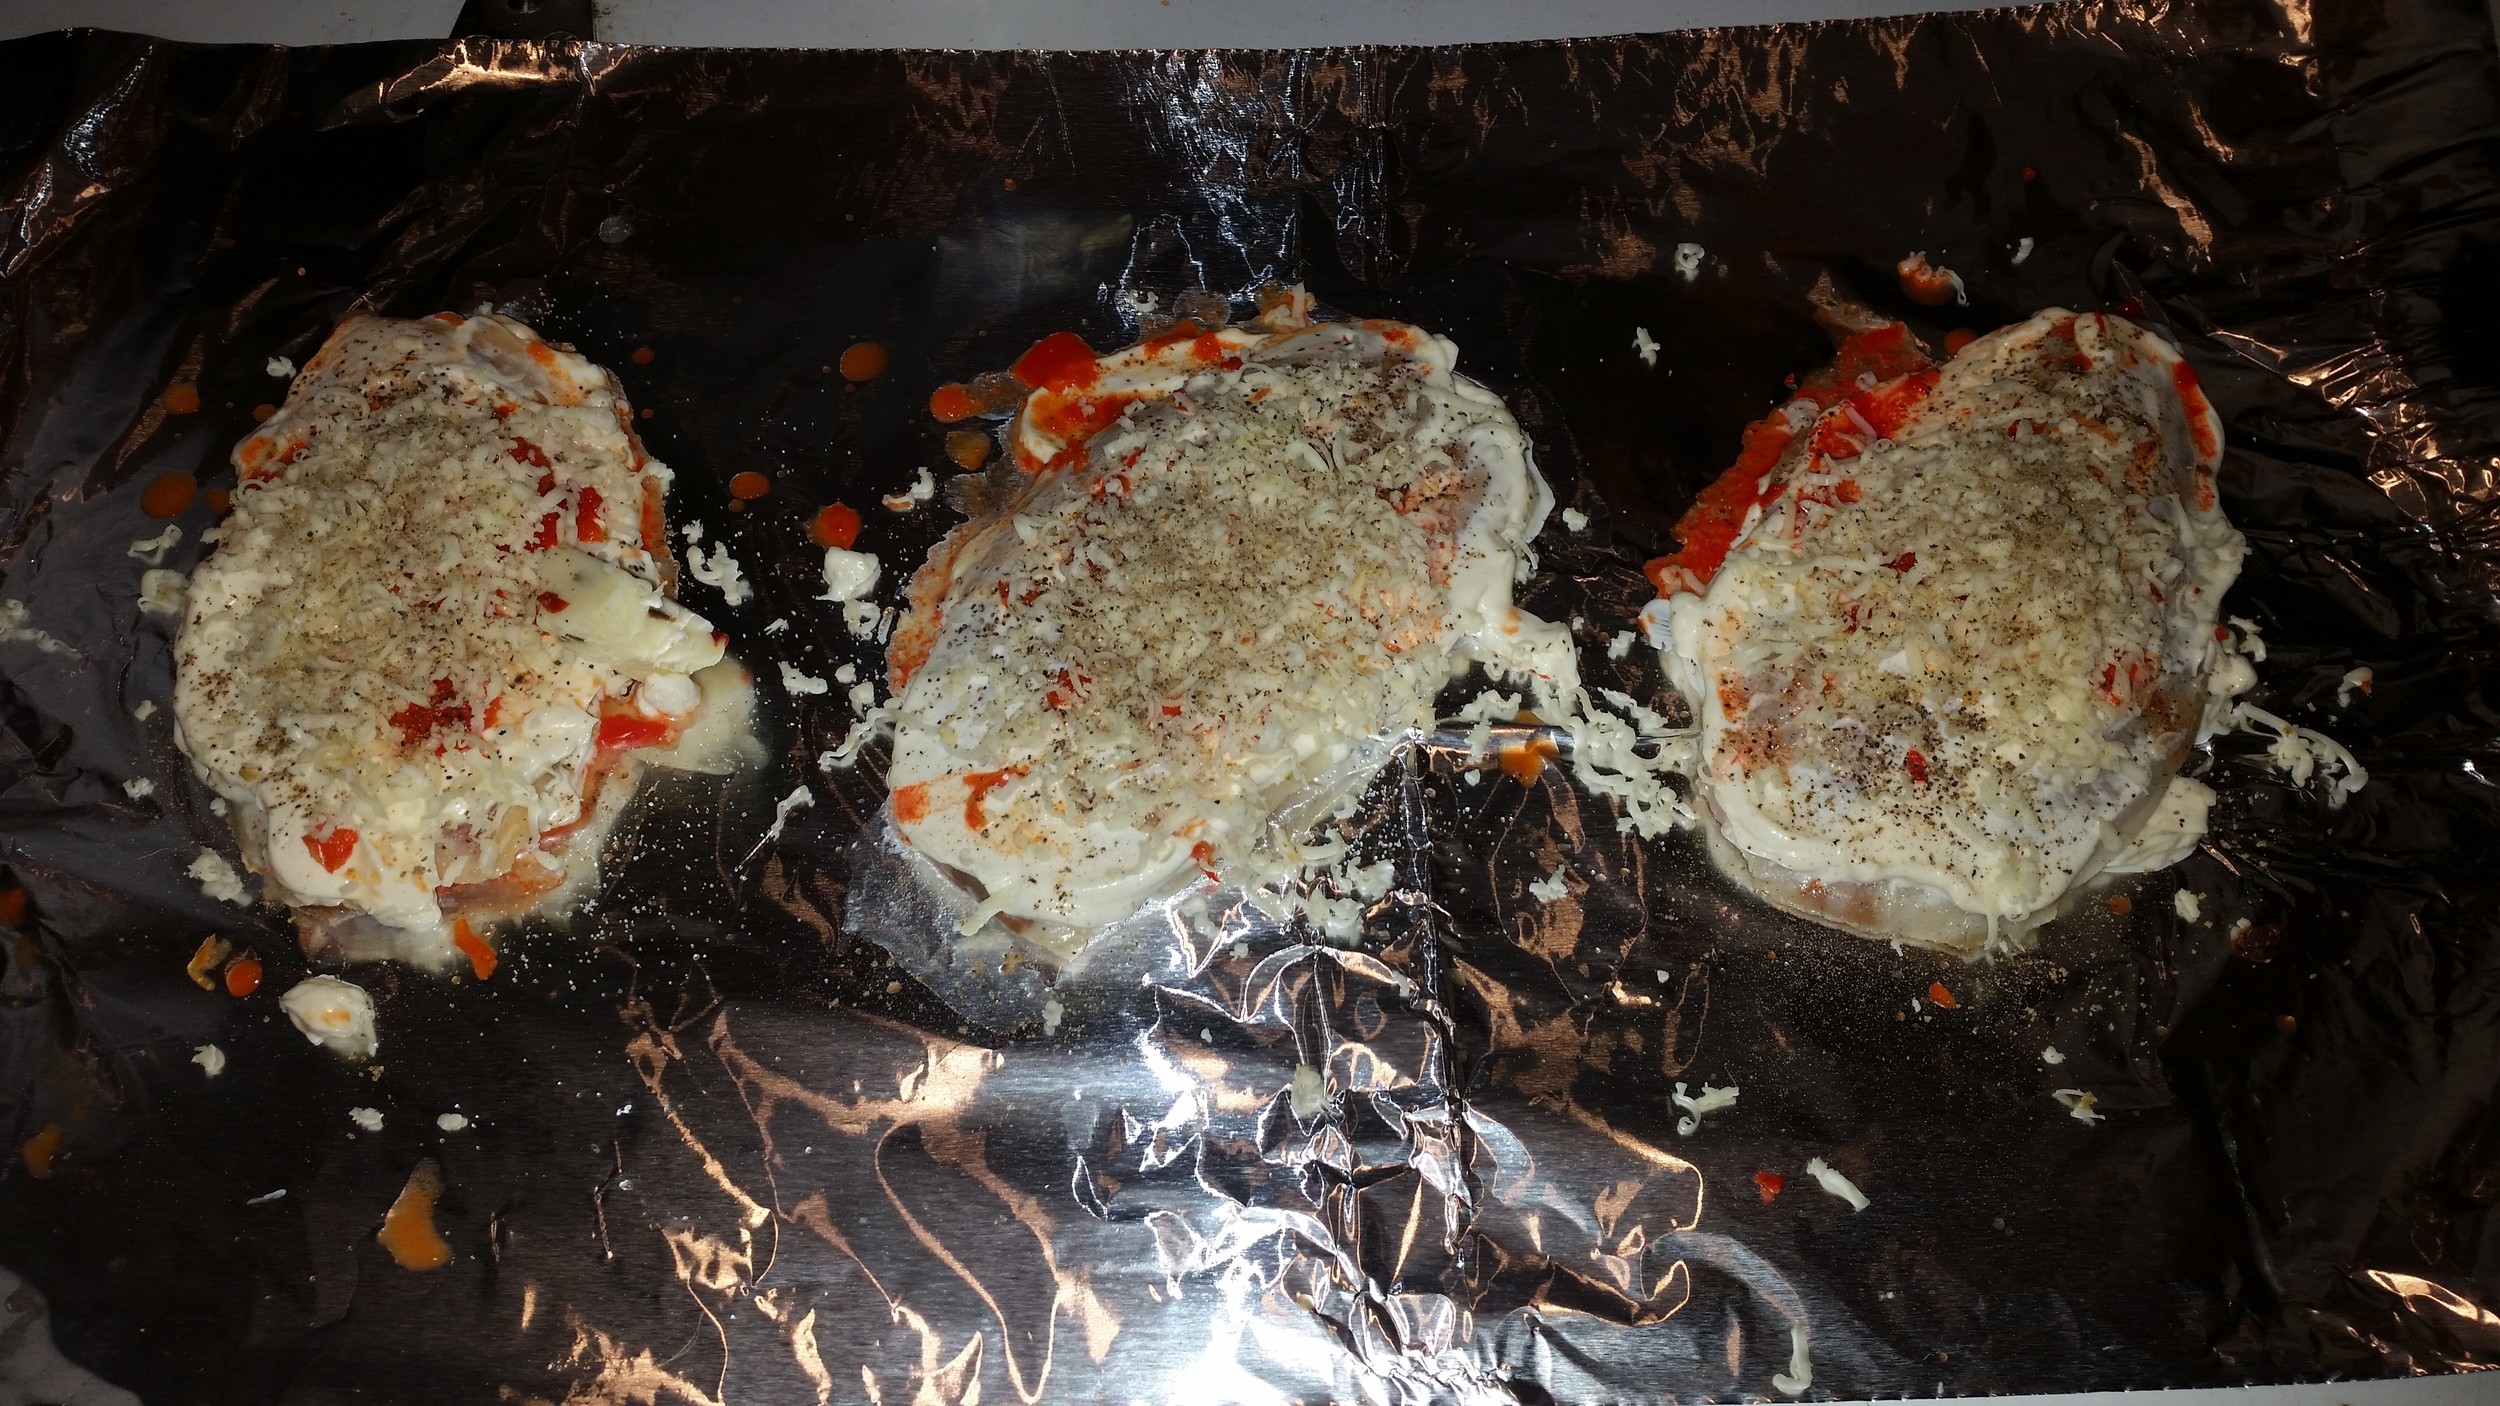
To make this meal, I simply laid out aluminum foil on the galley fridge top and began assembling the needed materials. I placed a small amount of mayonnaise on the foil where the fish would go, then added some fresh cracked pepper to the mayo. 

I then placed the fish on top and added some more mayo spread evenly over the fish, along with more pepper, a pinch of salt, some Worcestershire, grated bell pepper, and grated pepper jack cheese. 

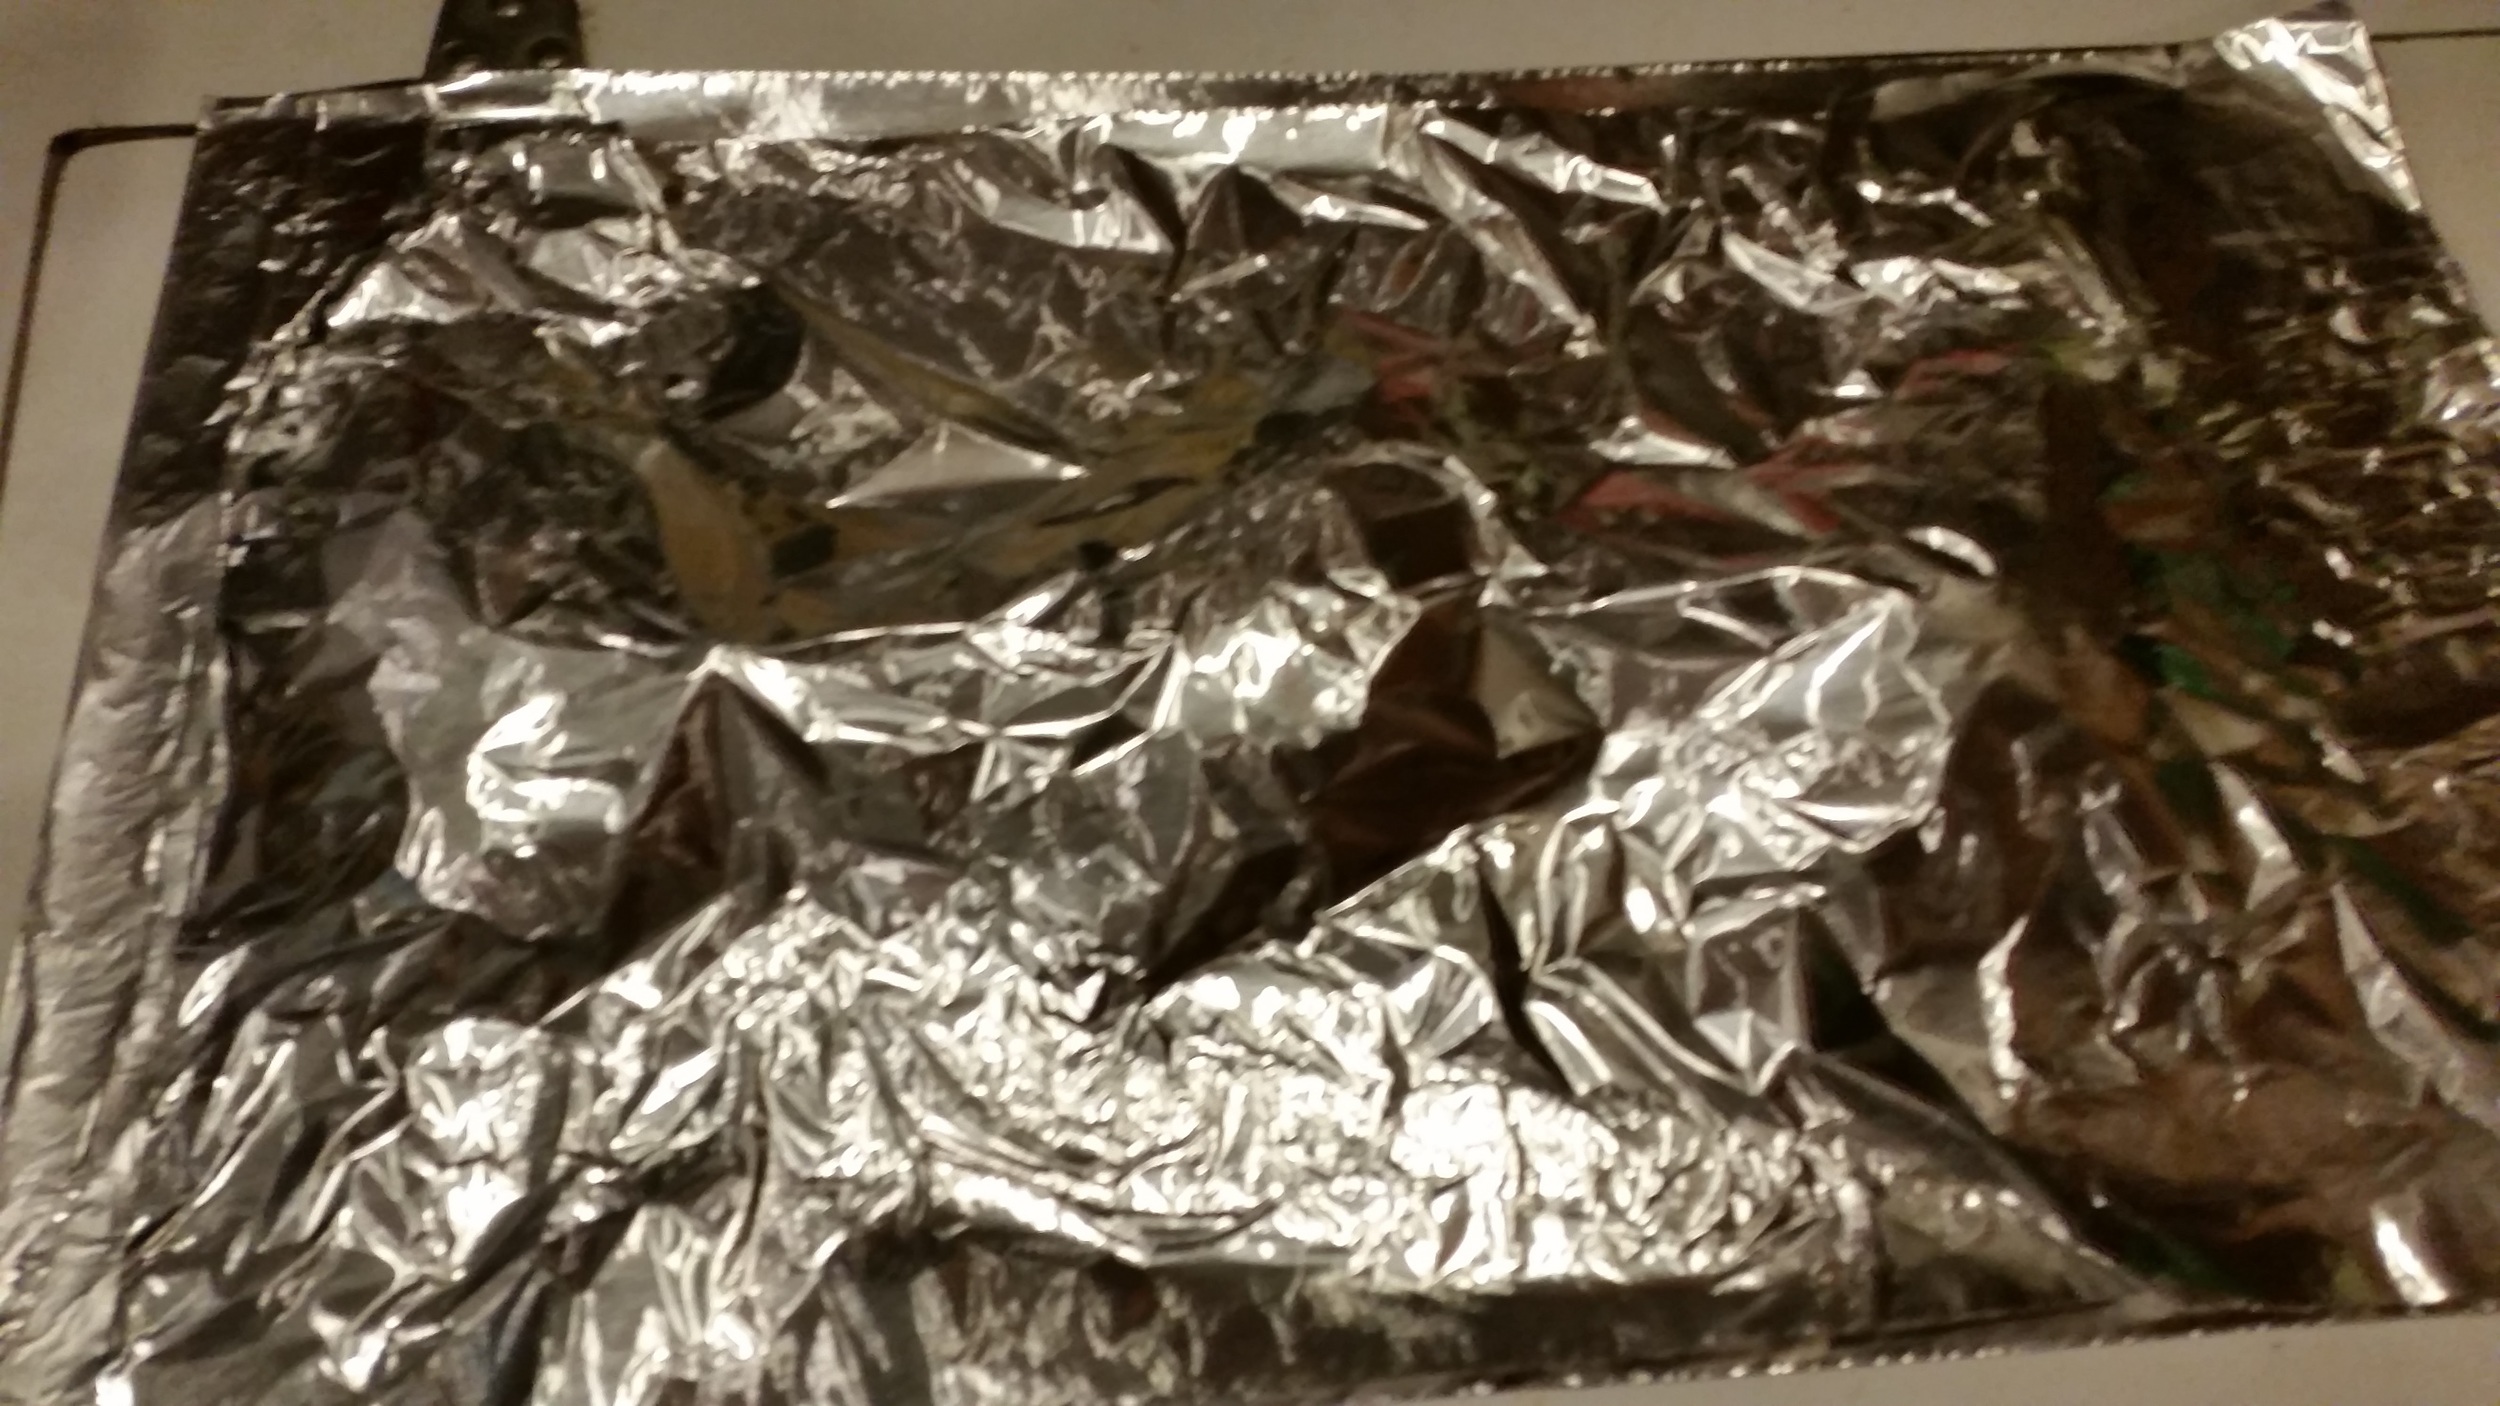
This was all then wrapped up in more foil and the edges folded over to avoid any leaking. 

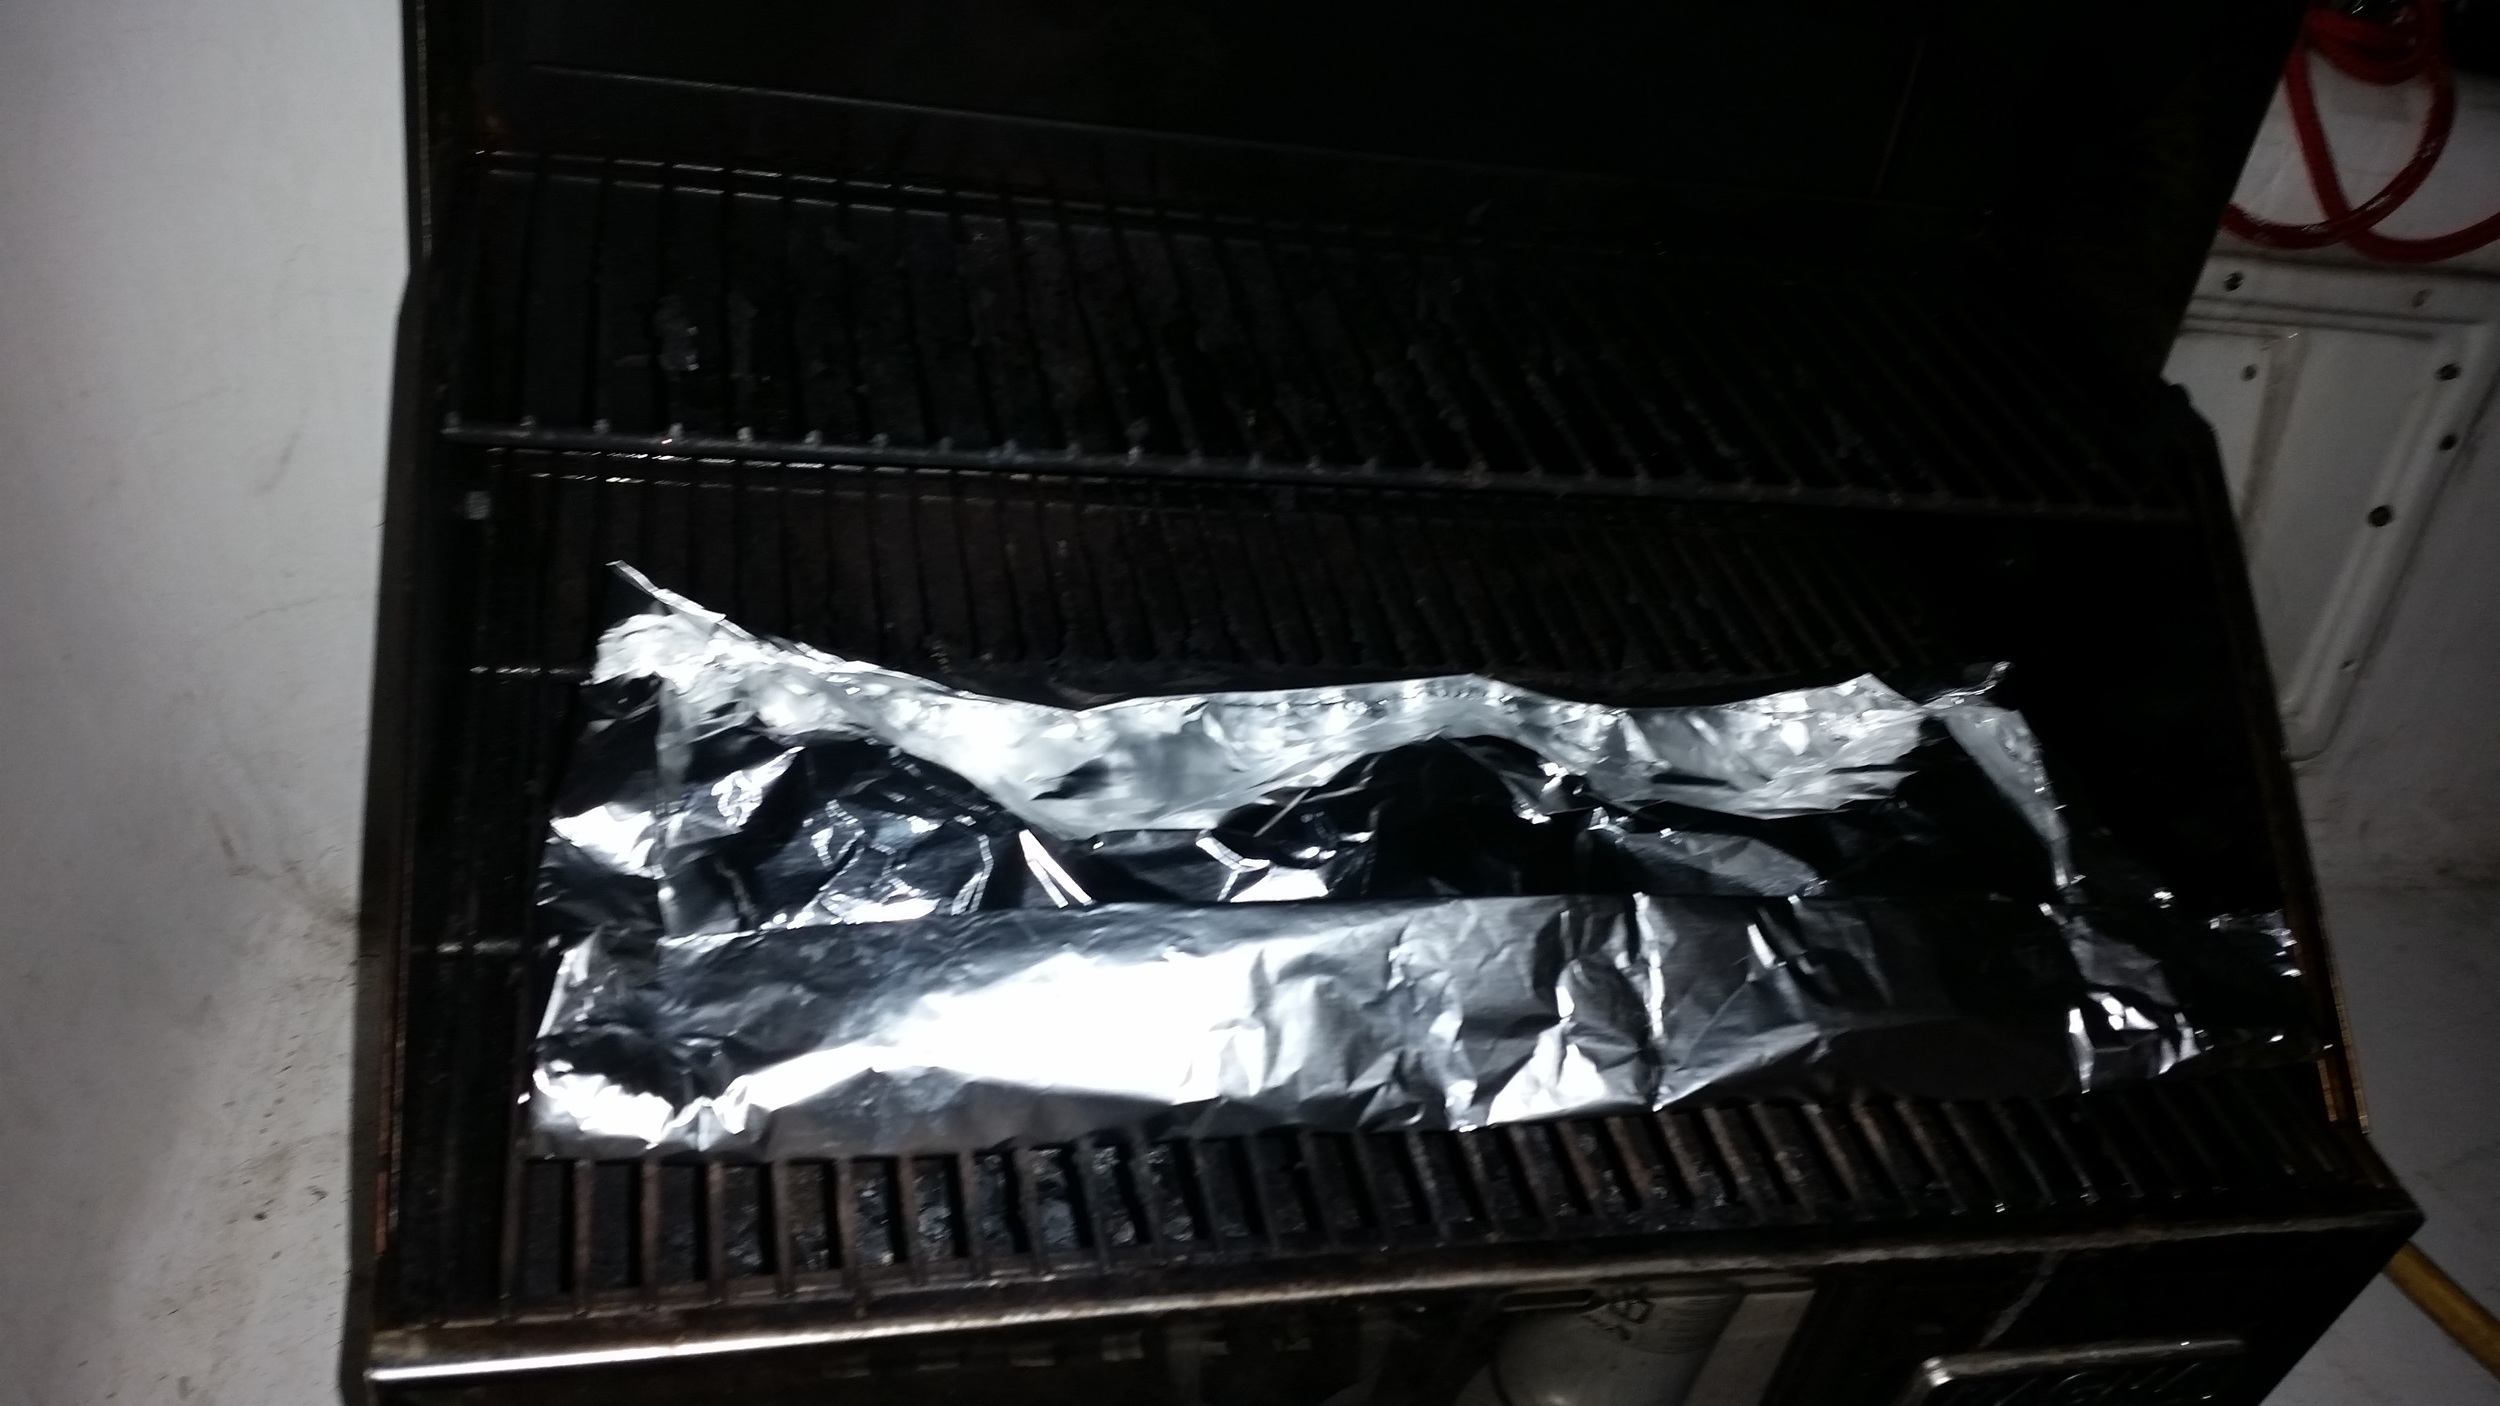
The whole assembly was then placed on the grill with low fire for 10 minutes. Then removed from the foil and enjoyed for a wonderful dinner aboard.