Synthetic vs Wire Standing Rigging

When looking at the materials available to rig a sailboat, you will find a few different options:

Metal Wire
Metal Rod
Synthetic Fibers

These three options offer solutions to the different problems of rigging in their own distinct way. Common challenges to deal with are weight, windage, and strength. Each of the options available offers to deal with these issues in their own way while introducing more problems to the equation. As you will see, there is no perfect or best solution, it's just a matter of finding a solution whose problems don't bother you.

Metal Wire rigging is the most common form of standing rigging today. It consists of thin wire strands spun together to form a very strong cable. Metal wire comes in two flavors, Galvanized 7x7, and stainless 1x19. Stainless took over the scene because it is more corrosion resistant than galvanized steel. Metal wire offers minimal windage and incredible strength. It's pitfalls are high weight.

Metal Rod, also know as Rod Rigging is an evolution from metal wire rigging. It consists of a solid rod of stainless steel that composes the entire stay. Rod rigging offers minuscule windage and high strength, but it is also heavy.

Synthetic Rigging is composed of a variety of different fibers which offer incredible strength and minimal weight, but they do pose more windage when compared to metal rigging.

The take home messages of these three points are:

Metal: High Strength, High Weight, Low Windage
Synthetic: High Strength, Low Weight, High Windage

While the three major challenges of rigging (Weight, Windage, and Strength) are dealt with in their own way by metal and synthetic rigging, each type also introduces their own list of problems.

Metal rigging suffers from corrosion. The marine environment is a grueling place for anything made of metal. Galvanized Steel (7x7 wire) will rust in a few years if left unprotected, leading to the supremacy of stainless steel rigging. Galvanized steel can last nearly indefinitely if properly cared for, this involves worming, parceling, and serving the rigging; and regularly coating it in "slurry" which keeps it well oiled. This will allow the rigging to live in a permanent oil bath which will keep water and rust out. The problem is you need to paint this slurry on the rigging all the time! For your average pleasure boater, this is not an option.

Stainless Steel (1x19 wire) will not rust as quickly when left unprotected and uncovered, but it will suffer from crevice corrosion. These are small cracks that form in the metal which can lead to catastrophic failure when the crack breaks open. 1x19 wire also requires special terminals to allow it to connect to the other fittings used in the standing rigging. These terminals can either be swaged or swageless. Swaged terminals use a large and fancy machine to crush the terminal onto the cable and pinch it with such great force that it is impossible to extract it. This act distorts and stresses the terminal which advances the formation of cracks and crevice corrosion. Swageless uses much smaller tools and a one-time-use cone which pinches the wires in the fitting. Swageless fittings are less prone to cracking and can be repaired without the use of fancy machines.

Rod Rigging is a bad choice, the heads of the rod are beat into shape which causes stress cracks to form. Rod rigging offers no warning that a failure is about to occur, and when a failure does occur, it is catastrophic. When the head separates from the rod, the whole stay disengages from its point of duty, leaving the mast unsupported and at high risk of dismasting.

Synthetic Rigging comes in many flavors: PBO, Vectran, Spectra, and Dyneema are some of the most common options available. Each tries to deal with the problems of synthetic rigging while negating all problems of corrosion. Synthetic rigging will not corrode, even in the harsh marine environment. The problems that synthetic rigging does introduce deal with creep, chafe, and UV degradation.


A closer look at these different fibers is discussed here.

Creep is the permanent elongation of a fiber, and it is a problem that plagues synthetic rigging. There are ways to overcome this problem, usually by sizing the stays in a way that creep is a minimal problem to deal with. Over the life of the say, minor adjustments will be necessary to keep the rigging fully tuned.

Chafe is a serious concern with synthetic rigging. A sheet rubbing on a stay will saw through it if left unchecked. Chafe patches can be placed in areas where chafe is known to occur to protect these areas, also negating the issue of chafe.

UV degradation is a concern, but technology has come a long way and Dyneema has the best UV resistance. The way it works, the outer layer is damaged but protects the underlying layers.

It may seem like synthetic rigging is the answer to our sailing dreams, rigging that wont corrode and has minimal weight! It's drawbacks are the need for constant adjustments and windage.


A final point to consider when selecting the material for your standing rigging is how repairable is it in a remote location? If you find yourself in a remote island or out to sea and notice that a stay needs to be repaired or replaced, will you be able to do it with the tools and spares you carry on board?

It is recommended that boats with steel rigging carry a length of wire equivalent to the longest stay on the boat. This way, if a stay were to break, they would be able to manufacture a replacement stay and continue sailing on. The reason they don't recommend carrying more wire is this spare wire is extremely heavy! If more than one stay is damaged, and you only have wire for one, you now find yourself in a difficult situation.

With synthetic rigging, it is very easy to carry a spool of rope in a locker. It doesn't weigh much and stores in a small area. The tools you need are only simple splicing fids, allowing you to repair or replace any number of damaged stays in any location. This repair-ability is a very valuable attribute in favor of synthetic standing rigging.

At the end of the day, you need to ask yourself: "What do you find most important?" and "What downfalls are you willing to work with?"

Metal rigging offers set-it-and-forget-it rig tuning, but suffers from corrosion, high weight, and requires special tools to repair.

Synthetic rigging offers corrosion free, light weight, and ease of repairing; but will need frequent tuning throughout its life.

What do you value most in your rigging? 

Broiling on the Grill

For dinner, I made broiled tilapia without the use of an oven or broiler, instead I used the grill

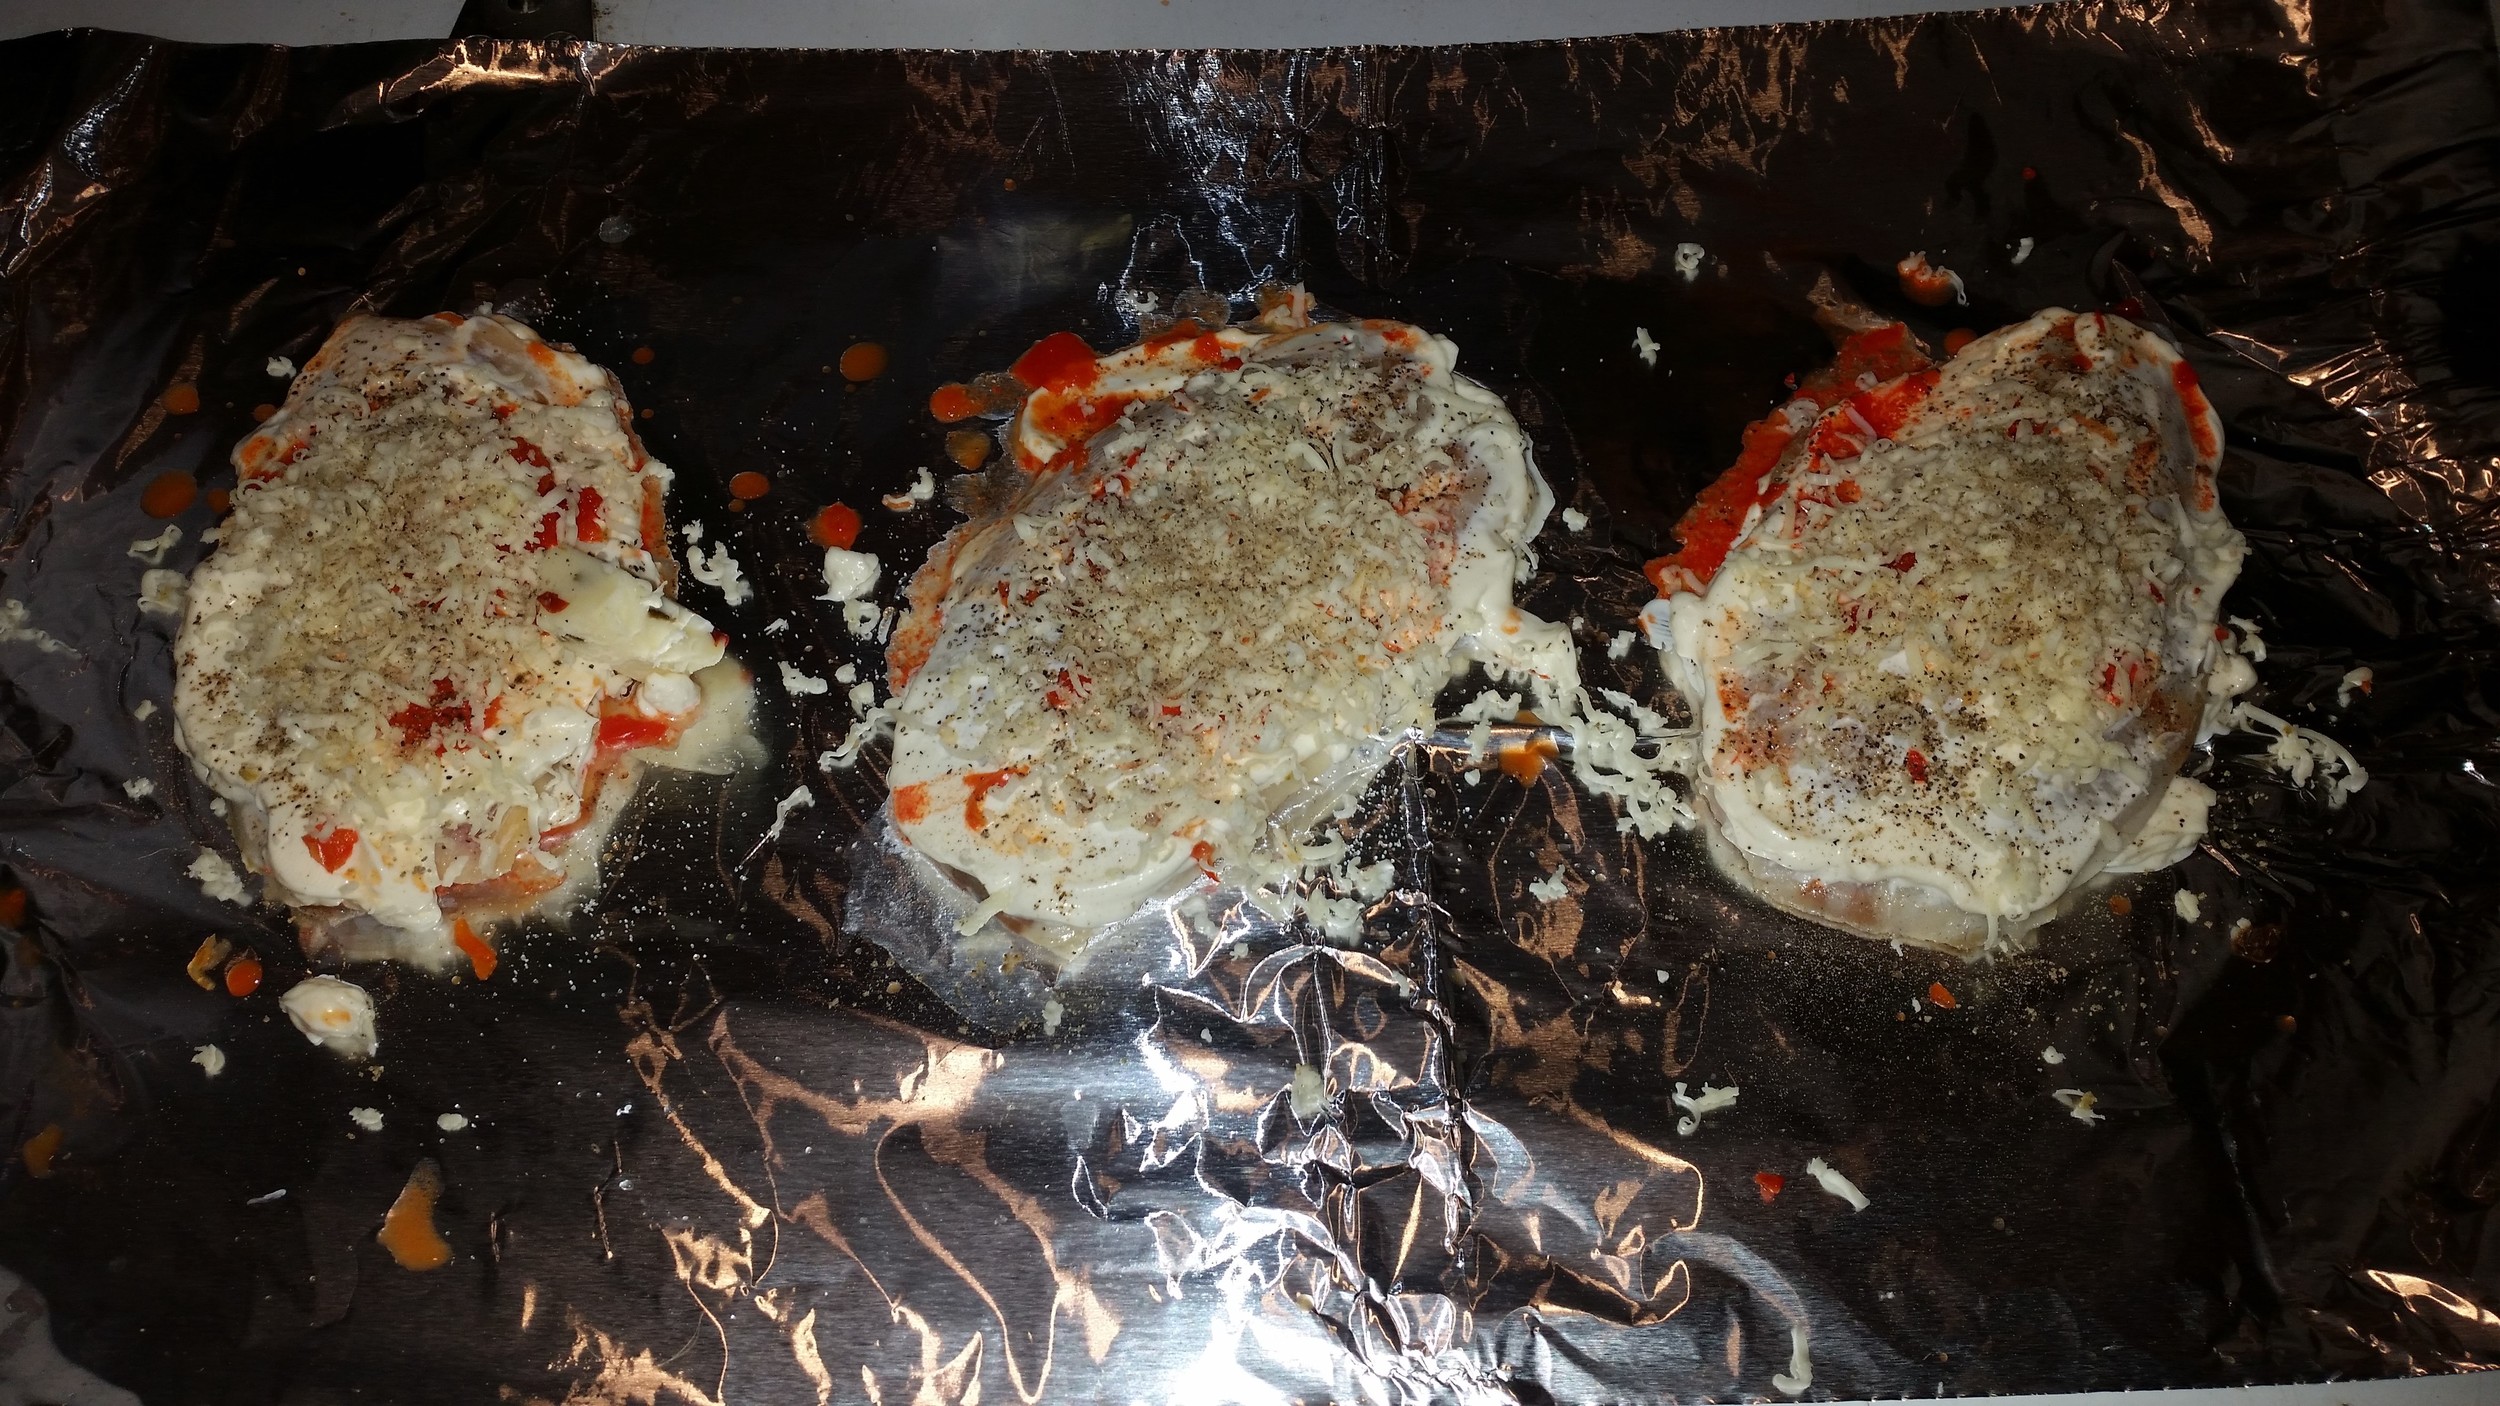
To make this meal, I simply laid out aluminum foil on the galley fridge top and began assembling the needed materials. I placed a small amount of mayonnaise on the foil where the fish would go, then added some fresh cracked pepper to the mayo. 

I then placed the fish on top and added some more mayo spread evenly over the fish, along with more pepper, a pinch of salt, some Worcestershire, grated bell pepper, and grated pepper jack cheese. 

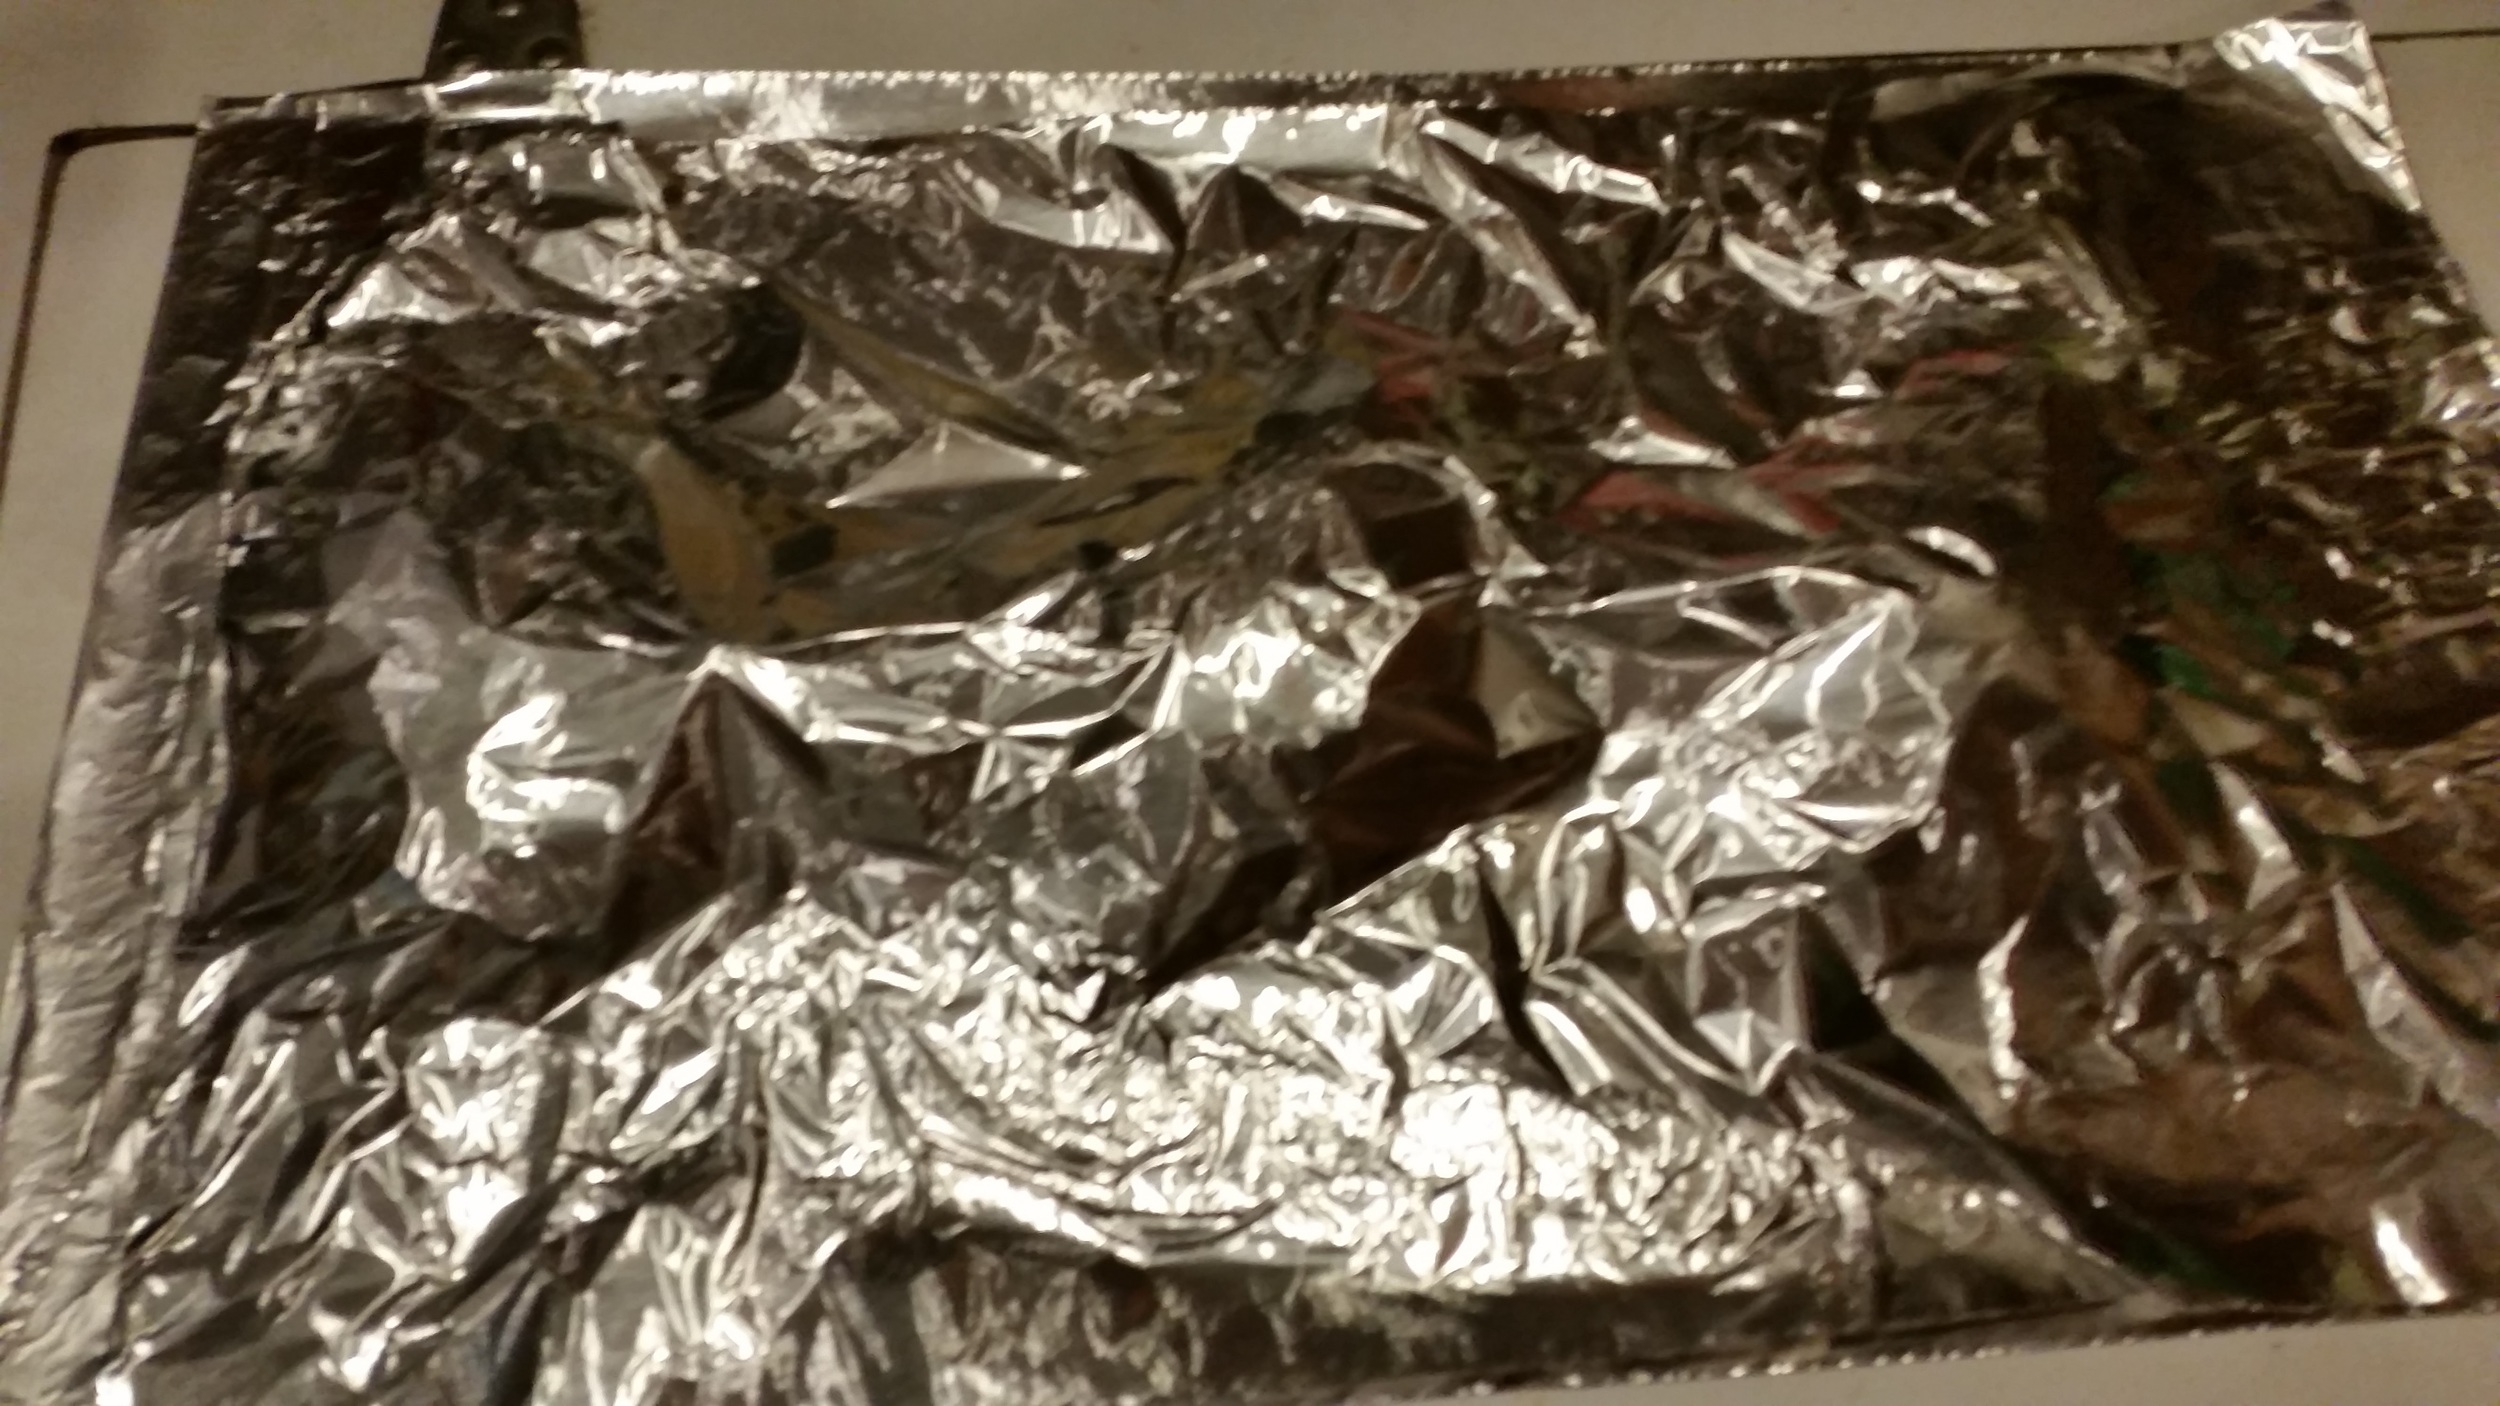
This was all then wrapped up in more foil and the edges folded over to avoid any leaking. 

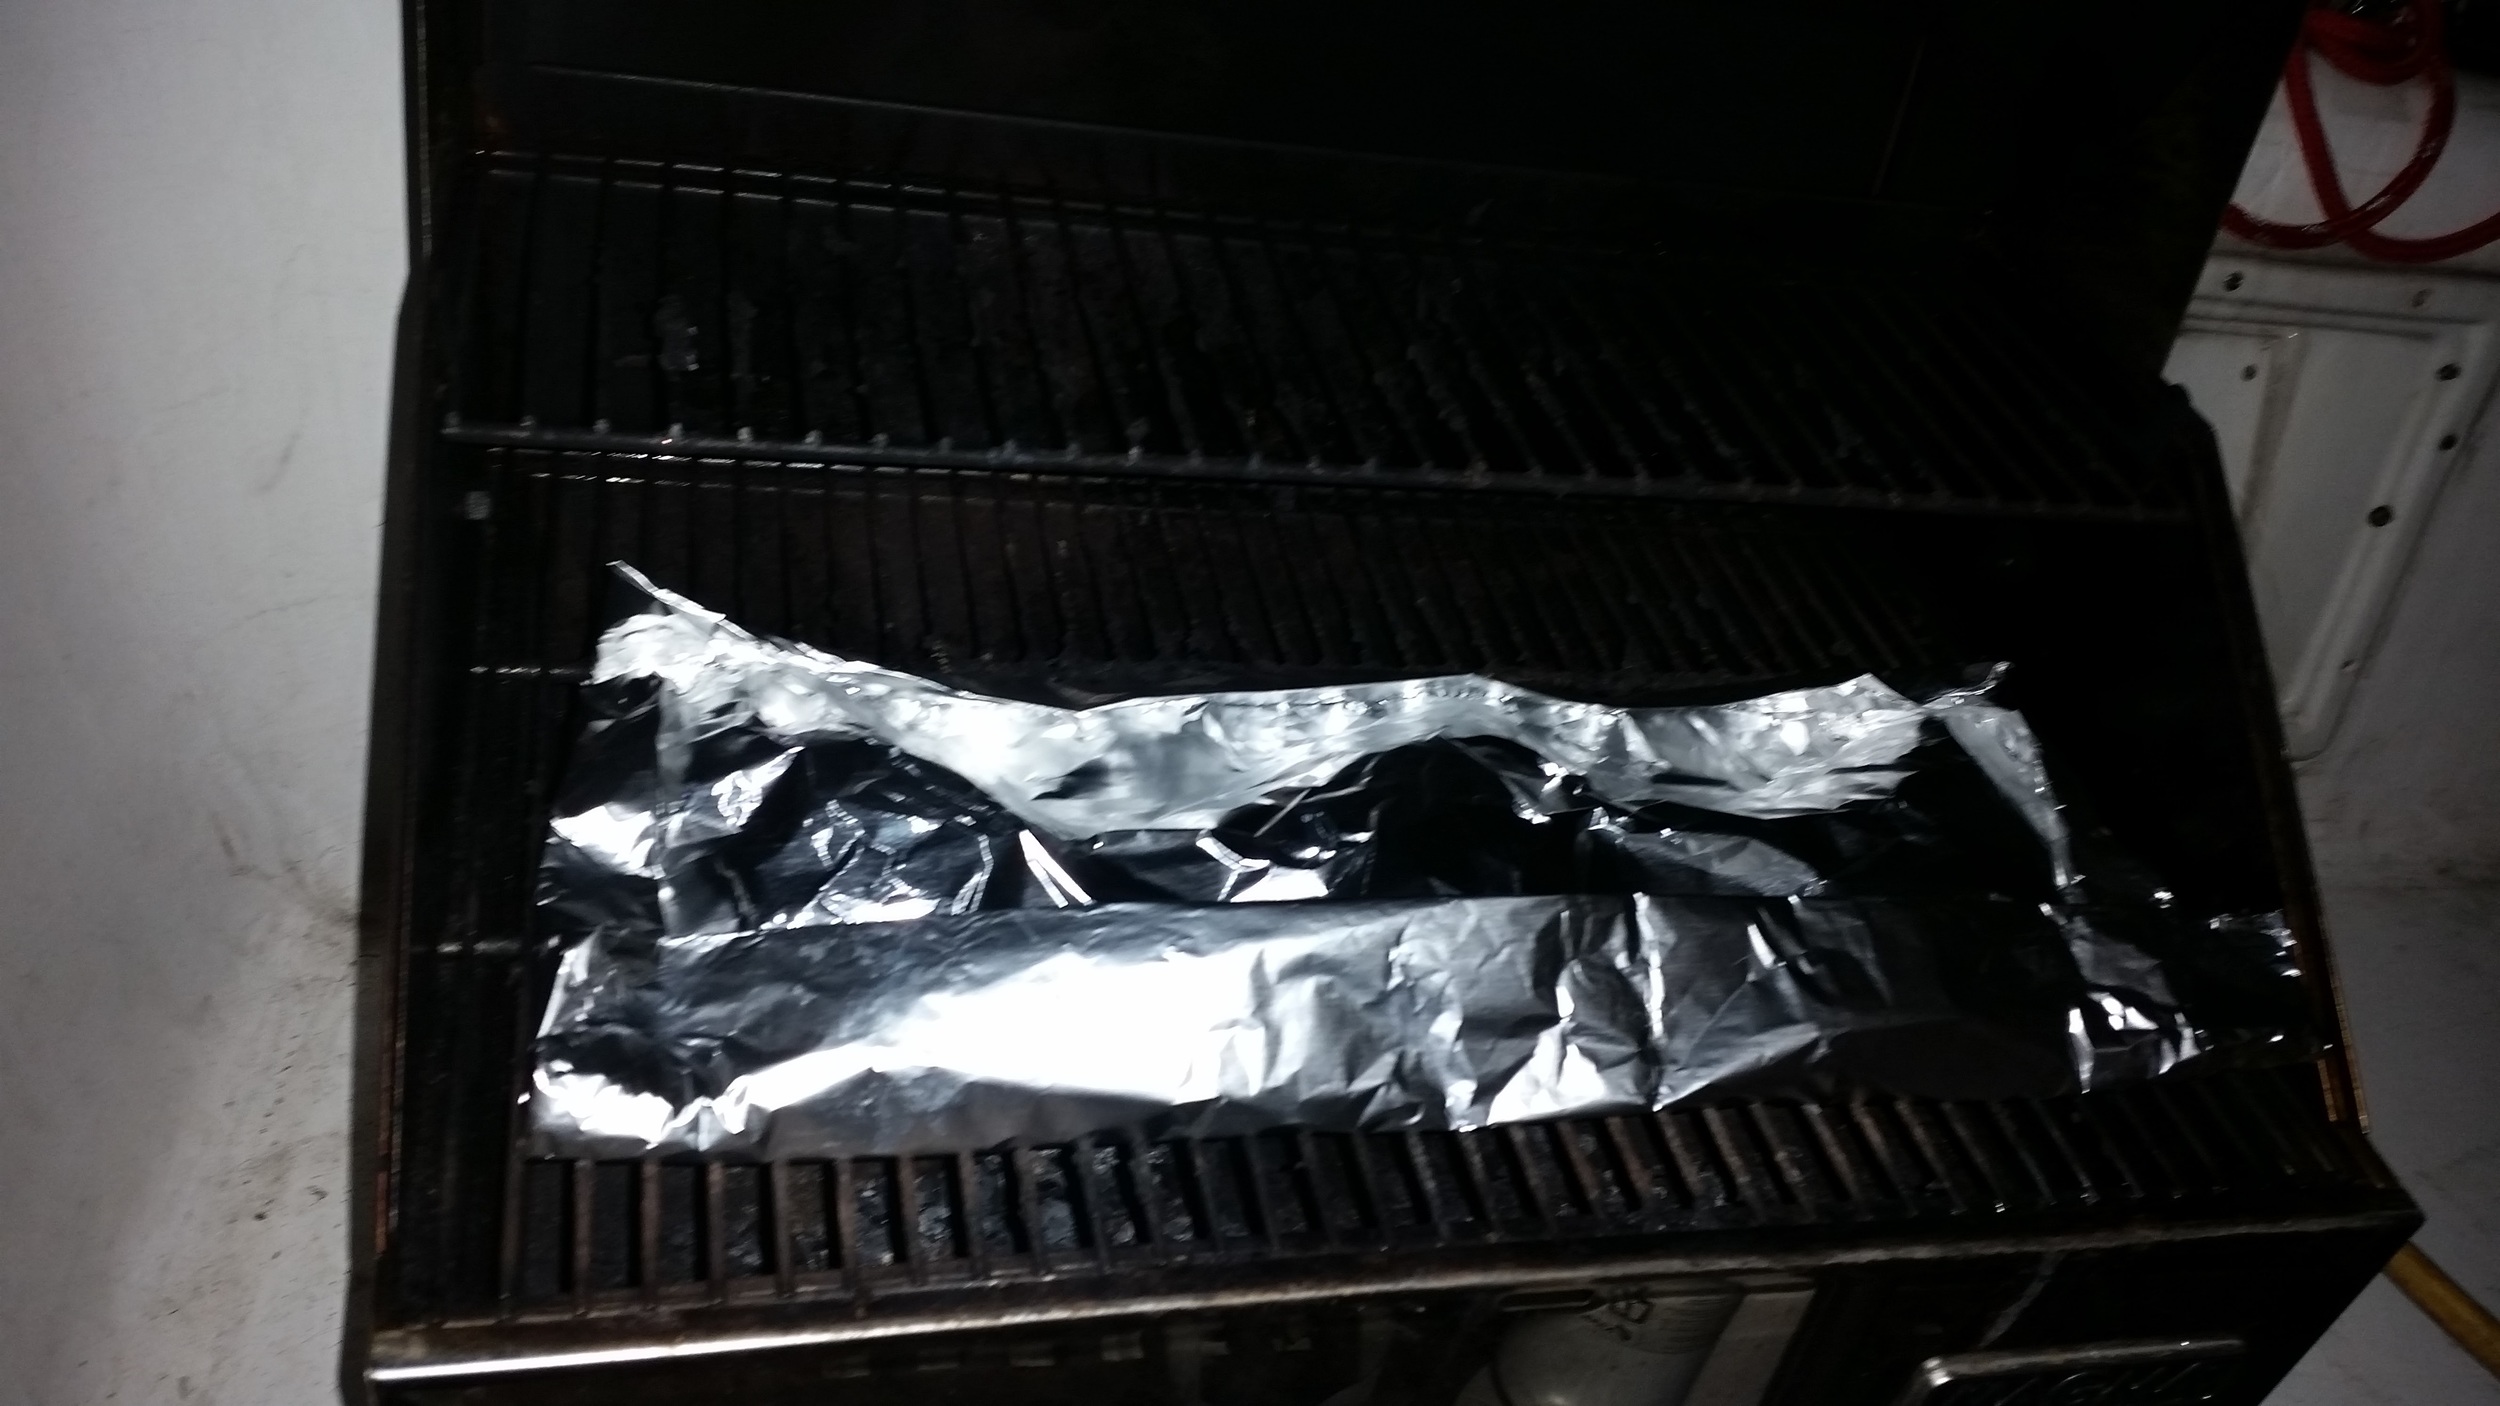
The whole assembly was then placed on the grill with low fire for 10 minutes. Then removed from the foil and enjoyed for a wonderful dinner aboard.

Choosing a Dinghy

Dinghies come in two flavors, hard and inflatable. When you look at a popular dinghy dock, it would appear that inflatable dinghies dominate the scene. Each type of dinghy has its advantages and disadvantages, it's just a matter of figuring out which advantages are important to you and which disadvantages you can live with. While inflatables are very popular, you should still decide for yourself what your needs are before you buy an inflatable like everyone else.

The major points of difference between the two camps have to deal with stability and propulsion.

Hard dinghies are easier to propel through the water, but are much more tender.

Inflatable dinghies are extremely stable, but are not as easy to propel through the water.

Hard dinghies are easily rowed in light weather, and can still be rowed with strenuous effort in heavy weather. Inflatable dinghies on the other hand can only be rowed when there is no wind present. If there is any wind, you may find it impossible to row towards weather. To combat this pitfall, inflatables are propelled via outboard motor.

Stability is the other great difference between the two camps. Hard dinghies are very tender and can tip if care is not taken when boarding or standing. Inflatable dinghies are extremely stable, allowing you to stand up and walk around on them without any fear of capsizing. If you stood on the gunwale of a rigid dinghy, the boat would tip over and swamp. Doing the same on an inflatable dinghy would be totally acceptable. You could easily stand on the gunwale and be fully supported by the inner tube's volume of air.

There are some other minor differences between the two that also play an important role in deciding which to use, these deal with longevity. Inflatable dinghies will be eaten up by the sun and begin to leak out air after a few years of use. Sand is another nuisance in inflatables, it will work its way into the folds in the fabric and chafe small pinholes in hard to repair areas. Hard dinghies on the other hand will hold up quite well in the sun and will not be destroyed by the ingress of sand. Hard dinghies will also do very well with frequent beach landings, though the bottom paint will suffer as well. 

Lastly, outboard motors on dinghies are a frequent topic of complaint from all of my cruising friends. At some point, repairs or replacement of their outboard will stir up furious emotions from within them. 

Finally, storage is a factor when it comes to dinghies. Soft bottom inflatables, which are not as popular as RIBs (Rigid Inflatable Boats), can be deflated and rolled up. This allows them to be stored tucked away in a lazarette when underway. RIBs and hard dinghies need to be stored somewhere on the boat, and they do take up a considerable amount of space. Some popular storage areas are in davits on the stern, or overturned on the deck. 

When you are looking for a dinghy to complement your cruising boat, look at the pros and cons of each. If you are torn between inflatable or hard, you can use this simple question as a tie breaker: 

Do you want to stress about outboards and sand or do you want to enjoy the beach?

Trailer Subfloor

20160403_121553.jpg

The subfloor on the tiny house serves a three purposes:

It connects the tiny house to the trailer
It provides a stable support for the floor that will go over it
It supports the walls that will be built

If the tiny house is not properly attached to the trailer, the whole unit could slide right off the trailer while driving down the highway or during a severe windstorm. 

The ideal way to connect the subfloor to the trailer would be to use bolts and through bolt the whole structure. This would require two people and a lot of time. I am practically building this structure alone, Maddie helps from time to time but is usually not available to help and work as many hours as I am.

The next best option to through bolting the structure would be machine screws through the subfloor and into the metal trailer beneath. I was planning on connecting the units this way until I realized that I don't have a long enough drill bit to go through the 3+ inches of wood, and then the metal frame beneath. This led me to come up with an alternate method of attaching the subfloor to the wood of the trailer

I came to the decision of attaching the subfloor to the trailer floor via a series of many nails and screws. The wood I am attaching to is strong and well attached to the trailer, so this seems to be adequate for the time being.

The floors are going to be one of the last things to go in. I can always change my mind, bite the bullet, and through bolt the whole trailer if I feel uneasy about the attachment.

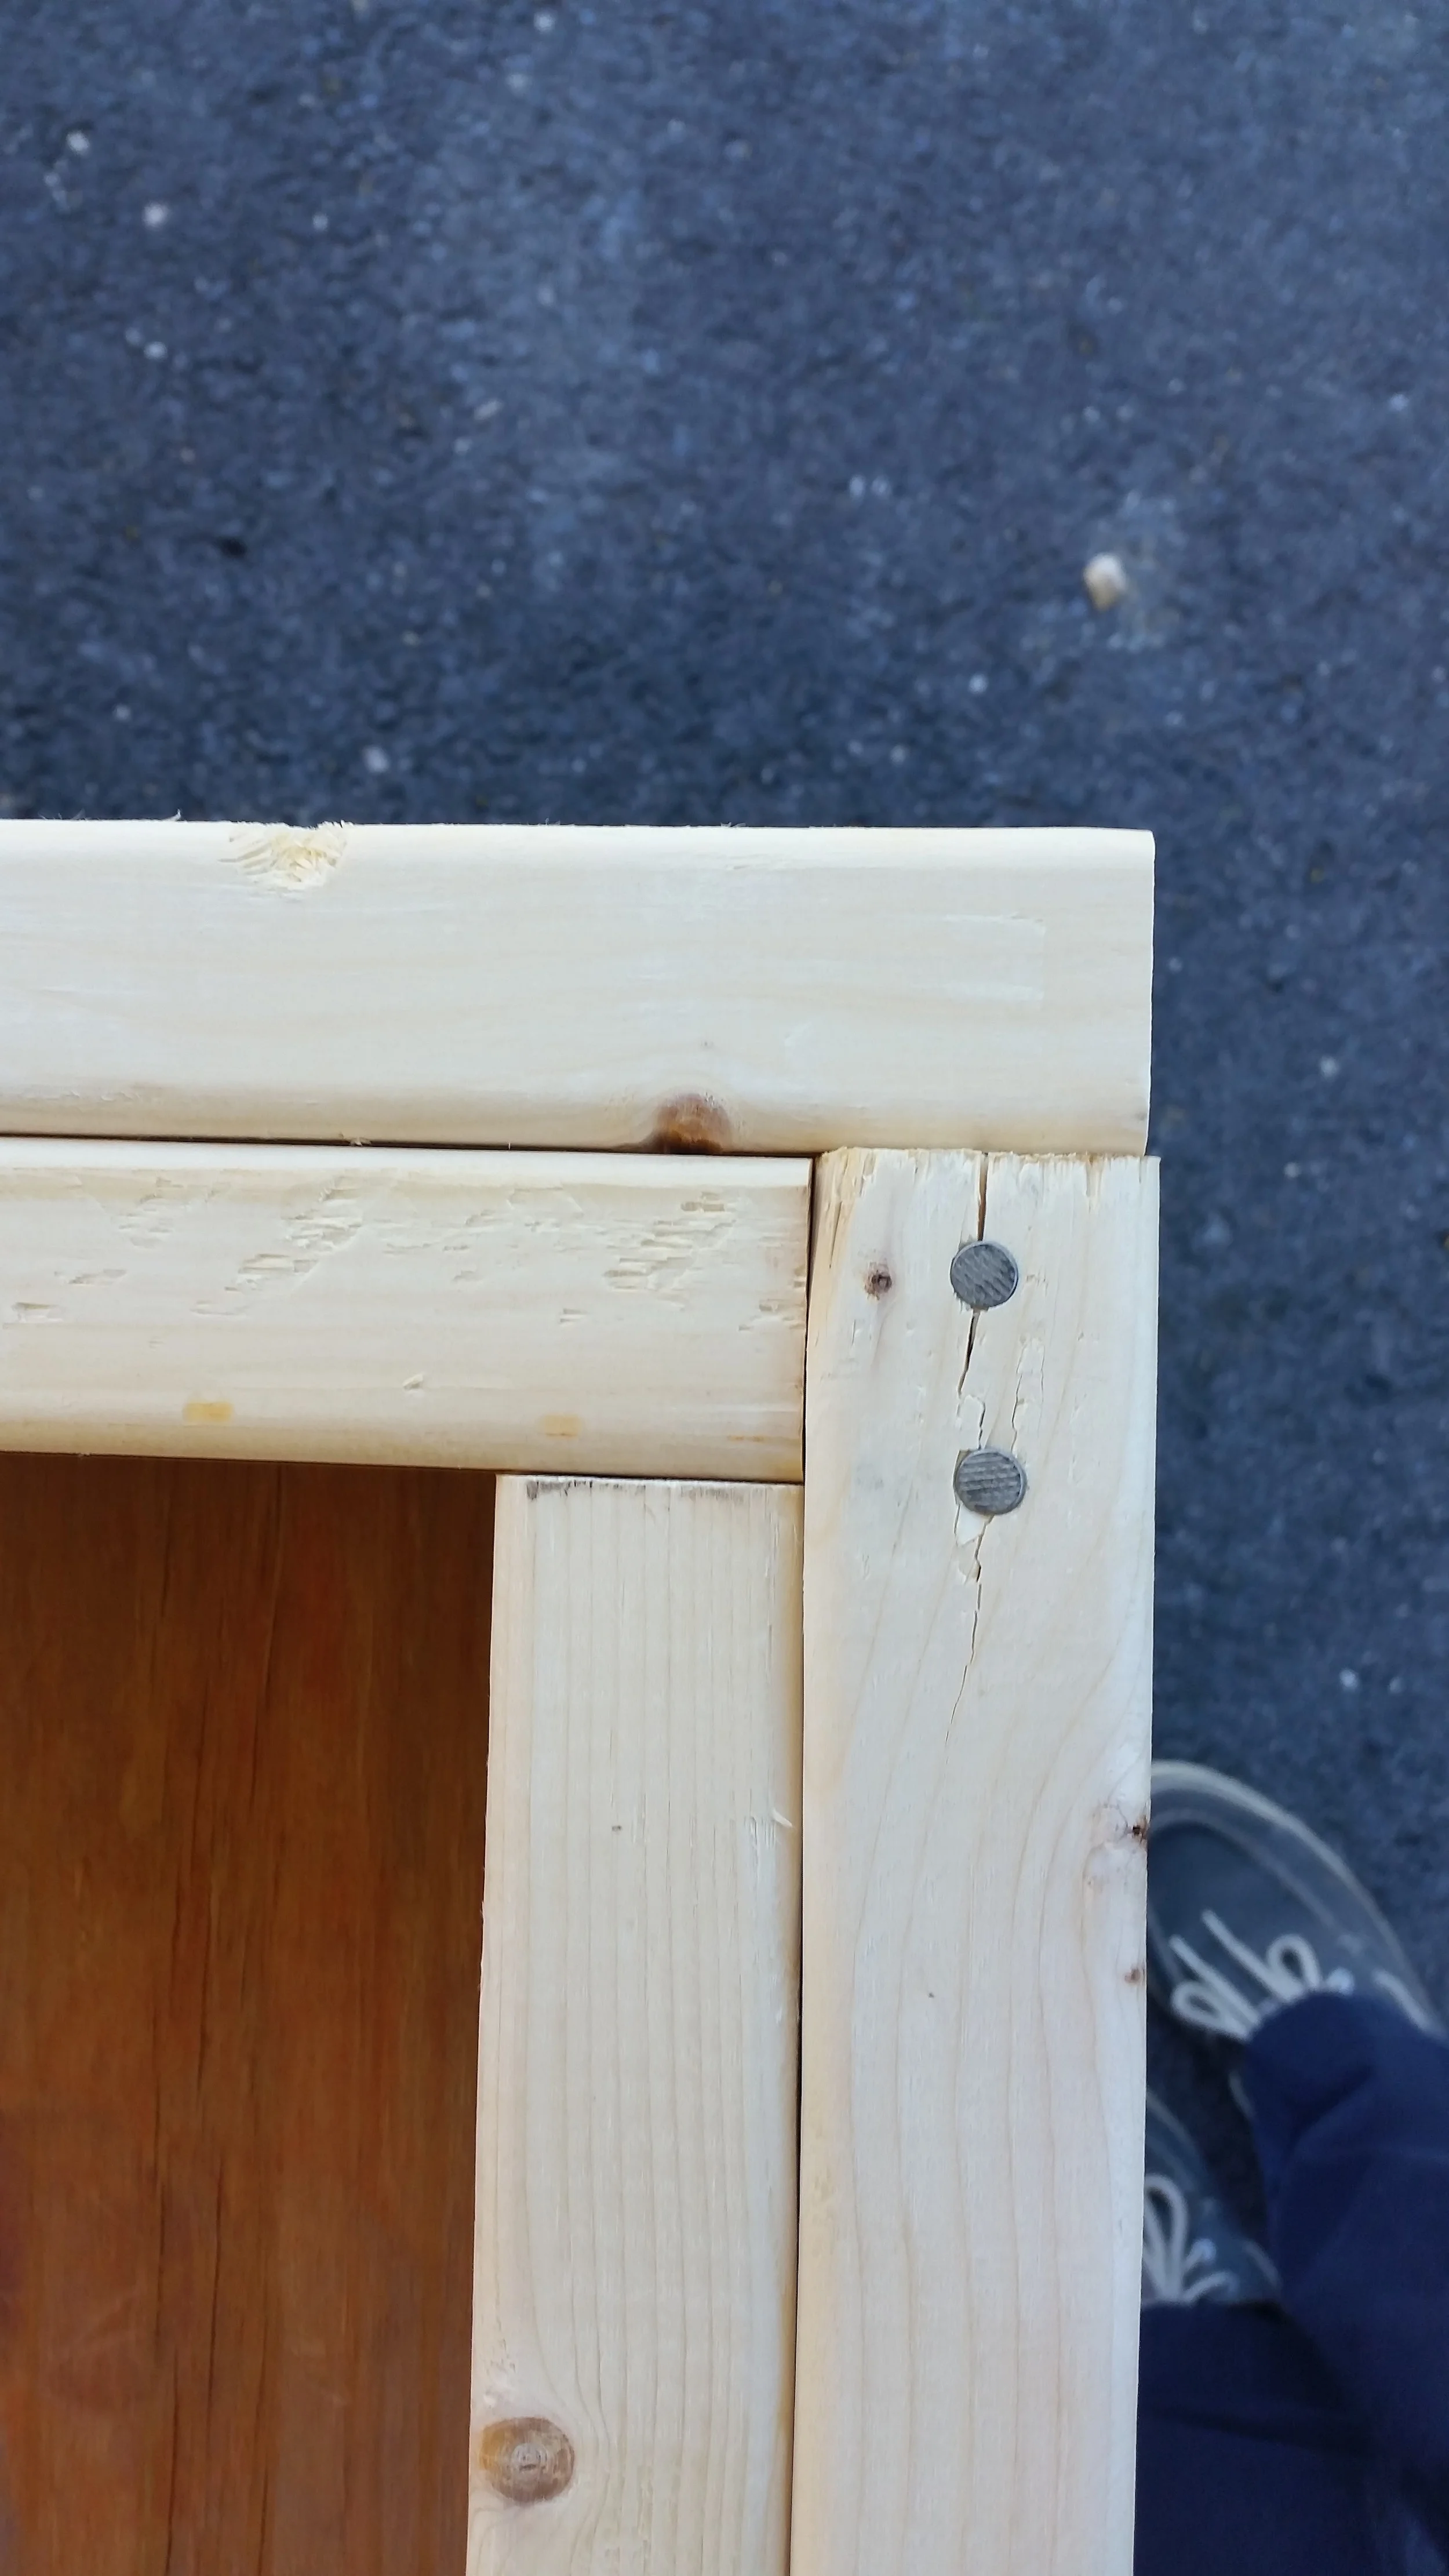
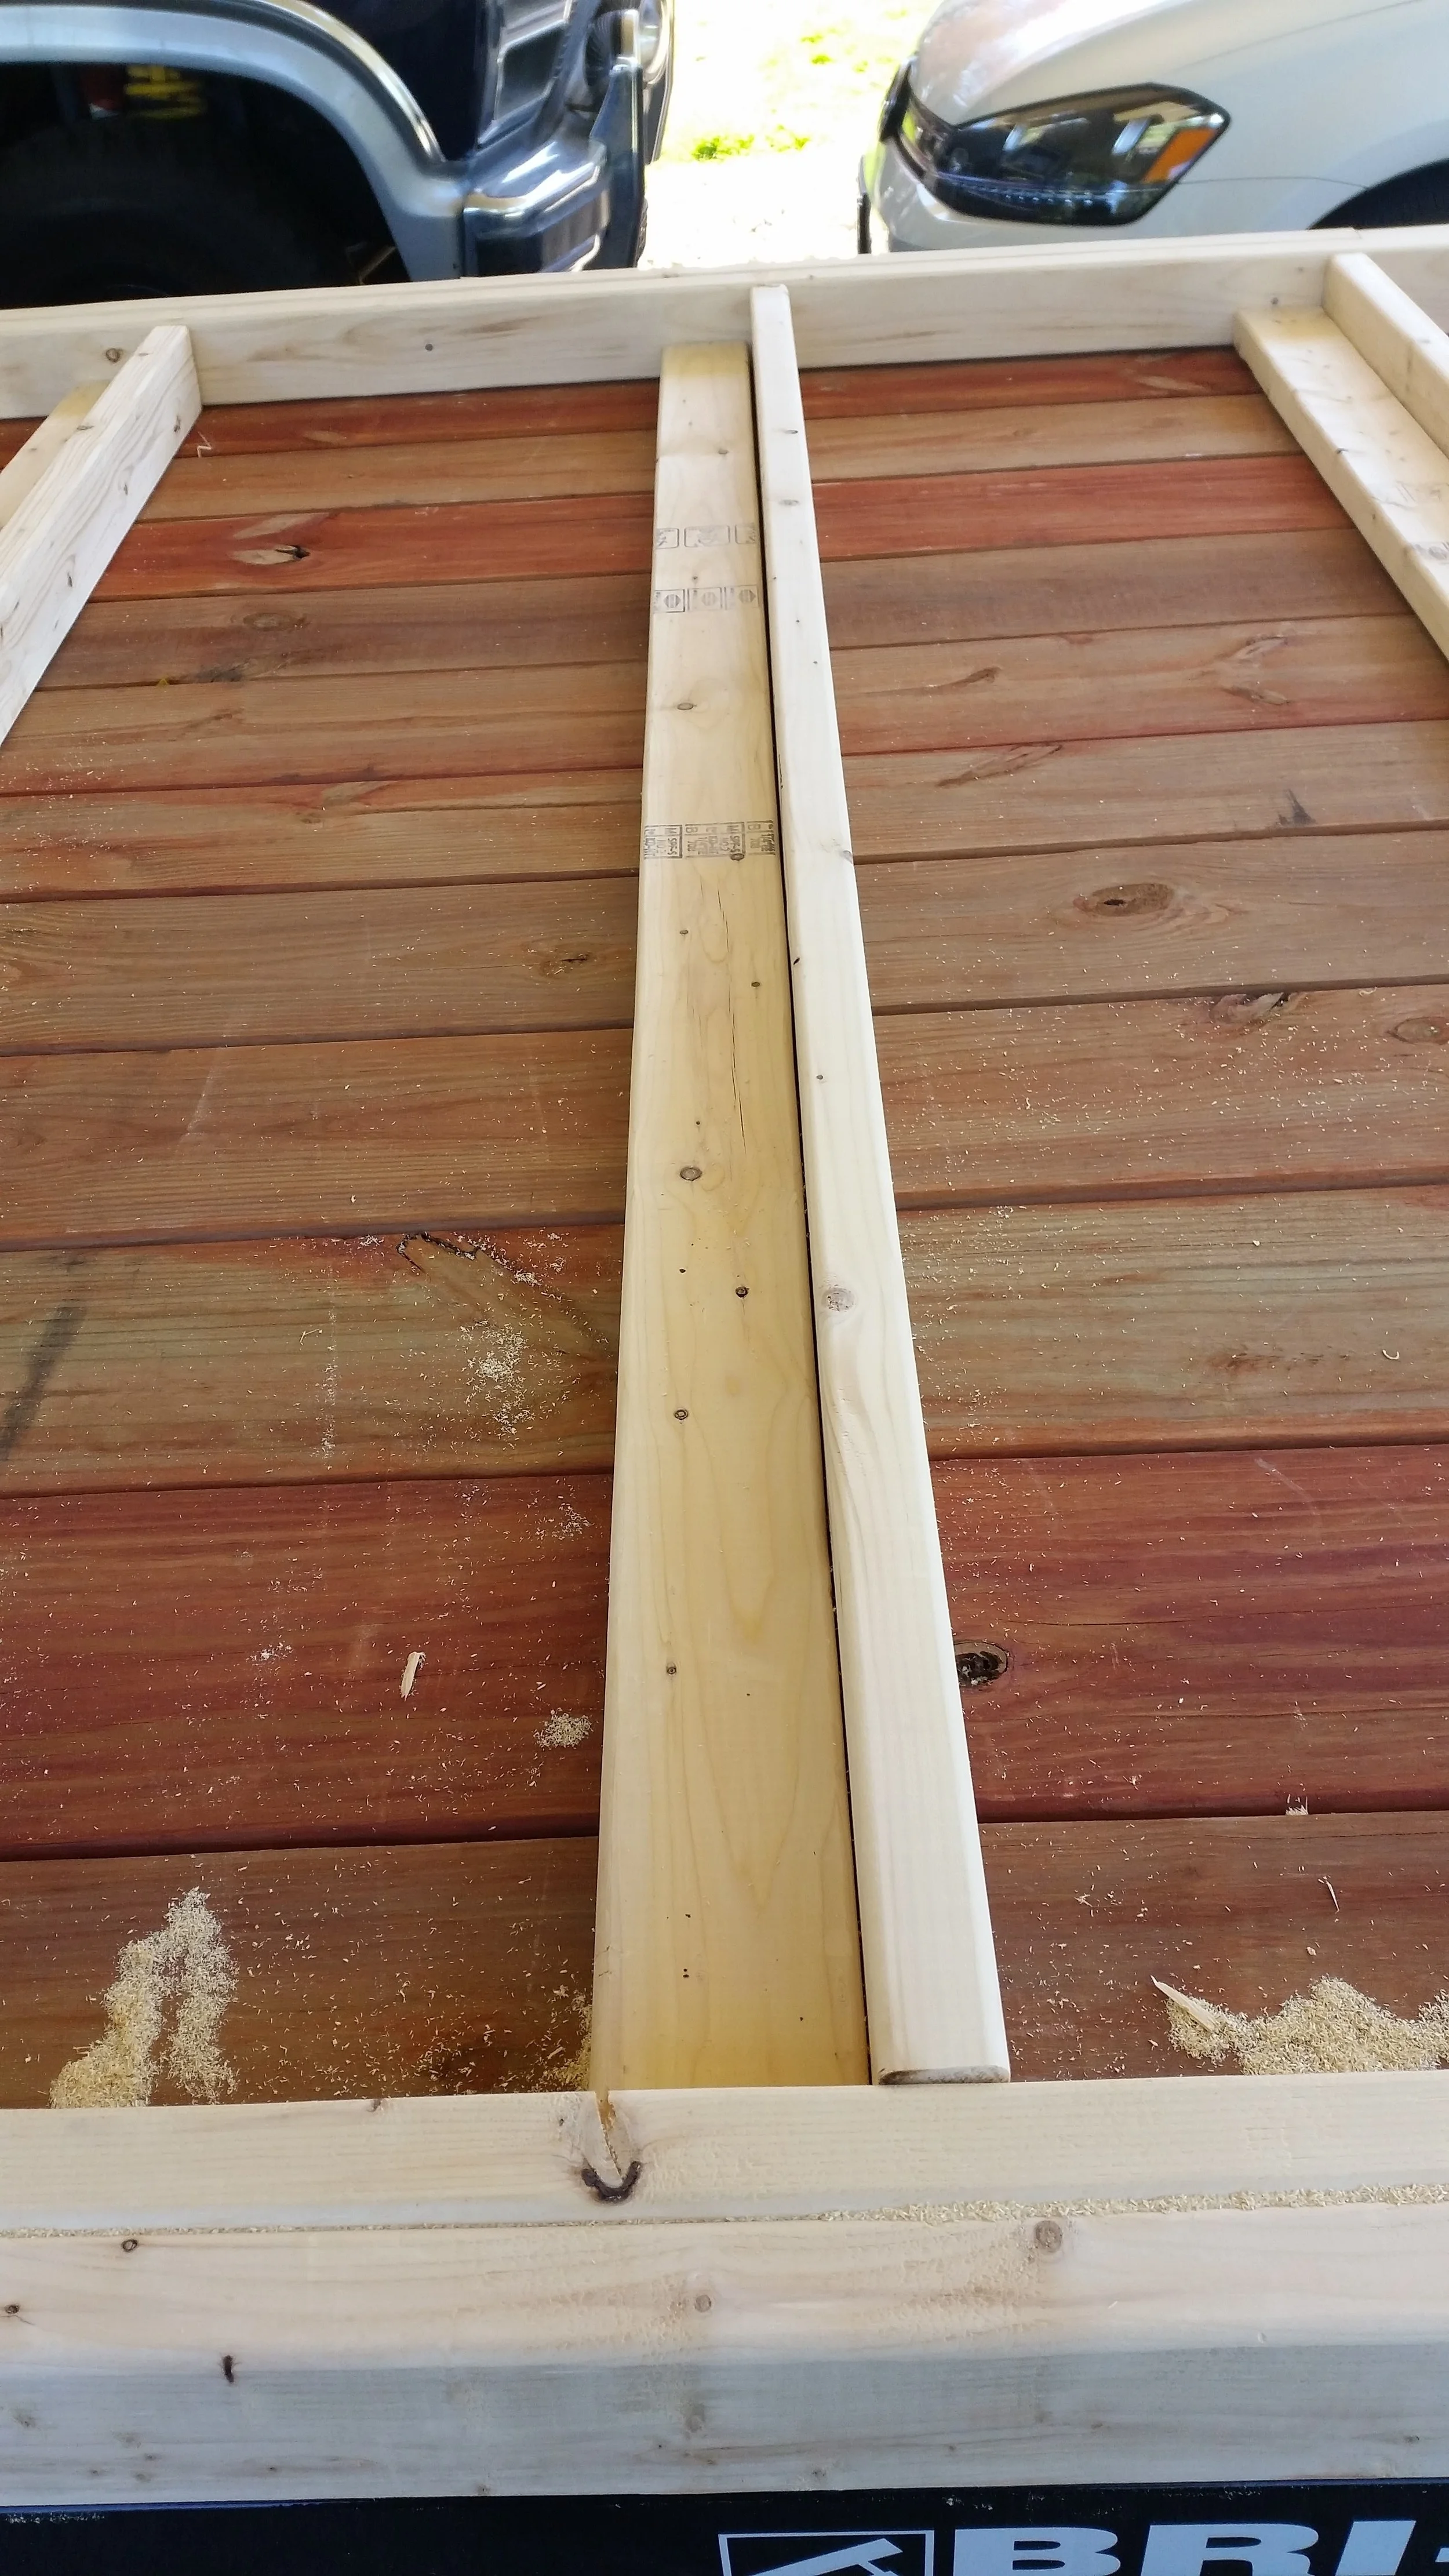
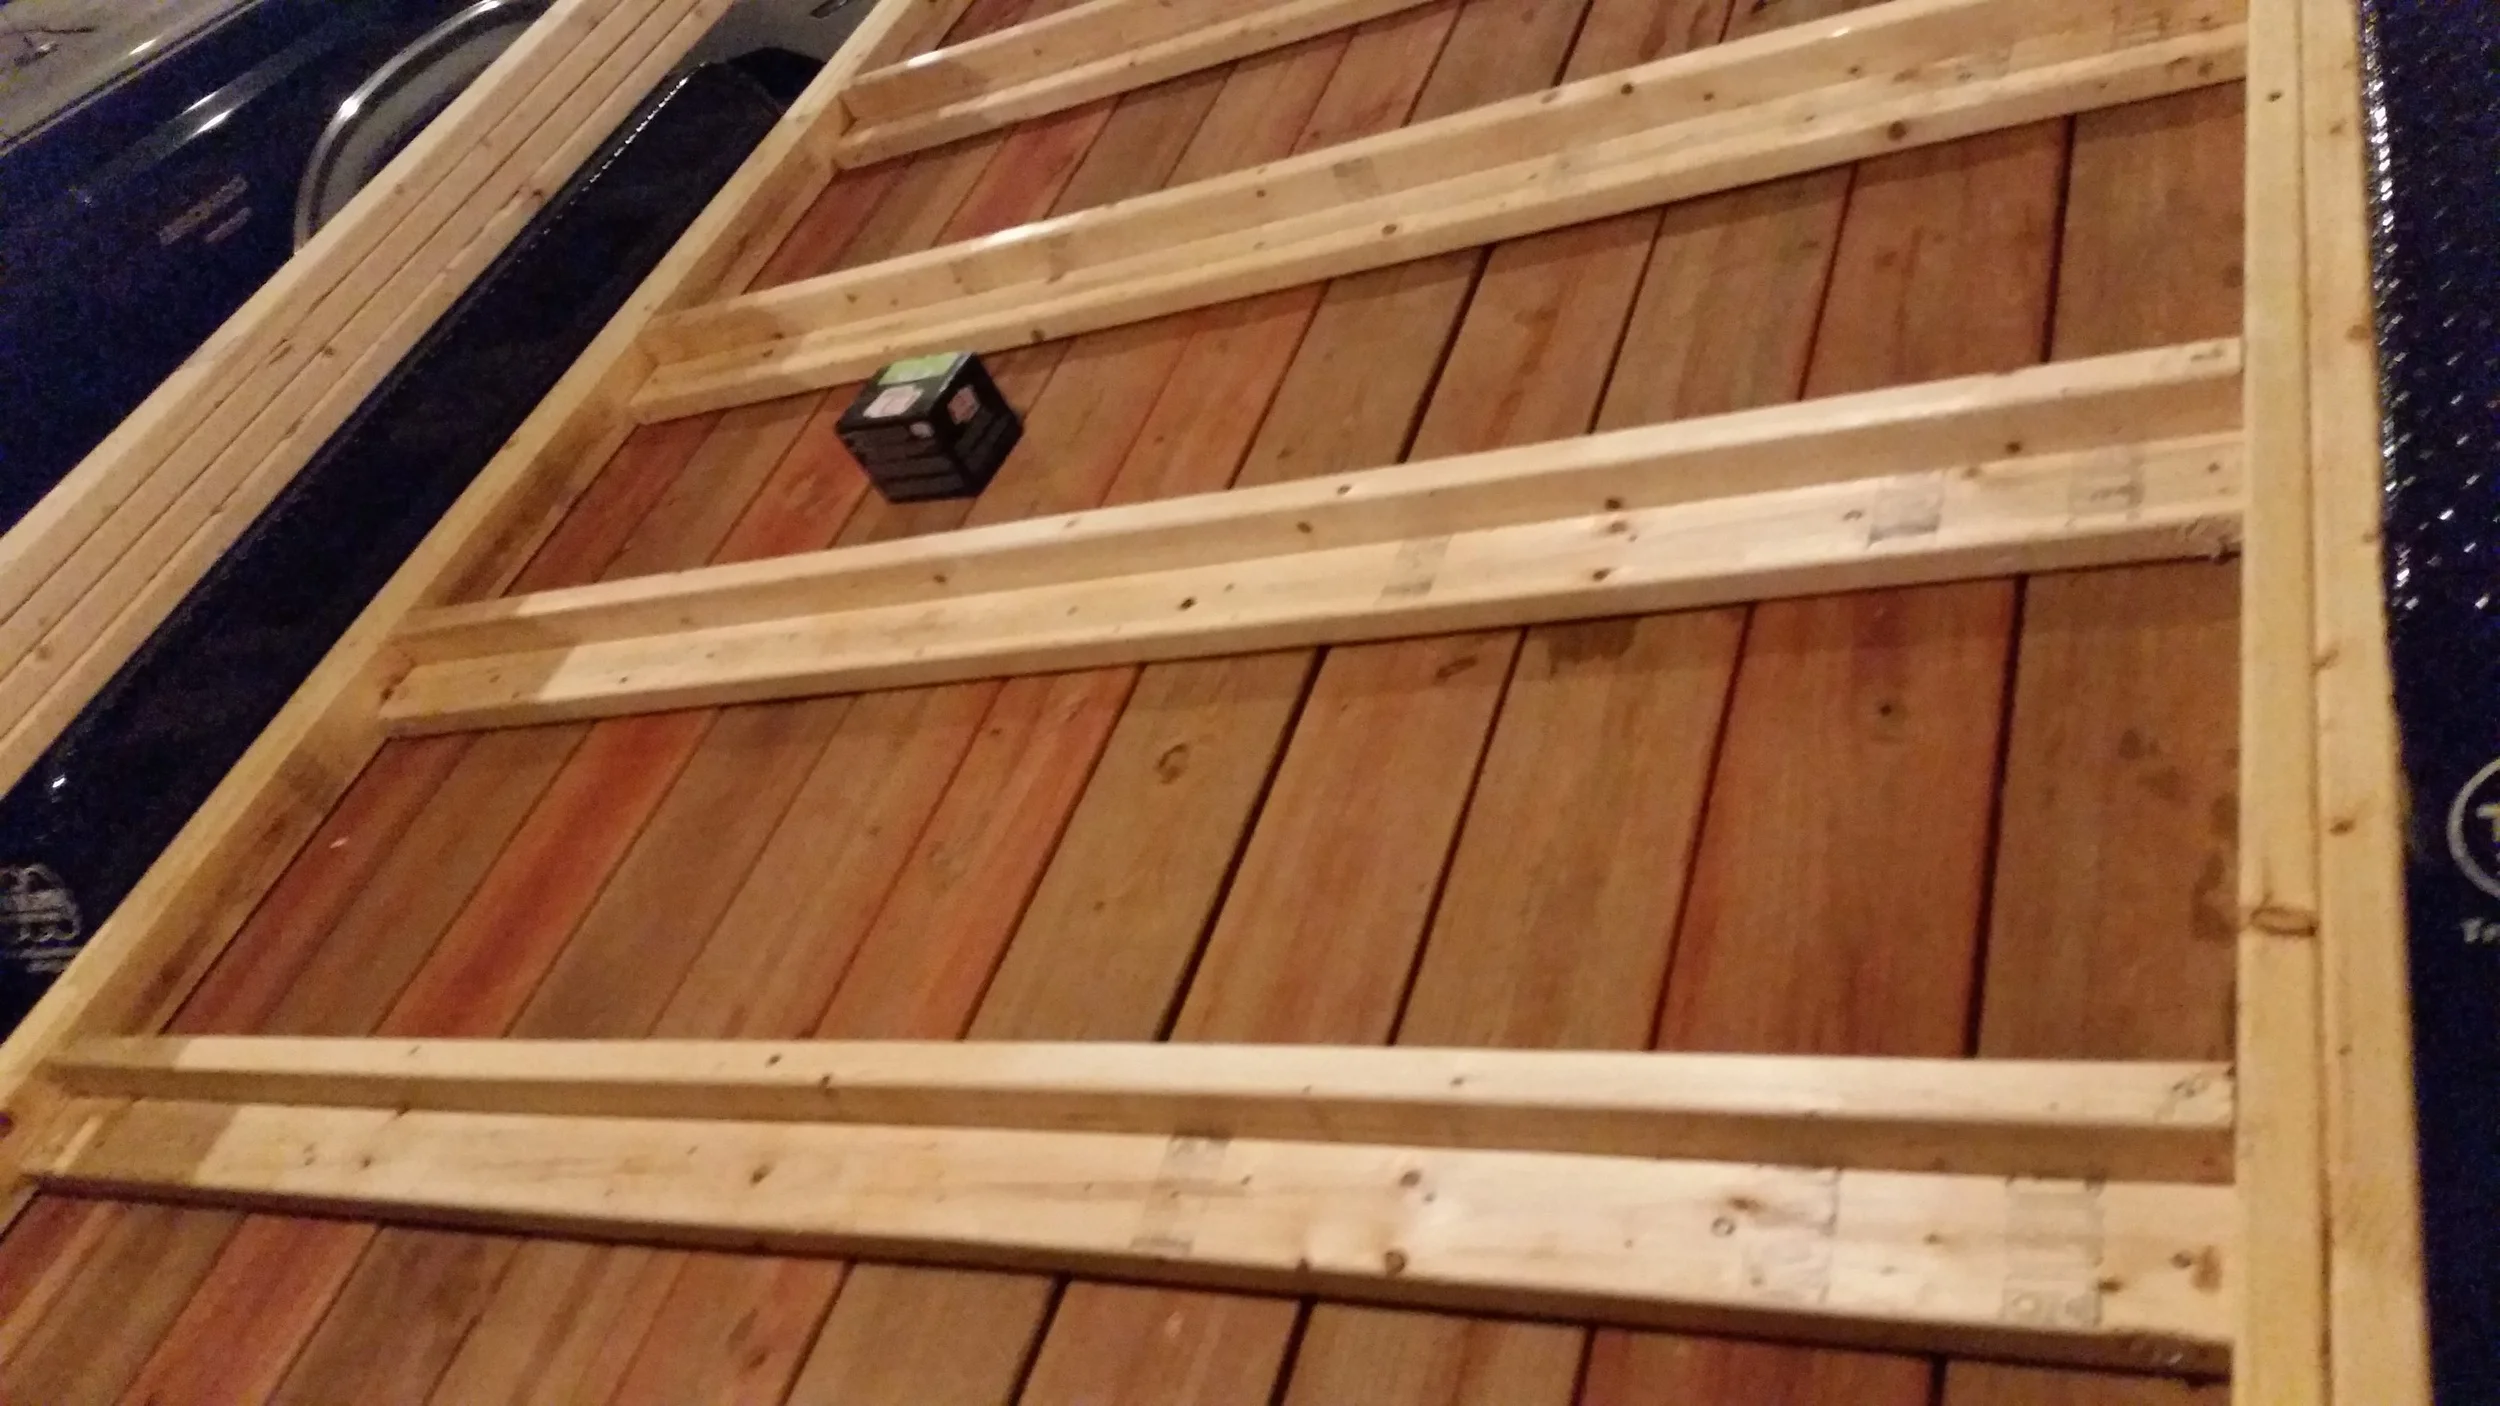
To accommodate the other two purposes, I simply double boarded the perimeter which will provide a wide and stable platform for the wall frames to rest.

I also set the subfloor 2x4's vertical and horizontal across the middle. The vertical ones are to support the floor, while the horizontal ones are to provide a firm surface to attach the subfloor to the trailer.

All these pieces of wood tie together to form a rather stable platform which should be able to support the whole house. The whole structure was coated in tung oil to protect it from rain and moisture as construction progresses. 

The next step: Building the walls!

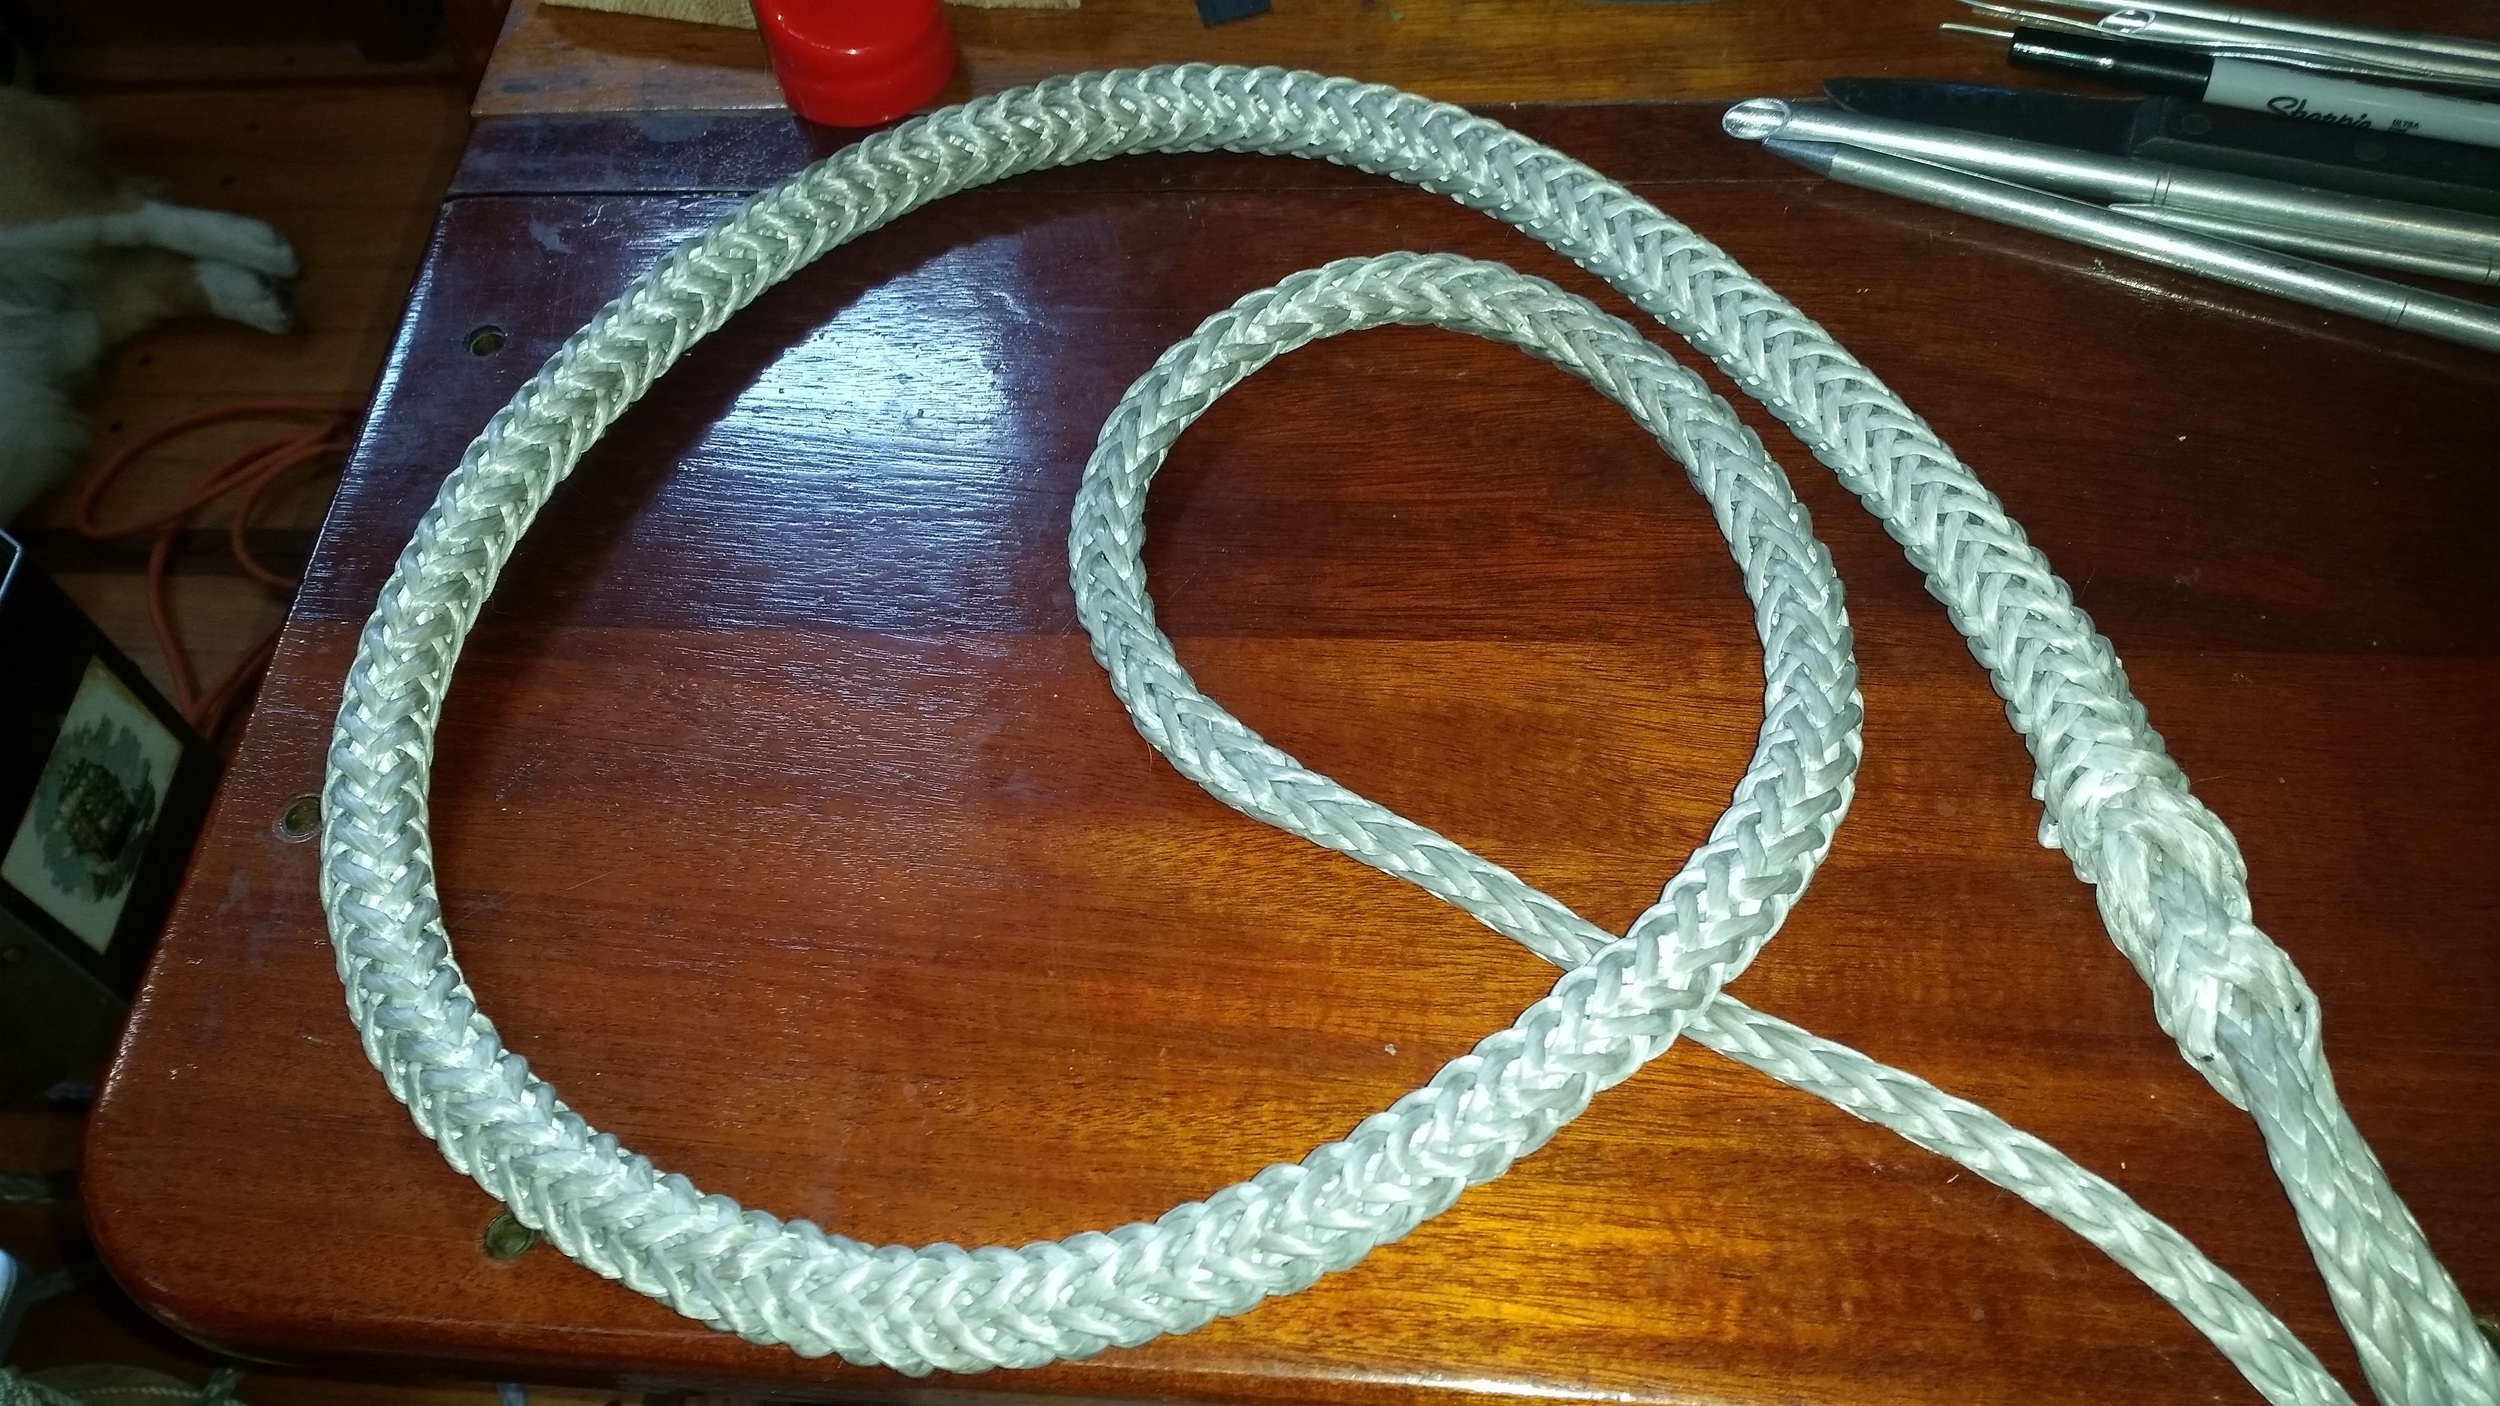
Dyneema End to End Splice

Connecting two pieces of dyneema is a simple task, it simply requires a lot of material to bury and a properly executed taper. The end to end splice consists of a Mobious Brummel splice with tapered buries. 

When I re-rigged Wisdom with synthetic standing rigging, I left the storm stays (inner forestay and check stays) in metal. We were going out into the Atlantic and I had no idea if the synthetic standing rigging with deadeyes would actually work. All the people I spoke to at the time about converting over to synthetics told me that it couldn't be done on a boat this size. I came up with this method, but it was till untested. If we came upon a severe storm, I wanted to know that the mast would stay up! Now that I know it works, I'm replacing the check stays with dyneema.

I originally designed an intricate cascading backstay adjuster which turned out to be unnecessary since it could be easily pulled by hand. Now I made 4 pieces for the backstay cascade out of STS-HSR which I never used. They ended up residing as expensive coils in a locker, waiting for the day they would become useful again. Since the checkstays are not under much tension, I decided that I would splice the scrap pieces together to make a piece that is long enough to reach from deadeye to mast tang.

I thought about ditching these pieces of dyneema, but they cost around $6 per foot or $240 for each stay.So I decided to save some money and use these shorter cut pieces by splicing them together to achieve the length I need.

Since these are going to be stays, I decided to go overboard with the buried sections. 9mm Dyneema needs (9mm x 72) 648mm or 25.5 inches of bury. This measurement usually includes the tapered end. I decided to make 25.5 inches of bury before the 25.5 inches of tapered section. This results in a buried section that is 51 inches long! When done on each side of the splice, this makes 102 inches of buried material. 

20160326_152655.jpg

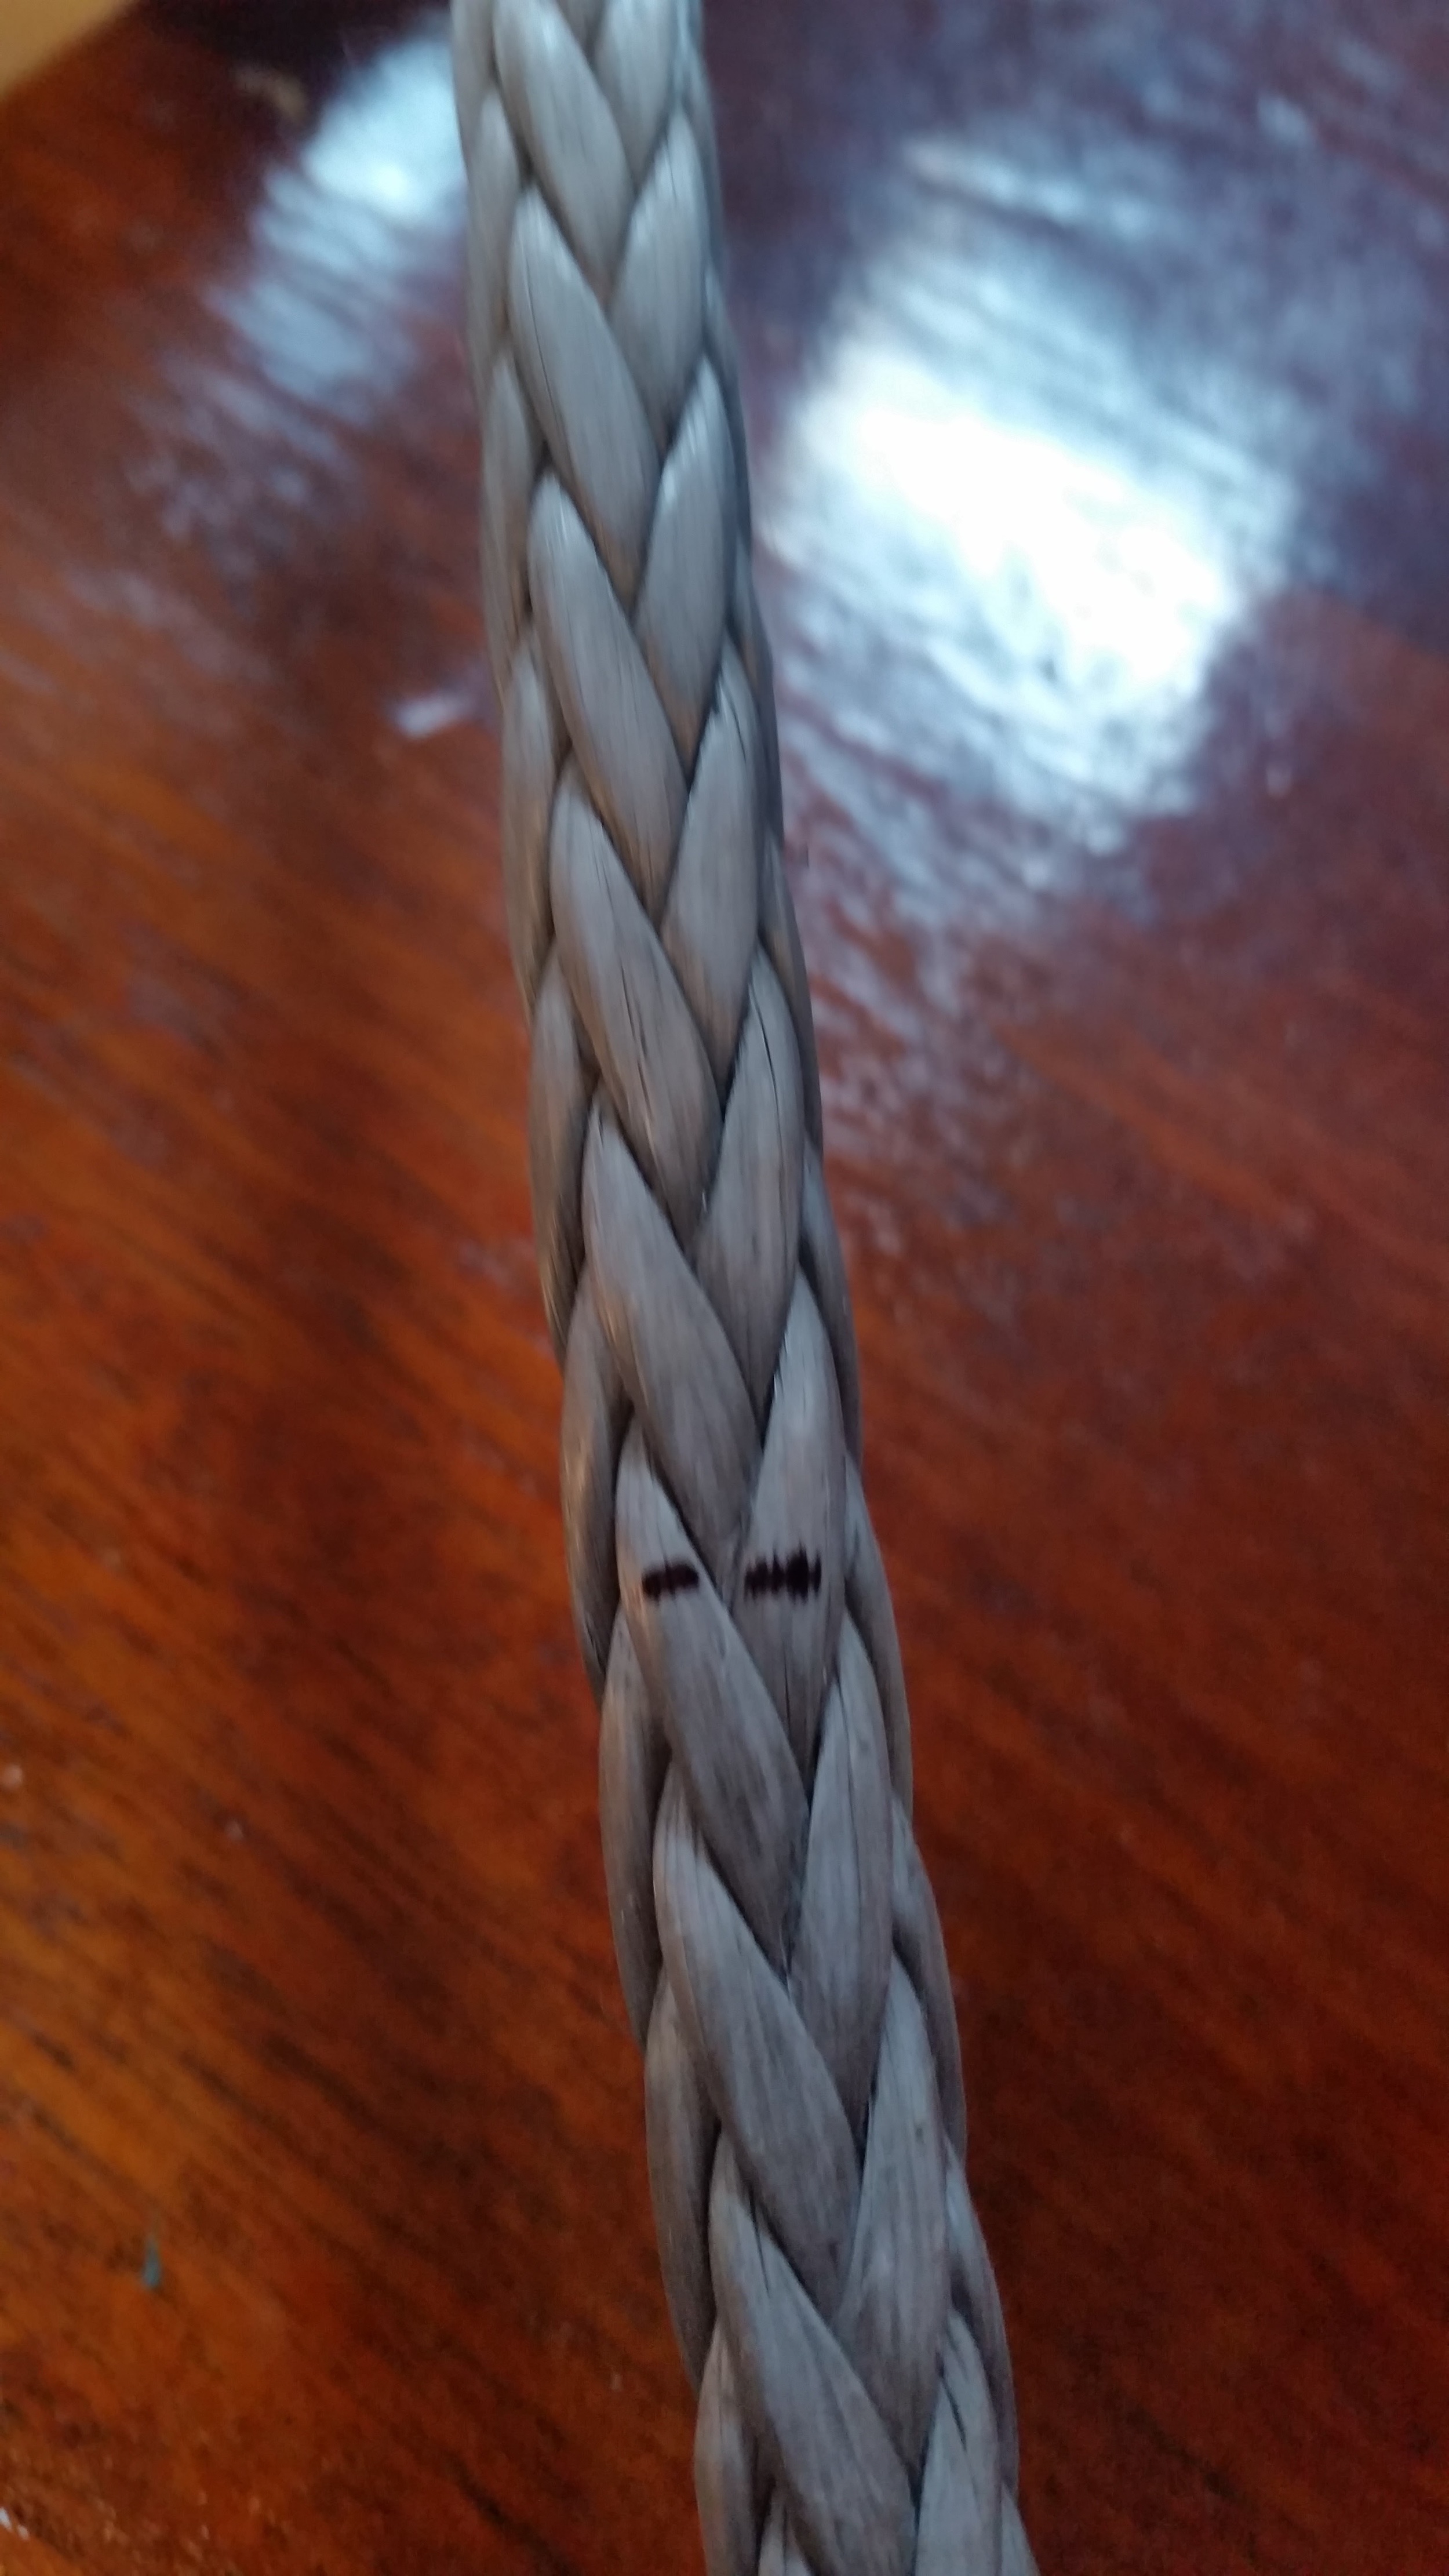
To begin, simply measure the tails and mark the strands with a marker that way they are easy to find later. I like to mark both strands on the V that I want to pass through. If you only mark one strand, you wont be sure if you are supposed to enter or exit above or below the neighboring weave. This might seem like an insignificant concern, but as a dentist and a perfectionist, being on the wrong side of the weave can alter the measurements by several millimeters. 

I marked the section where the splice will cross, and then again for where the taper is to begin. This leads to a rather long tail, as you can see.

20160326_152856.jpg

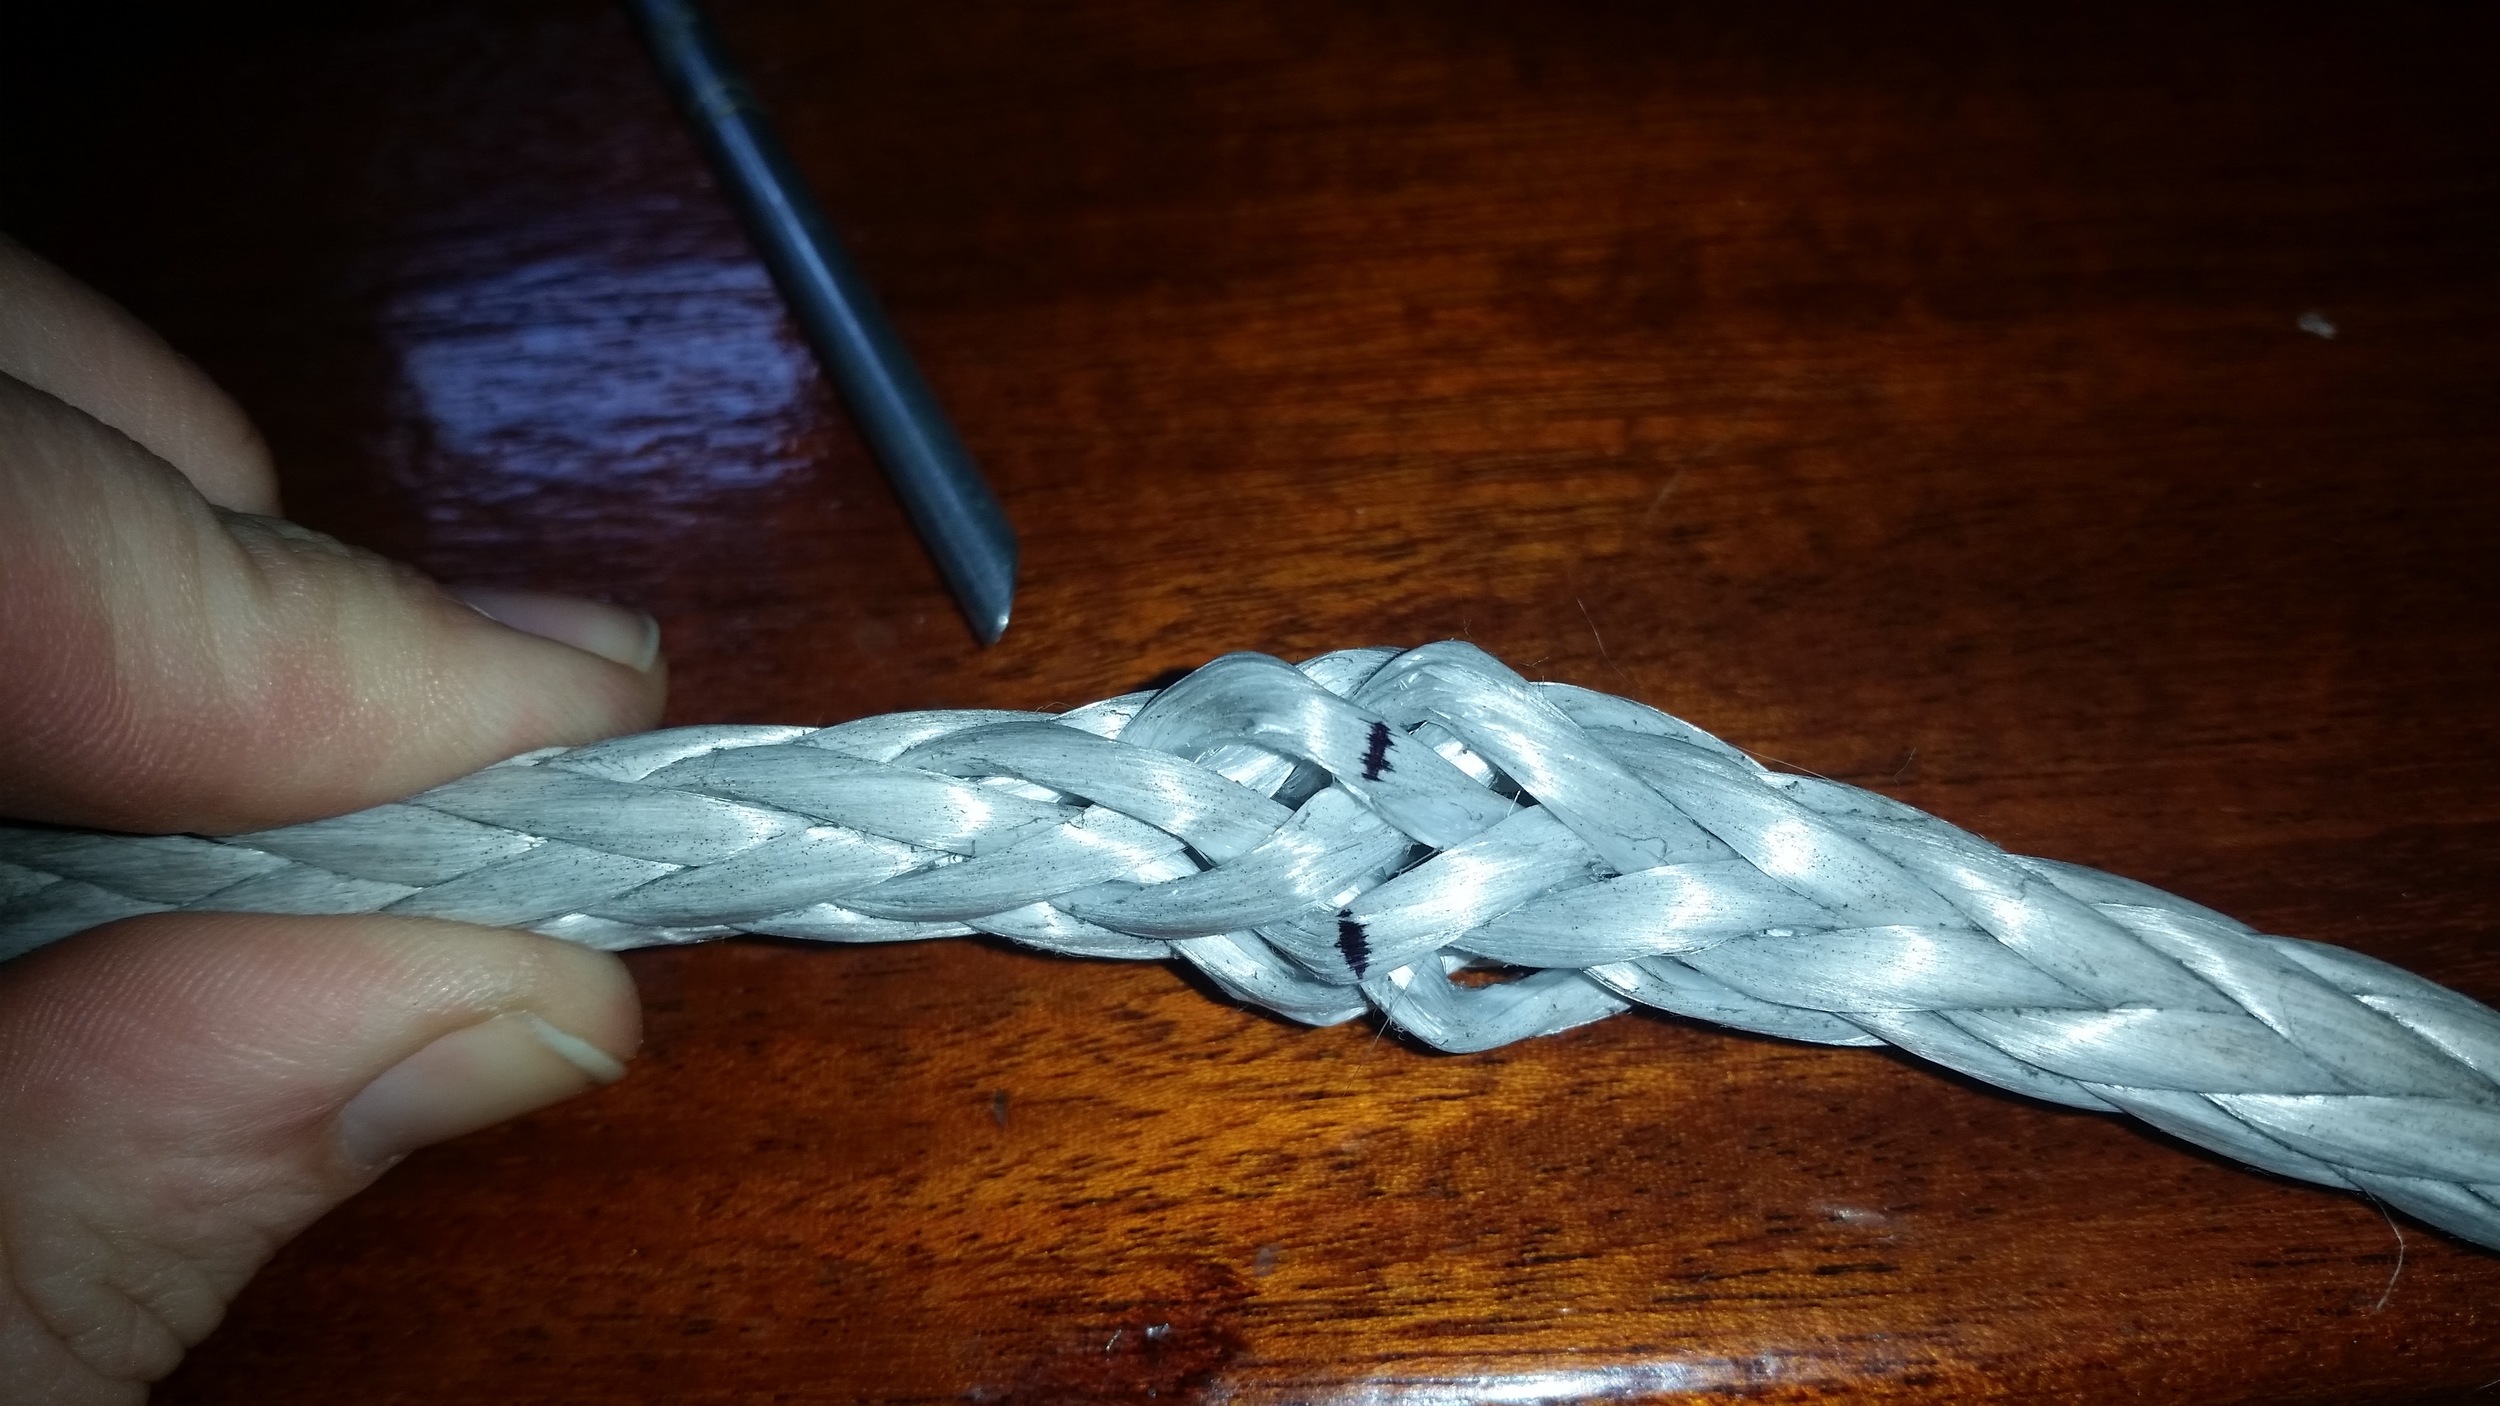
Then scruch the line together and pass the first line through the opening.

20160326_153156.jpg

I like to secure this crossing with a pin that way the lines don't move while I'm working.

Now, repeat the process on the other line, creating a mobious brummel splice.

20160326_153548.jpg
20160326_153601.jpg

If you are unsure if you properly executed the splice, push back on the tails, if the splice opens up, you did it right! If it won't open up, then you simply passed one line through the other line twice, creating a very weak splice called the "Long Bury Splice". 

20160326_153736.jpg

Now, pull the tail back and insert the fid into the weave to open passage for the tail that will now be buried inside the other line, securing the splice.

Pull the tail into the weave a sufficient distance to bury the whole tail and now pop it out of the weave. 

20160326_154353.jpg

Pull the tail out until the marks you made to begin the taper show and push a pin through with a dirty paw (heat set dyneema is hard and offers a lot of resistance to a passing needle).

20160326_155220.jpg

Now begin the tapering, this is purely mathematical. Count the number of strand rows from the mark to the end and divide by 12. This will tell you how many strands to skip between tapers. In my case, I trim every 5th strand, resulting in a slow and even taper.

Now work the tapered end back into the rope and be proud of yourself! You just completed one side of an end to end splice! Repeat the same process on the other side and you will have yourself a very secure splice! 

I didn't put in a locking stitch since I went overboard with the length of the tails and will be keeping a close eye on the splice as I take the constructional stretch out of the line. If you want to, a locking stitch will offer more security to the splice.