Alternatives to Reefing

When weather catches you offguard and you don't have time to reef just yet, these are ways to put it off for a moment. They involve using the sails to either spill air or to work against each other to reduce their efficiency.

A Fisherman's Reef is when you ease the mainsheet and sheet in the jib. This will create a bubble in the main that will take away the mains power. This is a very temporary fix that can help to depower the main during a blow. The air that comes off of the jib will blast into the eased main and create a bubble in the luff. This reduces the amount of sail area actually working and sort of accomplishes the goals of reefing temporarily.

Back winding the main is very similar to a Fisherman's Reef, but it doesn't involve easing the main. The over sheeted jib will create a similar bubble to the Fisherman's Reef which will reduce the effective sail area of the main, and depower the sails to a lesser extent than the Fisherman's Reef.

Tightening the topping lift will raise the boom and force a twist into the sail. This will allow you to sheet the sail in close hauled while still maintaining a twist. The twist will spill almost all of the air in the top of the sail which will greatly reduce heeling. The top of the sail can turn into a flag and begin flogging which is damaging to the sailcloth. If the sail begins to flog, a reef should be put in immediately.

Lastly, you can ease the sails and change course onto a run. This will lower the apparent wind speed and make conditions feel somewhat calmer while you put in your reefs. 

You may have noticed that all of these alternatives to reefing simply buy some time when you need to reef, but they all end in putting the reef in. This is because there is no replacement for reefing when it is necessary.

Trim, comfort, and control will be restored once the sails are reefed for the appropriate weather conditions.

Fixing a Burst Hose with Fancy Knots

A squall passed through and caused the boats in the marina to bounce around with the kicked up seas. This is not usually an issue, except that the water hose that I use to fill the tanks snagged on a cleat's horn, ripping the hose open and making it useless.

Some people would replace the entire hose, but the rest of it is just fine! I decided to cut out the torn section and reconnect the good ends using a double barbed fitting. The repair is going to be around ankle high and I didn't want anyone to snag themselves on a hose clamp, so I opted to use a much softer material: Rope!

I tied double constrictor knots over the barb section and pulled it tight by using two sticks with marlin spike hitches. This allowed me to use my full body strength to constrict the knots down, ensuring a leakless junction.

The true test came when I turned on the water and let the hose hold pressure. Not a drop came out of the junction! If you ever find yourself in a situation where a hoseclamp might not e the best choice, consider using a double constrictor knot instead.

Floating Pier vs Fixed Pier

When selecting a marina to stay in, sometimes you are presented with the options of Floating Piers and Fixed Piers. Does it make a significant difference for you? 

Fixed Piers are attached to pilings that are set into the sea floor. The pier is bolted to them and they provide a fixed and rigid surface to attach your boat. In areas with greater tidal variance, this can provide some complications. First of all, your docklines need to allow for the rise and fall of your vessel. Secondly, you will need to jump from your boat to the pier.

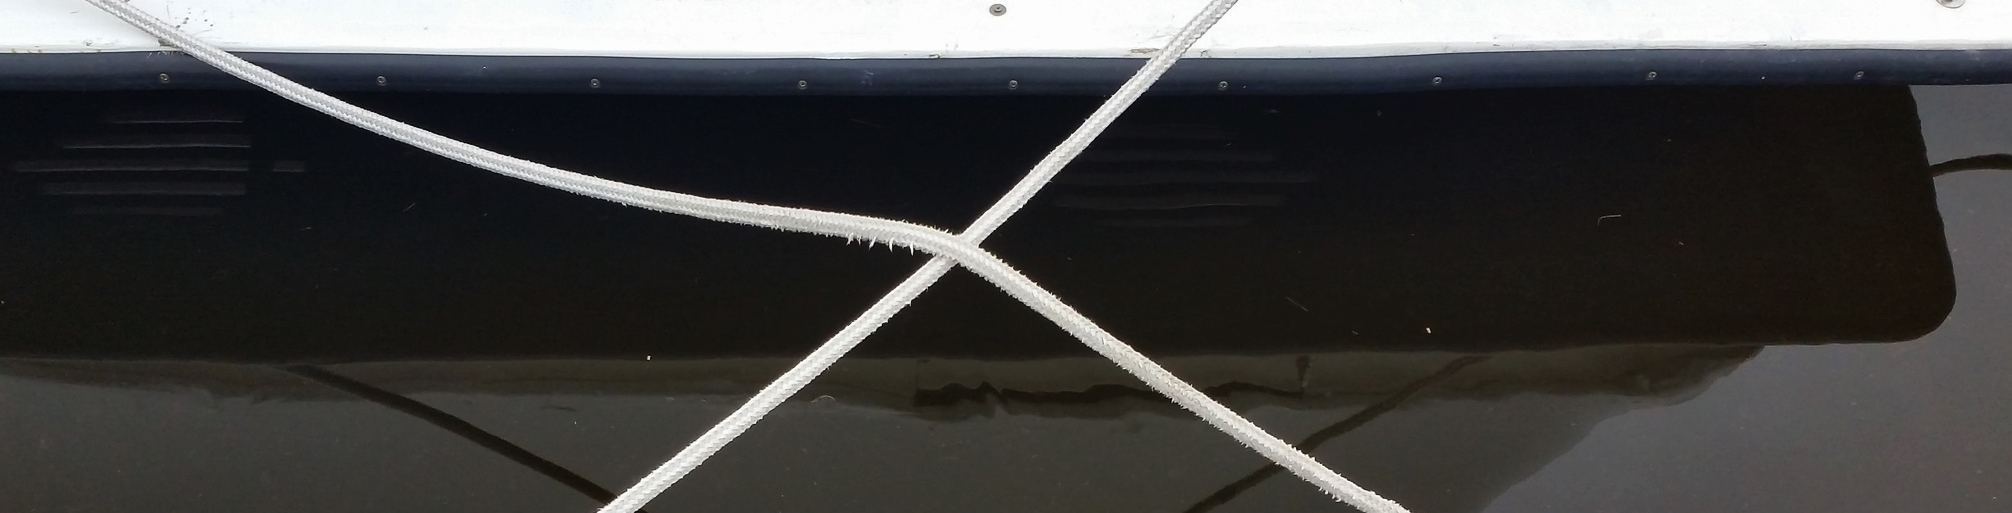
Setting your docklines to allow for tidal variations is crucial when tying up to a fixed pier. I have seen boats arrive at high tide and tie up with short lines. The tide went out and the sea level lowered by 4 feet, putting incredible strain on the docklines until the cleats ripped out of the boat. The owners had left for the day so we had to tie their boat to railing and seats to keep it from drifting off. Setting the docklines up in long crossing patters will allow for greater rise and fall of the vessel without putting stress on the lines and cleats.

This is at mid-tide. 

This is at mid-tide. 

The second issue with fixed piers comes when you try to board or leave your yacht. I am 6 feet tall, and I have had trouble getting off the deck of boats at low tide. The pier is set so high up to allow for spring tides that you can't reach the planks to get off your boat at low tide. On the contrary, I have also seen marinas that go underwater during very high tides. This poses many risks. If the power is not turned off, you can be electrocuted from the submerged shore power cables. The other risk comes from drowning; if you step off of the pier by accident (it's underwater so you can't always see it if the water is murky) you could fall in and drown. It is entertaining to see people "walking on water" when the pier is awash! 

As you can see, the pitfalls of a fixed pier all deal with areas where there is a great tidal variance. If you live somewhere where there is minimal tides, then a fixed pier will work wonderfully. If you are somewhere with great tidal variations, consider tying up to a floating pier.

Floating piers rise and fall with the tides and your boat. The pier will always be at the same height relative to your boat, so you don't have to worry about your docklines getting tight. The pier will never be towering overhead or submerged like a fixed pier either. It will always be a comfortable step away from your boat. While floating piers may sound like a magic bullet for docking tidal management, they do have one major pitfall. The floating piers work by rising and falling against fixed pilings. These pilings are very secure and allow the pier to effortlessly slide up and down as the tides rise and fall. The problem lies with the absolute height of the piling. If a storm surge causes the water level to rise higher than the tops of the pilings, the whole marina will be set adrift! For this reason, the pilings extend very far above the normal high tide. Even so, look for chafe marks on pilings in a floating marina; these are marks made during a storm when the water levels were very high. Our home marina in Fells Point has wear marks about 3 feet below the top of the piling. I'm sure that must have been stressful for the liveaboards at that time!

Having tied up to both, I personally love the convenience of a floating pier. When presented with the option, I almost always am willing to pay a little more per foot of docking to not worry about the tides!

To Cross or Not To Cross

When you tie up in a slip, you have the choice to cross the bow and stern lines or to run them straight. There are advantages to crossing in certain situations, but as with everything, there are drawbacks.

The reasons to cross the lines in the slip are to provide a longer line leading from the boat to the dock cleat. This longer line will provide more stretch as well as make tidal variations less sensitive. 

This sounds all well and good, but the problem that follows with crossed dock lines all pertain to chafe. The lines will lay in contact with each other as the boat moves around in the slip, causing the lines to rub against one another. If left unchecked, the lines could eventually chafe through causing the boat to drift into the pier and sustain damage.

The only time when crossed docklines are deemed mandatory are when you are tied up to a fixed pier in an area with a great tidal variation. Crossed docklines will provide the boat with the flexibility to rise and fall with the tide without threatening to rip the cleats out of your hull. Any other situation, crossing the docklines offers no advantage and only invites the issues associated with chafe.

While chafe can be prevented by supplying the lines with chafe covers located at the point of contact, it is best to avoid the problem all together if possible.

When tied to a floating pier, the pier and its cleats will rise and fall with the tide, along with your yacht. Crossed docklines will serve no advantage here.

If you need the additional length of line to help absorb shocks as your vessel moves about in the slip, the correct solution should not be to cross the docklines, but instead to select a dockline that offers more elasticity. I see people with all sorts of contraptions to offer elasticity in their double braid docklines, when the truth is they should use stretchier Three Strand Nylon which will offer all the stretch they would need. 

Next time you tie up to a pier, look at the situation before you cross your docklines. If you need to, then do it. If you don't actually need to, avoid crossing your lines and avoid all the problems of chafe that are associated with it. 

Tiny House Trailer!

Maddie paints in a "creative" way, which results in paint going everywhere. When she paints on the boat, she has to be much more careful and clean up any paint droplets before they dry on the interior wood.  Her primary studio is at her parents house, which is rather far for her to drive everyday. Since she wants to paint more freely and I don't want the interior of Wisdom to be painted, we decided to make a studio closer to home. The solution: Tiny House on a trailer!

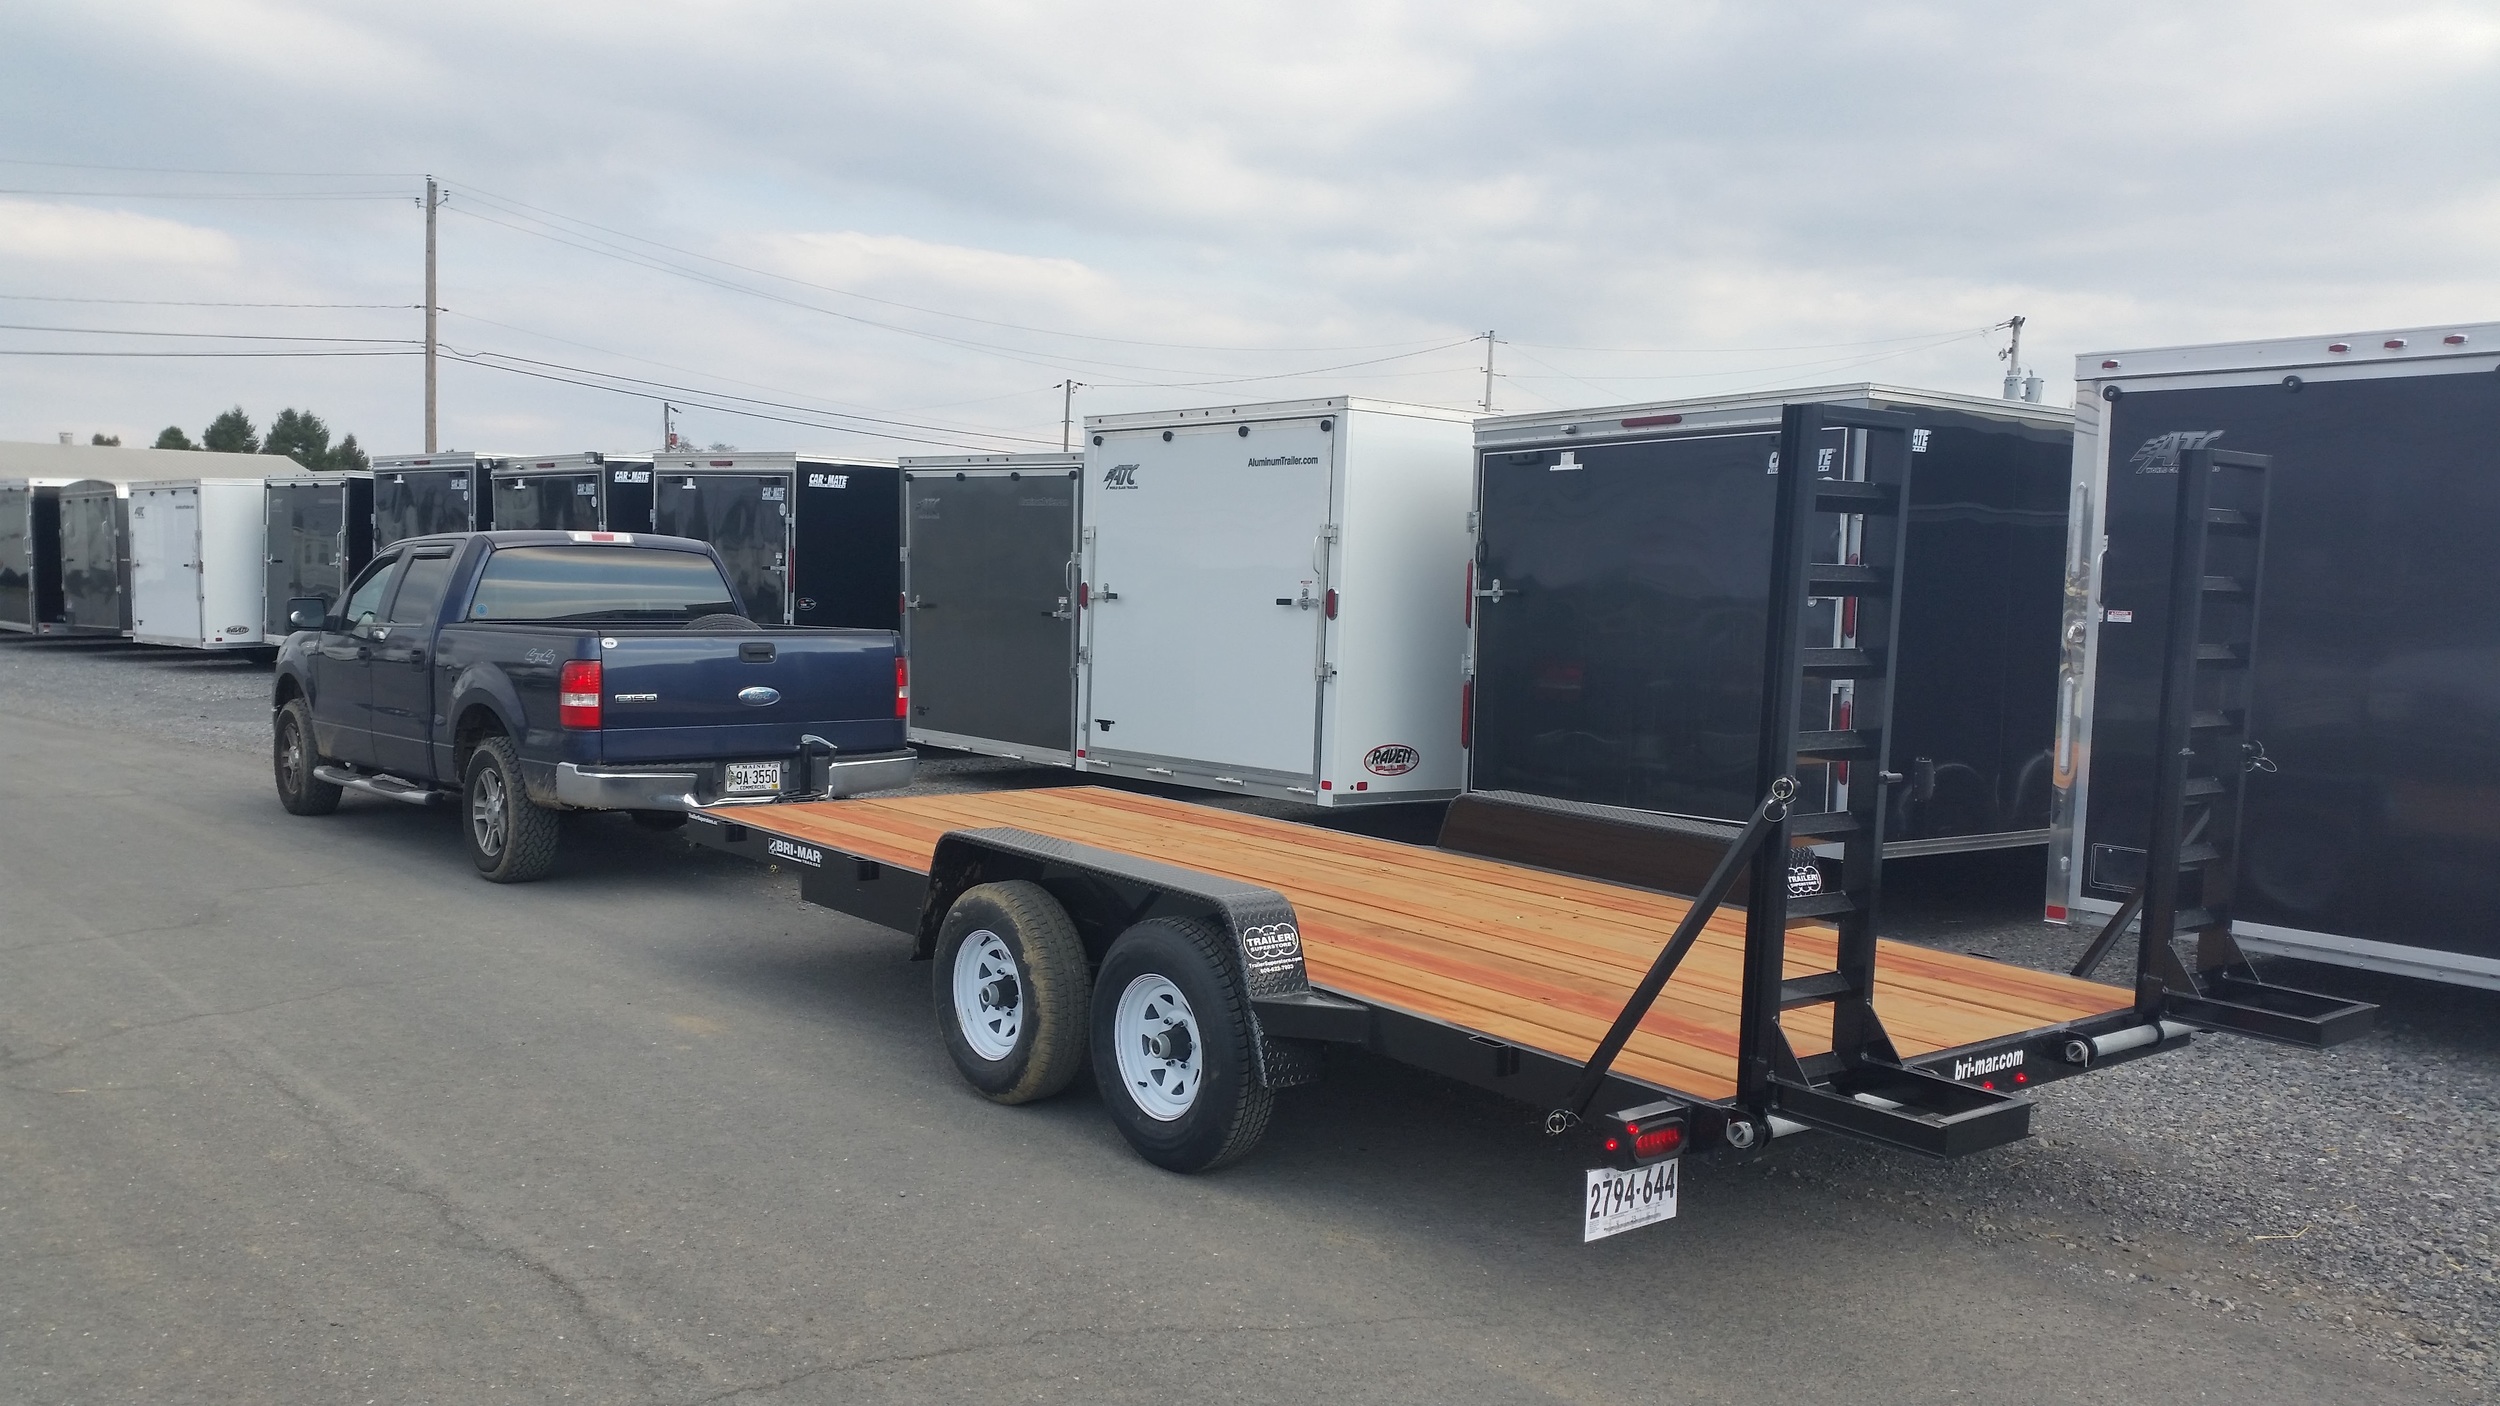
I picked it up from the distributor in Pennsylvania, and trucked it back to my parents yard to begin construction.

It's an 18 foot utility trailer with a flush deck that will provide a flat platform for us to build from there. At the moment we are still deciding on the final floor plans, drawing out designs in chalk and walking through the imaginary layouts. Maddie wants lots of light through big windows and a lofted bed, and I want straight forward construction.

While I have never built a land based structure before, the construction plans look to me like an upside down hard chine boat. The peak of the roof is the keel, the roof and walls are the frames with the siding being equivalent to the planking. 

Once it is completed, Maddie will have a studio that we can keep wherever we want since it's on wheels!