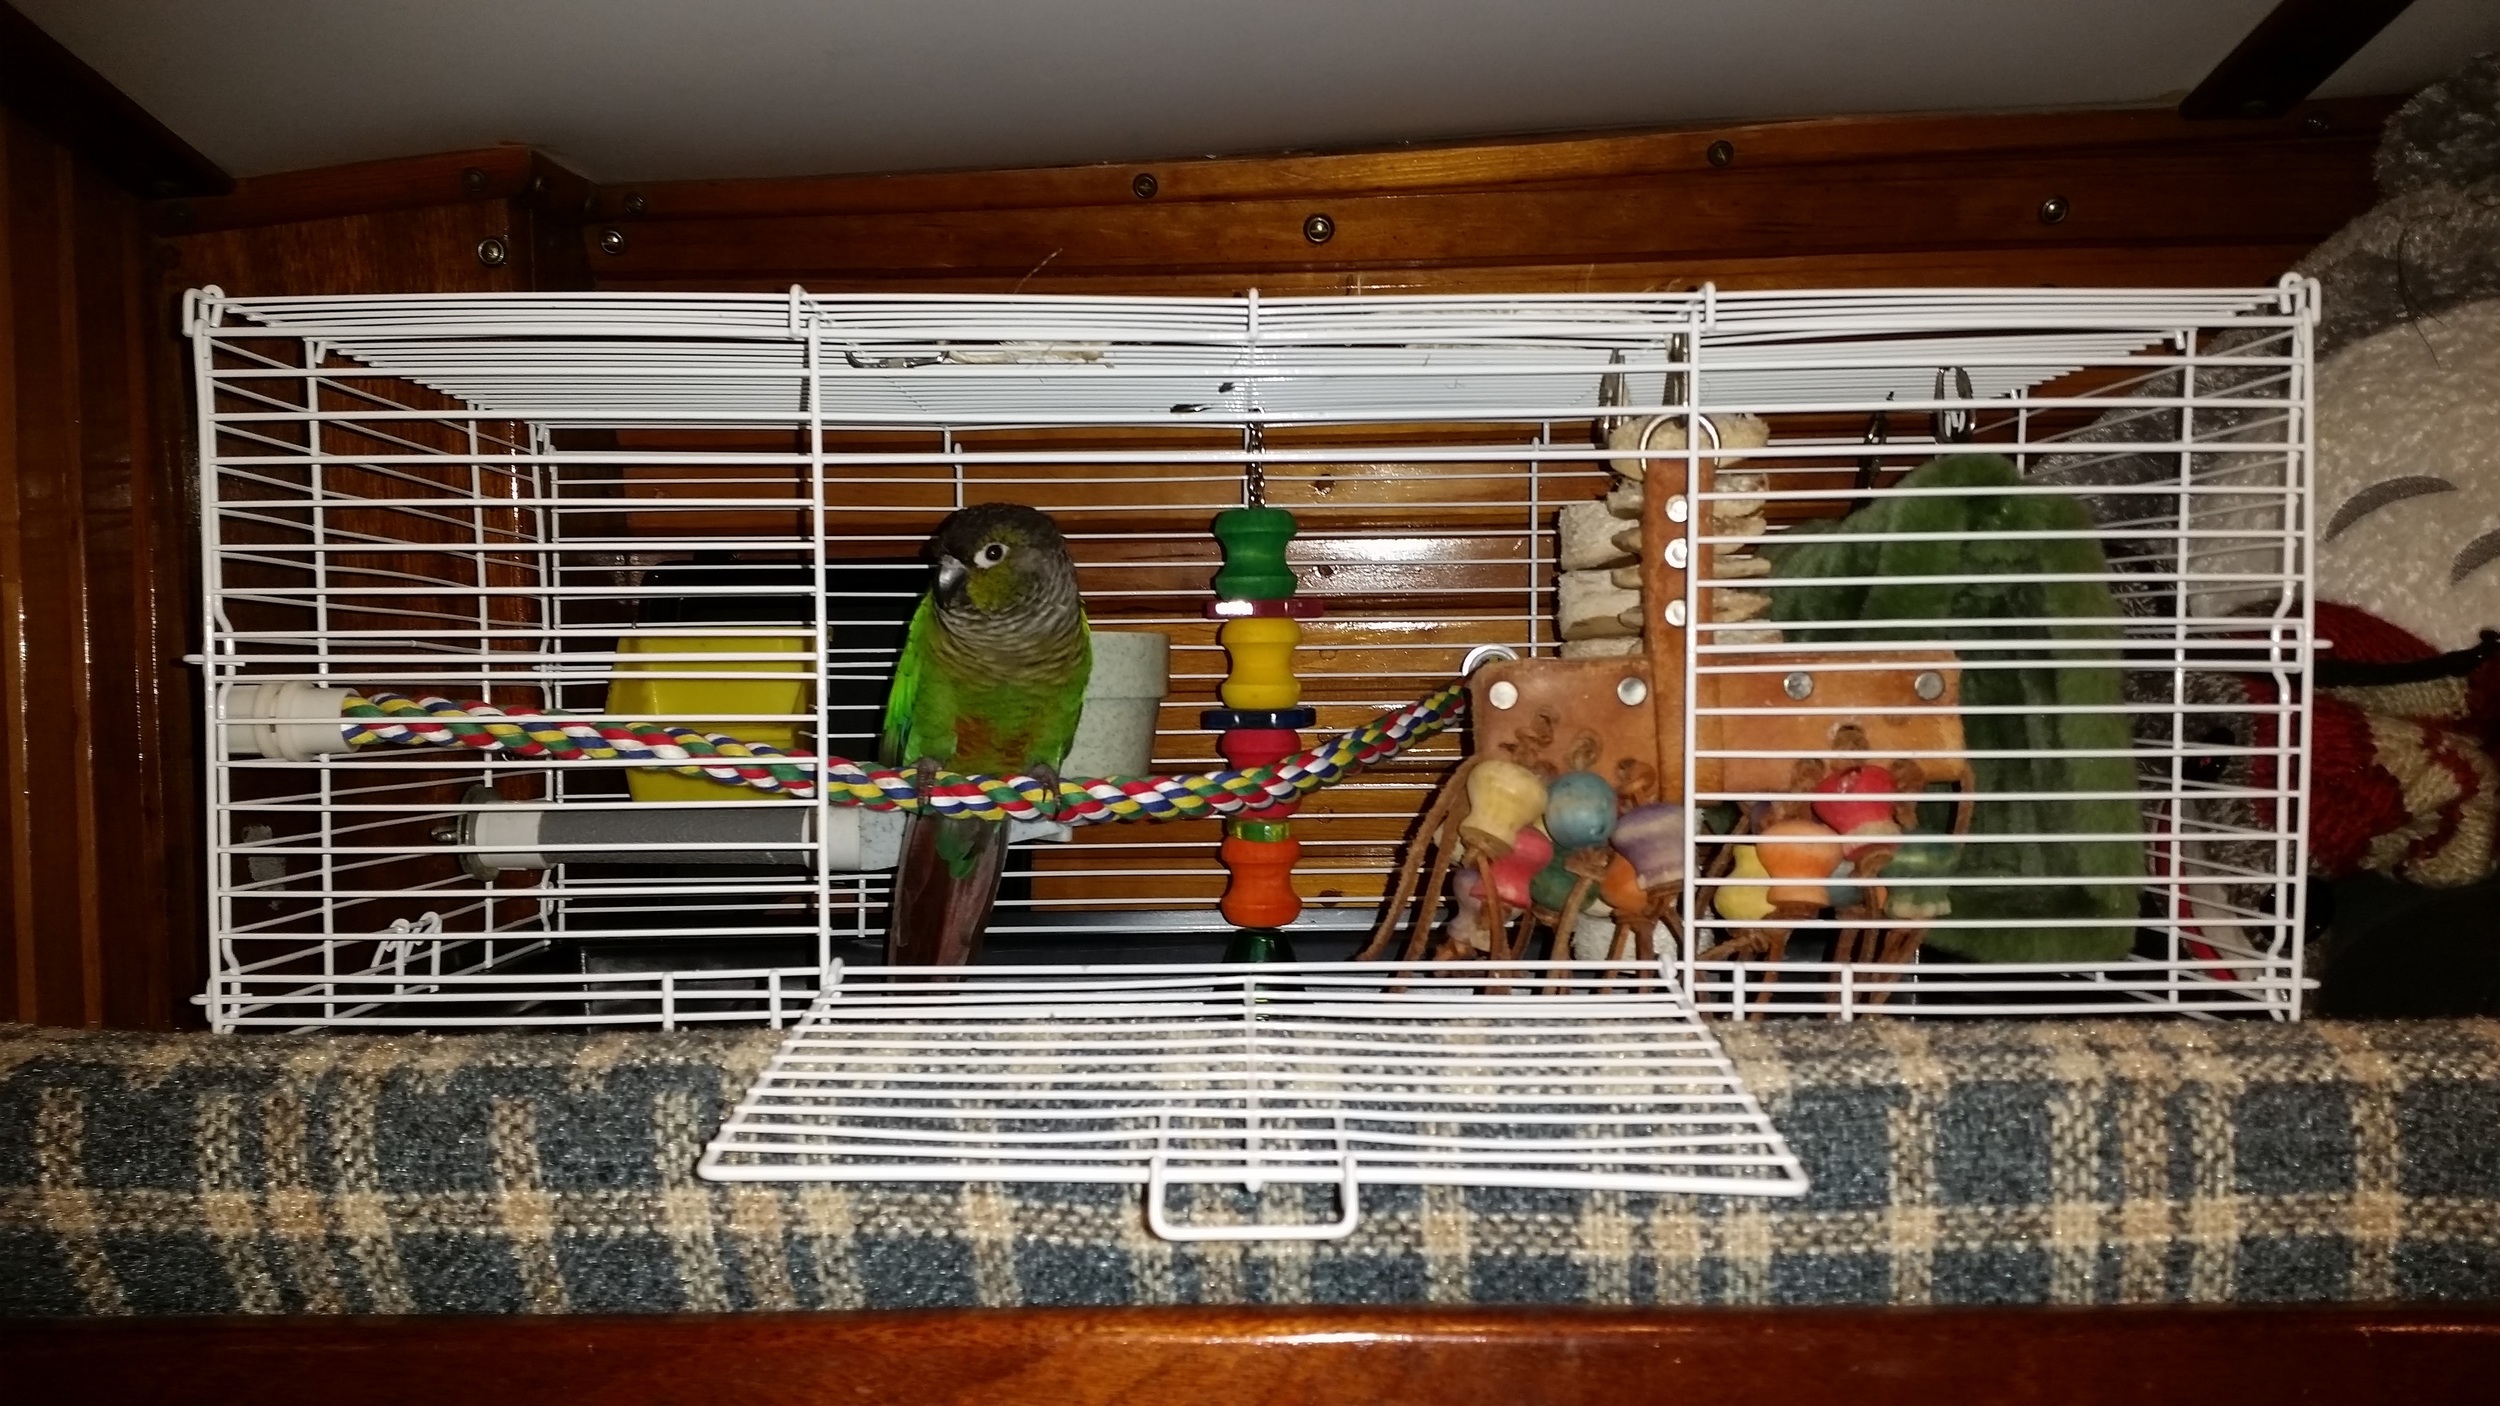
Sammy's New Home

Sammy has finally gotten a larger cage that also fits in the boat! Sammy's original cage was a hamster cage that sat on the table and was tied to the bulkhead to keep it from sliding off when we would

heel over while sailing. This worked well for many years, until Maddie moved in.

Maddie was less then enthused about Sammy coming out of her cage and stealing things from her plate (Maddie doesn't share food). Sammy is also a bit of a messy eater, so the table in front of her cage would be littered with bird seeds. The cage was very small for Sammy, but the door was never closed on it, so I didn't feel bad. To keep Sammy at bay while we were eating, we began closing the door and trapping her inside the tiny cage.

I quickly brought Sammy's old cage (from when I lived in an apartment) to the boat. This behemoth didn't fit anywhere! It dwelled on the settee waiting for the next alternative to present itself.

While wondering the halls of PetSmart, we came across a cage for rats! It was long, low, and would fit in the sea berth! The sea berth was cleared and we assembled Sammy's new home. It is filled with her toys, food and water dishes, and a bed; it is out of the draft from the A/C system, and hides behind the fiddles of the sea berth. 
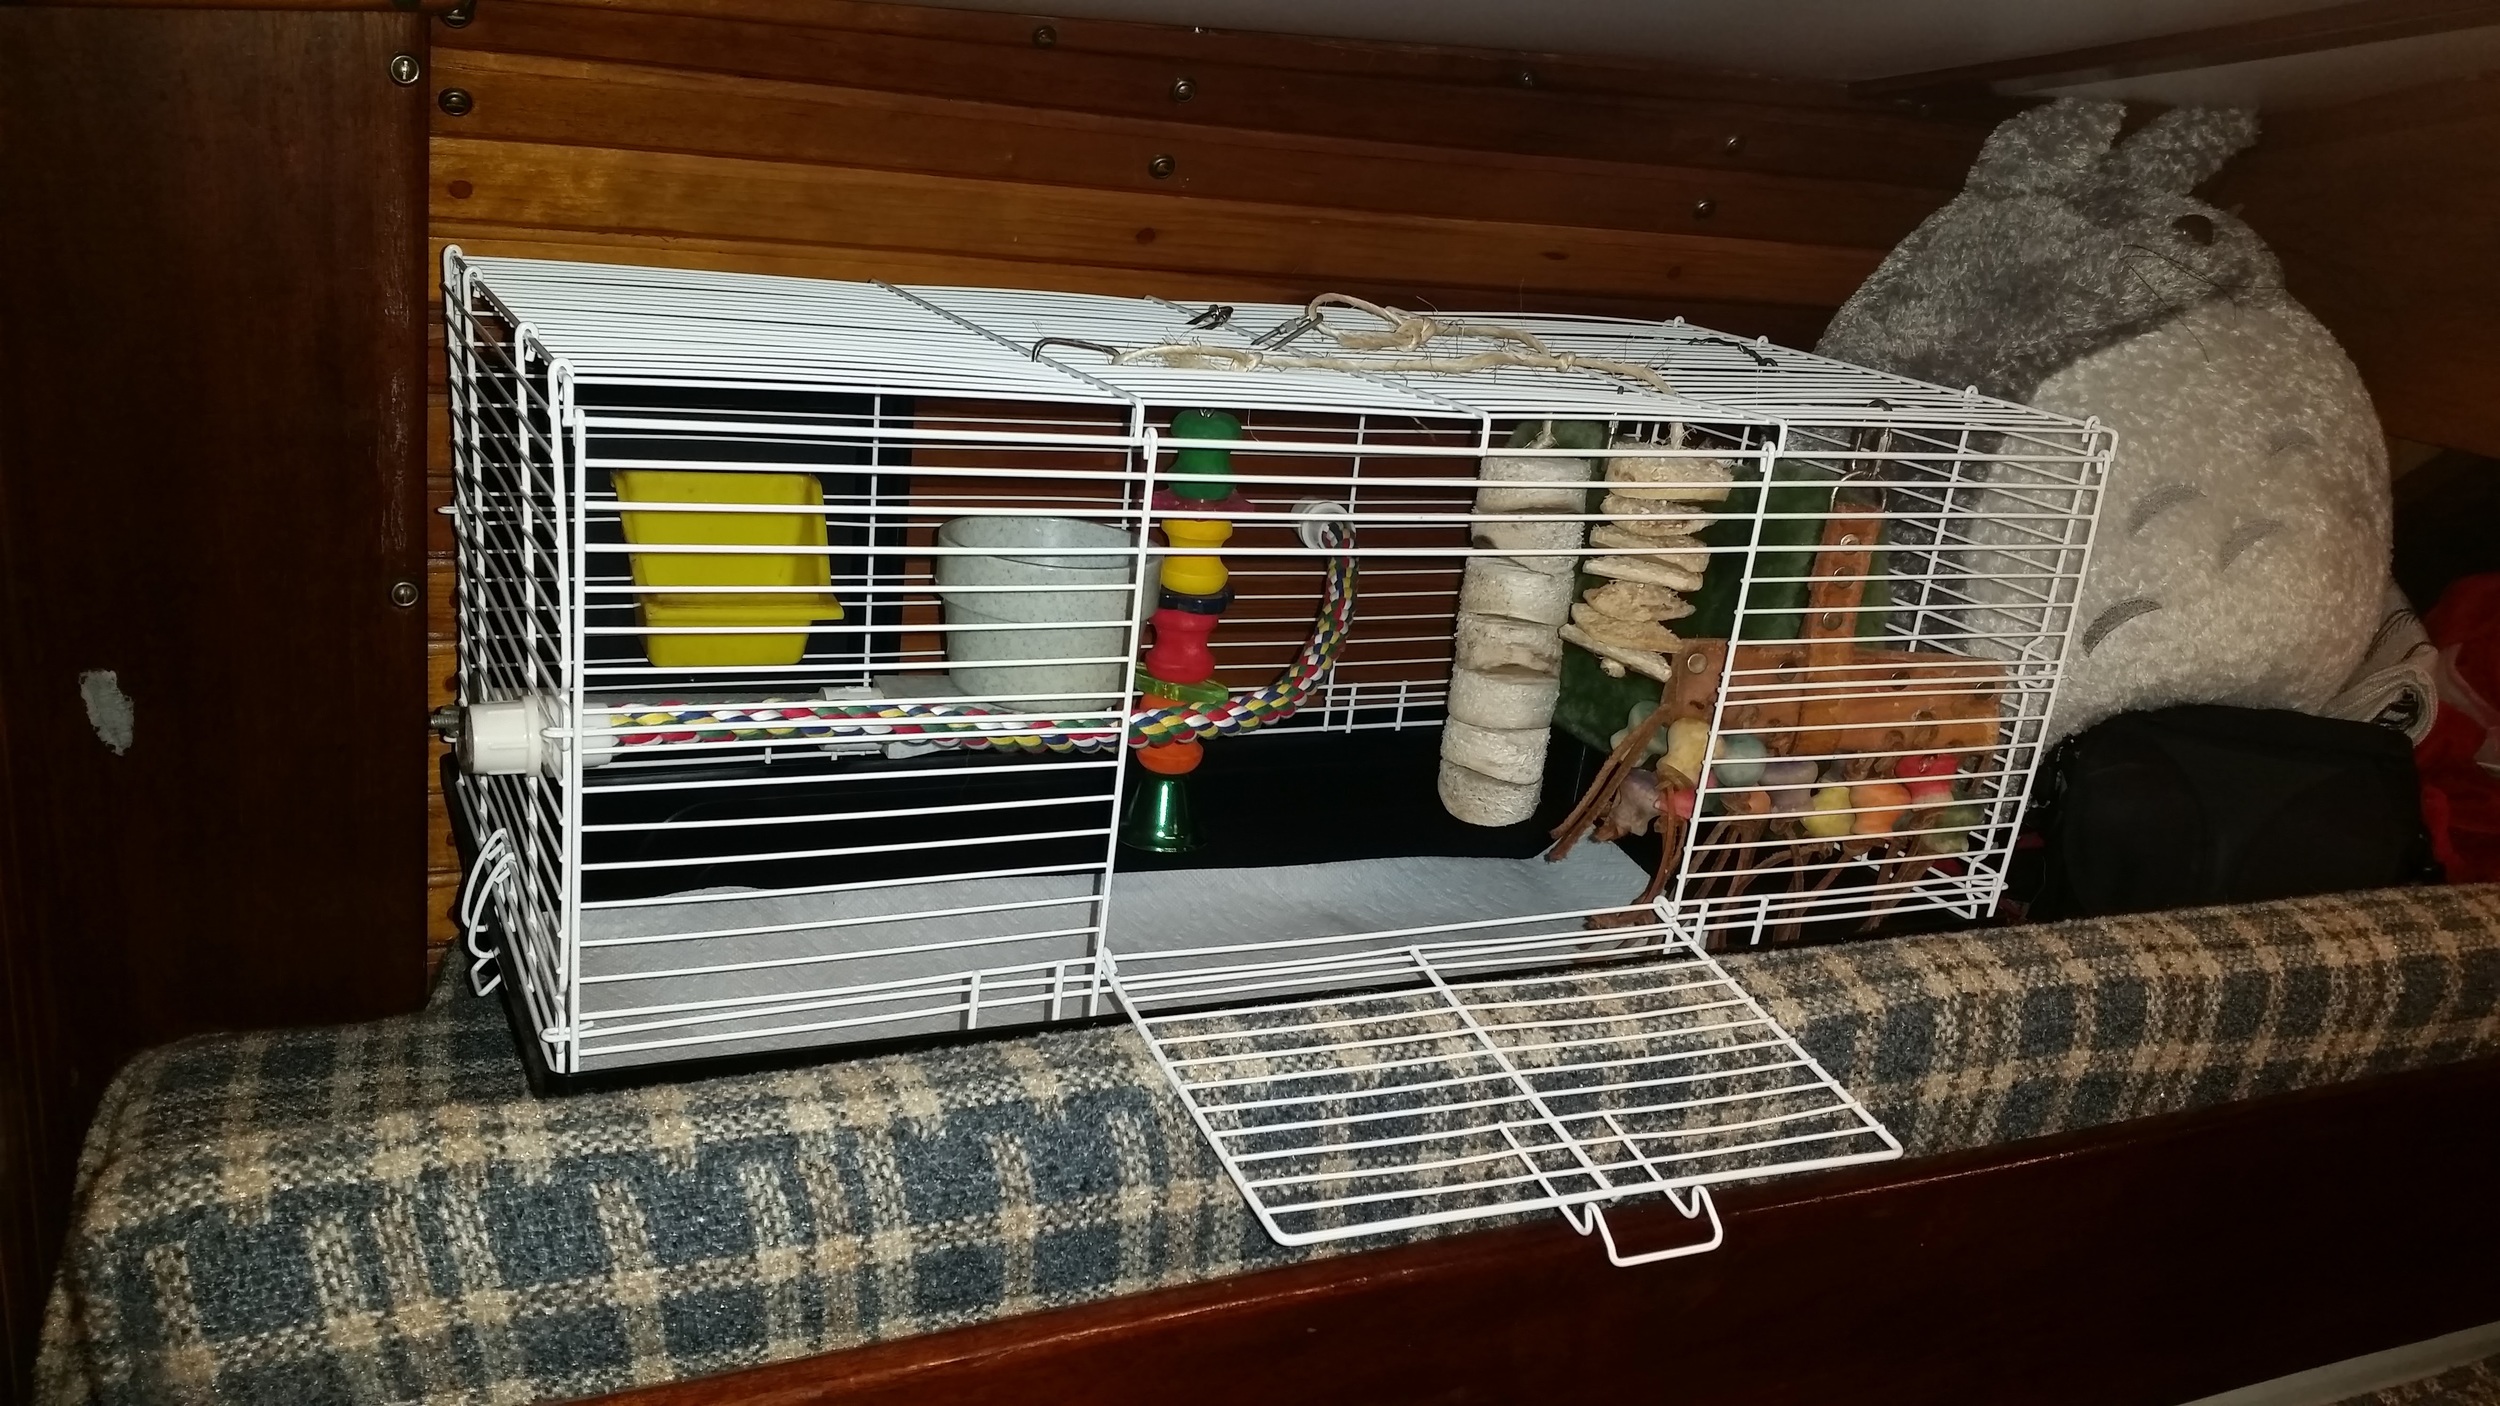
This all translates into a good sized cage for Sammy, where she can eat, play, and sleep, in a cage that is secure and won't fall over when we go sailing!

Easy Water Temperature Readings

Water temperature is useful to know for a range of reasons. 

Do I want to go swimming?
Is there risk of ice forming overnight?
Do I need to shut down the reverse cycle heat pump?
Am I sailing in the Gulf Stream?

They sell fancy add-ons that connect to your chart plotter to tell you the water temperature, but these involve another hole in the hull and are rather costly. 

Another option is to drop a thermometer over the side and record the water temperature, but this runs the risk of loosing your thermometer and watching it float away in your wake.

Yet another option is to pull up a pail of water and drop a thermometer in there, this is both safest and cheapest. The water is a fresh sample, and the thermometer can not be separated form the yacht. The only downside is it involves a lot of effort to raise a pail of water and keep the pail from splashing everyone near it. If you are trying to cross the Gulf Stream, you want to know the water temperature, but conditions may not permit this endeavor; leaving you wondering what the water temperature is. Bet you wish you had the fancy sensor connected to your chart plotter now!

There is another way that is both inexpensive and relatively accurate. Installing an Indoor/Outdoor Thermometer in the boat with the "Outdoor Lead" attached to the hull low in the bilge. By covering the sensor with foam insulation, it will be insulated from the interior air temperature and will pick up the temperature of the fiberglass hull. 

This method will give you a relative idea of the water temperature that the boat is floating in since that will closely correlate to the hull temperature. 

The indoor/outdoor thermometer will provide you with an easy way to watch the water temperature while underway without out complicated processes or expensive equipment.

20160120_223519.jpg

Delicious Breakfast for my Fiancee

While Maddie was sleeping in, I made a delicious breakfast for her to enjoy as soon as she woke up! She likes scrambled eggs, but wants them dressed up with other flavors mixed in.

I added sliced cherry tomatoes, red onion, grated pepper jack cheese, pesto, milk, and a tiny hint of tomato sauce. I kept stirring the pan over the stove to keep the eggs from burning as it cooked. The cheese melted and mixed into every part of the eggs to add a hint of spice with cheesy goodness! 

Cooking on board a boat in a small galley is not as hard as people make it out to be. This whole meal was created using a single pan in a relatively small amount of time!

Needless to say, Maddie was very pleased when she woke up to this breakfast!

Keeping Warm

It was 27F and blowing 10 to 15 knots. This made for a very chilling walk down the pier to the boat. Once inside Wisdom, it was a completely different story.

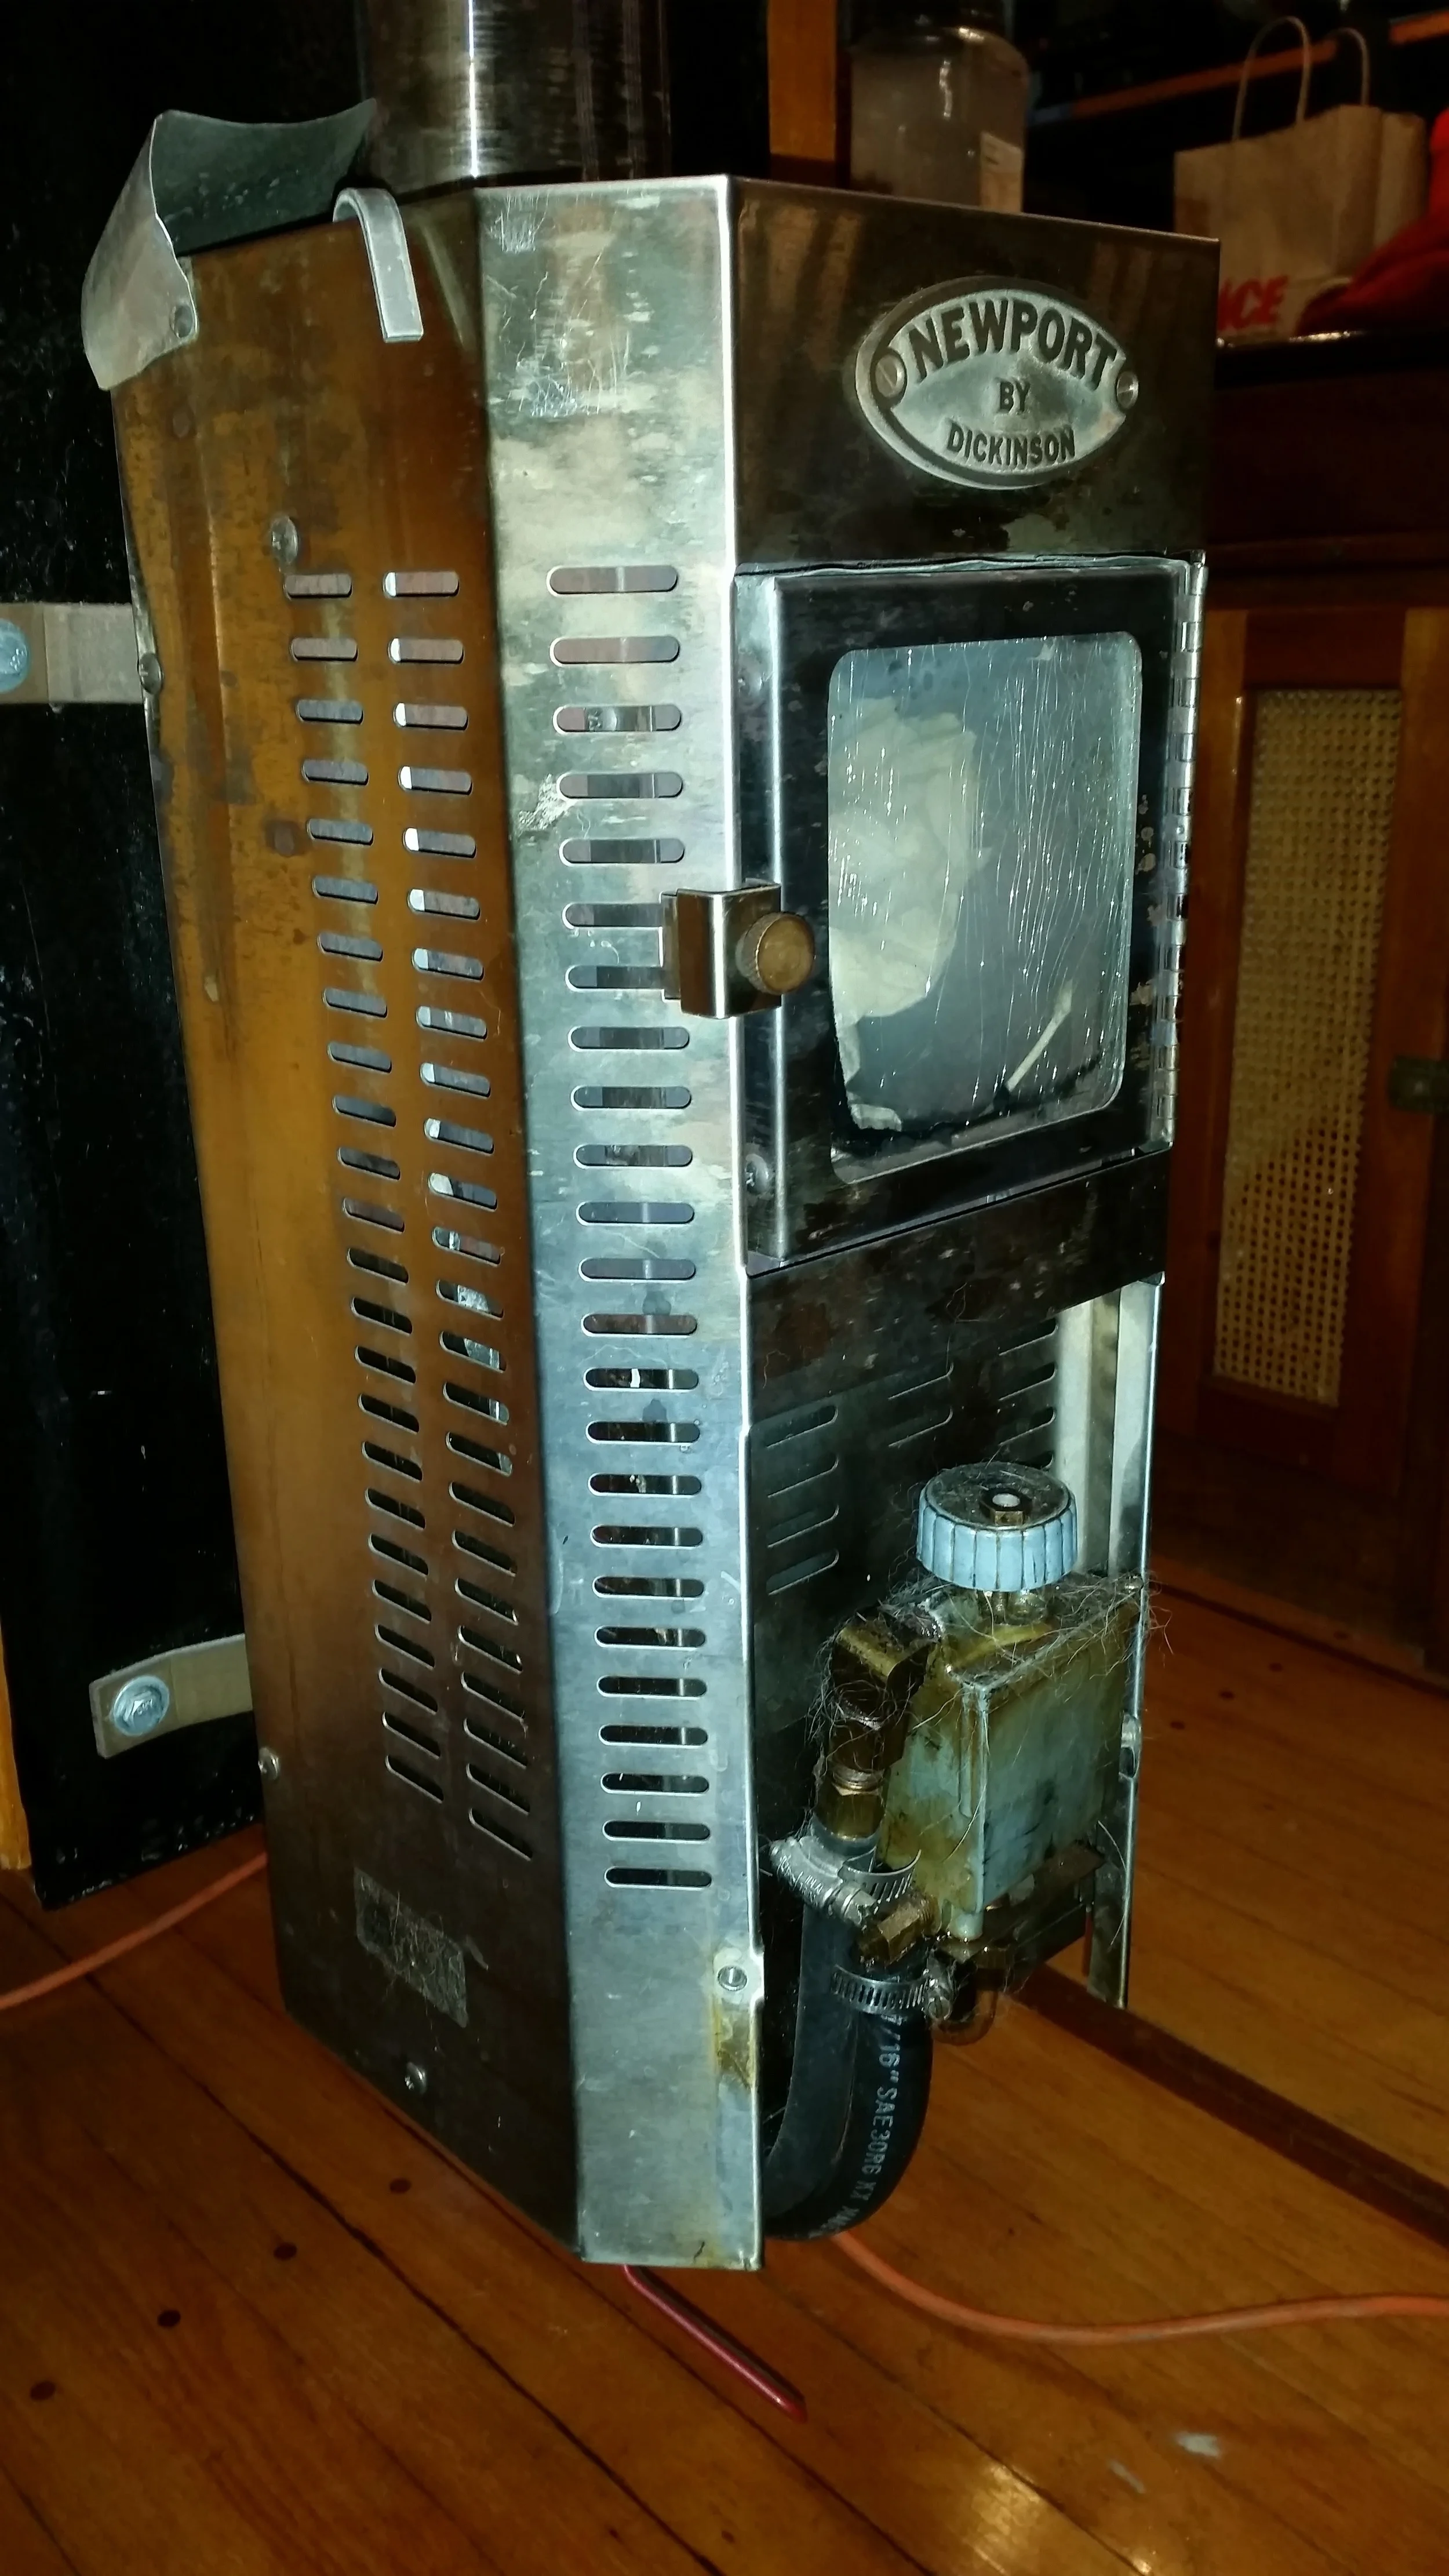
The diesel heater was burning and it kept the small cabin inside nice and toasty. Smaller spaces require less energy to heat, so with little effort we are able to maintain a comfortable level of warmth with the heater set to 1 out of 5. We let the fire burn like this all winter long and it provides us with plenty of warmth through these colder months.

Maddie and I were relaxing by the fire while we read and played with Morty and Sammy. Life in a tiny floating home is special!

Winter Commisioning of the Diesel Heater

When the water cools down and the reverse cycle needs to be shut off, it's time to fire up the diesel burner! But wait, it's been off for the past 10 months. There are some steps to getting it back to operational standards.

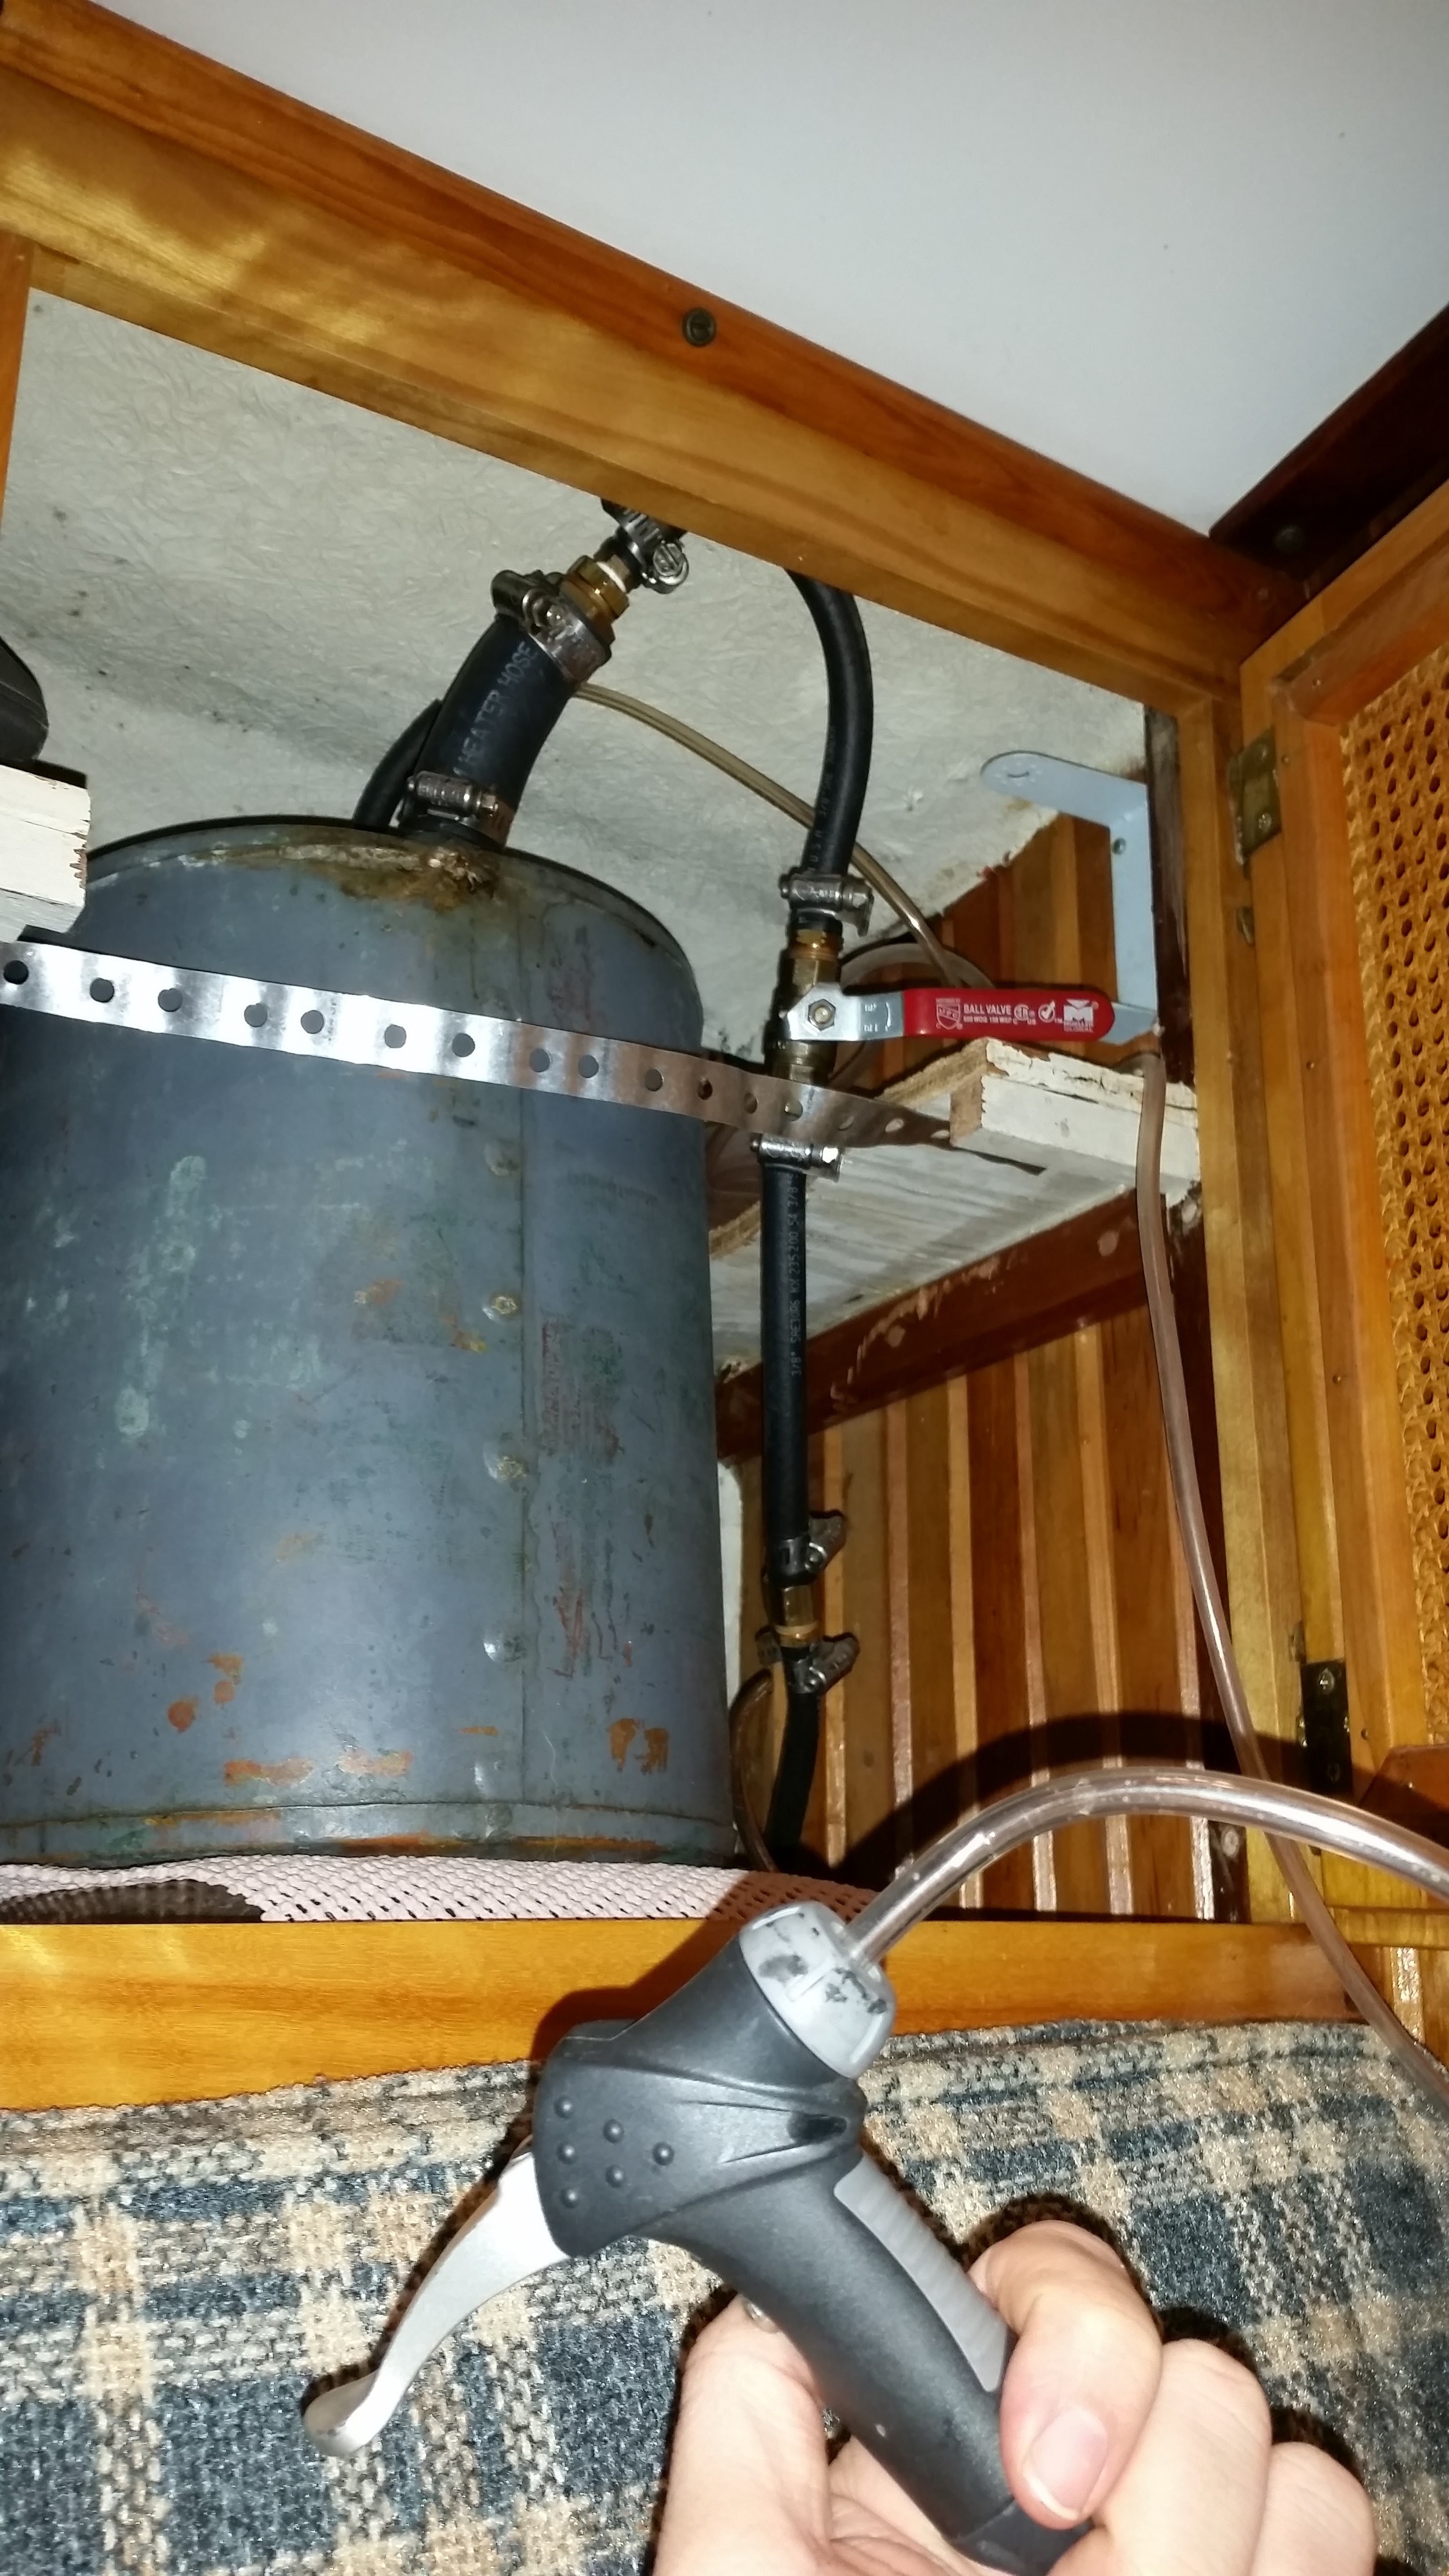
First step is to put fuel into the day tank. I like to fill it up for a few minutes until it feels much heavier.

Pressurize the tank using a bicycle pump. This will force the fuel through the fuel line, bleeding out any air bubbles that may have developed over the past 10 months.

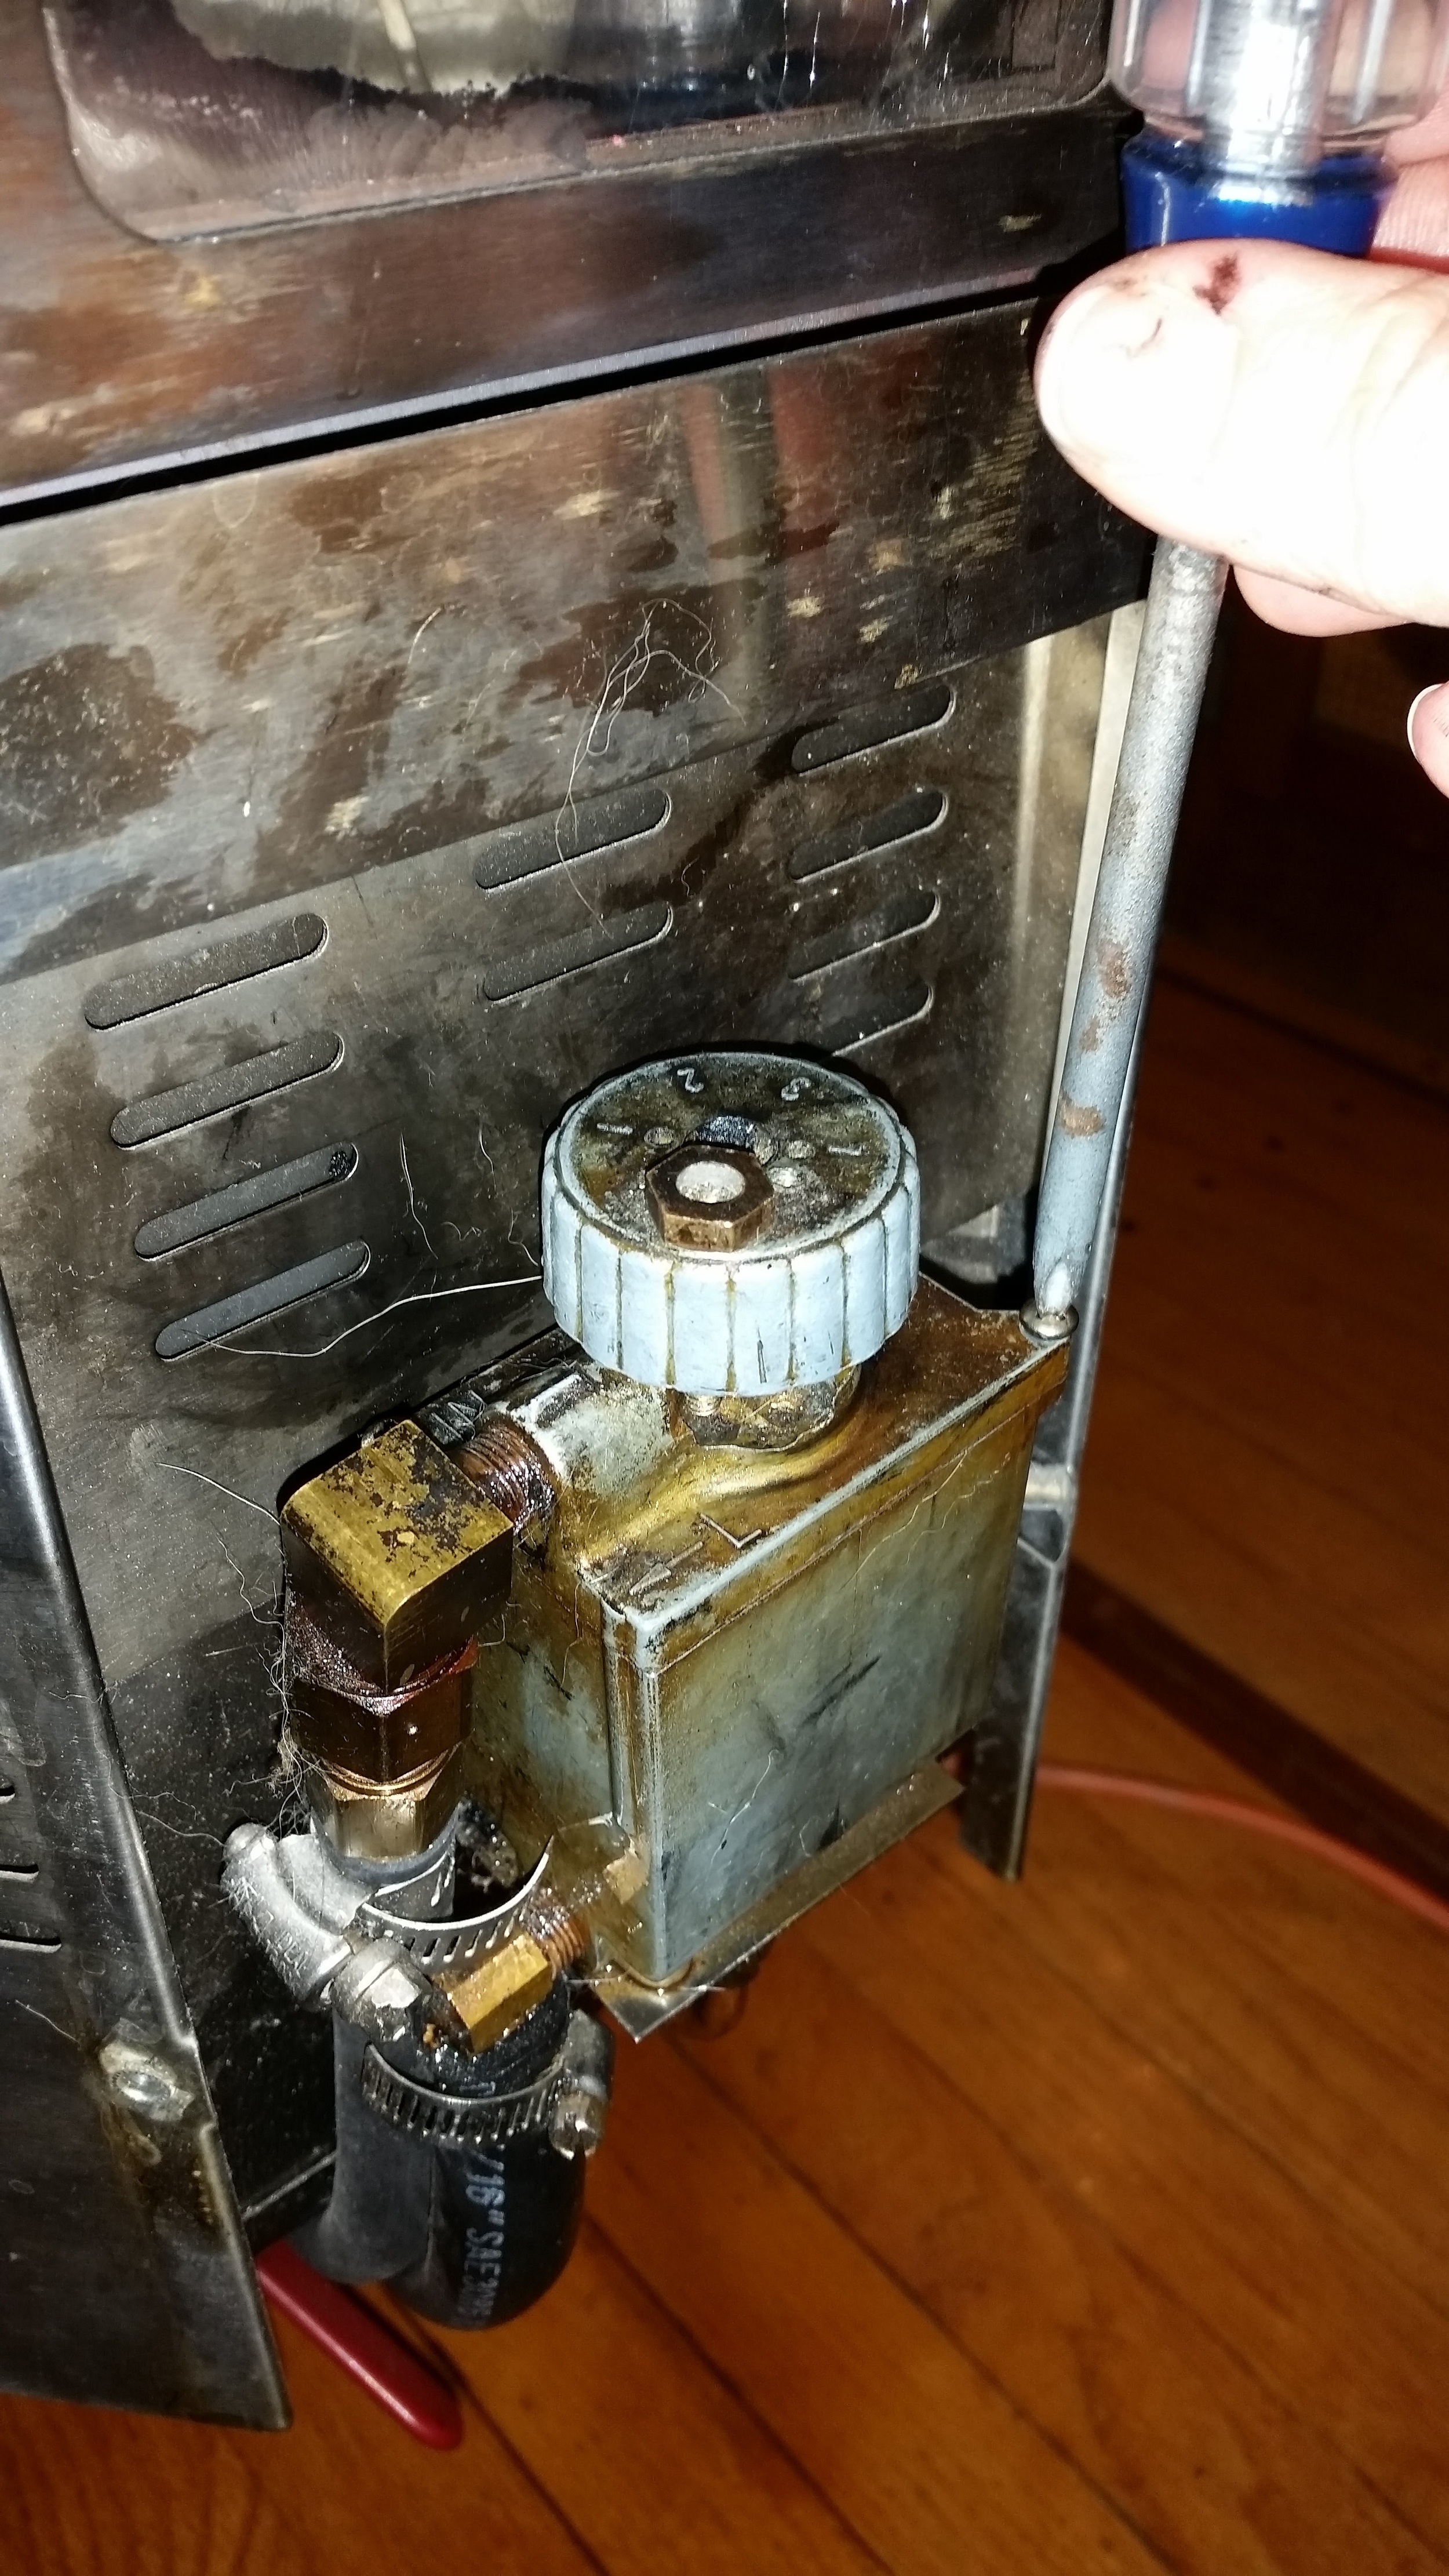
Then disconnect the fuel feed to the carburetor on the heater. I like to remove the top of the carburetor that way I'm certain the fuel line is bled all the way to the float switch. 

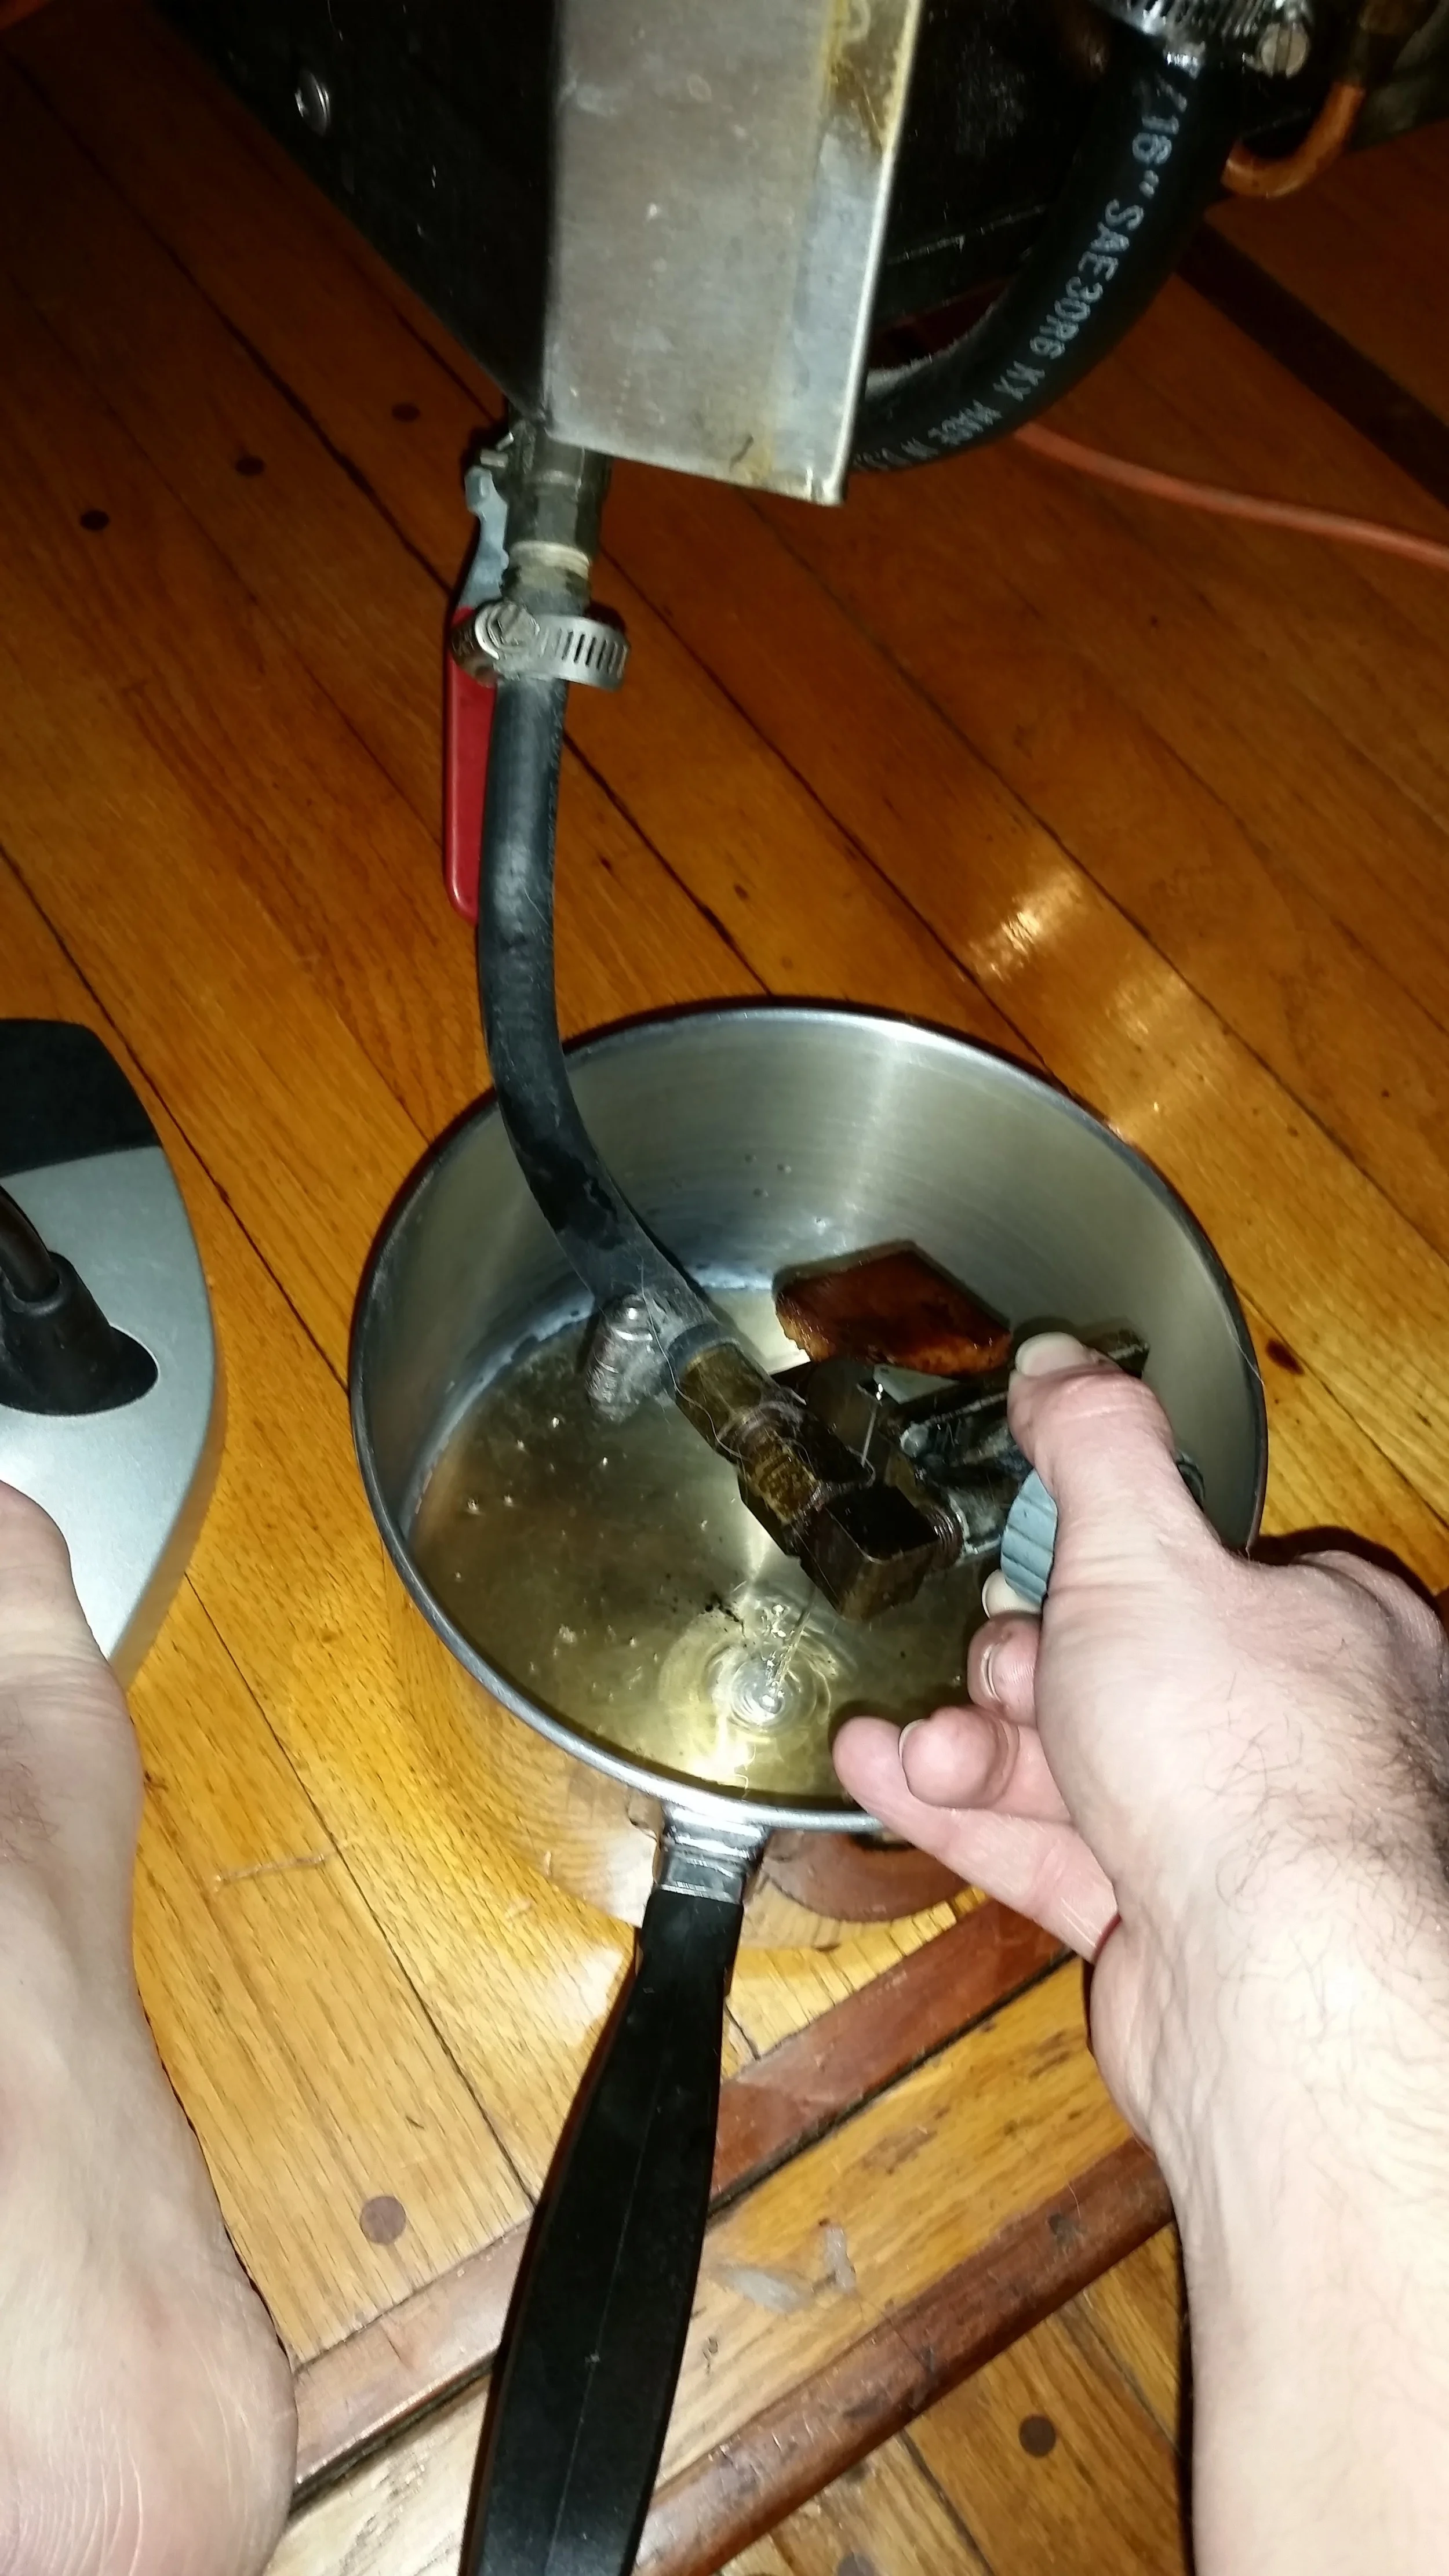
Open the fuel valve near the heater and drain the fuel into an appropriate container. Be careful because it can splash around when a large air bubble pass.

While the fuel is flowing fast and steady with no signs of air bubbles, close the fuel valve quickly.

Remove the bike pump from the day tank vent and allow the pressure to escape the day tank.

Blast some air into the bottom of the carburetor to clear out any debris that may have collected in the fuel line over the past 10 months.

Reconnect the fuel line to the carburetor.

Clean off any excess fuel that may have spilled onto the unit. You don't want to get diesel on anything in the boat, it's hard to clean up.

Let some fuel flow into the burner and light some paper to start the fire. 

It will flash flame, but then it will settle down to normal and be ready to burn safely and consistently for the next few months.