Plastic Bags

Plastic bags can not be dumped overboard, no matter how far out to sea you are. The plastic will continue to float along as it breaks down into fine particles of plastic that accumulate in the ocean trash gyres.

Plastic grocery bags serve a second purpose on board a sailboat, they make excellent trash bags for tiny homes. Their handles let them hang from the galley and when they are full, they can be tied up to avoid spills. While in port, plastic trash bags can be taken to the marina dump to dispose of them. While sailing, I tie them up to the davits on the transom, ready to be disposed at the next appropriate landfall.

This is all well and fine, as long as you can properly store the plastic bags in an easy to access location that keeps them safe so they don't fly away. An empty bag will fly around in the slightest of breeze and can blow overboard far too easily. I have found an easy way to store the bags, I stuff them in this cloth tube which has elastic around the openings at the end. 

I ball the bag up and stuff it in the top when I unload my groceries. When I need a bag, I simply pull from the bottom. The whole tube hangs from the ceiling next to the galley, near the companionway. 

I have never had a bag get free from this device, yet they are always at the ready and accessible. Recycling plastic bags consumes a lot of energy; by reusing them, their useful purpose can be extended until they are ultimately disposed of.

Laminated vs Dacron Sails

When you are in the market for new sails, the number of available options might seem overwhelming! You will quickly be flooded with options like:

Dacron
Laminate
Taffeta Coating
Technora
Aramid
Tri Radial
Cross Cut
Carbon
ect.

To make these options make more sense, lets break it down into two camps:

Laminated Sails (Membrane)

Membrane sails are made by laminating various layers together to form the sail. These sails are not cut into pieces because the are made in one piece. The choices fall into what the layers are made of.

Dacron Sails (Cloth)

Cloth sails are made of polyester fibers that are woven into panels of cloth. These panels are then cut in various shapes: Cross Cut or Tri Radial


Dacron sails will last for many years, but they will only hold their proper shape for a few years, then the begin to stretch out and become baggy. The panels are the weak point, the larger the panel, the more profound the stretching will be. 

Cross Cut Sail

Cross Cut Sail

Tri-Radial Cut Sail

Tri-Radial Cut Sail

Cross cut sails have large horizontal panels that will stretch rather quickly. The alternative is to have the panels cut into many smaller panels arranged in a way that they will help distribute the forces, prolonging its life of ideal sail shape.

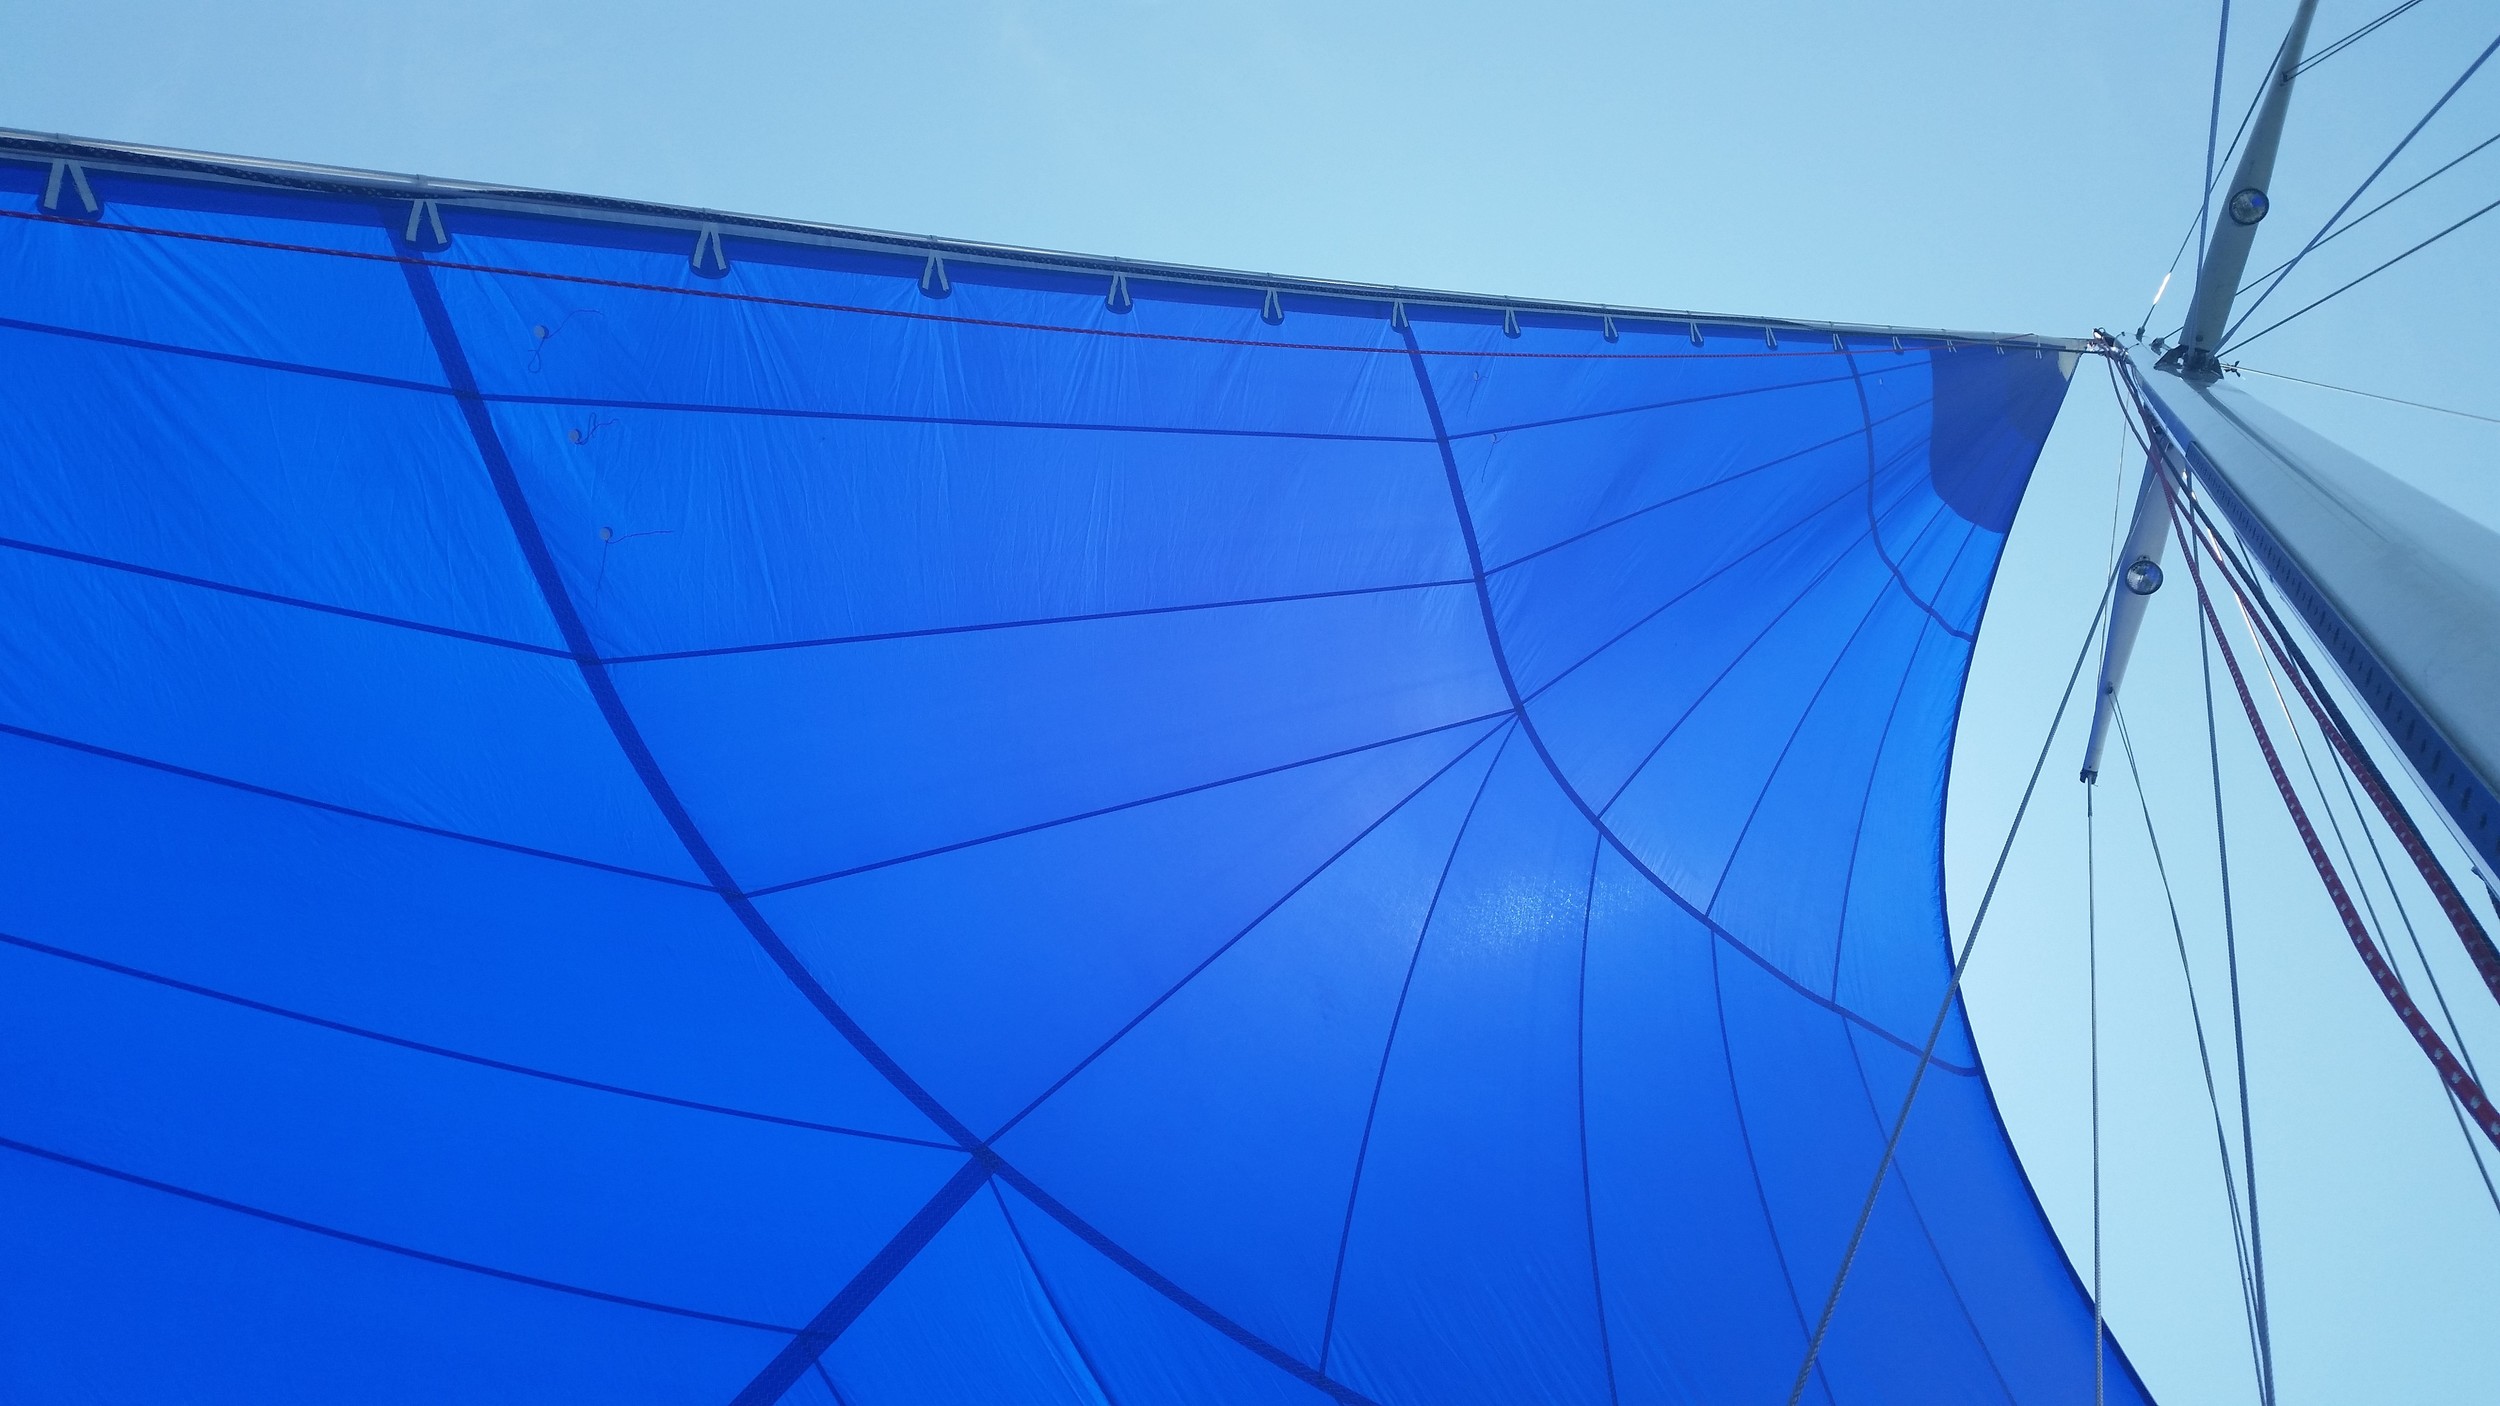
This method is called Tri Radial cut sails. These sails are easy to distinguish from Cross Cut sails because Cross Cut look like rectangles stacked on top of each other. Tri Radial cut sails look like origami that has been unfolded.

It is not uncommon to see really old dacron sails (over 20 years old) because they hold together for a long time. They are rather resistant to chafe and any holes can be easily patched. Just be sure to examine your sails and replace them when they begin to sag in the wind like large burlap bags.

Another feature of dacron sails is they can be easily modified. If you decide you need an extra reef point, a sailmaker can easily sew one in for you without too much effort. This makes afterthought modifications possible, relieving some of the stress during the design process of the sail. If you are not sure that you will need a third reef, you can always add it later if you find that you did!

Dacron sails are also available in a selection of colors, the most common is white. Tanbark is a less common but still readily available color of dacron. Some specialty sailmakers offer dacron sails in a multitude of colors, but these locations are hard to find.

The alternative to Dacron is Laminated Sails. These sails are made by laminating various membranes and layers together to form a sail comprised of a single piece. There are no panels involved in the construction. Instead, fibers are run along the stressed load lines of the sail to evenly distribute the forces placed on them. These sails will never stretch until the day that they die, which is anywhere from 2 to 7 years (depending on how it is designed). While this might sound like a short lifespan, it is not!

Compare a laminated sail that lasts for 5 years to a dacron sails that lives for over 20 years. It might seem like a short life, but the dacron sail only held its shape for a few years and then began to stretch. The laminated sail held its shape perfectly for the whole 5 years, 2.5x the life of the dacron sail before it stretched! 

Where dacron sails stretch out, laminated sails die in an explosive display. The laminates will separate in a process known as delamination which spells the end for the sail. A repair can be attempted, but it is the end for the sail. 

Laminated sails also offer greatly reduced weight over dacron sails, which translates into reduced weight aloft. Racing sails offer the greatest weight savings, but also last the shortest amount of time. These are the sails that seem see through from a distance because they are purely milar and fibers. The fibers are what give these sails their colors. 

Black fibers are from Carbon and Technora
Gold fibers are from Aramid
Tan fibers are from Vectran
White fibers are from Polyester

These see through racing sails will last between 2 to 3 years before the delaminate.

Cruising versions of laminated sails last longer by providing the sails with a Taffeta coating. This will extend the life of the sail to 5 to 7 years. Taffeta can be applied on one side for some protection or both sides for maximum protection. Taffeta gives the sail a white look, with the fibers shinning through. From a distance, these look like regular sails until you notice the fiber bands running through the sail.

The reason taffeta helps protect the laminated sails is because it is made of dacron! This coating helps protect the sail from chafe and wear, but it does add considerable weight to the sail. If you decide to go with a laminated sail, I strongly recommend the taffeta coating, it only costs a little extra but it greatly increases the longevity of the sail.

If you are planning a long offshore voyage with laminate sails, I would strongly urge you to carry a spare set of sails in the event that one of the sails dies while offshore. 

The choice ultimately comes down to what suits your needs best? If you are racing, then a stripped down laminated sail is right up your alley. If you are doing coastal cruising or short offshore jaunts, laminated sails with taffeta coating will provide a wonderful service life for you. If you plan on sailing far offshore, bullet proof dacron sails might be your best choice. They won't hold their shape forever, but you will always have a sail to get you home!

Air Conditioner Water System Primer

When a debris clogs the through hull fitting to the air conditioner, you need to call a diver to swim under the boat and clear the debris or pull the hose and push the debris clear with a stick. Both of these options are either time consuming or costly. 

When an air lock forms in line and the water pump stops flowing water, the hoses need to be disconnected and bled. Bleeding the lines is necessary to remove any air bubbles from the system so the pump can continue flowing water to the air conditioner. This is a very wet and messy job. 

All of these issues can be easily overcome with a simple hose and valve added to the system.

Simply connect a hose from the pressurized fresh water side to the intake hose between the strainer and the sea cock.

If you get a bag or other debris covering the through hull fitting, opening the valve will flush water out the through hull and can clear lightly obstructing debris quickly and easily. There is no need to get a diver to pull a small bag from the hole or the hassle of poking a stick through a gushing sea cock. Simply open the valve, wait a few moments, then close it again!

My through hull is rather low, so I don't typically suck up the bags floating along the surface, but I do get air in the line every time I go sailing. If you heel over far enough, the through hull will come out of the water; and if the sea cock is open, it will drain the whole system out. When you get back to port and plug the boat in, the A/C will not be pumping due to the trapped air.

This is where this system shines! Open the valve and let the water pump prime the system for you. I like to close the sea cock that way all the water is running through the pump. I recommend checking the discharge through hull to make sure that a steady stream of water is coming out. If you have a bunch of bubbles coming out, wait until the stream clears up. 

Once the flow is continuous, open the sea cock and let the pump flush any air that could exist between the T connection and sea cock. Now the system is fully primed and ready to be turned on. 

I like to listen to the pump when it first turns on to listen to air noise. If there is a bubble in the impeller, it will make a rather loud rattle sound. If it's a small bubble, it will sound like sand falling on concrete. If it's completely quiet, the system is perfectly primed and no air exists in the line.

If I hear the rattle, I will open the fresh water valve again to further flush the system until the rattle fades away. If I hear the falling sand sound, I will let it be. You can waste a lot of water to perfectly bleed the system when it will work just fine with a small bubble present in the pump. 

As you can see, this system greatly relies on the fresh water pump to provide the necessary pressure to prime the system. I have a 2 gallon per minute pump flowing at 25PSI to feed a 500 gpm air conditioner pump. A larger water pump would make the priming job easier, but I like to conserve as much water as possible on a daily basis by using a small water pump.

Storing Tools

They say cruising is simply working on your boat in remote locations. Remote locations go hand in hand with no access to hardware stores, but how are you supposed to work on your boat without tools? Tools are heavy and take up space, but you need to keep them on board with you while cruising. 

Ideally, you want to keep your tools low in the hull and in a dry space. Finding this space can be a challenge on a sailboat.

Most of the tools on board Wisdom are kept in this plastic tool box from Craftman. I do keep a set of pliers, phillips, and blade screw driver in a tupperware for easier access. The rest of the tools live in this box mounted below the floor boards. This keeps the weight low in the hull and centrally located to avoid inducing a list. 

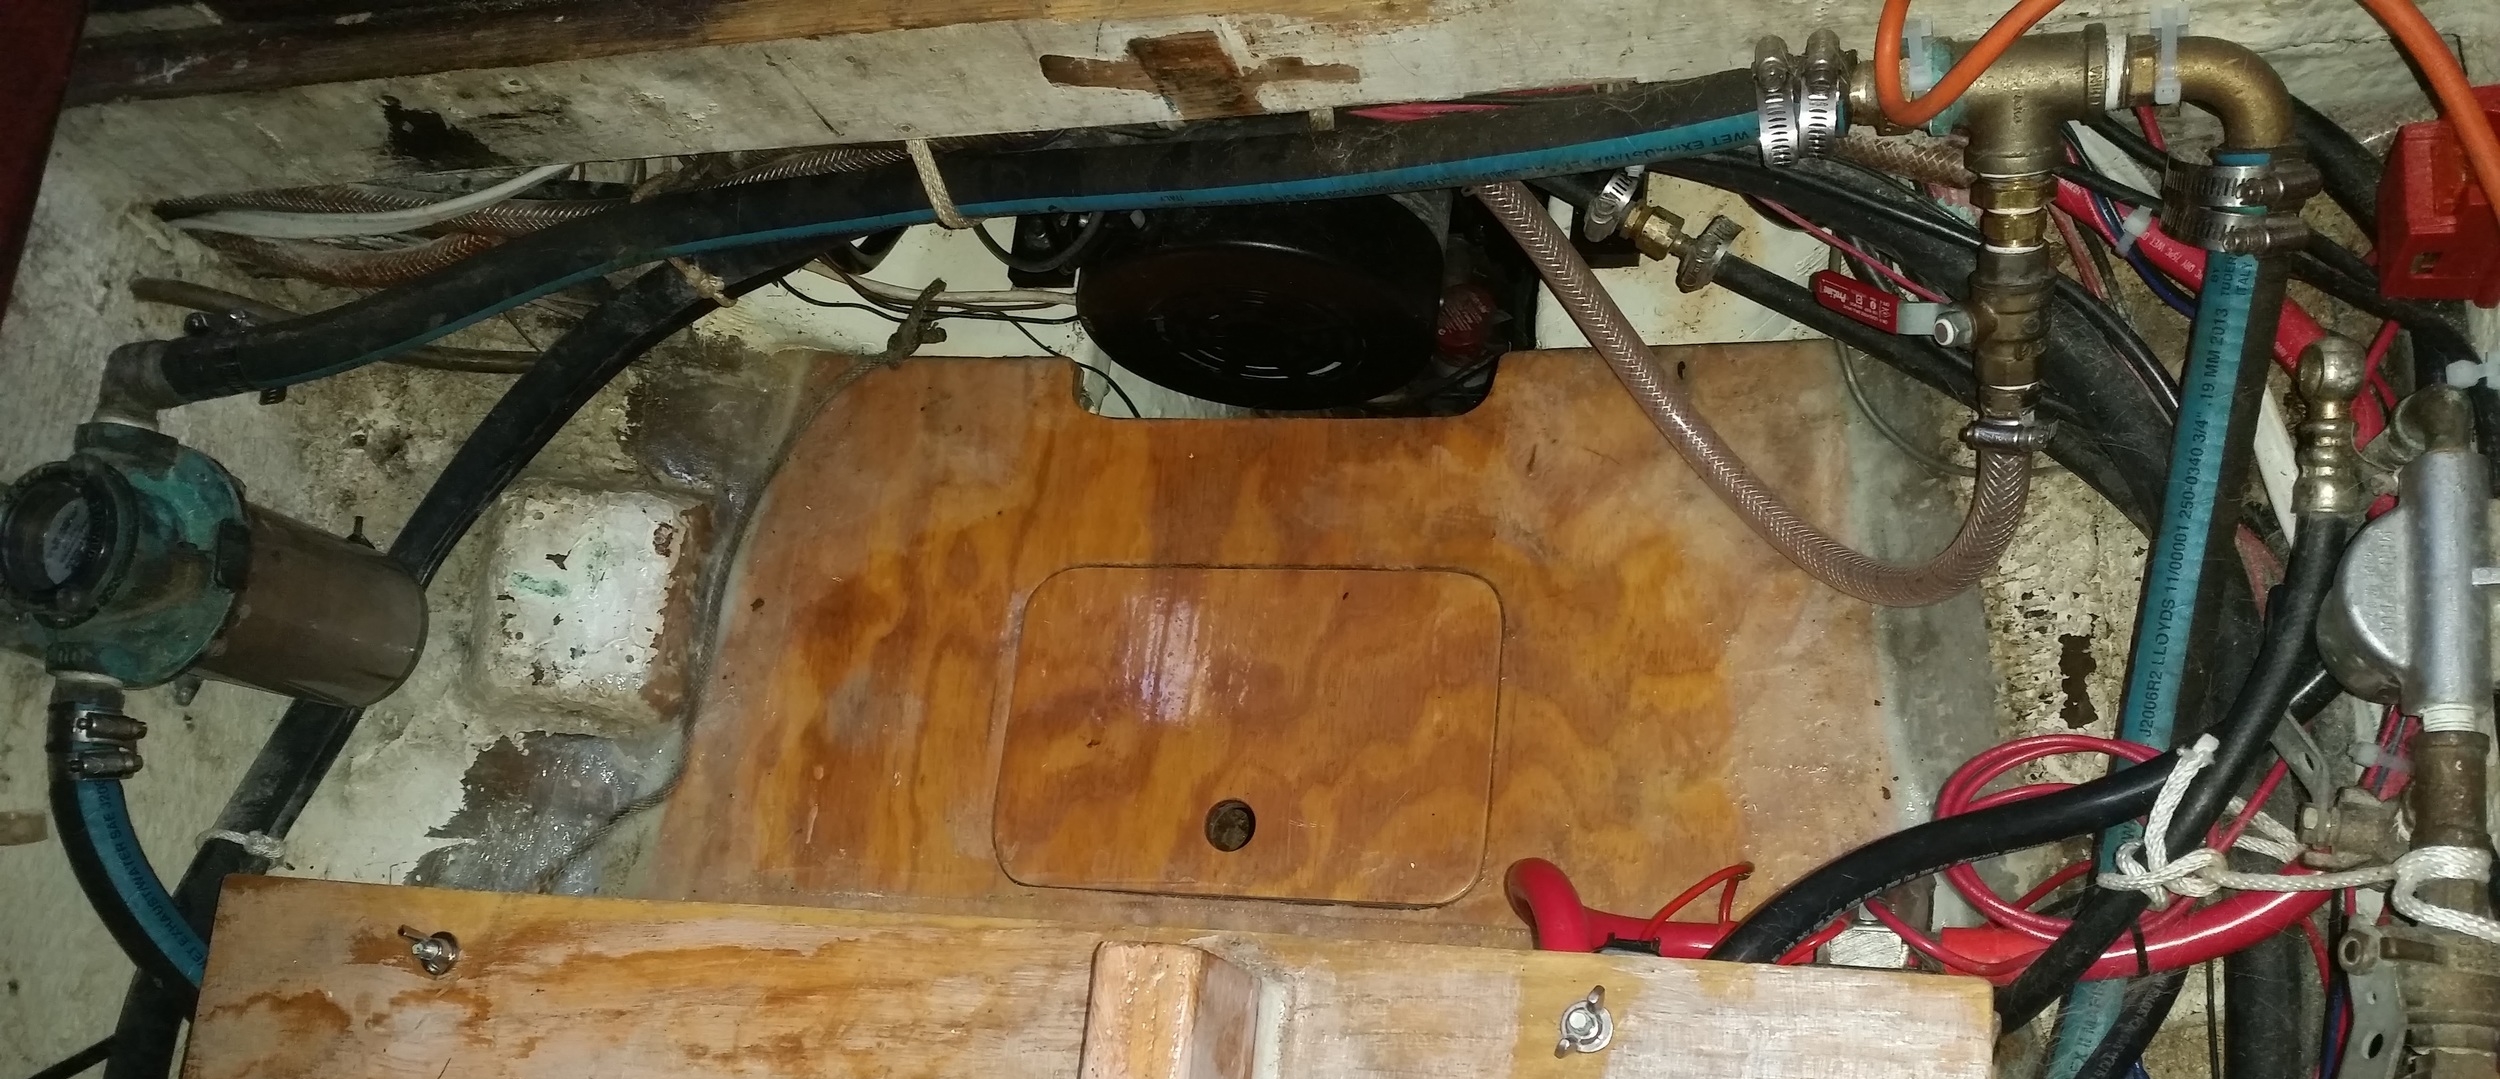
This space used to be consumed by the old diesel engine. Now it is a battery box and storage. The front of the electric motor can be seen poking its face from under the sole bearer. 

20160103_134506.jpg

We took advantage of all the freed up space when we switched from the large diesel motor to the compact electric motor and made a dedicated space under the floor boards to safely hold the tool box in place. 

While this tool storage space is low and centerline, it is not completely dry. The tools can form slight rust and need to be oiled frequently, even though the bilge is bone dry. Simply exposing the tools to the marine environment will lead to their eventual degradation. This is another example of making the best out of what is available on a sailboat.

Items to Carry in a Row Boat

While rowing to shore on a calm winter morning, the DNR (marine police) came planing up to me, creating a huge wake in a no wake zone, to check on a row boat. Rowboats do not have motors, so we don't need to be registered or carry any papers on board to prove ownership; but we do need to carry the basics for safety.

Mandatory items to carry are:

1 lifejacket per person on board
Whistle or air horn (Sound device)
Handheld flashlight for night time navigation

Optional items to carry are:

Spare set of oars
Docklines and a long spare line
Fender
Chain and Lock
Bailer Jug
Painter and Bridle

Life jackets save lives! Each person on board should have a life jacket available to them. They may wear the life jacket if they wish, but I find that it is unnecessary to wear when rowing in calm and protected waters. If it were rough conditions, I would be wearing my life jacket before even getting off the yacht. 

A whistle or air horn is also needed to alert other vessels of your position. I prefer a whistle because they never run out of compressed air. I also like to have the whistle tied to my life jacket or around my neck, this way it is attached to me if I were to fall off. If I got swamped, I wouldn't want to then need to find the air horn in the floating debris, rather grab the whistle that's tied to me and begin blowing!

Rowboats can display red, green, white navigation lights. The problem is rowboats don't usually have a battery to power these lights. If the rowboat is under 7m (22.9 feet), it can use a handheld flashlight to alert other craft of your position to avoid collisions. 

Optional items to carry in a rowboat are simply "nice to haves" not "need to haves". 

I like to carry a spare set of oars, just in case I lose an oar or an oar breaks on me. It is very unlikely to happen, but if it were to occur, I wouldn't want to be caught without a paddle!

Dedicated dinghy dock lines are nice to have. They fit the dinghy cleats well and allow you to tie up anywhere you go. I also carry a rather long line in the boat that can act as a tow line. Should the need arise where you need to be towed, it is much more convenient to simply toss someone a line and they pull you, than to ask them to give you a tow and then ask them to give you a tow line (and hope it fits your cleats).

A fender on hand is very useful and well appreciated. When you tie up to a friends boat, the last thing you want to do is bang up their topsides as your dinghy bounces off their paint or gelcoat. I also use a fender when the sheer strake would rub against pilings or sea walls. 

Security measures are also important to carry on board the dinghy. Be sure to carry chain and padlocks as well as cable locks to encourage all your valuables to stay on board with you. I run the chain around a bench to keep it attached to a very integral part of the hull. I carry 20 feet of chain, allowing me to run about 8 feet from the boat to make a continuous loop of security. 

Another important item to have on board is a bailer jug. I use a jug of Arizona Ice Tea with the top cut open. The large opening, handle, and high volume allows for quick and easy removal of water that could end up in the dinghy. I prefer a square jug to a round jug (such as a clorox bottle) because it makes it easy to get into the corners of the hull. 

Lastly, I like to keep a bridle rigged to the hull. A bridle transfers the force of towing to the hull in a more even manner as compared to the point loading that would occur when pulling the craft by the bow cleat. The bridle is tied to the forward bench, through the bow cleats, and then to a loop. When I want to tow the dinghy, I simply tie the towline to this loop and away we go; no rigging or adjusting involved and I know the dinghy will tow well because it towed fine last time.

While the DNR wanted to make sure that I had the necessary basics on board the row boat, I feel that they are the bear minimum of items that should be on board. A rowboat is a craft that should have it's own equipment to make its use on the water all the easier and more enjoyable .