Life Aboard

Plumbing/Pantry Divider

Fiddleblocks are wonderful. They keep things from sliding off of shelves and prevent many a mess from every occurring. Having fiddleblocks on the shelves in our pantry means that the pots and pans that will live in this area “should” never fly off their shelves and smash into the plumbing of the galley sink.

“Should” is a wonderful word. Everything should work and nothing should fail, but the truth is, in a heavy seaway during a storm, nothing goes as it “Should”.

FullSizeRender.jpg

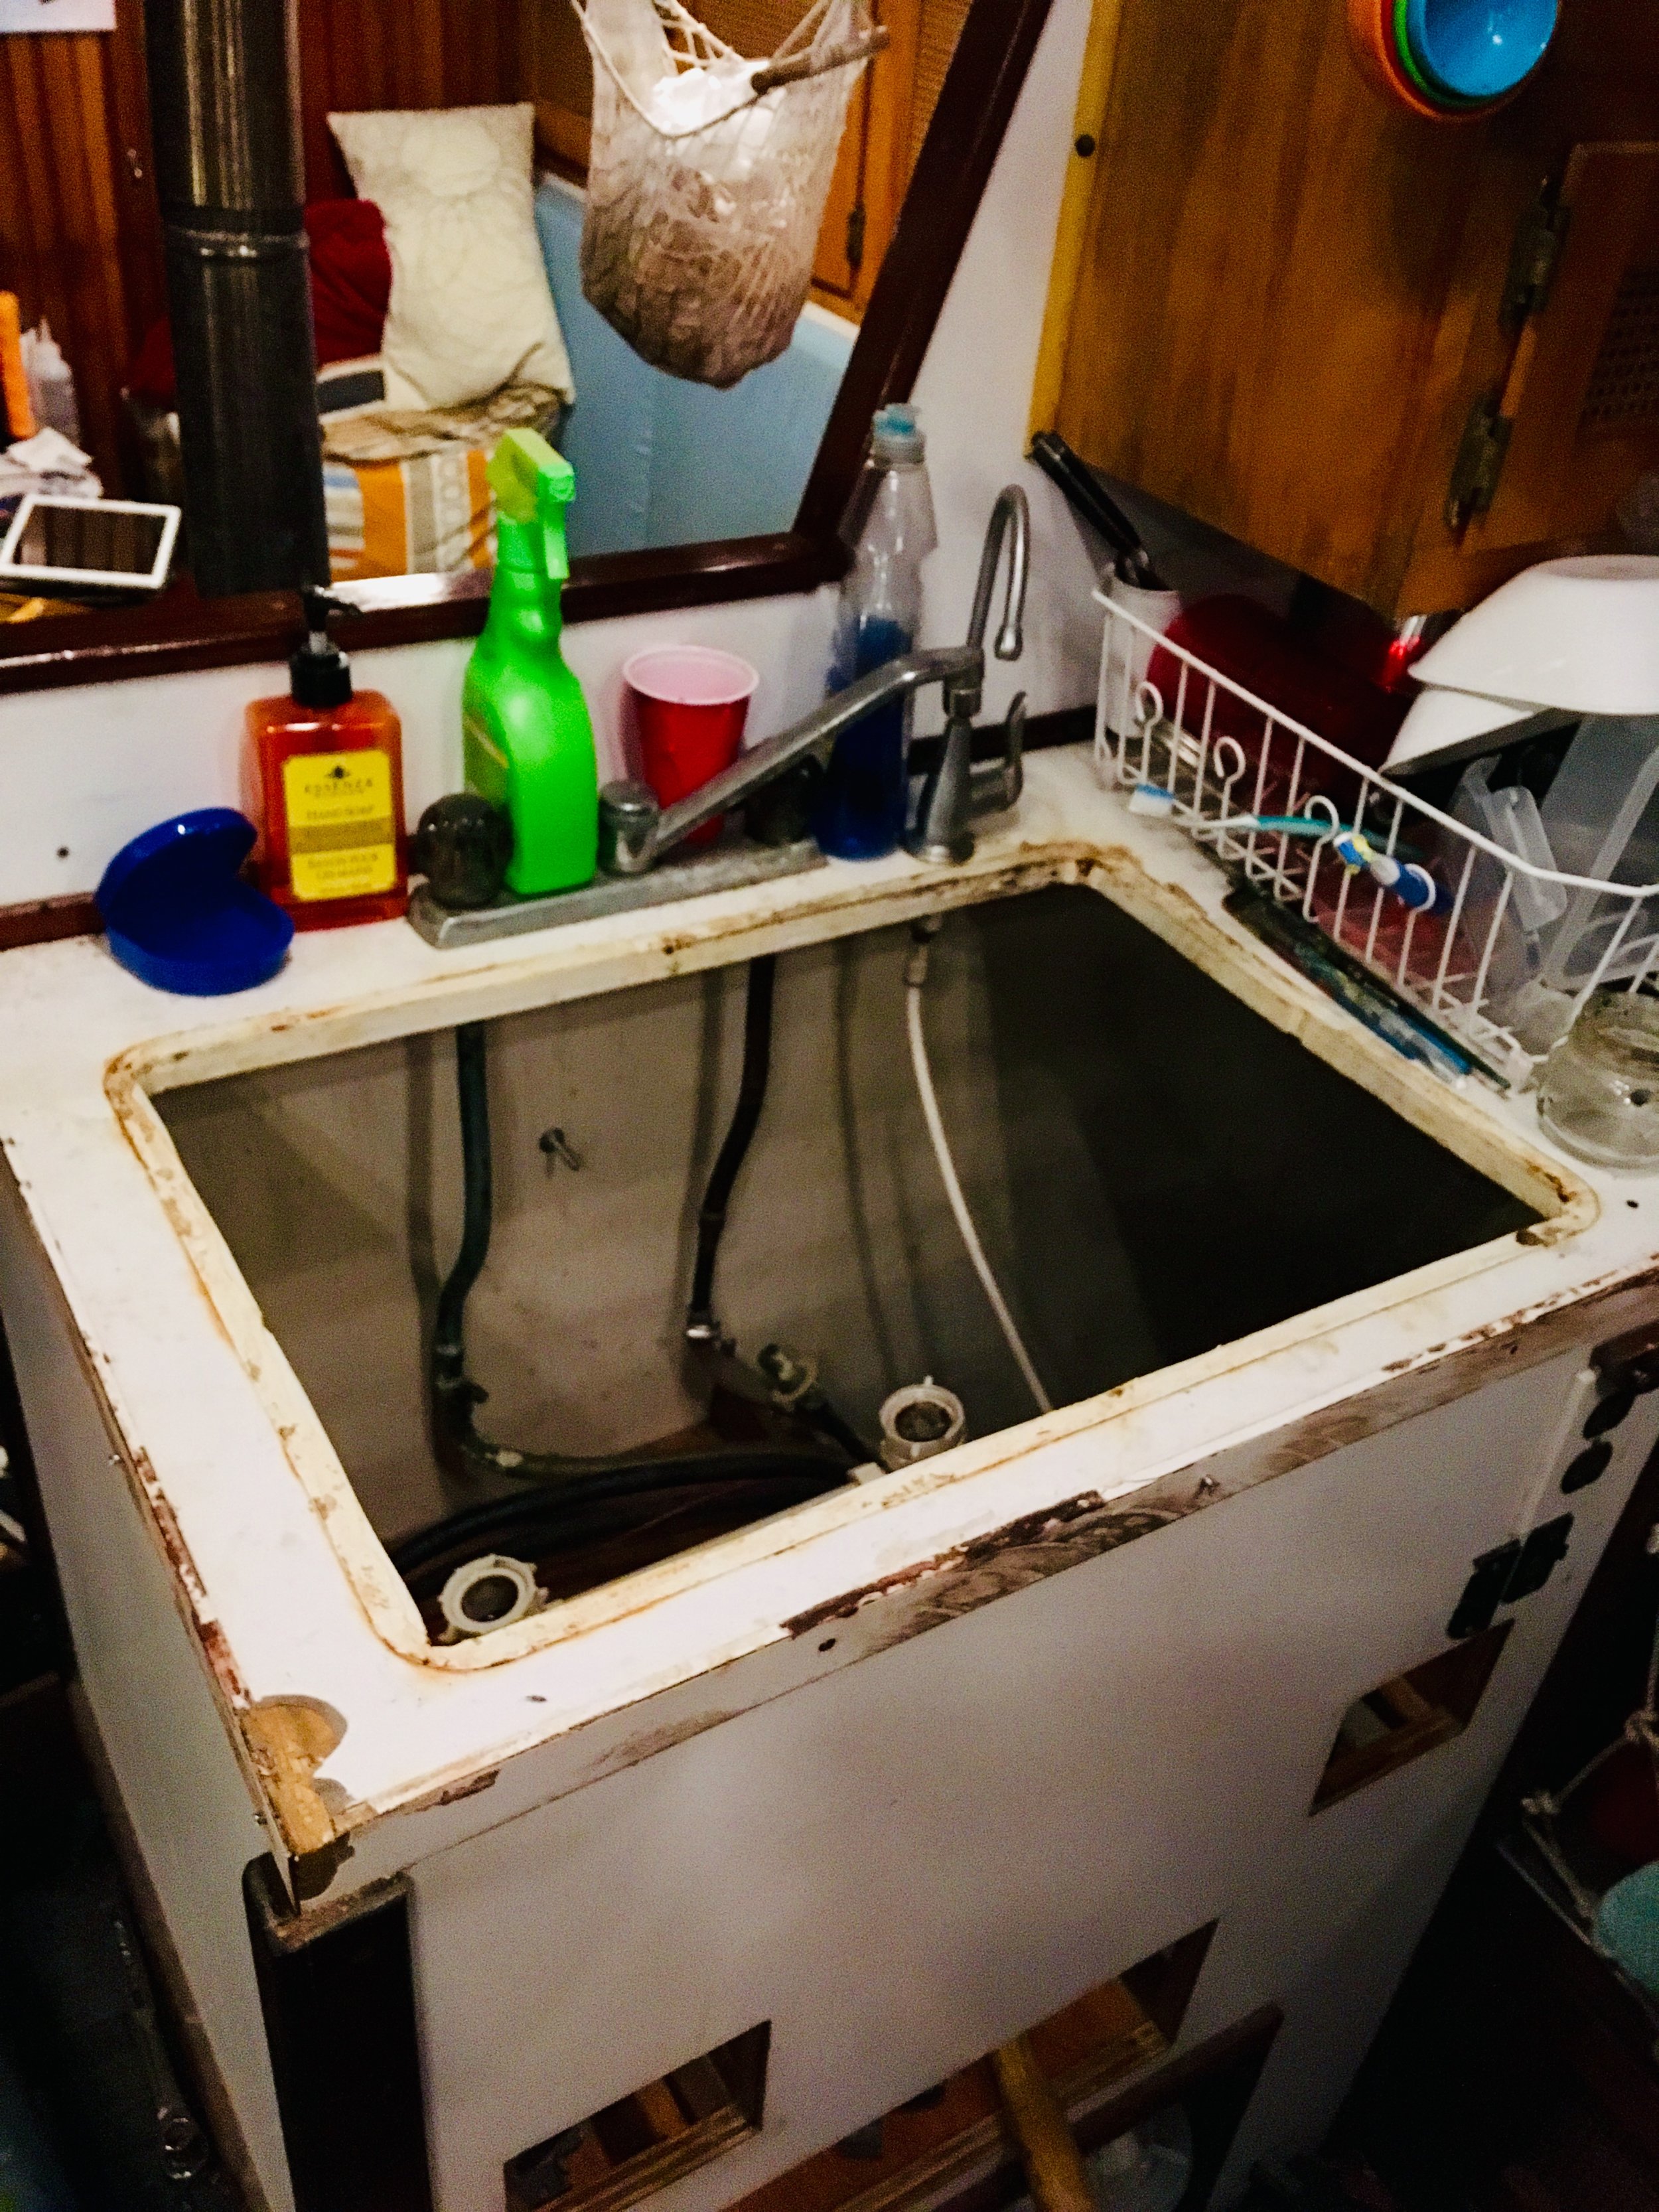
To protect the plumbing from a flying frying pan, I installed a barrier made out of the same Cyrptomeria. This divider partitions the space under the sink into plumbing space and storage space. To gain better access to the plumbing, the boards can be pulled off with a few screws, but I can usually do everything through the tiny drawers that live under the sink.

These planks serve as a guard against a broken sink drain, or a damaged seacock. Plumbing is the routing of water and if something fails, it’s a leak. A leak the size of the galley drain could sink the boat, so extra steps must be taken to ensure that no harm will come their way; hence, the plumbing/pantry divider.

Pantry Shelves

With the proper door cut, it is time to give us something to rest the pots and pans on!

FullSizeRender.jpg

Using the Cryptomeria (Japanese Cedar) that grows locally on the island of Terceira, Azores, Portugal, I made shelves with proper fiddle blocks that will hold our pots and pans without adding additional weight to the boat.

FullSizeRender.jpg

It started off with a cross design, but shortly after, we realized we had created a large amount of wasted space! The bottom shelf soon became a full “L” that gives us plenty of shelf space for all our cookware and great access to the bottom area where we can store our cans.

Pantry Access

The dead space under the sink had gone almost 50 years without ever being used. This space existed but was just out of reach! The only thing that did fall into this space was a former trashcan setup where the trashcan was built into the galley counter top.

I never used this trashcan for a few reasons:
1. The smell gets kind of funky when you open the lid.
2. The lid can swell and get stuck when the air becomes more humid.
3. It was really cumbersome to empty the trashcan once it got full.
4. A plastic grocery bag hanging from the galley counter was so much easier to do and use!

Needless to say, this space went completely unused and the lack of use was all due to the lack of proper access.

While refitting the galley, one of the main goals of the project is to create a system that better utilizes that dead space!

FullSizeRender.jpg

I decided that the best way to gain access would be to cut a hole in the bulkhead and let us reach directly into this void from the salon. This would let us store our pots and pans, as well as our mason jars in this area without creating any disturbance in the galley. Best of all, reaching the bottom won’t be a chore because the door is mounted low on the side of the void, so everything will be in easy reach!

Now, how do you cut a hole in the bulkhead without destroying everything? The answer is: “Carefully”

I first marked out a section that seemed proper on the salon side of the bulkhead. Once I measured and remeasured, I found that a door 30cm wide x 40cm tall would be ideal. It would allow for us to fit our largest pots and pans through the door with ease without disturbing all the structural parts that happen in this area.

Once i figured out where the door would go, I then drilled 7/64” pilot holes through the bulkhead and marked on the plywood where the drill bit emerged. This would be my guide to cut the door out from inside the locker and not risk damaging the interior woodwork of the boat.

With the door clearly marked, I set the depth of cut on my skill saw to 3/4”, the thickness of the plywood bulkhead. I then cut along the lines and fully severed the door plywood from the bulkhead without harming the pine strips that make up the interior furniture. I want the door to fit right back in, so that means I need to have the grain perfectly match up with the planks that are there.

I labeled the planks with numbers and a series of lines, and with the descriptors of outboard and inboard so that I could then reassemble them properly once the door is cut out.

The pine planks are 3/4” thick as well, so I set the depth of cut to be just shy of 3/4” that way the saw would not harm the finish of the wood.

After almost cutting the planks, I then set the depth of cut to the full 3/4” and cut just the middle section so that the blade would pop out into the salon. From the salon, I inserted a handsaw into the kerf of the skill saw and cut the last little bit by hand. This kept the wood from splintering or getting damaged too much during the cutting phase.

FullSizeRender.jpg

The plywood got cut beyond the ends of the door because it was cut entirely with the circular saw. The pine planks were not cut in this manner because they are furniture and I cut them squarely with a handsaw.

FullSizeRender.jpg

Now we have proper access to the void of dead space and can properly use it as a locker for the pots and pans that need a new home (The new oven is going to occupy their old storage location).

Galley Refit Begins!

It feels like I just finished the head refit and now I’m starting another project. 

FullSizeRender.jpg

Thd big difference is the galley project can’t hide behind a closed door. I have to look at this while I’m not working and I don’t have much time left. 

The head took months, this can only take days! 

Today started with a regular galley, but by the end, I had gutted it completely.  

Why is this project going so much faster? I think it’s because we have a plan. The head was more fluid. I gutted it, we looked at the space, and then the design came about during the construction process. I was timid because “what if we change our minds and I have to tear it out?” 

With the galley, everything is planned. I’m ripping out the counter, new sink, butcher block counter tops, gimballed stove/oven. Under the sink, we will cut a door and install storage shelves.  

Simple, clean, efficient. Let’s get it done! 

Head Refit Complete

The hardest part of any project is knowing when you are finished. 

FullSizeRender.jpg

The biggest difference between an amateur (but very skilled) and a professional installation is that the professional doesn’t give you a bunch of “extra pieces” that you might want to keep around. The project ends and they take all the tools and scraps with them. 

The amateur will keep all the extra pieces because they are “too good to throw out”. This makes it look a bit cluttered and messy.  

Lets be honest, if you have to install a little trim work and you haven’t yet, you actually won’t end up installing it. You will carry the materials and tools around for years, using the project area and living it, all while logging around all this stuff that you don’t need. Pitch it and call it complete! 

The Head is done. Everything is finished to the point where we can use it. We have more projects to tackle and very limited time. That means that this project needs to be labeled as completed and any “extra pieces” discarded so that the head looks like a professional installation.