Life Aboard

Head Refit: Cabinets Part 1

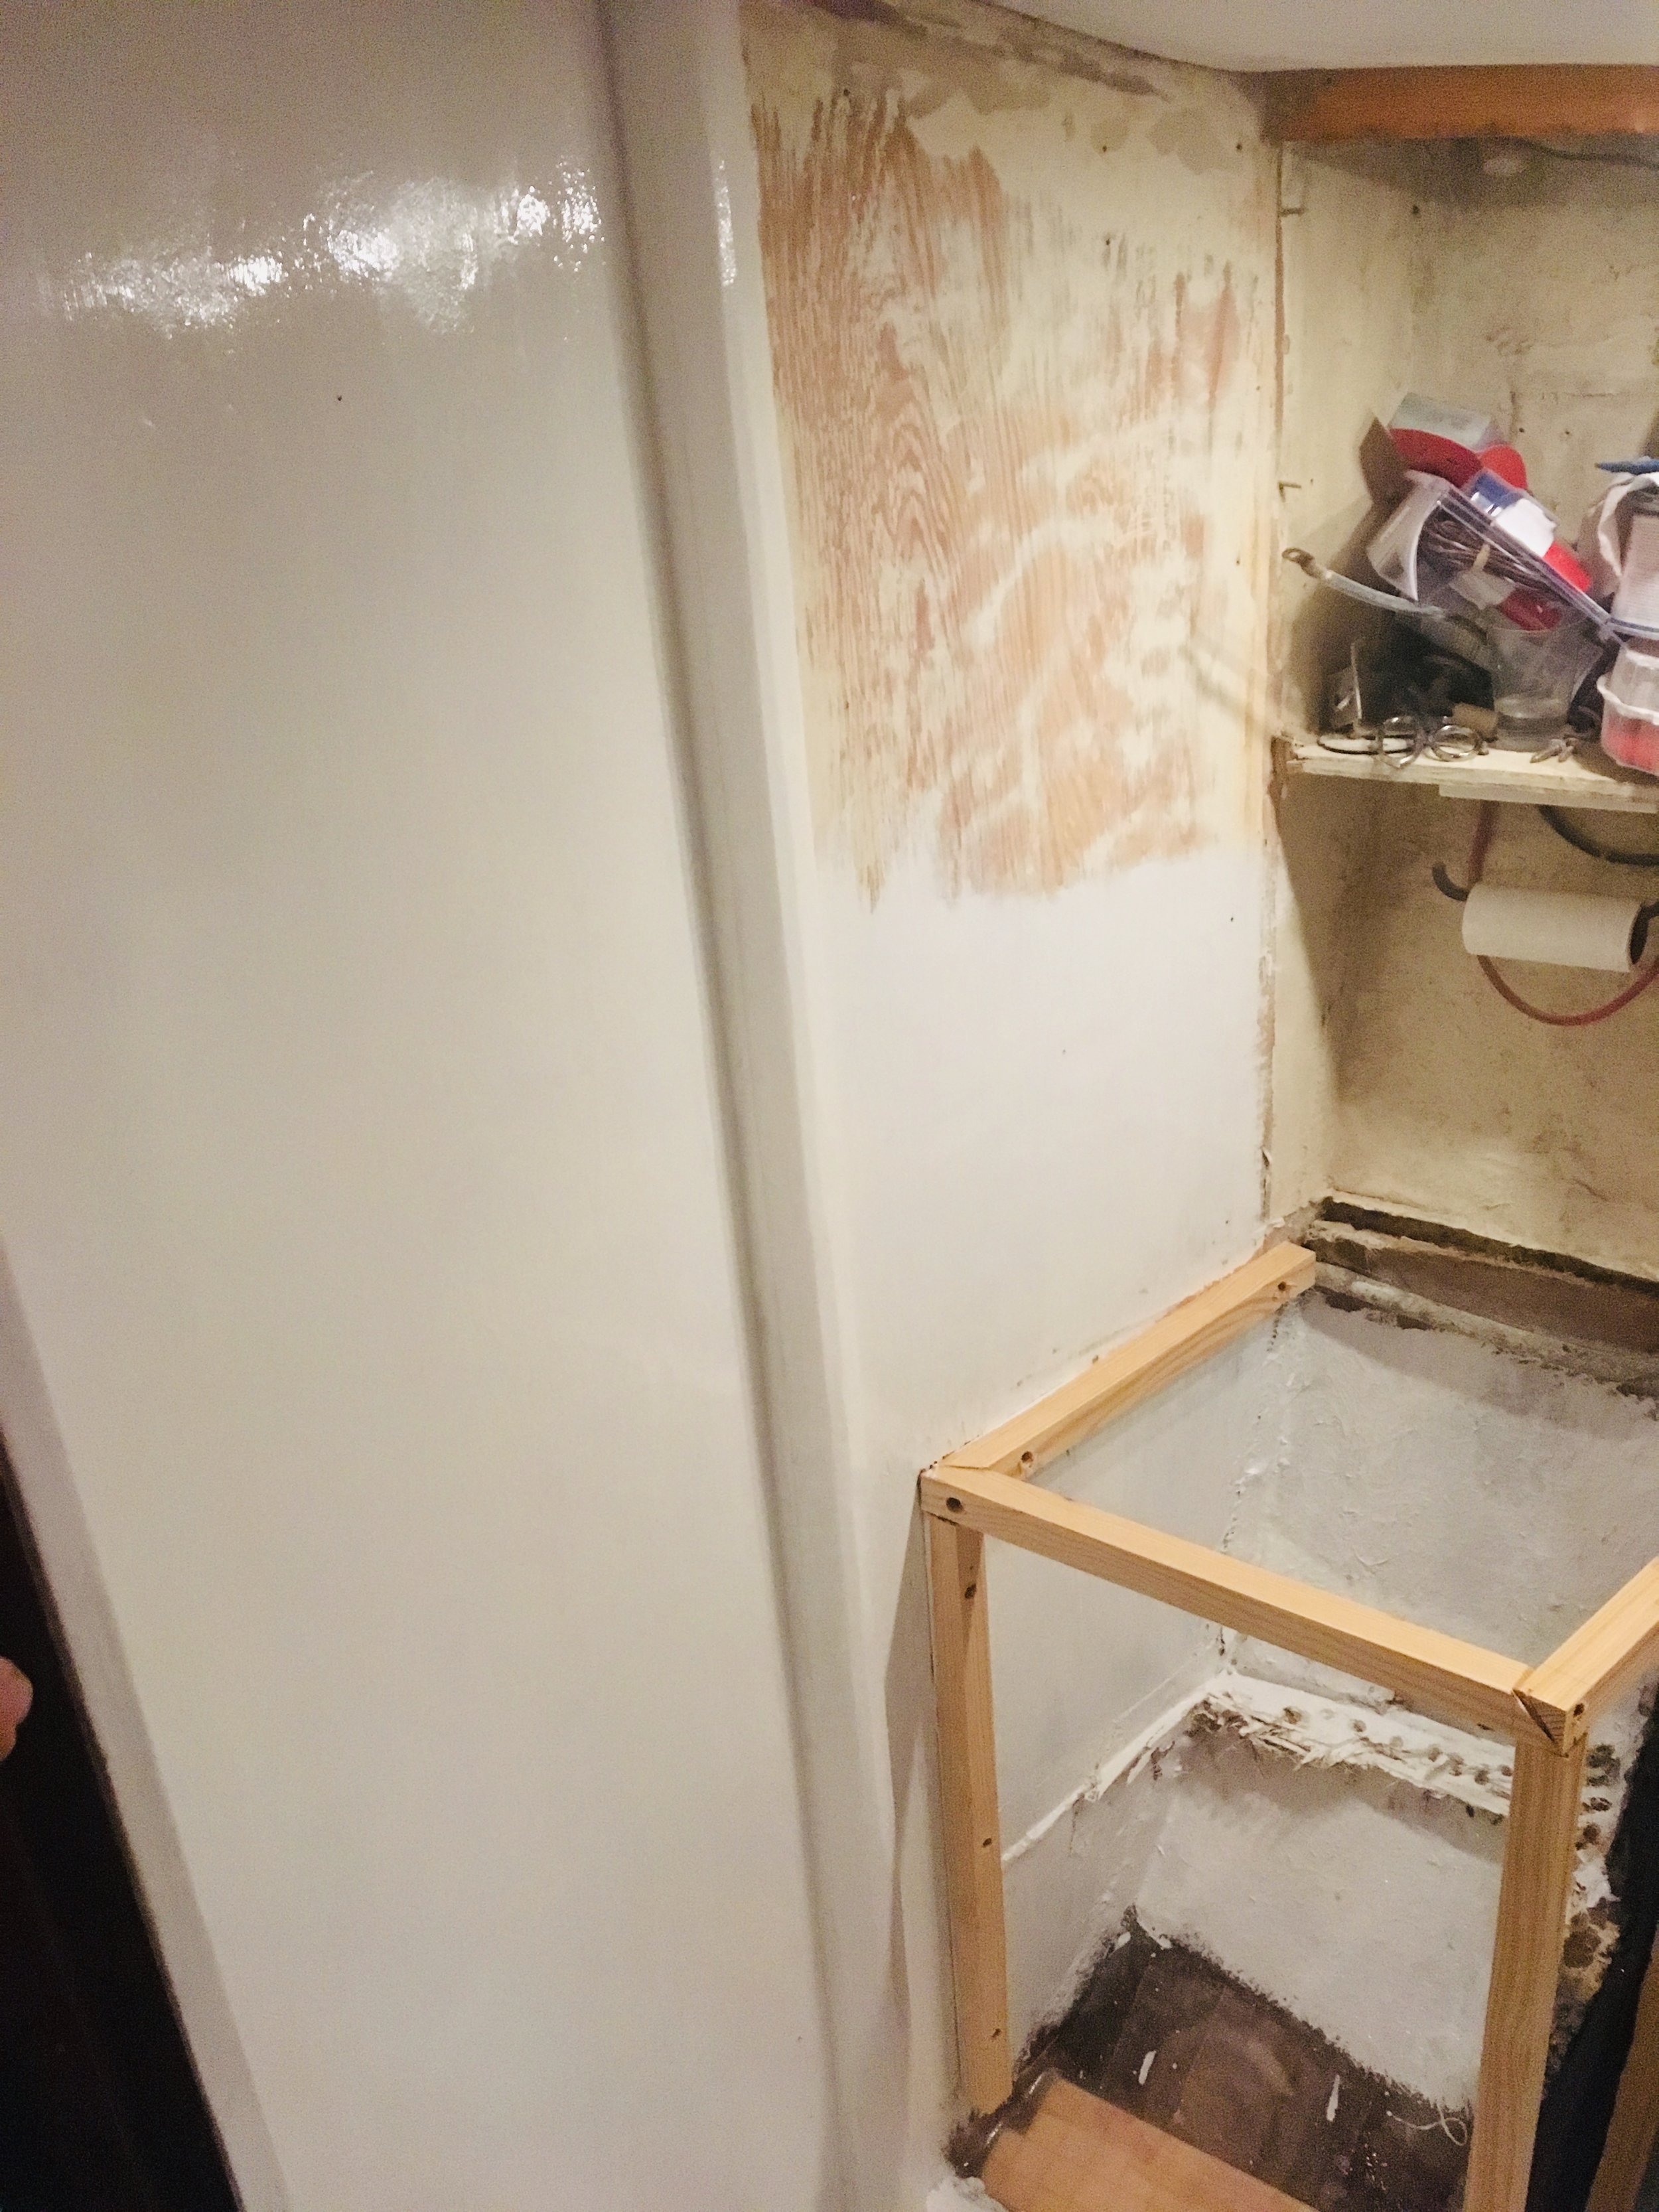
The cabinet in the head will serve to hold the sink and also to store the bathroom necessities. The main issue we had with the old sink cabinet was that the doors opened towards the midship which means that if we healed hard to port, the doors would swing open and dump everything they were supposed to be storing. 

The solution is to make this new cabinet open with a door fore-aft. But first, we need to build a frame! 

IMG_4881.JPG

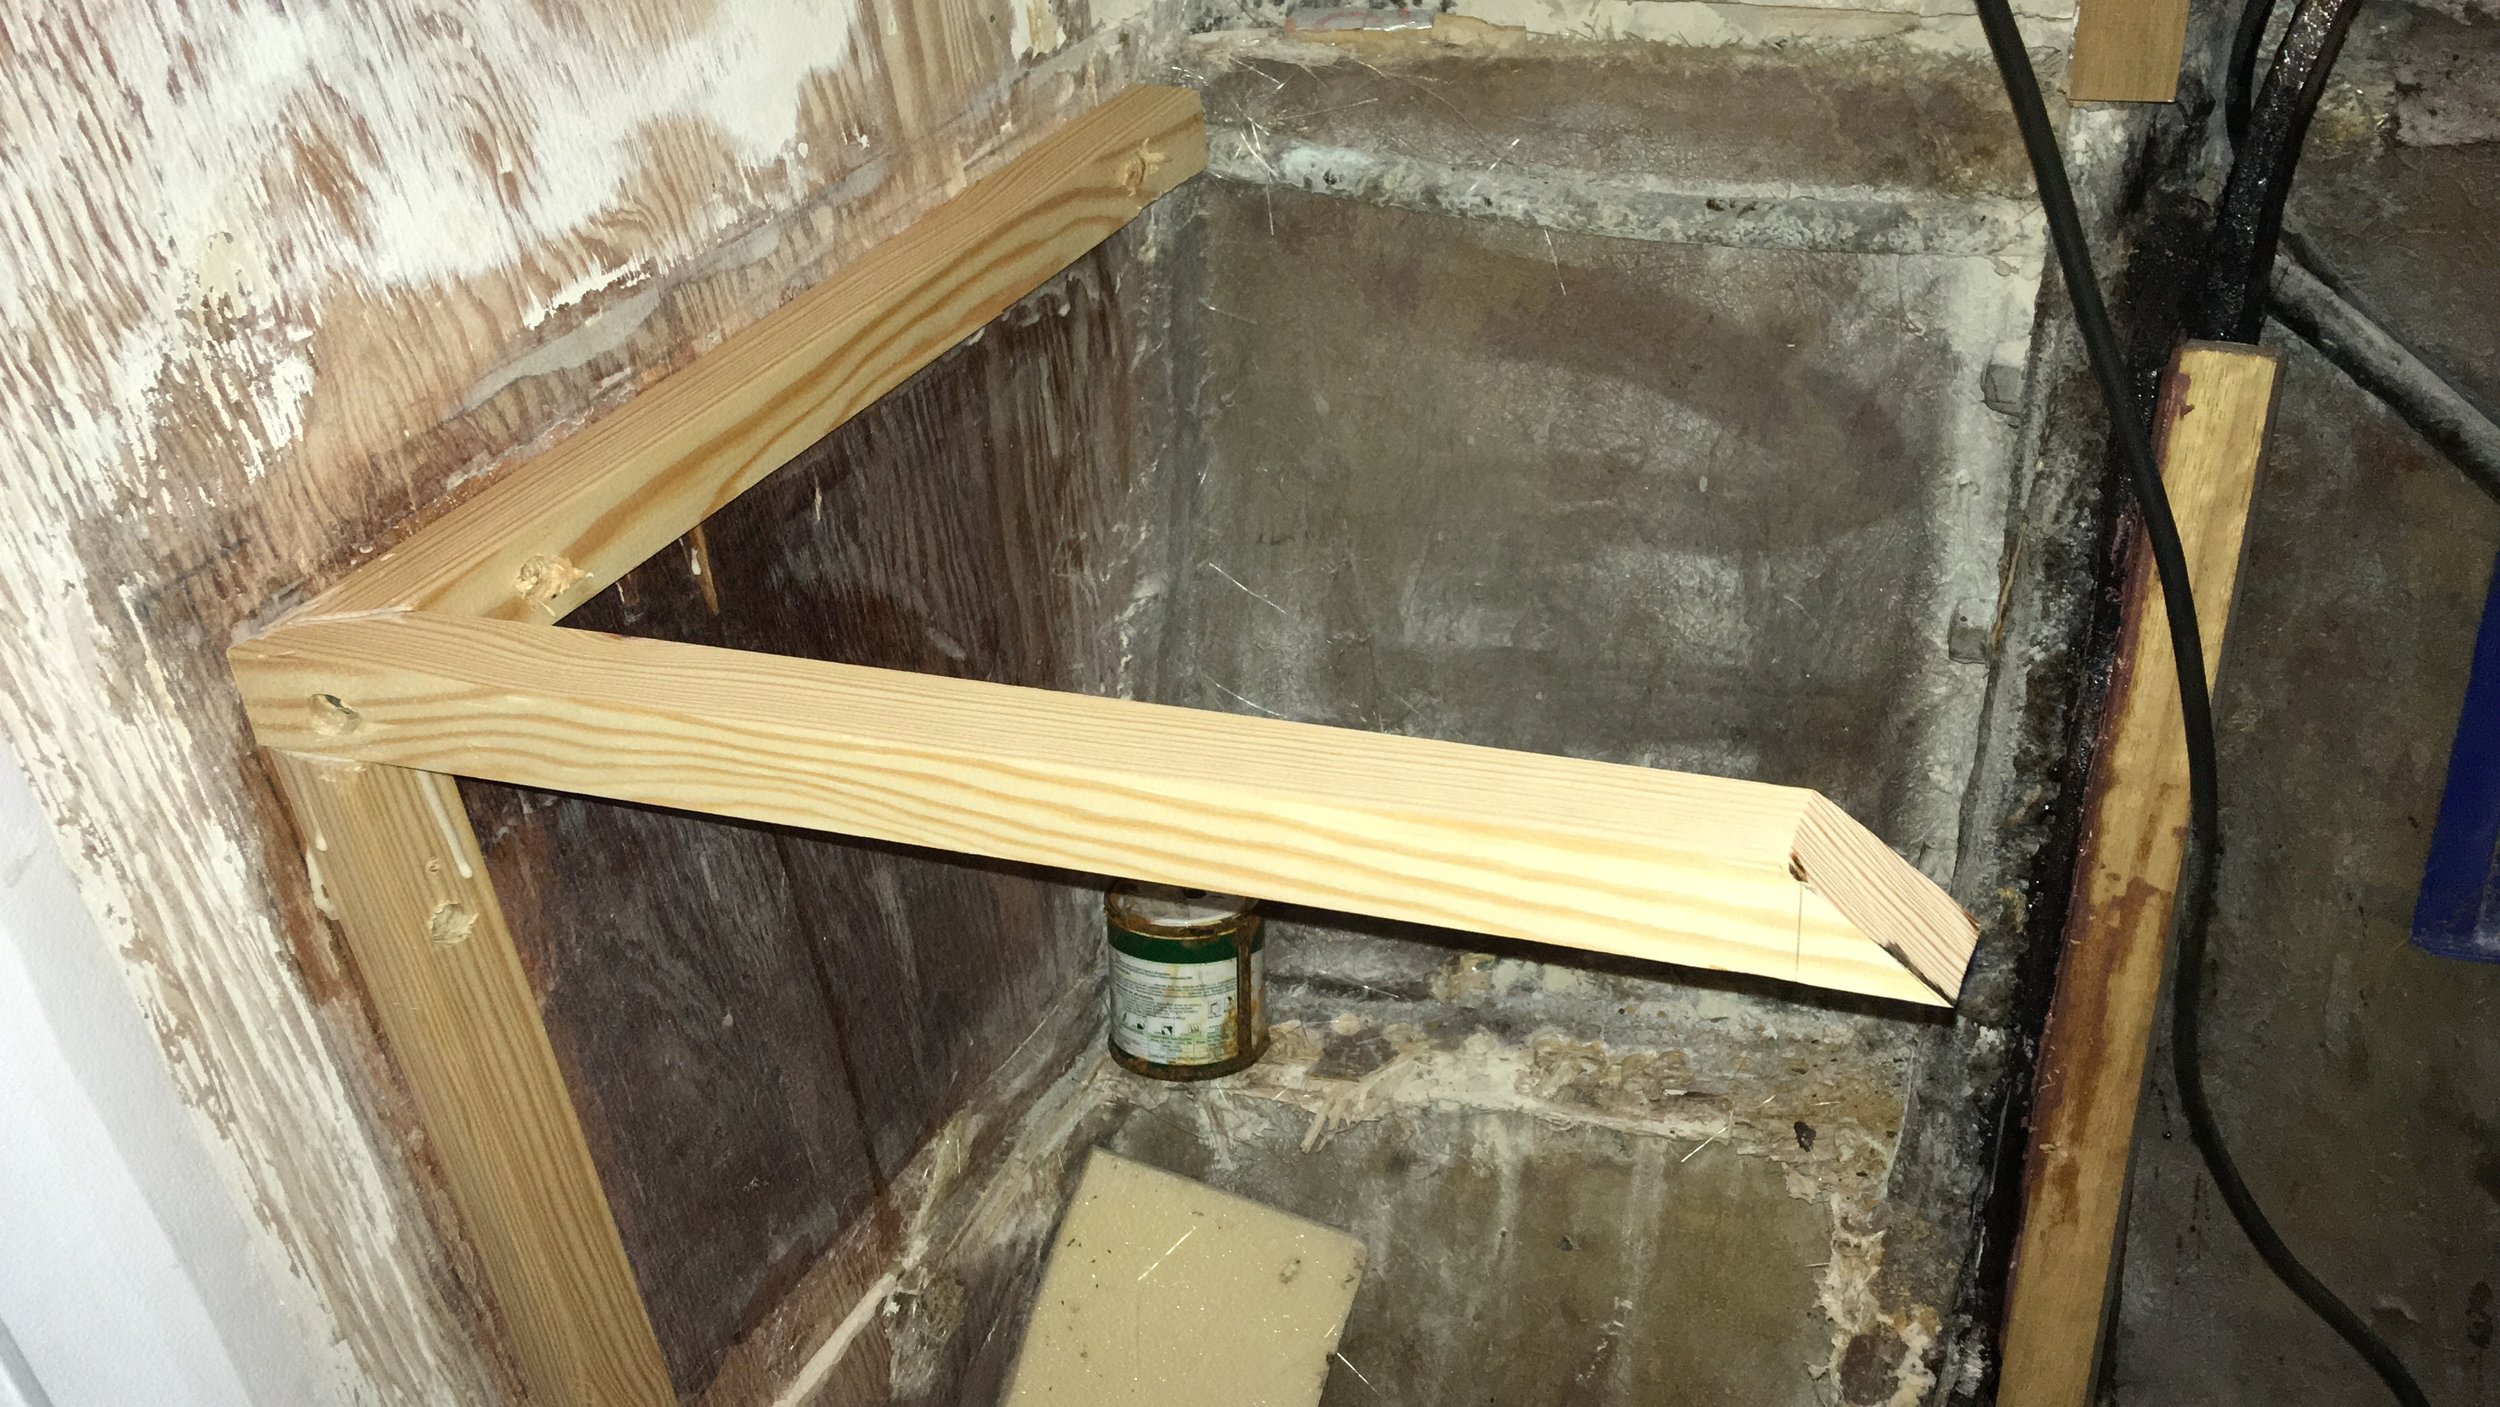
To make the corners stronger, I mitered all the corners. 

FullSizeRender.jpg

The outermost corner of the frame needed a compound miter to make sure that all the edges and legs are fastened together properly.

FullSizeRender.jpg

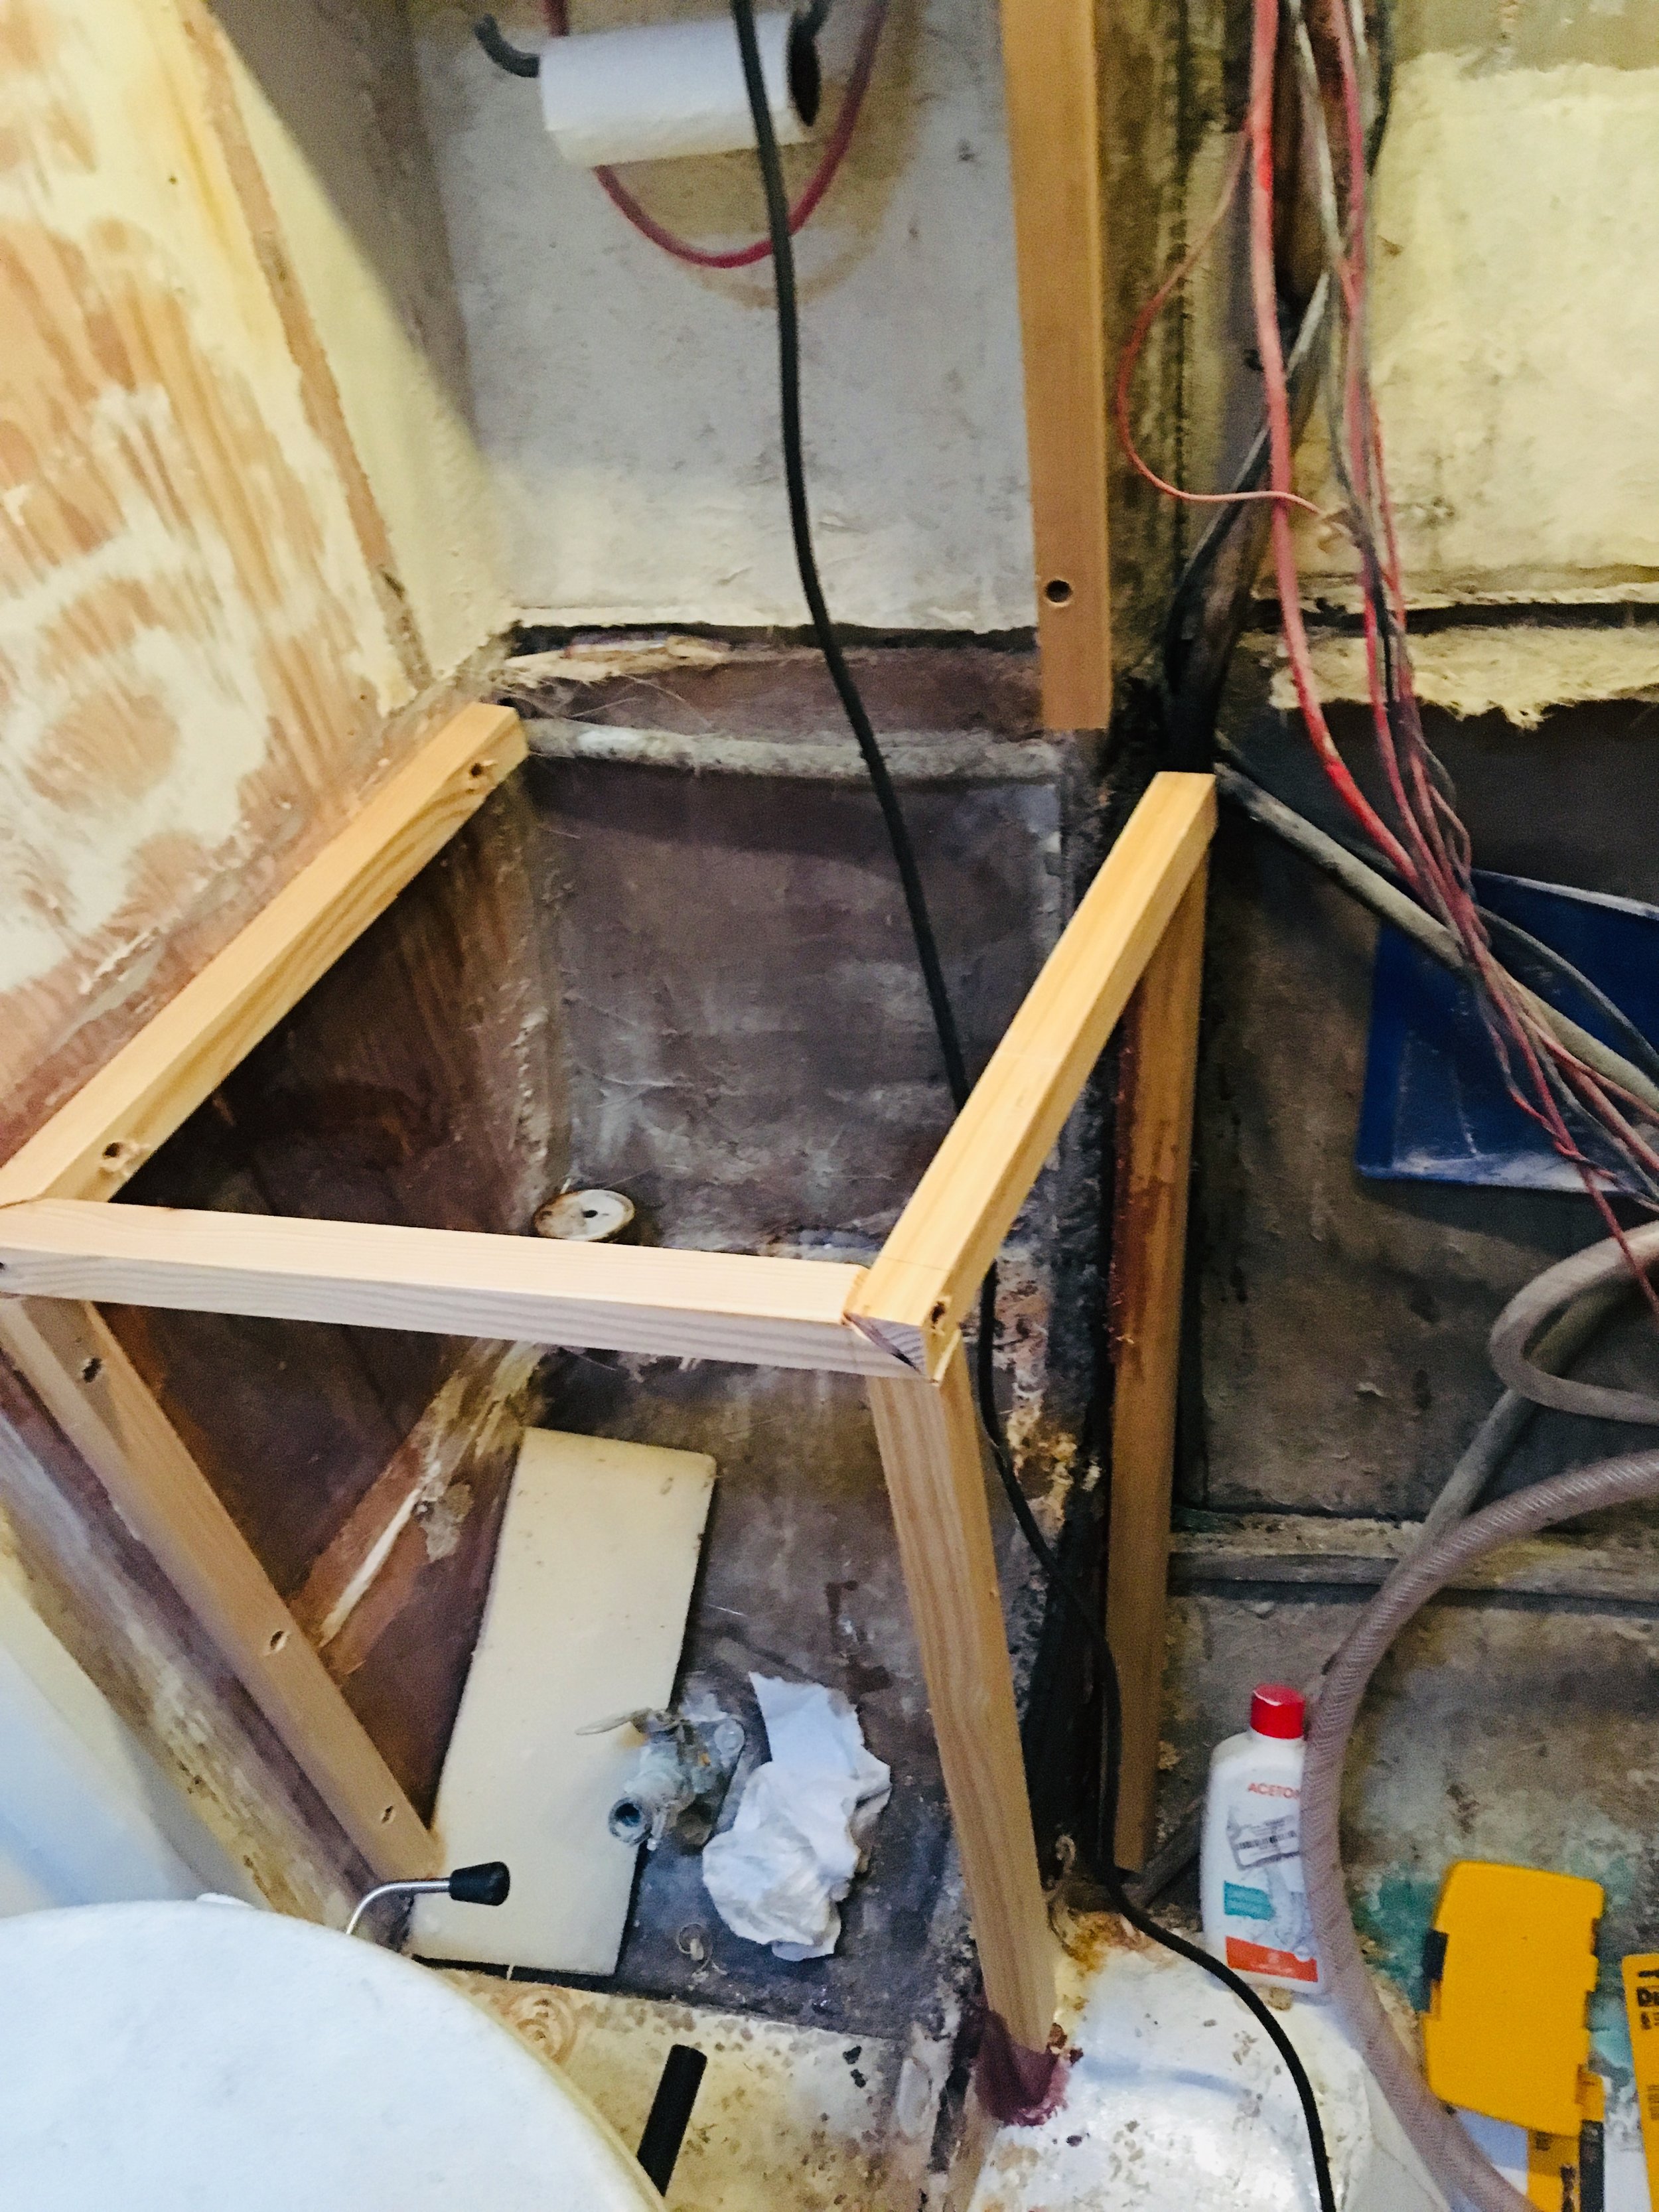
The cleats for the aft side of the cabinet were merely glued to the iron frame that attaches to the chainlate with no mechanical fastener while the cleats on the bulkhead were fastened with screws. 

Now that we have a frame made, we can begin planking the bock and building our head once again! 

Head Refit: Painting Part 2

The painting in the head has been progressing nicely. Bilgekote applied directly to the walls and floor has been taking nicely and leaving a very good slick surface. The first coat was very thin to avoid having runs in the paint.  

The second coat is masking over the wooden surface while leaving a strong and durable finish. 

FullSizeRender.jpg

We are planning to build a cabinet over the sink area which means that I might be needing to fiberglass to the bulkhead, so I’m not putting any paint there that might need to be sanded off again!

FullSizeRender.jpg

The frame for the sink and cabinet is assembled but not planked yet. 

FullSizeRender.jpg

I also mounted the cleats for the planks on the side so that I could effectively paint up to them but not waste time painting beyond the cleats. 

FullSizeRender.jpg

Lastly, the hose for the sump pump was run before the shower floor was glassed in fully. If you look closely, you will only see one hose run (the hose from the shower sump to discharge the shower water) but no hose to drain the sink. This is because I forgot to run that hose and won’t discover that little fact for a long time! 

Head Refit: Painting Part 1

With the construction of the new head completed, we are finally able to convert the head from a rainbow of colors from all the different materials used to a single monochromatic creation on serenity. White walls, white floor, white everything.  

IMG_4837.JPG

on the side of the shower that has the shower head, I painted a layer of epoxy just to make sure that the shower water doesn’t work it’s way into the wood. 

IMG_4838.JPG

On the other side, I did not because the shower water isn’t as intensely spraying onto it’s surface.  

What paint am I using? Why am I not using primer? 

I’m painting the entire head with bilgekote from Interlux. I don’t use primer under bilgekote because I find that it works just fine when painted onto a bare surface.  

Bilges are wet and so are showers, so it makes sense to paint the entire shower with it. Right? 

In a few years, we will all know for sure. In the mean time, I’m going on a hunch that I feel will work out in the end! 

Head Refit: Cabinets Part 3

The rough fitting of the wood is competed, now it is time to make everything fit better and more smoothly.

FullSizeRender.jpg

The walls and lower cabinet are competed but the cabinet above the sink is still awaiting construction.

FullSizeRender.jpg

I trimmed the top of the table to make the countertop fit better in there and also rounded all the corners of the wood. Nothing is more dangerous in a boat than a sharp corner! Having a rounded edge means that if you bump into the wood while underway, you won’t stab yourself!

FullSizeRender.jpg

The fiddleblock for the shelf was an inspiration from Maddie. She wanted it to “swoop out of nothing” and then I set a random diagonal offcut on the shelf. Maddie was walking by the head and loved the look of the diagonal piece of wood!

The fiddleblock was then cut out of Cryptomeria and fastened to the edge of the shelf. I made sure that the blonde parts of the wood met up at the edge of the shelf so that the fiddleblock would then “emerge” from the blonde and return to the red look of the rest of the head. 

Killing Mold with Vinegar

Mold is a terrible scourge on a yacht. It lives in the wood of the interior and is always lurking just below the surface, waiting for the perfect conditions to bloom and rise up! 

Mold is not just fuzzy and annoying, it can also pose great respiratory concerns! Mold spores can trigger symptoms as mild as allergic reactions all the way up to much more serious conditions like aspergilliousis. 

FullSizeRender.jpg

Killing mold (or at least driving it back into the wood where you won’t be exposed to it) is actually simple to accomplish. 

Maddie sprayed straight white vinegar onto the afflicted areas and let it sit for a full hour. Then she scrubbed the surface with a stiff brush (we used a new toilet bowl brush) to get into all the nooks and crannies of the interior joinery. After that she wiped the surfaces down with a dry towel.  

You might be wondering about the vinegar smell. Let me assure you that the smell is strong but it does air out quickly with the hatches open. So, be sure to do this on a dry day when you can open up the hatches instead of on a rainy day when you will be trapped without ventilation inside what would smell like a pickle jar!