What is the Purpose of a Stern Overhang

FullSizeRender.jpg

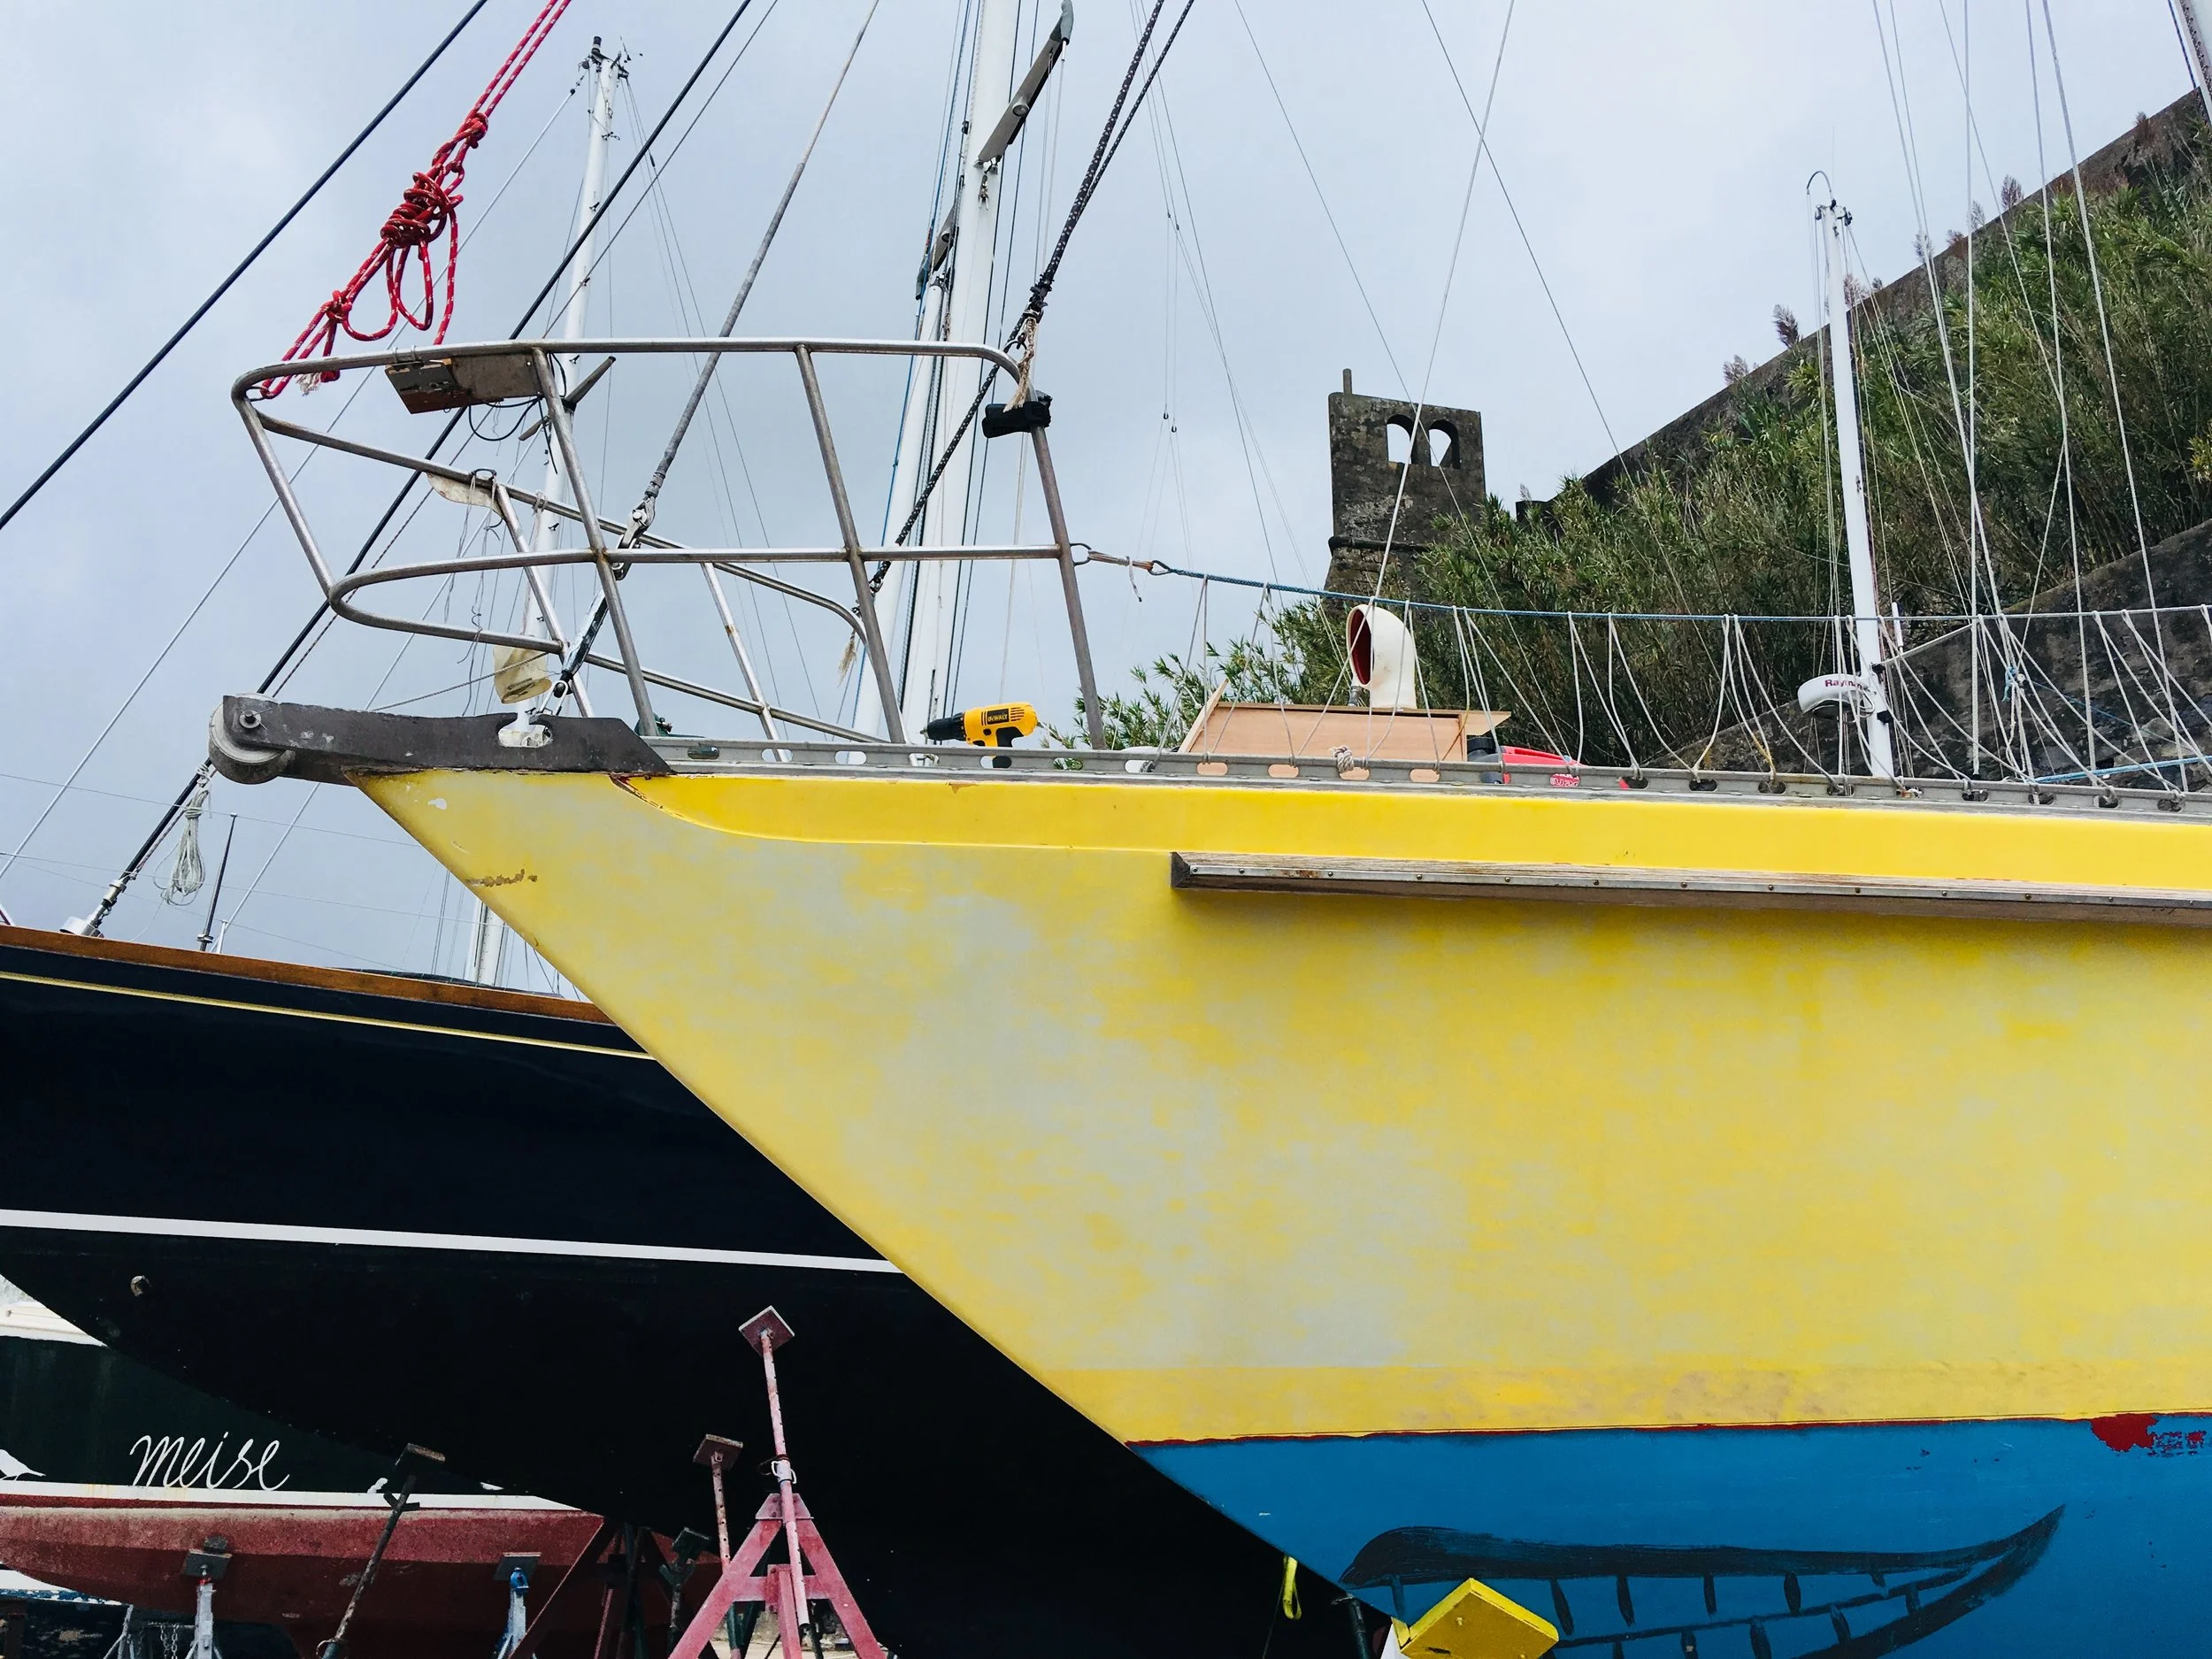
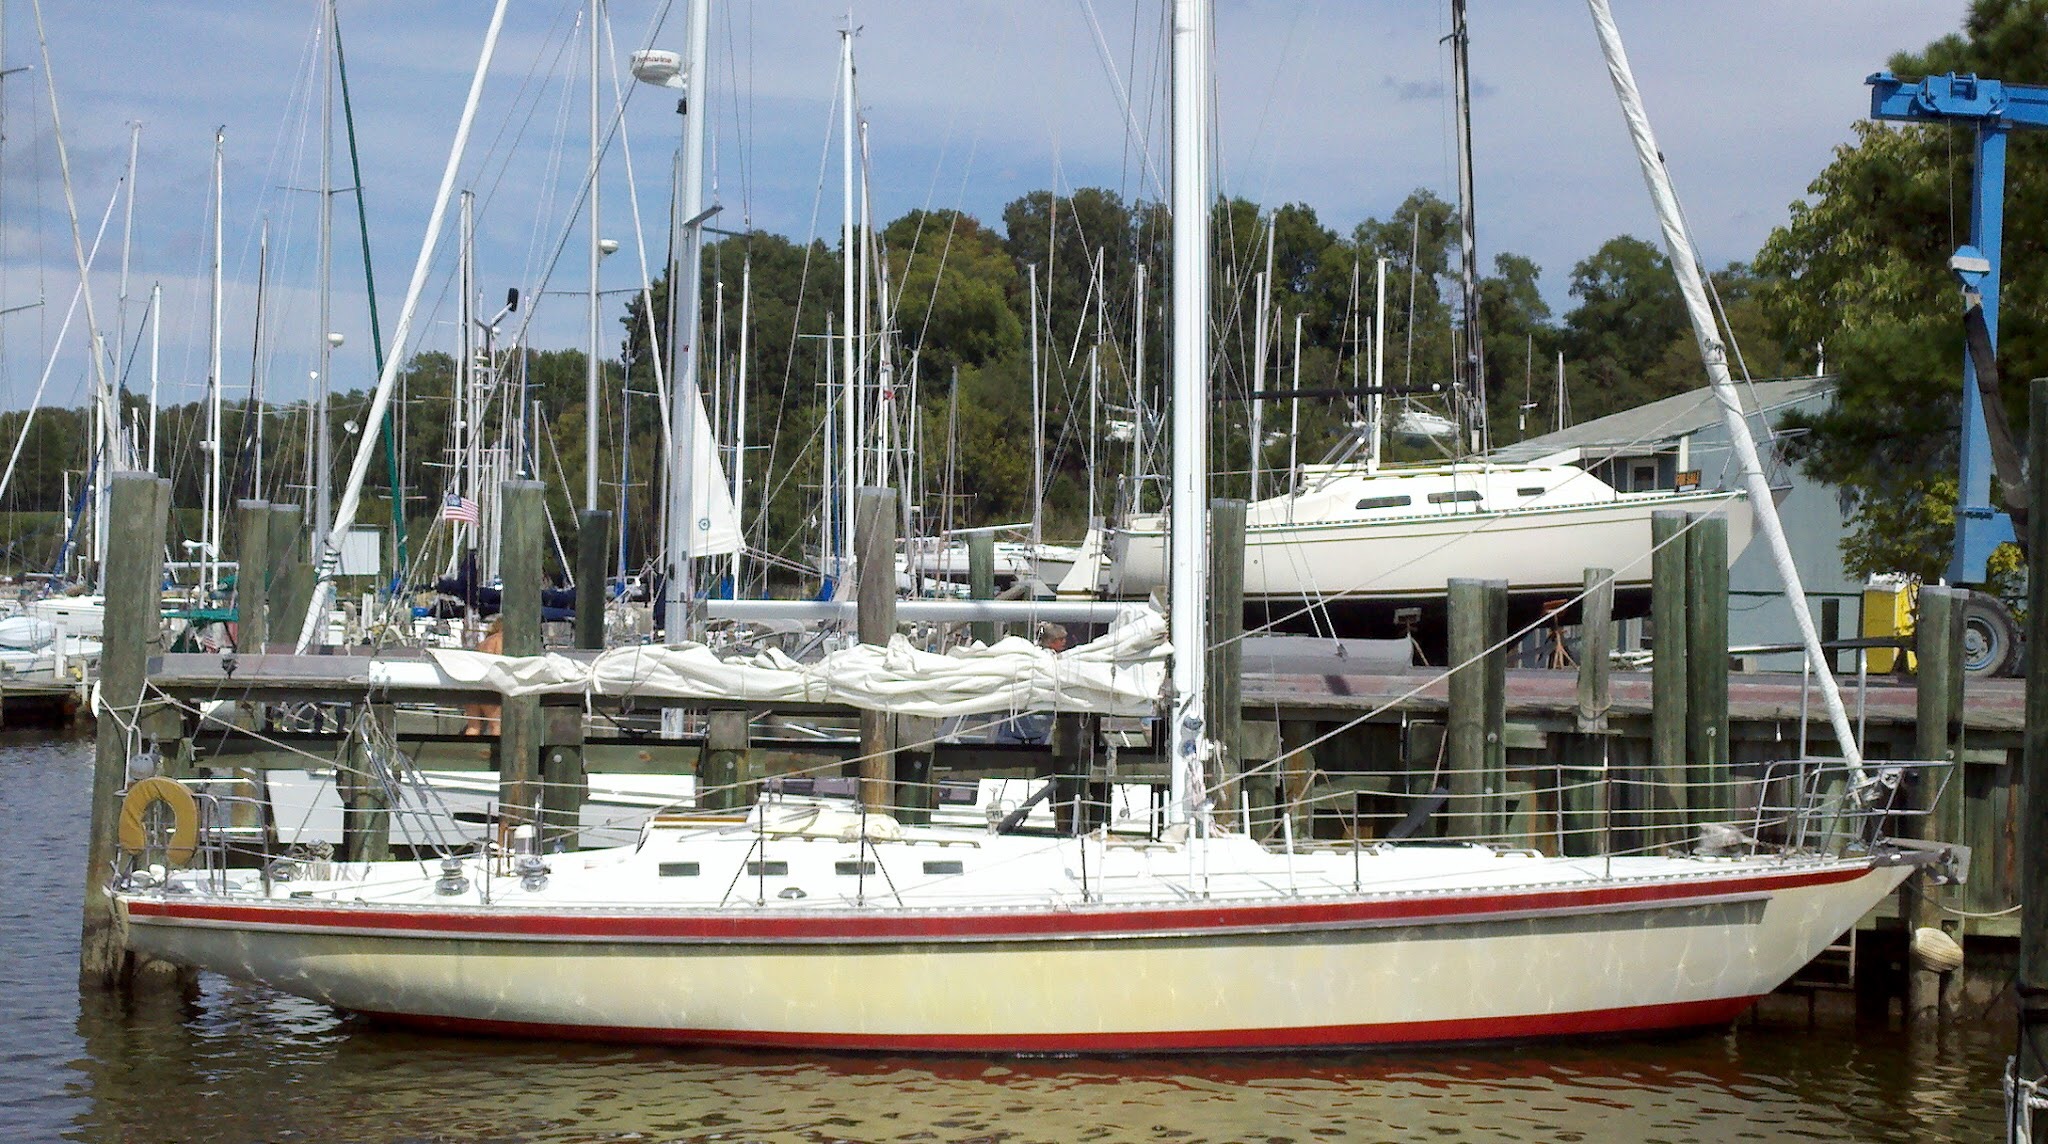
Long overhangs are a common design characteristic of CCA (Cruising Club of America) boats that were very popular back in the 1950s and 60s. These yachts sported short water lines for their length overall and had significantly long overhangs. Wisdom, as pictured when I bought her in 2012 is 45 feet long with a 32 foot waterline. Simple arrhythmic will tell you that we have 13 feet of overhang, most of which is located in the stern.

The idea behind this design is simple, at rest, the yacht has some lovely overhangs that look timeless and classic, but also help cheat the racing rules at the time. The rules measured the boats waterline for its handicap rating, since waterline length directly correlates to maximum speed through the water. A 45 foot yacht has a hull speed of 8.98 knots while a 32 foot yacht has a hull speed of only 7.58 knots.

So, the large yacht with long overhangs gets rated as a smaller yacht with a lower top speed. Then when the wind comes, it heels over and that long overhang goes into the water, giving the speed boost because of the longer waterline.

FullSizeRender.jpg

The stern overhang is the most effective area for this cheating to take place, as it can quickly fall into the water with very little heeling.

FullSizeRender.jpg

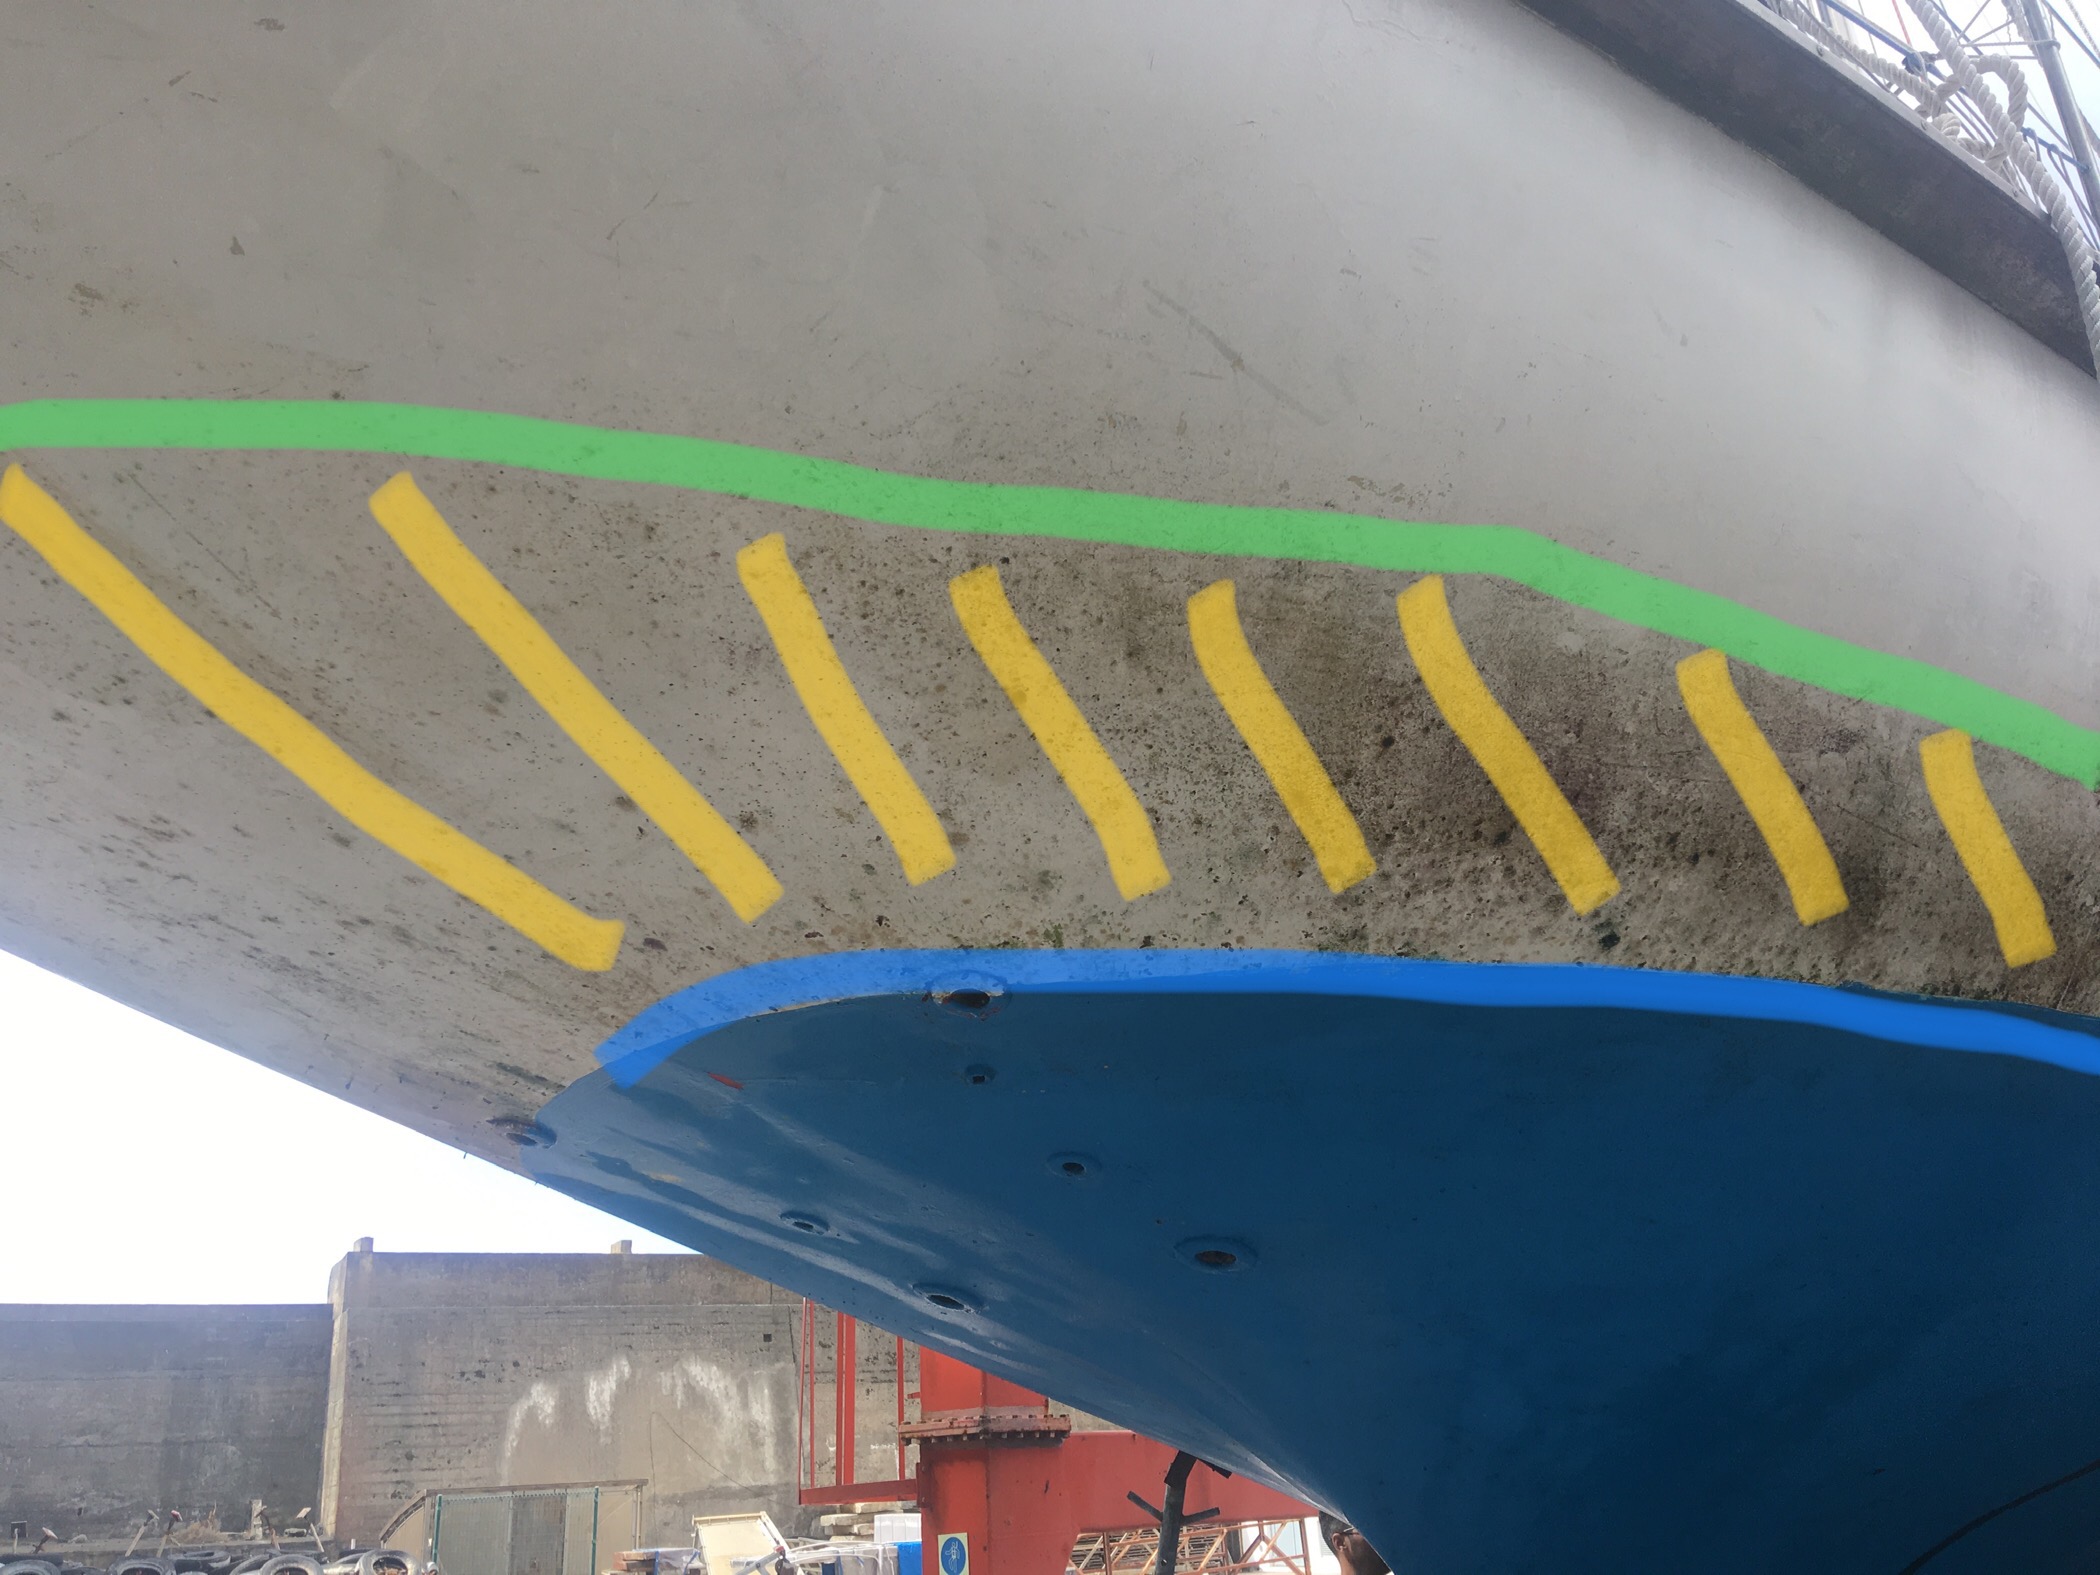
We sailed most of the time heeled over to 10 degrees, and the fouling scum on our topside paint is evidence of what parts of the overhang spent the most time underwater. The blue line demarcates the resting (vertical) waterline while the green line demarcates the heeled waterline. The yellow area between the lines is the added wetted surface.

IMG_2713.PNG

After spending close to a month sailing from Bermuda to the Azores, the fouling growth is very evident on our topside paint. It is plain to see that the bow overhang doesn’t contribute to the added waterline length while the stern adds a considerable amount of length.

Next time you see a yacht with a long stern overhang, imagine how the waterline changes as they sail and that long stern overhang splashes into the sea!

IMG_0312.JPG
IMG_2318.JPG

Dedicated Trysail Track

A trysail is a small storm sail that is flown in place of your mainsail. It usually lives deep in a sail locker stuffed into a bag. Here it typically remains for the entire life of your yacht.

The idea behind a trysail is that should the winds pick up to severe speeds, you can drop your mainsail and raise the trysail. This takes all the stress off your mainsail and puts it solely on a dedicated and purpose built sail.

The problem in this narrative is that the sail is stuffed away where it is forgotten, and therefore, seldom used. In a storm, the last thing you want to do is root through a locker, pull out a sail, remove the mainsail, attach it to the luff, and then raise it. When a storm hits, you want to make your main smaller and get back to the cockpit as quickly as you can!

Having a dedicated track for the trysail allows you to set it up before you leave port so that should the situation arise, it is ready to go.

FullSizeRender.jpg

We flake and then ball up our trysail at the foot of the mast, where it remains laying in wait for the moment we might need it. We have the starboard sheet tied to the clew, so all we need to do is attach the port sheet once the mainsail has been lowered; and its dedicated halyard already attached.

When we need the sail in a hurry, we just drop the main and raise the trysail. The starboard sheet is set, so worst case scenario where we don’t have time to attach the port sheet before raising, we can sail on port tack. The clew of the trysail is low enough that I can easily reach it to tie on the port sheet after it has been raised without reaching overboard or far off the deck (I’m tall though).

With the trysail setup like this, we find that we use it very often, which makes our blue water passages very relaxing and safe, since we can don the storm sails just as easily as we could raise our working sails.

V-Berth Airflow

Airflow in our V berth is nonexistent. At anchor, the hatch provides some ventilation for our heads, while our feet remain stagnant. In a rough seaway, the hatch remains dogged down and all airflow stops.  

Thos leads to mold and mildew in the forward cabin, which could all be remedied by better airflow.  

FullSizeRender.jpg

The plan is simple, add a Dorade box and cowl vent forward of the V berth to bring fresh air into the forward cabin. This should help freshen the cabin and impede the growth of molds. 

FullSizeRender.jpg

The problem is, waves and rough weather breaks over the bow first, making it critical that the Dorade box work perfectly to keep water from getting into the cabin.  

Stay tuned as the Dorade box takes shape and the airflow issue becomes resolved.  

Dorade Template

To increase airflow in the forepeak, we want to add a vent. This vent will be in one of the most challenging areas, as well as one of the most necessary areas. 

The cowl needs to only let in air, and perfectly separate out water. Any water that comes through would then drip on our bed. Thankfully I had just finished designing a baffle system that will properly separate out the air from the water.  

FullSizeRender.jpg

The dorade box fits nicely up next to our inner forestay, while keeping the the cowl in clear air while the sails are down. 

FullSizeRender.jpg

Space on the deck is a premium, so finding a place that it fits the box well without impeding other deck hardware is imperative. 

Space needs to exist for the windlass to operate, as well as space to stow the sails when they are flakes on the deck.  

FullSizeRender.jpg

This plywood template served a useful purpose of allowing us to actually see what it will look like on the deck before anything gets cut or glassed.  

Nos that we have found the perfect spot, it is time to build the real deal and glass it to the deck.