Seizing a Shackle

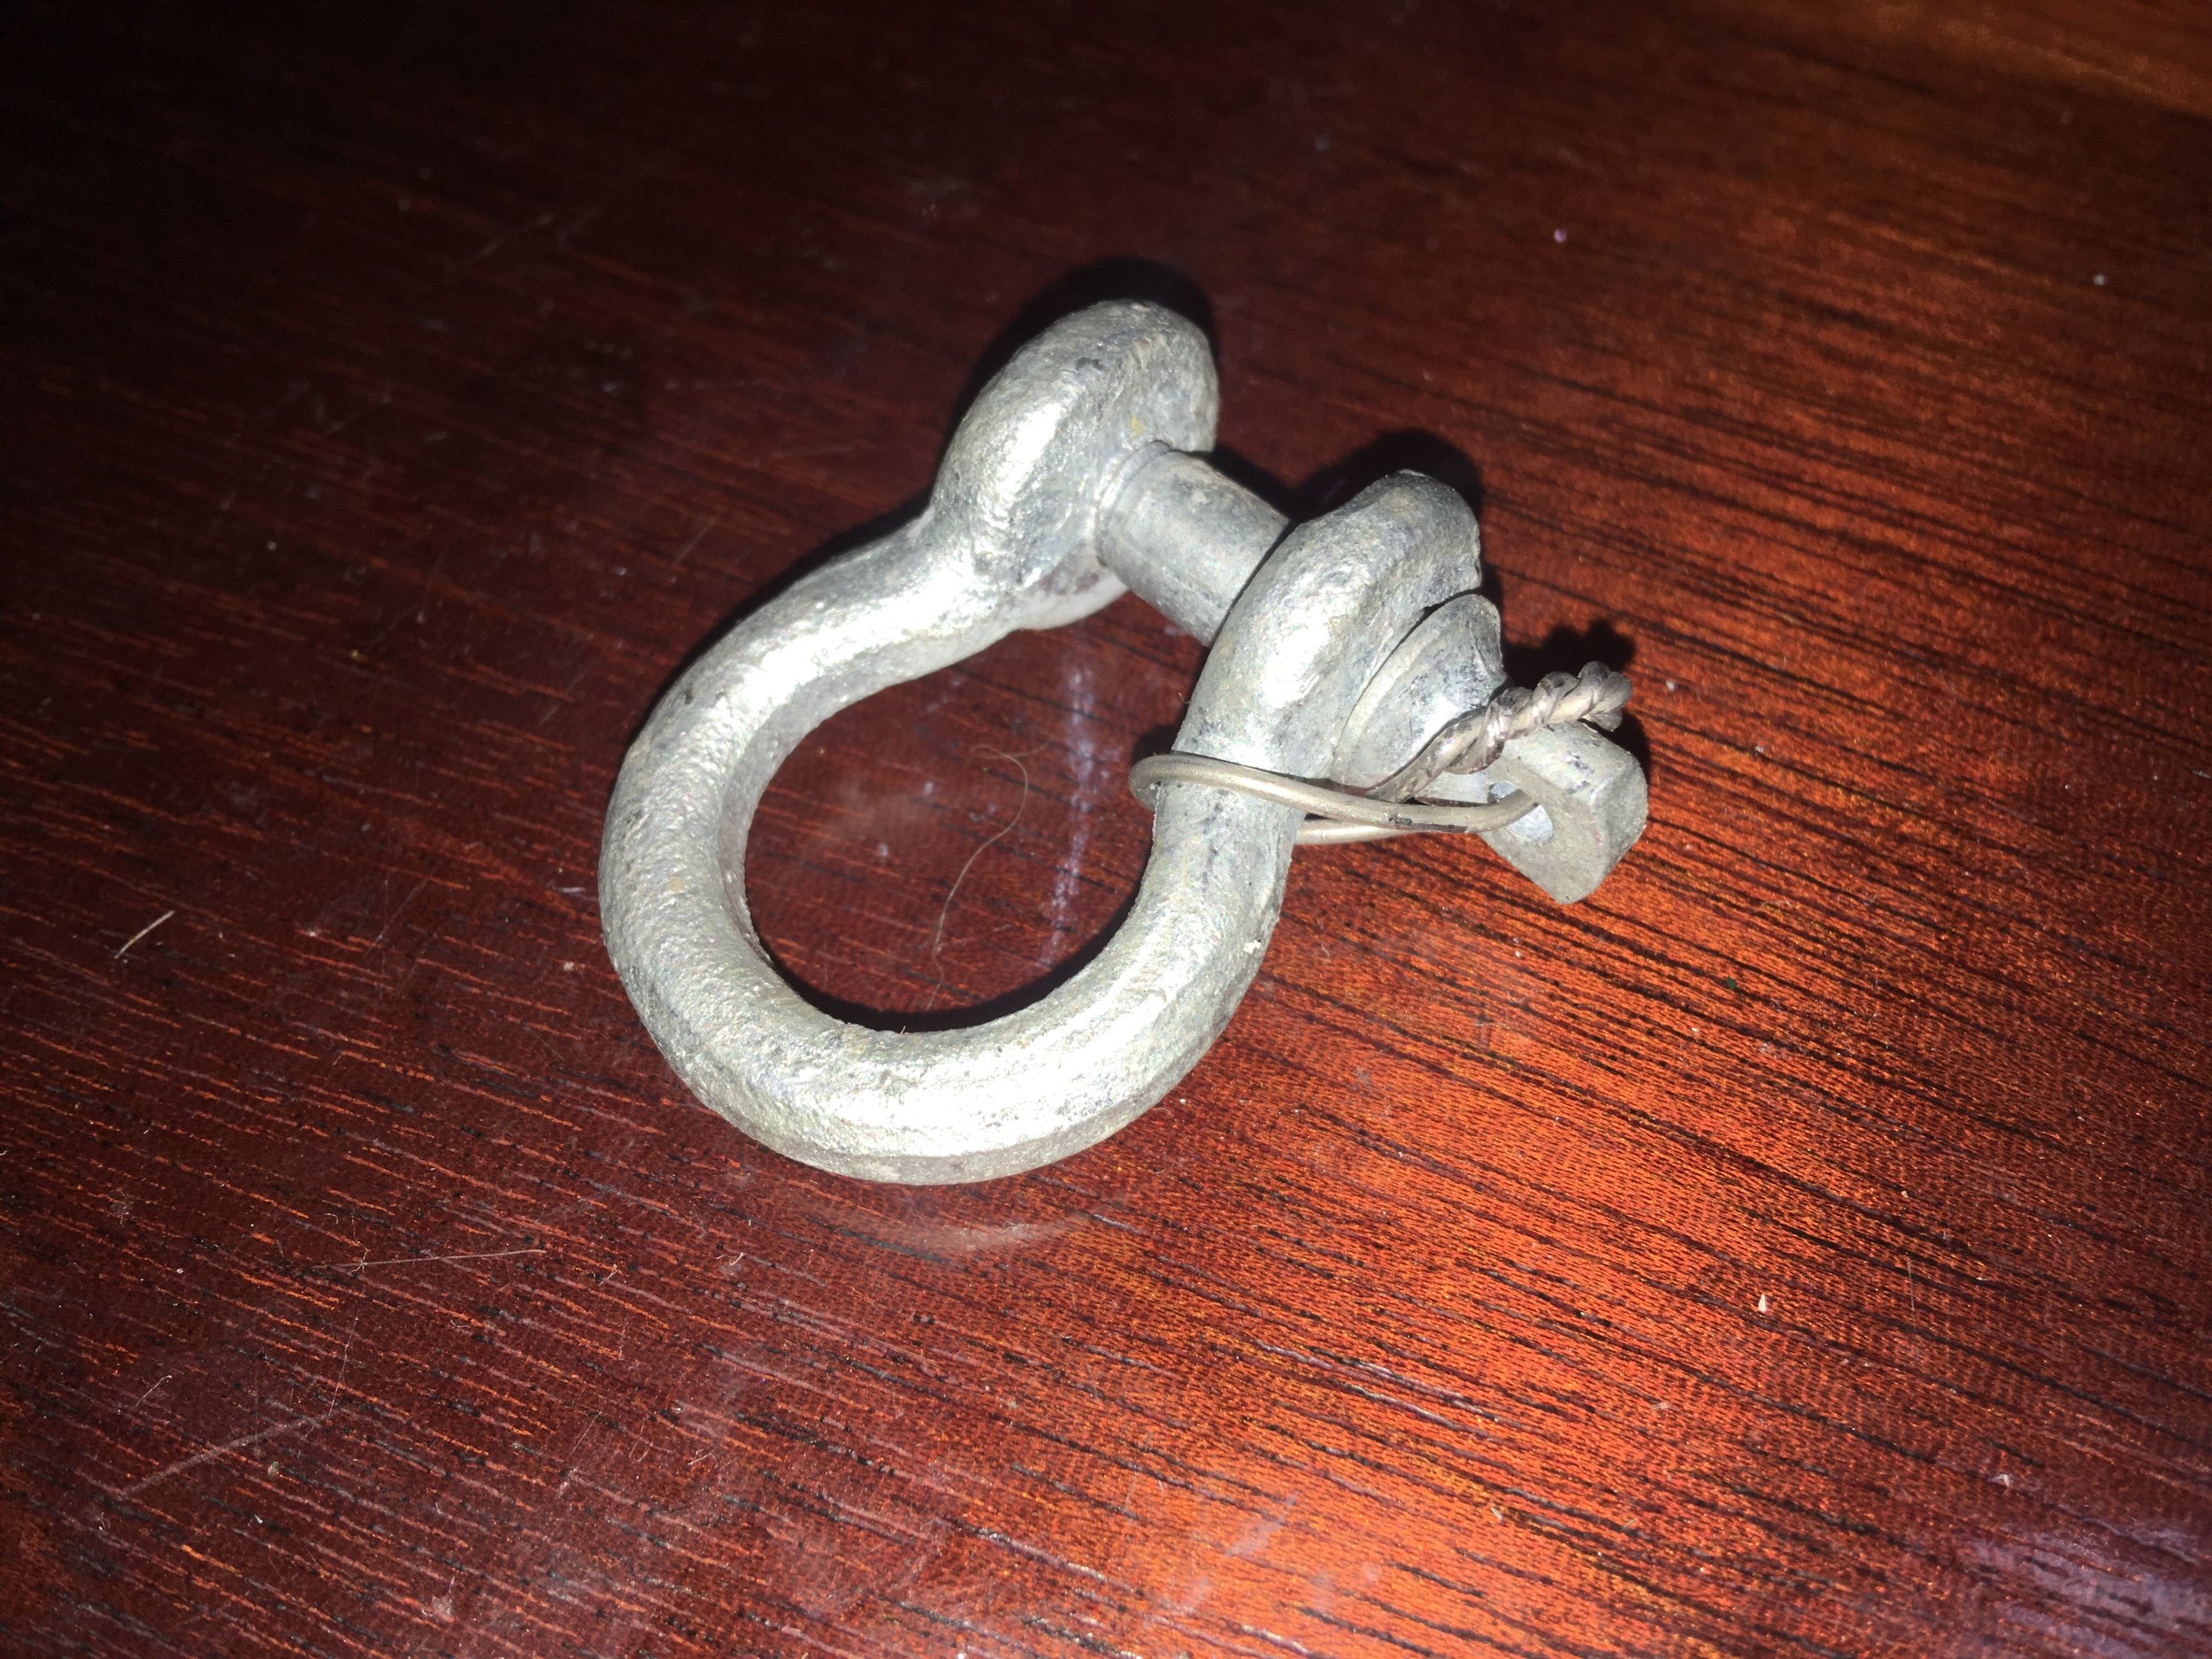
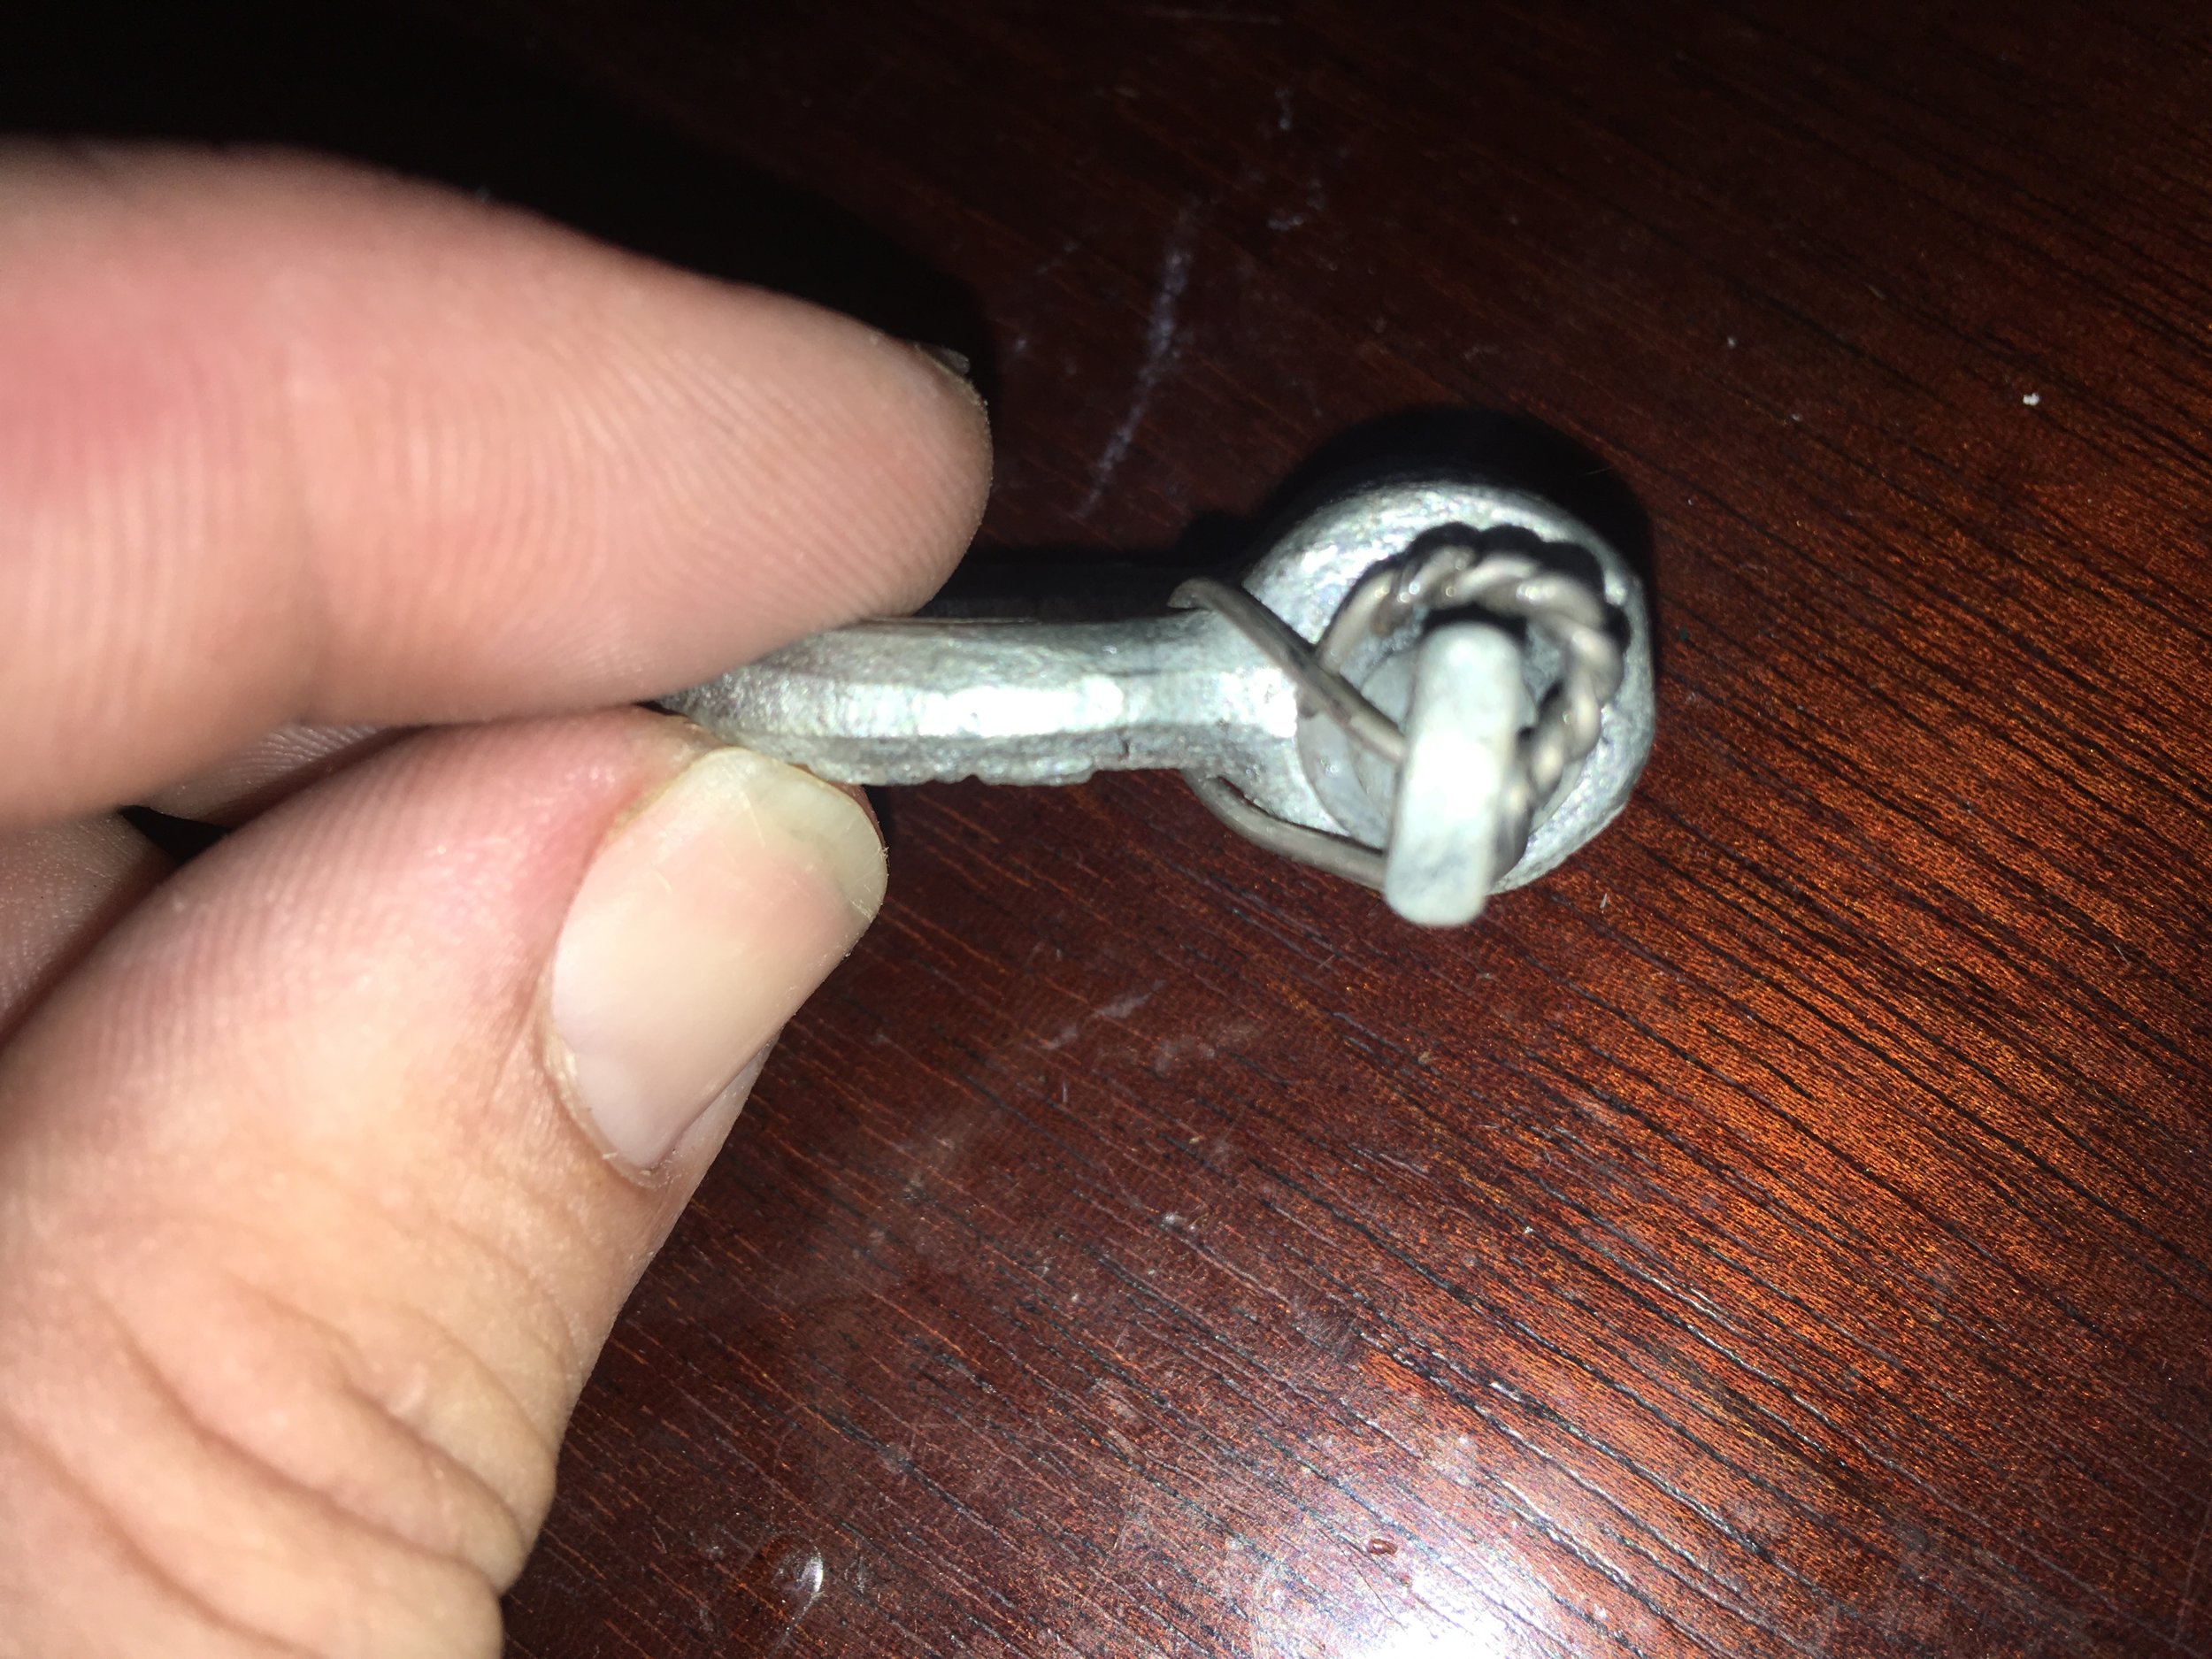
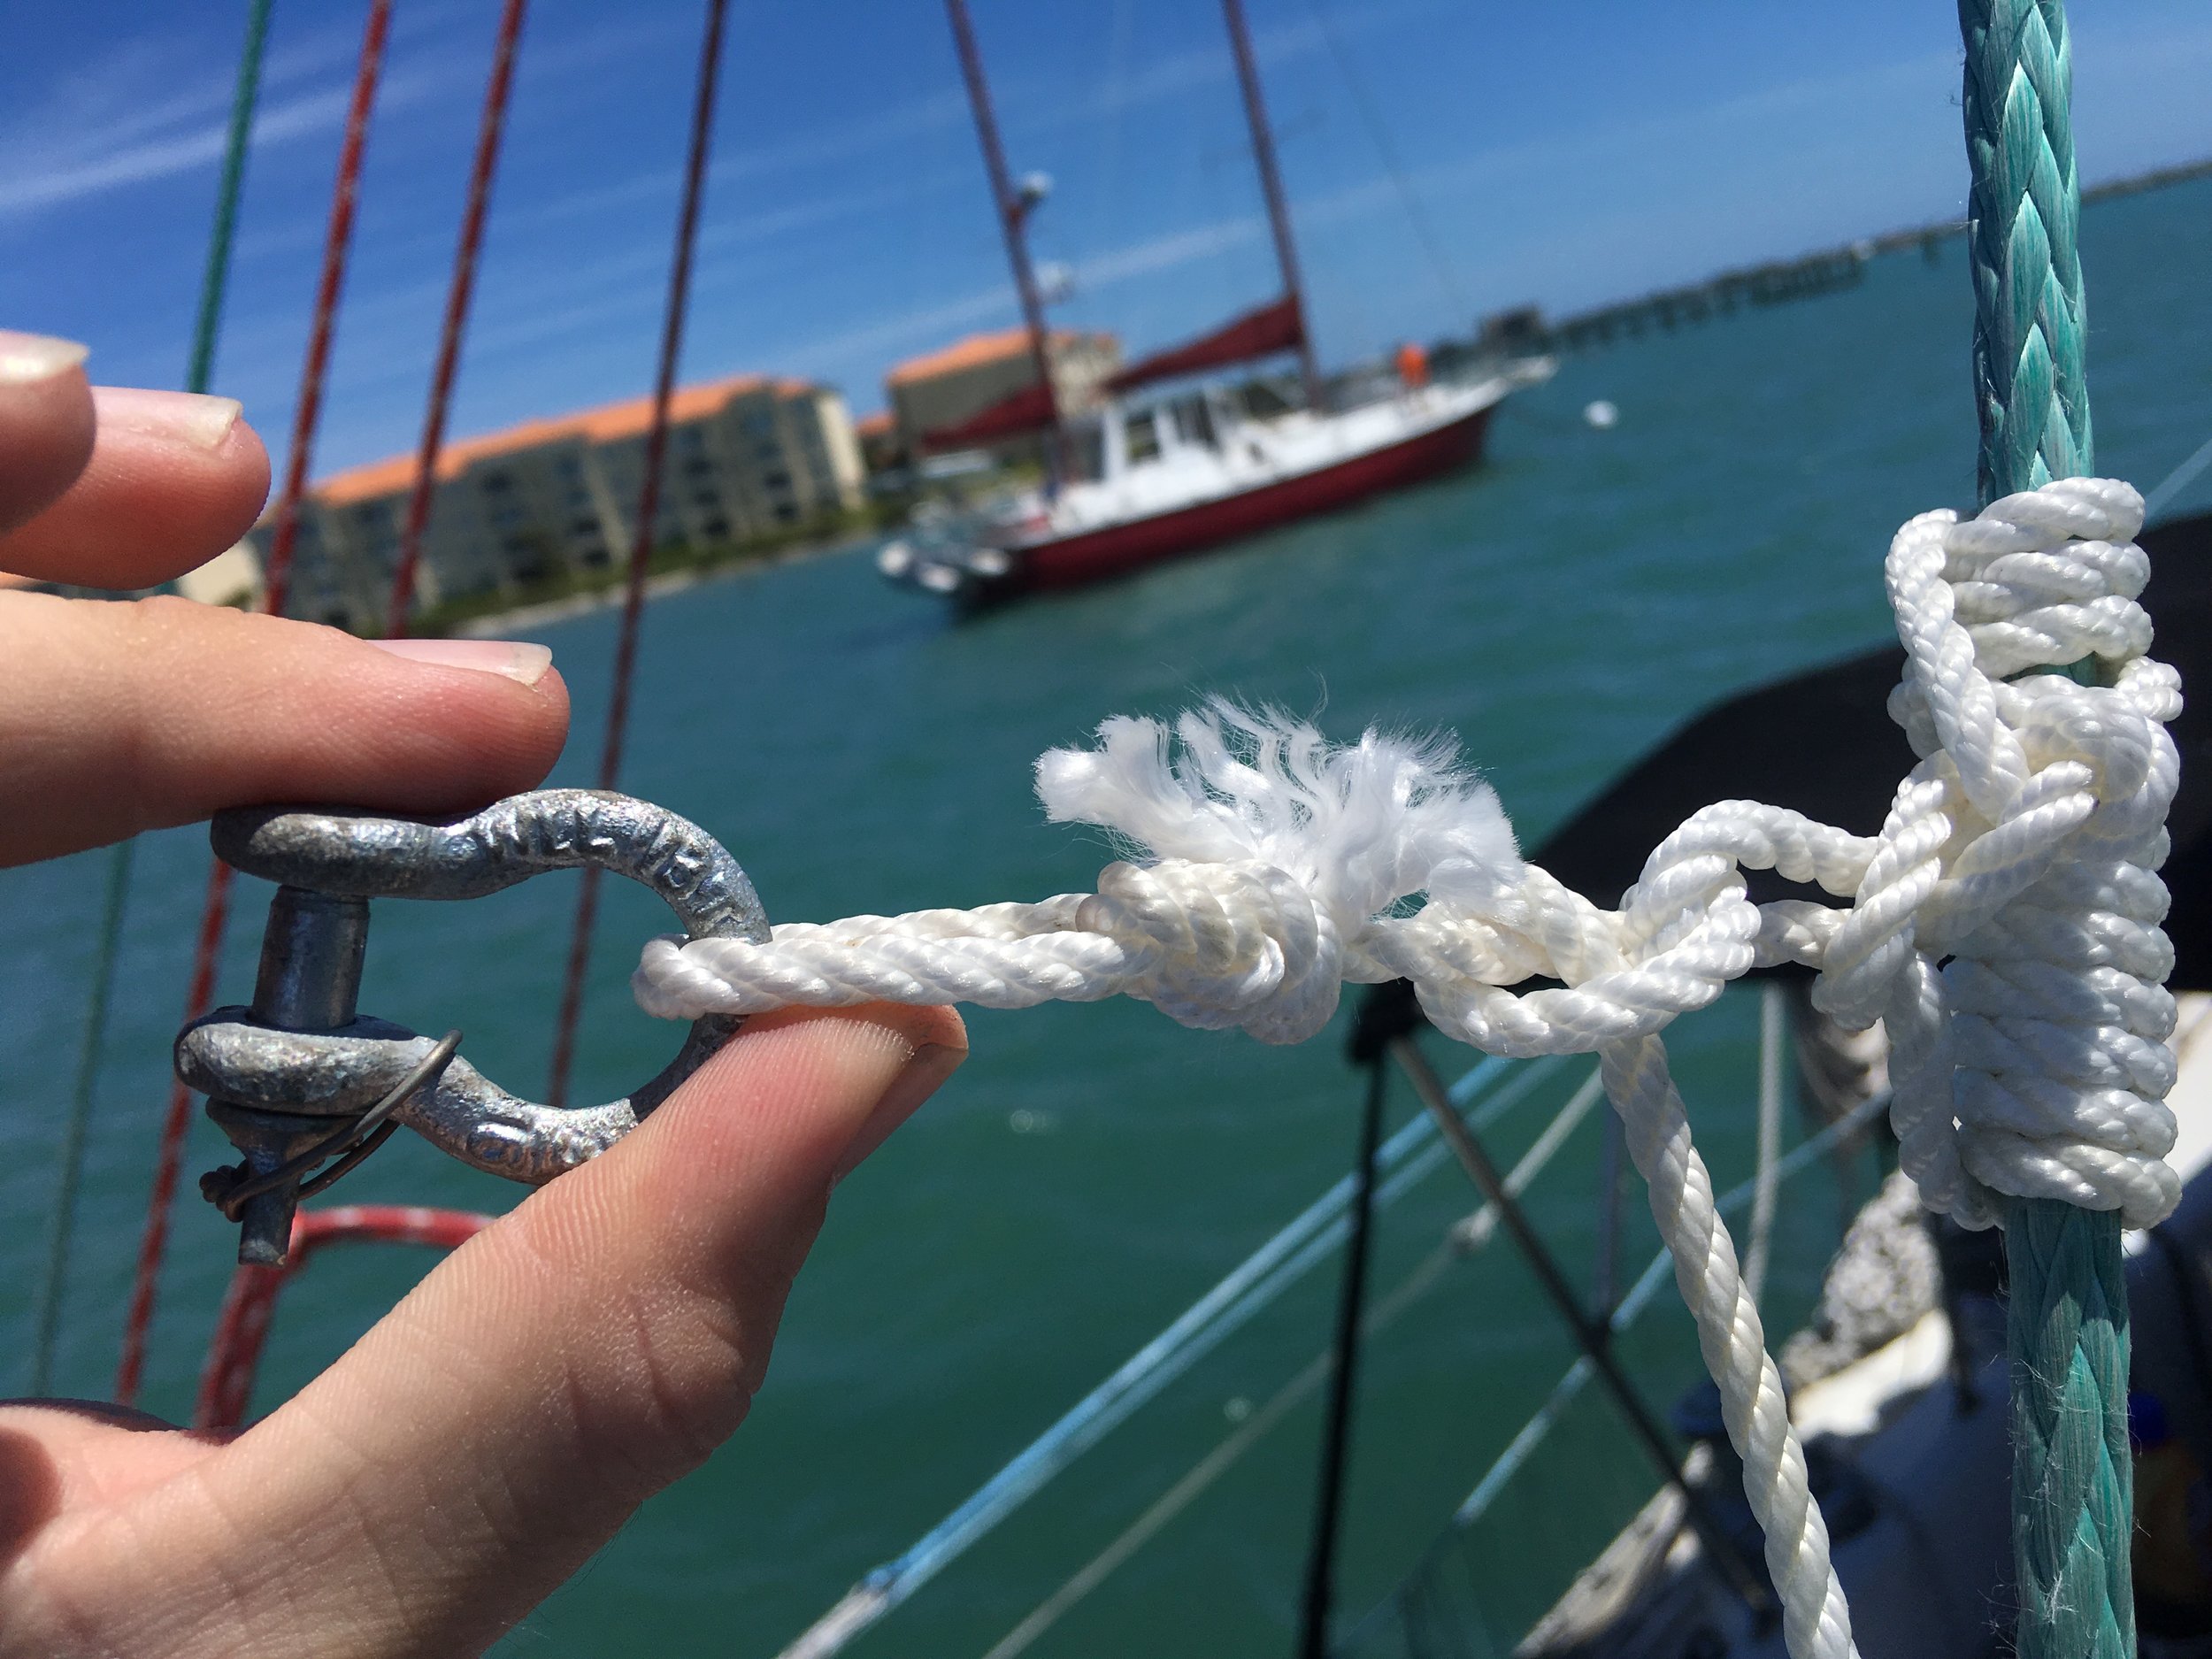
When you install a shackle, it is important that you seize the bolt so that it doesn't come unscrewed and fail. This is very easy to do, all you need is a little piece of stainless steel wire. 

IMG_2153.JPG
IMG_2156.JPG
IMG_2168.JPG

The wire is passed through the little hole in the bolt and then around the shackle. Then the tails are twisted together tightly and bent over to prevent snagging on anything. It is always a good idea to tuck the twisted tails close to the bow that way they are less likely to snag on anything. 

That's all there is to it! Now make sure that your anchors shackles are all seized up so you don't lose them because a simple pin came unscrewed. 

Backstay Flag Halyard

Flag halyards are small halyards designed to raise and support a flag. The backstay is a great place to fly a flag because it will allow the flag to fly clear of any obstructions that could otherwise tangle or snag the flag as the wind shifts. 

Now, to install a backstay flag halyard, you have to install a block of some sort high up on the backstay,. This will be the maximum height that the flag will be raised, and there are two options on how to do this. First, you can climb the mast (via the backstay) and attach the block on the backstay itself. The second method is to tie a hitch knot that will hold in one direction, and slide in the other.  

IMG_2157.JPG
IMG_2165.JPG

I opted for the second method, as we do not need the flag to be too high up, so by tying a hitch knot on the dyneema backstay, I was able to then simply push the knot up the backstay with a pole. This allowed me to raise this point without leaving the deck! (Be sure to install the halyard in the block before you push it up the backstay though). 

IMG_2161.JPG

This hitch knot will slide up but when the block is pulled down, it will bind on the dyneema and hold firmly in place.

IMG_2172.JPG

If you have a backstay adjuster, you want to make sure that the flag halyard remains lower than the lowest position of the backstay adjuster. This will keep the flag halyard from interfering with the more important function of the backstay adjuster. 

IMG_2171.JPG

With the halyard installed, you can fly your flag from the backstay! 

Courtesy Flags

When visiting a different country, it is customary to fly your countries flag off the stern of the boat and the flag of the country you are visiting on the starboard flag halyard (located under the starboard spreader). 

IMG_2178.JPG

When you arrive in a new country and have not cleared in yet, you will fly a yellow flag in this place, indicating that you have not cleared into customs yet. Once you have cleared in, you will then replace the yellow flag with the flag of that country. 

The boat in the image above has an American flag flying from the stern and the Bahamian courtesy flag flying from the starboard spreader. This is the appropriate flag setup for an American vessel visiting the Bahamas, but not the correct flag setup to find in Fort Pierce, FL.  

This guy is our neighbor while we are on a mooring ball in Fort Pierce! I'm not sure if he simply forgot about the flag, or if he hasn't cleared back into the US, or what the situation is? The important thing to remember is that flags are signals that you send to other boats around you and it is important to be mindful of this and make sure that you are always sending the correct signs. 

Exhaust Riser Gasket

When replacing the exhaust system on your boat, you need to pay special attention to the gasket orientation with regards to the water ports in the riser and elbow.

IMG_2166.JPG

Your replacement exhaust gaskets will include various combinations of holes and materials. 

If your motor is fresh water cooled with raw water cooled exhaust, you will put the metal plate between the manifold and riser. The metal plate will be sandwiched between paper gaskets. This will separate the cooling fluids and keep raw water out of the motor and fresh water out of the exhaust. If your motor is raw water cooled, then you will not use the metal plate at all. 

IMG_2173.JPG

Be sure to use stainless steel studs when you bolt the riser to the manifold. This will help make future replacement easier. On the studs, you want to thread the short threaded section into the exhaust manifold and use the long threaded section to guide and slide the riser into place. You also want to use solid washers on the bolts as they will form a metal O-ring that will add and help in the seal. If you don't use a solid washer or use a split washer, the studs will leak water.

Once you come to the riser/elbow junction, you will be faced with another choice to make. The riser has the exhaust port in the middle and is surrounded by a water jacket with 4 water ports. The elbow has the same setup on its mating face, but careful gasket selection should be taken at this step. 

IMG_2159.JPG

If you install the gasket with three holes in it, water will flow from the riser to the elbow in the lower portion of the junction and the top of the unit will become very hot. This heat buildup will cause the elbow or riser to crack!

IMG_2151.JPG

Be sure to install the gasket that has one hole with the hole up at the top of the interface. This will force water to fill up in the riser and flow into the elbow from the very top. This will ensure that the entire exhaust system is covered in flowing water to keep the heat levels down and to prevent cracks due to heat buildup. 

On the faces of the gaskets, you want to use aviation grade gasket cement to ensure a proper seal on all ports.

Hopefully these tips and tricks will make your exhaust replacement easier and avoid any need to "revisit" the exhaust setup for several years of boating. 

Stern Anchor Roller

Stern anchors are wonderful tools that can ave your boat in nasty situations. A stern anchor can be used as an "emergency brake" to stop the boat in a hurry! The problem with stern anchors is they are hard to mount in a way that is as easy to deploy as the bow anchor is. 

IMG_2143.JPG

Yes, if you need to stop in a hurry, you could drop the bow anchor and cleat it off. The problem is this would require that you run up to the bow and drop said anchor while in a moment of panic where every second counts! 

Having a stern anchor that is set and ready to deploy is very important because it can be released from the cockpit, where you are while at the helm. This allows you to quickly drop the anchor while never leaving the helm. 

Ok, so a stern anchor is wonderful, but where do you install one? We carry our stern anchor in a PVC pipe that is lashed to the stern pulpit. It works and can be deployed relatively quickly, but not as easily as we would wish it to be. After it has been released, there is still the issue of recovering the anchor, which is anything but easy with the pipe! This all leads to the seldom deployment of our stern anchor and the fact that if we really needed to deploy it in a hurry, we would fail. 

To make our lives easier, we decided to build a proper anchor roller for our stern anchor. This will go mounted on the aft deck and be supported by a stanchion that wil take up the vertical loads. The roller will hold the anchor out and off the stern of the boat, ready to deploy and easy to recover, without causing damage to our transom. 

Making a stern roller is rather easy, all you need is a piece of wood and a roller. I used a small roller that I was able to purchase on sale for $20 and through bolted it to a massive piece of oak. Oak is a very strong wood that will easily withstand the loads. Wood gives you the flexibility to design and position the anchor as far from the transom as needed to prevent the flukes from digging into your topsides.  

You can buy long stainless steel anchor rollers that would negate the need for a massive piece of wood, but they are also ridiculously expensive! The only item that actually needs to be a roller is the portion that contacts the anchor, and this only occurs at the very end. The U shaped wood surrounding the roller will contact and hold the flukes of our FX-37 Fortress anchor, negating the need for any specially formed stainless steel anchor roller. The distance can be tailor fitted to meet the needs of your boat with wood, rather than being confined to the limited sizes available in pre-manufactured stainless steel units.  

Stern anchor rollers are a compromise. Your boat was designed to carry an anchor at the bow and not on the stern. The more gear you add to your yacht, the less space you will have available to squeeze in an anchor roller. Figuring out where you can best fit a stern anchor will be tricky, and you might not ever find a perfect spot; but all you need is "good enough" as that will get your hook mounted on the stern. Once it is there, it will be at your disposal, allowing you to drop the emergency brake in a hurry or setup up a stern anchor to keep you from swinging.