Converting the Refrigerator into an Icebox

The difference between a refrigerator and an icebox is the presence of a mechanical refrigeration unit. Engine powered or electrically powered, the goal is the same: a compressor changes the pressure of a gas and makes it transform from gas to liquid and back to gas state. The change in state alters the temperature of the refrigerant and can be used to cool the refrigerator. We currently have a refrigerator, but if any component of the refrigerator compressor system should die, we will simply continue on using an icebox.

Most marine refrigerators and iceboxes have a drain hole in the bottom, where any water that collects in the bottom can be drained away. Ours does not, so any ice the melts while inside the refrigerator collects in the sealed bottom. To remove this melted mess, I have employed the use of a manual bilge pump connected to a very long hose that can reach from the bottom of the fridge to the galley sink.

For years, this has been our method of removing any water that accumulates in the bottom of the refrigerator. As you can see, the very long hose is very annoying as food needs to be intertwined around the hose. Moving the hose and stretching it out to the galley sink runs the risk of upsetting the certain foods that might spill or break. Worse yet is when the hose doesn't want to go back into the fridge after the water has been removed.

Adding ice to the fridge will make the refrigeration unit consume much less electricity, but it will also lead to a lot more ice melting and more water accumulating in the bottom of the fridge. More water would imply more frequent pumpings to remove the water from the bottom of the fridge. This will become a significant chore, and it will be one that I am not looking forward to.

To remedy this problem, a drain could be installed into the bottom of the fridge. Drains do decrease the efficiency of the fridge as they are considered a weak point in the insulation and will allow some loss of cold and some entry of heat into the icebox. The most efficient type of icebox would be completely sealed and have no openings. The lid already violates this ideal scenario, so why not add a little more insult in the name of convenience.

A drain in the bottom of the fridge will allow us to remove the melted water with the assistance of gravity. Any water will leave the fridge through the bottom where it will be flushed away down the drain hole and out a weep hose. To prevent any cold air from also escaping, a valve is placed at the end of the hose. With the valve shut, the hole in the bottom of the fridge is sealed and cold air will not leak out of the bottom of the fridge.

Since the stainless steel liner is already installed and surrounded by foam, it is impossible to safely weld a drain into the bottom as the foam insulation can burst into flames with the heat of welding. Instead of burning my boat to the waterline, I instead opted to use a bronze through hull fitting with a hose barb attachment at the end. Bronze and stainless steel are dissimilar metals, but the bedding compound should keep everything isolated, at least enough for my lifetime. If any galvanic corrosion should occur, it would be very minor and probably go unnoticed. 

The largest part of the assembly needs to fit through the stainless steel plate, this means that the hex portion of the barb fitting is our desired hole size. In order to drill such a large hole, I used a step drill that will open the hole progressively larger until it is big enough for the hex to fit. I started out with a small pilot hole to help position and start the step drill, then proceeded to ream out the bottom of the fridge. 

With the hole made, there was sufficient space to clear the hose barb. The next step was to drill through the six inches of foam and then the plywood bottom of the fridge. I needed to use a drill bit extension as standard drill bits were not long enough to reach the wood at the bottom of the fridge. 

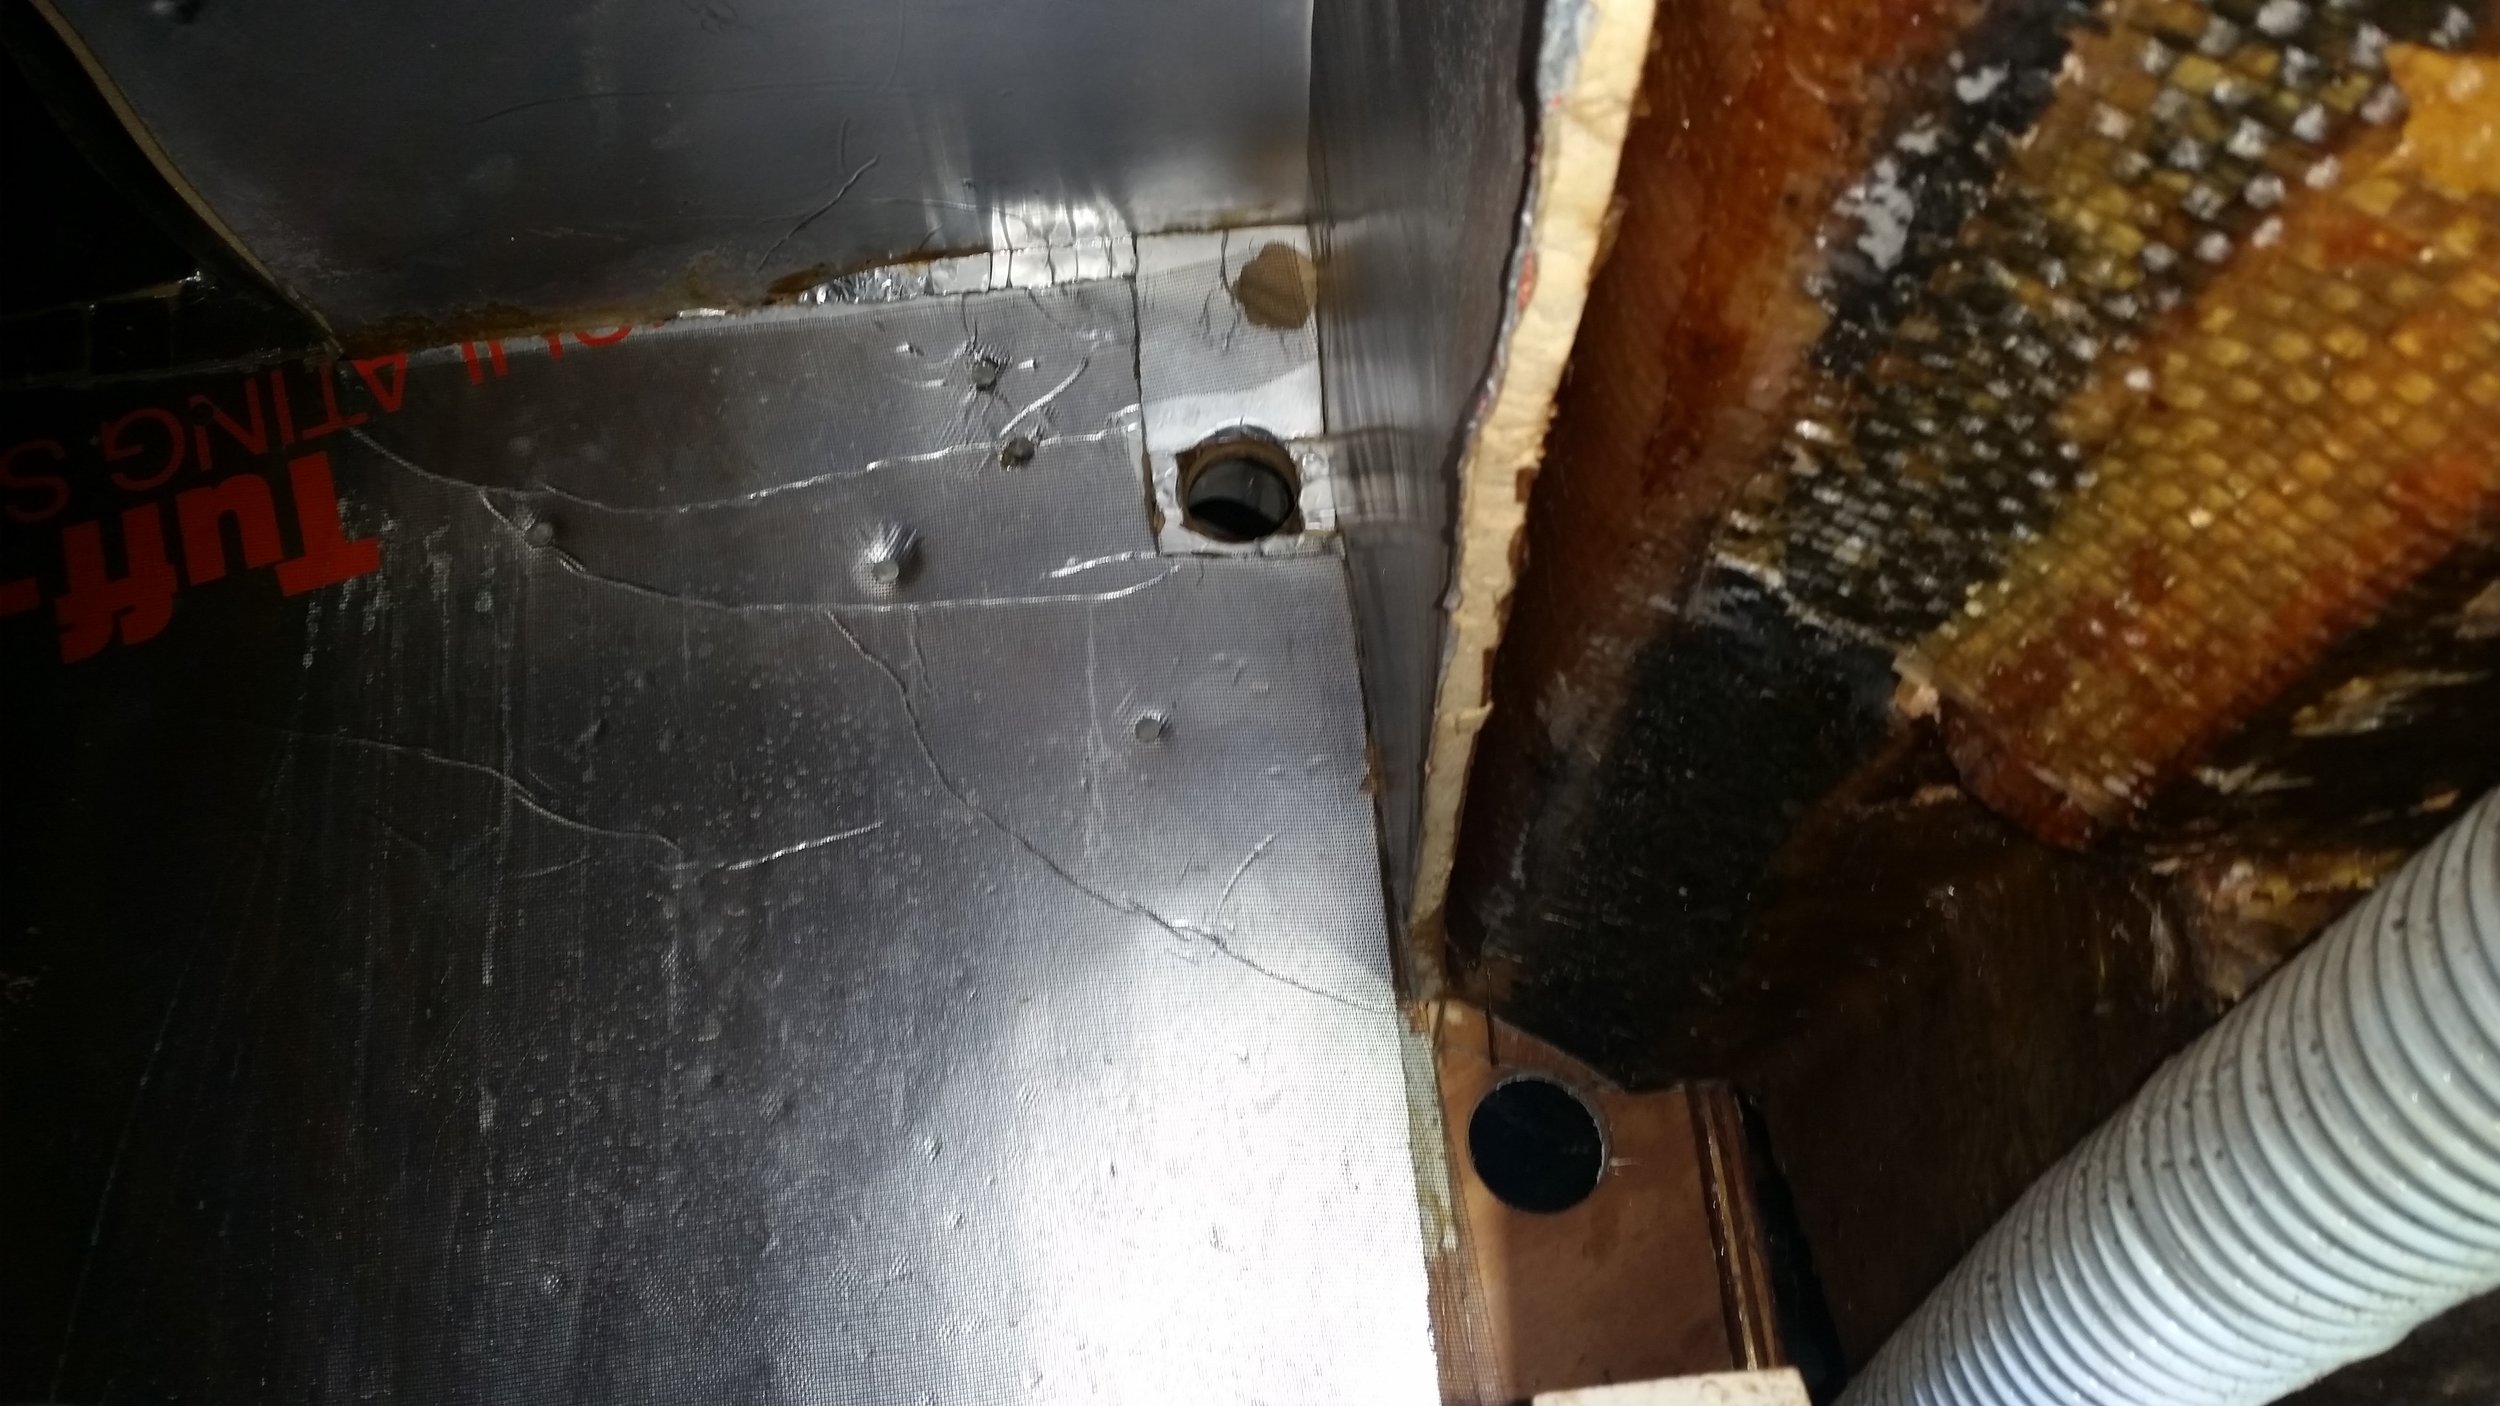
I didn't need to worry about drilling through the bottom of the fridge and then springing a leak as there is a considerably large dead space under the refrigerator. While this area does look roomy, there is no appreciable access to it. There are two small holes that access this area, one is the hole in view. The lack of access makes this large and cool space inaccessible and precludes us from using it as storage. If you ever need to inspect the contents of a small hole, simply insert a cellphone camera into the hole and snap away. When you withdraw the phone, you can view the contents of the forgotten space. 
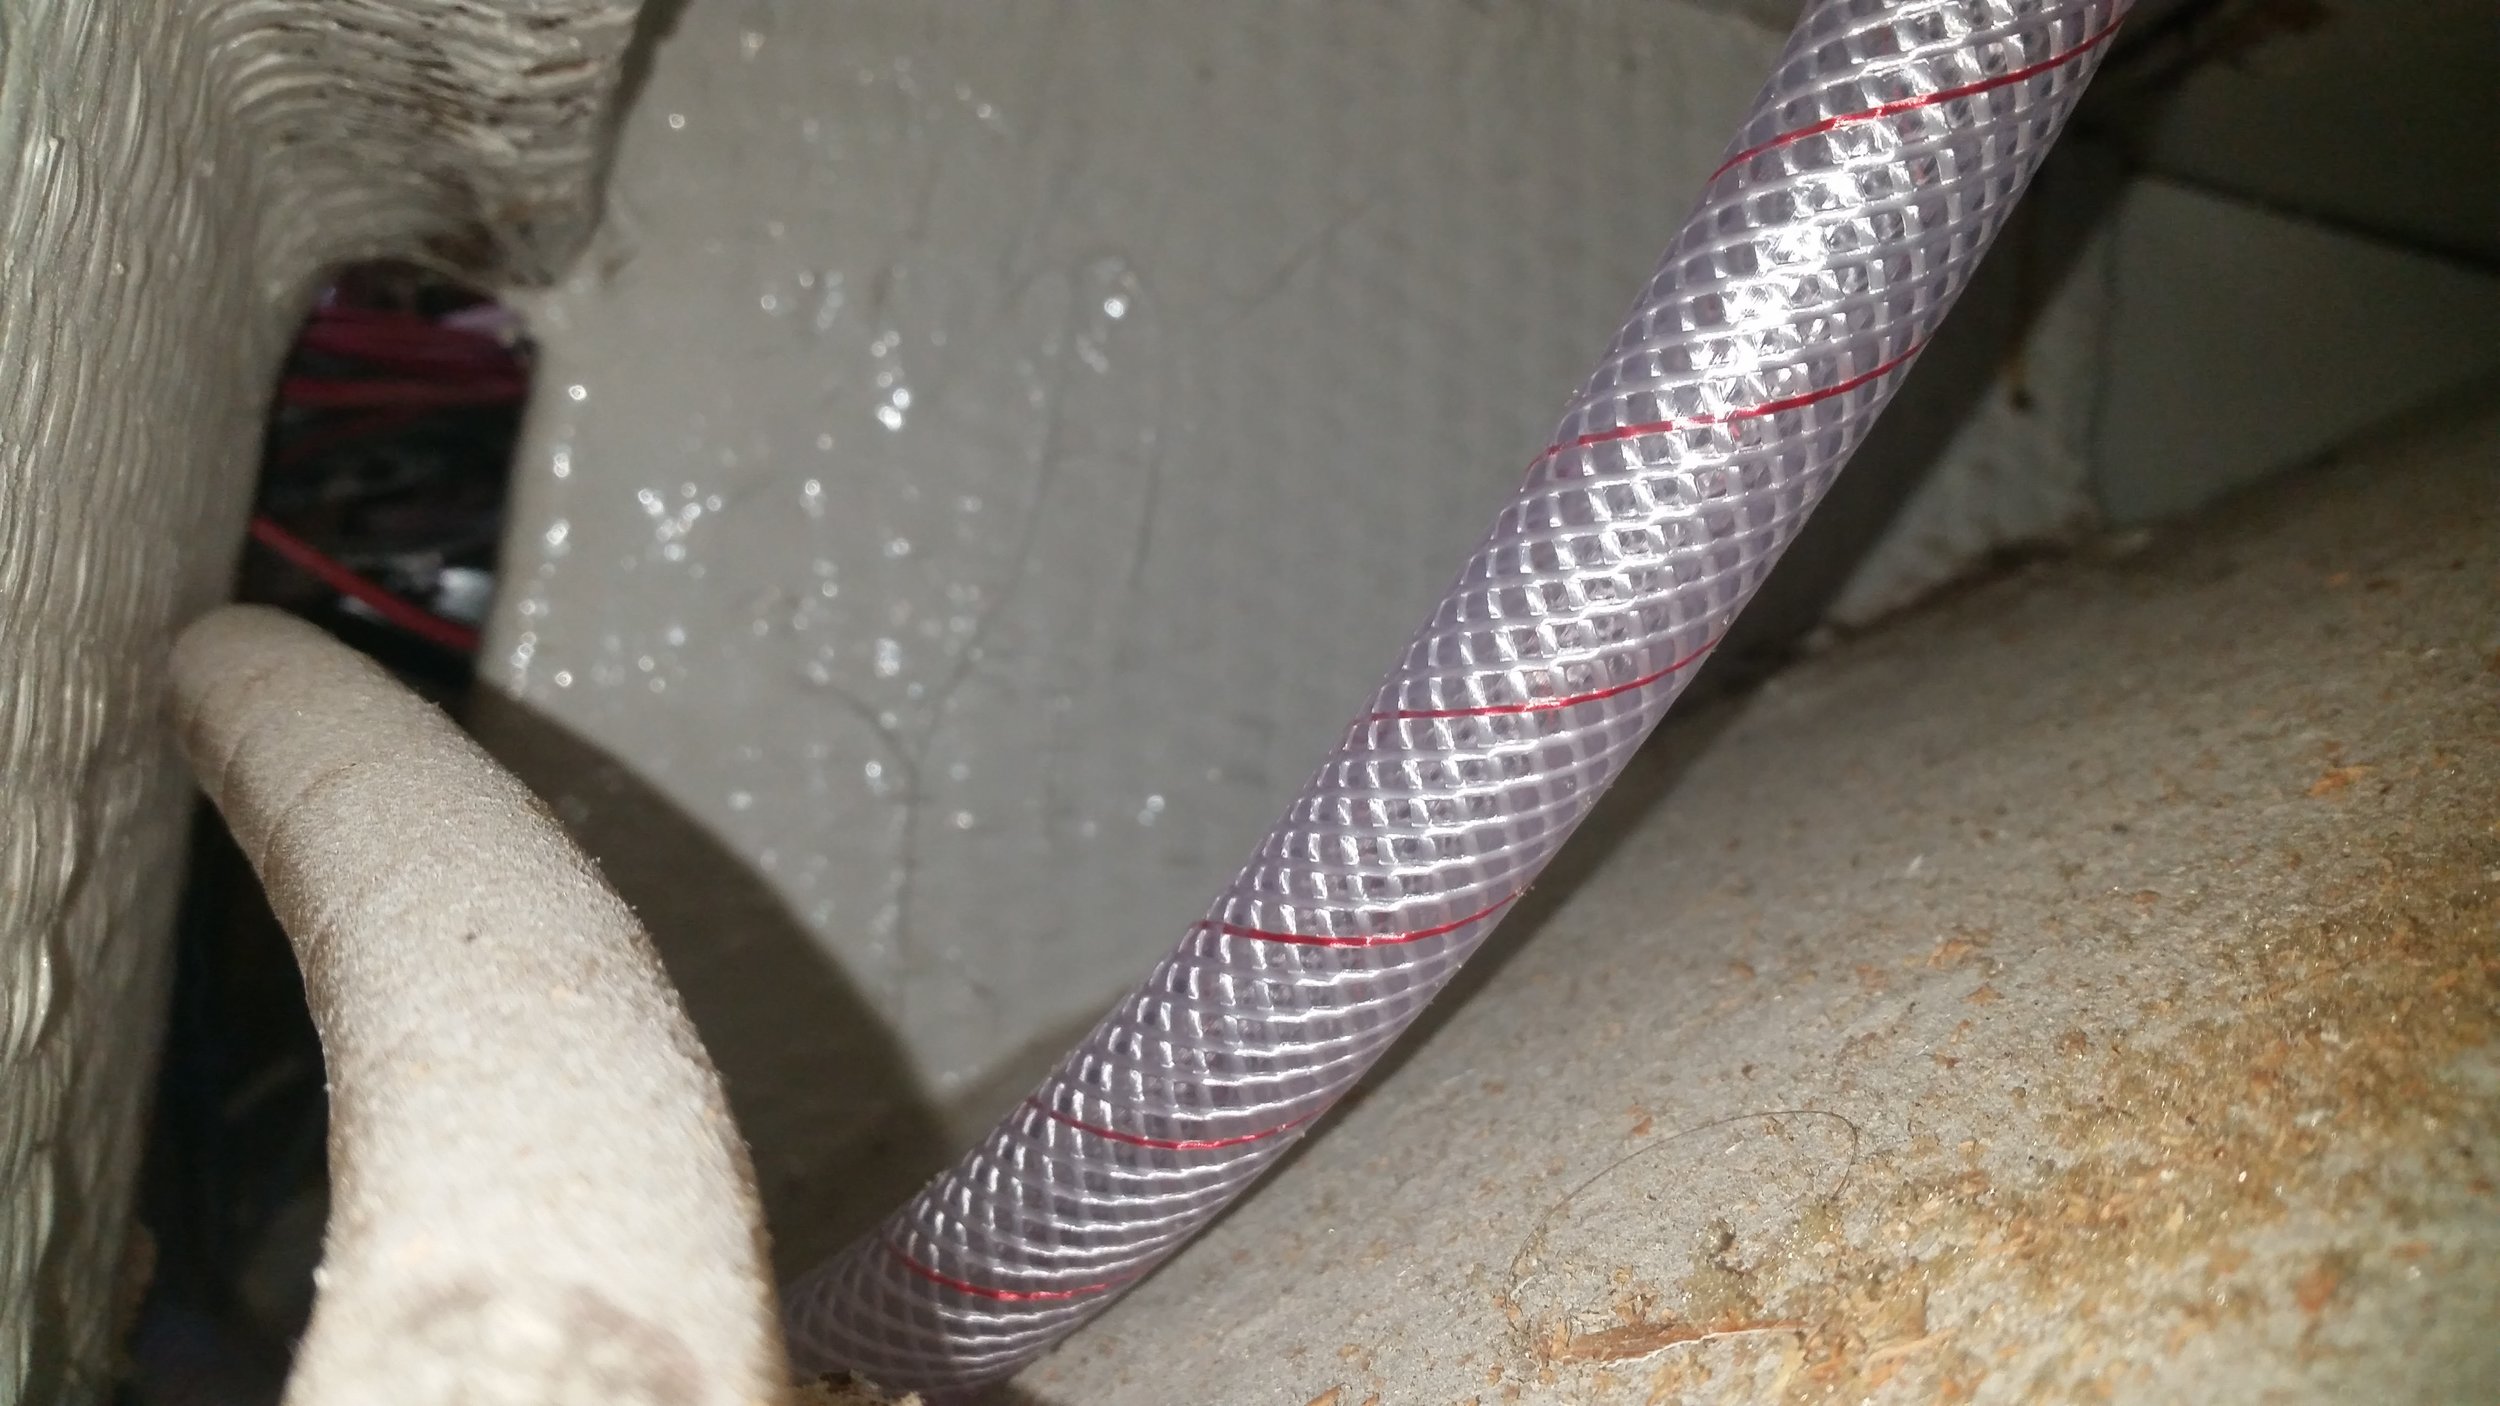
The hole for the drain was drilled and all the sawdust fell into this dead space. This small mess will stay there for the rest of time as there is no way to reach inside here and clean it. The hose was fished down through the drain hole and out the access hole. With the hose run, it was time to attach the hose to the through hull fitting. 

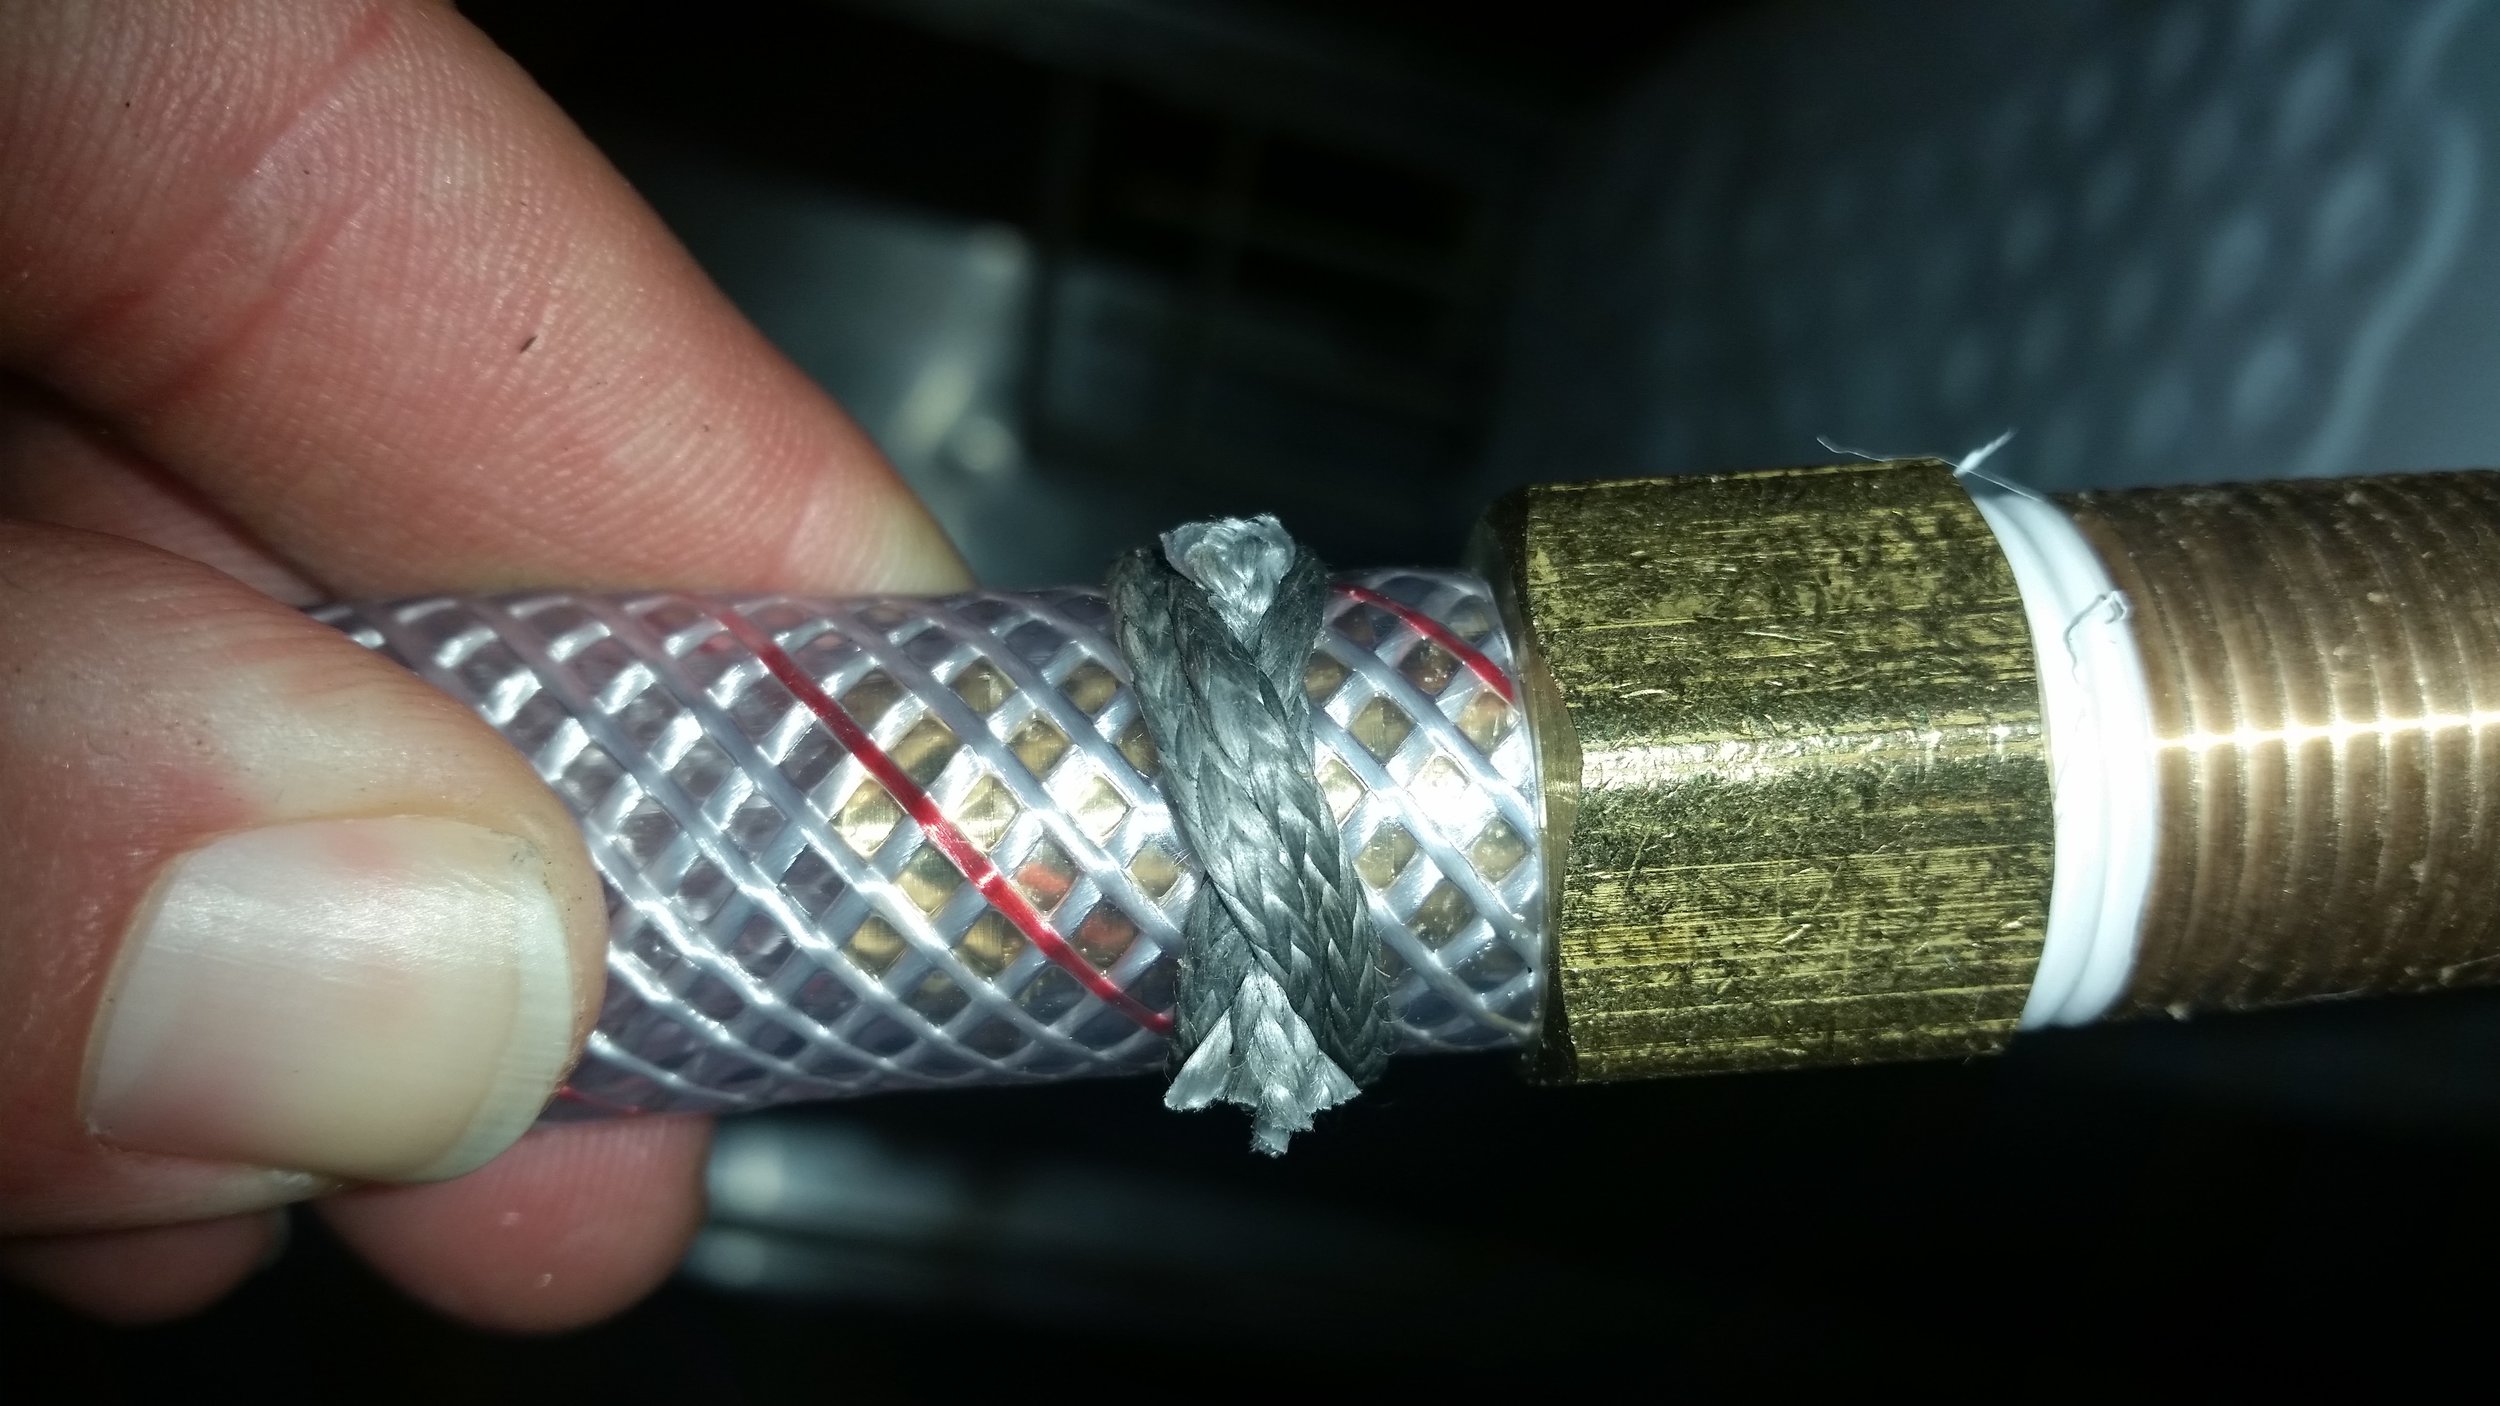
Instead of using a bulky hose clamp, I opted to use a low profile knot that will crush down on the hose and permanently attach it to the hose barb. The knot is called a Double Constrictor Knot and when tightened using two sticks, it is impossible to untie. The tails of the knot were attached to two larger objects using marlin spike hitches that would allow me to pull on the tails with all my might. Tying the knot with a line made out of dyneema ensures that this knot will last as long as Wisdom does. 
20170225_134239.jpg

With the tails cut off close to the knot, the entire clamping system is no larger than the hex head of the hose barb. With all of this in place, it is now time to apply the bedding compound and smooth it all together. 

I used 3M's 5200 for the bedding compound in this situation for a few reasons. First, it will seal up everything and make sure that no water leaks into the insulating foam, saturating it and creating a huge mess to repair. Second, I was unable to access the opposing side of the through hull fitting to attach the retaining nut. 

5200 is considered a permanent adhesive sealant. This means that not only will it keep out water, it will also glue the components together permanently. I would love it if the through hull fitting were glued in place since it has no mechanical fasteners holding it there. Yes, a drain is under very little to no stress, but if it were to move it would certainly cause a leak that would go unnoticed for a while. 

I rarely used 5200 because of its permanentness. I have seen winches that were needed to the deck with 5200 be removed. The bolts were removed and the winch would not budge. After a lot of prying and pulling, the winch finally came free of the deck, but it brought the top layer of deck skin with it! That's right, the junction of the winch base and 5200 remained and instead the fiberglass deck ripped up with the winch and make a nasty hole that needed to be repaired. When 3M says an adhesive is permanent, they mean it! 

For most bedding situations I opt for Boat Life Life-Caulk which is a polysulfide. Polysulfide is not an adhesive, it is only a sealant. It will remain flexible throughout its life and will survive a lifetime exposed to the suns harmful UV rays. If you ever need to remove the bedded component, all you need to do is unfasten it and remove it. The polysulfide will yield quickly and peel off without leaving any form of a mess. 

If I feel the need for more adhesive qualities in the bedding compound to complement the mechanical fasteners, I will use 4200 by 3M. It is just as good a sealant as 5200, but it is not a permanent adhesive. Don't get me wrong though, if you need to remove something bedded with 4200 you will still think it is permanent, just that when you give it enough persuasion, it will yield and remove without damage to the surface it was mounted to.

With the drain installed, I needed to keep some pressure on it while the 5200 set. I rigged up a contraption that used some socket extenders and the block of mahogany I used to tighten the double constrictor knot. This applied enough pressure to keep everything pushed down and to ensure that no voids would develop during the cure time. 

On the other end of the drain hose, I attached a small gate valve. The valve is to serve two purposes: keep water from leaking out, and keep air from leaking out. 

If the ice were allowed to melt and drip into the bilge, the bilge would always be wet! The valve allows me to control when the fridge is to leak out its contents and where. I can now drain the water into a cup that can be used to chill wine!  

Keeping the valve shut also prevents any air from escaping. The colder air will settle to the bottom of the fridge, and if it is allowed to escape through the drain hose, the fridge would become awfully inefficient! By keeping the valve closed, I can keep the cold air in and the warm air out of the bottom of the fridge. The only time that the fridge will experience a drop in efficiency is when I open the valve and drain out the water that has accumulated in the bottom. Until then, the unit will remain closed up and sealed as we attempt to keep cold stuff cool for longer! 
Rainwater Plumbing: Deck to Tank

Getting the tank in the bilge was pretty straight forward. Getting the water to the tank is a little more complicated. 

To accomplish this task, a small aqueduct needed to be constructed. Nowhere near the level of grandeur of the ancient Romans, but the same principles still apply. In general: the starting point needs to be higher than the ending point, there should be no inclines, and tight bends should be reduced.

Having the deck as our starting point and the bottom of the bilge as our ending point makes the first point easy to accomplish. Now we just need to make sure the flow rate stays adequate during the entire journey.

Water flows downhill. If there is any incline, the speed of the water will decrease and flow problems will ensue. To keep the speed of flow adequate, water needs to drop rapidly to gain speed that will shuttle it along the less declined sections. With this speed, the water will then flow quickly to the water tank down in the bilge.

Tight bends are another problem, simply because of the added resistance they impart on the passing water as the fluid attempts to make twists and turns.

With these concepts in mind, it is fair to say that plumbing the water tank is rather straight forward. This pleasant state of mind will take you all the way to the starting point of the project where you soon realize that sailboats are a collection of compromises.

The low spot on the deck is next to the cockpit, so the hose will begin at deck level and drop down quickly as it makes its way to the bilge. This will give the water a quick burst of speed that will help make everything else flow nicely. From the cockpit lazarettes, it then needs to work its way past the steering mechanism and into the bilge where it reaches the flexible water tank. This is where the problems begin!


The starboard side was easy. The old diesel exhaust hose used to run through the hole visible at the top of the area. The port side is rather packed full of hoses. The three hoses visible are the cockpit scupper drain, cockpit manual bilge pump and electric bilge pump hoses. Adding an extra hose on this side will prove challenging.

The hoses all need to run over the top of the metal frame to the steering quadrant to avoid interfering with our steering, and this makes the available hose space even more limited.

The final decision was to drill a new hole below all the other three holes on the port side and then have the hose ride up over the metal frame and then quickly back down again. Hopefully, the water will have enough speed that it will be able to flow up and over the little hump and into the tank without much issue.

Once past this point, the hoses are joined in a Y where they follow along as a single hose to the tank. From this point forward, everything is a steady decline with no upsets on its way to the water tank.

The next step will be getting the water out of the tank so we can use it!

Climbing the Mast: Questionable Halyard Splice

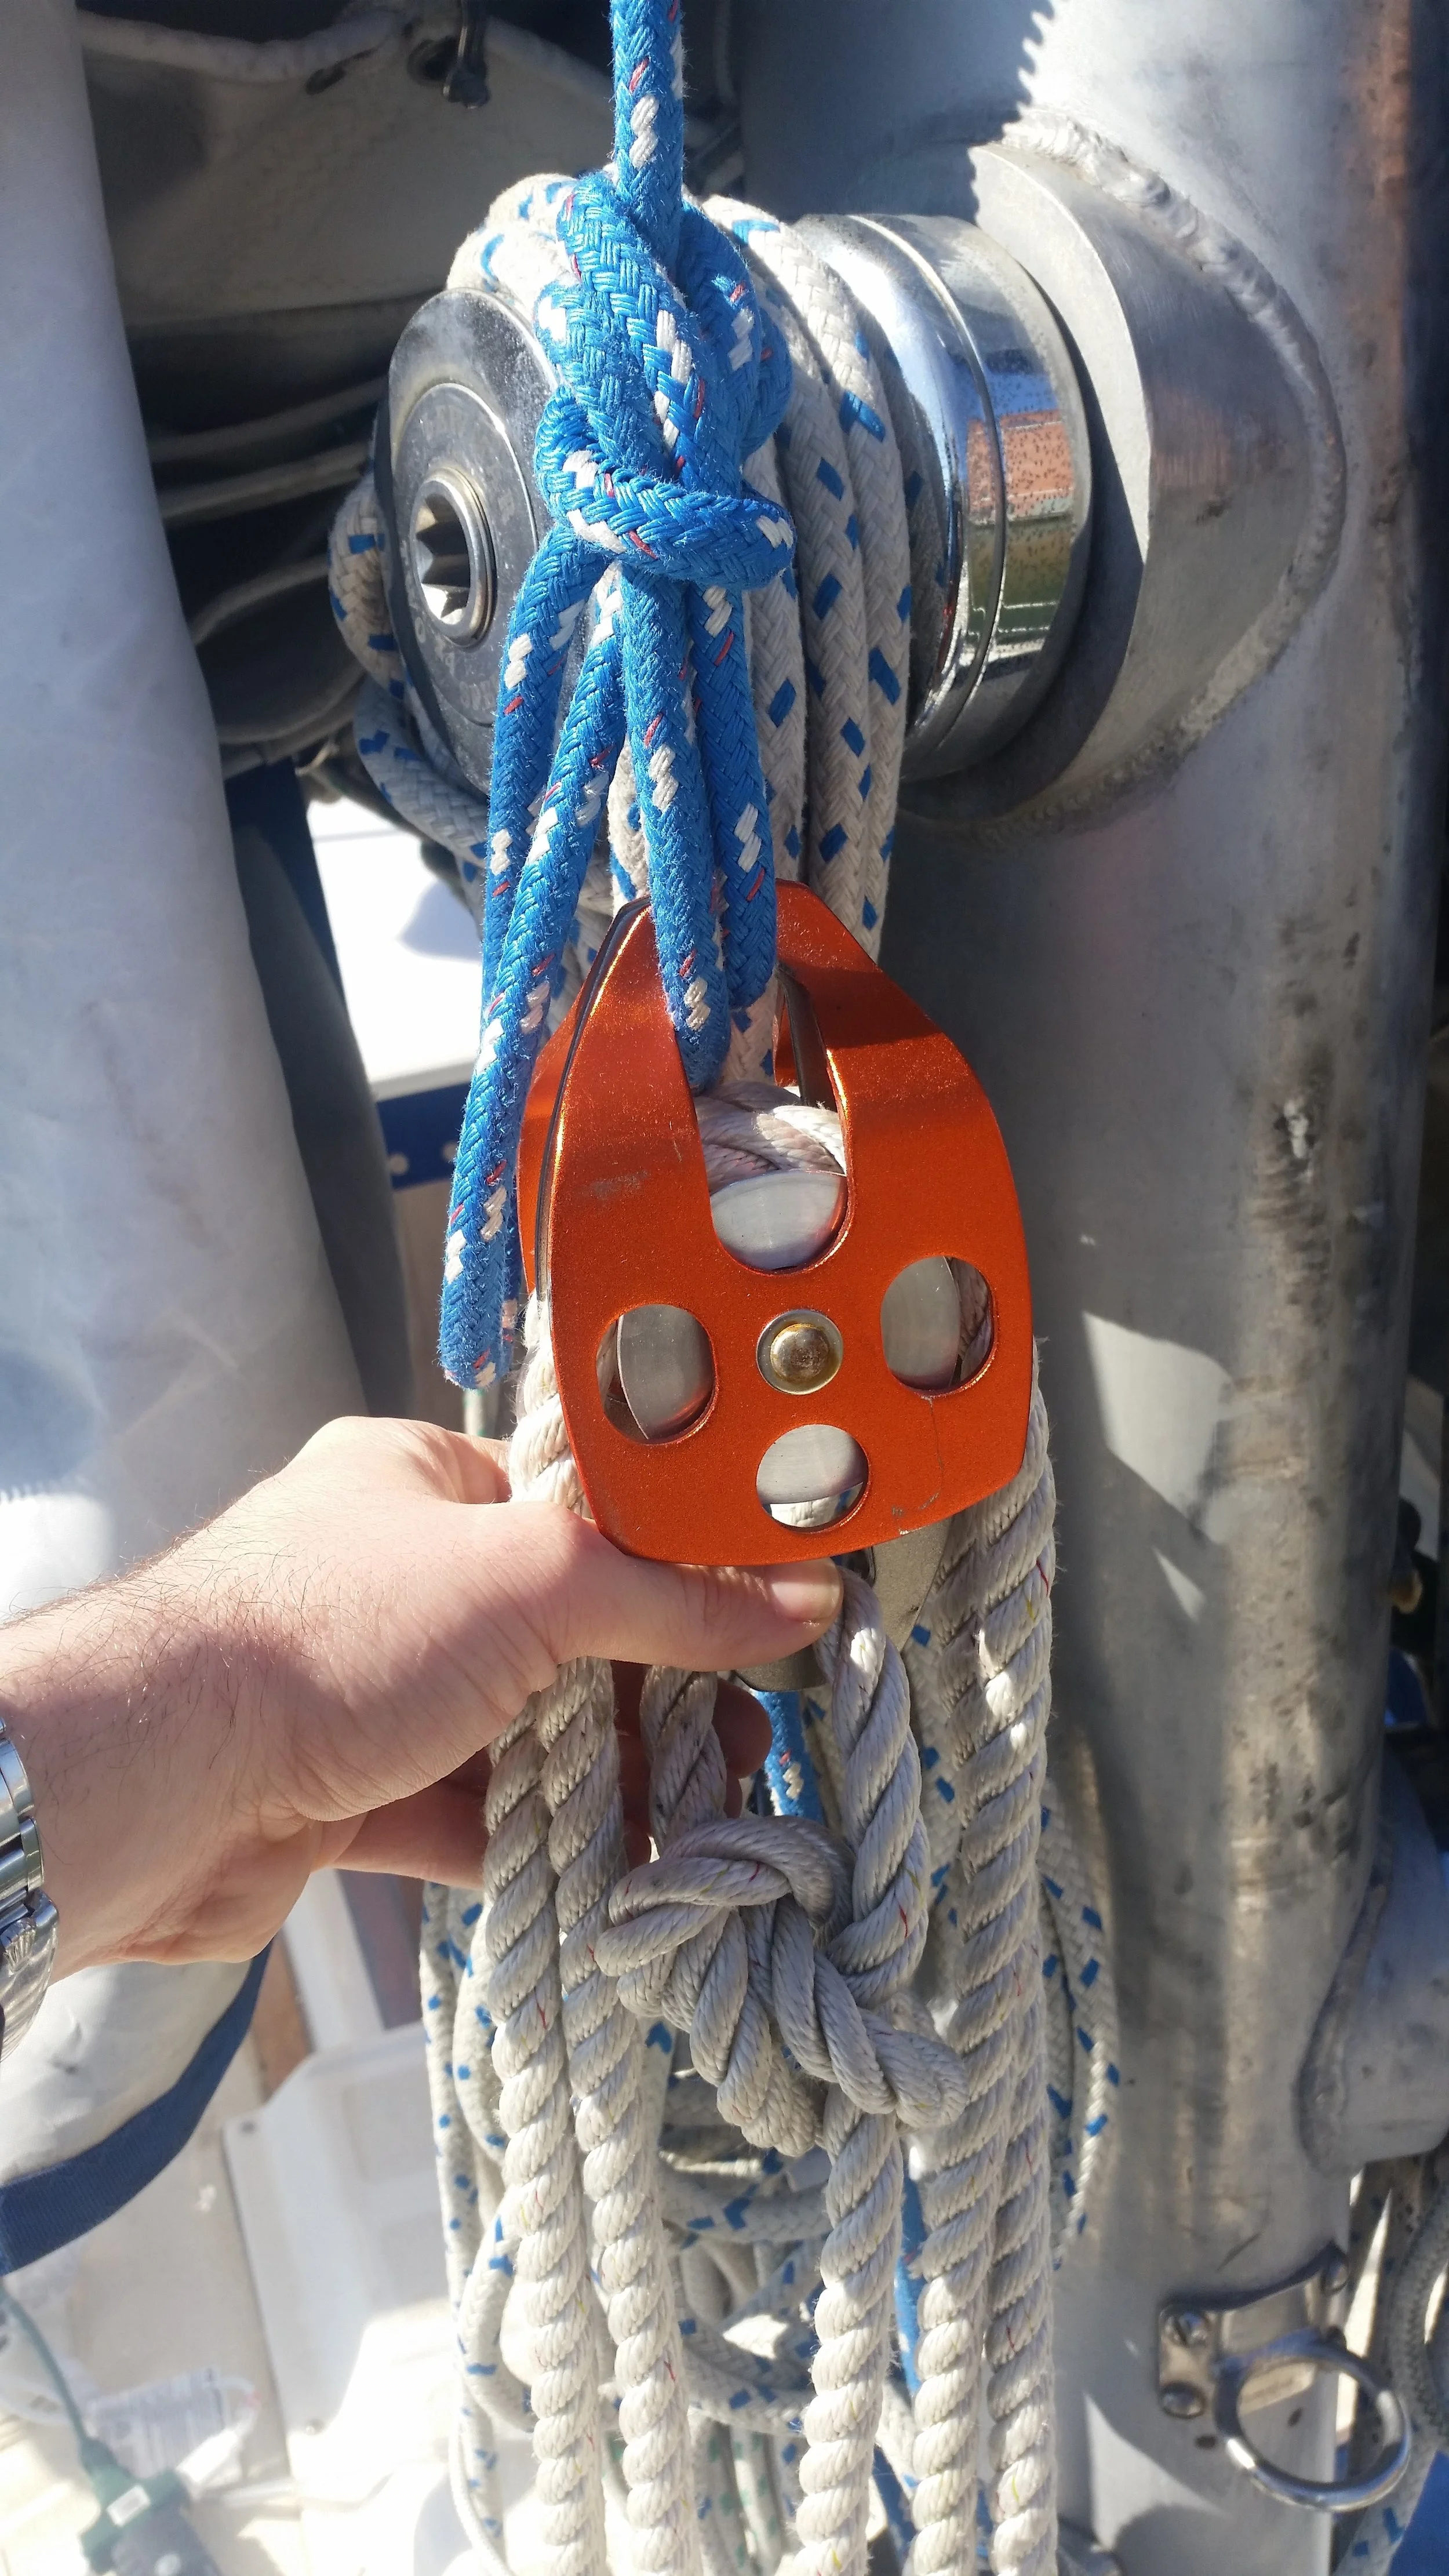
When you climb the mast, your entire life is hanging by a single rope: the halyard. If there is any failure in the halyard, you will fall. This will result in either serious injury or death! It is wise to only climb a mast on a halyard that you think can support your weight. If you have any questions about the halyards ability to support your weight, don't use it!

The halyard on this yacht was in good condition but the splice was a bit questionable. If you attach your gantline to the shackle, always verify that the splice is in proper condition. You can't see inside the eye splice, but you can feel inside. Feeling the eye splice will let you note any discrepancies in the core and cover. W

When feeling this eye splice, the core seemed to disappear right as it entered the eye. It felt like if the eye splice was performed by cutting the core and only burying the cover. There is no way I would trust my life to such a cheap shortcut!

The rest of the halyard seemed to be in good enough condition and of sufficient strength to hold my weight, so I simply tied the halyard to the top block of my gantline. I couldn't fit the shackle through the slot on the block, so instead I tied a bowline in a bight. The end with the shackle simply hangs and dangles aside while the knot securely connects the block to the halyard.

If you don't feel safe with a piece of equipment, don't rest your life on it! Find a way to only support your life by the components that you feel are strong enough to bet your life that they will hold well. If you can not assemble a safe method to raise yourself up the mast with the reliable components, do not climb the mast! 

I personally climb my own mast using the shackle because I did the splice and buried plenty of tail into the splice. On other peoples masts, I typically tie a knot onto the top block of the gantline because their splices look weak or inadequate. If you have a weak splice on your own yacht, do consider replacing the splice (or halyard entirely) with one that is strong enough to support your life.

Rainwater Tank

With the deck plates installed, the next item on the list was to install the water tank that will hold all of this glorious fresh water that has fallen from the sky and onto our tiny sailboat in the big blue ocean. Pretty much all the space in the boat is currently occupied as storage or tankage. There isn't really much space left to stash a large watertank, or is there?

The battery box for the electric motor was installed where the old diesel motor used to live. A platform was made for the batteries to rest on, but there was still a space under this battery box that went unnoticed. A small access hatch was made to grant access to this tiny cavern and to the bilge beneath the new electric motor, but no plans existed for this space and it remained empty for many years.

Making this space a water tank would be very difficult as there is little access to do work and I would loose access to the bottom of the electric motor. This would make the yearly maintenance where I grease two zerts fittings rather tricky to carry out. If I can't make the whole space a water tank, what if I put a water tank into the space?

The thought of stuffing a flexible water tank down through the hole and into the void seemed to be the easiest method of converting this lost space into a valuable resource container.

When this space was converted from motor holder to battery box, no efforts were taken to smooth the sides or clean it up. After a few years, this is what the location has become: a dusty dirty place where sharp fibers poke out waiting for a new flexible tank to puncture.

I contemplated the idea of grinding everything smooth and fairing up the surfaces. I could lay down new cloth and apply a smooth coat of epoxy to turn this roving bumpland into an ice skating rink! Then I realized that I would have to do all of this through a 6x10 access hatch.

On to Plan B! Stuff a bunch of thick fabric into the hole to line the edges and make everything feel smooth and soft. I used the felt I had leftover from when I made the hanging garden on the stern to line the walls. This felt is made out of recycled water bottles, so it won't rot in the dark and eventually moist environment of the bilge. I know water will get between the tank and the hull at some point and this felt will sit in that damp sandwich for a long time! Choosing a rot resistant cloth will make my life so much easier in the years to come.

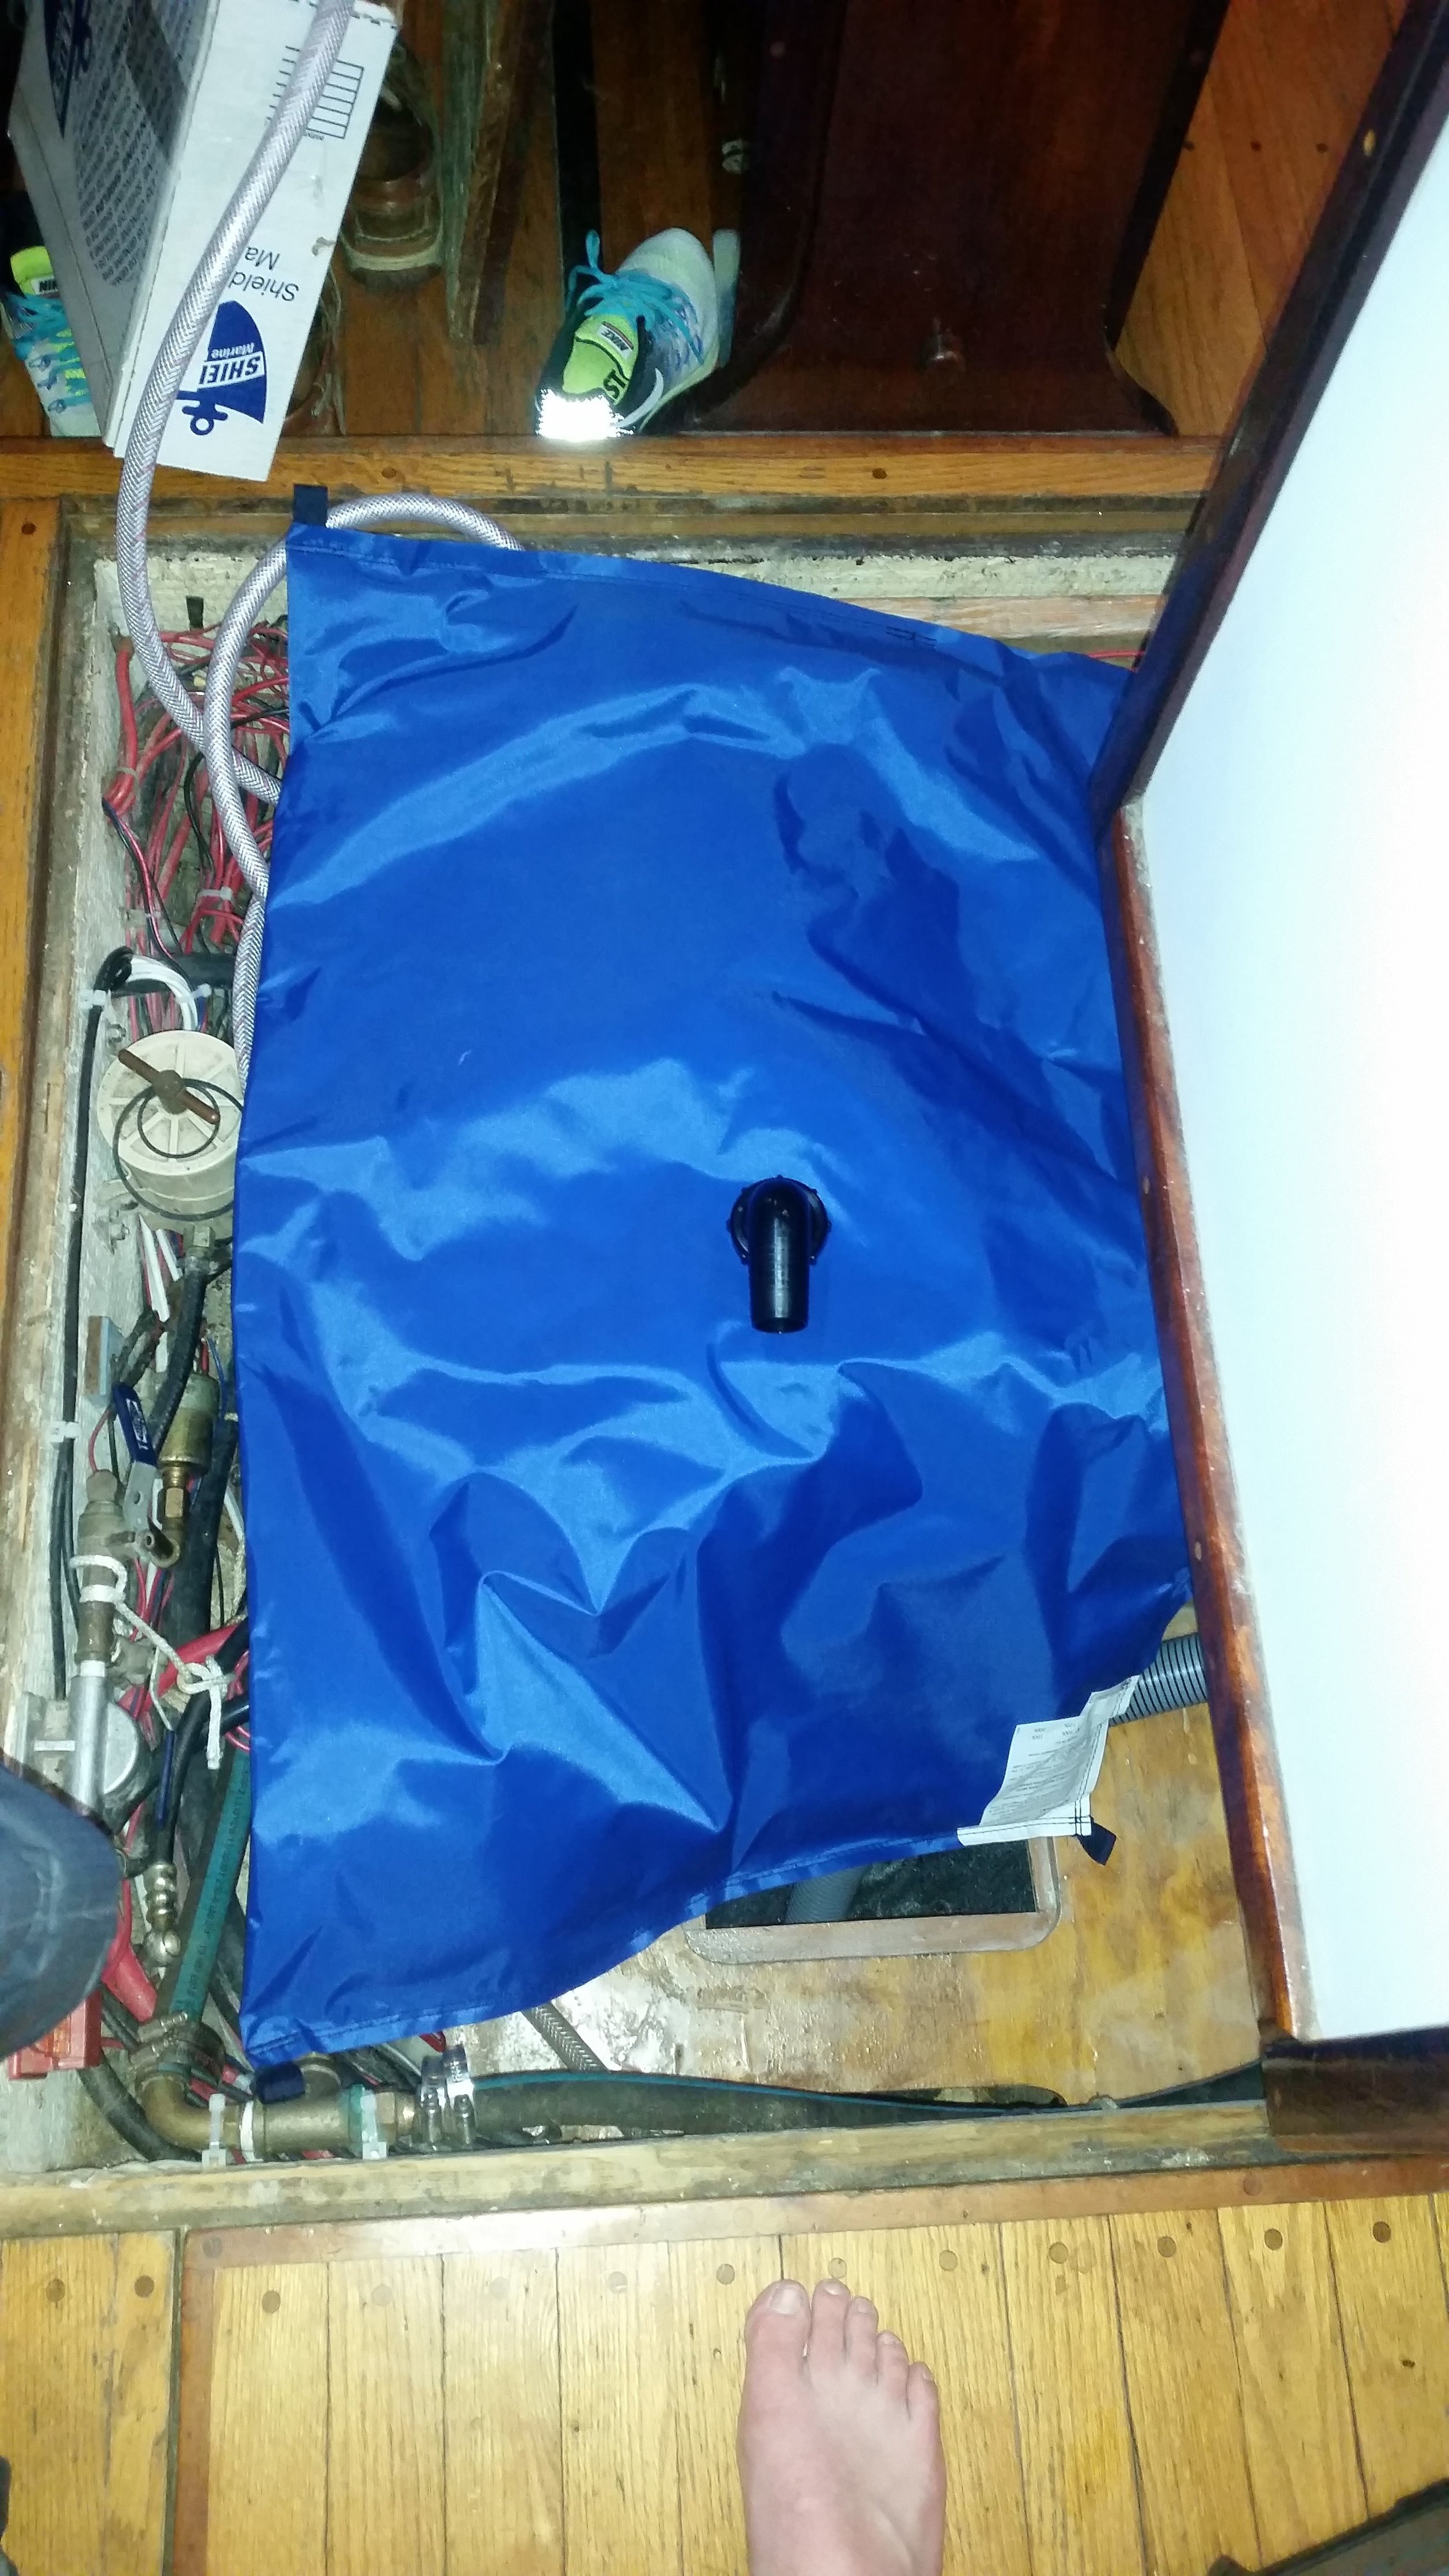
The flexible watertank I used is by Plastimo. This is their 100L model which will fill up the space beneath the batteries. There are two sides to connect the inlet and outlet on the tank. Be sure that the inlet is on the top and the outlet is on the bottom (this is per the manufacturers recommendation).

With everything ready and in place, it is time to fold up the tank and stuff it through the little hole. Once inside the hole, the tank can then be unfolded, oriented, and laid out flat. 

The tank is in position, filling up most of the space available. I don't think we will be able to fit 100L of water into the tank because of the space constraints, but we will be able to carry as much water in there as we would have if we decided to build in a rigid water tank.

You may notice the batman tape on the small outlet hose. This is to fight chafe in the darkest of alleyways. I was worried that the hose clamp would dig into and cut the fabric of the water tank, causing it to fail us prematurely. Over the hose clamp, I tied a double constrictor knot. This knot pulled the tongue of the hose clamp down flush with the surface of the hose, making the whole assembly feel much smoother. The line also helped to soften any sharp edges of the hose clamp. To make sure that the line doesn't budge as we slosh around in the open ocean, I wrapped the whole thing in duct tape. Now the dark knight will protect our water tank against the injustices of chafe!

The next step will be getting the water to the tank and out of the tank.

Trimming the First Layer of Bottom Planks

The bedding compound between the bottom planking and the dinghy has fully cured, allowing me to get in there with a small circular saw and trim up the overhangs. 

The planks are trimmed to fit flush against the keel into the rabbet, but they are allowed to overhang the chine without regard for reason. After the bedding compound is cured, the planks can all be cut off a little proud but still close to the actual chine.

This makes it so much easier to work, as I don't have to worry about being perfect while I'm planking. Once everything is cured and set, I can treat all the planks as one giant piece of wood and work it all together. This allows me to cut, plane, and sand the entire portion of the hull into a fair and smooth surface. Best of all, I don't have to worry about coming up short on either side since I'm working with a longer than needed plank.

Now that the chine is roughly  trimmed, the knife edge bow is much more pronounced. The entire purpose of this setup is to reduce the amount of wave slap that we experience while rowing Tooth II. Since I have trouble with "middle ground", I made the bow of this boat a knife that will slice through waves instead of the standard flat bottom that is common on a tiny dinghy of this size.