
The difference between a refrigerator and an icebox is the presence of a mechanical refrigeration unit. Engine powered or electrically powered, the goal is the same: a compressor changes the pressure of a gas and makes it transform from gas to liquid and back to gas state. The change in state alters the temperature of the refrigerant and can be used to cool the refrigerator. We currently have a refrigerator, but if any component of the refrigerator compressor system should die, we will simply continue on using an icebox.

Most marine refrigerators and iceboxes have a drain hole in the bottom, where any water that collects in the bottom can be drained away. Ours does not, so any ice the melts while inside the refrigerator collects in the sealed bottom. To remove this melted mess, I have employed the use of a manual bilge pump connected to a very long hose that can reach from the bottom of the fridge to the galley sink.

For years, this has been our method of removing any water that accumulates in the bottom of the refrigerator. As you can see, the very long hose is very annoying as food needs to be intertwined around the hose. Moving the hose and stretching it out to the galley sink runs the risk of upsetting the certain foods that might spill or break. Worse yet is when the hose doesn't want to go back into the fridge after the water has been removed.
Adding ice to the fridge will make the refrigeration unit consume much less electricity, but it will also lead to a lot more ice melting and more water accumulating in the bottom of the fridge. More water would imply more frequent pumpings to remove the water from the bottom of the fridge. This will become a significant chore, and it will be one that I am not looking forward to.
To remedy this problem, a drain could be installed into the bottom of the fridge. Drains do decrease the efficiency of the fridge as they are considered a weak point in the insulation and will allow some loss of cold and some entry of heat into the icebox. The most efficient type of icebox would be completely sealed and have no openings. The lid already violates this ideal scenario, so why not add a little more insult in the name of convenience.
A drain in the bottom of the fridge will allow us to remove the melted water with the assistance of gravity. Any water will leave the fridge through the bottom where it will be flushed away down the drain hole and out a weep hose. To prevent any cold air from also escaping, a valve is placed at the end of the hose. With the valve shut, the hole in the bottom of the fridge is sealed and cold air will not leak out of the bottom of the fridge.

Since the stainless steel liner is already installed and surrounded by foam, it is impossible to safely weld a drain into the bottom as the foam insulation can burst into flames with the heat of welding. Instead of burning my boat to the waterline, I instead opted to use a bronze through hull fitting with a hose barb attachment at the end. Bronze and stainless steel are dissimilar metals, but the bedding compound should keep everything isolated, at least enough for my lifetime. If any galvanic corrosion should occur, it would be very minor and probably go unnoticed.

The largest part of the assembly needs to fit through the stainless steel plate, this means that the hex portion of the barb fitting is our desired hole size. In order to drill such a large hole, I used a step drill that will open the hole progressively larger until it is big enough for the hex to fit. I started out with a small pilot hole to help position and start the step drill, then proceeded to ream out the bottom of the fridge.

With the hole made, there was sufficient space to clear the hose barb. The next step was to drill through the six inches of foam and then the plywood bottom of the fridge. I needed to use a drill bit extension as standard drill bits were not long enough to reach the wood at the bottom of the fridge.

I didn't need to worry about drilling through the bottom of the fridge and then springing a leak as there is a considerably large dead space under the refrigerator. While this area does look roomy, there is no appreciable access to it. There are two small holes that access this area, one is the hole in view. The lack of access makes this large and cool space inaccessible and precludes us from using it as storage. If you ever need to inspect the contents of a small hole, simply insert a cellphone camera into the hole and snap away. When you withdraw the phone, you can view the contents of the forgotten space.
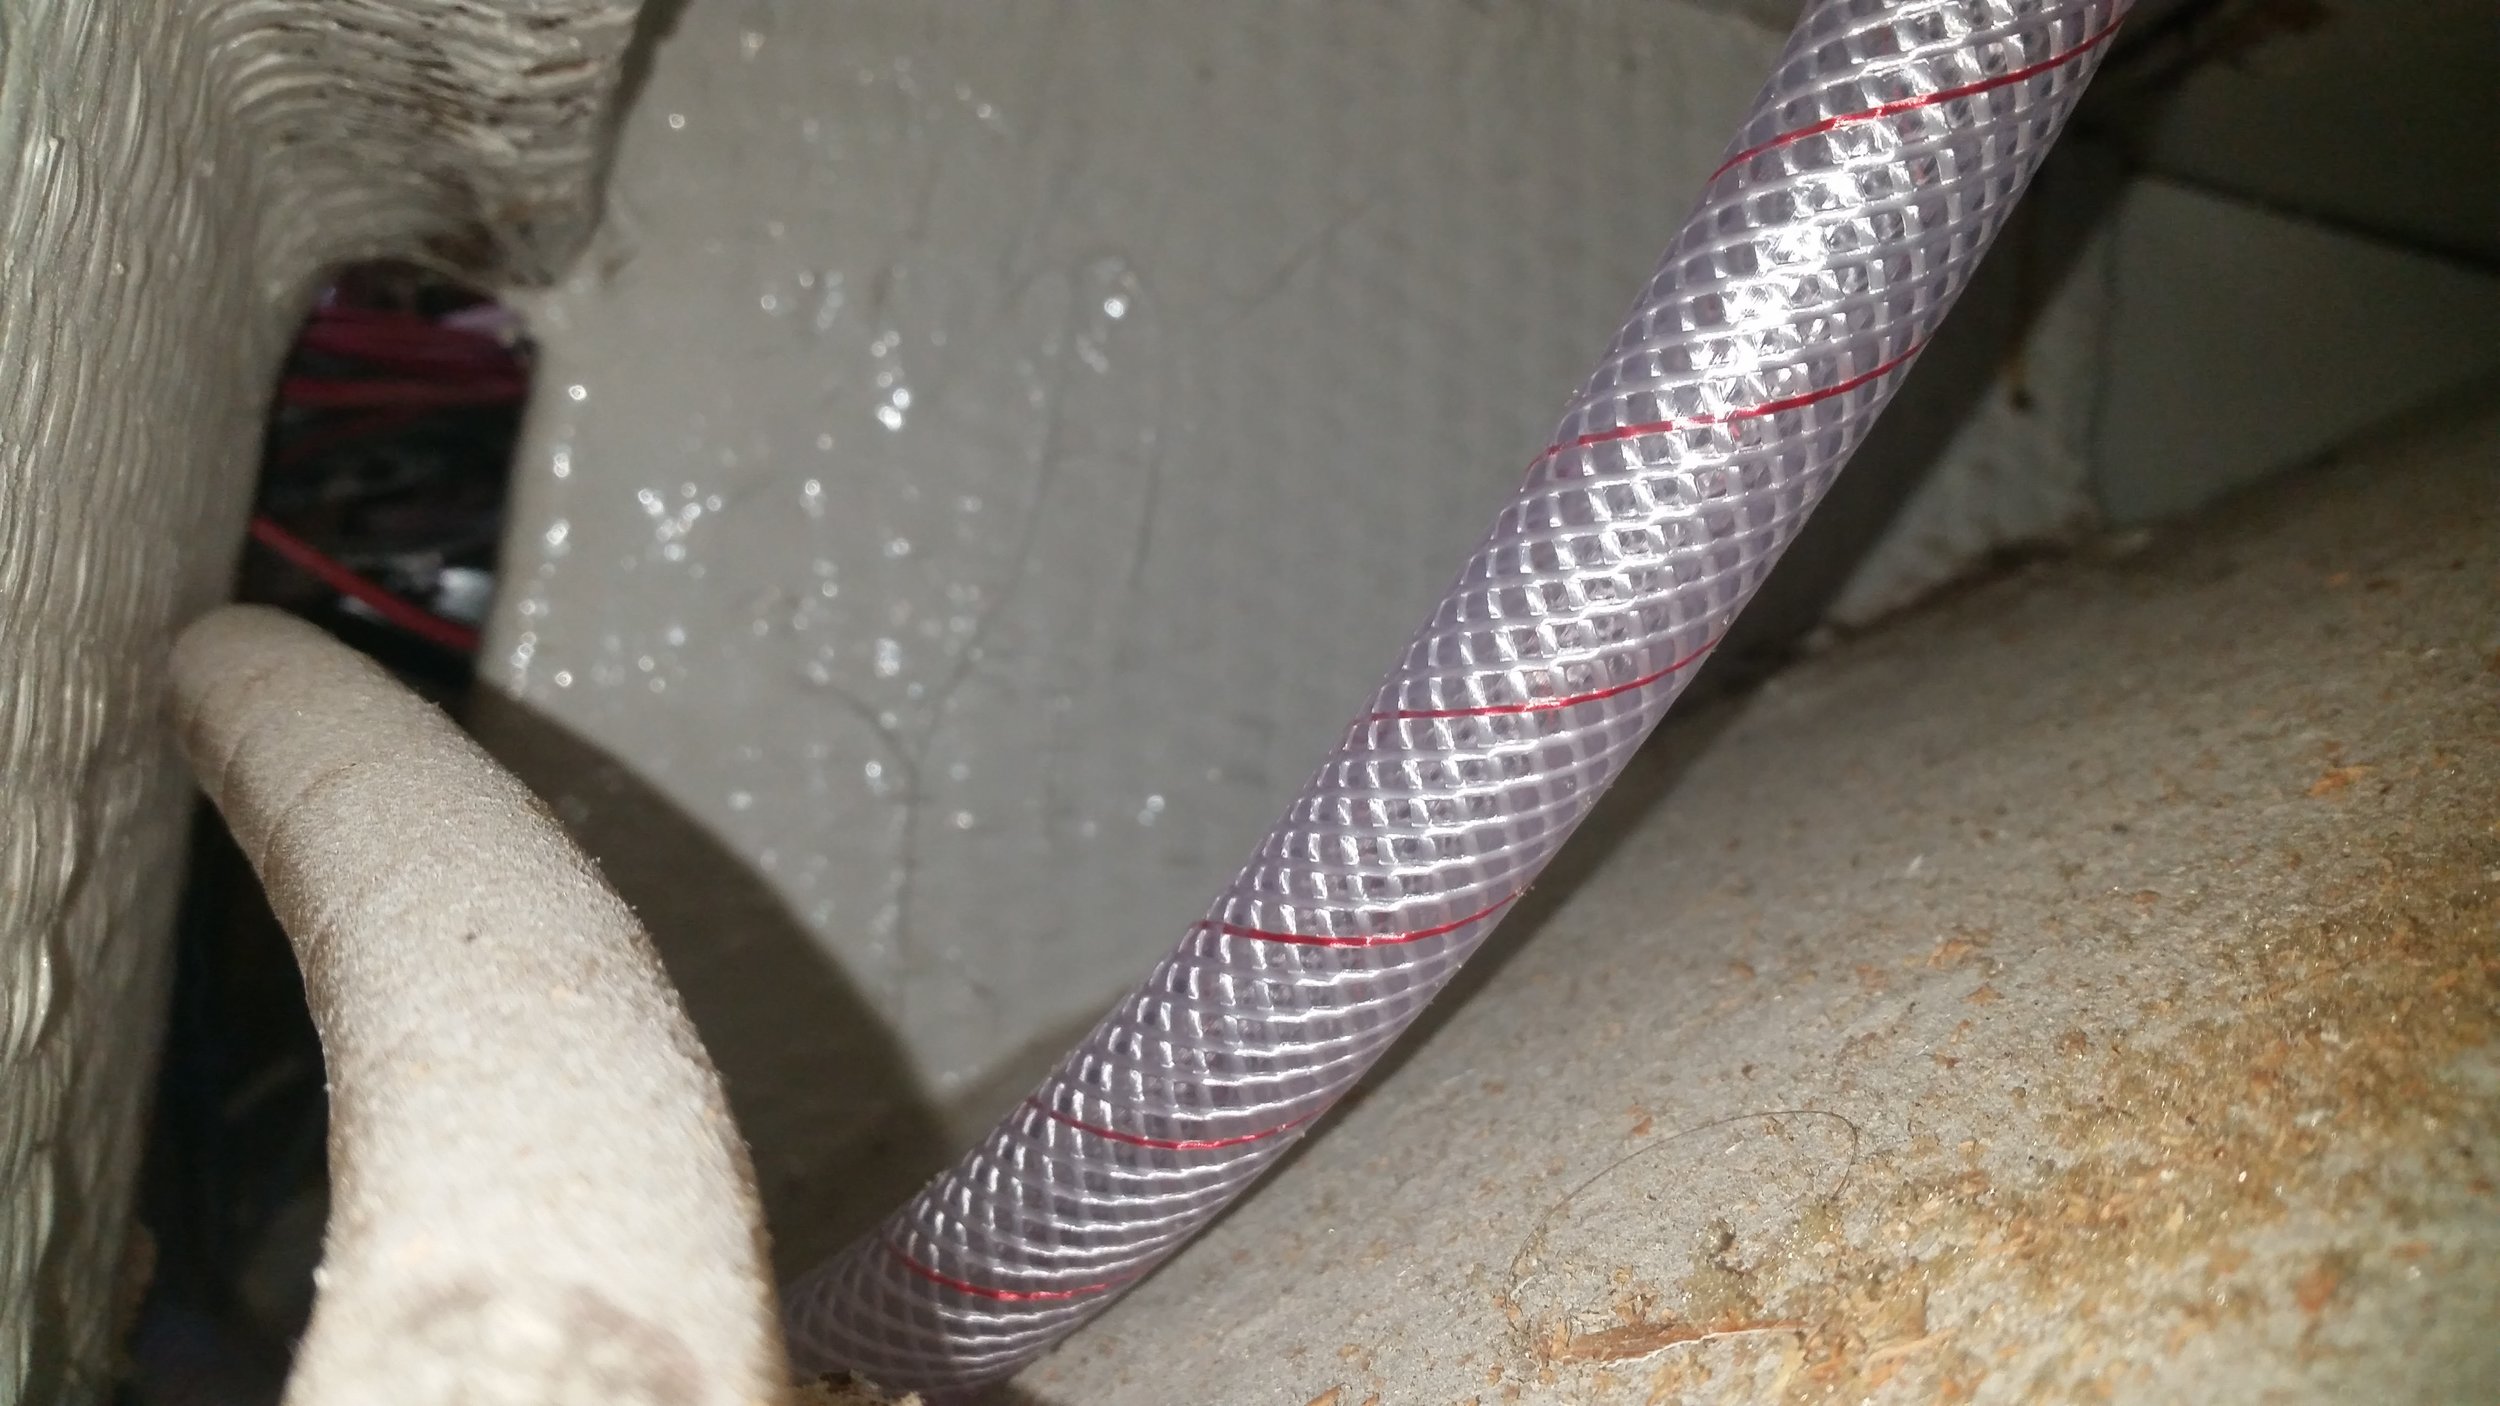
The hole for the drain was drilled and all the sawdust fell into this dead space. This small mess will stay there for the rest of time as there is no way to reach inside here and clean it. The hose was fished down through the drain hole and out the access hole. With the hose run, it was time to attach the hose to the through hull fitting.

Instead of using a bulky hose clamp, I opted to use a low profile knot that will crush down on the hose and permanently attach it to the hose barb. The knot is called a Double Constrictor Knot and when tightened using two sticks, it is impossible to untie. The tails of the knot were attached to two larger objects using marlin spike hitches that would allow me to pull on the tails with all my might. Tying the knot with a line made out of dyneema ensures that this knot will last as long as Wisdom does.
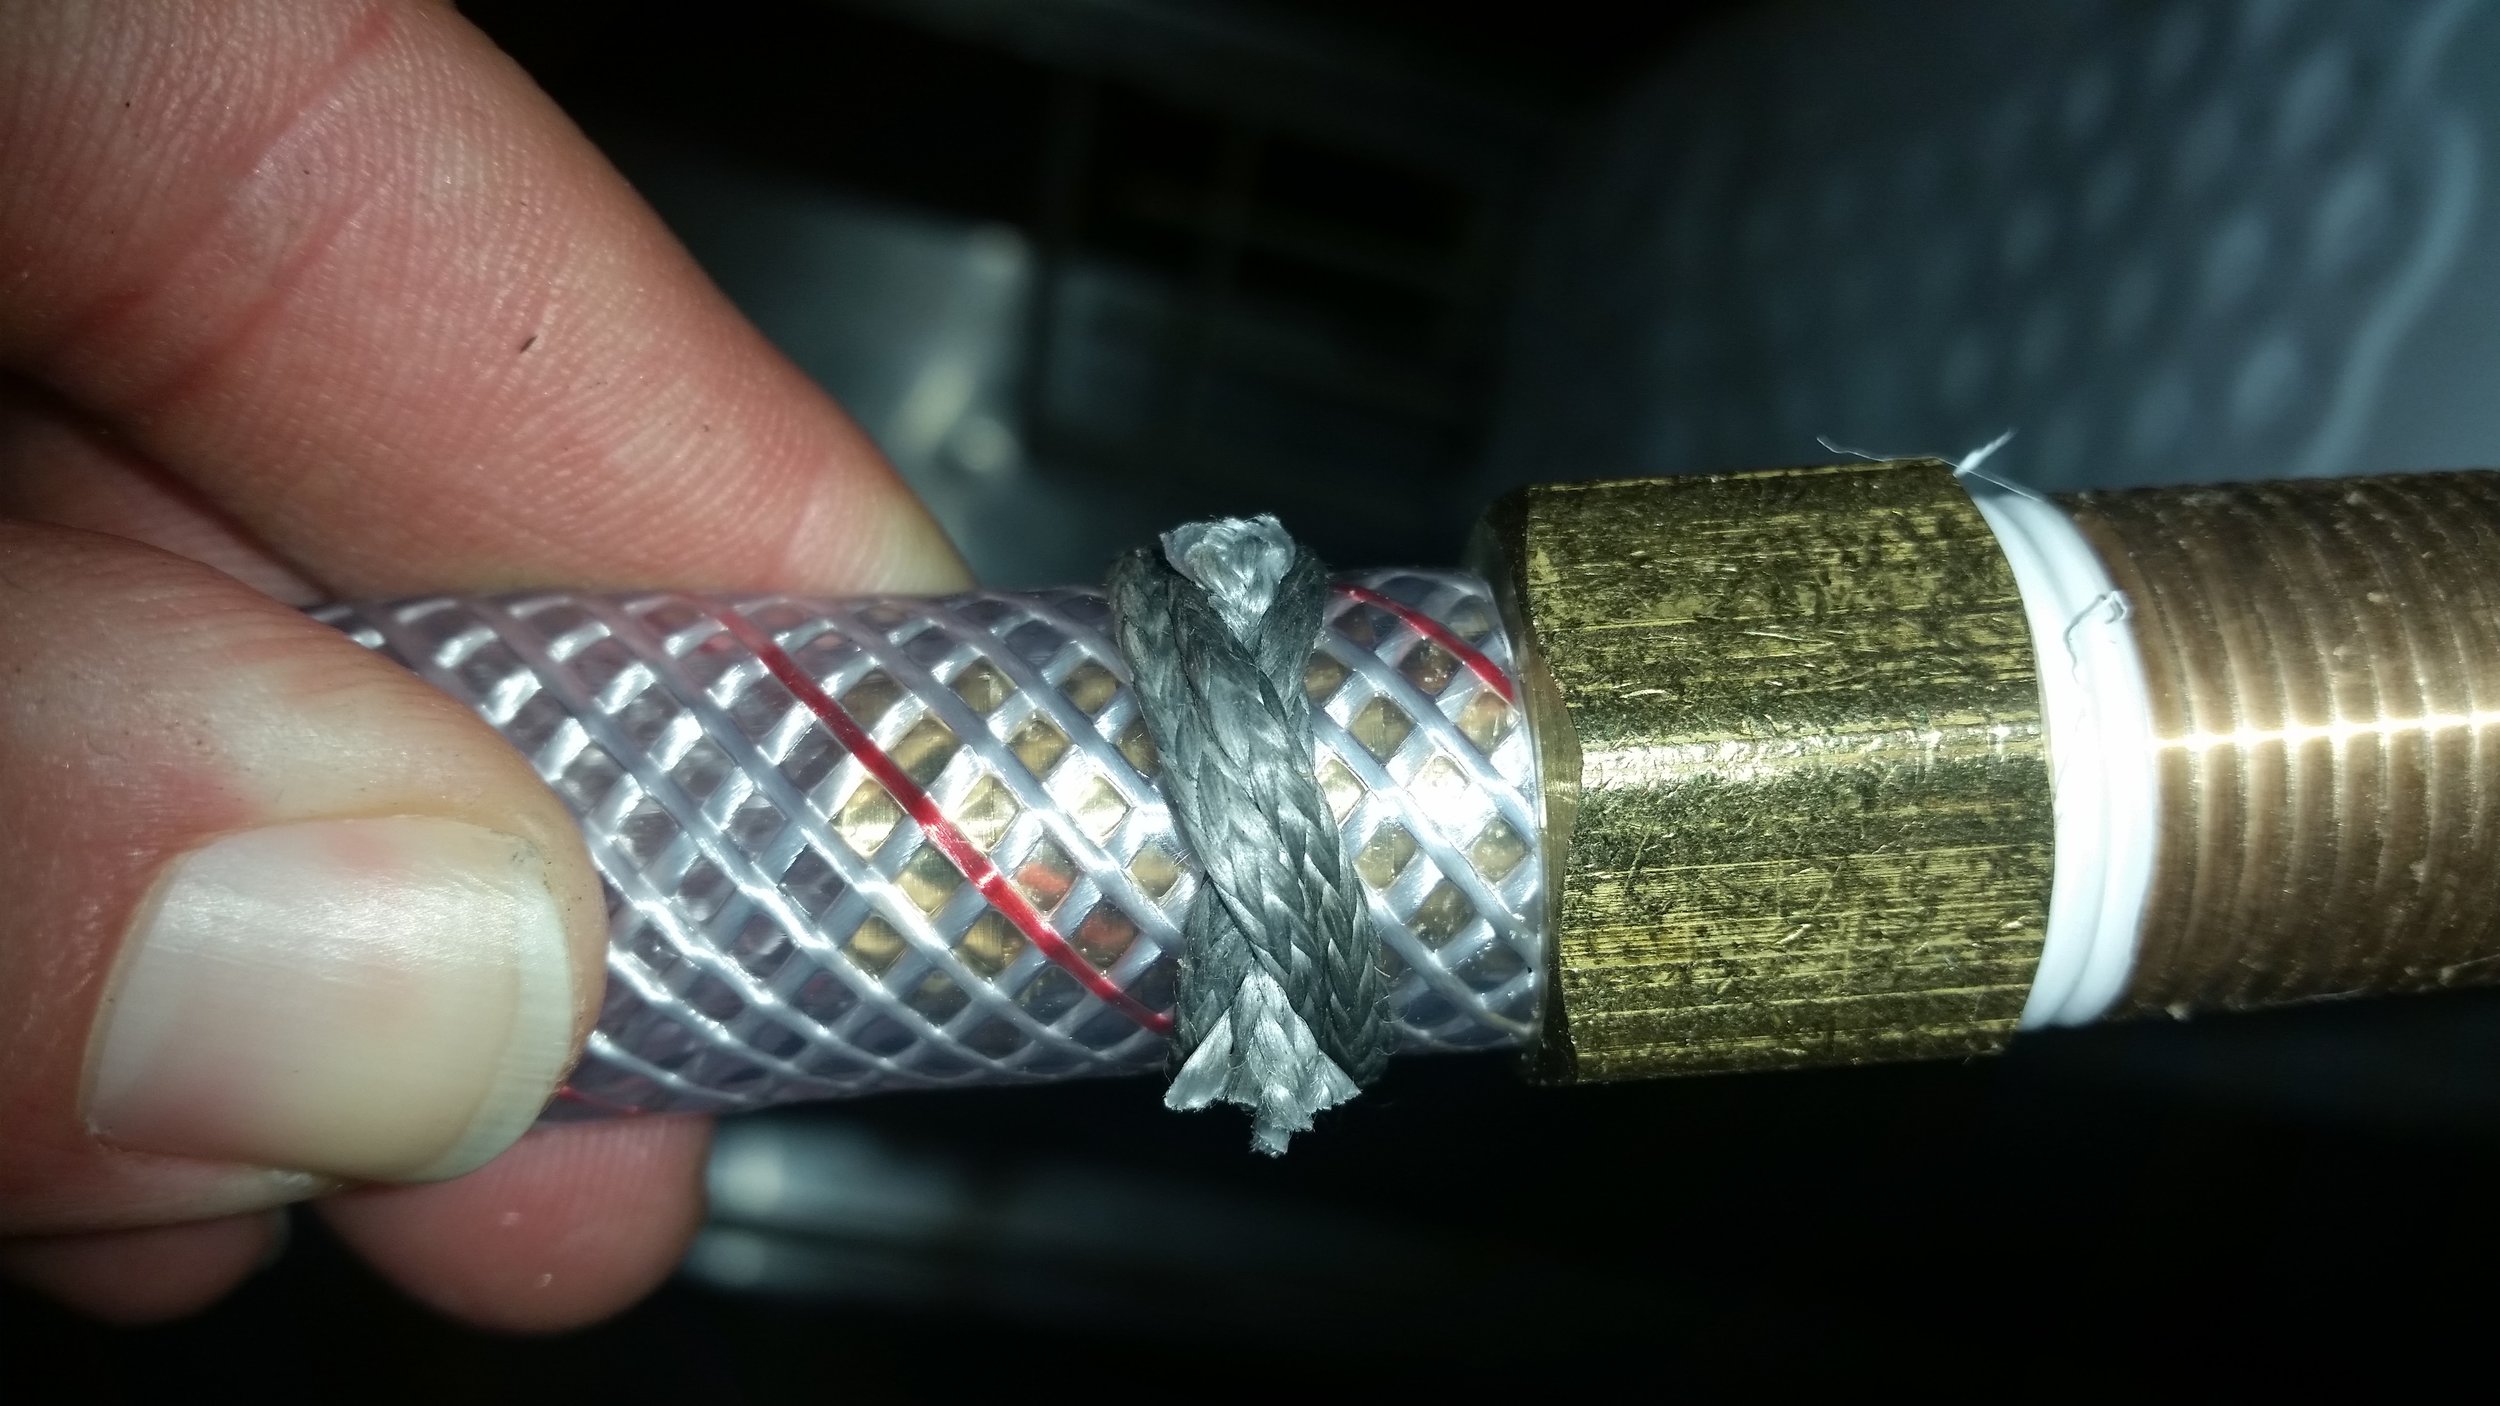
With the tails cut off close to the knot, the entire clamping system is no larger than the hex head of the hose barb. With all of this in place, it is now time to apply the bedding compound and smooth it all together.

I used 3M's 5200 for the bedding compound in this situation for a few reasons. First, it will seal up everything and make sure that no water leaks into the insulating foam, saturating it and creating a huge mess to repair. Second, I was unable to access the opposing side of the through hull fitting to attach the retaining nut.
5200 is considered a permanent adhesive sealant. This means that not only will it keep out water, it will also glue the components together permanently. I would love it if the through hull fitting were glued in place since it has no mechanical fasteners holding it there. Yes, a drain is under very little to no stress, but if it were to move it would certainly cause a leak that would go unnoticed for a while.
I rarely used 5200 because of its permanentness. I have seen winches that were needed to the deck with 5200 be removed. The bolts were removed and the winch would not budge. After a lot of prying and pulling, the winch finally came free of the deck, but it brought the top layer of deck skin with it! That's right, the junction of the winch base and 5200 remained and instead the fiberglass deck ripped up with the winch and make a nasty hole that needed to be repaired. When 3M says an adhesive is permanent, they mean it!
For most bedding situations I opt for Boat Life Life-Caulk which is a polysulfide. Polysulfide is not an adhesive, it is only a sealant. It will remain flexible throughout its life and will survive a lifetime exposed to the suns harmful UV rays. If you ever need to remove the bedded component, all you need to do is unfasten it and remove it. The polysulfide will yield quickly and peel off without leaving any form of a mess.
If I feel the need for more adhesive qualities in the bedding compound to complement the mechanical fasteners, I will use 4200 by 3M. It is just as good a sealant as 5200, but it is not a permanent adhesive. Don't get me wrong though, if you need to remove something bedded with 4200 you will still think it is permanent, just that when you give it enough persuasion, it will yield and remove without damage to the surface it was mounted to.
With the drain installed, I needed to keep some pressure on it while the 5200 set. I rigged up a contraption that used some socket extenders and the block of mahogany I used to tighten the double constrictor knot. This applied enough pressure to keep everything pushed down and to ensure that no voids would develop during the cure time.
On the other end of the drain hose, I attached a small gate valve. The valve is to serve two purposes: keep water from leaking out, and keep air from leaking out.
If the ice were allowed to melt and drip into the bilge, the bilge would always be wet! The valve allows me to control when the fridge is to leak out its contents and where. I can now drain the water into a cup that can be used to chill wine!
Keeping the valve shut also prevents any air from escaping. The colder air will settle to the bottom of the fridge, and if it is allowed to escape through the drain hose, the fridge would become awfully inefficient! By keeping the valve closed, I can keep the cold air in and the warm air out of the bottom of the fridge. The only time that the fridge will experience a drop in efficiency is when I open the valve and drain out the water that has accumulated in the bottom. Until then, the unit will remain closed up and sealed as we attempt to keep cold stuff cool for longer!
