Finishing Up the Bilge Pump

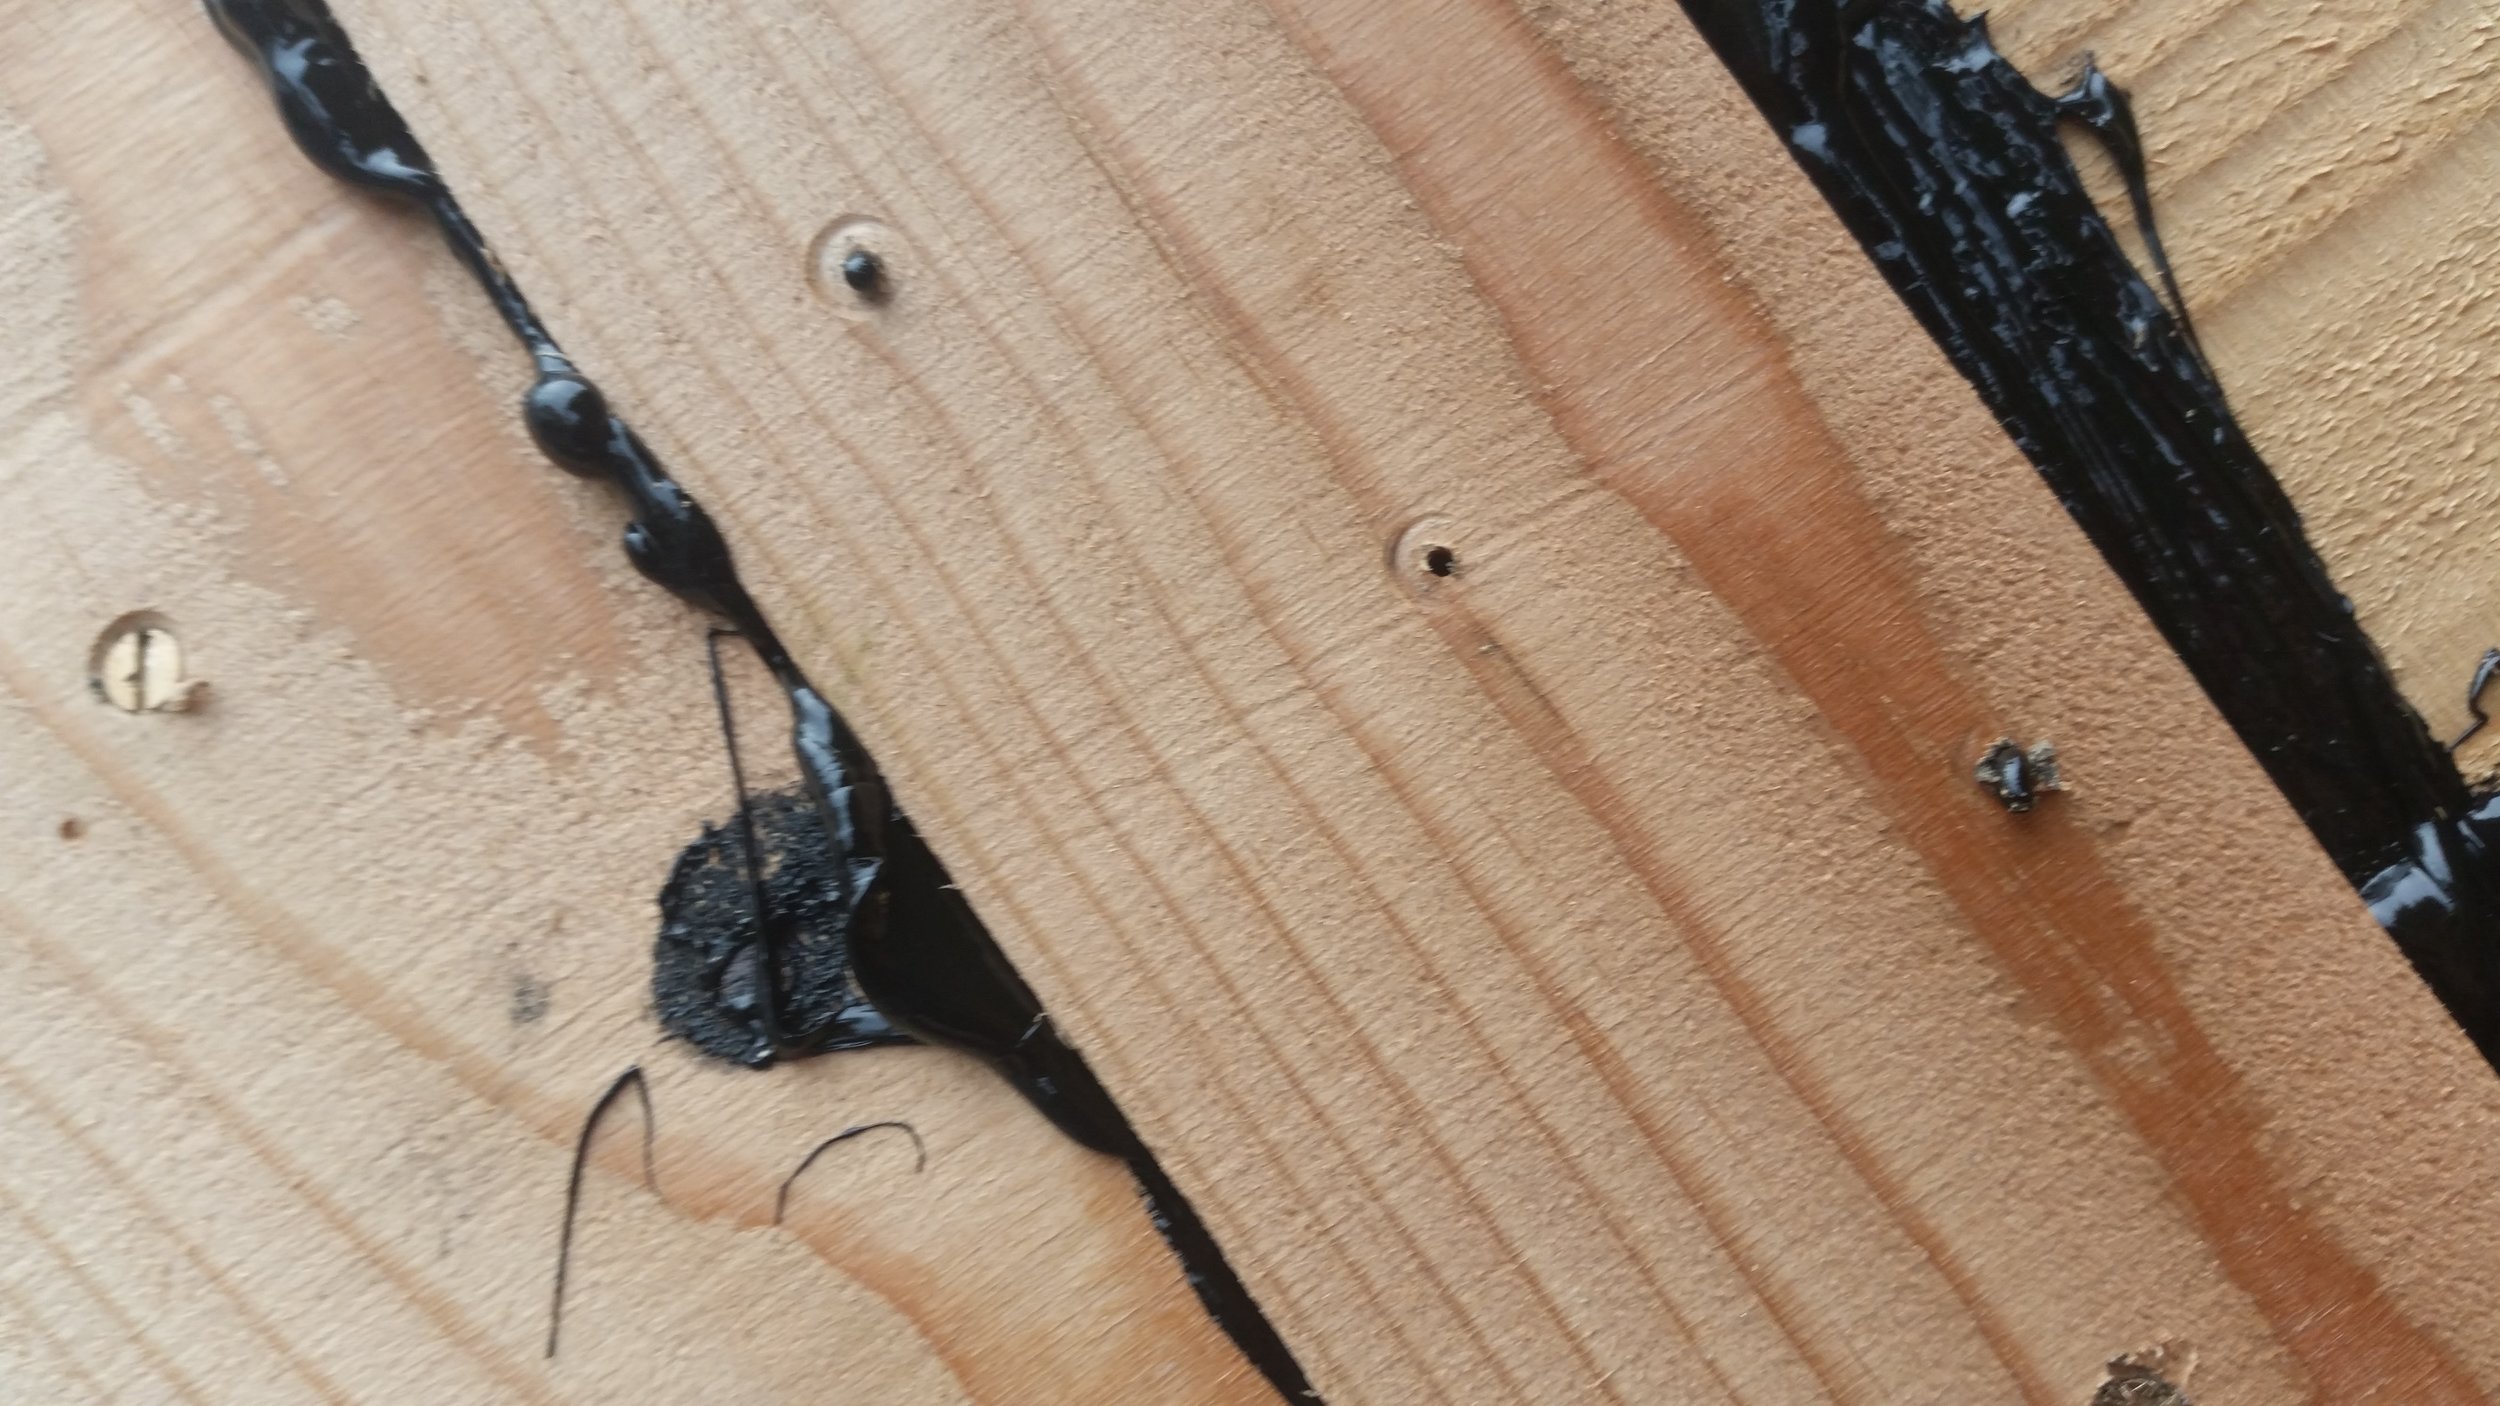
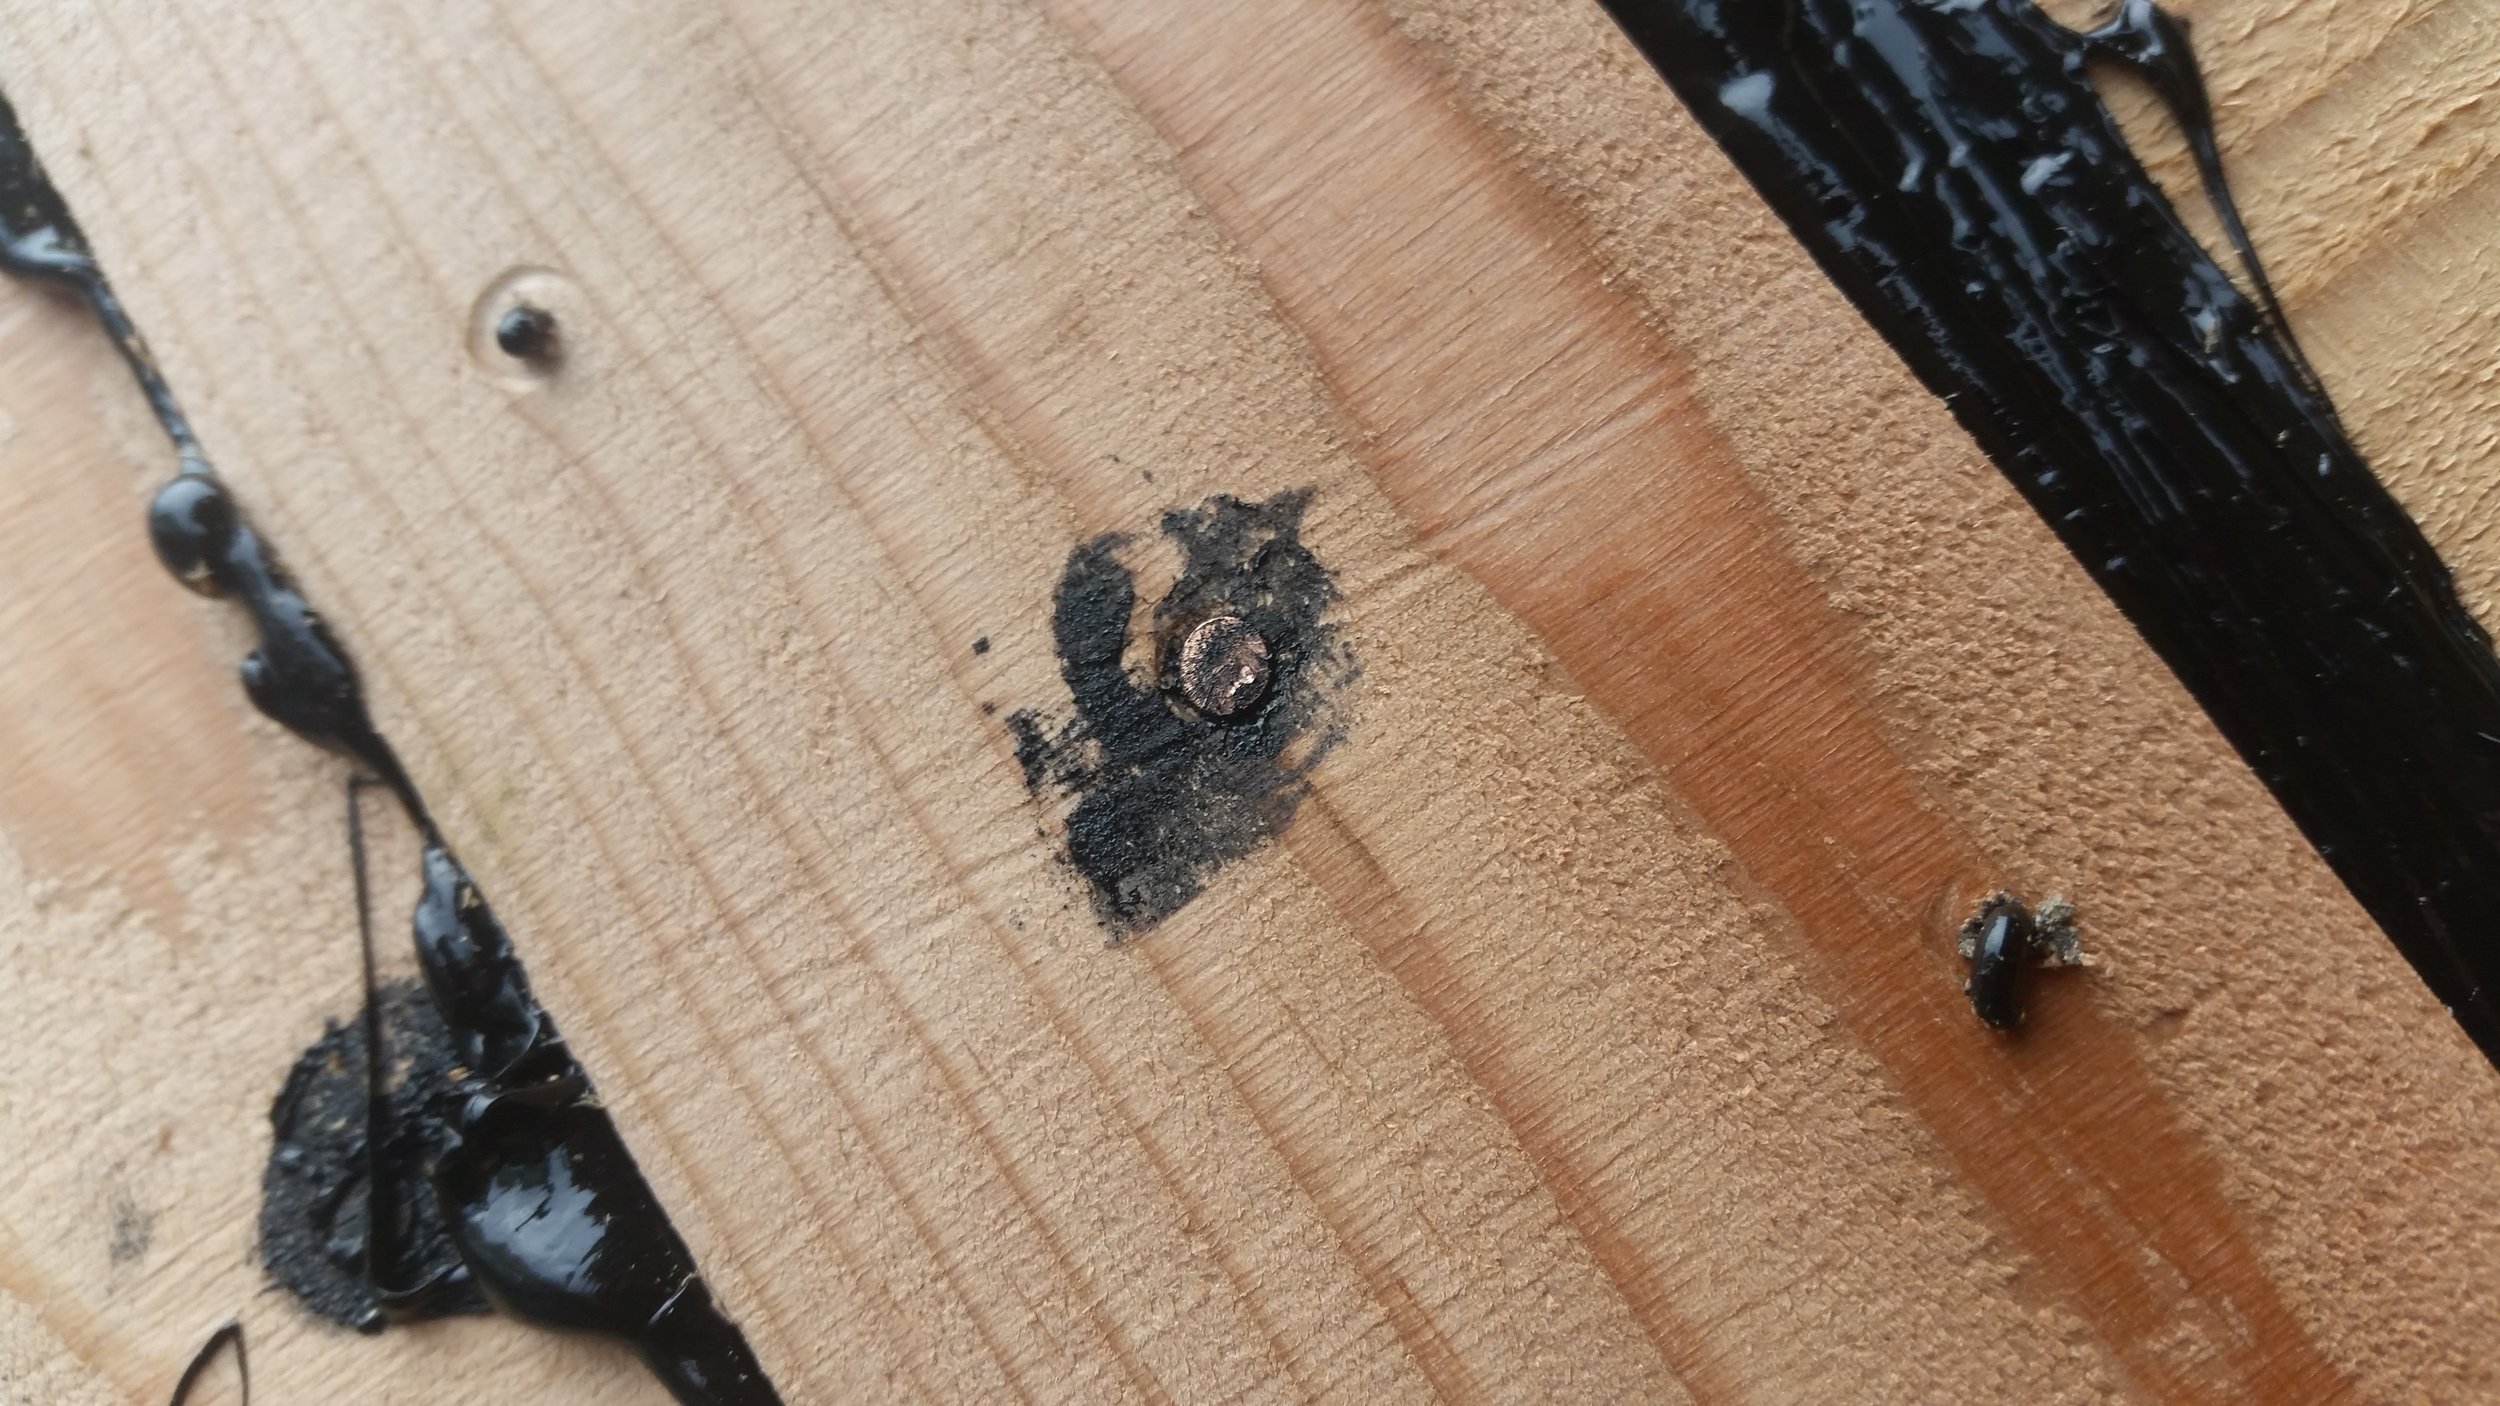
The bilge pump supports are ready for the pump. The resin has cured, the paint has dried, and the bolt holes have been refreshed. It is time to connect the hose and bolt the unit in place!

The bilge pump lives tucked away inside the locker when not in use and the handle lives inside the foulies locker when times are dry. When we need to use the pump, the lockers lid can be removed and the foulies locker can be opened up. This gives us plenty of space to stand over the pump and operate the handle.

The handle is kept close at hand in the hanging locker by tying a hitch to the handle and looping the tail over the sail tie hook in the locker.

I was about to make a bracket using a pipe at the bottom and a clip at the top to hold the lever arm in place when not in use. This project would have taken a considerable amount of time and effort when Maddie suggested I tie a fancy knot to the pole and hang it from the hooks that are already in there. 

A simple hitch is all it took with the tails tied into a loop using a sheet bend. There was a scrap piece of dyneema was hanging on a port light awaiting some form of use. In a few seconds, this little piece of dyneema was transformed into the bilge pump handle loop!

The last step in the process will be to bore a massive hole in the side of the hull and install the through hull fitting for the bilge pump discharge. Then this bilge pump will be completely installed and ready for use!

Bedding the Nails

Each hole you place in the hull is a potential leaking point. When you are nailing the topside planks together, you are basically asking for one of the hundreds of holes to leak! To avoid this from happening, copious amounts of bedding compound are used to seal up any voids and keep out any water that may try to work its way in.

While the board is placed over a  smearing of polysulfide bedding compound, the nail needs a bit of help as well. The nail hole is drilled smaller than the nail itself that way the wood will swell and squeeze onto the nail, keeping out any water.

When the board is placed on the hull, excess polysulfide will ooze out from between the seams. This is basically wasted material, unless you can use it for something else! Dipping the nail in the material will help put some bedding compound on the nail to seal up the hole even further.

The polysulfide will be transferred to the hole where it will form a seal around the head of the nail and the board.

The bedding compound will ooze out of the hole as the nail passes through, giving the entire nail a light coating as it is driven through.

When the nail is driven in all the way, the bedding compound will smear all around the head of the nail, sealing the nail off and (hopefully) keep any water from seeping through.

New Cushions

Maddie decided that the old settee cushions have to go and newer, more comfortable ones need to become a reality. Our old cushions are so hard that your butt will actually fall asleep if you sit on them for more than a half hour.

I am able to sleep anywhere and on anything, so it never bothered me all these years, but since we will be sitting on them a whole lot more while cruising, the replacement of these cushions has become a priority!

The foam from the backs was reused to keep costs down, but the bottom cushions were replaced with a much more comfortable foam that is a dream to sit on! When we got the new cushions, we did a movie marathon where we sat there for hours without any of our hind quarters going to sleep!

Maddie was also excited about getting to choose the new fabrics' color. The old cushions look like something you would find in a hunting lodge from the 1970's. Maddie wanted to go with a simple color that would go well with the interior wood of Wisdom. I wanted a color that would not show Morty hair.

We looked through the Sailrite catalog and found a few colors that we thought would look good in the boat and then ordered samples. One was green, then there were two blues. The green looked good on the page, but the sample had these gold flecks in the threads that Maddie did not like. That instantly removed the green piece from the list of potential options.

We were now down to the two blue choices. Maddie was torn between them and couldn't quite decide which one she wanted to go with, so Morty came to the rescue as the tie breaker. I rubbed Morty with the samples vigorously and all our questions were answered. One of the blues showed every single dog hair while the other blue looked clean. After a very careful inspection, I was able to find the dog hairs on the sample to prove in fact that they are on the sample and hidden from view.

Thanks to the samples, we were able to confidently make our selection on the fabric color. We had a local seamstress make the cushions to fit the benches. She did a wonderful job and the price was excellent!

Now we have comfortable cushions in the salon where we spend most of our time on Wisdom. 

Converting a 2x12 into Planking Stock

Building a boat requires materials, which costs money. The biggest expense in buying lumber is paying someone else to mill it for you. If you can locate good quality lumber at a fair price and do the mill work yourself, you will be able to save a significant amount of money.

The wood for Doug is Douglas Fir from Home Depot. I'm not saying that all the wood they carry is excellent boat building lumber, because it is not! Their lumber is very inexpensive and some of their boards are of good quality. For $27, I can purchase a 2x12 that is 16 feet long, that comes out to $1.69 a foot! A 1x12 from a local lumber yard sells Douglas Fir for $4 a board foot.

While it is time consuming to find the good pieces in the stack, the price savings are amazing! The things to look for are planks that have little to no sap wood, straight grain, few knots, and tight rings. The ring count should be more than 16 rings per inch to count as strong lumber. The boards at Home Depot are all flat sawn, so selecting a board that can be ripped into two quartersawn boards is best. 

If the rings are too far spaced and too flat on the board, the resulting lumber will not be of very good quality. It can take hours to find a good board and then get it out of the stack, but it is worth it! Sadly, I have made trips to Home Depot and not found a single board worth buying. Other times, I have found three or four!

This plank was in the discount bin since a chunk of the center had been ripped out. While the damaged section is not usable, and there is a bit of sapwood, the rest of the plank will offer very good and usable lumber for planking the hull.

The dinghy will be planked with double diagonal planking, allowing me to use shorter boards and with less concern about knots and grain run off. The planking was marked and prepared to rip and cut.

Using the skillsaw, I was able to rip off the strip of wood from the plank and then cut it into the shorter lengths that I need for the planking.

With the rip fence installed on the bandsaw, I was able to resaw the planks to 1/4 inch thickness, creating a 1/2 inch hull thickness after the double planking is completed.

I am able to select the perfect pieces that are not ruined by knots or other defects for the planking. Sections with knots at the end are still usable, simply by placing the knot past the working portion of the plank. When I cut off the excess lengths, the knots will be cut off and no one will need to know that they were once there!

This whole process does take considerable time, and it would be much easier to go to a lumber yard and buy 1/4 x 2.5 x 28 inch boards, but they will charge a considerable premium for all the milling time. On top of this, most lumber yards will charge you for wasteage, meaning they will charge you for the portion of wood that got turned to sawdust by the kerf of the blade they are using. The costs add up really quickly, and an inexpensive dinghy project can quickly become the price of a luxury boat if you don't keep a handle on it! All the wood to build this dinghy only cost me $135. If I went to a lumber yard, I would only be able to buy 33.75 board feet, when I ended up purchasing five 2x12 that were 16 feet long each!

As with everything, time is money. If you want it fast, it will cost money. If you want it cheap, it will cost time.