Port Side Double Planking

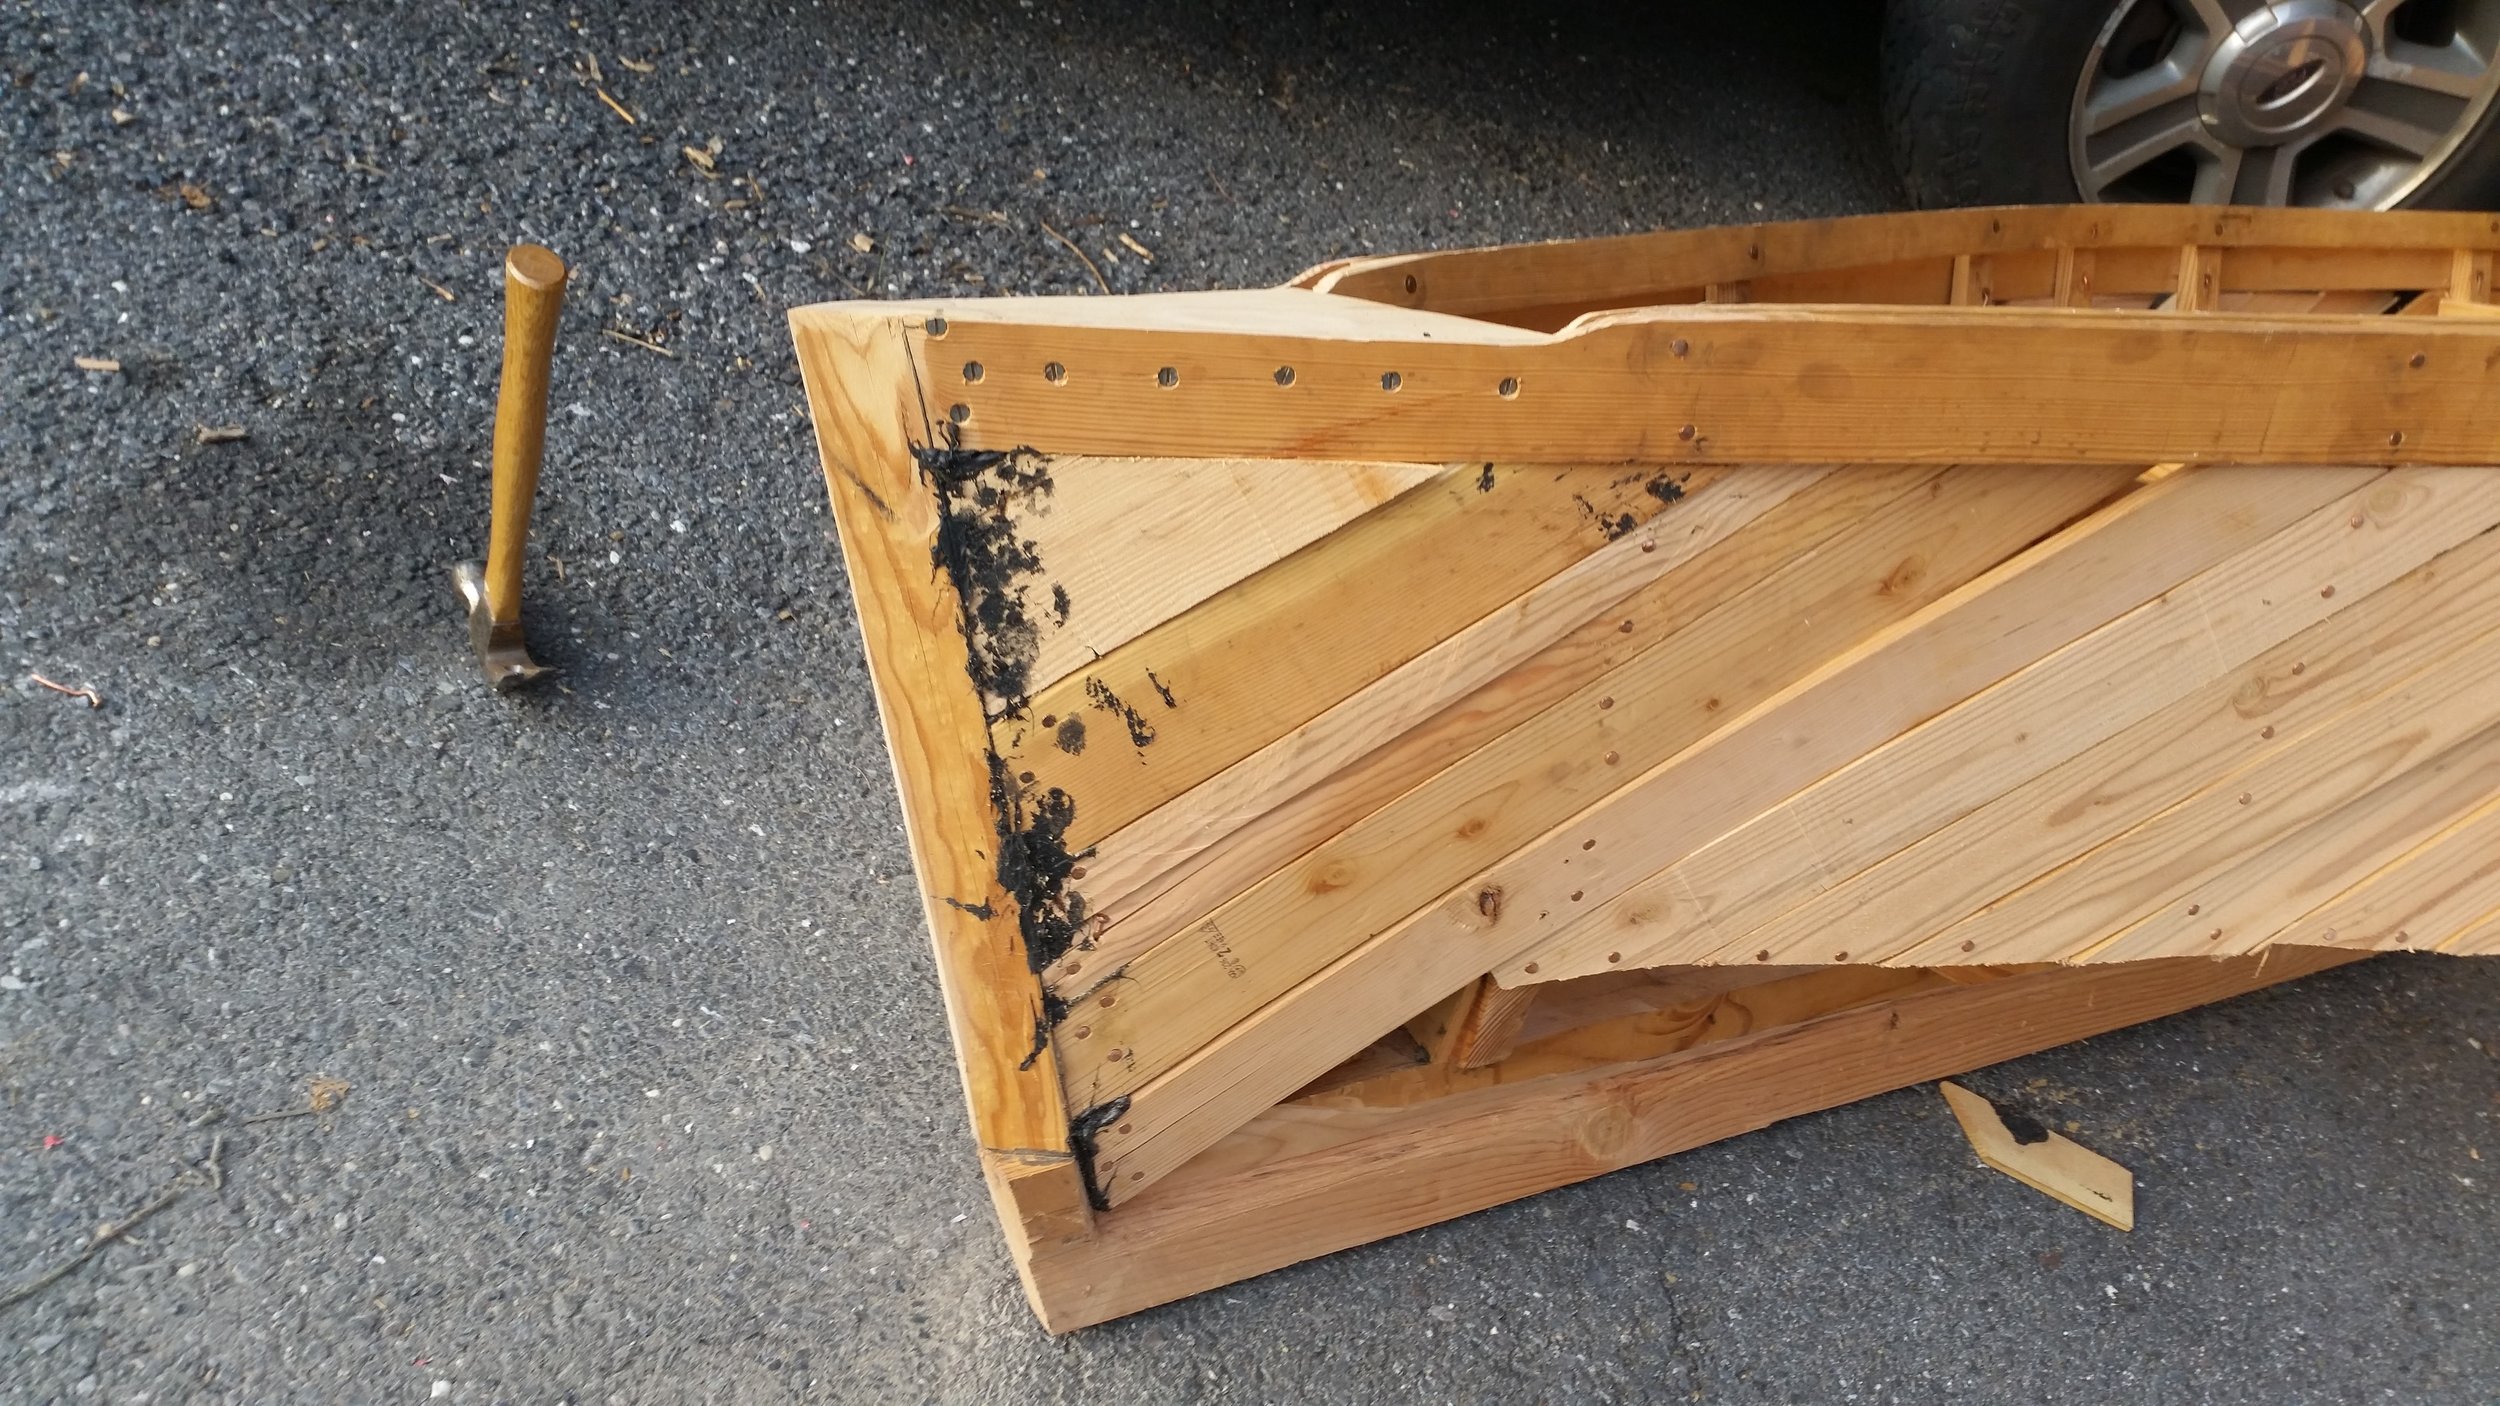
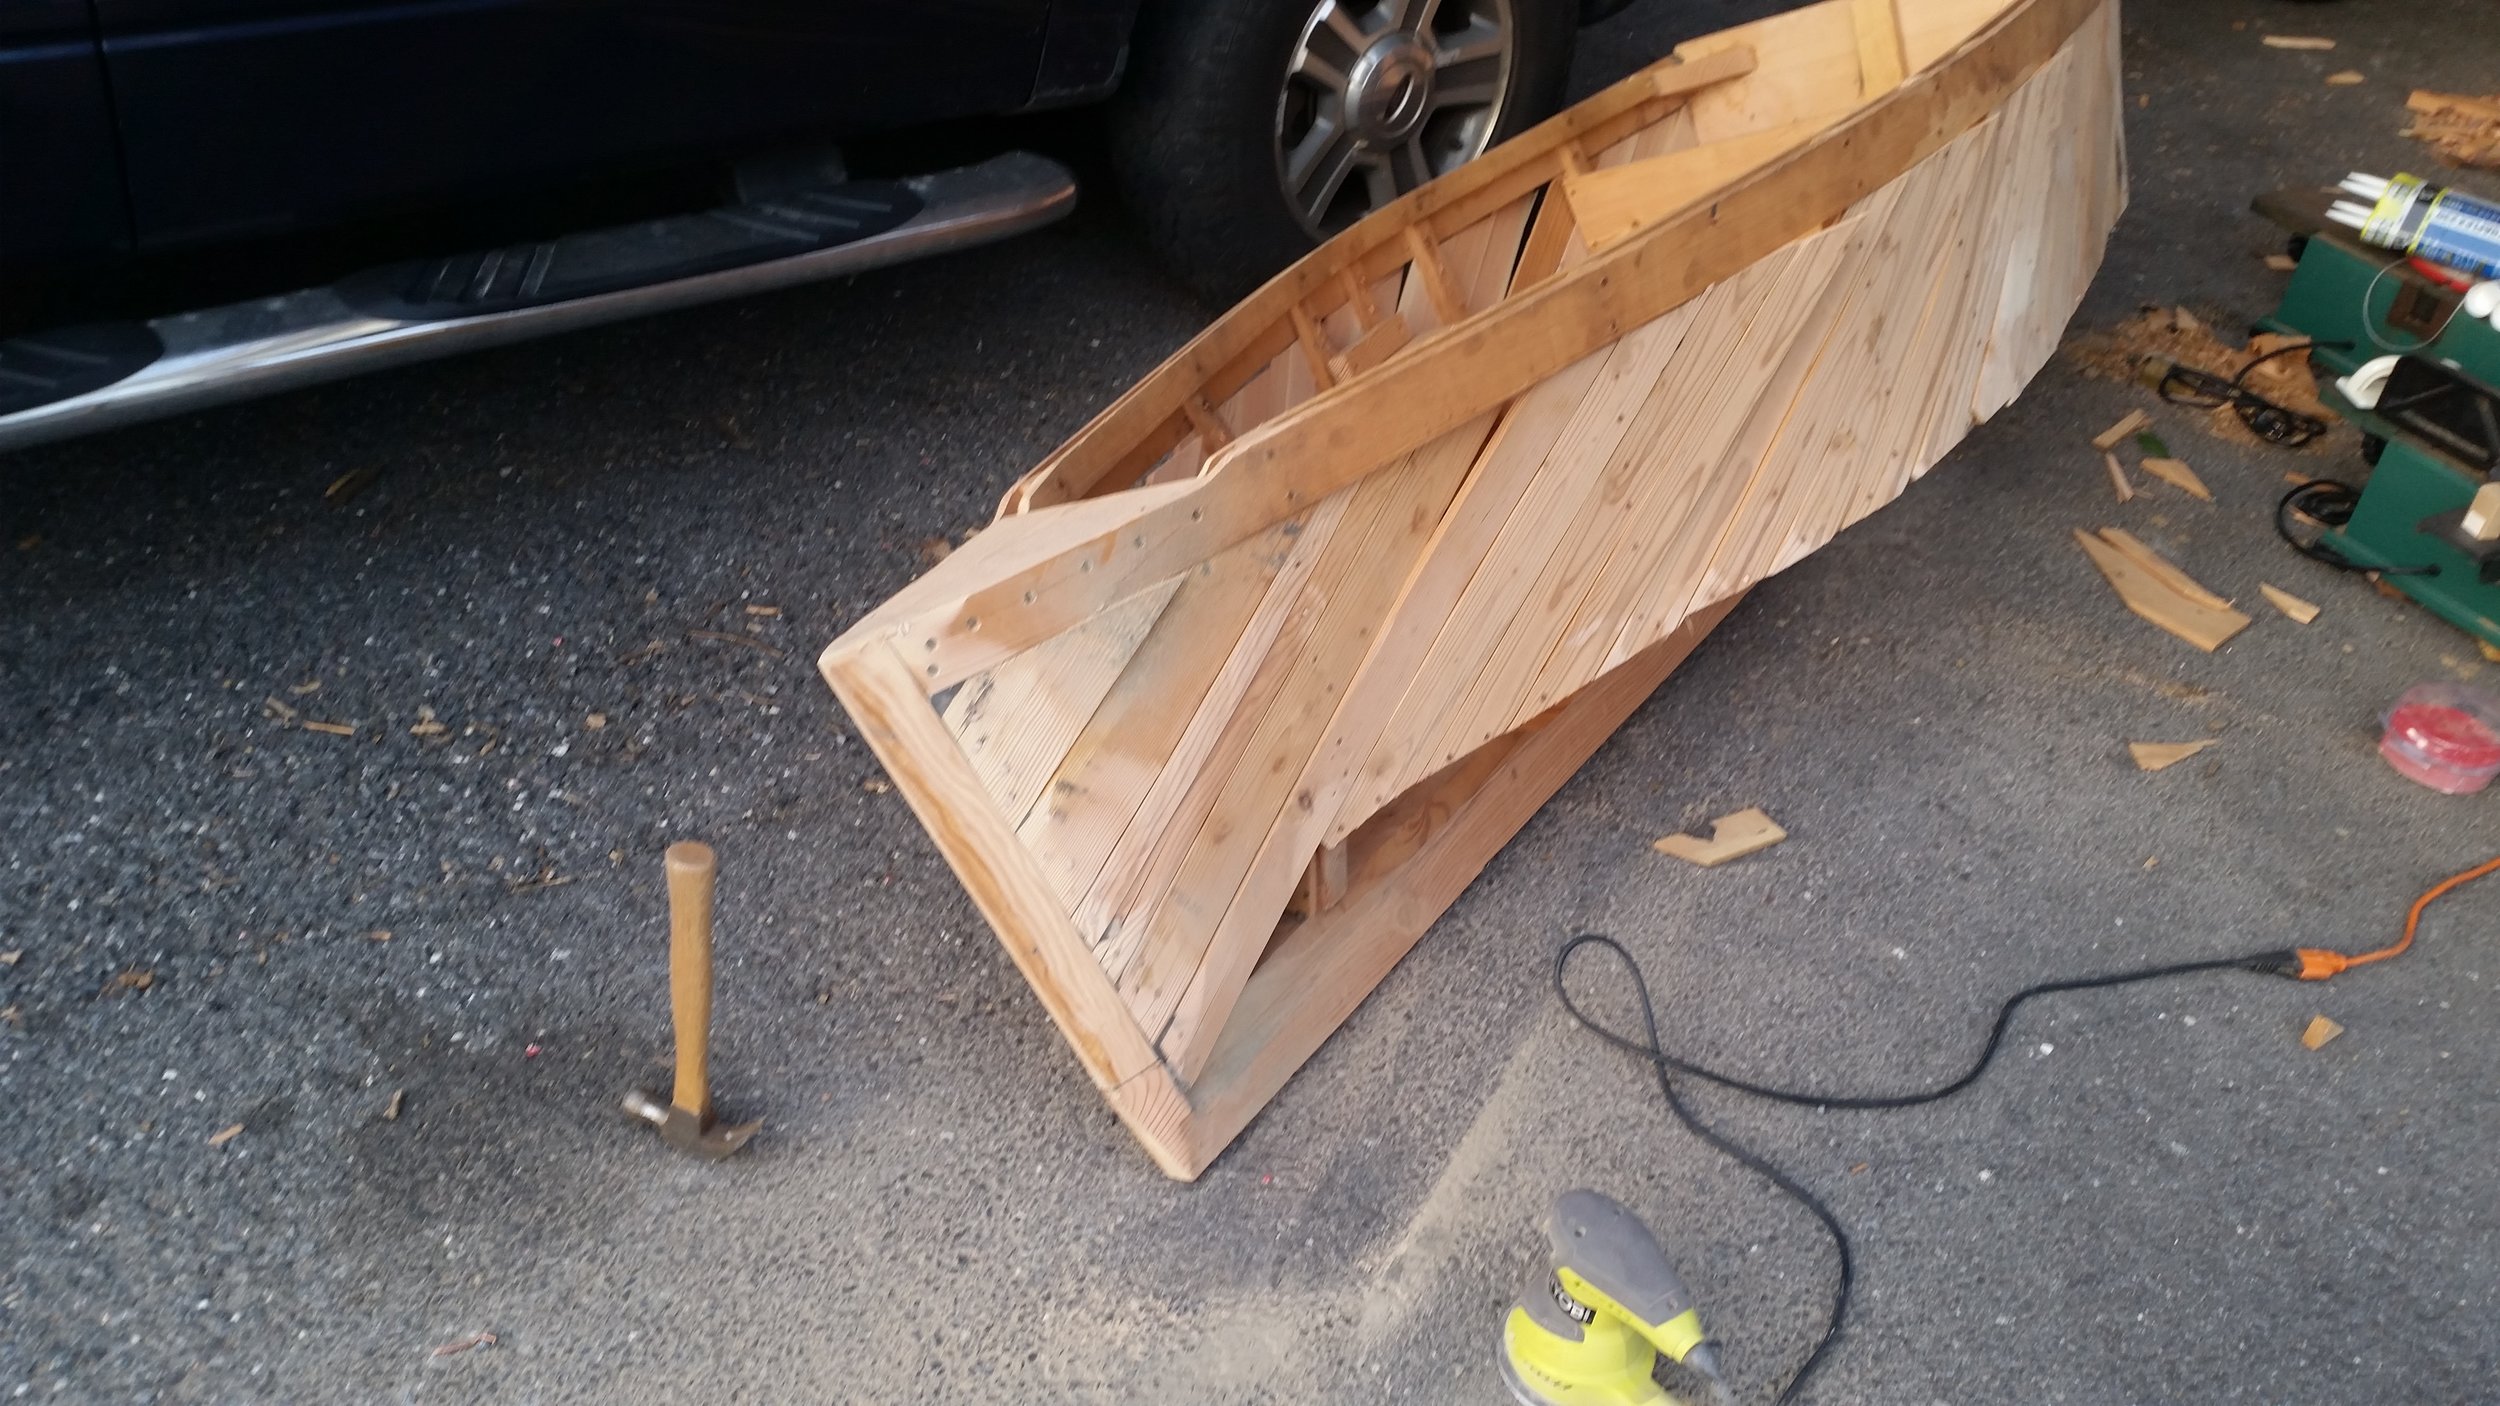
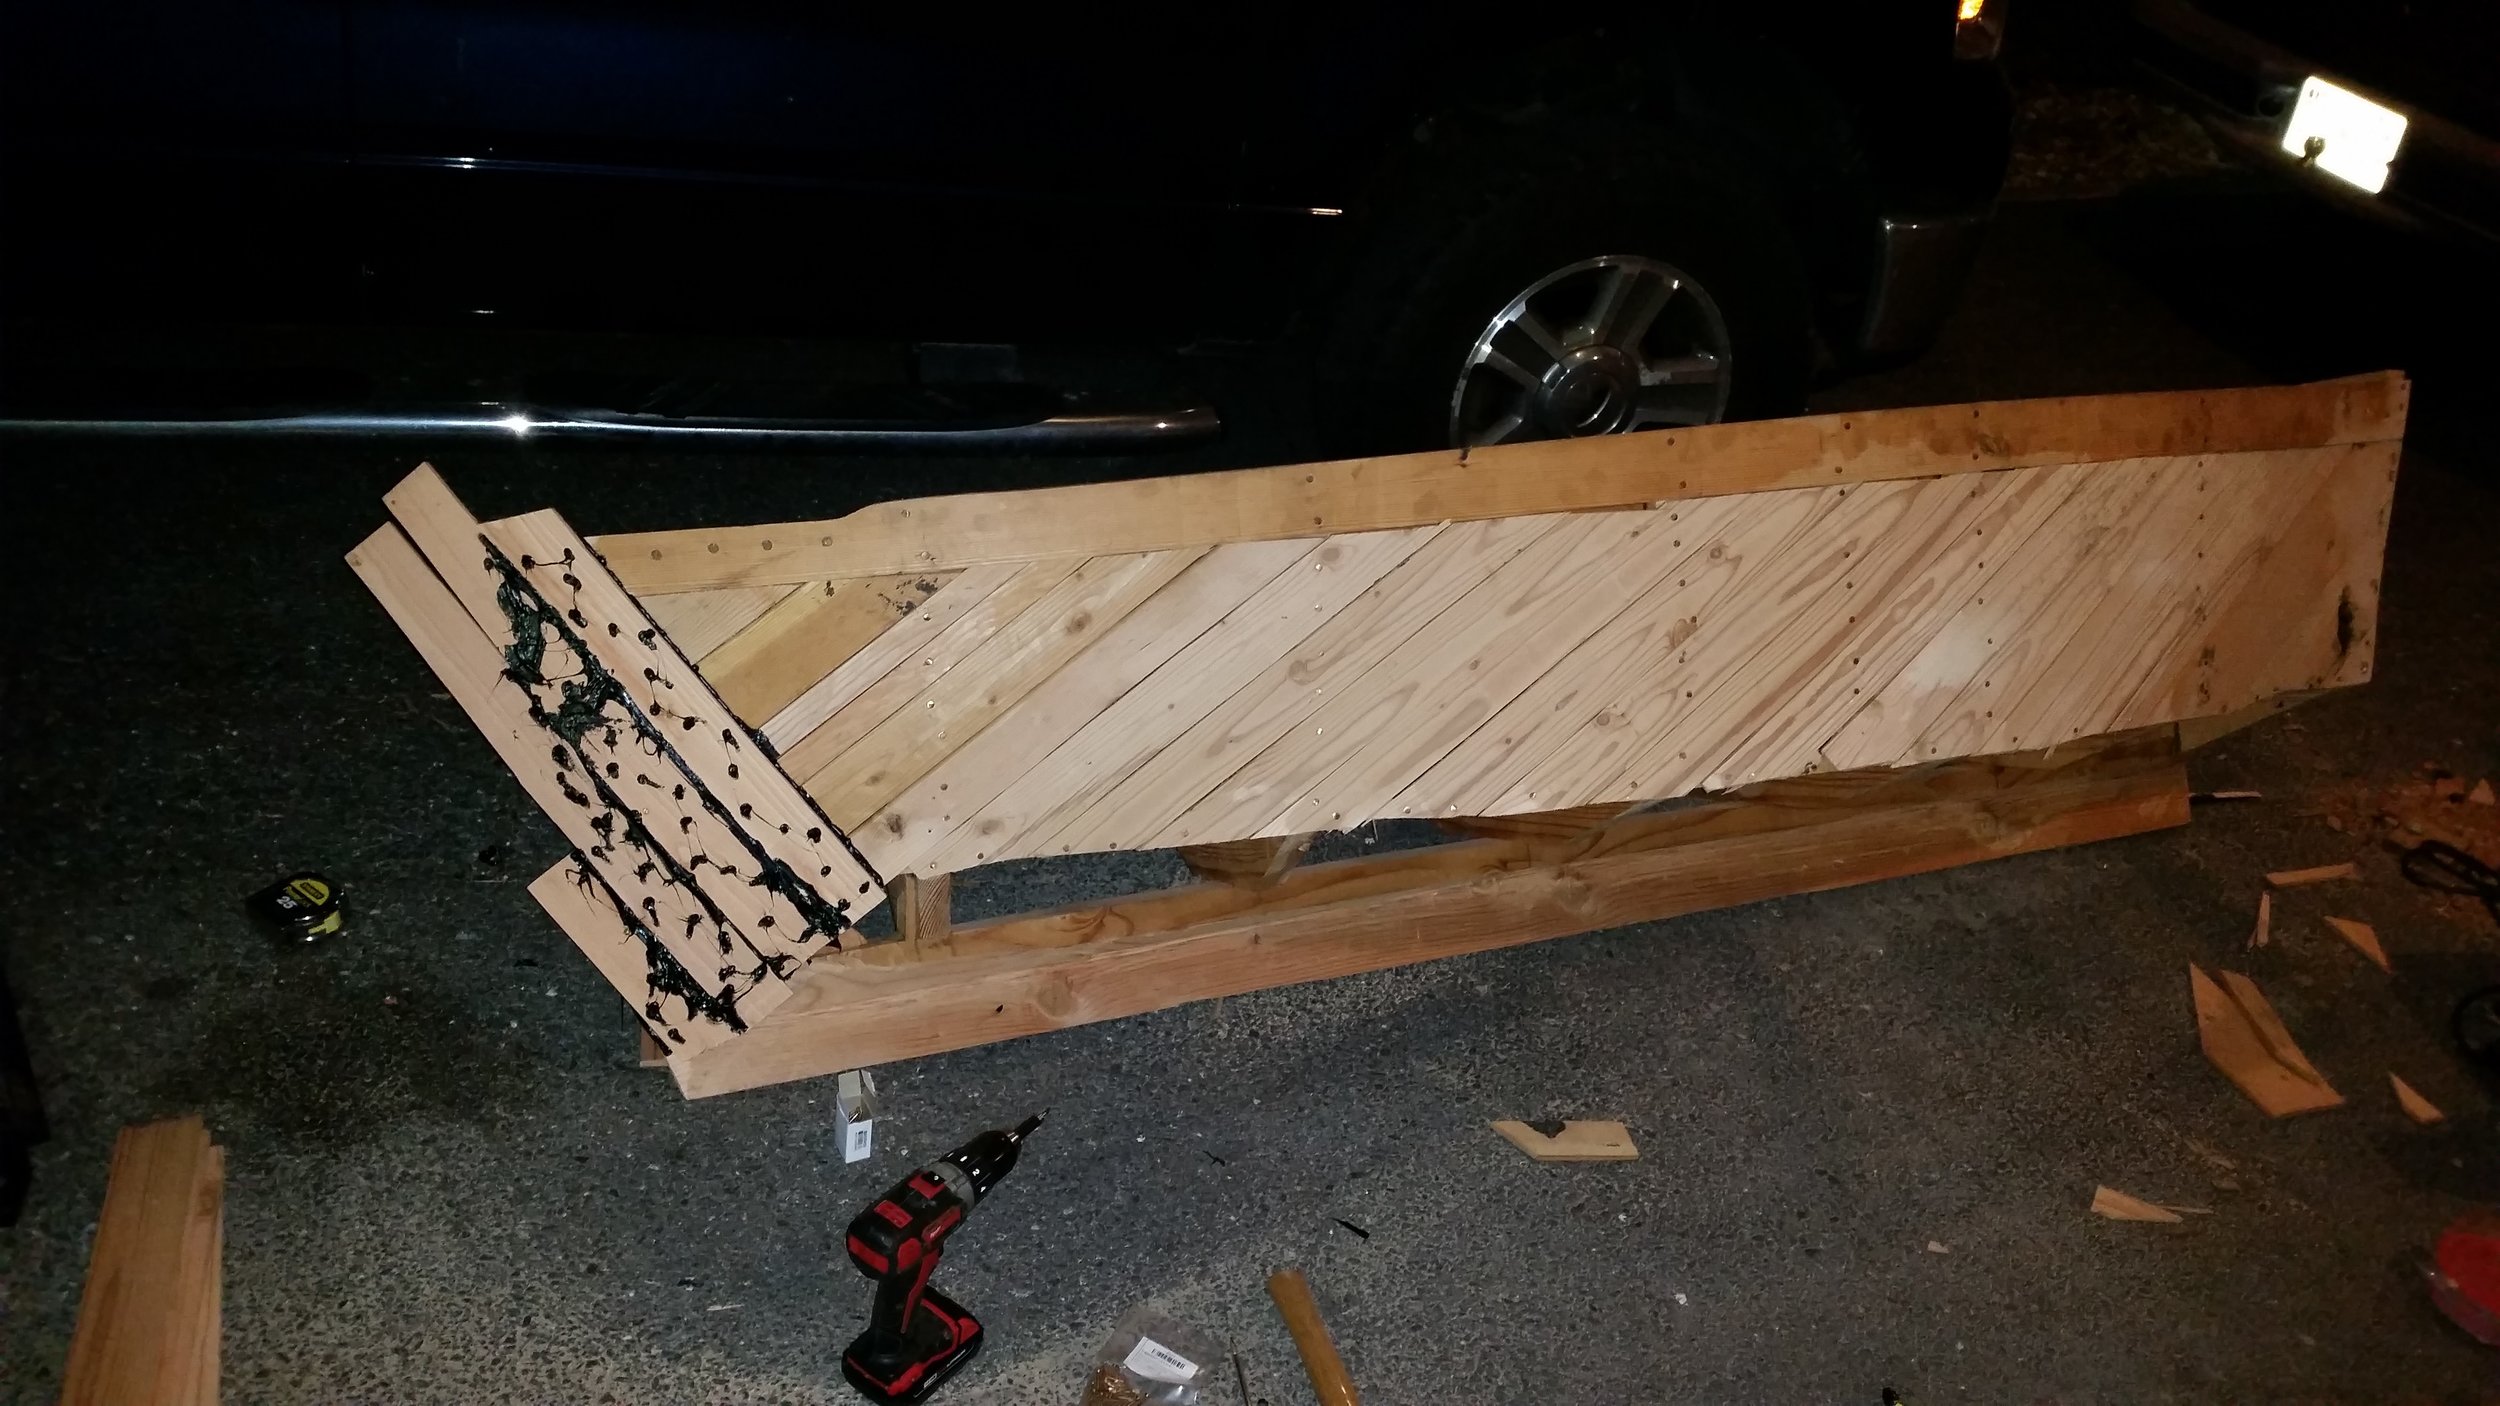
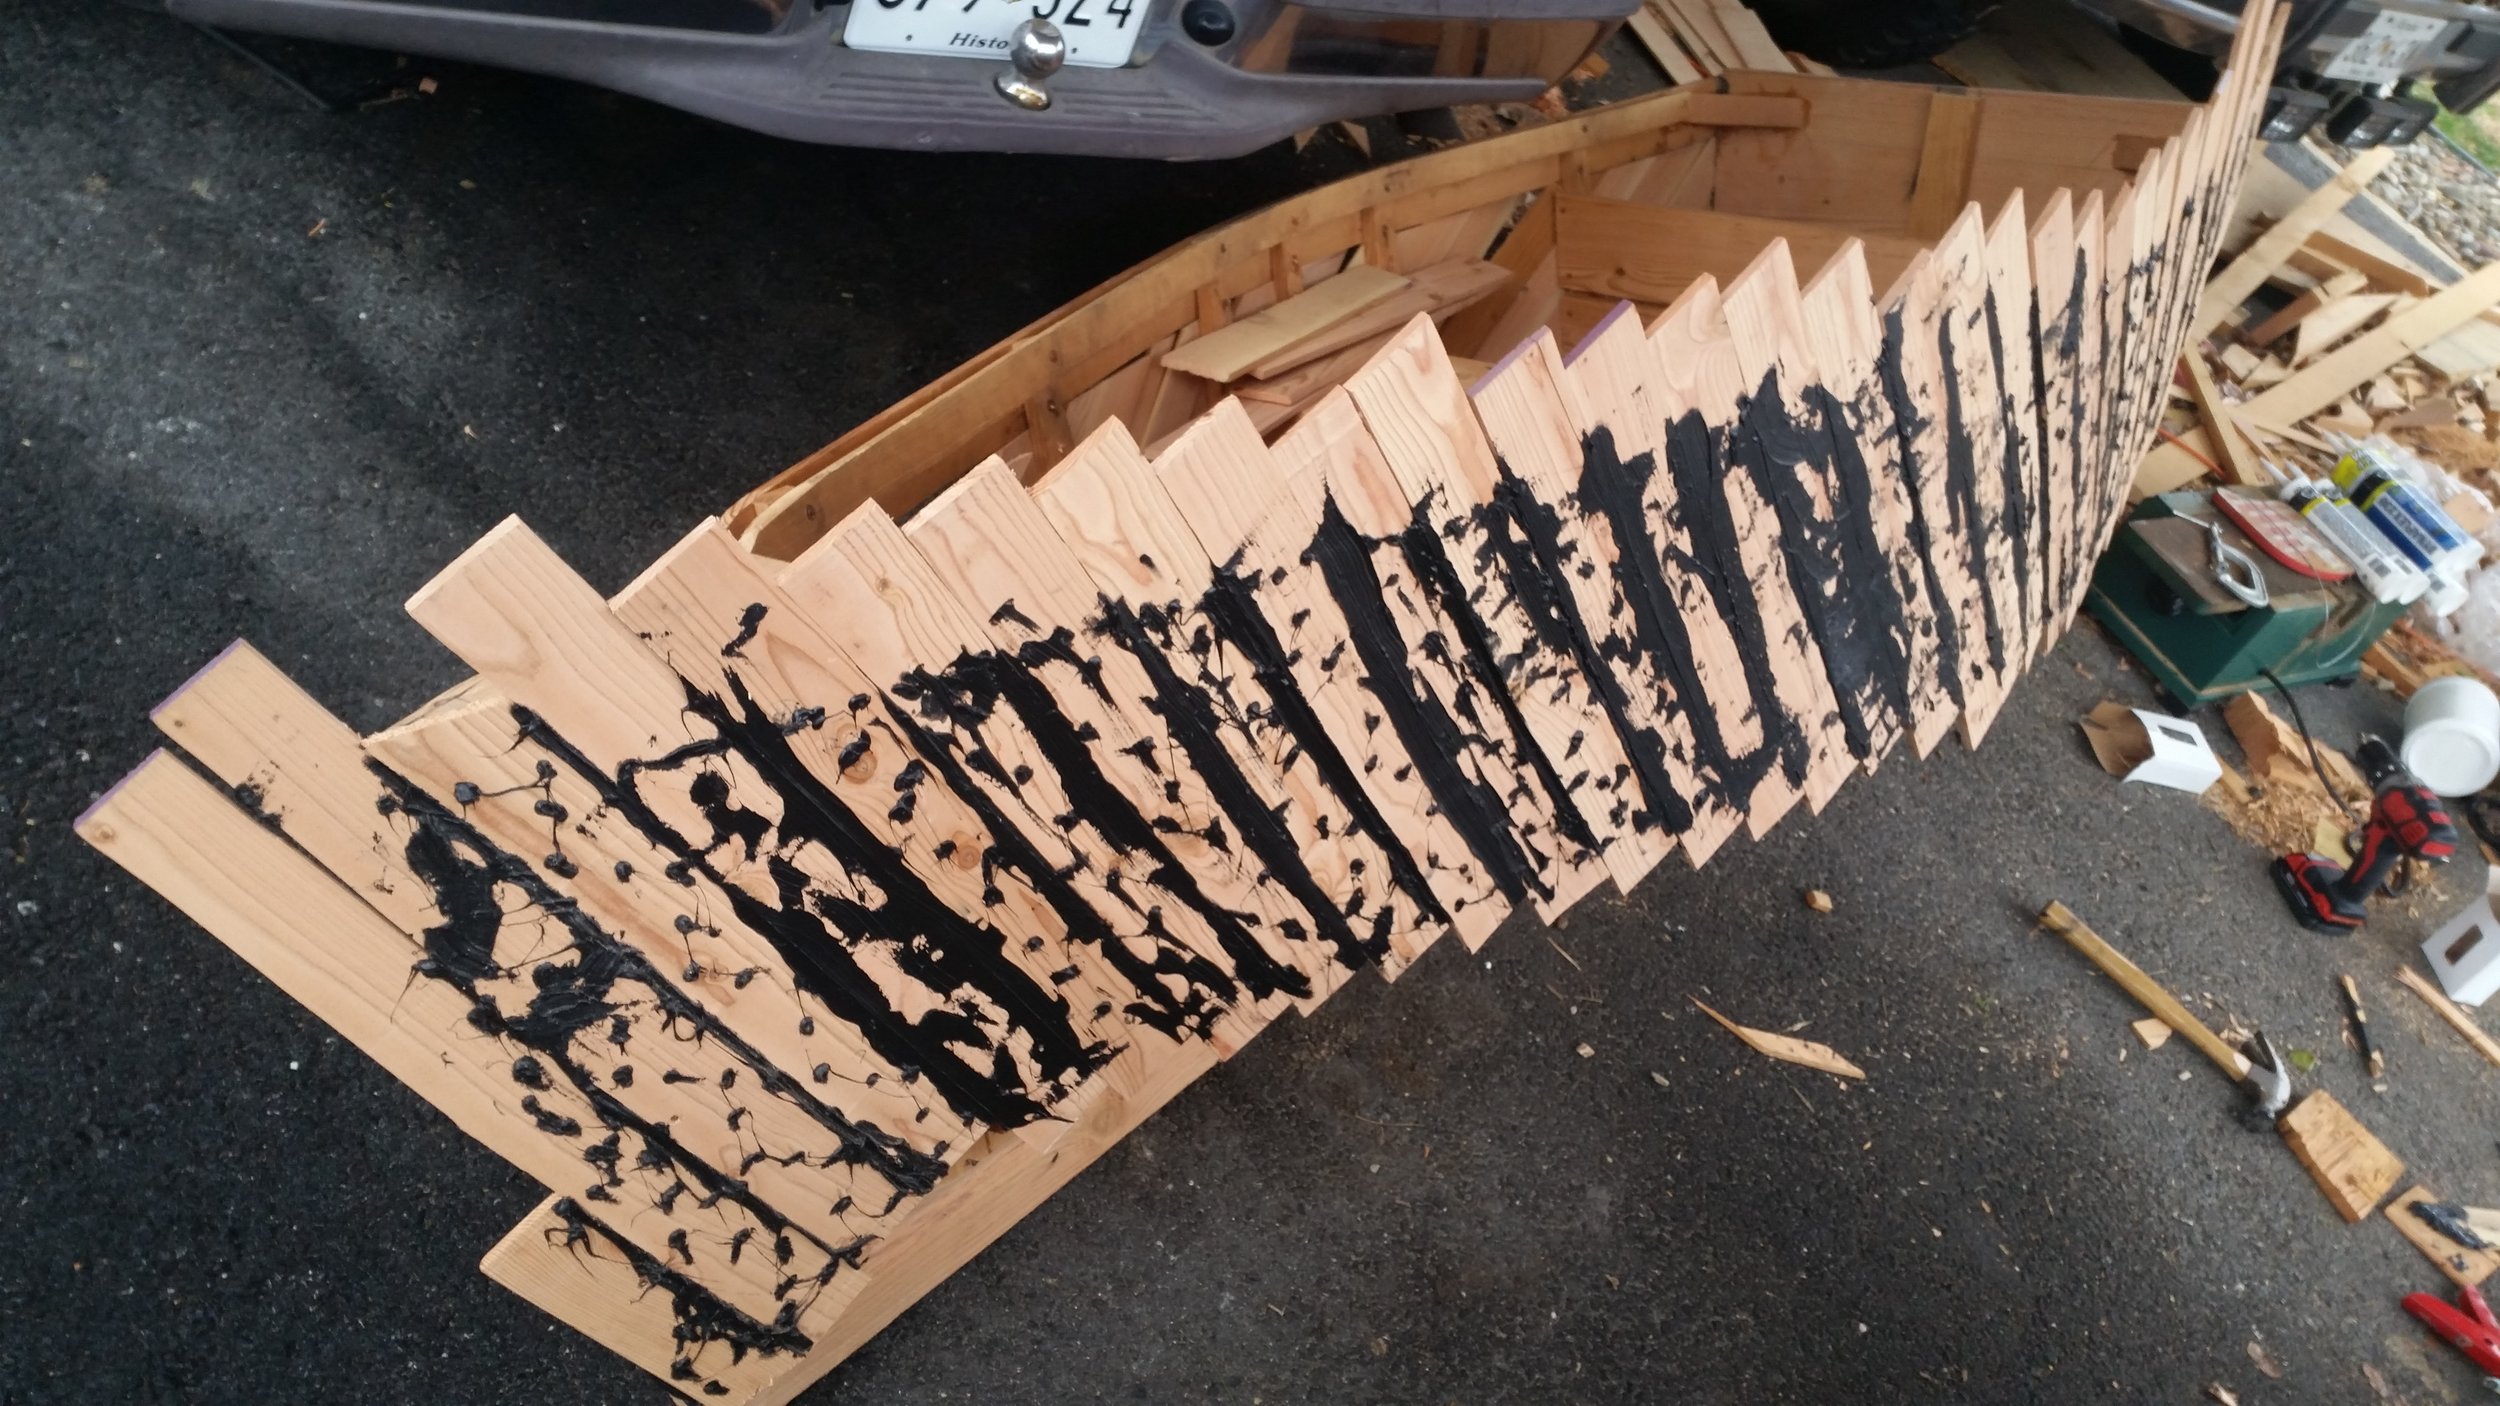
After three days of work, the port topside has been fully planked!

The planks in the bow required many bronze screws to hold the planks in place and spring them into their curved form. Nails were attempted, but the curvature kept pulling the nails out of the first planks. Bronze screws were needed to train the planks to curve to the bow of the dinghy. As the work moved aft, nails were able to be used as the topsides were flat and required no force to keep them sprung in place.

While screws do hold much stronger than nails, screws also take considerably longer to install. The four strakes at the bow took nearly 4 hours of work, while the aft half of the dinghy took only 5 hours. There were 32 strakes in total, and the ones installed with nails were installed much faster. 

This came down to two reasons, screws require changing the drill bit to a driver and screws require careful positioning. Nails can be easily banged into place with a hammer while the drill holds the same 1/16" drill bit. The other reason for the speedier installation is that I got efficient at spreading the bedding compound around. 

The dinghy now sits with the port topside curing, awaiting me to trim off the excess planks. The planks will be trimmed to the sheer and the chine. After they are trimmed, the starboard side can be planked in the same fashion.

Once all the planks are installed, the nails will be bent over to lock them in place and make the hull much stronger.

Marina Pilings

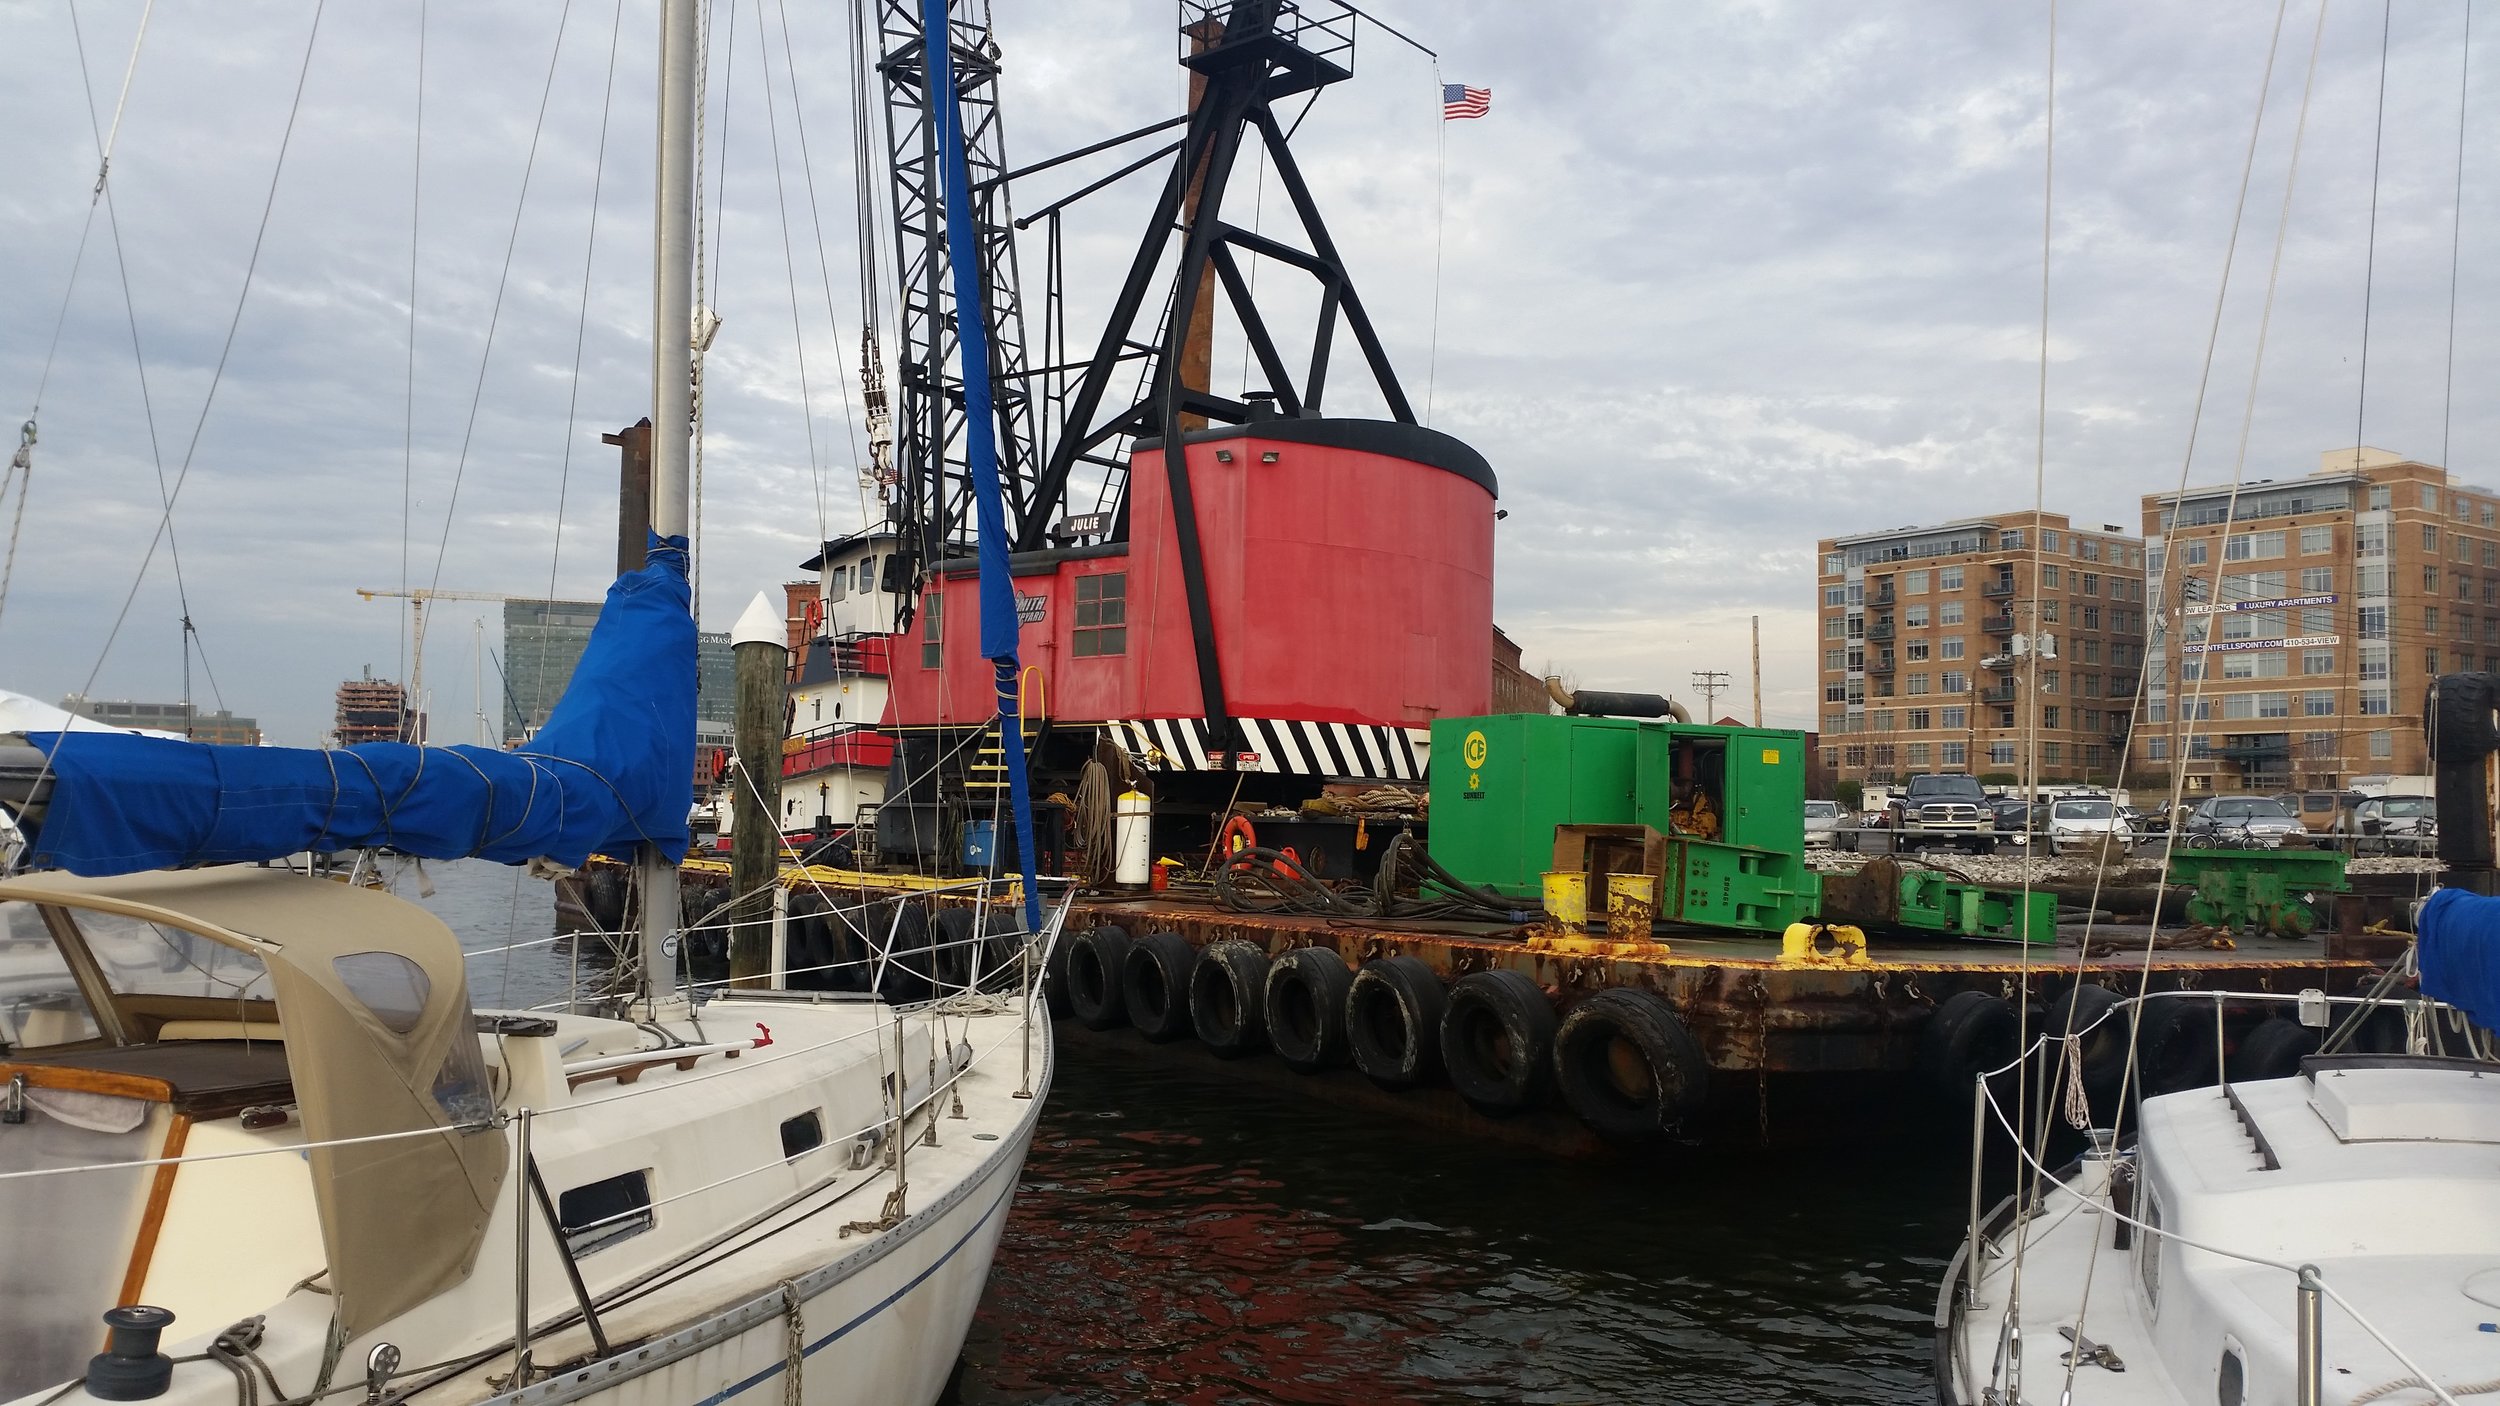
If you have ever wondered about the size of the machinery used to service the pilings in a marina, wonder no more!

A massive crane sits atop a large barge that is controlled by two tug boats. One tugboat is attached to the transom of the barge and operates as a push boat to control the fore/aft motion. The other tug boat sits athwartship and serves as a bow thruster, managing direction of the barge.

This massive contraption was able to delicately maneuver through the marina, pulling out the severely warn massive pilings so that they could be replaced.

Finishing the Stem and Starting the Second Planking

The bedding compound at the stem rabbet has fully set, it is now time to shape up the stem and clean off any excess bedding compound.

A random orbital sander was used to fair up all the planks and clean up the black polysulfide bedding compound. After some careful shaping, the bow is much more fair and ready for the second layer of planking.

The saw and rubber dust was cleared away using a compressor, leaving behind the clean and smooth wood of the bow, ready for the next layer of planking. High spots on the bow were all rounded and faired with 60 grit sand paper until a plank could easily be laid against the hull, perpendicular to the first layer of planks.

The first plank of the second layer was test fitted dry and the outline was traced. This space was then covered with bedding compound, with extra bedding compound going into each seam to keep water out. The bedding compound was spread around using a spatula, making it a giant rubber field for the plank to attach.

The first strake was attached using bronze screws, pulling the strake onto the curvature of the hull while pulling the first layer of planks flush up to it. This will create a very tight fitting faying surface that is filled with bedding compound. The screw holes were then filled with bedding compound as well to help keep out any water intrusion that might try to make its way in.

The space forward of this plank was then prepared using the same method, the large black field is the spread out bedding compound in preparation for the next strake. 

The next set of planks was attached to the same way, all with bronze screws. The excess is left overhanging the stem until the bedding compound cures, then this excess will be trimmed off just like the planks at the chine.

Long Term Provisions

In July 2017, we are setting off for a very long cruise. We are going to start with a Trans-Atlantic voyage, stopping at Bermuda and at the Azores. Our plans from there are not set in stone and can change at a moments notice. One thing that will not change is our need for sustenance.

Food on a cruising yacht is referred to as "provisions" because they are assets that are set aside for a later need, such as feeding the crew and keeping them alive! There are two main types of provisions on a cruising yacht: short term and long term.

Short term provisions are foods that will not last very long, also known as perishables. Short term provisions tend to be "fresh foods" that are tasty, but expire shortly and must be consumed before this time comes. These include items like milk, eggs, fruits, vegetables, and breads. Within this category, the foods will last different amounts of time. An egg stored without refrigeration (and turned frequently) will last a month easily, while a banana will ripen and spoil in a week.

Short term provisions are always purchased right before departure that way they can last as long into the voyage as possible. Once they are used up, you won't have any more until you make landfall again.

Long term provisions are foods that will last for a very long time. While short term provisions expire in days or weeks, long term provisions will last for years. These tend to be canned foods, which are not always as tasty as fresh foods. Canned vegetables are disgusting, but canned beans and meats can make a very tasty meal! It is important to try out a specific canned food before you stock up on it. It won't expire for years and if you don't like it, you won't have any excuse to throw it out for years!

Since canned foods can last for years, you can safely stock up on them in your home port in preparation for your journey. Stocking up on canned foods long before your departure date will greatly reduce the stress and cost of last minute provisioning. The cost and work had been spread out over the past few months, now all of your time and money can be spent on what you need for the short term provisions.

The other advantage of carrying a large storage of canned foods is they keep for a long time and give you more flexibility in your shopping at foreign ports. You know where to find the best deals where you live because you are a local. When you arrive in a new port, you are not a local and a great deal may be hiding from you just around the corner, or on the other side of town! You will be subjected to the prices that are presented to you in the area near your yacht. If these prices are prohibitively high and you don't have enough food on board, you will be forced to purchase these high priced foods or starve. If you have plenty of canned goods stored on board and the prices are too high for your budget, you can buy just what you need and continue on to a new land with better prices. Your canned foods will keep you fed and going as you continue on your voyage.

Our plan is to carry enough canned foods to feed us for close to a year. This may sound extreme, but we have plenty of locker space and we like canned fish and canned beans! Canned beans will not be our main source of food, but we have been known to eat beans right from the can on rough days and nights. Neither of us felt like spending much time in the galley so beans seemed easy enough. At the end of the meal, all we had to do was wash the spoon! This kept effort and morale at a minimum as we worked our way through the stormy seas. Once the weather cleared, we resumed our usual methods of cooking and eating real meals prepared in the galley.

To meet our idea of "enough canned food for a year" we would need approximately 400 cans of beans, 200 cans of fish, and 100 cans of meat. This may sound like a monumental number of cans (and a lot of weight), and it would be if we had to cart and store all of this in one trip to the store. By spreading it out over many months, we are able to confront the cost and effort involved in a more manageable way.

Finishing the Bilge Pump Supports

The inboard support was scraped, chop strand mat was squished between the frame and the bulkhead, and the support was screwed into place. Now it is time to do the outboard support.

The outboard support is has a vertical batten running right next to the frame. Scraping the paint off the inside proved challenging! I have been using a regular block plane for the paint scraping, but the blade doesn't reach the edge. I have a rabbet plane, but I elected not to use it because the paint makes a mess of the plane. My block plane is covered with a white mess of dust from the paint and wood after just a few scrapes. The rabbet plane has a lot more nooks for that dust to get into and cleaning it all out would be a nightmare!

Instead, I chose to go a simpler way and use a regular 1/2" chisel. With a sharp edge, the chisel was able to get under the paint and lift it off the wood without taking too much wood with it. The chisel is not as precise as the planer, and it did dig into the wood from time to time. Luckily, any damage is superficial and about to be covered by fiberglass and resin.

With the sides scraped, I stuffed the ends of the frames with chop strand mat to help hold more resin and aid in the bonding process that will follow. The gap that was created between the outboard frame and the vertical batten was filled with chop strand mat. If I did not fill this void with CSM, water and dirt could accumulate here and it would be harder to keep clean. It would also drastically reduce the bonding surface area which in turn would reduce the bond strength of the frame. By filling the void with CSM, resin will be held in place and this void will become a solid block of plastic that will bond the frame to the batten, as well as the rest of the bulkhead. This will provide a very strong bond that will be able to support the forces and stresses that will be placed upon it when we begin pumping 1 gallon per stroke!

The pump was test fitted multiple times to make sure that the bolt holes still line up with the frames holes. If I were to screw the brass angle brackets into the wrong hole, the measurements between the bolt holes would be off and would not line up with the bilge pump. Each time I removed and installed a frame, I would test fit the pump to make sure I was in the correct hole. 

Now that all the frames are in position with chop strand mat squished in the void between the frame and the bulkhead, and the pump has been reinstalled for a test fit, it is time to finish up the minor details. The brass angle brackets came with brass screws for installation. These brass screws have served their purpose as a cheap, temporary fastener. Repeated installation and removal can wear the heads of the phillips screws, so using the free screws removes any worry about wearing the heads during the fabrication process. With everything finished, I switched the screws from brass to stainless steel.

These small stainless steel screws will serve as a direct replacement to the brass screws, and since they will only be installed once, they will have fresh heads and no chance of stripping or wearing. Stainless steel is really strong when using small screws like these, but they can suffer from crevice corrosion when encapsulated within the fiberglass layup that will follow. This is ok, as the screws are only needed for initial support of the frames. The real strength comes from the bonding that will follow. While the screws will not offer much strength, stainless steel screws are still better than brass screws in boat construction. The ideal metal for marine fasteners would be bronze, as it is strong and does not suffer from crevice corrosion. The problem with bronze is it is not as strong as stainless steel, so the fasteners need to be larger for equivalent strength.

It all comes down to compromise, tiny and strong but corrodes (stainless steel) or large and strong (bronze). Since these are only required for initial stability, stainless fasteners will suffice. If the frames were to rely on the screws for final stability, they would need to be up-sized and bronze would be the ideal material.

Up next, we will bond the frames to the bulkhead using fillets and tabbing for a full fiberglass job.