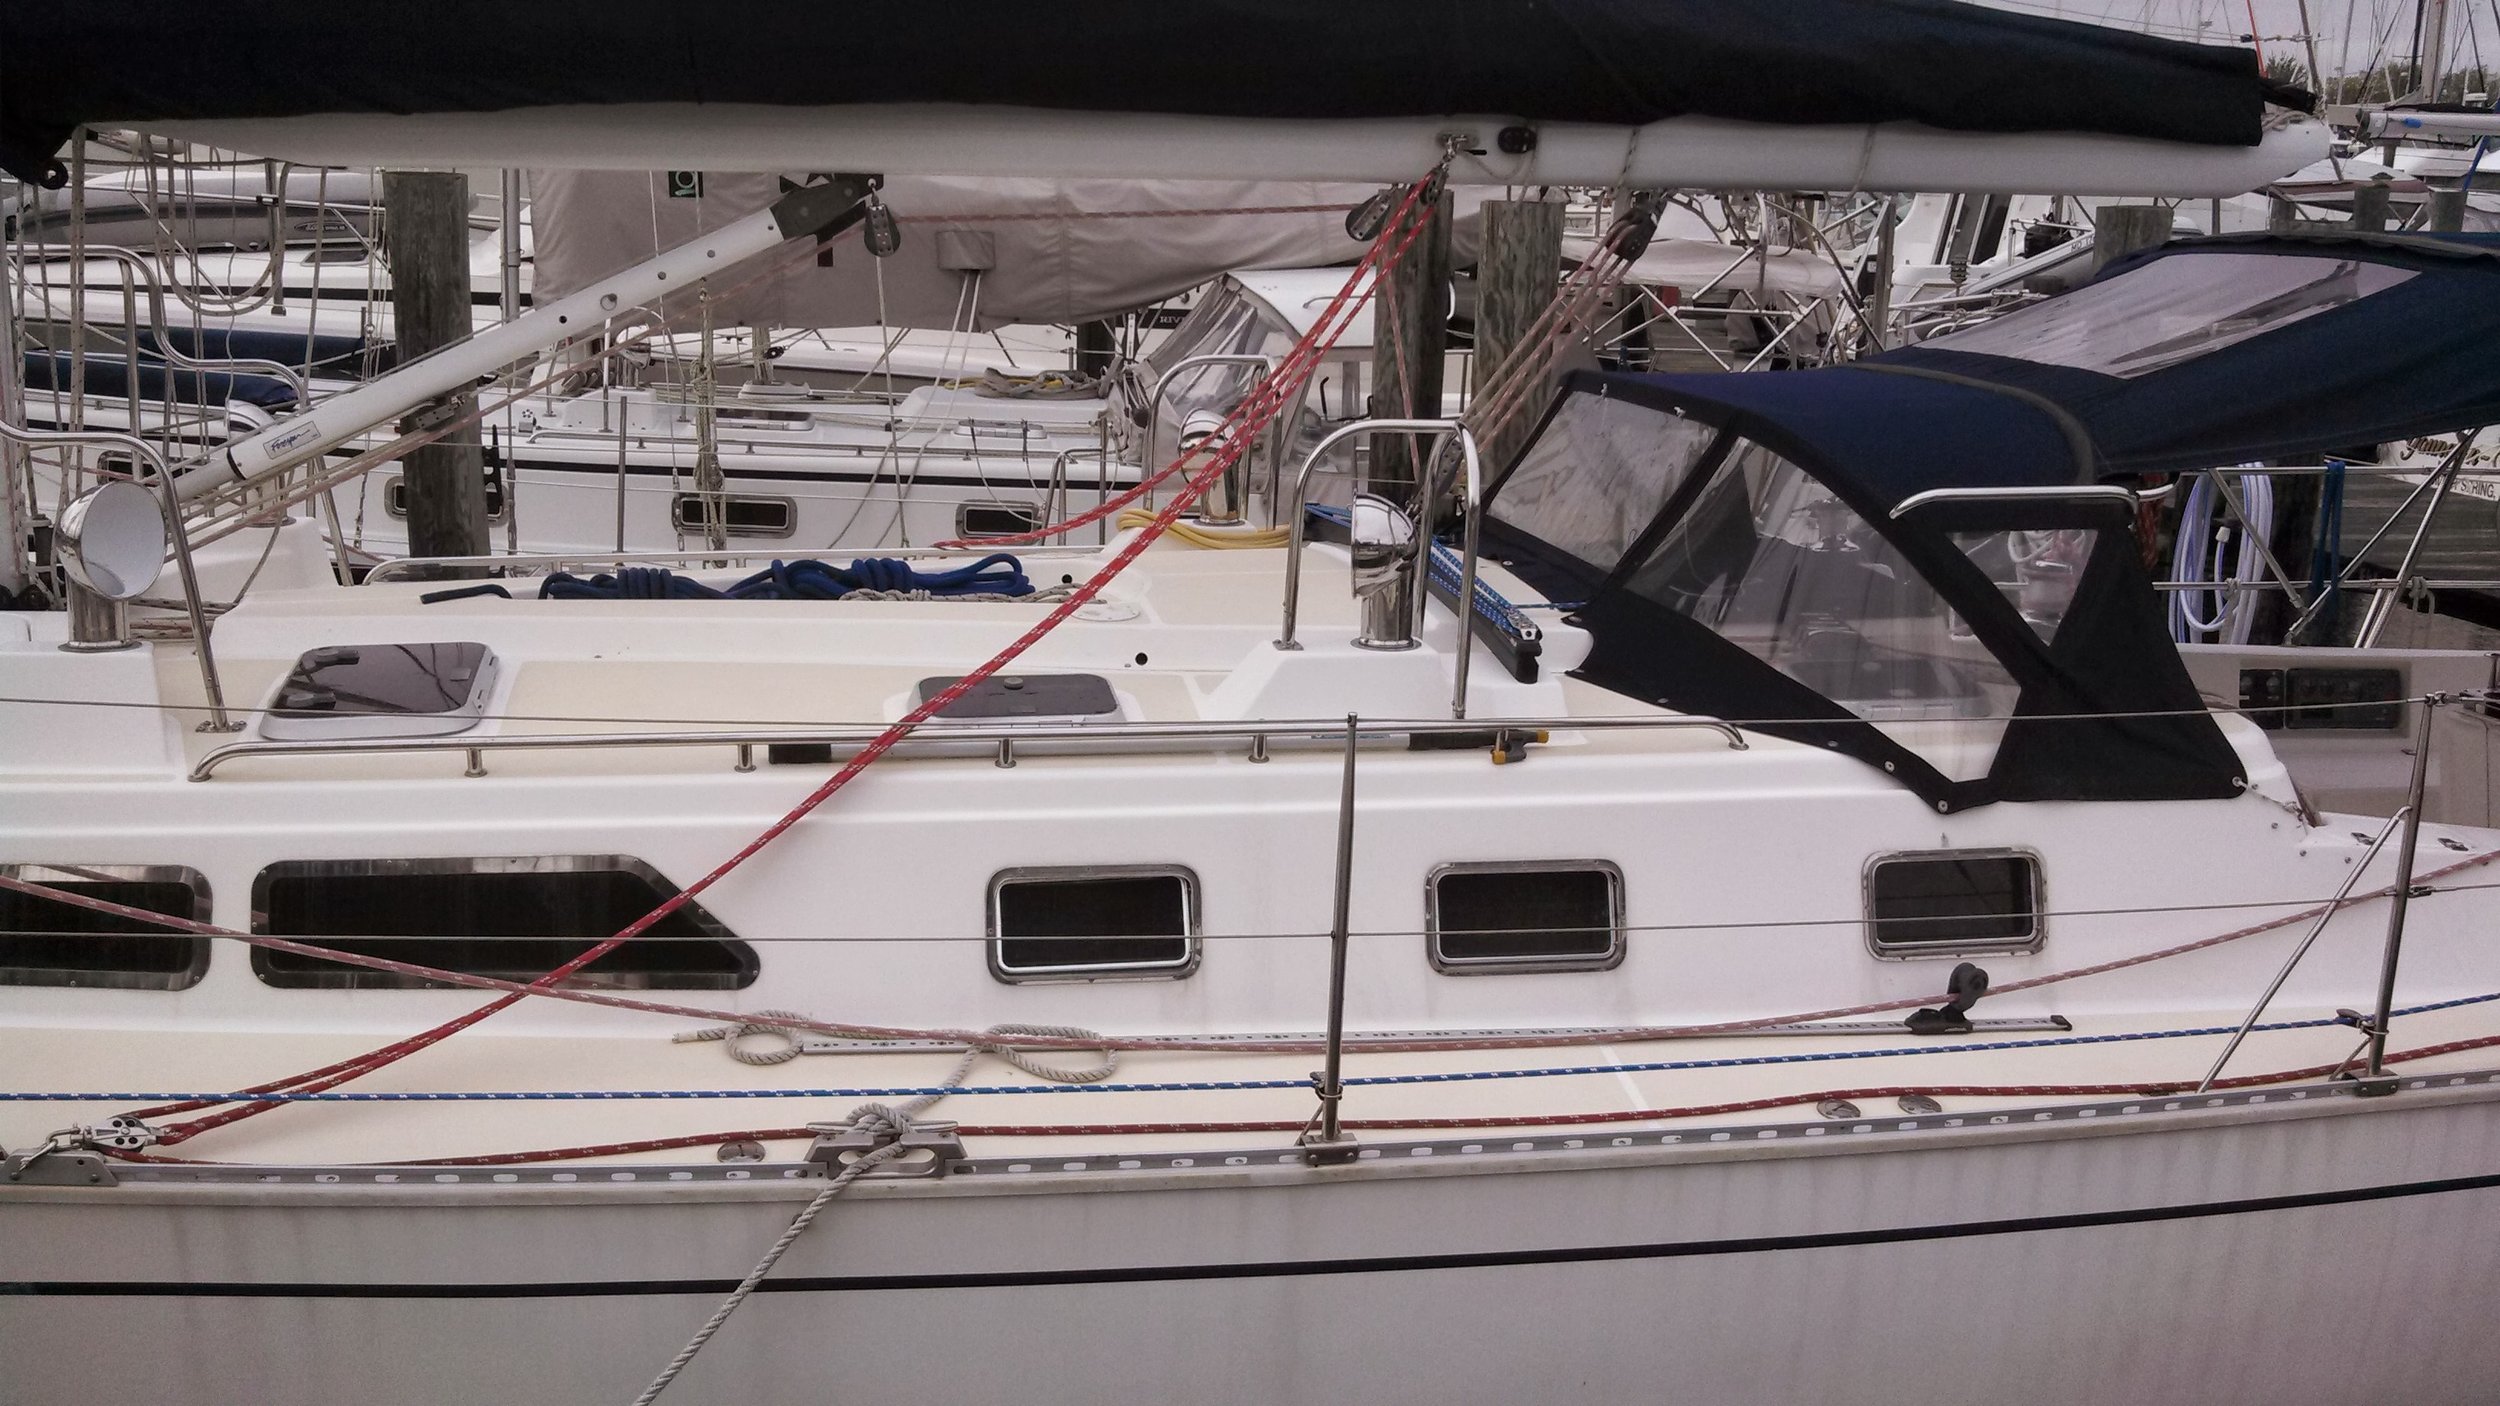
Sea Anchor Rode

When laying hove to in severe weather, we find our rate of drift can be a bit fast and we fore-reach a smidge. This led us to decide on the purchase of a sea anchor which will reduce our rate of drift and stop our fore-reaching.

A sea anchor is basically a parachute in the water. As the boat pulls on the parachute rode, the parachute opens up and holds onto the water. The larger the parachute, the more water it can hold and the more it grips the sea. Ours is a 12 foot parachute that will be connected to an all nylon rode.

As you can imagine, the sea anchor can only be used in deep water. The parachute can be damaged by contact with the sea bed, so it should only be used in deep water where the risk of bottom contact is non-existent.

The main difference between a regular anchor rode and the sea anchor rode is the thimble at the end. The sea anchor utilizes a much heavier stainless steel thimble with a bar welded near the throat to prevent the ends from flexing or twisting. This will protect the eye splice from additional chafe damage while under load. The swivel on the parachute helps reduce twist in the rode and keep everything in place while deployed and under load.
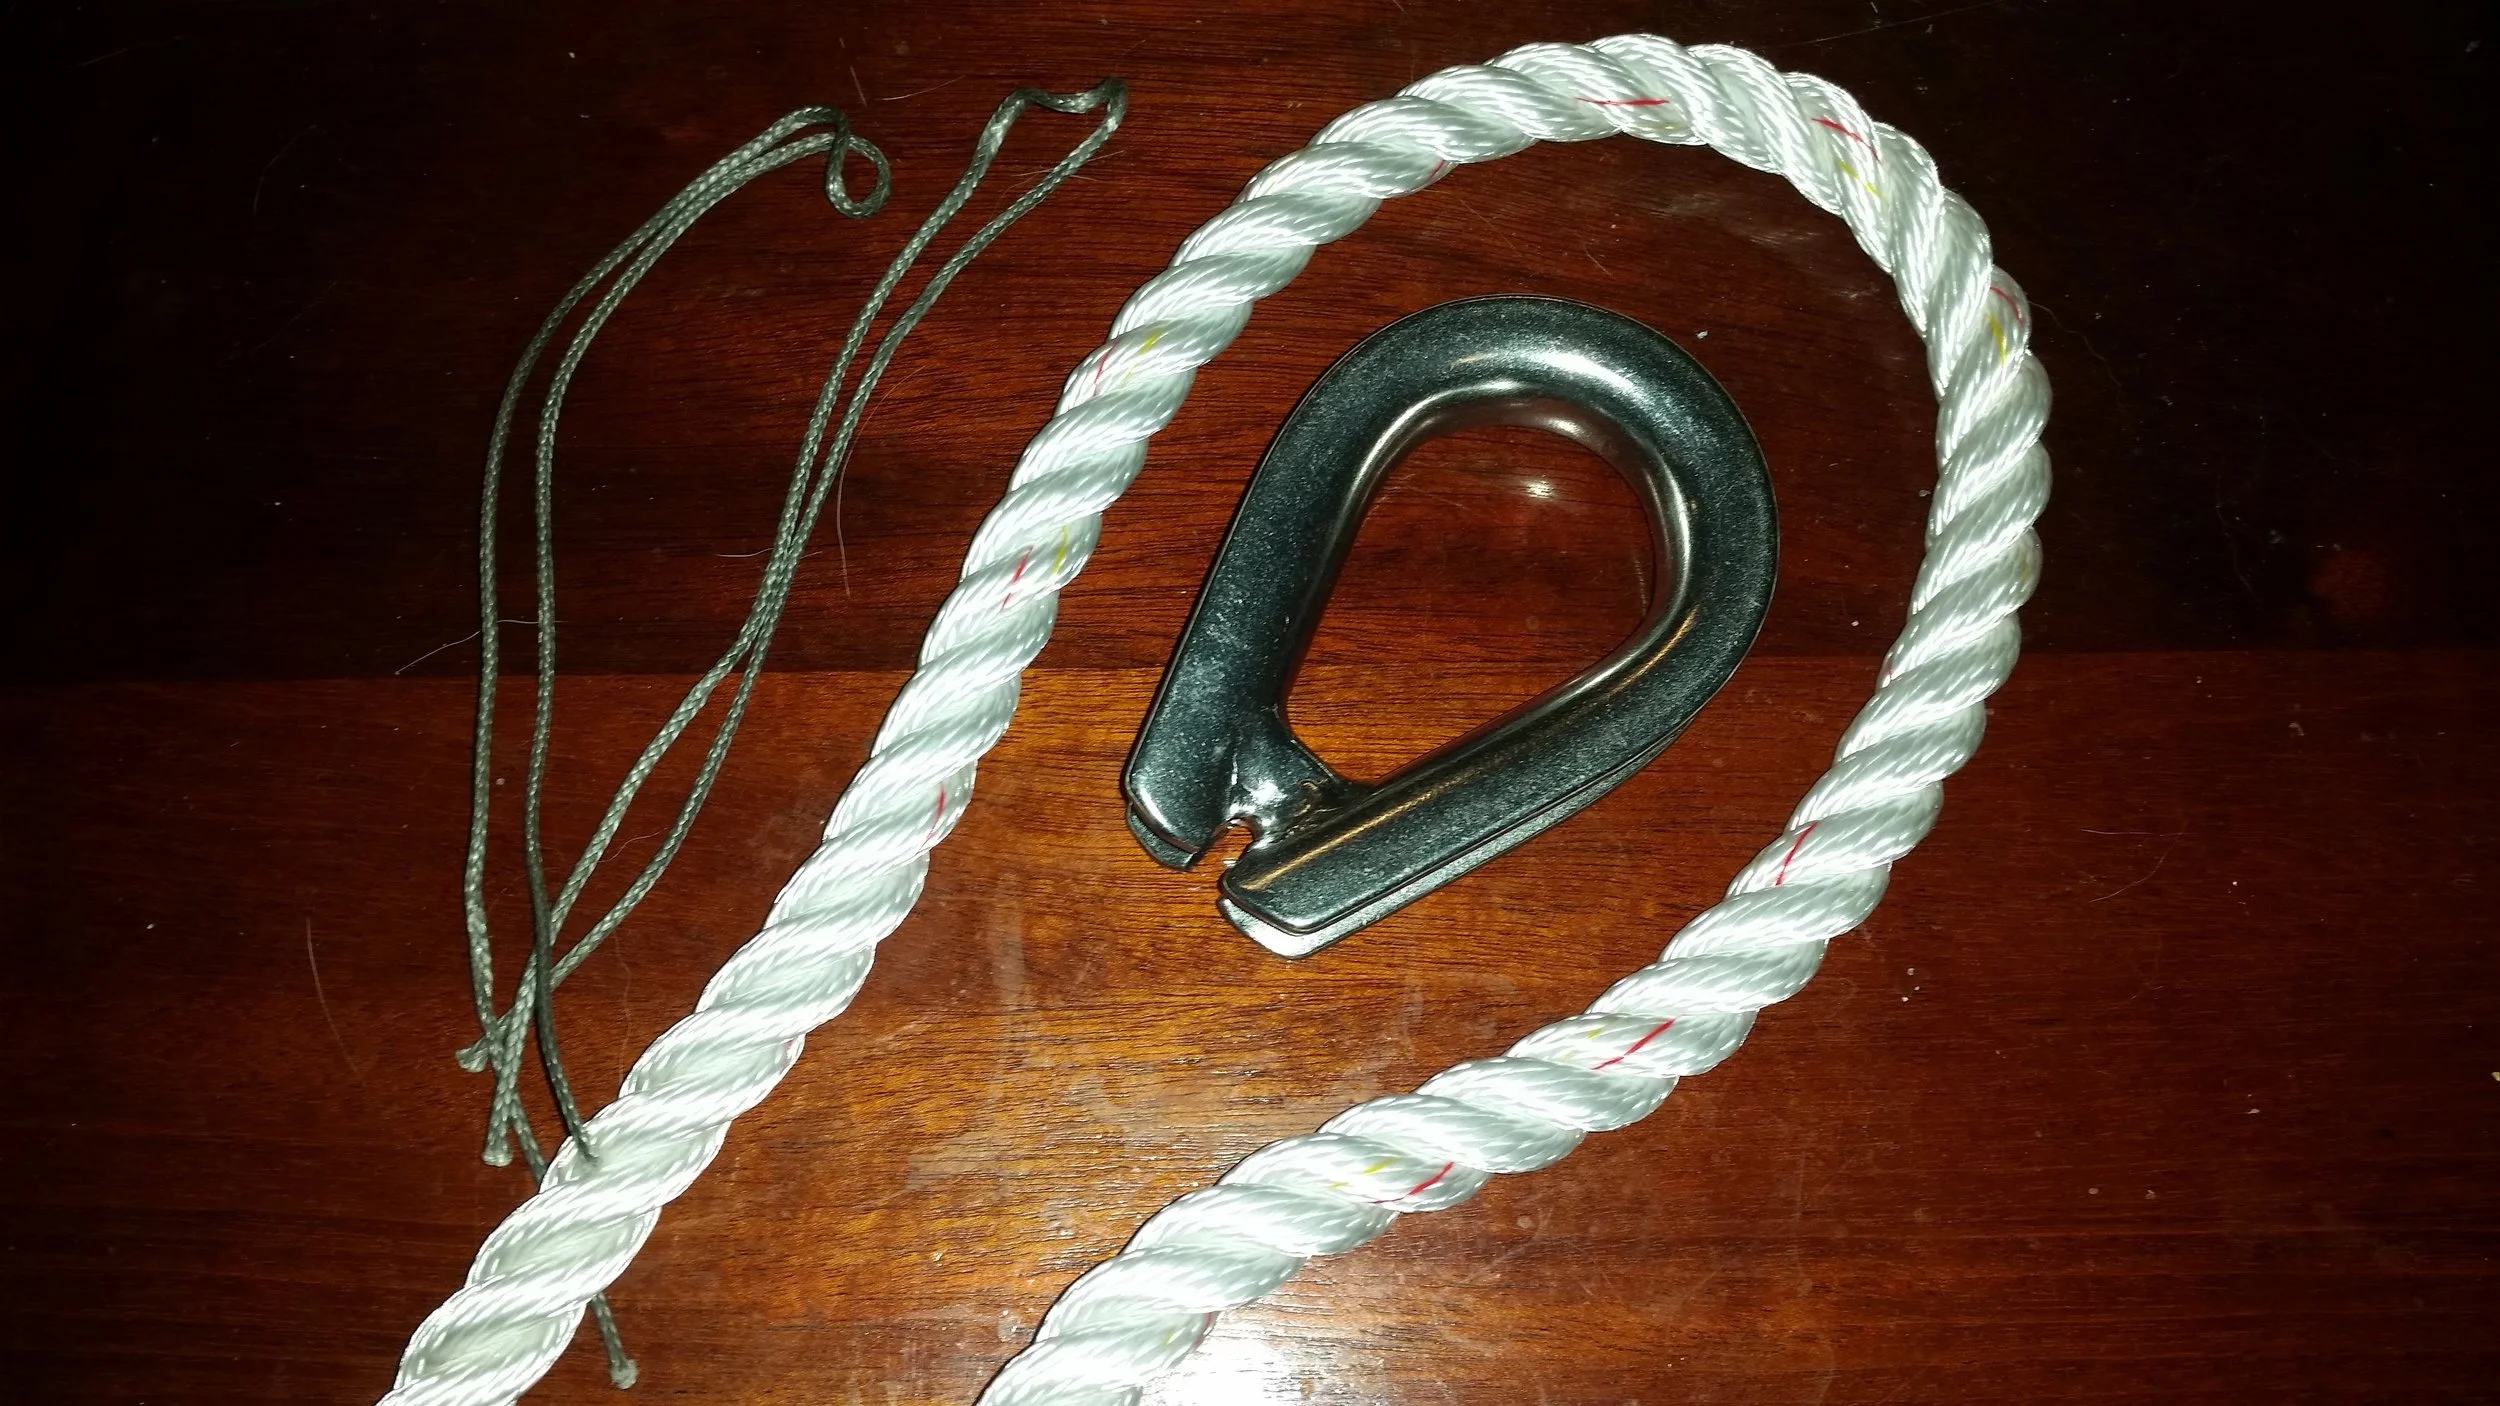
The throat was tied with a small piece of dyneema using a Double Larks Head Knot. I used a Double Larks Head because it was faster to tie than a Constrictor Knot, though the Double Larks Head doesn't hold as well in dyneema.
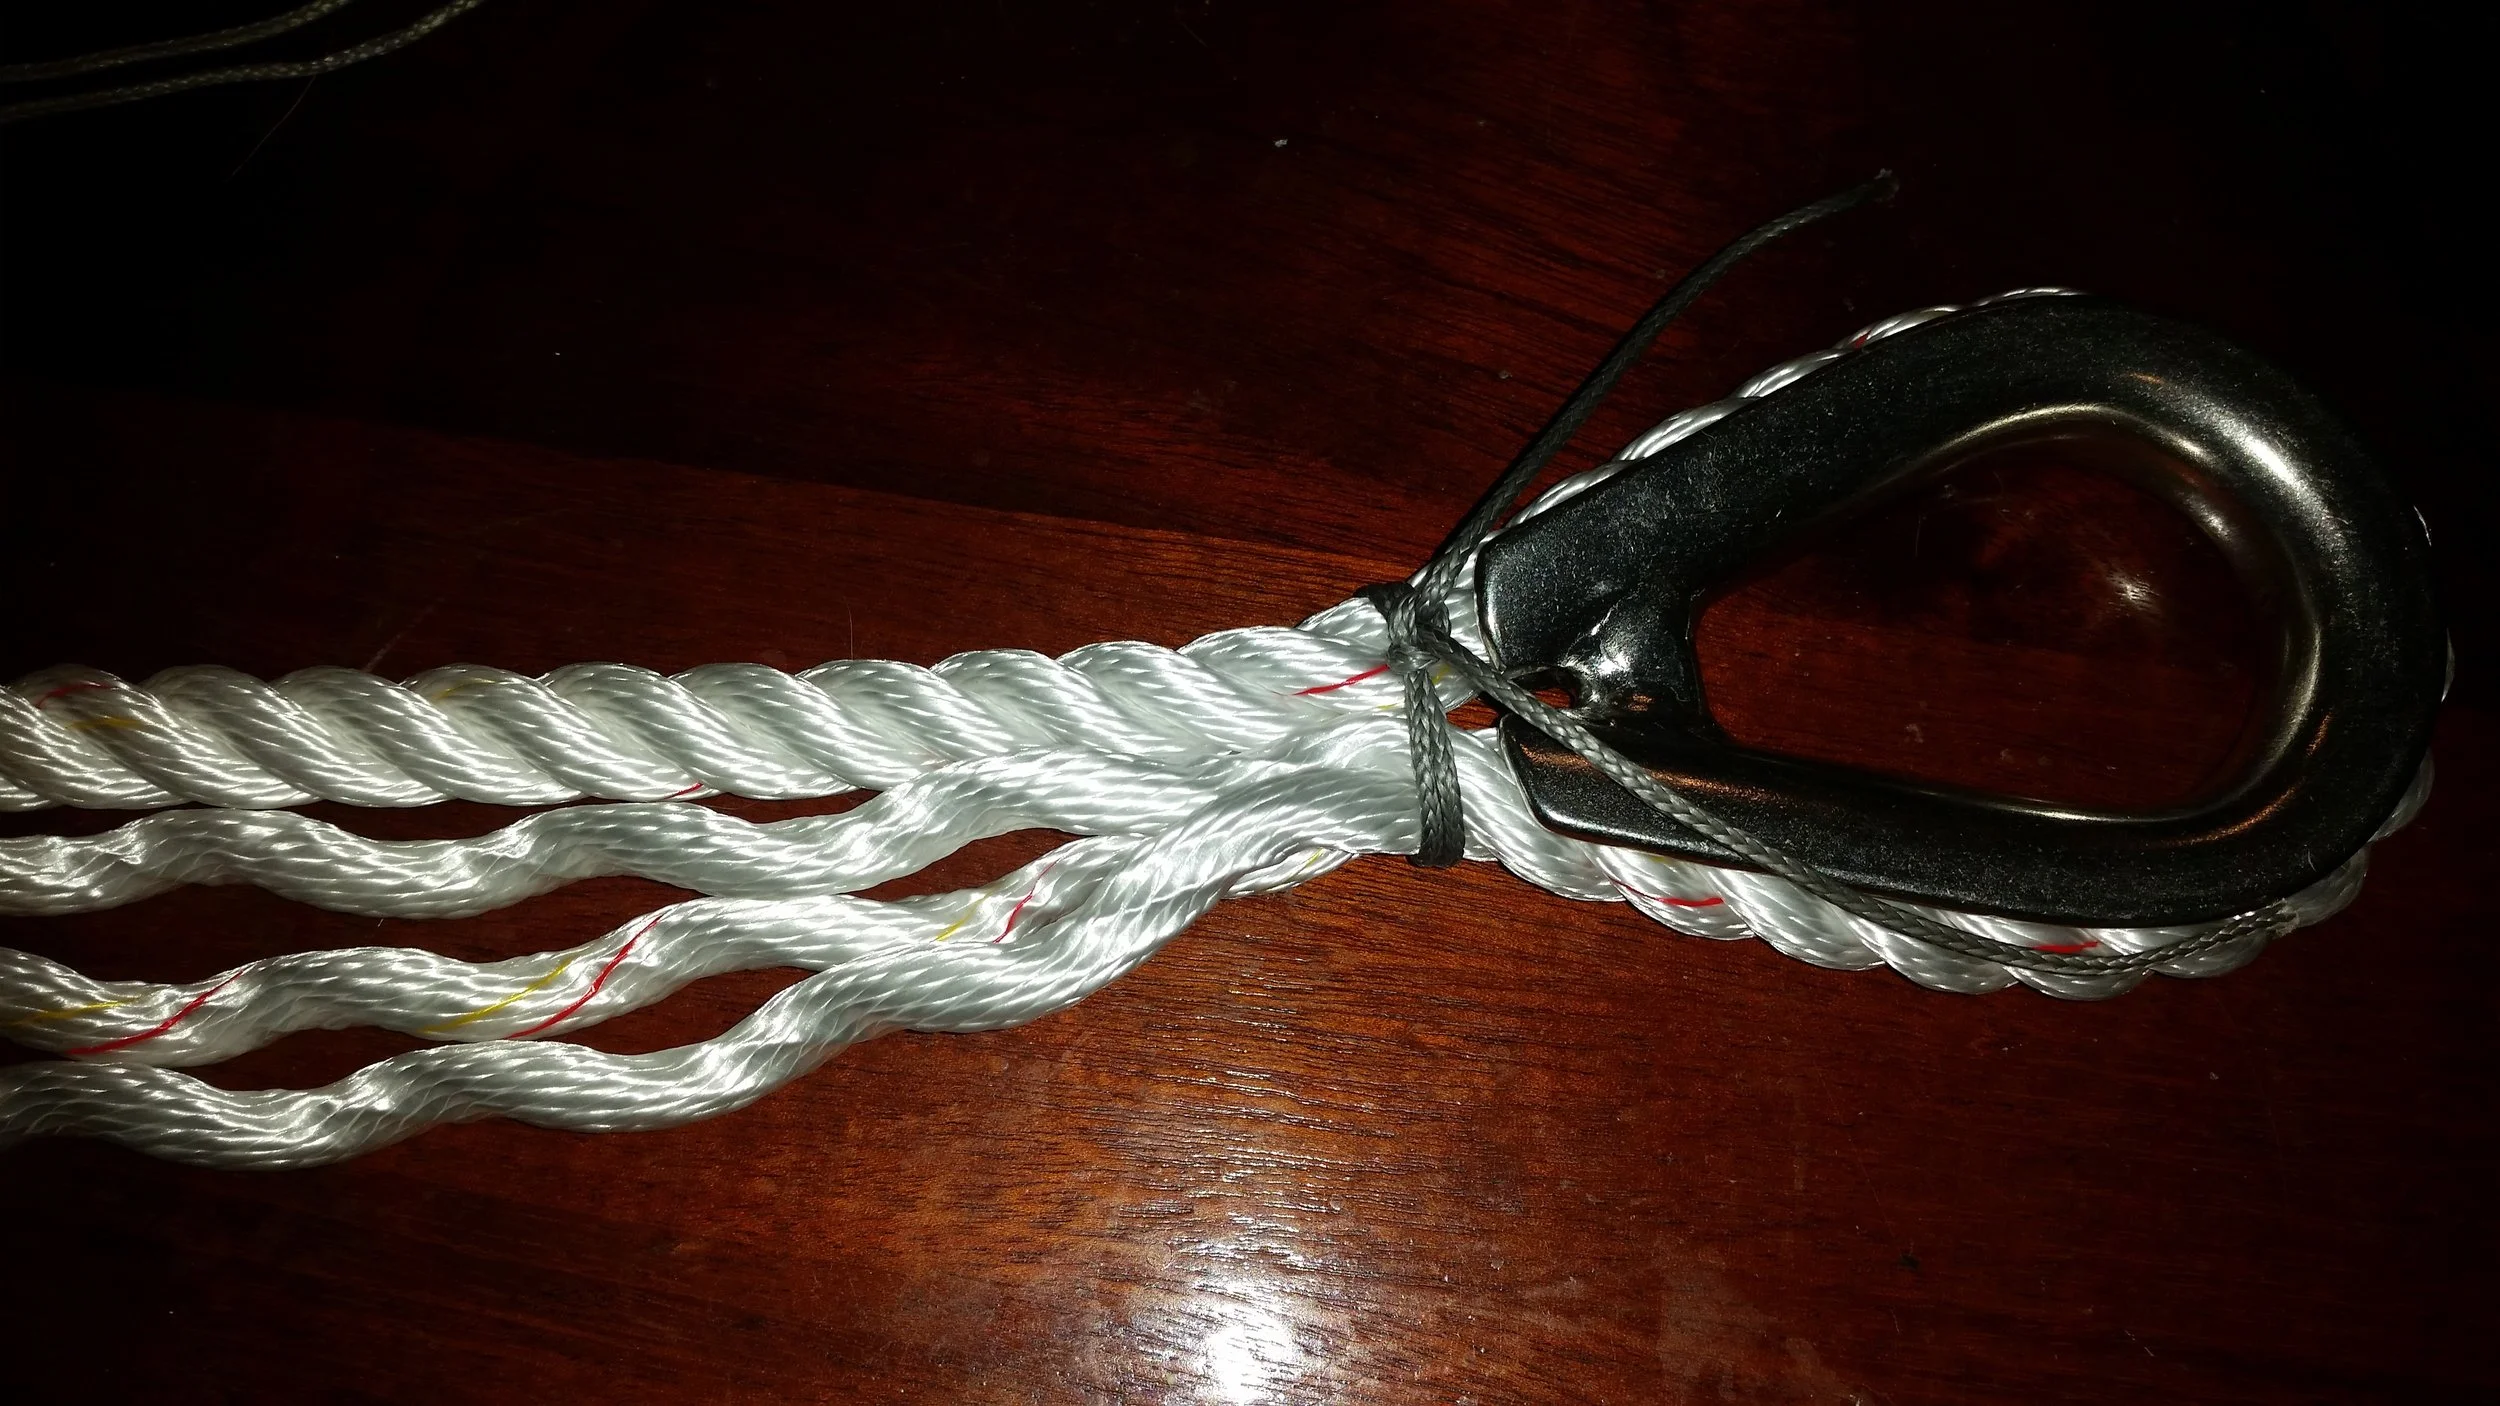
The three strand rode was passed over the thimble and tied at the throat, then the tail was unraveled and spliced back into the standing rode. To reduce the stresses on the splice, the end of the eye splice was tapered. 

Tapering a splice is very easy to do, so don't feel discouraged. The first five tucks are performed with no tapering because they are under the most load and strain. After these five tucks, the tapering begins.

Tapering is very simple and straight forward, four yarns are trimmed off every third tuck. This means that you will trim four yarns off and carry out three tucks. All you need to do is repeat this process until the yarns have been trimmed and tucked away.

If you want to take tapering to the next level, read on! Tapering can either be done on all three strands at the same stage or it will be staggered. Performing it on all three at the same time will result in a stepped taper. Alternatively, you can stagger the tapers which will result in a more even taper.

Stepped tapers are performed by trimming 4 yarns off all three strands, then carrying out three tucks. This will make the bulk of the splice reduce every third tuck.

Staggering the tapers is just as easy and results in a more uniform taper. To do this, only one of the three strands will be trimmed each tuck. This will result in all the tufts lining up on the splice as all the trimming will occur on the same part of the rope, but each line will be trimmed every third tuck.

Both result in an even taper that will reduce the stresses on the rode at the splice, resulting in a stronger splice overall. If you are doing a tapered splice, it will be stronger than a non-tapered splice. Deciding on stepped vs. staggered is simply choosing between minute details. 
Trimming off the Chine

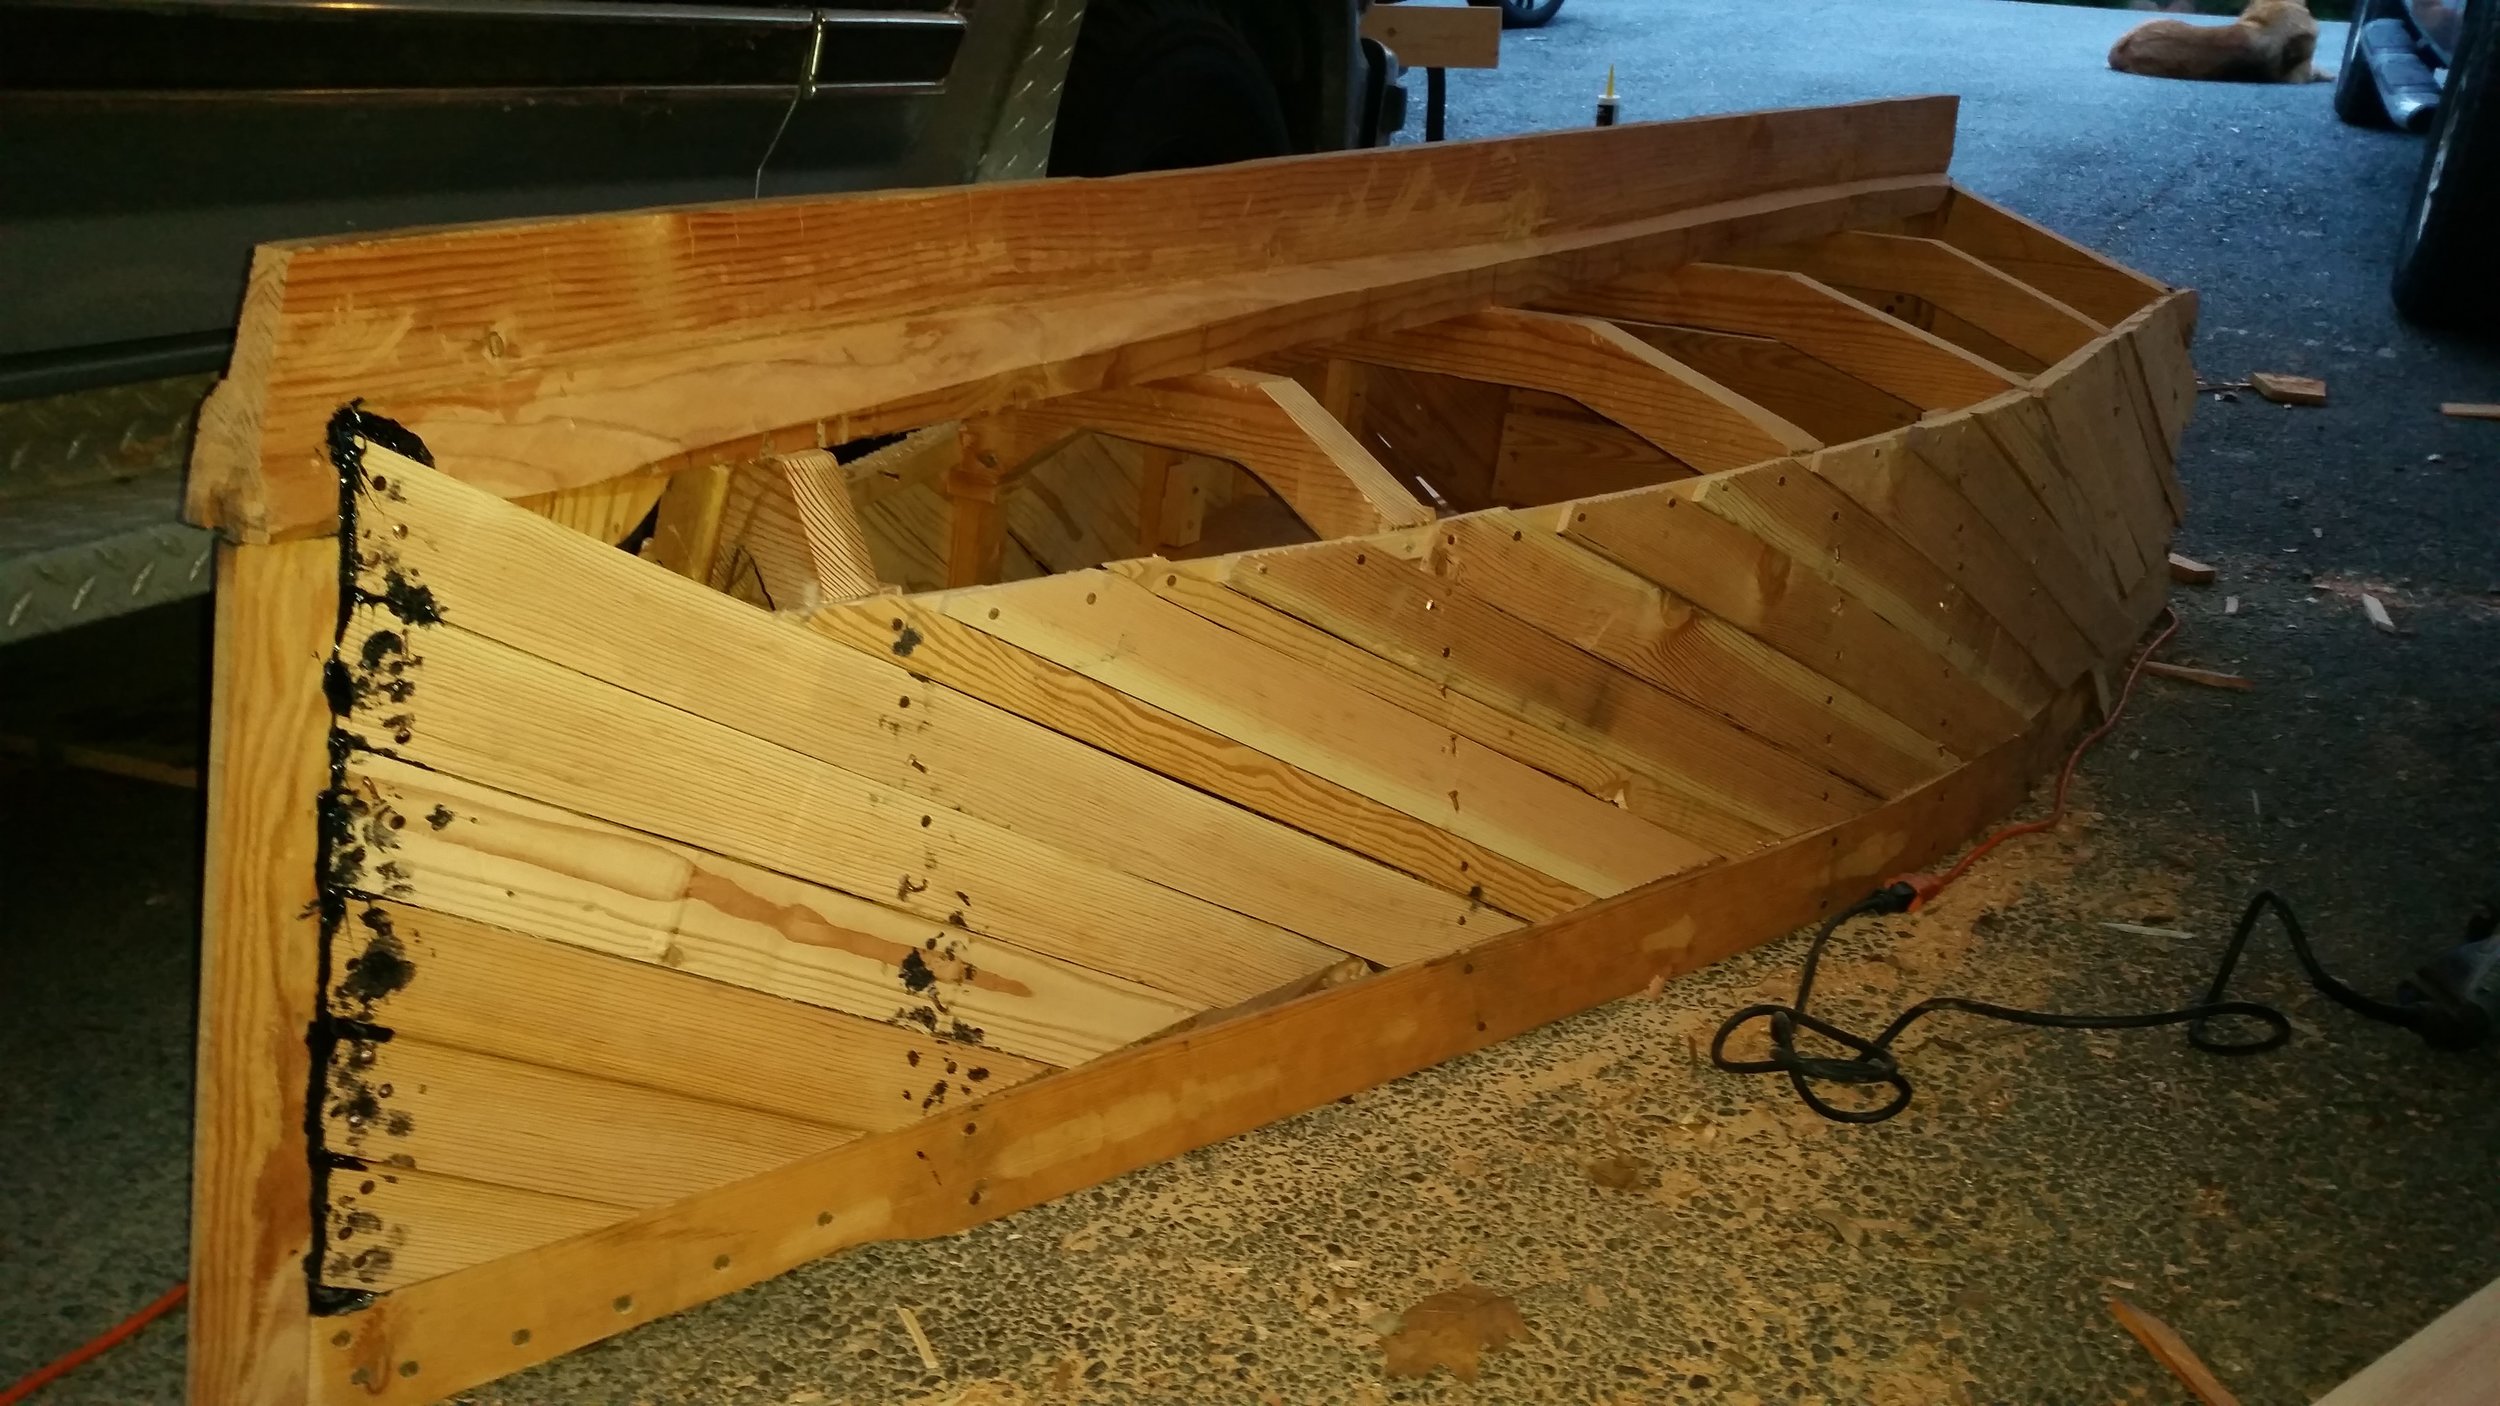
With all the planks fastened, it is time to clean up the excess! Using a small circular saw, I trimmed the excess planks right off at the chine. The overhangs then simply fell away as they were not attached to anything. The result was a very clean edge at the chine where the topsides will end and the bottom planking will join.

Now that the chines are trimmed up, the dinghy can be turned over.

The dinghy is starting to look more like a dinghy! The ends of the planks that do not terminate at a frame are flared out, but this will all be rectified when the second layer of planking goes on.

The light seeping in between the planks would make the dinghy leak like a sieve, but the second layer of planking will fill all these voids in. The black bedding compound will pour through the gaps when the second layer of planking is placed. 

While the dinghy would hardly float at this point, it is nice to see it finally take shape. The topsides help define the lines of the dinghy, making it easier to visualize everything. The narrow entry of the bow can also be better visualized as the topside planks come down to the forefoot.

The next step will be to install the second layer of planking.

Preventing Preventer Castastrophe

When sailing downwind, a preventer is usually run from the boom forward to the boat to avoid having the boom swing across the boat during an accidental jibe. The theory is sound, but the practicality is often overlooked. 

The setup is simple, the boom is held out in place via four sheets: Mainsheet, Preventer, Topping Lift, and Vang.

The Mainsheet keeps the spar from moving forward.
The Preventer keeps the spar from moving aft.
The Topping Lift keeps the spar from moving down.
The Vang keeps the spar from moving up.

While it may seem very simplistic, specific details must not be overlooked to ensure proper function and prevent catastrophic damages.

First, the preventer and the mainsheet should connect to the same point on the boom, and this point should be nearest the end of the boom. If you mainsheet attaches as various points to the boom, place the preventer on the most aft attachment of the mainsheet.

Second, the preventer should be of equal strength to the mainsheet. If the mainsheet is setup with a block and tackle system, the preventer should be setup with an equally sized block and tackle system.

The purpose of the preventer is to avoid the boom from swinging across the yacht during an accidental jibe. Should the wind get ahead of the boom, the preventer will act as the working sheet and will be placed under incredible loads. If these two simple rules are not followed, the boom could break, or the preventer could snap and an accidental jibe would ensue.

If the Preventer is attached to the Vang attachment on the boom, the boom could snap when the Preventer is loaded. The force exerted on the boom is incredible, and the mainsheet attachment area is reinforced to handle these loads. The Vang area is not set up to handle these forces as it's job is only to hold the boom down and resist the opening of the sails leech.

If you attach the preventer to the vang area and subject the yacht to an accidental jibe situation, the force on the clew is going to push the boom aft, and the preventer is going to pull on the spar near the mast forward. This will cause the boom to bend and snap as the clew is pushed aft and the vanged portion of the boom is held forward.

Another common issue is to attach the vang to the toe rail to act as a vang and a preventer. The vang is more efficient when attached to the toe rail, as its pull would be directly downward, but it will not double as a preventer. If an accidental jibe were to occur, the boom could bend and snap at the vang attachment point and cause a catastrophic disaster. 

If you decide to run the vang to the toe rail, you need to also have a dedicated preventer run forward that is attached to the mainsheet and appropriately sized for the task at hand.

This yacht owner has setup a permanently and properly installed preventer. The preventer is attached with padeyes between the two mainsheet blocks and the line is appropriately sized for the task at hand. To avoid issues with chafe, the preventers are not led forward of the spreaders, allowing the system to work with minimal chafe on the rigging on any point of sail.

The lines are setup with appropriately sized blocks and have fair leads leading the lines back to the cockpit. This allows the captain to set and release the preventers from the cockpit without the need to go forward. This would let you manage all the sheets from the helm in quick order, allowing you to execute your maneuvers quickly and easily.

Preventers are another part of the running rigging that needs to be setup properly and managed the same way as the rest of your running rigging. If you are going to rely on it to save your rigging from an accidental jibe, you need to make sure that it can withstand the forces and loads that it will be subjected to.

Mounting the Bilge Pump Frames

After the bilge pump frames were mounted in their ideal location and the bolt holes for the bilge pump were drilled, it became time to more formally mount the bilge pump frames to the bulkheads.

Those little brass screws are only there to hold the frames in place. The fiberglass and resin are going to do the actual mounting. Bonding the frames to the bulkhead over paint would result in a bond only as strong as the paint adhesion to the wood. This means that the paint needs to be removed and the surface taken down to the bare wood.

Using a block plane, I scraped the paint off the wood and freshened up the woods surface. There are many holes in this area from the multiple attempts to position the frames, so the correct holes were circled and the outline of the brackets marked. This will aid in positioning the frames into the correct holes when I go to mount the unit with the fiberglass.

With one screw into the brass L bracket, I was able to add a large clump of chop strand mat onto the end of the wooden frame. Swinging the frame into position pressed and pinched the chop strand mat between the bulkhead and the frame end. The other brass screws were added to help hold it in position, but none of the screws were tightened yet.

With the aft end of the frame loosely attached, I was able to swing the forward end of the frame away from the angled bulkhead. This created enough space for me to stuff in some more chop strand mat before pinching the frame against the bulkhead. 

With both frames pinching chop strand mat against the bulkhead, I was then able to tighten all the brass screws to lock the whole unit in place and in position.

The chop strand mat was all added dry, with no resin at all. Doing all the work dry, I am able to work in a clean environment without getting resin all over my tools (or the rest of the boat). I will need to pay extra attention to make sure that the resin makes it all the way to the center of the chop strand mat to avoid incomplete wetting of the mat. 

This can be easily achieved by thinning the epoxy resin before application, making it runnier and more able to penetrate deep into the wood and surfaces. It is important to fully saturate the whole structure before applying the fillets which will be a much thicker epoxy mixture and won't allow much penetration into the dry contact of the frame and bulkhead. Applying all the epoxy at once allows the entire unit to cure as a single giant polymer which will have much greater strength in the end.

Planking the Stem

The stem is a very important part of the dinghy, this area will get a beating as it cuts through waves, bangs into piers, and is dragged up beaches. To make everything strong and watertight, the strakes need to tuck into a rabbet joint on the stem that is filled completely with bedding compound. 

Bedding compound is messy as it is goopy and sticks to everything! To avoid these messes, dry fitting the planks is crucial. Once all the planks are cut and fitted, then the bedding will be applied as the boards are nailed on.

The bow on our dinghy is going to have a very narrow angle of entry to facilitate its ability to cut into a wave and decrease the slapping and banging that occurs in a slight chop. The topsides are going to extend down to the forefoot, and the bottom planking will fit around this area.

To get this effect, long strakes were cut that could reach from the sheer to the forefoot, and then the rest of the planks were cut and fitted to match. Cutting the planks is simple, the first cut is marked with a pen at the sheer, then it is cut. Once that part is test fitted, another line is made where the plank reaches the stem. Marks are made where the rabbet line is, and the board is cut with a miter handsaw along that line. This produces a very tight fit that will keep out any water that might try to works its way through.

Up to the first frame, all the planks ended at the chine log. For the very short span between the first frame and the stem, the planks skipped the chine log and continued on to meet up with the stem. This produced the very fine entry angle I was looking for when I designed the hull without the issues of fitting tiny bottom planks that will practically need to be scarphed to the join them securely.

Once everything was test fitted dry, it was time to remove all the boards and install them again using copper nails and bedding compound.  With everything attached, it is now time to wait for the bedding compound to cure so that the hull can be faired and prepared for the second skin going in the opposing direction.