Twin Headstays

Source: http://www.setsail.com/twin-headstays-like-we-did-it-in-the-olden-days/

Source: http://www.setsail.com/twin-headstays-like-we-did-it-in-the-olden-days/

Why don't you see any yachts with twin headstays? They seem like a great idea.

When sailing downwind, you can easily set two headsails poled out on each side giving you a giant balloon of a headsail with optimum control. Each sail will ride on its own stay, so there is no issue with lowering one of the sails should you decide to change course from a run.

You can also carry two headsails rigged on the stays for varying conditions. Imagine the wonders of having a 150% genoa on the port headstay and an 80% jib on the starboard headstay. If the winds are light, you can hoist the genoa. Should the weather change during your voyage for the worse, all you need to do is lower the genoa and hoist the jib. There are no sailbags to lug around or hanks to mess with, as the sails live on deck attached to their own stay.

From a security and redundancy perspective, twin headstays will be perfect! Imagine if you are sailing along with a single headstay and the headstay parts, the mast will become unsupported and risks falling aft and over. Some yachts have two backstays so that if one breaks, the other one will hold the mast up; why not have two headstays as well? If one headstay breaks, the other headstay will take up the slack and keep the mast up in the air where it belongs.

You might be wondering why twin headstays never really caught on, being how they make downwind sailing a breeze and offer the added security of a redundant headstay. The reason is because yachts do more than just sail downwind and twin headstays have some fundamental problems that led to their demise.

When it comes to sailing on a run, there is nothing better than headsails set wing on wing. They will create so much lee helm that the yacht will sail itself as you ride on a downwind sleigh ride. The moment you turn to windward, the twin headstays will work against you. Proper headstay tension is needed to keep the luff tight so that the yacht can point to windward efficiently.

Sailors quickly noted that the headsails would work on one tack but not the other, meaning that sometimes they could work to windward and othertimes, the headstay in use would be slack while the other headstay had all the tension. This problem is due to the geometric setup of the twin headstays. 

The headstays were setup side by side, sitting next to the stem. When the mast is loaded by wind pressure on the sails, it will bend to leeward slightly. As it bends to leeward, the leeward headstay will go slack as the masthead moves to leeward and falls right behind the leeward headstay. At the same time, the masthead will fall away from the windward headstay which will increase the tension on the windward headstay as it takes all the force.

A twin headstay setup would work properly if you switched headsails as you tack, always using the headsail on the windward stay. This adds a lot of work, which will not be done because sailors went through the trouble of rigging twin headstays for the convenience, not for extra labor!

Since the leeward headstay goes slack, this must mean that the leeward headstay doesn't have enough tension. This led sailors to increase their headstay tensions to attempt to rectify this problem. Two really tight headstays made matters worse as the twin backstays were opposing this force and led to unnecessarily high compression forces on the mast. 

The other problem with twin headstays is the hanks can get hooked on the other stay if the headstays are mounted too close to each other. They typically need 6 to 8 inches of clearance to avoid any interaction between the hanks on a sagging headstay and the other headstay. Aside from the hanks interfering with each other, you run the issues of the added windage from the extra stay. This problem is compounded should the owner try to rig twin furling headsails. The furled up massive headsail will cause so much wind resistance and turbulance that it will rob the working sail of its wind and efficiency.

If you ignore the downfalls of a twin headstay setup simply for the benefit of the structural redundancy, you will still be disheartened. Having two headstays for the sake of redundancy means that you assume that the headstay is going to break. If you feel this way, you should also have two backstays, and multiple shrouds, just in case the other stays break as well. Soon enough, your mast will look like a Christmas Tree with all the shrouds surrounding it.

Having one well maintained and properly sized headstay will provide you all the tension you need on any tack without all the problems associated with having side by side headstays. If you want to have the ability to setup two headsails with ease, you should consider a cutter rig, or setting up a solent instead.

Cutters and solent rigs have two headstays set in a line, where the stays still attach at the centerline of the stem and will not rob each other of tension, nor interfere with the performance of one another. The only problem with this setup is the small slot between the two stays will make tacking a large headsail troublesome. 

With everything on a sailboat, there is always a give and take. If you plan to only sail downwind, a twin headstay setup would work well for you. If you plan on sailing at any other point of sail and still want multiple headsails permanently rigged, do consider a cutter or a solent setup.
Shortening the Sternpost

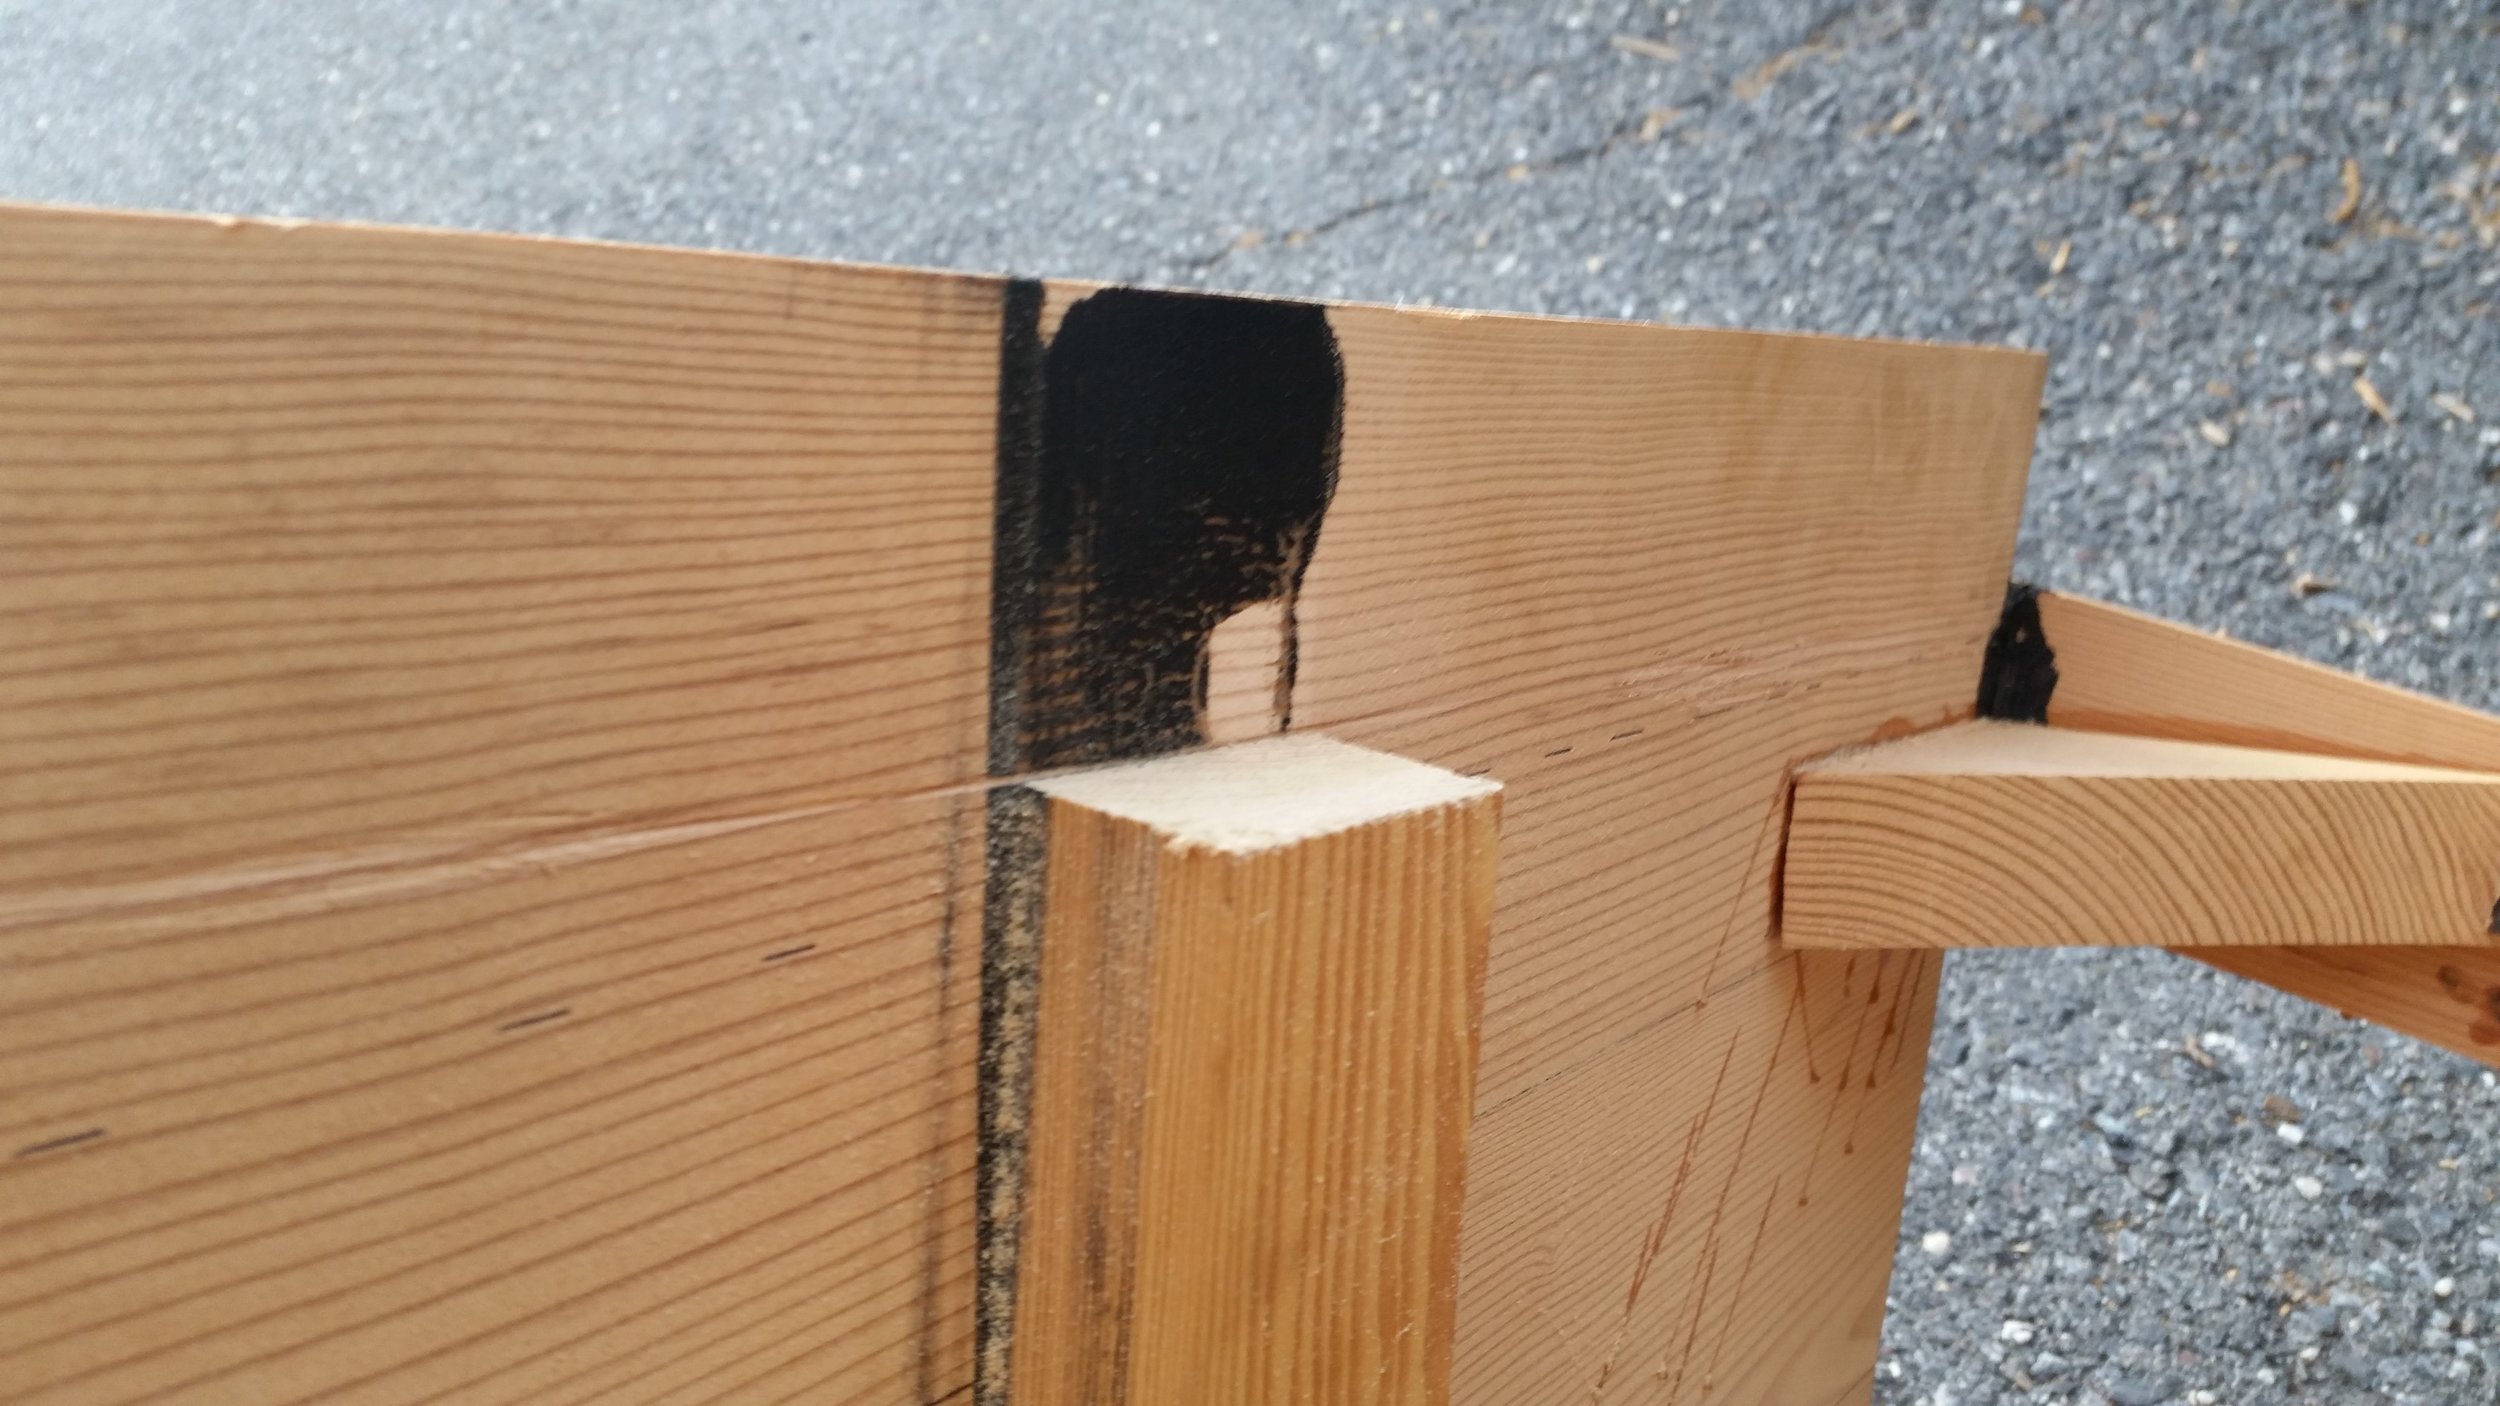
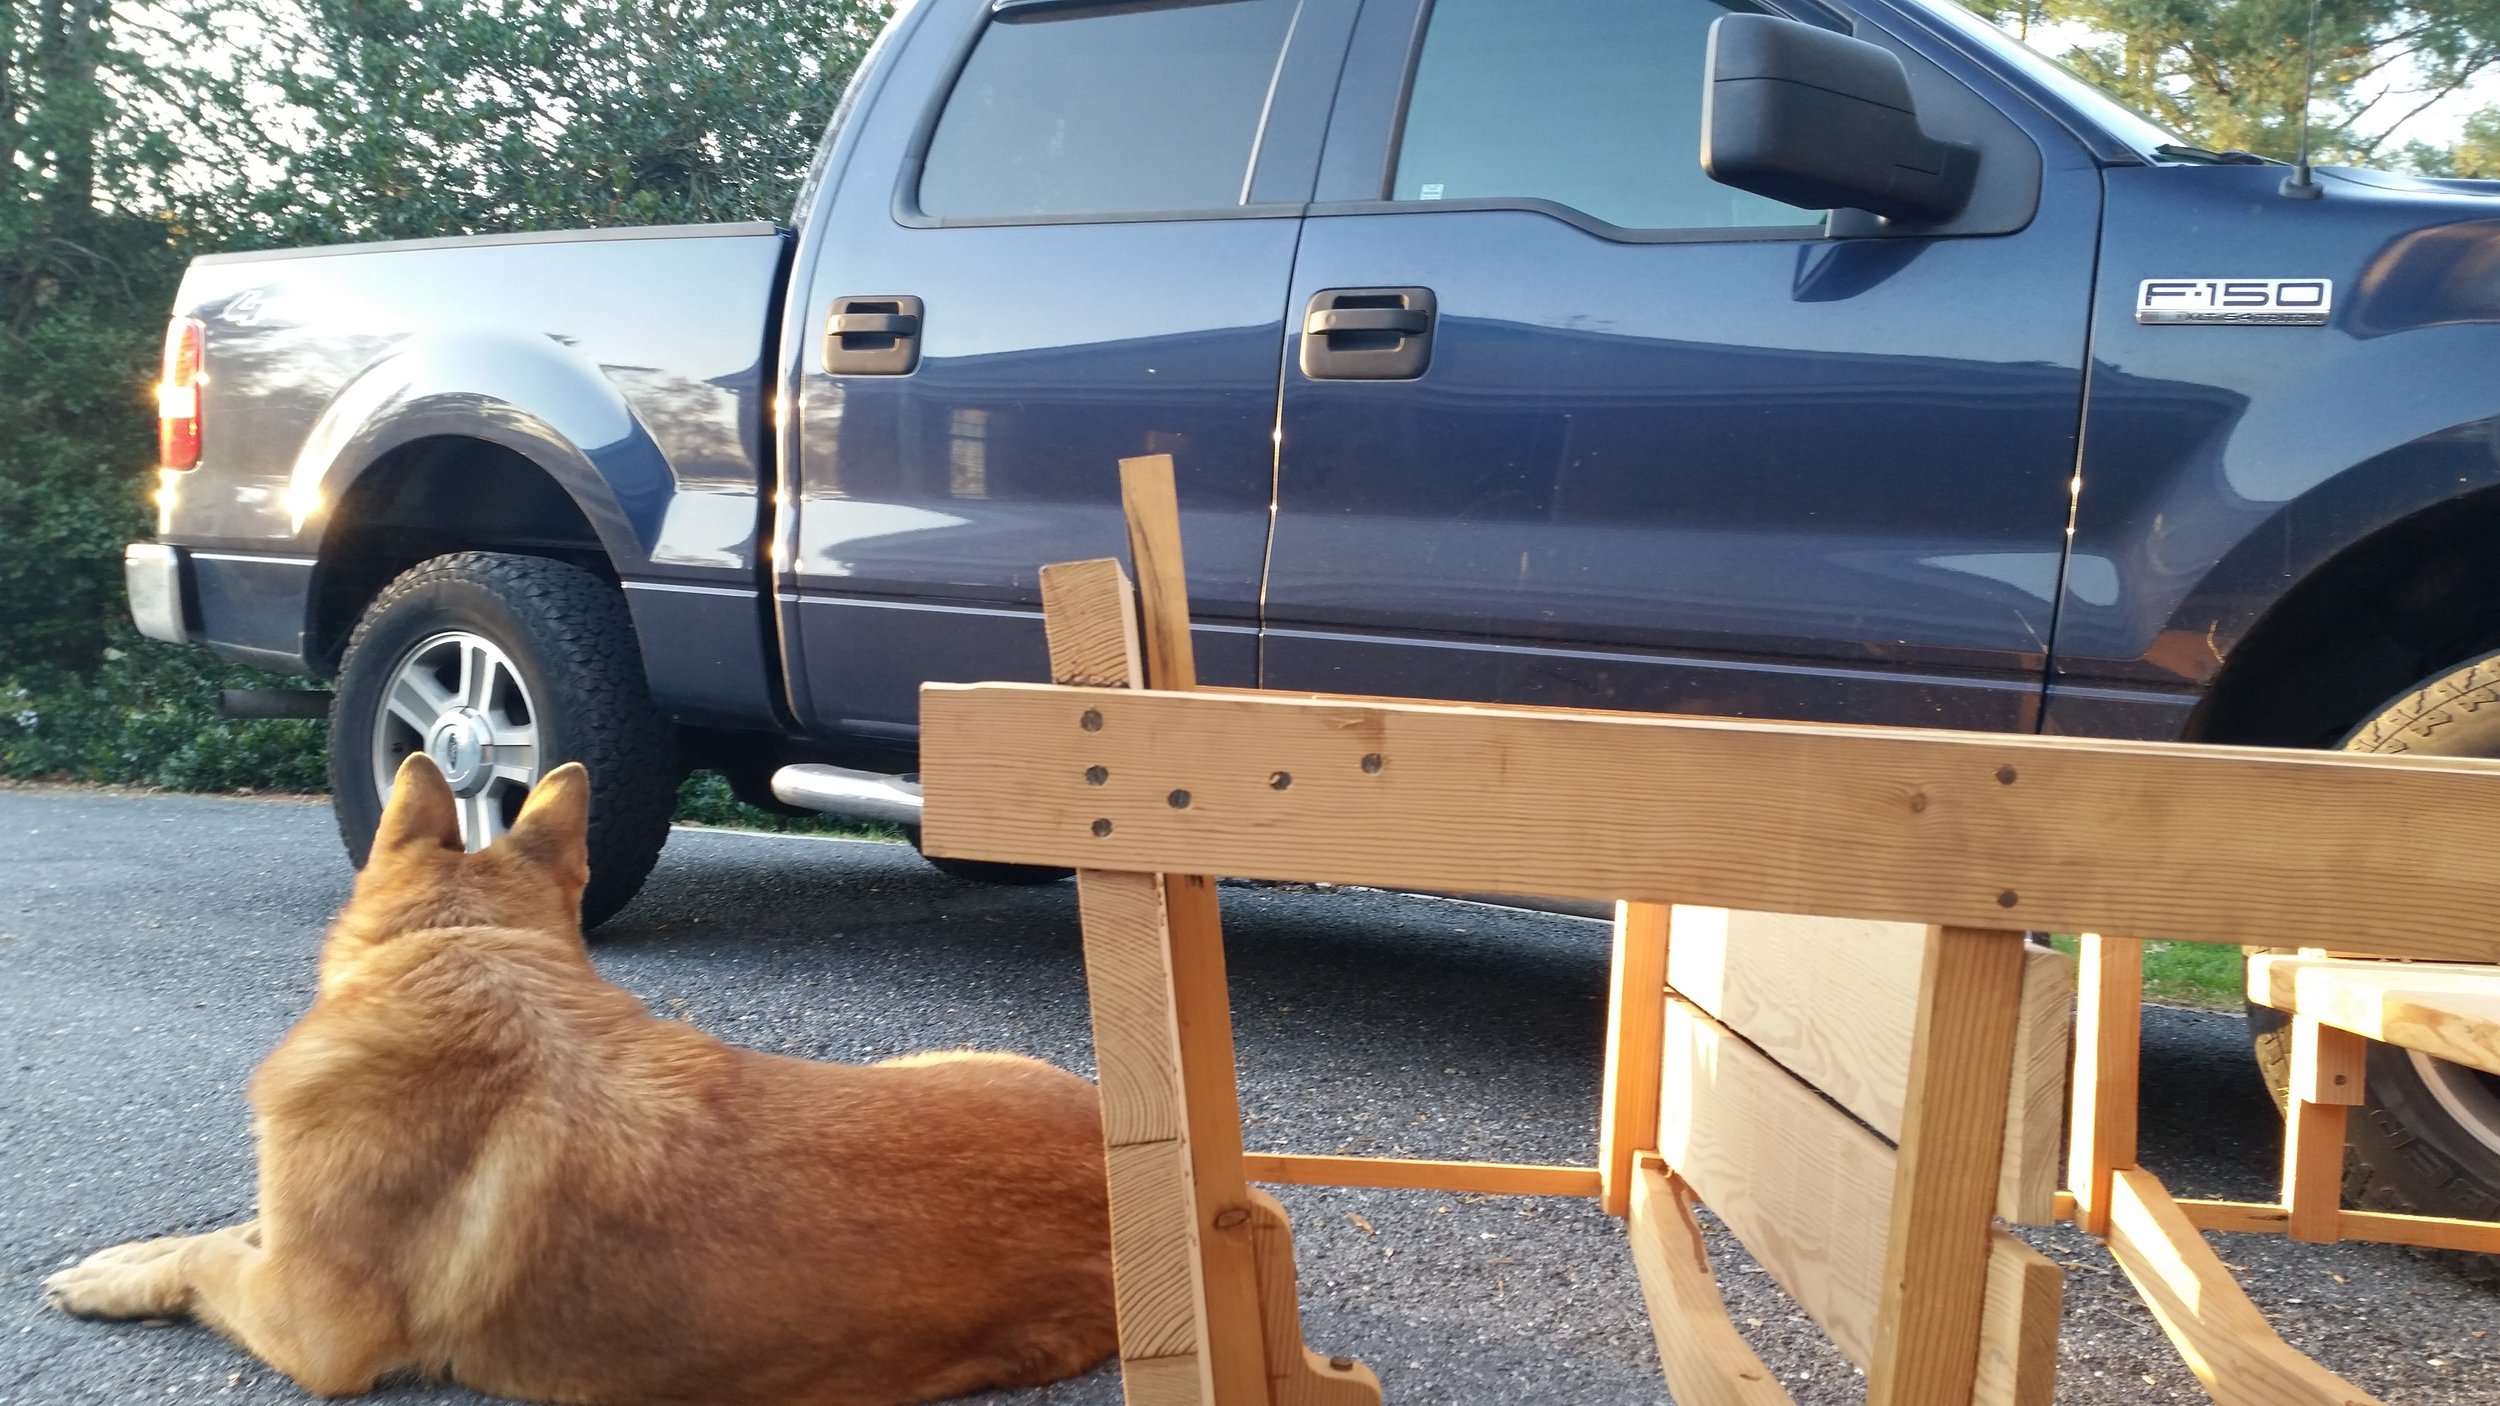
The sternpost was left long intentionally because it is always easier to shorten a timber than it is to extend one. As you can see, I there is plenty of excess on the sternpost to be cut off.

The transom and sternpost are supposed to end at the level of the sheer, and these timbers need to be cut down.

To mark the cut line for the sternpost, I strung a tape measure across from sheer to sheer and marked the line where the tape measure crossed the sternpost.

Using a hand saw, I carefully cut along this line. I tried my very best to ensure that the saw cut parallel to the sheer and the sternpost was kept in line with the other lines of the dinghy.

With the sterpost cut, the next step will be to cut the transom down to size. You can see the hashed line running across the inside of the transom, this is where I anticipate that the top of the transom will end. The sternpost was cut higher than this point because it is always easier to cut it lower rather than to make it longer.

Monitor Wind Vane Installation: Part 5, Mounting the Top Brackets

The Monitor was never moved from its perfect position on the transom, instead, the pillow blocks were merely slid under the brackets to test fit and mark everything on the deck.

With both pillow blocks in position, I drilled a small pilot hole for the front bolt with a 12 inch long 1/4 inch drill bit. This very long yet narrow drill bit allowed me to drill through the clamp, pillow block, and deck in one throw. With holes in each part of the project, it was safe to remove and relocate everything, as the holes would allow for re-orientation at a later point.

Sadly, I do not have extra long drill bits in every size, I only have 1/4 inch drill bits from when I was drilling the knees on the dinghy. The through bolts are 5/16 inch, so I need to enlarge the holes in everything. Luckily, with the holes marking the ideal locations, I can safely disassemble everything and drill from various angles with a larger drill bit.

Drilling these holes is similar to doing a root canal: you don't want to drill too large too fast, and you don't want to deviate your canal. 

The final hole needs to be 3/8" to easily fit the 5/16" bolt. This will give us 1/32" leeway around the bolt inside the hole. If I just grab a 3/8" drill bit and bore out the 1/4" pilot hole, I could run into a few problems.

First, the pilot hole offers no resistance to penetration and the 3/8" drill bit would slice through the wood like a screw. Instead of cutting and removing the wood, the drill would slide through it and bind itself up when the resistance becomes too great. This resistance can bog down the drill and result in a stuck drill bit, or worse, cause the drill bit to break! To be safe, the hole was first bored out with a 5/16" drill bit and then followed by a 3/8" drill bit. To avoid the drill from bogging down, the drill bit was only inserted 1/2" at a time, then pulled back. Pulling it in and out allows the flutes of the bur to clear which will allow new wood to fill the flutes on the next insertion. If you jam the drill through in one go, the flutes will become filled with compact wood pulp. If you drill in small sections, the shavings will come out in light and airy fibers that will clear easily.

As a dentist, drilling a long tube through wood makes me think of doing a root canal. Odd as it may seem, the same principles apply to teeth as they do to wood. The main difference is the drills we use on teeth are more delicate than the drill you have in your work shop. If you jam a root canal drill all the way down a canal, it will bind against the side of the root and break off. In dental speak, we call this a "separated file" which sounds so much better than a broken drill bit! The trick to avoiding a "separated file" is to drill in small stages where the forces applied to your tools and instruments are kept to a minimum and work can proceed without issue.

The second point in drilling a long hole is you don't want to move the canal. In dental speak, we call this "transporting the canal". Transporting is simply moving the canal to somewhere it doesn't belong. In a tooth, where you are following the nerve canal, transporting typically refers to getting off track and drilling a hole out the side of the root (not a good time). If I transported the canal on the pillow block, the holes would no longer line up and I would be forced to make a new pillow block and drill a new pilot hole, basically starting over!

To avoid "transporting" you want to keep the pressure on the drill light and let the pilot hole guide you. This is easier to do if you follow the first rule, and drill in small increments where there is little force on the drill from the wood block. 

Since my larger drill bits were not long enough to go all the way through the pillow blocks, I drilled them from both sides and made sure that the two larger holes met perfectly in the center. This practice also helps eliminate the risk of the exit hole in the bottom being transported to a different area of the block. If any transportation were to occur, it would be notable in the middle where the two canals meet in the formation of a ledge. An internal ledge will annoy you during the rest of the installation, as the bolt will get stuck on the internal ledge and not slide all the way through the block. If you develop a ledge, try applying lateral pressure to the drill to blend it into the side of the canal. If you can't get it go to away, practice getting the bolt past the ledge without any bedding compound. Once you are good at it, you will be better equipped at getting the bolt past the ledge when wet bedding compound is running all over the place!

Now that the first hole is drilled to size, the bolts can be inserted into the front holes to secure their position with respect to the deck and the Monitor. Holding the blocks in place, the through bolt to the Monitor was removed. The lines that held the Monitor in position were slackened and the entire unit was pushed away without moving the pillow blocks or brackets.

With the back hole exposed, the rear pilot holes could now be drilled and the same process repeated. There was only one hick-up, the sternrail would not allow the 12 inch long drill bit to fit, so I was forced to drill the pilot holes in a different manner.

With the Monitor out of the way, I grabbed a regular length 1/4" drill bit and marked the pilot holes through the bracket. I then moved the pillow blocks and proceeded to drill the rest of the pilot holes with the extra long 1/4" drill bit where I had more working room. With the pilot holes drilled, it was now time to figure out where the deck pilot hole needs to be. Sadly, it is not directly under the top pilot hole, as the drill deviates its path traveling through the wood. When the flutes of the bur hit the harder winter growth rings, they will push away; while at the same time they will sink into the softer summer growth rings. The ring pattern will cause the drill to deviate, despite your best efforts. These problems are compounded when using a very long drill bit that can flex and bend as it tunnels through the block. Had the laminates be set in an alternative ring pattern, the effects would cancel themselves out and result in a straighter hole. The truth is, no one will see where the bolts exist, so it doesn't really matter from an aesthetic point of view. 

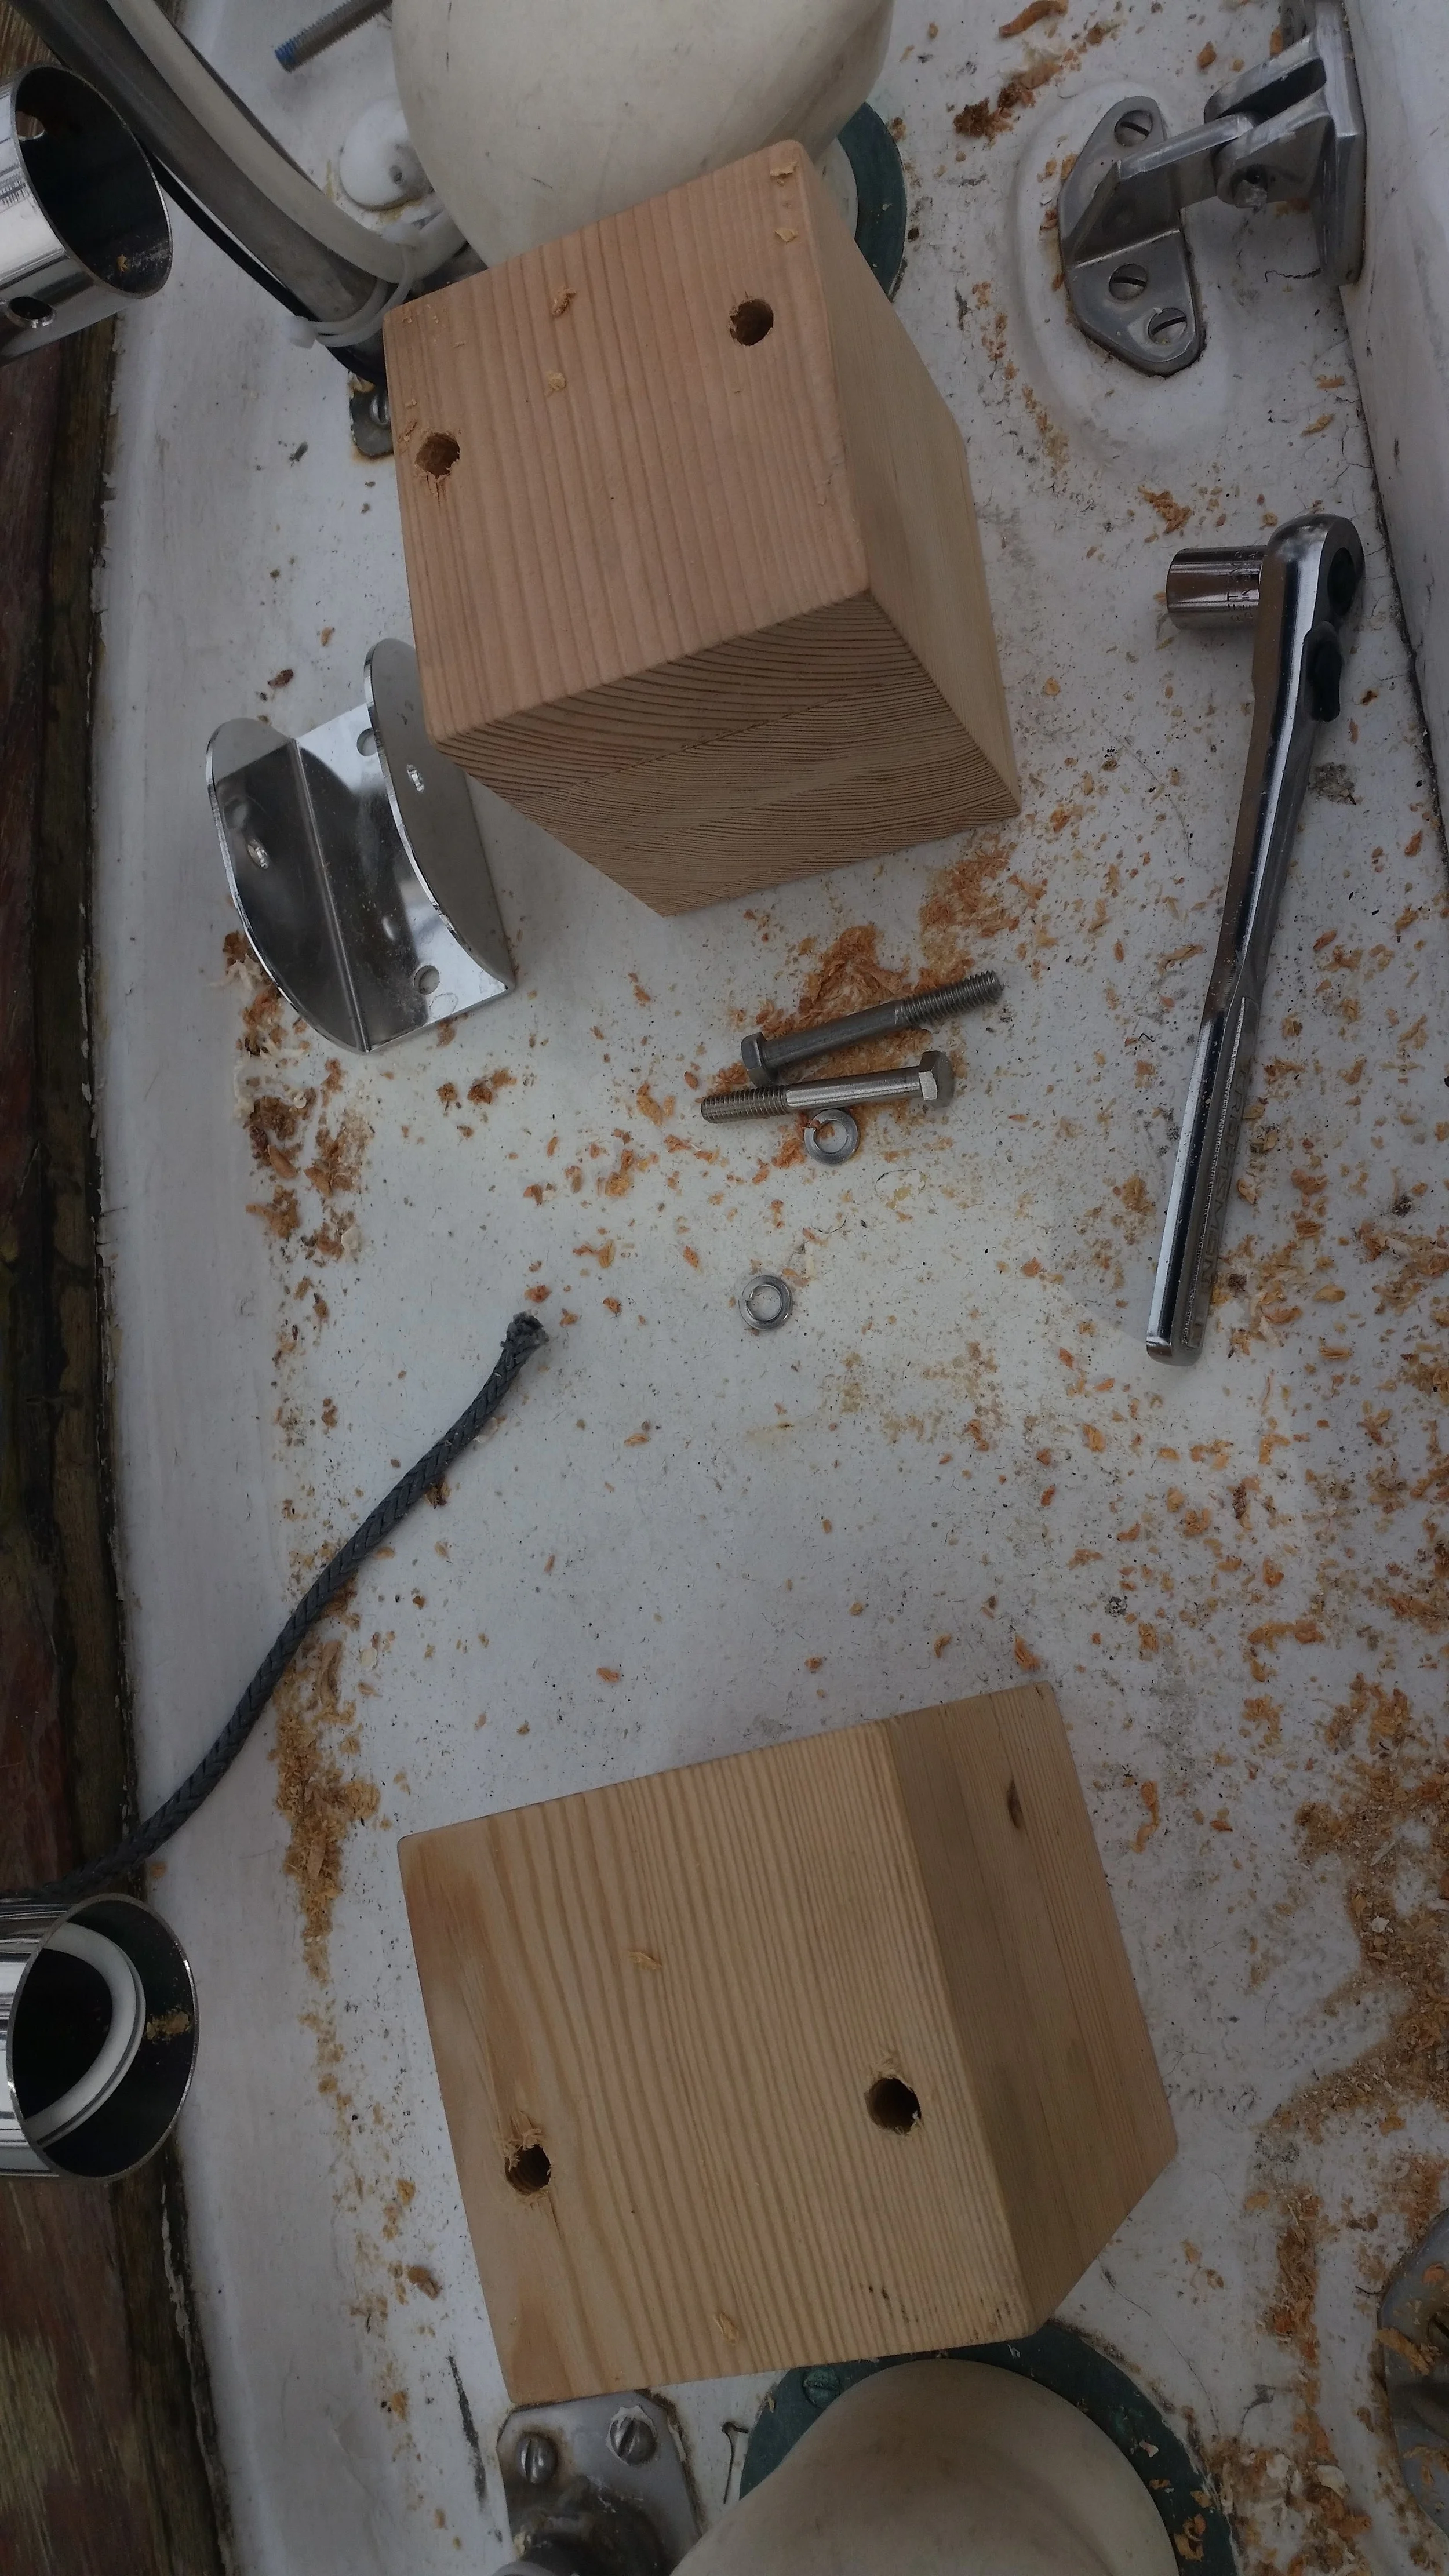
Entry holes

Entry holes

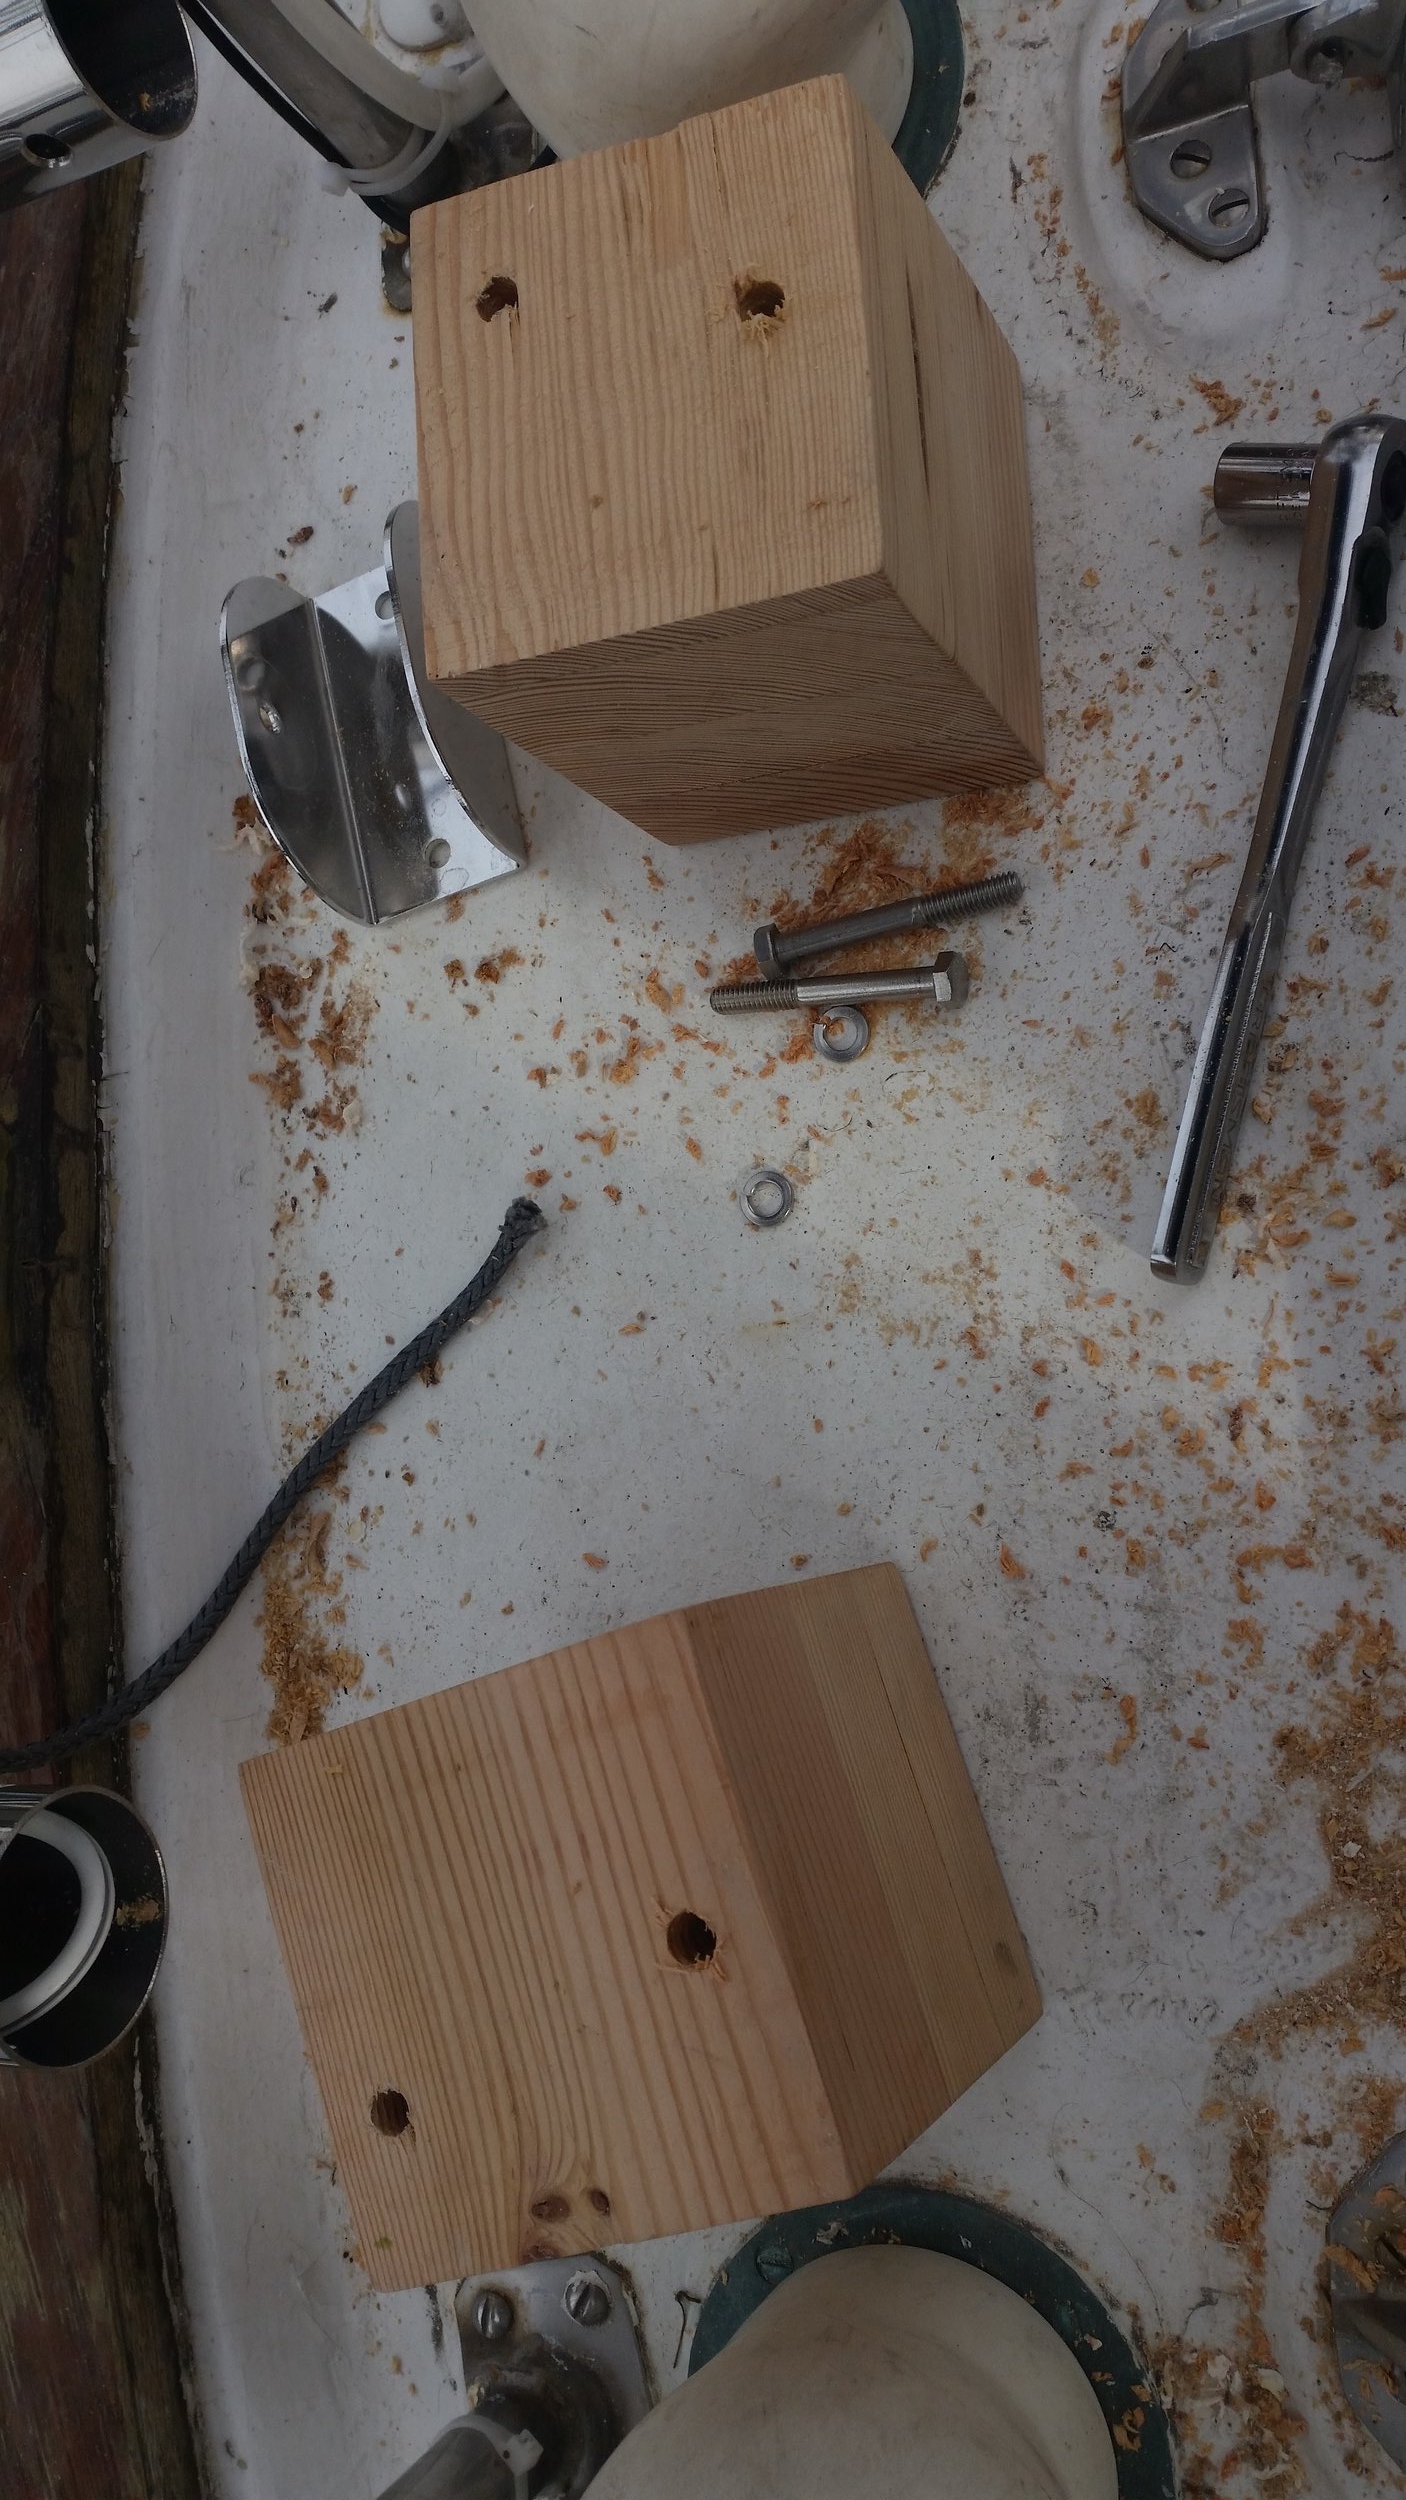
Exit holes

Exit holes

The top holes are where the pilot holes enter, the bottom holes are where the pilot holes exited the blocks. You can see that they are far from identical and it is impossible to predict where the final hole will come out.

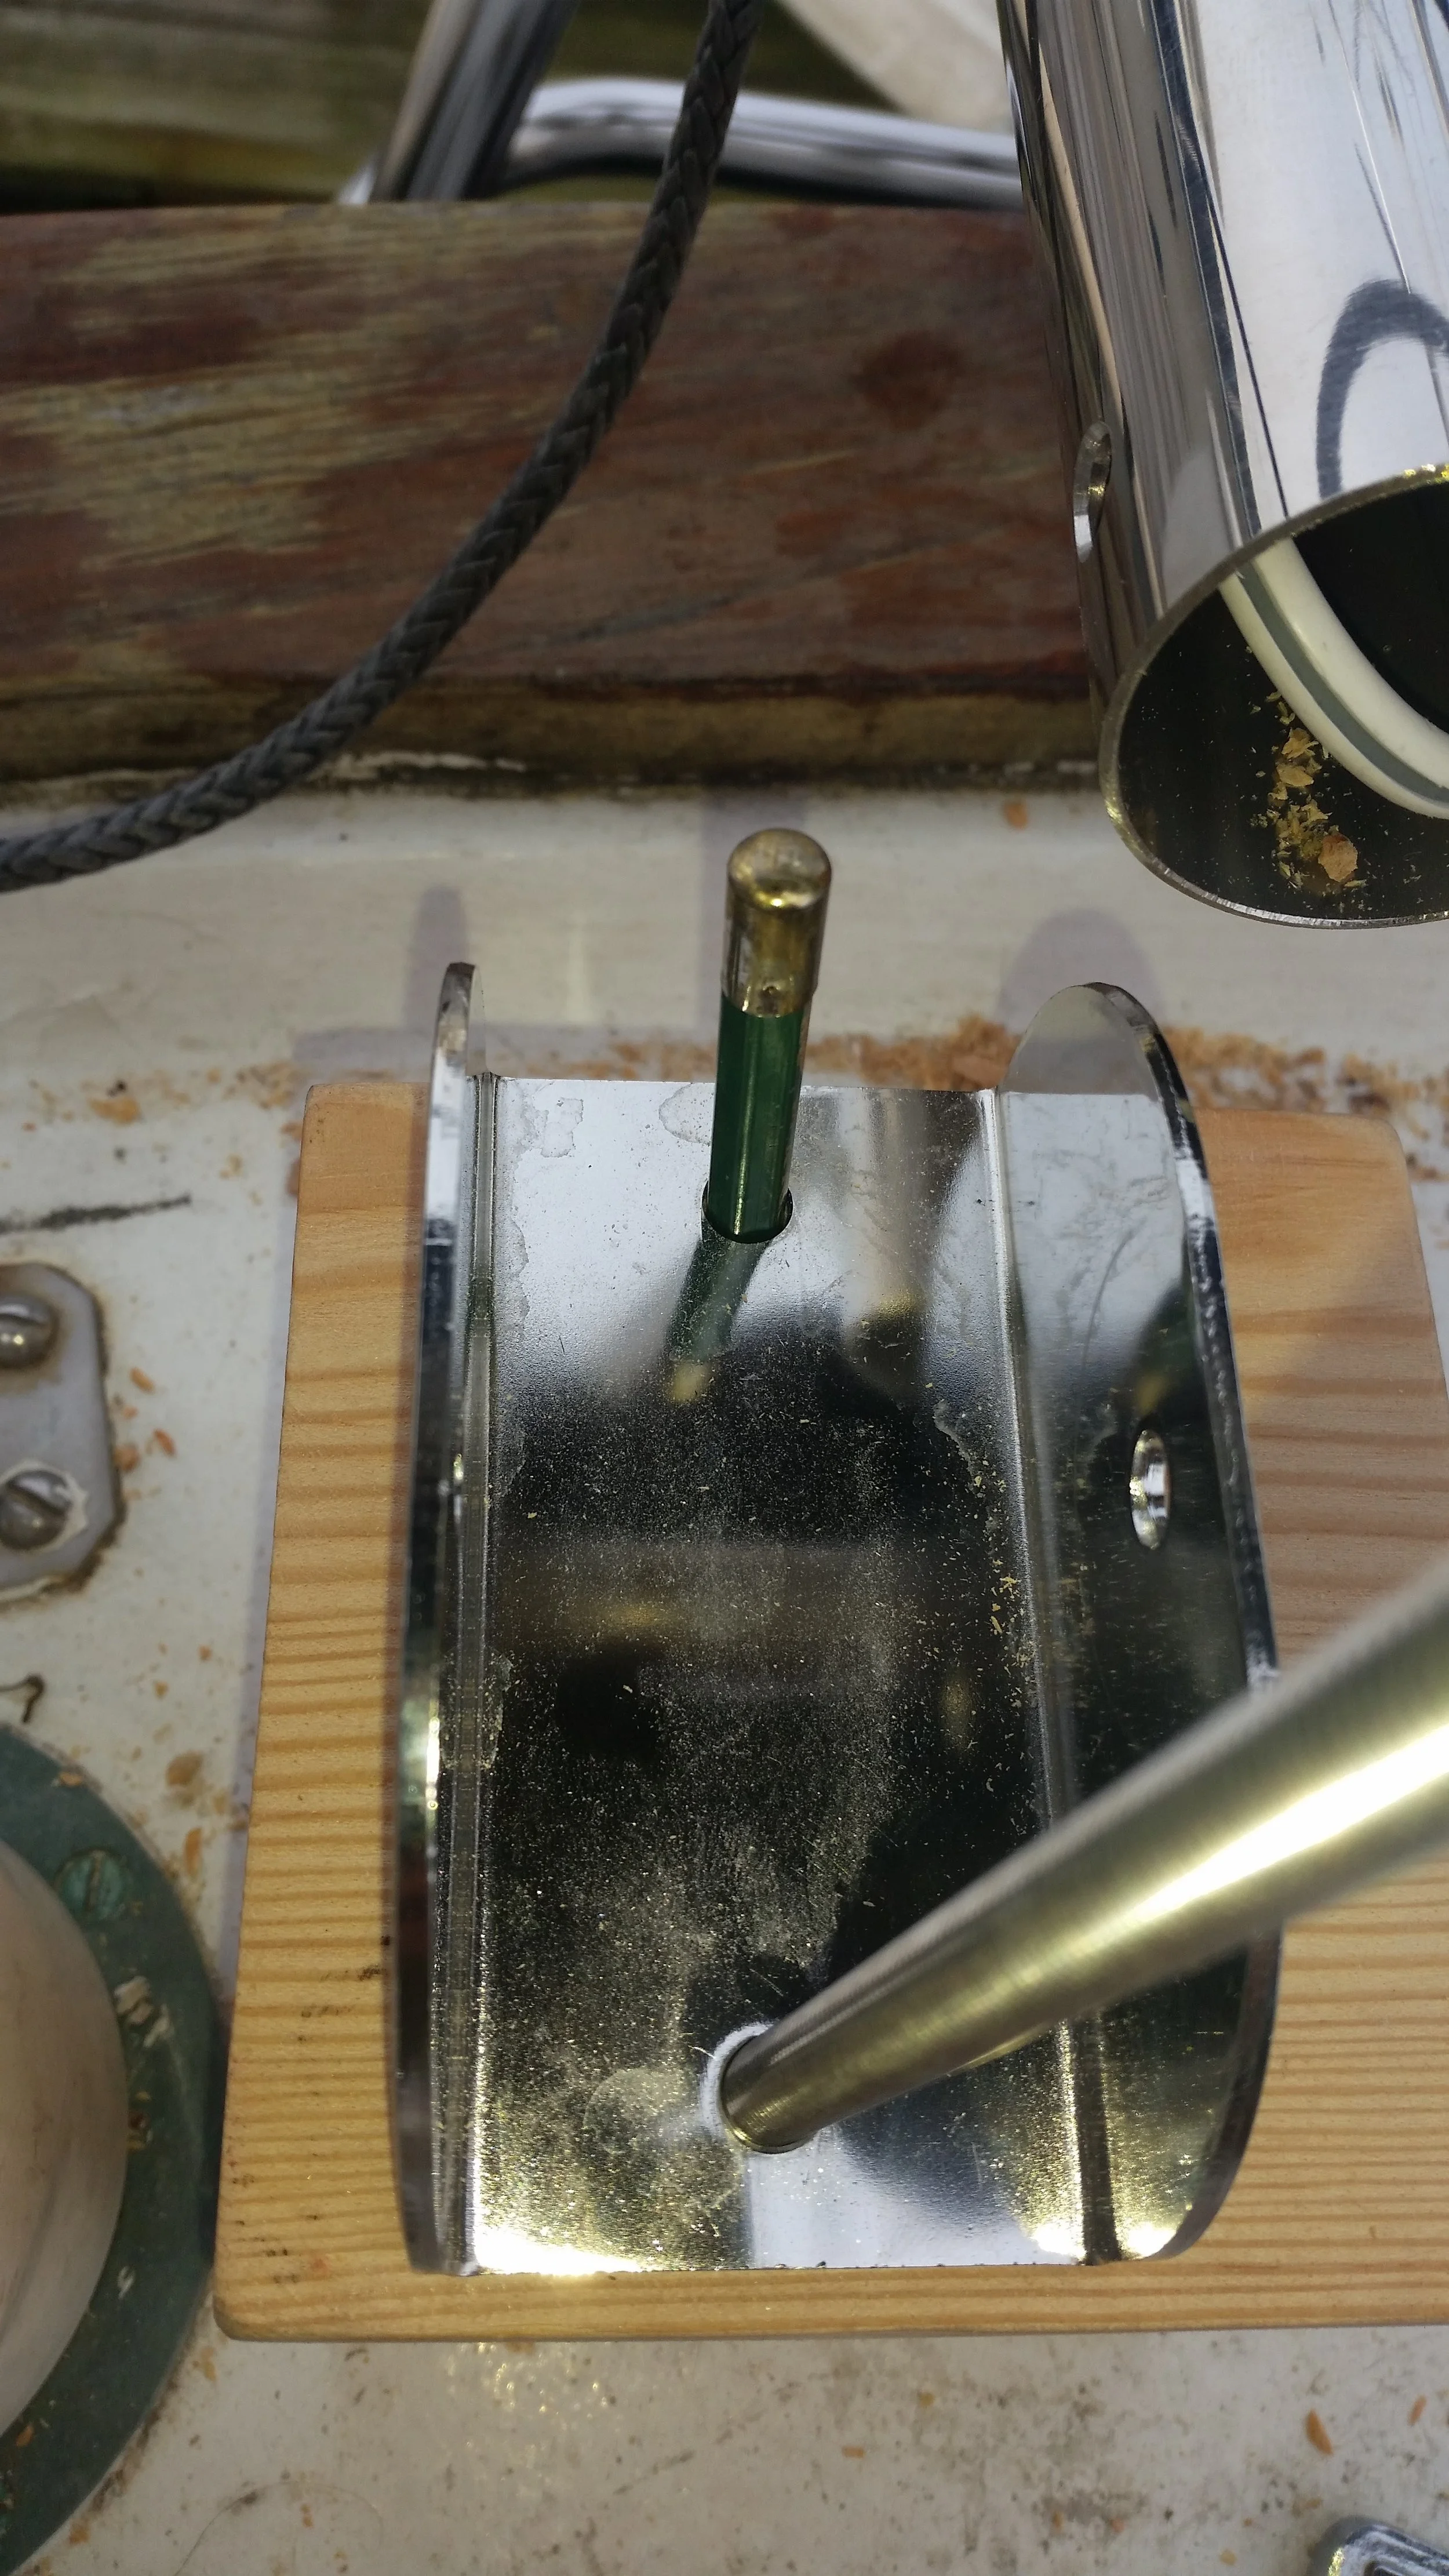
With the new holes drilled through the back of the block, the blocks and brackets are reassembled in their correct positions. Bolts were driven through the front holes to secure the block from any movement during the marking process and a pencil was inserted into the rear hole.

20161204_113655.jpg

The pencil marks the point where I need to drill the rear hole through the deck. The problem with a pencil is the grey mark it makes can be hard to find on a dirty deck. Living in the city where the air is less than clean, the boat is constantly covered in a layer of dirt. I have long since given up on washing the oily dirt off as it returns the very next day. When we go on long trips, I do give the deck a good scrubbing to loosen and remove this layer of filth. Away from the city, the boat remains much cleaner as there is much less air pollution covering the boat. I hate to think about what it does to our lungs!

The faint pencil mark was not easily spotted on the dirty deck, and I was unable to fit a pen down the hole to mark in an offset color. Instead of drilling random holes and hoping that I chose the right spot on the deck, I opted to arc my line.

Arcing a line is very simple to do and makes identifying a point very easy. First, you simply spin the pencil around to create a nice mark on the deck. Then you push the pencil into the deck and spin the block. This will draw an arc on the deck that finishes at the desired spot which is denoted by a slightly larger mark.

With the marks easily found and identified, the pilot holes were made and then subsequently bored out to 3/8". Now the long through bolts could be installed and the whole assembly bedded down and bolted together.

The pillow blocks were oiled with 5 coats of tung oil. The wood was dry and the end grain was drinking the oil right up. After 5 coats of tung oil, the blocks were less quick to absorb the oil and I decided it was time to finish the installation. It is always easier to oil wood when it is separate from everything else, but for the sake of finishing the installation, I decided that 5 coats would be enough for now. More oil can always be applied later in the future. 

With the bolts tightened, the unit was rock solid and firmly attached to the hull. Excess bedding compound oozed out from the fittings as the clamping pressure increased. I used a polysulfide bedding compound from Life Caulk for the top bracket because it is more flexible and easier to clean up on wood. The excess that squished out was allowed to cure. Once it has cured, it can easily be removed with a putty knife. If you try to get the excess off now, it will smear everywhere. If you wait until it cures, it will peel off and leave a clean edge.

While the bedding compound was still wet, I drilled and then screwed in large lag bolts into the unsupported side of the pillow blocks to help resist any sheer forces that the long bolts may be subjected to via the top brackets trying to bend sideways. This will just help to tie the blocks down to the deck and allow the long through bolts to support the Monitor without any issues of movement.

Sammy in the Morning

A common question about Sammy, our parrot, is "How does she sleep?" The answer is simple to us, yet perplexing to everyone else: In her bed.

Sammy sleeps inside the fuzzy tube of happiness that hangs on a bulkhead from an old oil lamp gimbal. Her bed is strung up to it by a length of electrical wire which allows the bed the ability to swing around as the boat moves. This lets Sammy sleep well as the boat moves around her!

In the morning, when Sammy is ready to get out of bed and onto my shoulder, she will hang from the edge of her bed and chirp.

Chirping is a relative term, sometimes is a sweet little "cheep", other times it's an ear shattering shrill! Either way, she lets us know that she is awake and wants to be picked up. When she hangs form her bed like that, all you have to do is walk by and she will latch onto your shirt and let go of her bed. It is a quick switch that occurs every morning as I walk from the bed to the galley for breakfast.

Teflon Tape

Teflon tape, also known as Plumbers Tape, is a wonderful thread sealant that can be used to reduce the chance of leaks when connecting threaded plumbing fittings. Instead of being a gooey liquid, it is neatly contained as a tape on a spool! Since it is a tape, there will always be a starting and a stopping point. This is where the confusion can begin!

When you wrap Teflon Tape on threads, you want to wrap with the threads heading towards the head of the screw. If you wrap the tape in this direction, it will stay in place as you tighten the fitting and form a good seal. 

If you forget and wrap the Teflon Tape against the threads, it runs the risk of not sealing as well as it could. When you tighten the fitting, the plumbers tape will actually be pushed out of the way by the female threads. Since they are pushed away, they are not present to form a good seal and leaks can ensue.

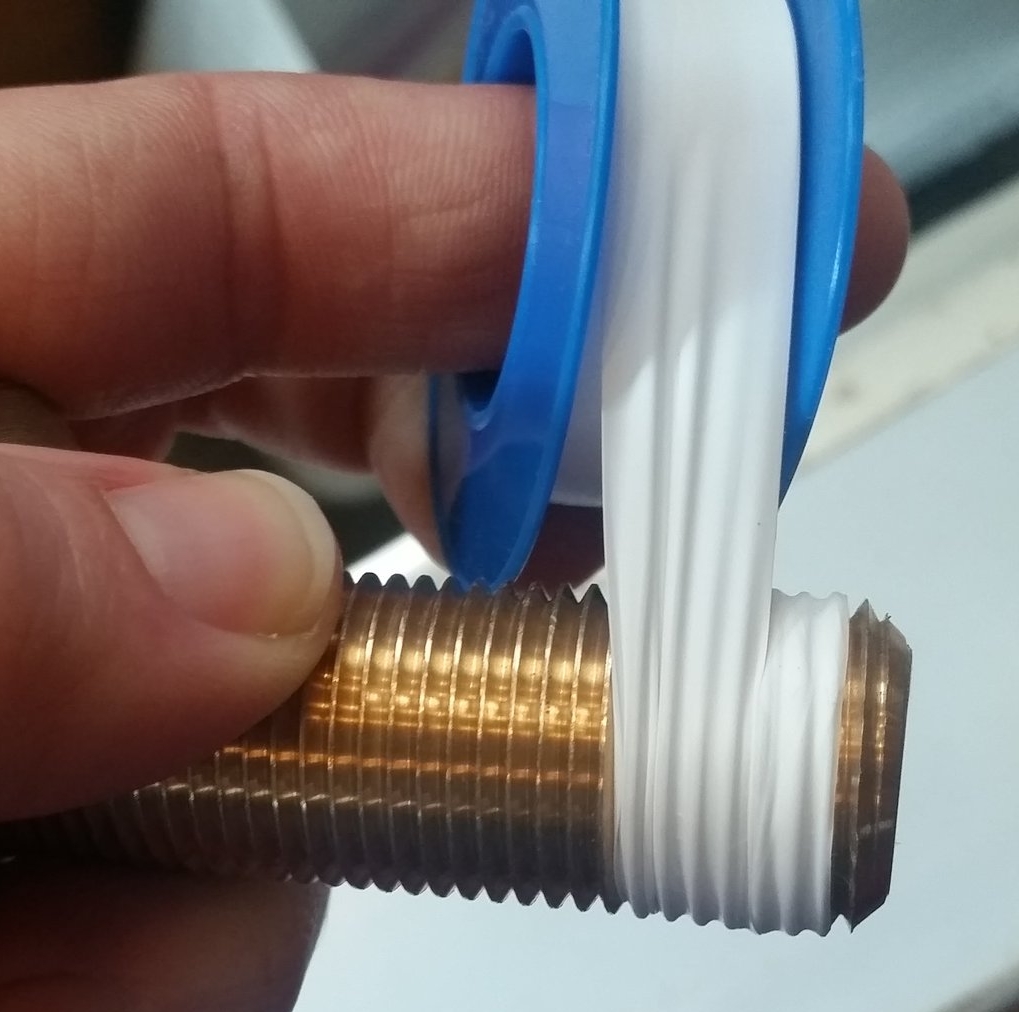
What does "with the threads" mean? Lets look at a picture:

You can see how the tape is wrapping up the fitting in the same direction as the threads. This means that it will lay into the threads and cover any voids that might allow a leak to occur. You might also notice that I do not tape the first few threads at the end, there is a specific reason for this.

When you go to thread the male fitting into the female fitting, you run the risk of crossing the threads. If the threads are clear, you will know when you are properly lined up because it will thread in with ease. Once it reaches the taped threads, you know everything is aligned and you are ready to proceed with tightening down the fitting.

Lastly, you only want to do a few wraps with plumbers tape. If you wrap too much tape: the threads will disappear, you will waste materials, and you won't be able to tighten the male fitting that far into the female fitting. It is best to only do a few wraps, keeping the tape thin and light that way the threads can do their job and the tape is merely there to help seal up any gaps that could create leaks.

Next time you need to thread some plumbing fittings together, be sure to use some plumbers tape, leave the first few threads exposed, and do a few wraps tightly with the direction of the threads of the male fitting.