Monitor Wind Vane Installation: Part 4, Pillow Blocks

The lower bracket of the monitor is fixed, through bolted, and permanently mounted. Now it is time to establish and secure the top brackets. The midline of the transom was established and then 7.5 inches to each side was denoted. These locations are the ideal placements of the Monitor top bracket arms.

The second factor is the levelness of the unit. I know the unit is level when the height between the deck and the arms is the same. 

These known factors are the desired goal while adjusting the unit to perfection. The trouble is achieving perfection in a timely fashion. Thanks to many ropes acting as control lines, this elusive state of perfection was achievable in a reasonable amount of time.
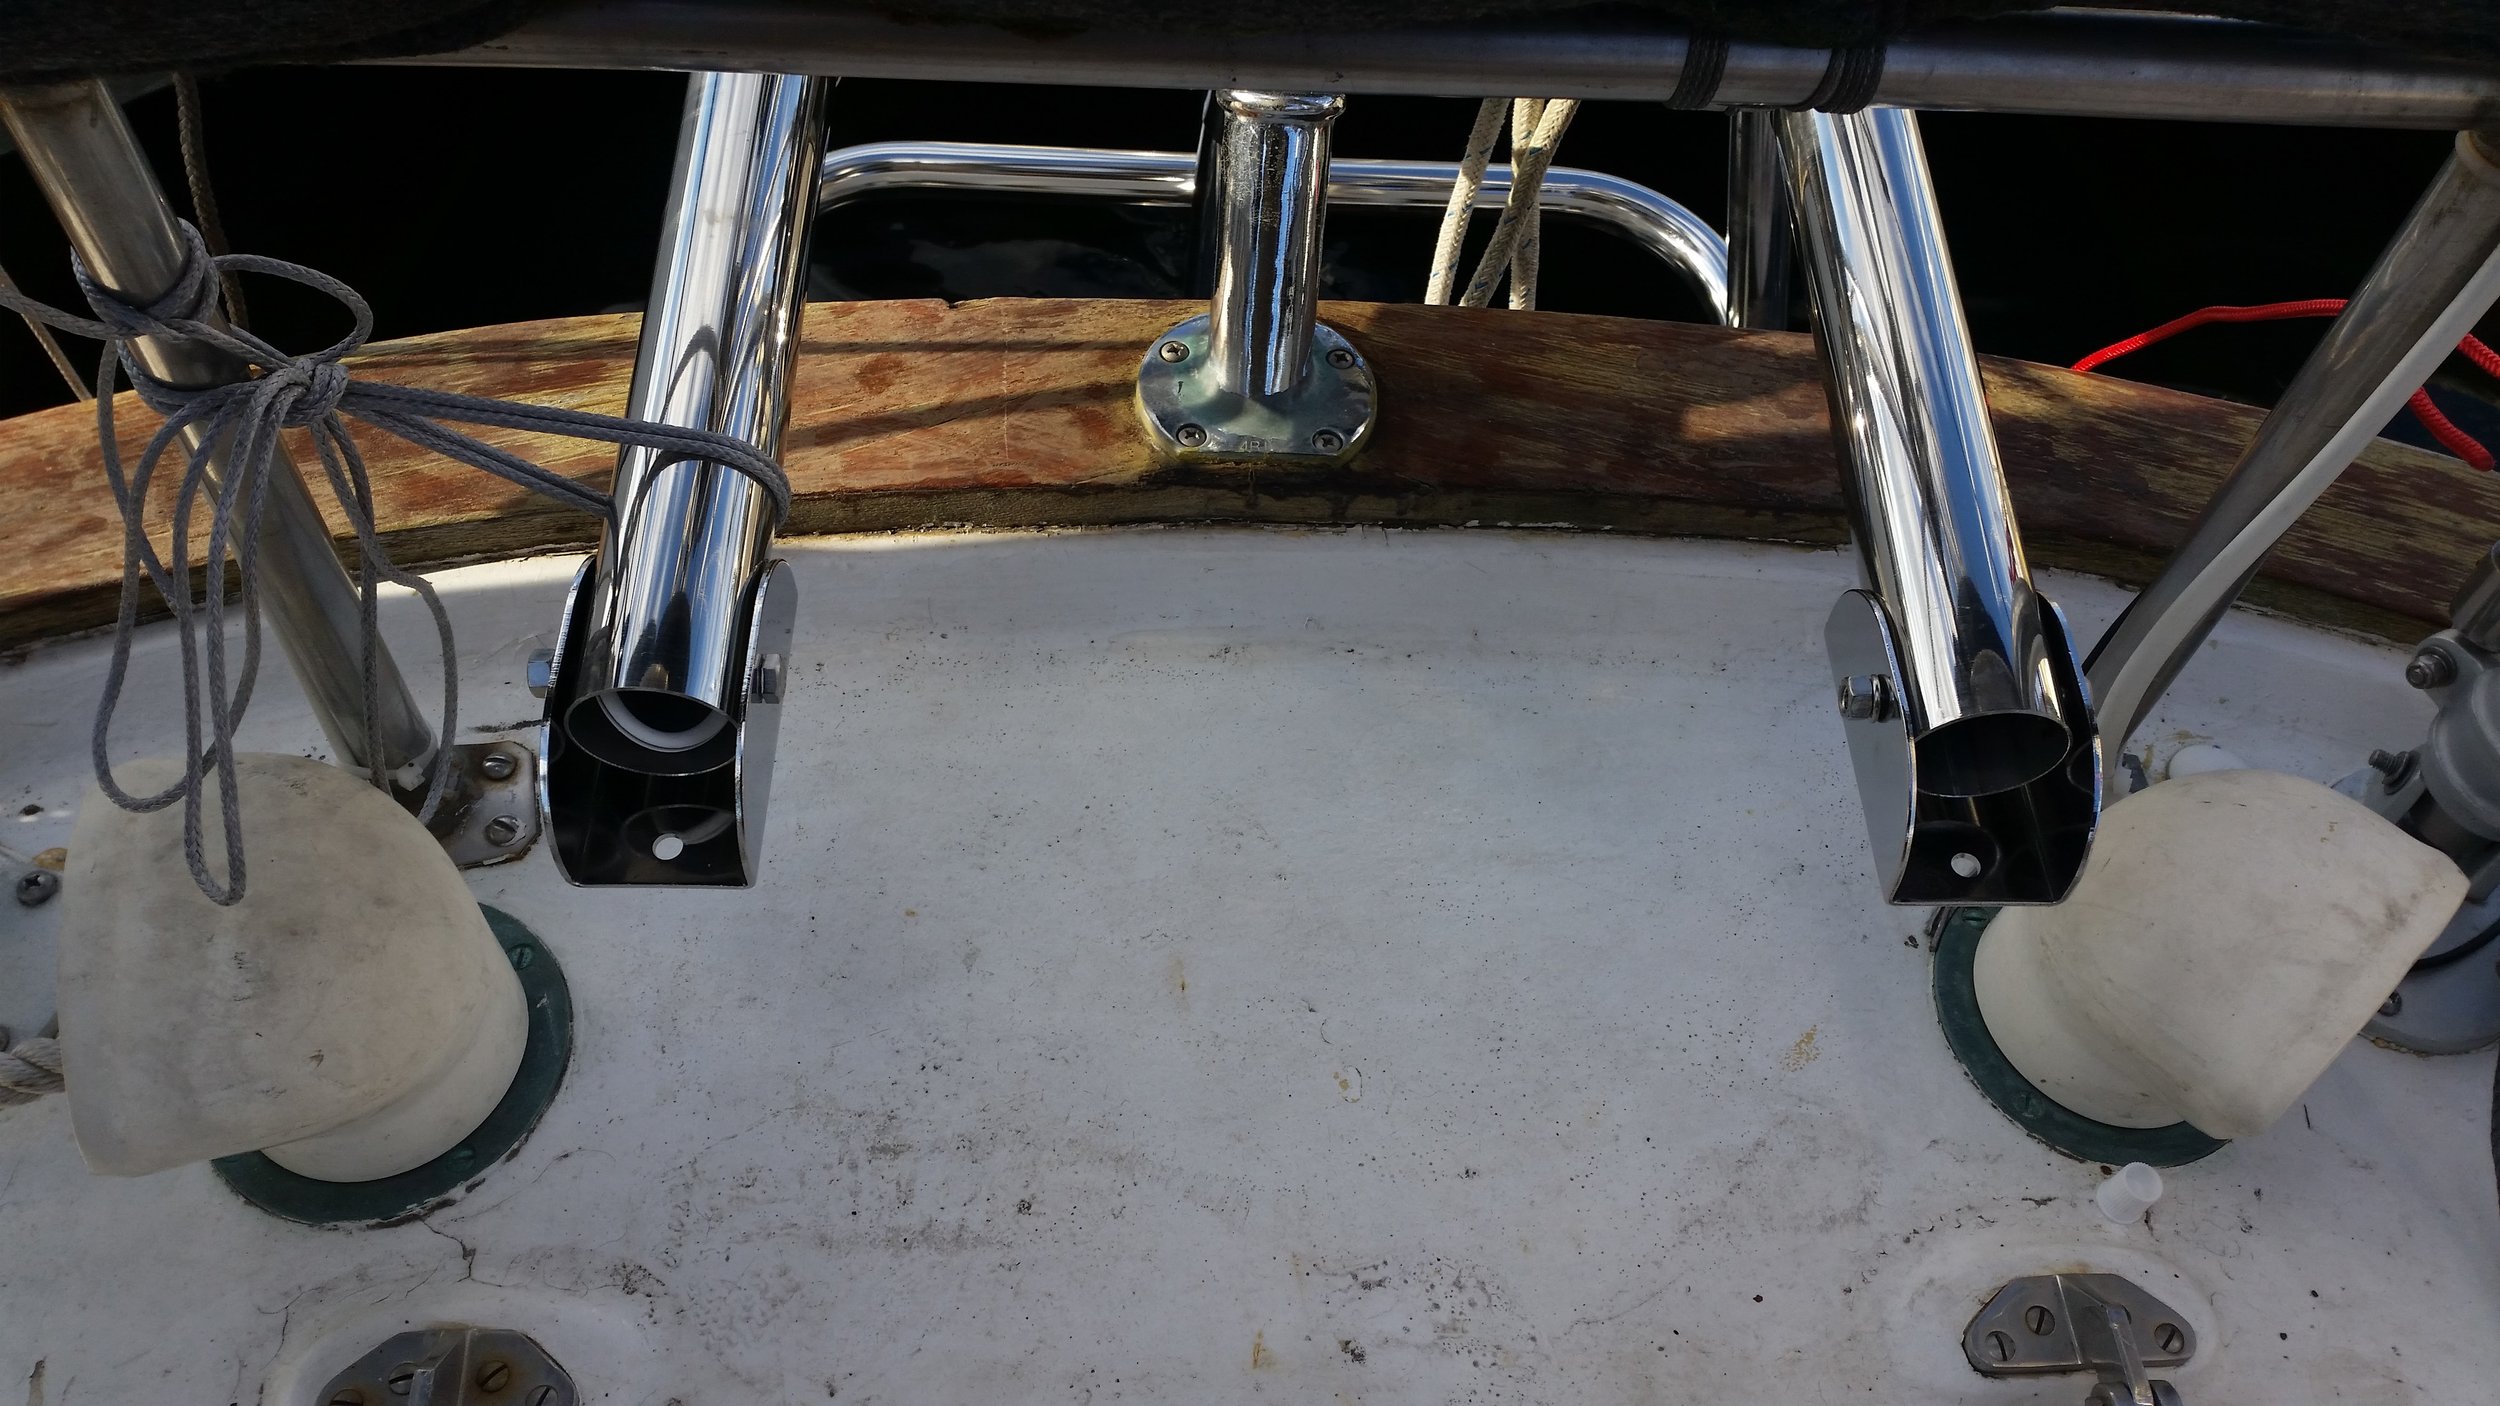
The space between the lower side of the top brackets and the deck was 4 3/4 inches on each side. This mean that "alignment nirvana" had been achieved and I was ready to fabricate the pillow blocks.

Pillow blocks are nothing more than wooden spacers that will act as a intermediary between the deck and the bracket. They will be through bolted, so they don't need to be the strongest of blocks in sheer or in tension. Pillow blocks do need to be strong in compression though, as they will be tightly through bolted. 

To make pillow blocks, all you need to do is laminate pieces of wood to form a large enough block. I chose to use quarter sawn Douglas Fir as it is strong and easily attainable. 
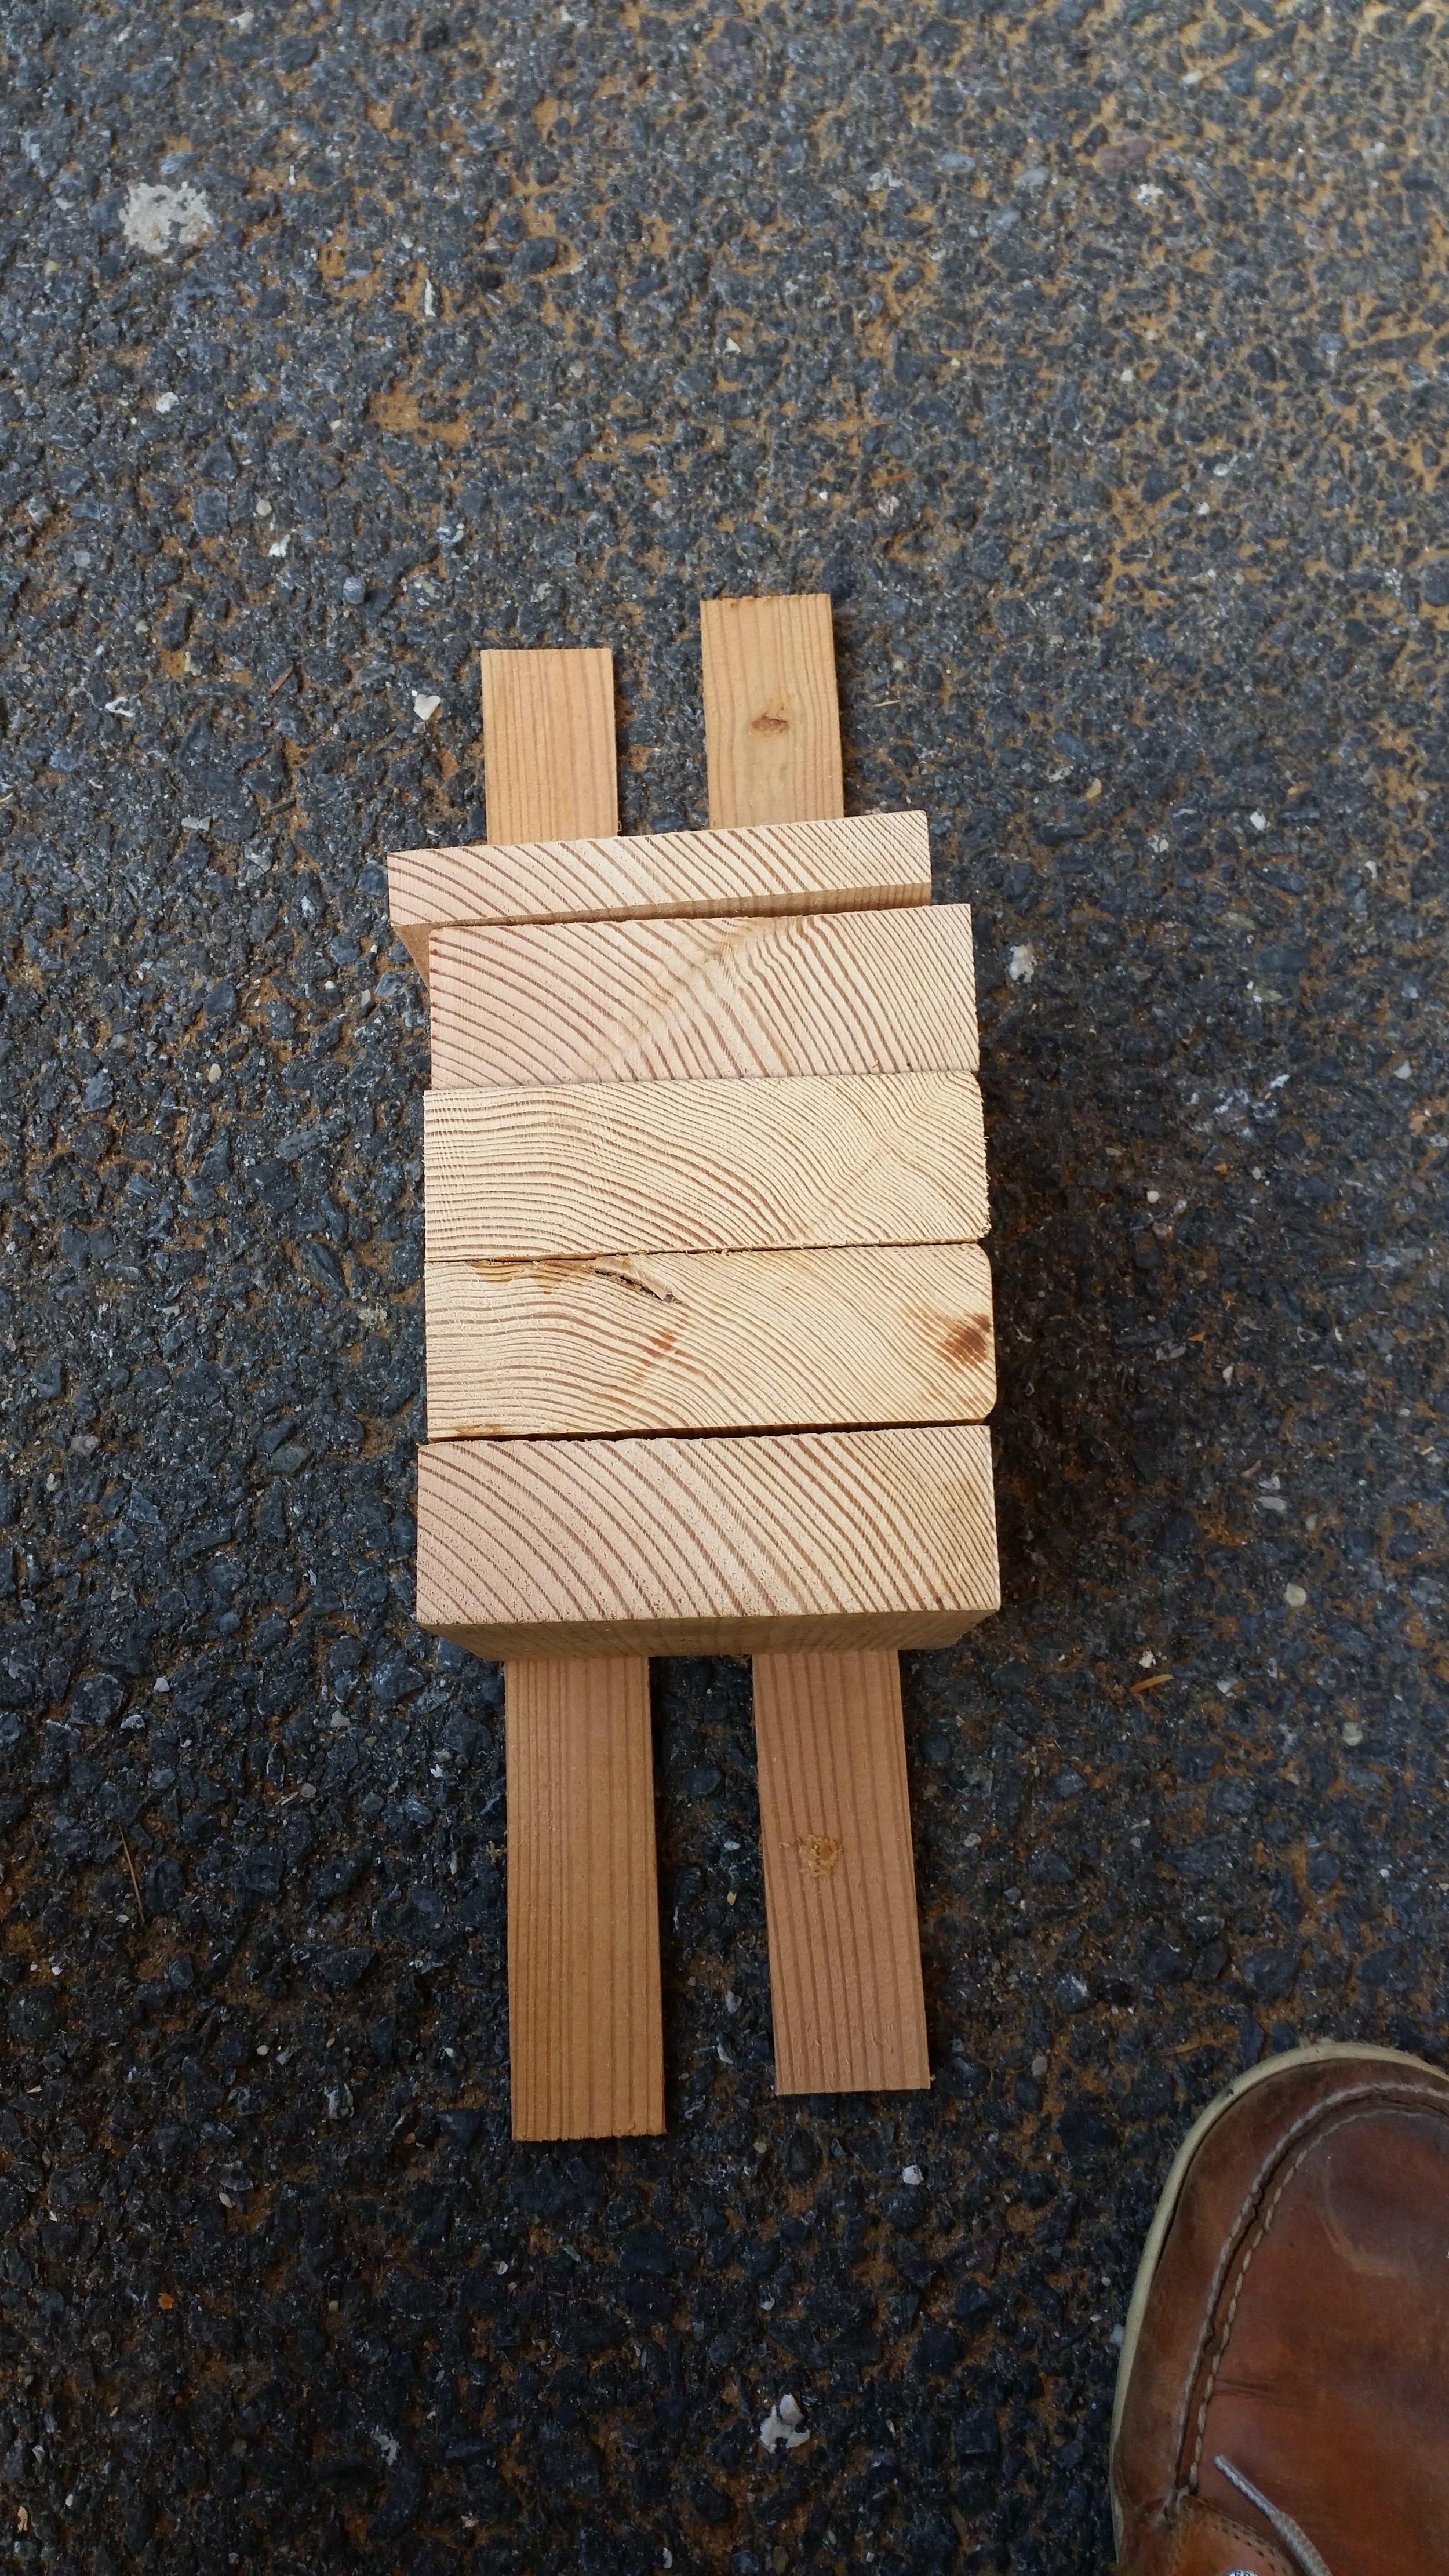
While the pillow blocks only need to be 4 3/4" tall, I decided to make the raw blocks much larger at 6 1/2" tall. This extra height will let me cut the blocks down to size on the bandsaw, giving me a perfect fit.

I organized the blocks so that the quarter sawn grain all ran the same direction. This serves a few purposes:

  • It makes the grain line up so that working on the wood is more predictable.
  • The grain lines will run in a similar direction on each side, making the wood look like a single piece instead of a chimera.

The blocks could have just as easily been arranged in any sort of pattern desired, as grain patterns are not as critical in pillow blocks since their only purpose is to not be crushed.

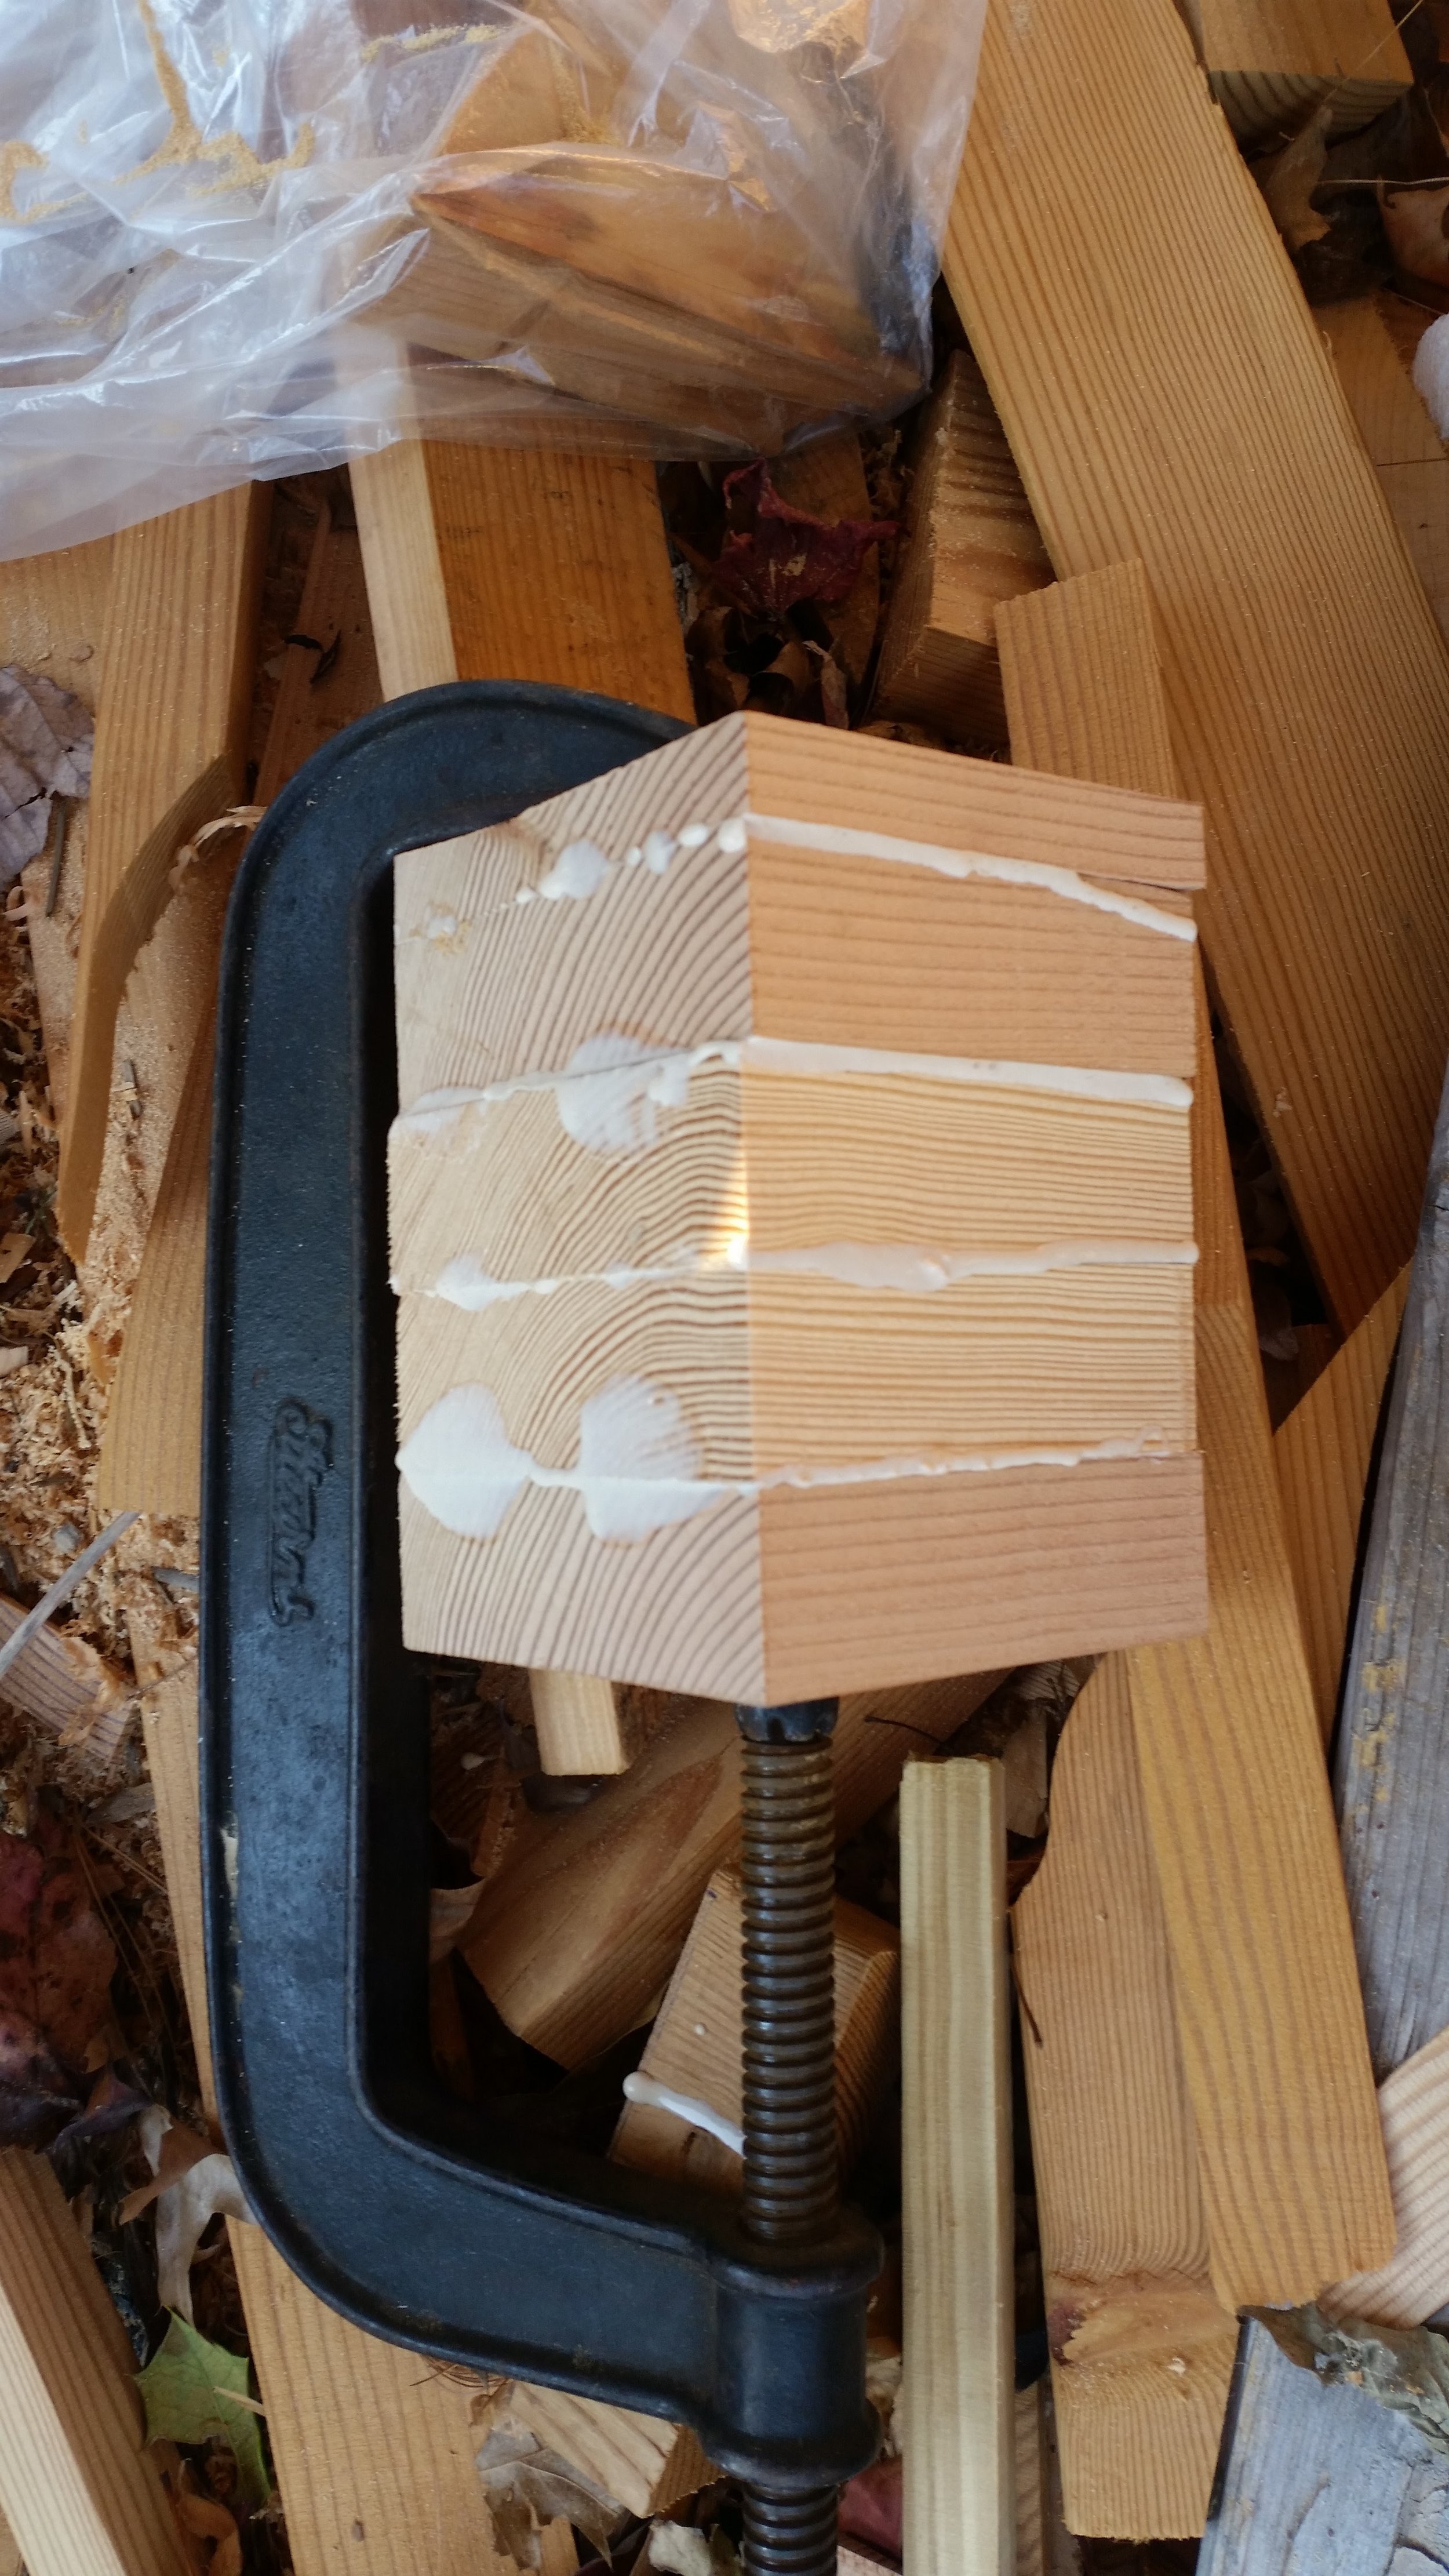
Excess glue spewed out of the seams as the laminated block was crushed under the clamping force. The glue was allowed time to cure in the clamp for a few days before the finishing could take place.

Once the glue had dried and cured, the clamps were removed and the over sized blocks were cleaned up. The first step is to cut off any excess overhangs that protrude from the blocks, then run them over the jointer a few times to square up the sides. This is all done with the blocks over-tall that way they can be trimmed down at the end. Over-tall blocks give the flexibility of absorbing damage that may occur when running end grain over the jointer (the jointer can turn into a wood splitter)
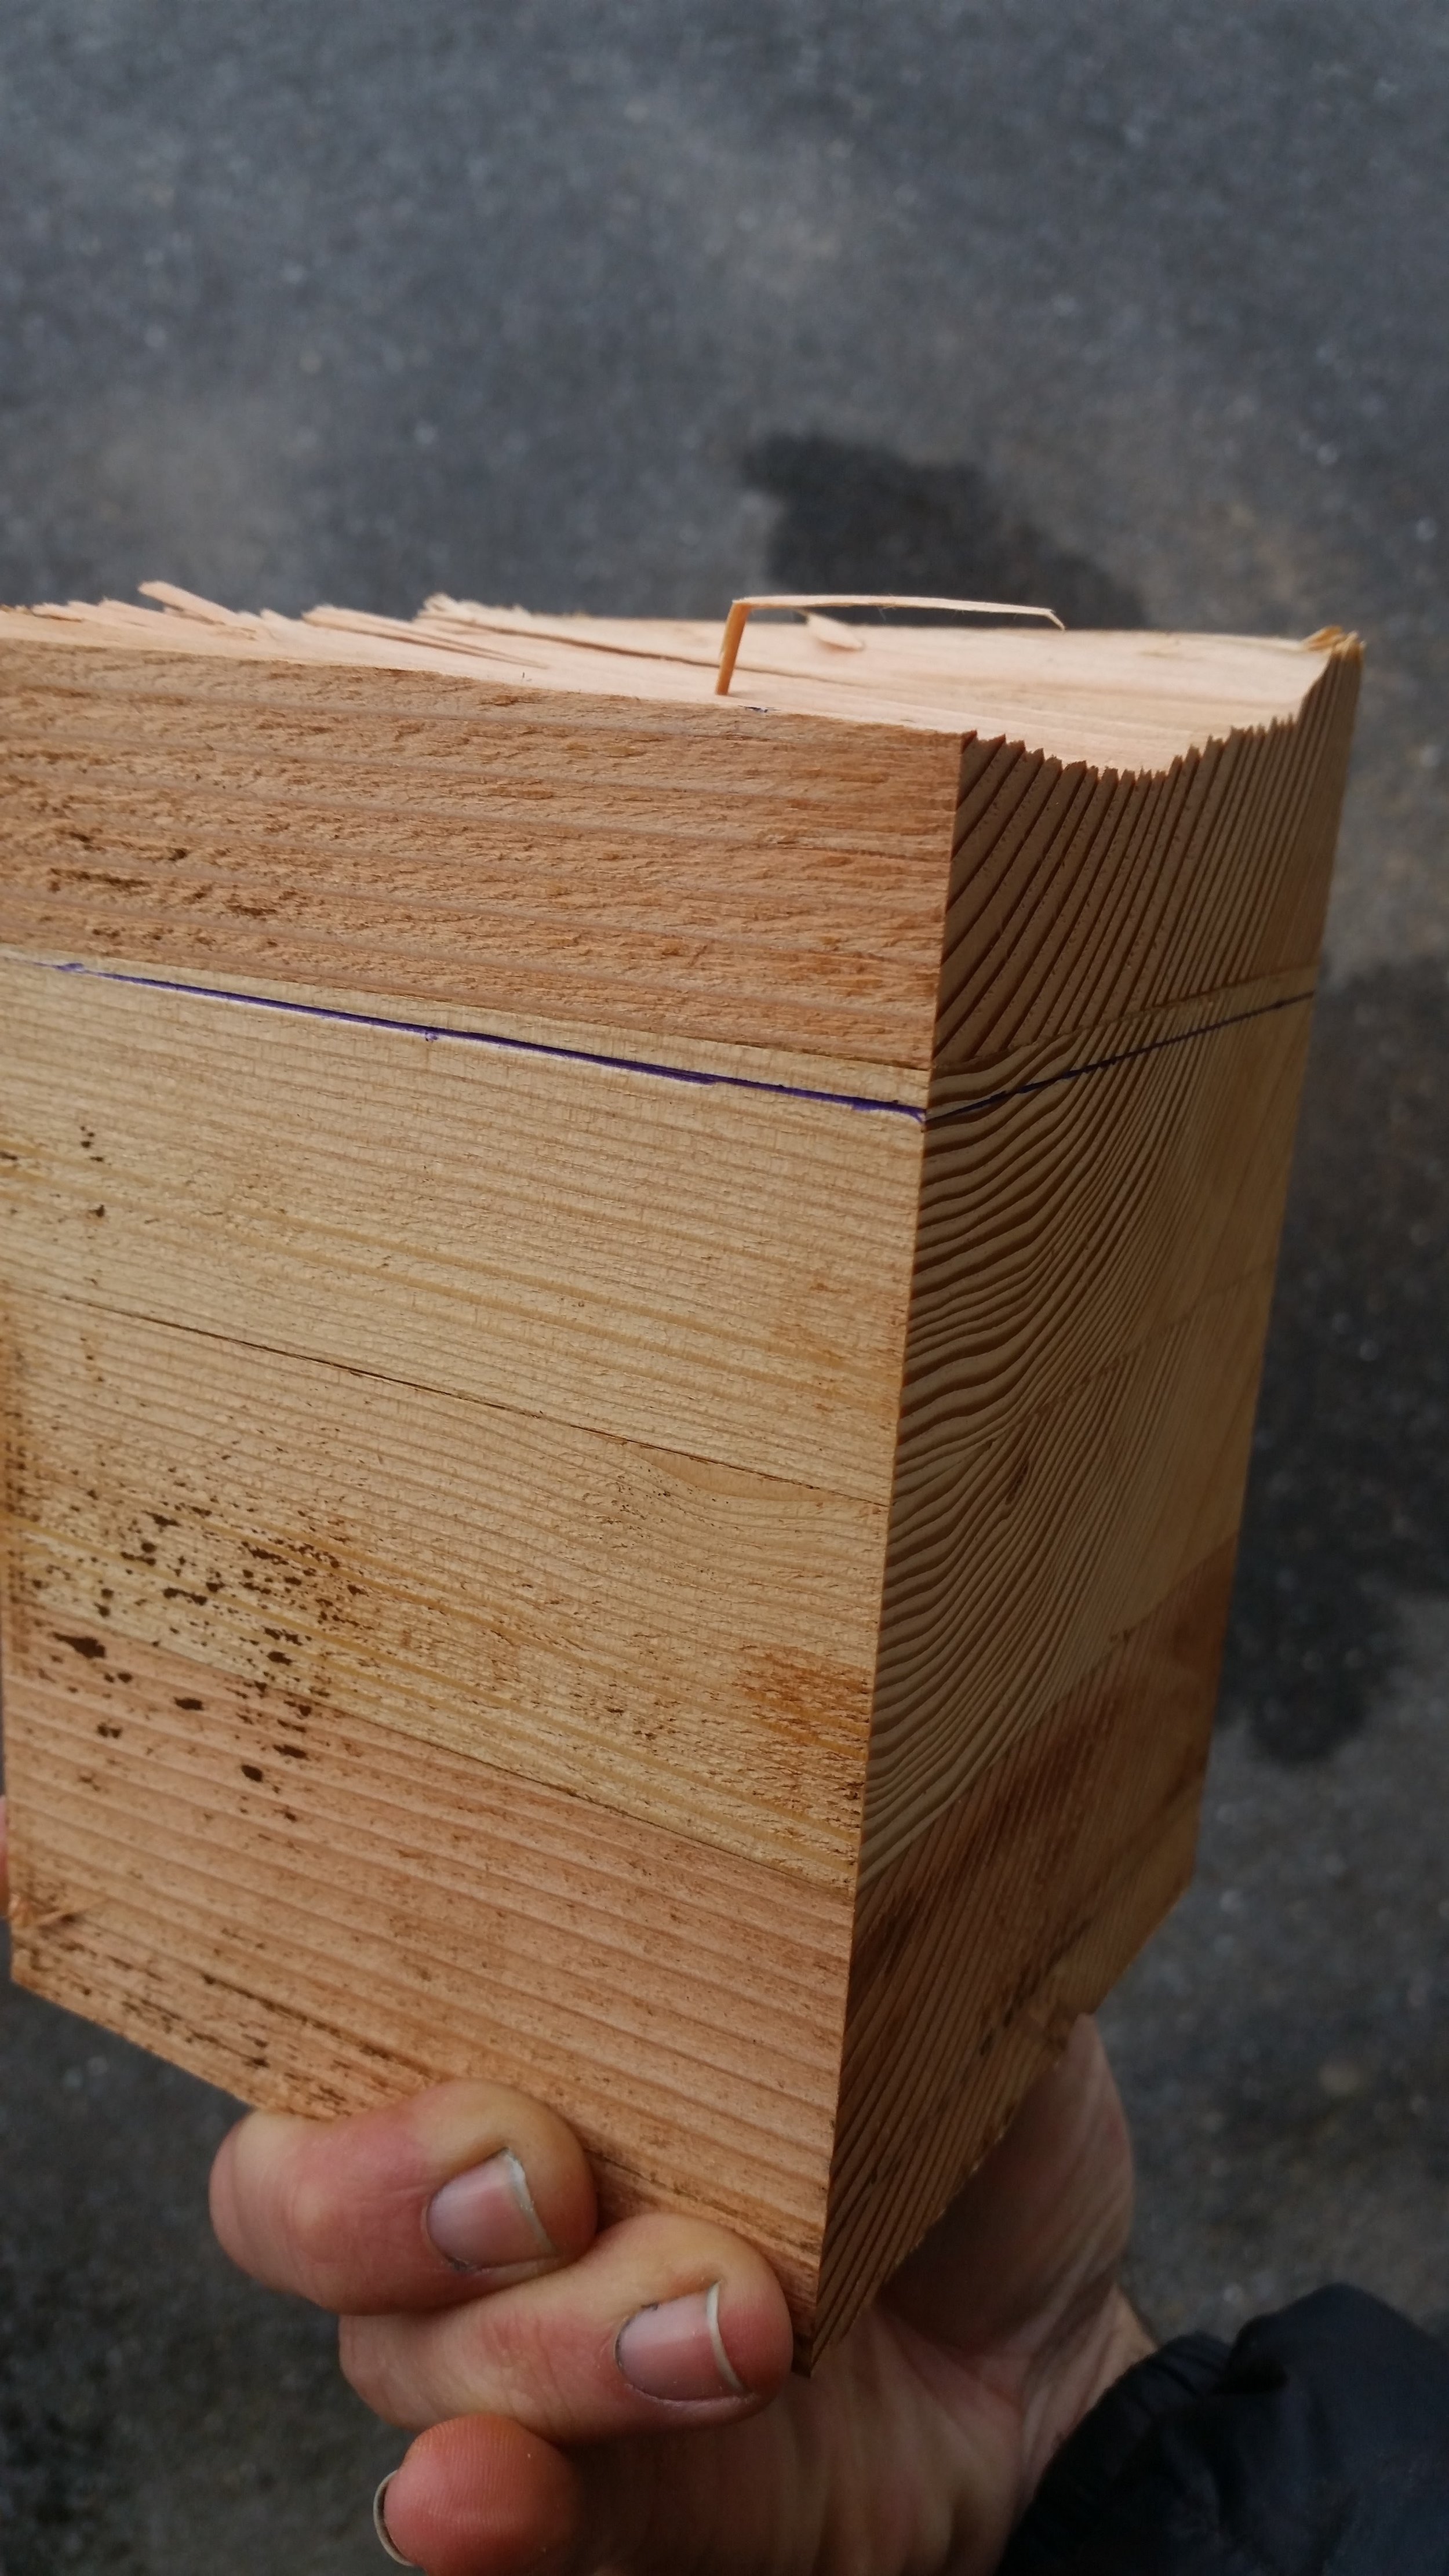
The jointer squared the pillow block right up, making it look like a nicely milled block of wood. The problem was the jointer also ripped off the top of the block, luckily this was above the cut-off line, so the loss of wood won't be an issue. The other block was not so lucky, as the block split in the middle, well below the cut-off line. 

The block that split above the cut-off line was trimmed to the line on the bandsaw and then sanded to clean up the wood surface and round the corners off. Rounded corners will prevent any damage if someone or something were to fall against the pillow block. If the corners are sharp, then the wood could easily puncture whatever falls into it.

The other block needed to be clamped and glued again to repair the break. Luckily, the break was clean and the pieces fit back together perfectly. Being how it was especially cold when I glued and clamped the second block, I opted to take it home with me and let it cure faster with the heat of the boats interior.

The block was wrapped in paper towel to avoid any issues with wood glue seeping out of the joint, and to protect the assembly from contamination while it cured. I set the clamped block on the settee just above the baseboard heater to keep it plenty warm overnight. For added warmth, I covered the whole assembly in a blanket. The blanket was set over the baseboard heater to trap the warm rising air from the baseboard and hold it around the curing wood glue.

This setup was allowed to sit over night, and by morning it was completely cured and ready to take out of the clamps. The following morning, it was trimmed up the same way as the first block, resulting in two perfectly shaped and sized pillow blocks that are ready for installation!
Finishing the Bow

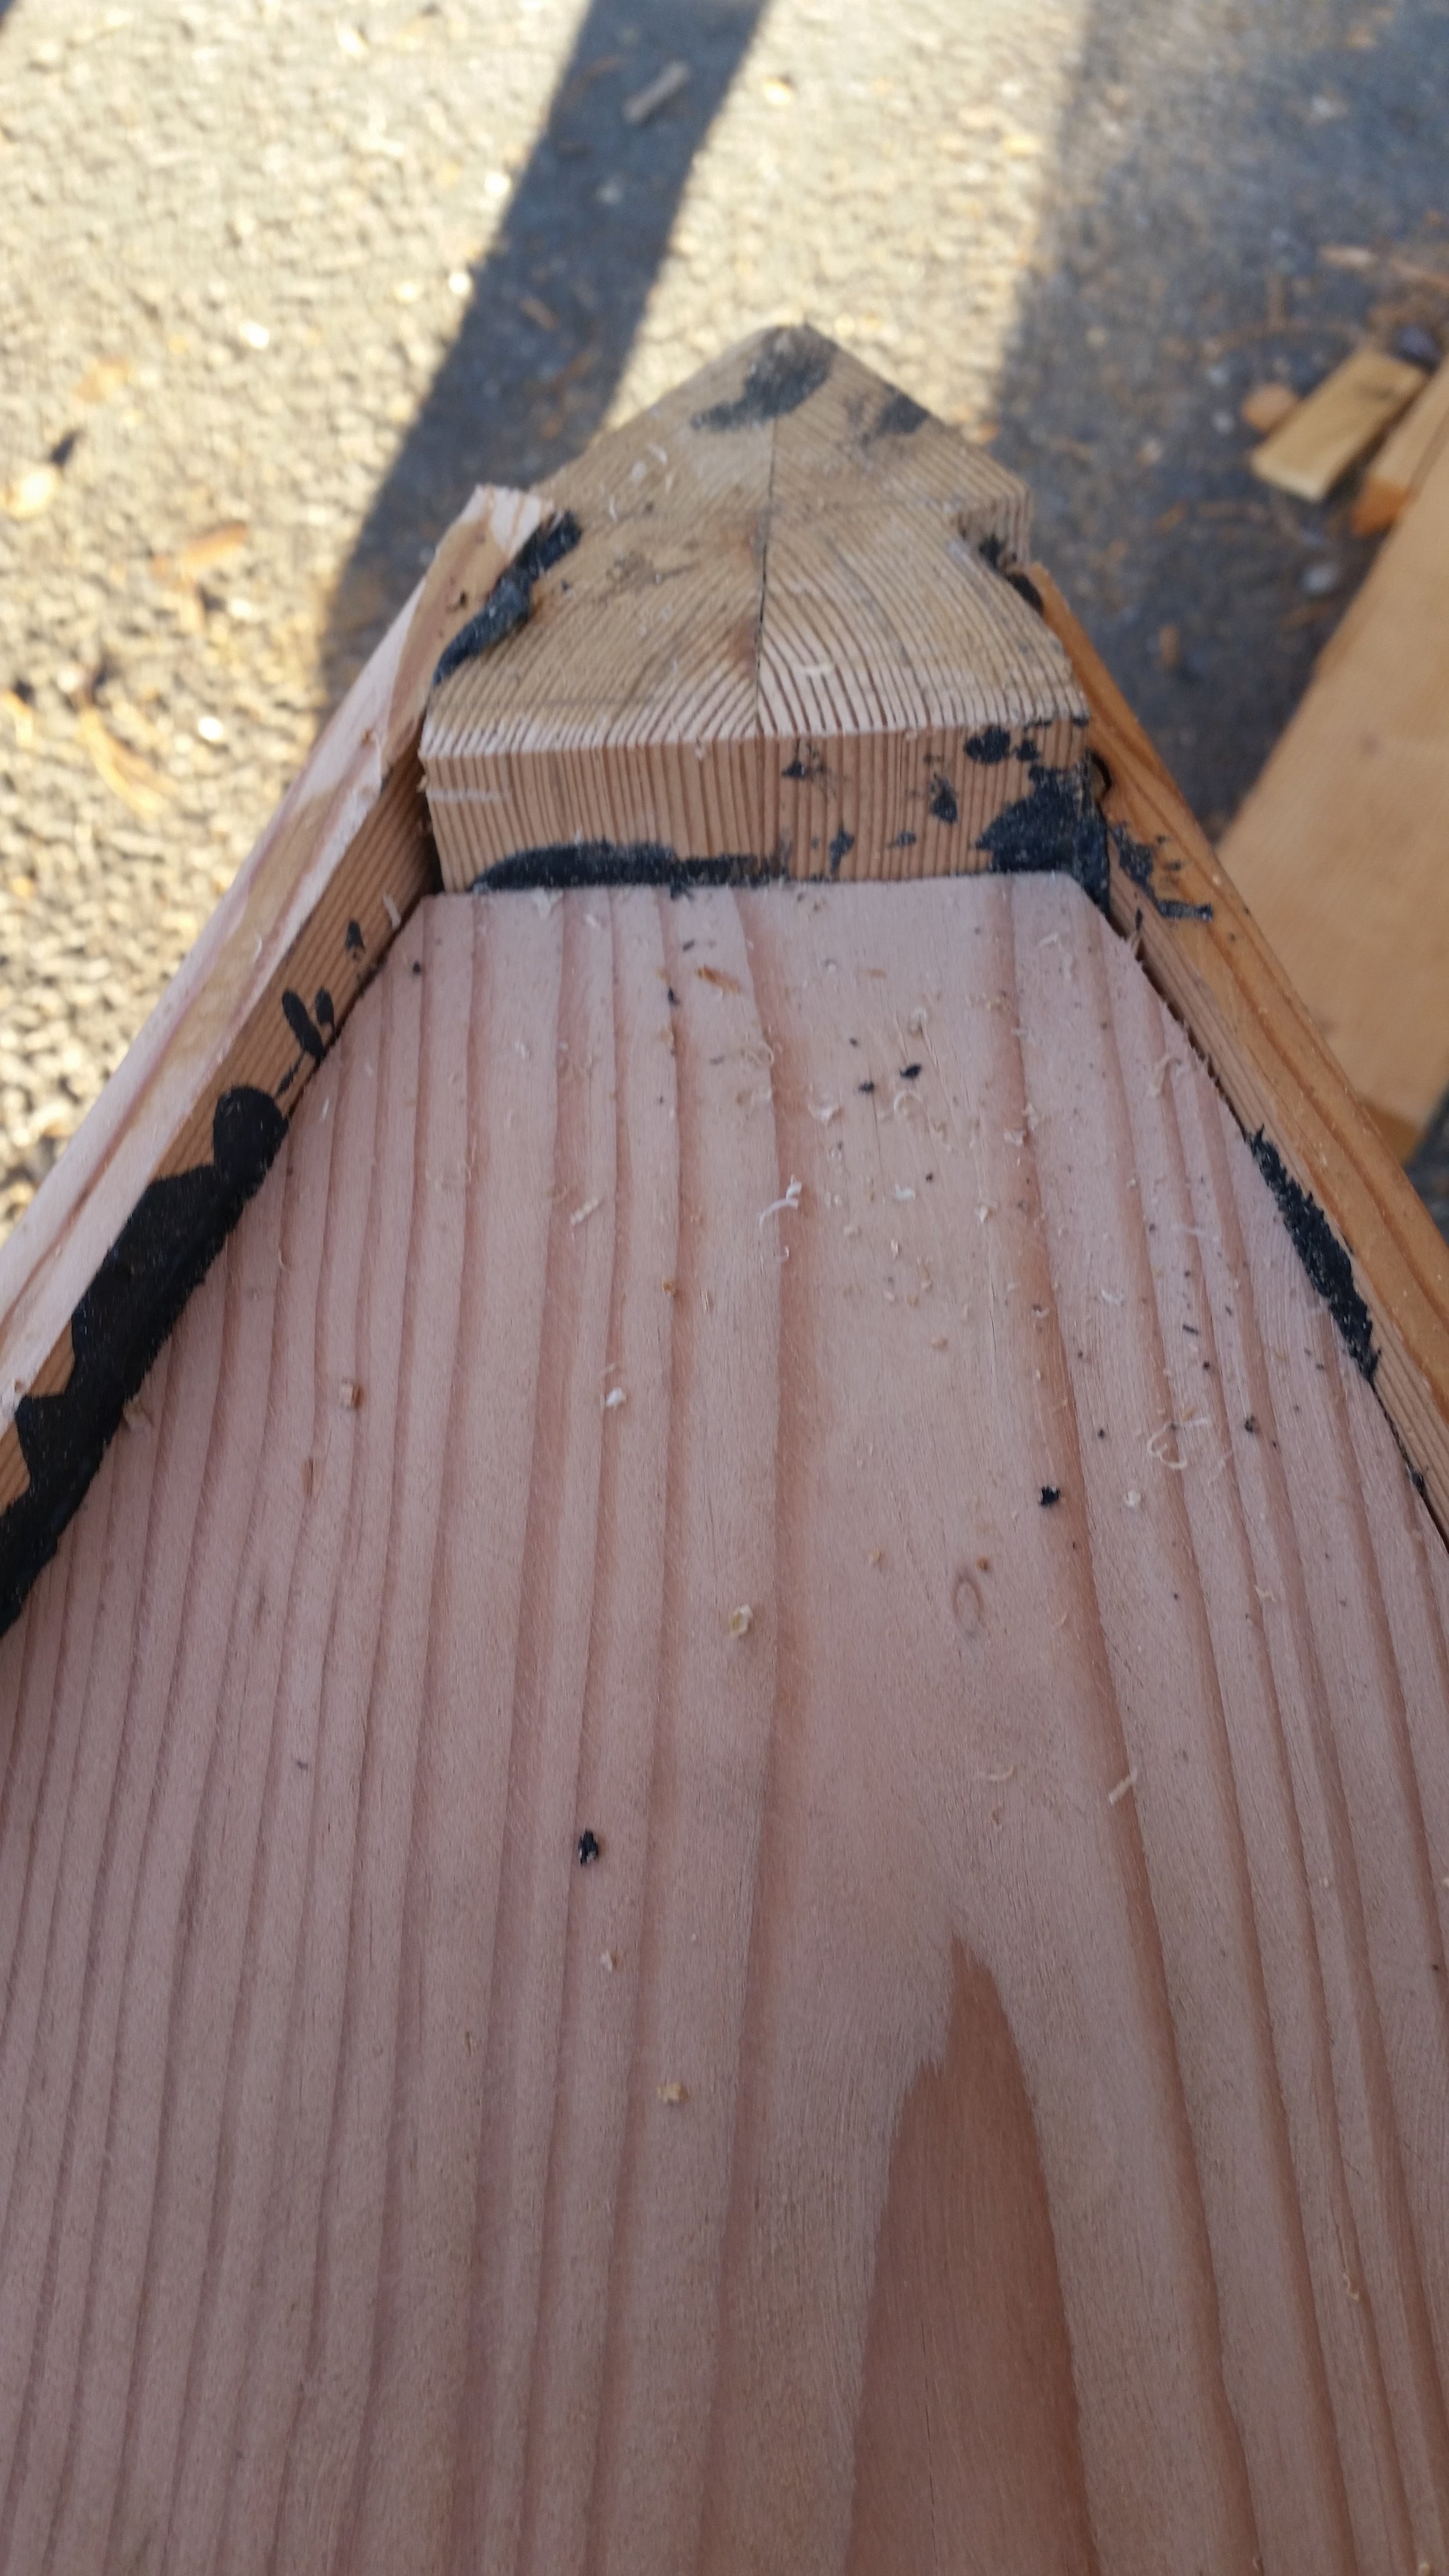
The black polysulfide bedding compound has had plenty of time to cure, now we are ready to make the stem and bow look like a composed boat instead of a pile of wood.

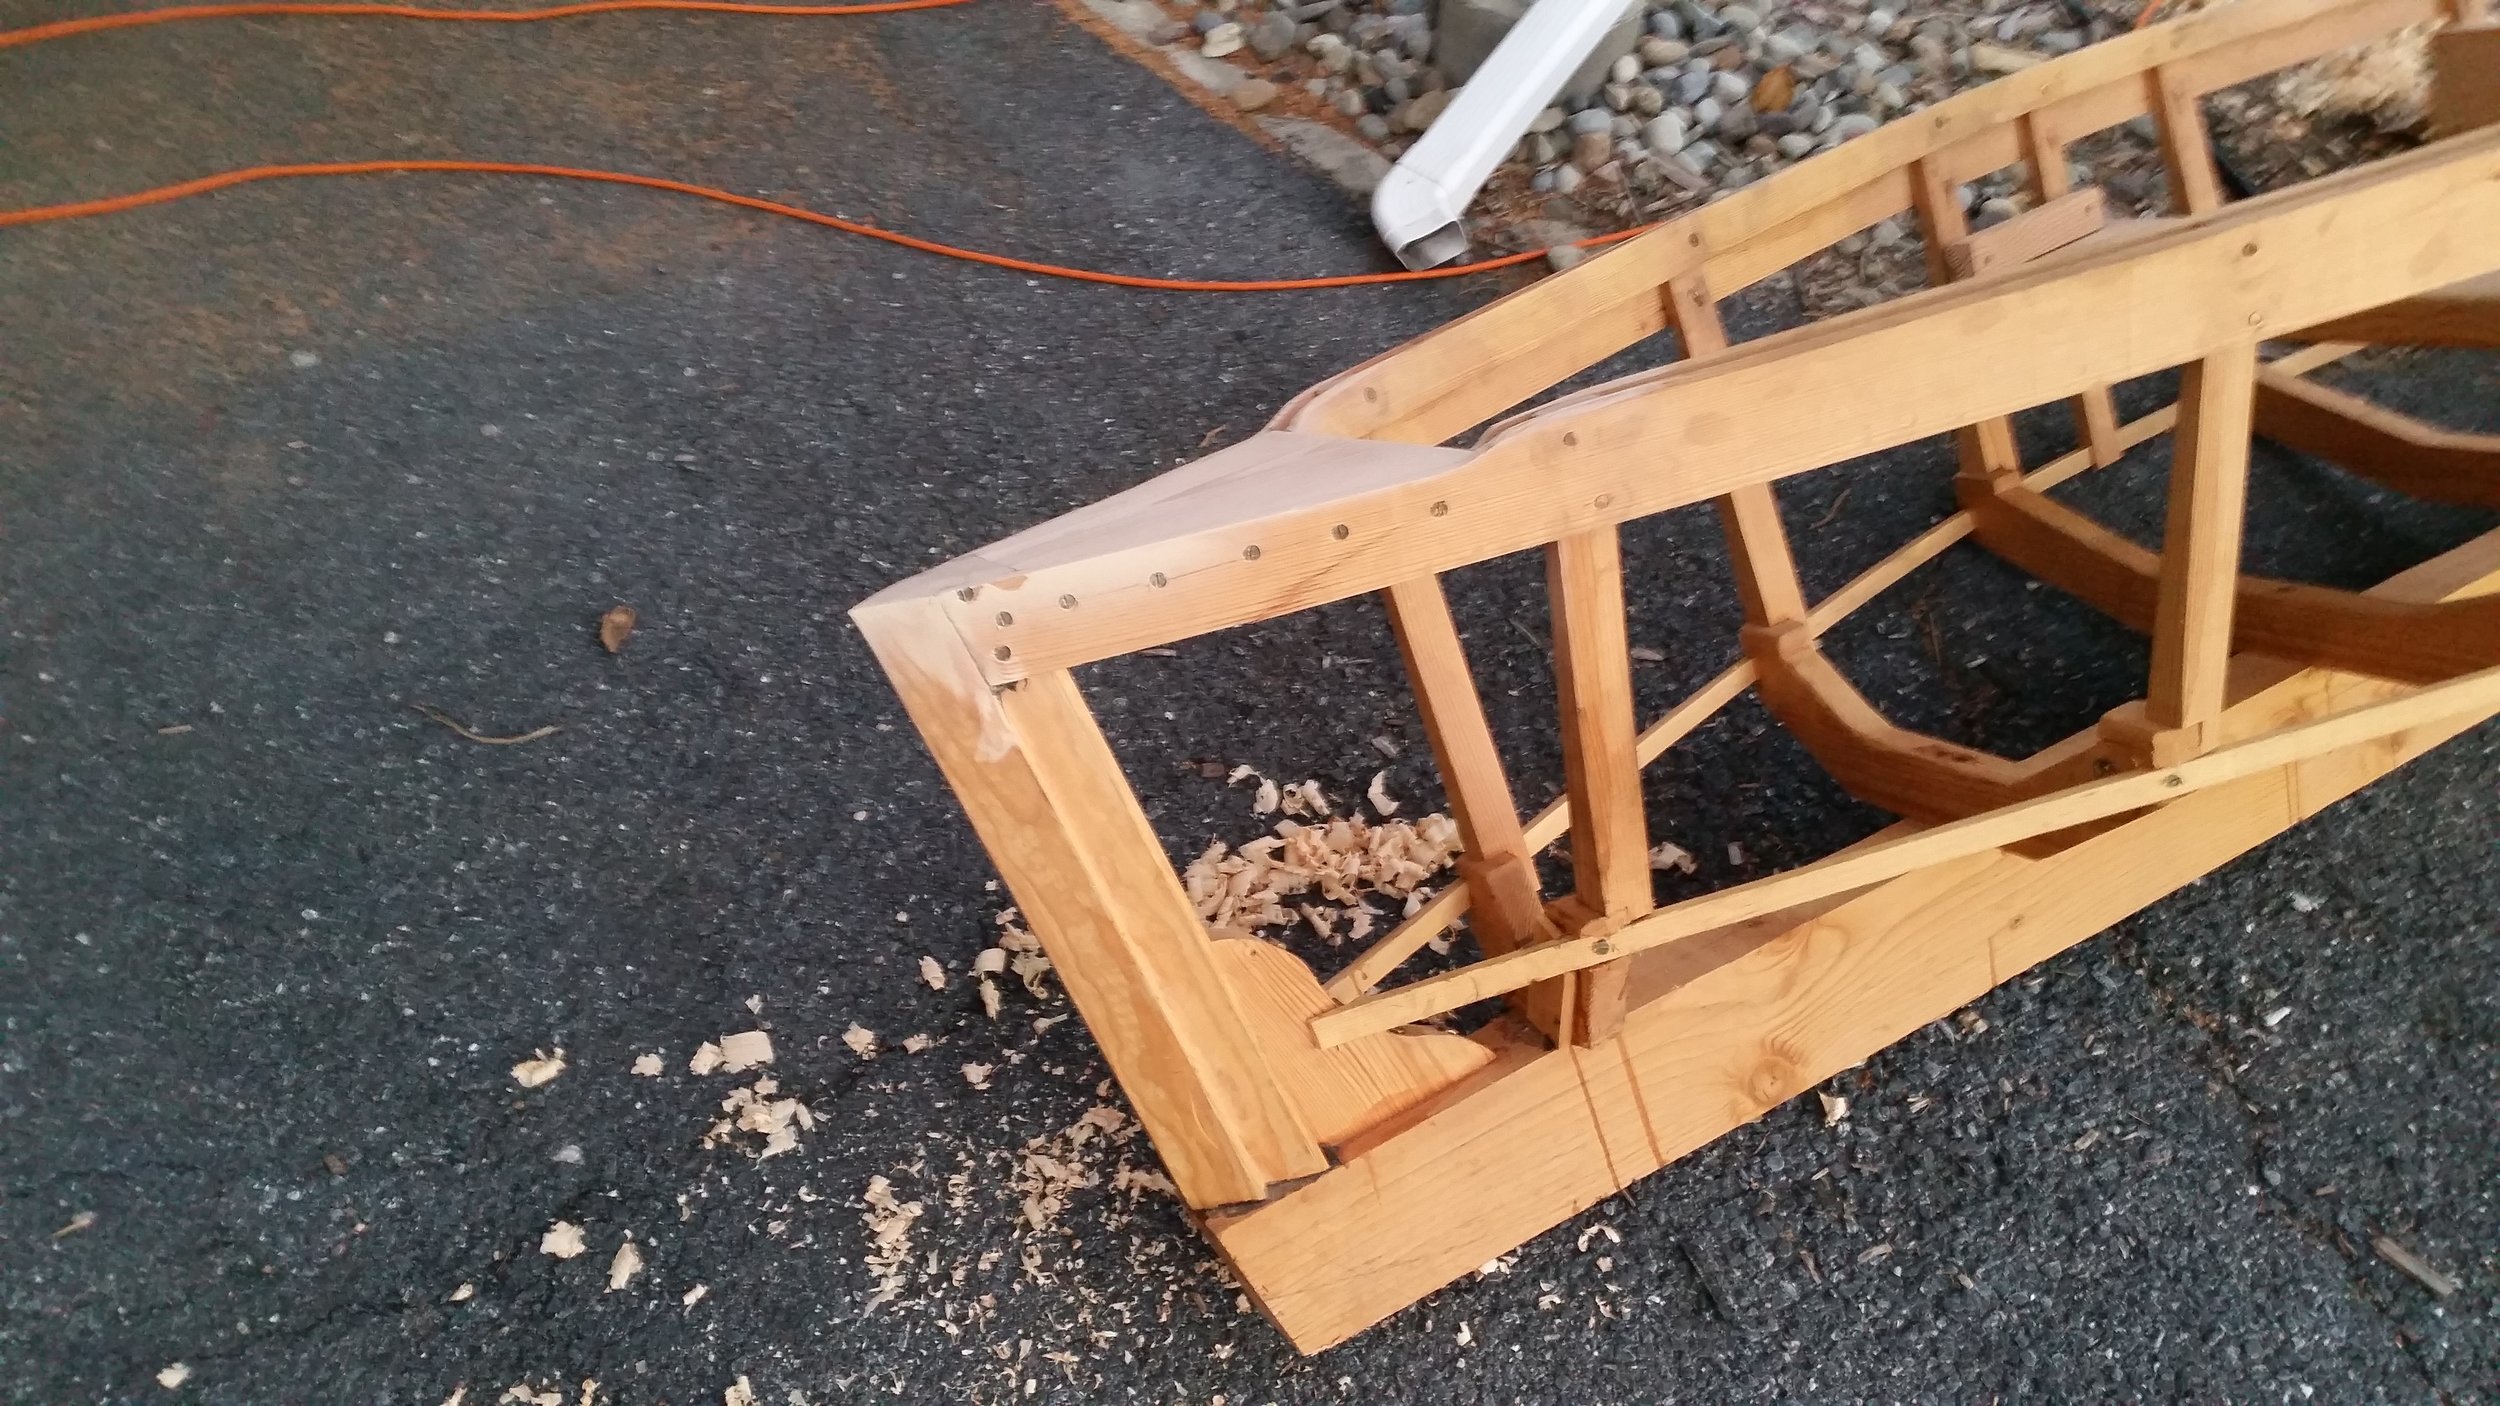
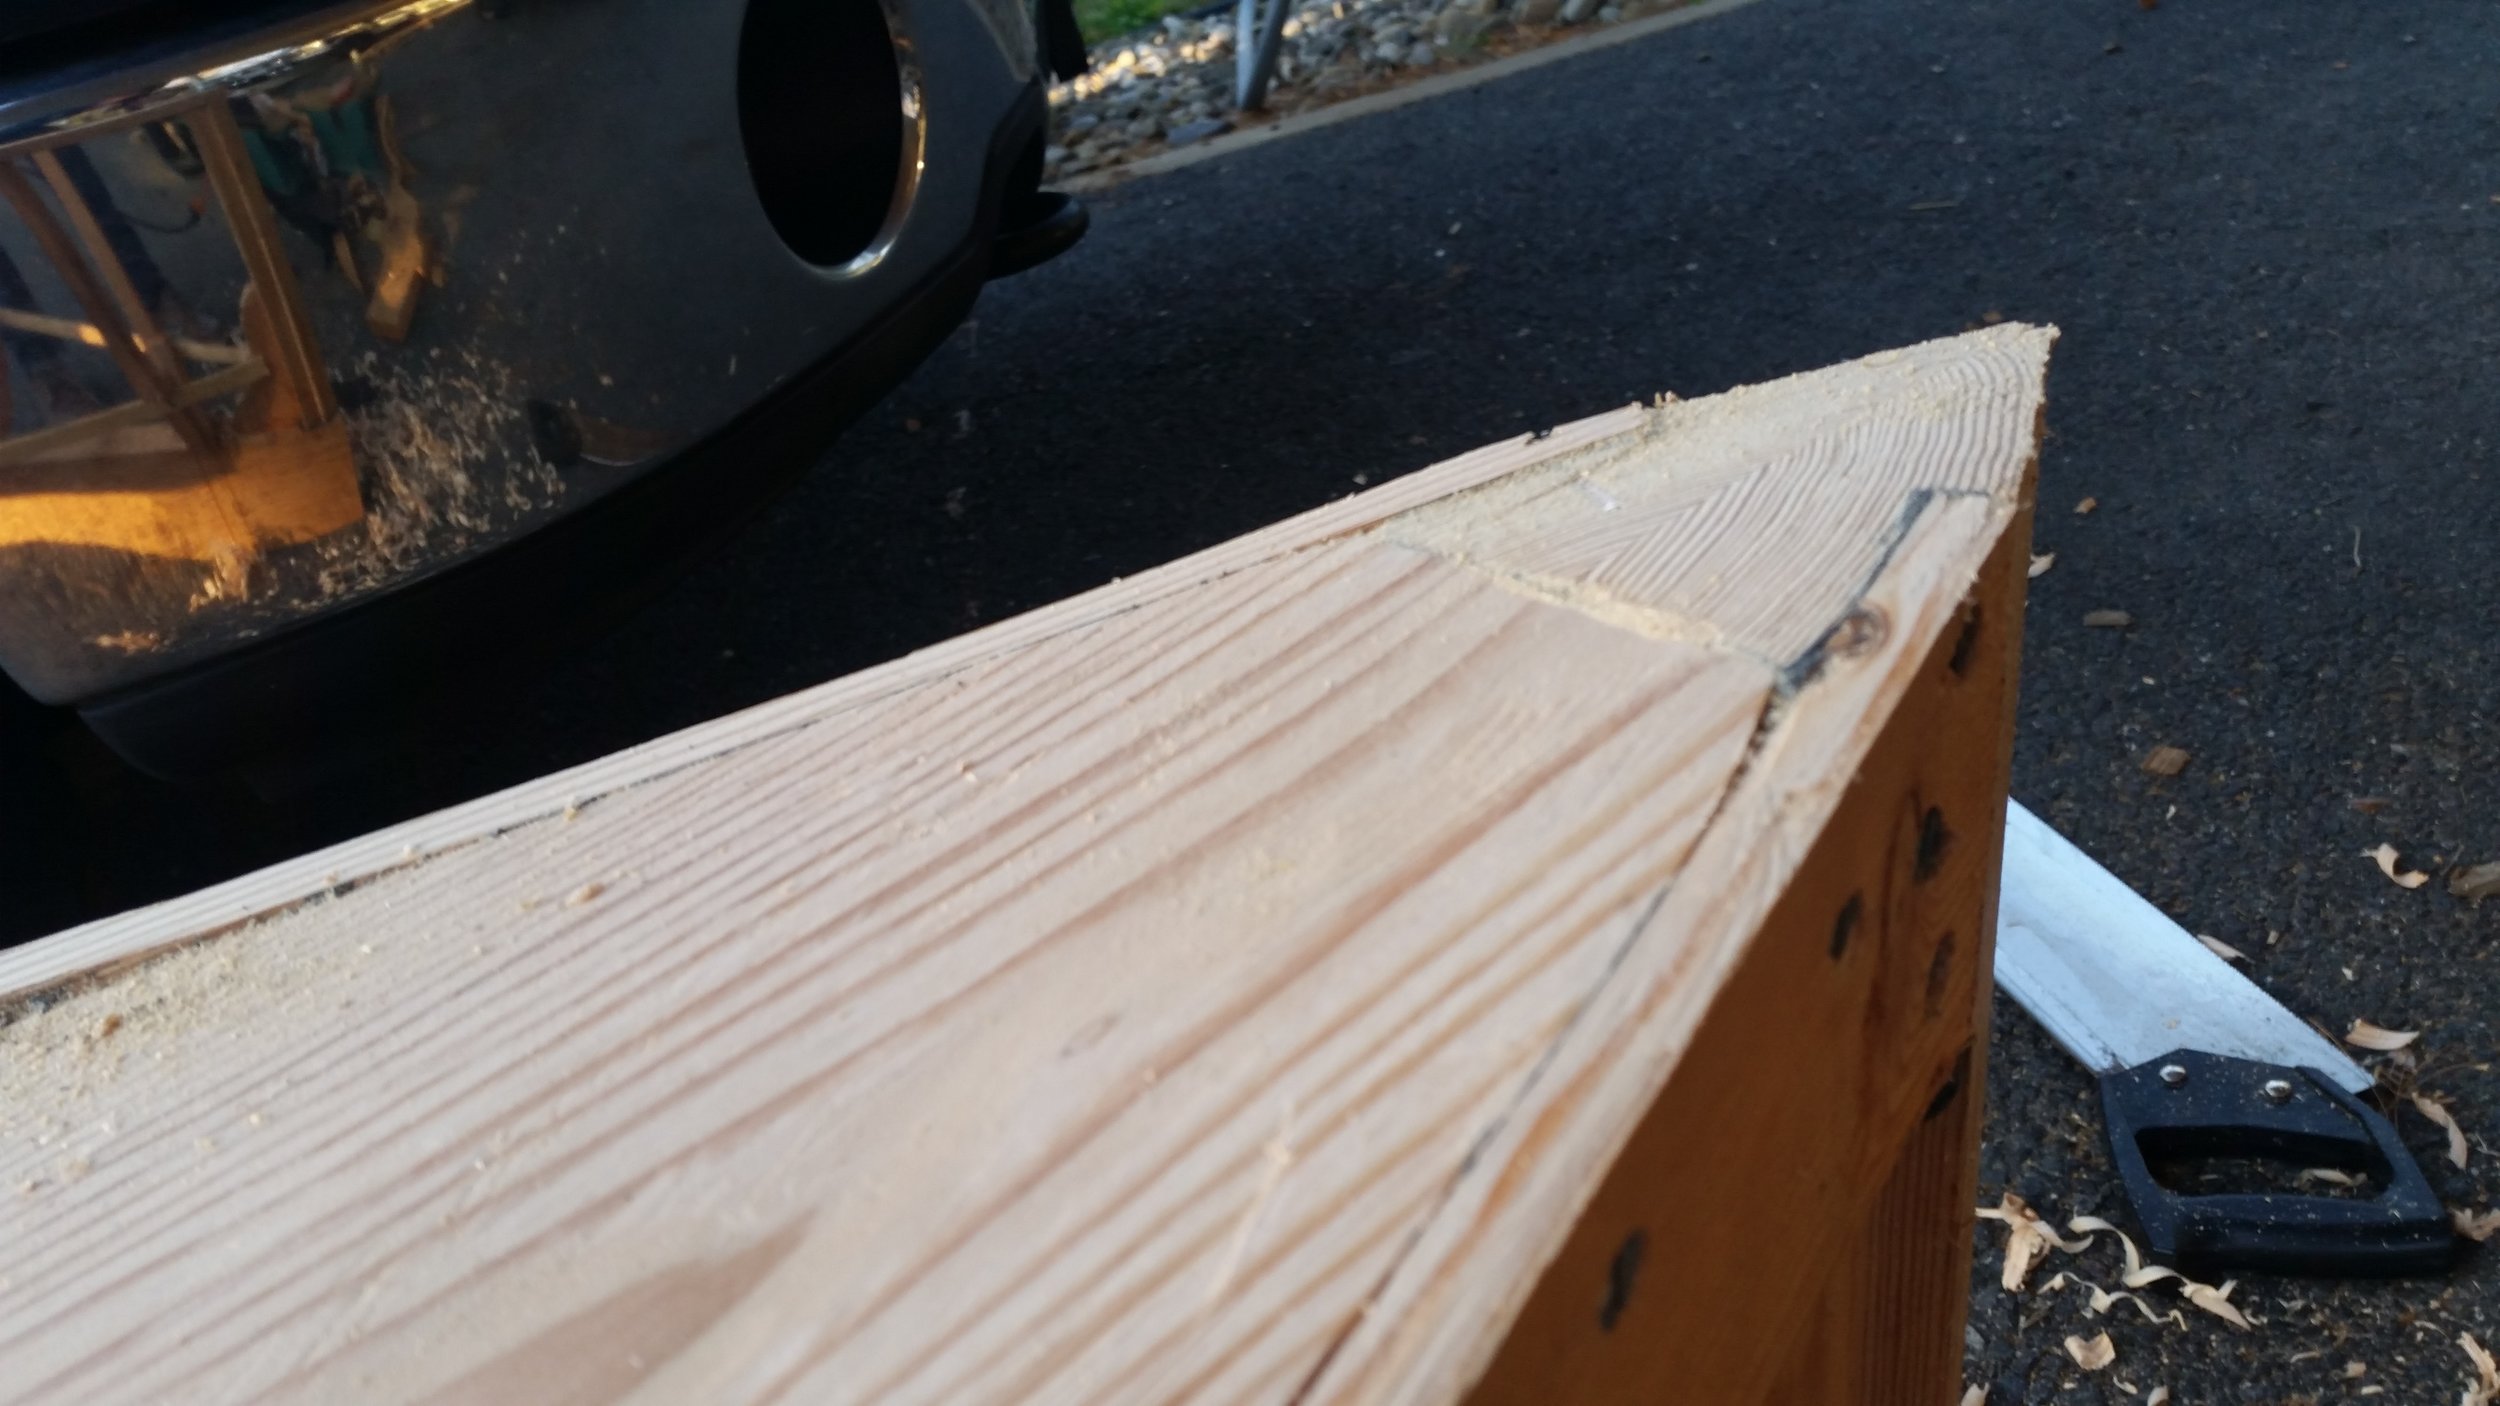
The top of the stem is sloped down, while the bow slopes up. Then the port and starboard sheer strakes are far from even. All of this needs to be evened out to make the bow look presentable as well as functional.

The first step is to take a handsaw and cut the top of the stem flush with the breasthook. The sheers are then planed down until they become flush with the breasthook. At this point, the bow looks a lot more presentable! Running over everything with sand paper helps to blend all the different boards together and make the bow look like a single unit rather than a hodgepodge.

The sheers and shelf clamps were also rounded as they approached the bow to take away any harsh steps that would otherwise be present.

After a fair amount of sanding, the bow of the boat looks much better and smoother with the lines of the dinghy.

The breasthook is set angled slightly inboard so that if something were set on the top of the board and were to fall or roll, it would hopefully fall into the dinghy rather than overboard. Also, if someone were to sit on the breasthook, they would have a flatter seat to rest on as the dinghy pitches forward. 

Lighter sanding will be done when the rest of the boat is ready and before the planking goes on. It is always easier to clean and prepare the wood before the planking is placed as you have much better access to all the "open" nooks and crannies of the hull.

Banana Hammock

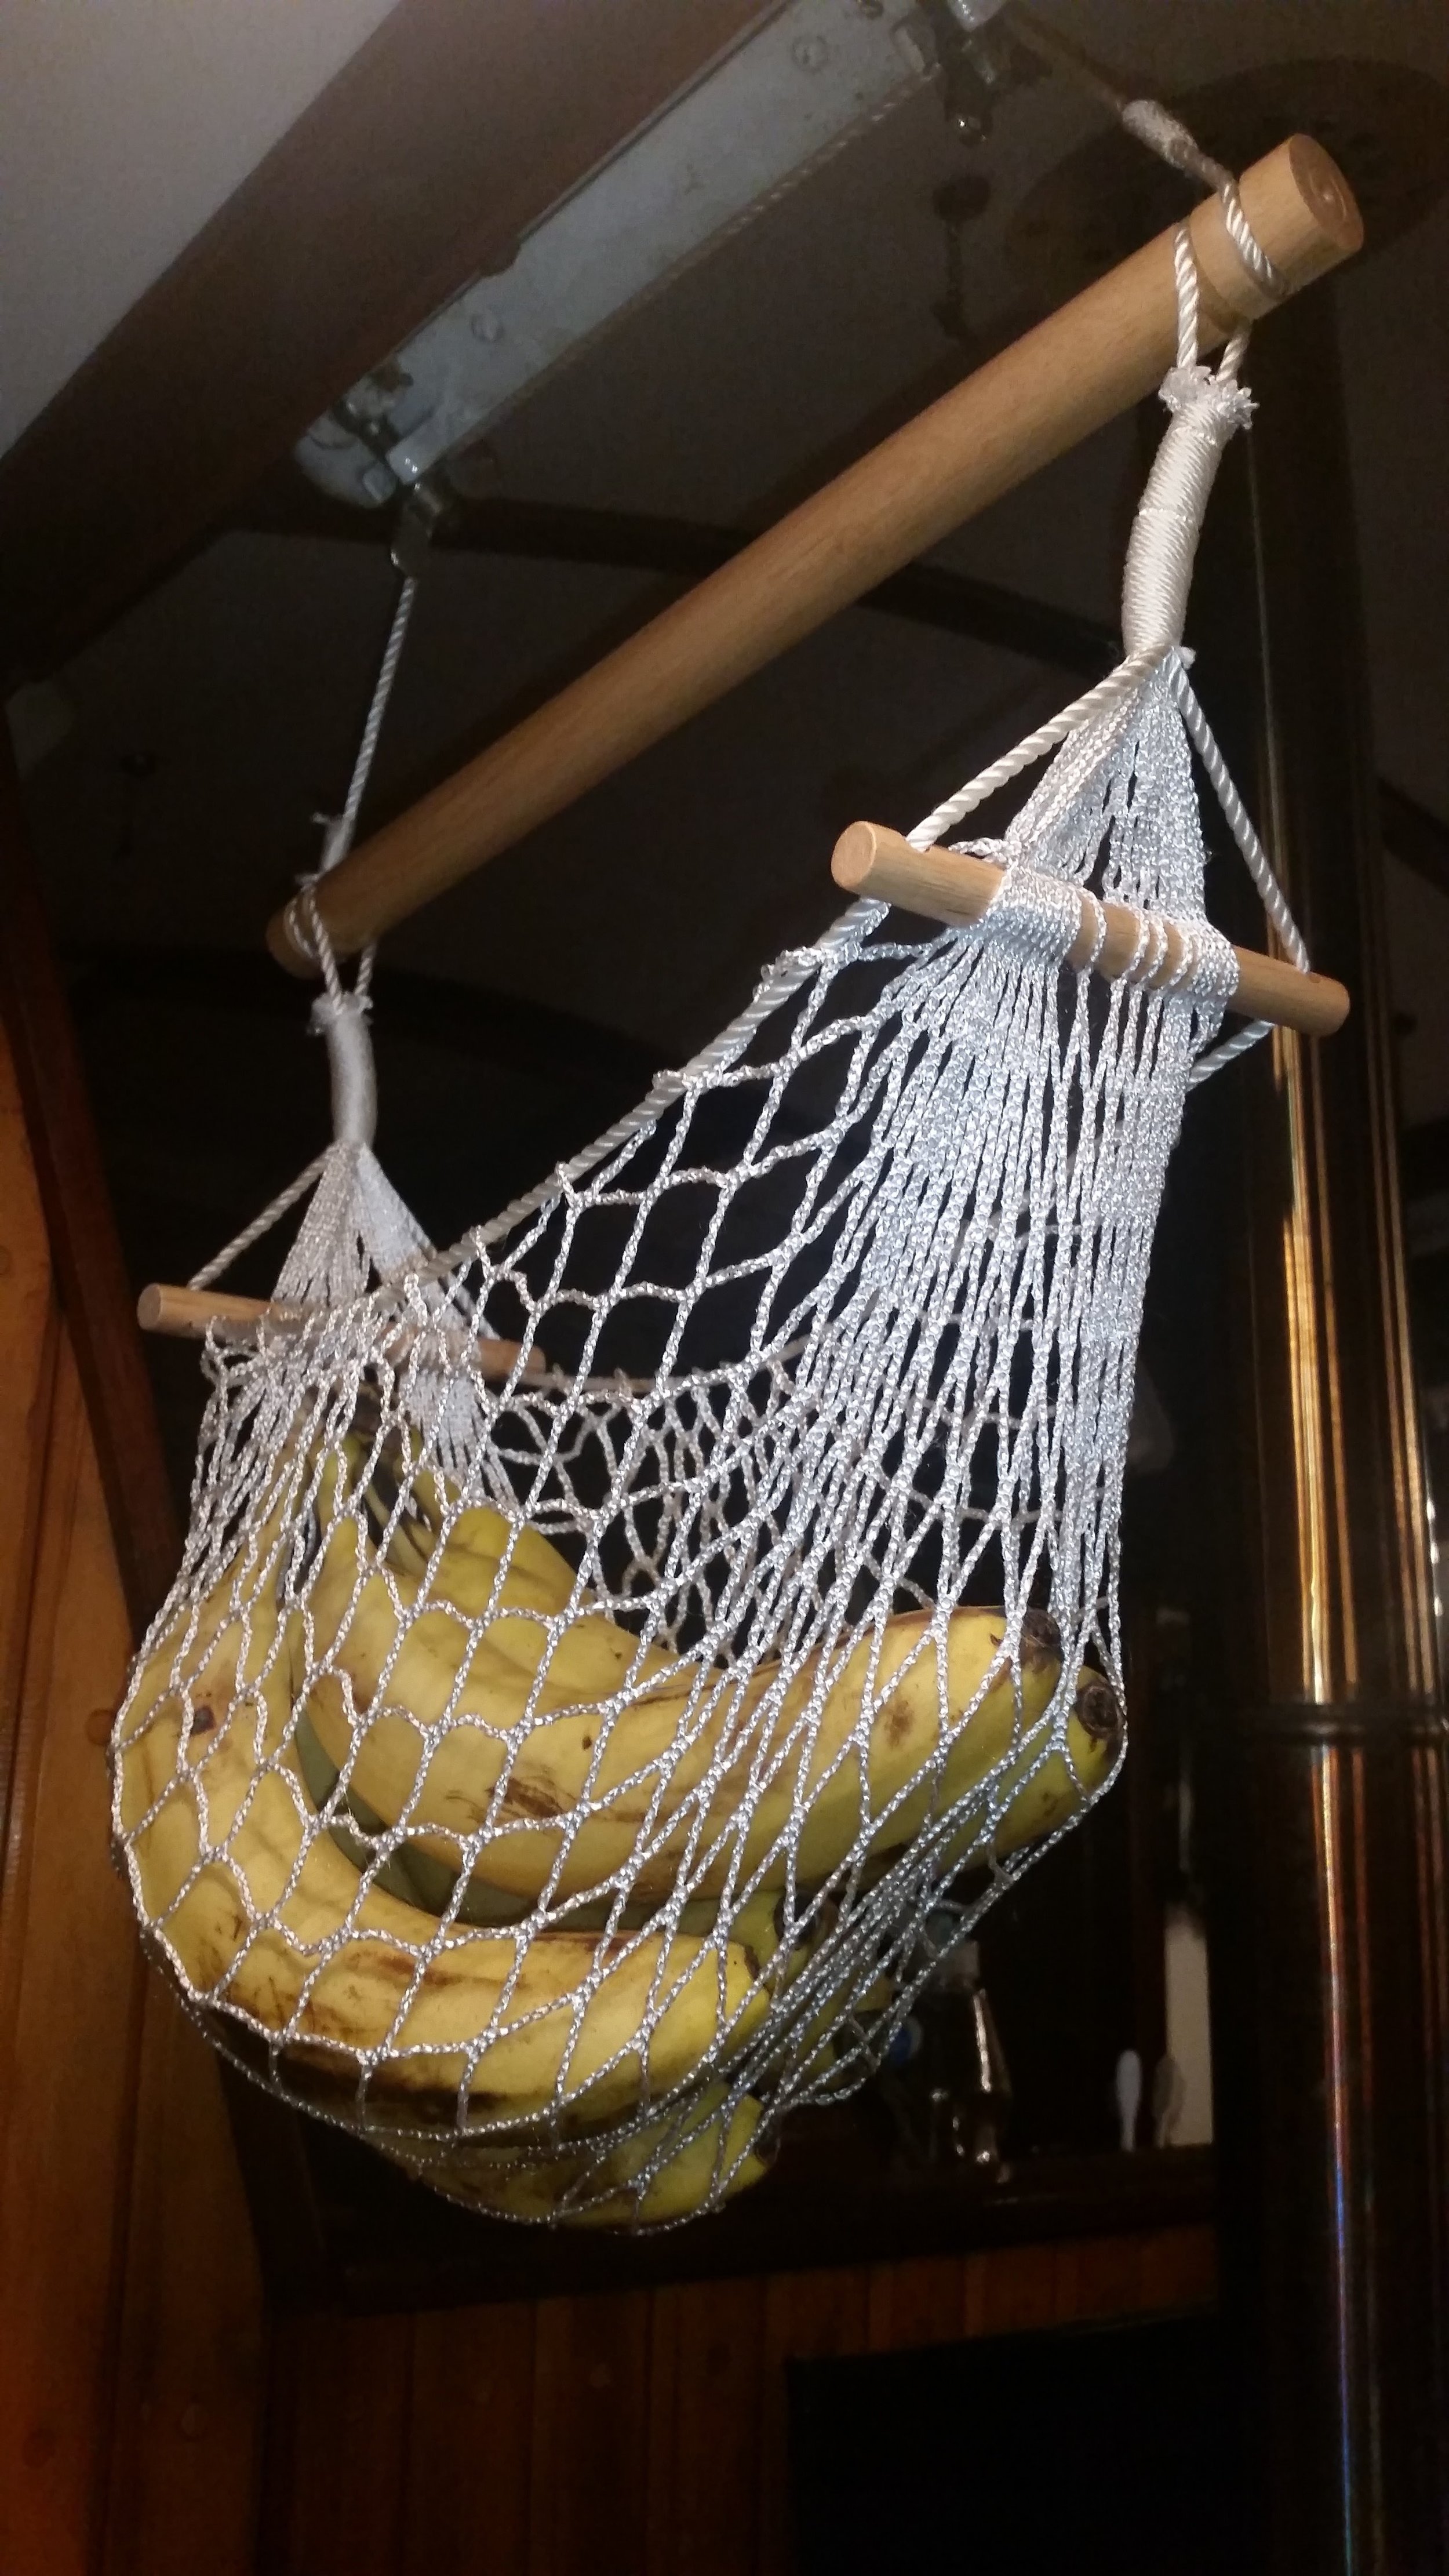
Bananas can be hard to store on a sail boat. They bruise easily and need to be kept with plenty of fresh air. A fruit hammock can resolve most of these issues! The netting allows plenty of air to flow through while keeping the fruits happier for longer. As the boat moves around, the bananas simply swing with the waves, keeping clear of any obstacles that could cause them harm. 

My favorite part about this contraption is the fact that it keeps the bananas right by the settees, so the moment I crave a snack, I can reach up and grab myself a tasty banana!

Monitor Wind Vane Installation: Part 3

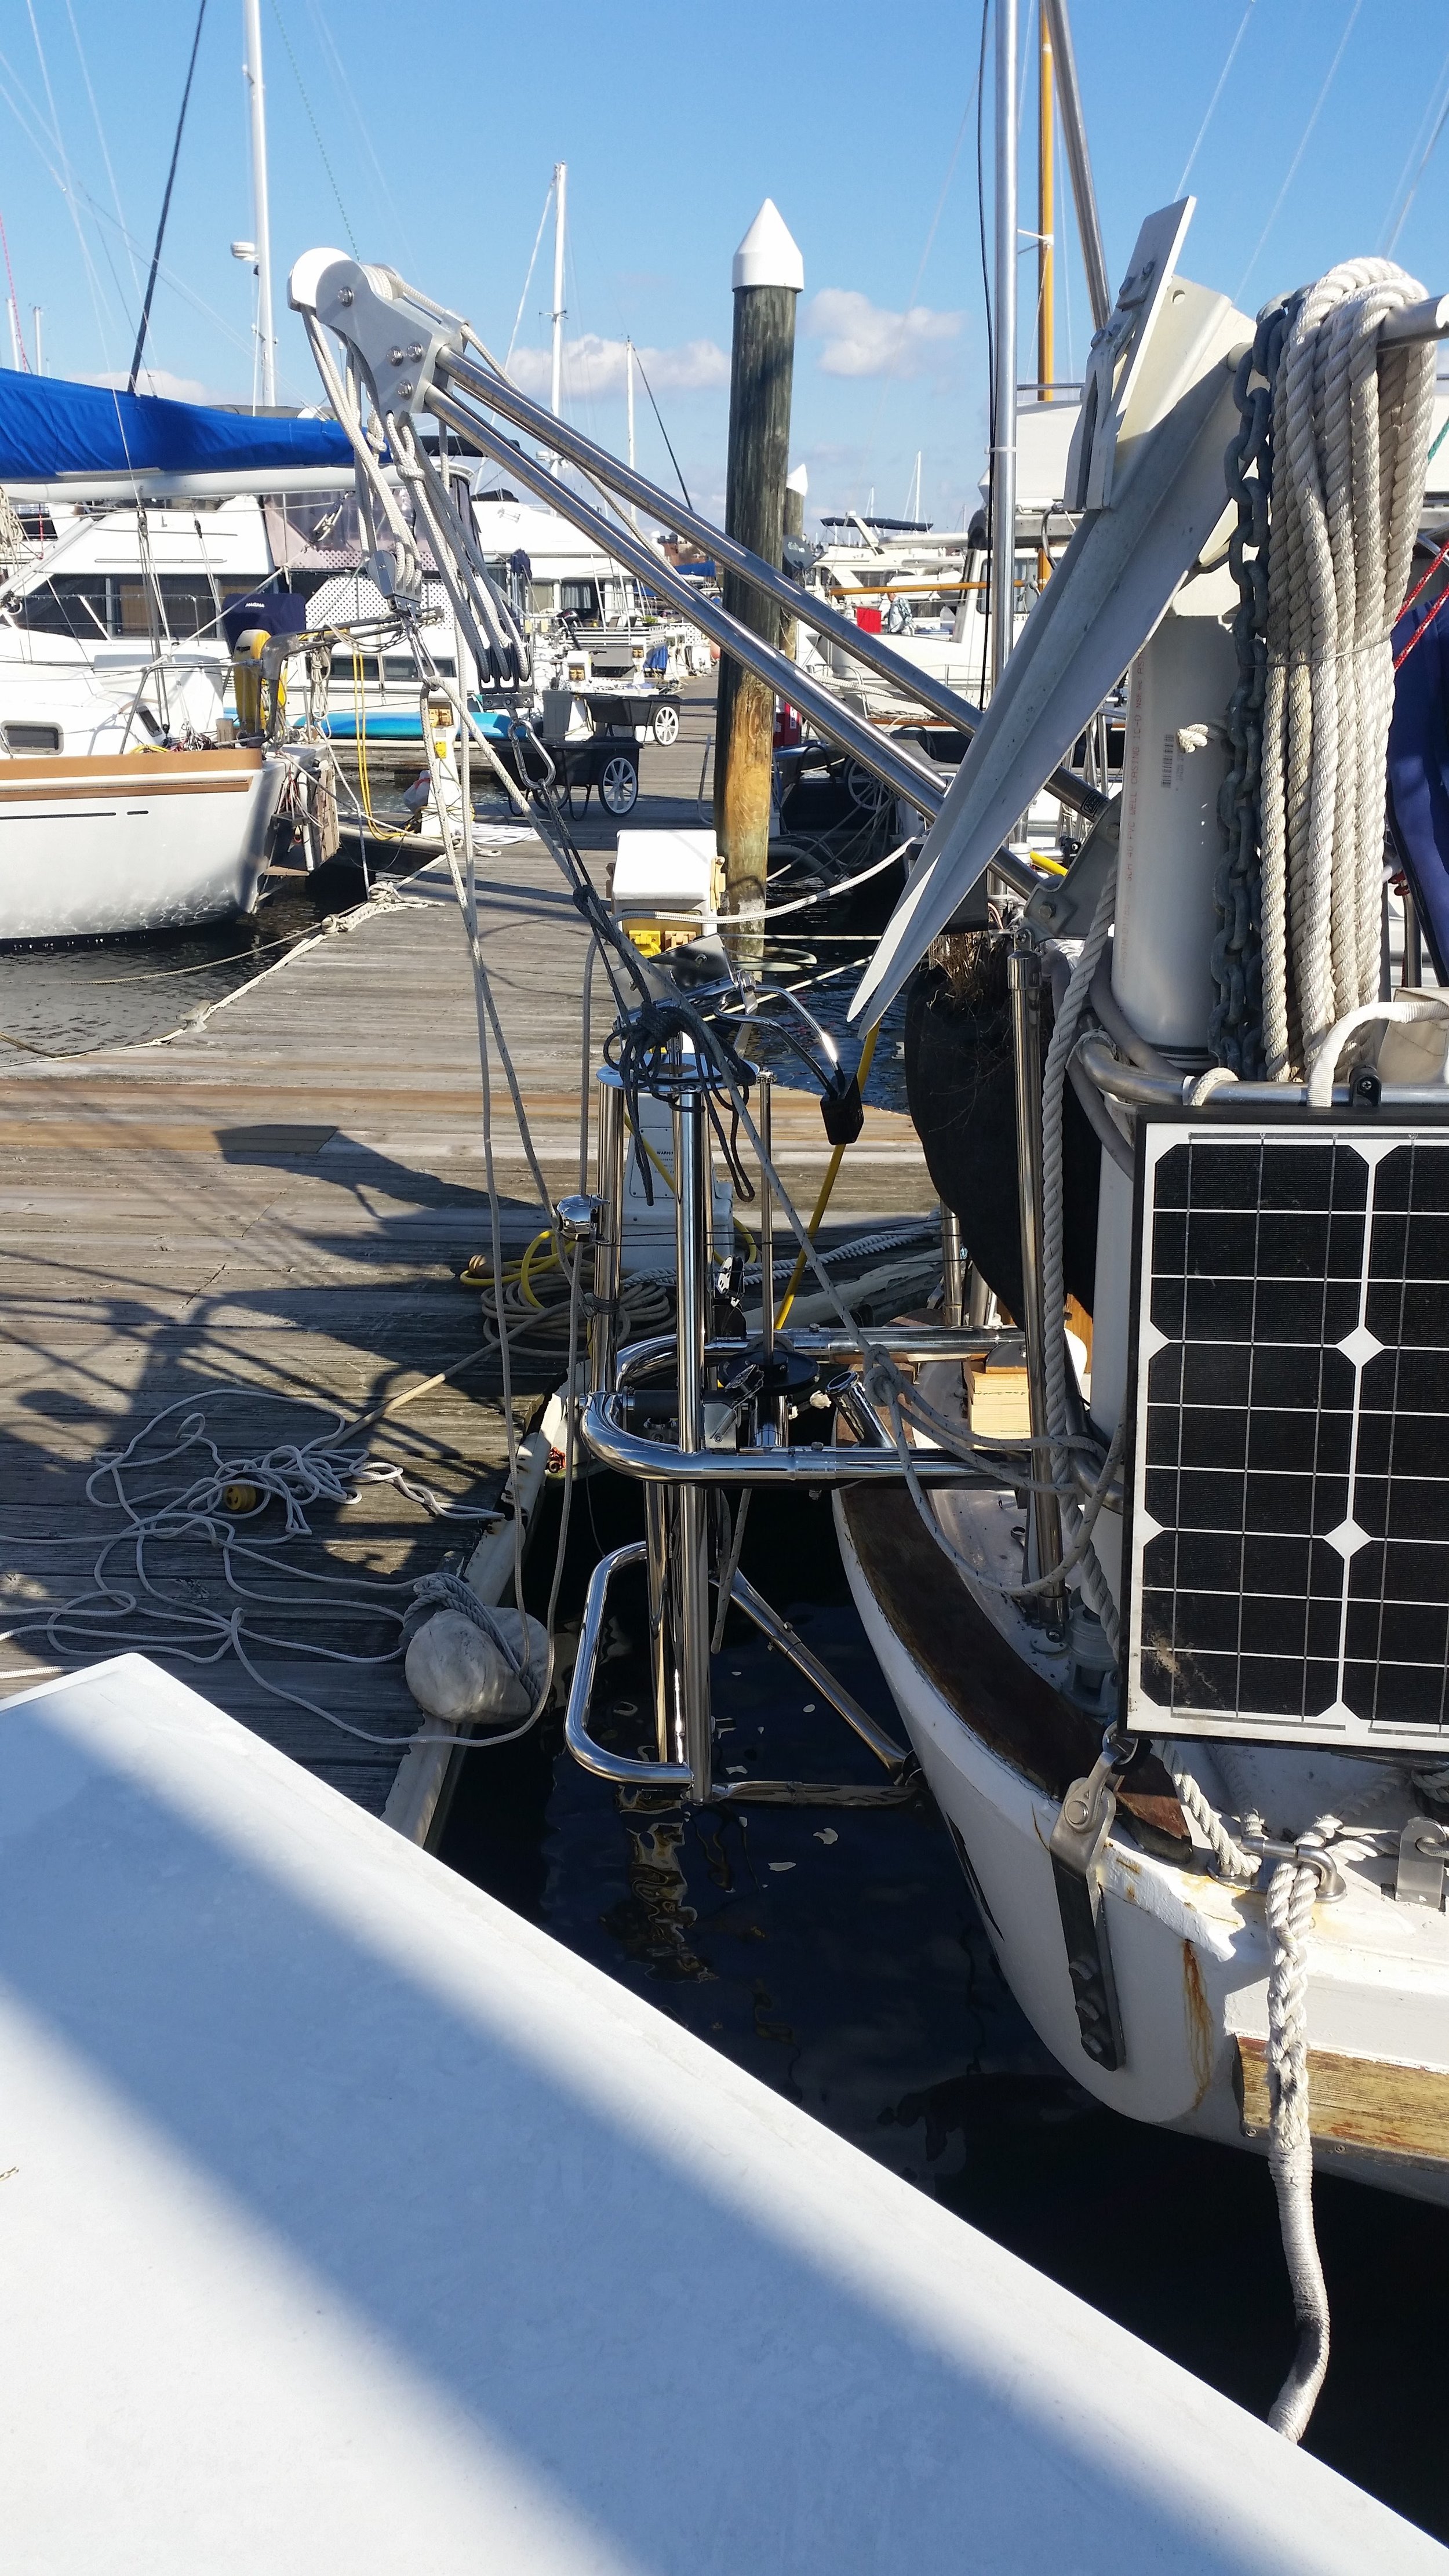
With the support struts drilled, braced, and through bolted, it was time to test fit the unit onto the transom of the boat.

The unit looks good! I tied many lines to the frame, allowing me the ability to adjust the position of the Monitor on the stern of the boat. Positioning the Monitor was a very time consuming practice. 

Each time I adjusted a line to re position the unit, I had to crawl out of the stern, walk over to the gangplank, down the pier, walk over to the stern of the boat, sit down on the dock, and sight the Monitor. This small simple task too hours to complete! Once everything was perfect, I was ready to drill the first pilot hole.

Wisdom is an old boat, and back in the 1960's they didn't know how strong fiberglass was. This led to the production of very thick hulls which weighed a ton! Racing boats always have thinner hulls than usual because weight is kept to a minimum, and why build the hull heavier than it needs to be? Assuming that the hull is much thicker than needed, we all figured that the thickness of the hull would be 1/2 of an inch (12mm) thick where it meets the transom. 

This thickness is important because the lower bracket needs to be mounted as low as possible on the transom. The bottom through-bolt hole needs be located above the bottom of the hull with enough clearance for the large washer to distribute the forces on the inside of the transom.

Being how we are going on a guess that the hull is 1/2 an inch (12mm) thick, I decided to play it safe when drilling holes in the hull. If my first pilot hole was the bottom hole, and I needed to scoot the bracket up for any reason, the pilot hole would then be exposed below the bracket and would be a hole in the hull that would need to be closed up. On the other hand, if my first pilot hole were the top one, and if I needed to scoot the bracket up for any reason, the pilot hole would then be covered by the bracket and sealed by the bedding compound! My hull is not cored so I don't need to worry about sealing the internal portion of the hole to avoid core rot from occurring. Following this logic, I decided to drill the top pilot hole first, just in case the bracket needed to be scooted upwards.

The first pilot hole is the white dust that appears in between my fingers. The bracket is 3 inches long, so there is no way I would have space for the lower through bolt's washer to be located between the bottom of the hull and the bolt. It turns out that the hull is 1.5 inches (38mm) thick! This measurement was based on the difference between the internal hole and the bottom of the hull to the external hole to the bottom of the transom. The bracket was scooted up (and then re-centered with all the lines to the unit to position it) and a new pilot hole was drilled.

The new pilot hole is the dusty portion that is inside the top washer. Three inches down from the top washer would be the location of the bottom through bolt and its washer. With the knowledge that the bottom hole would come to be in the correct position, the bottom pilot hole was drilled.

With both pilot holes located in an appropriate location, the Monitor was removed from the transom and the real holes were drilled with a 5/16" drill bit. With the holes made in the hull, the inside of the bracket and the orifices of the bolt holes were covered in a liberal application of bedding compound. I used 3M 4200 since the bracket is so close to the waterline when we are sailing. 

While the transom with its long overhang may look far from the water at rest, it actually rides down the stern wave while sailing. The boat rides in a trough between the bow and stern wave, and the stern wave comes all the way up to the transom when sailing heeled over at hull speed.

The other reason I used 4200 instead of a polysulfide is the 4200 is also an adhesive. I know that the through bolts are doing almost all of the "holding" but a little bit of help from an adhesive would be nice for peace of mind. I purposefully did not use 3M's 5200 because 5200 is permanent and will never let me remove the bracket (should I ever need to). 4200 will allow the removal of the bracket, but it will put up a fight!

Now that the lower bracket is installed and mounted, I just need to perfectly align the unit and measure for the pillow blocks which will act as spacers between the top arms and the deck.

Breasthook

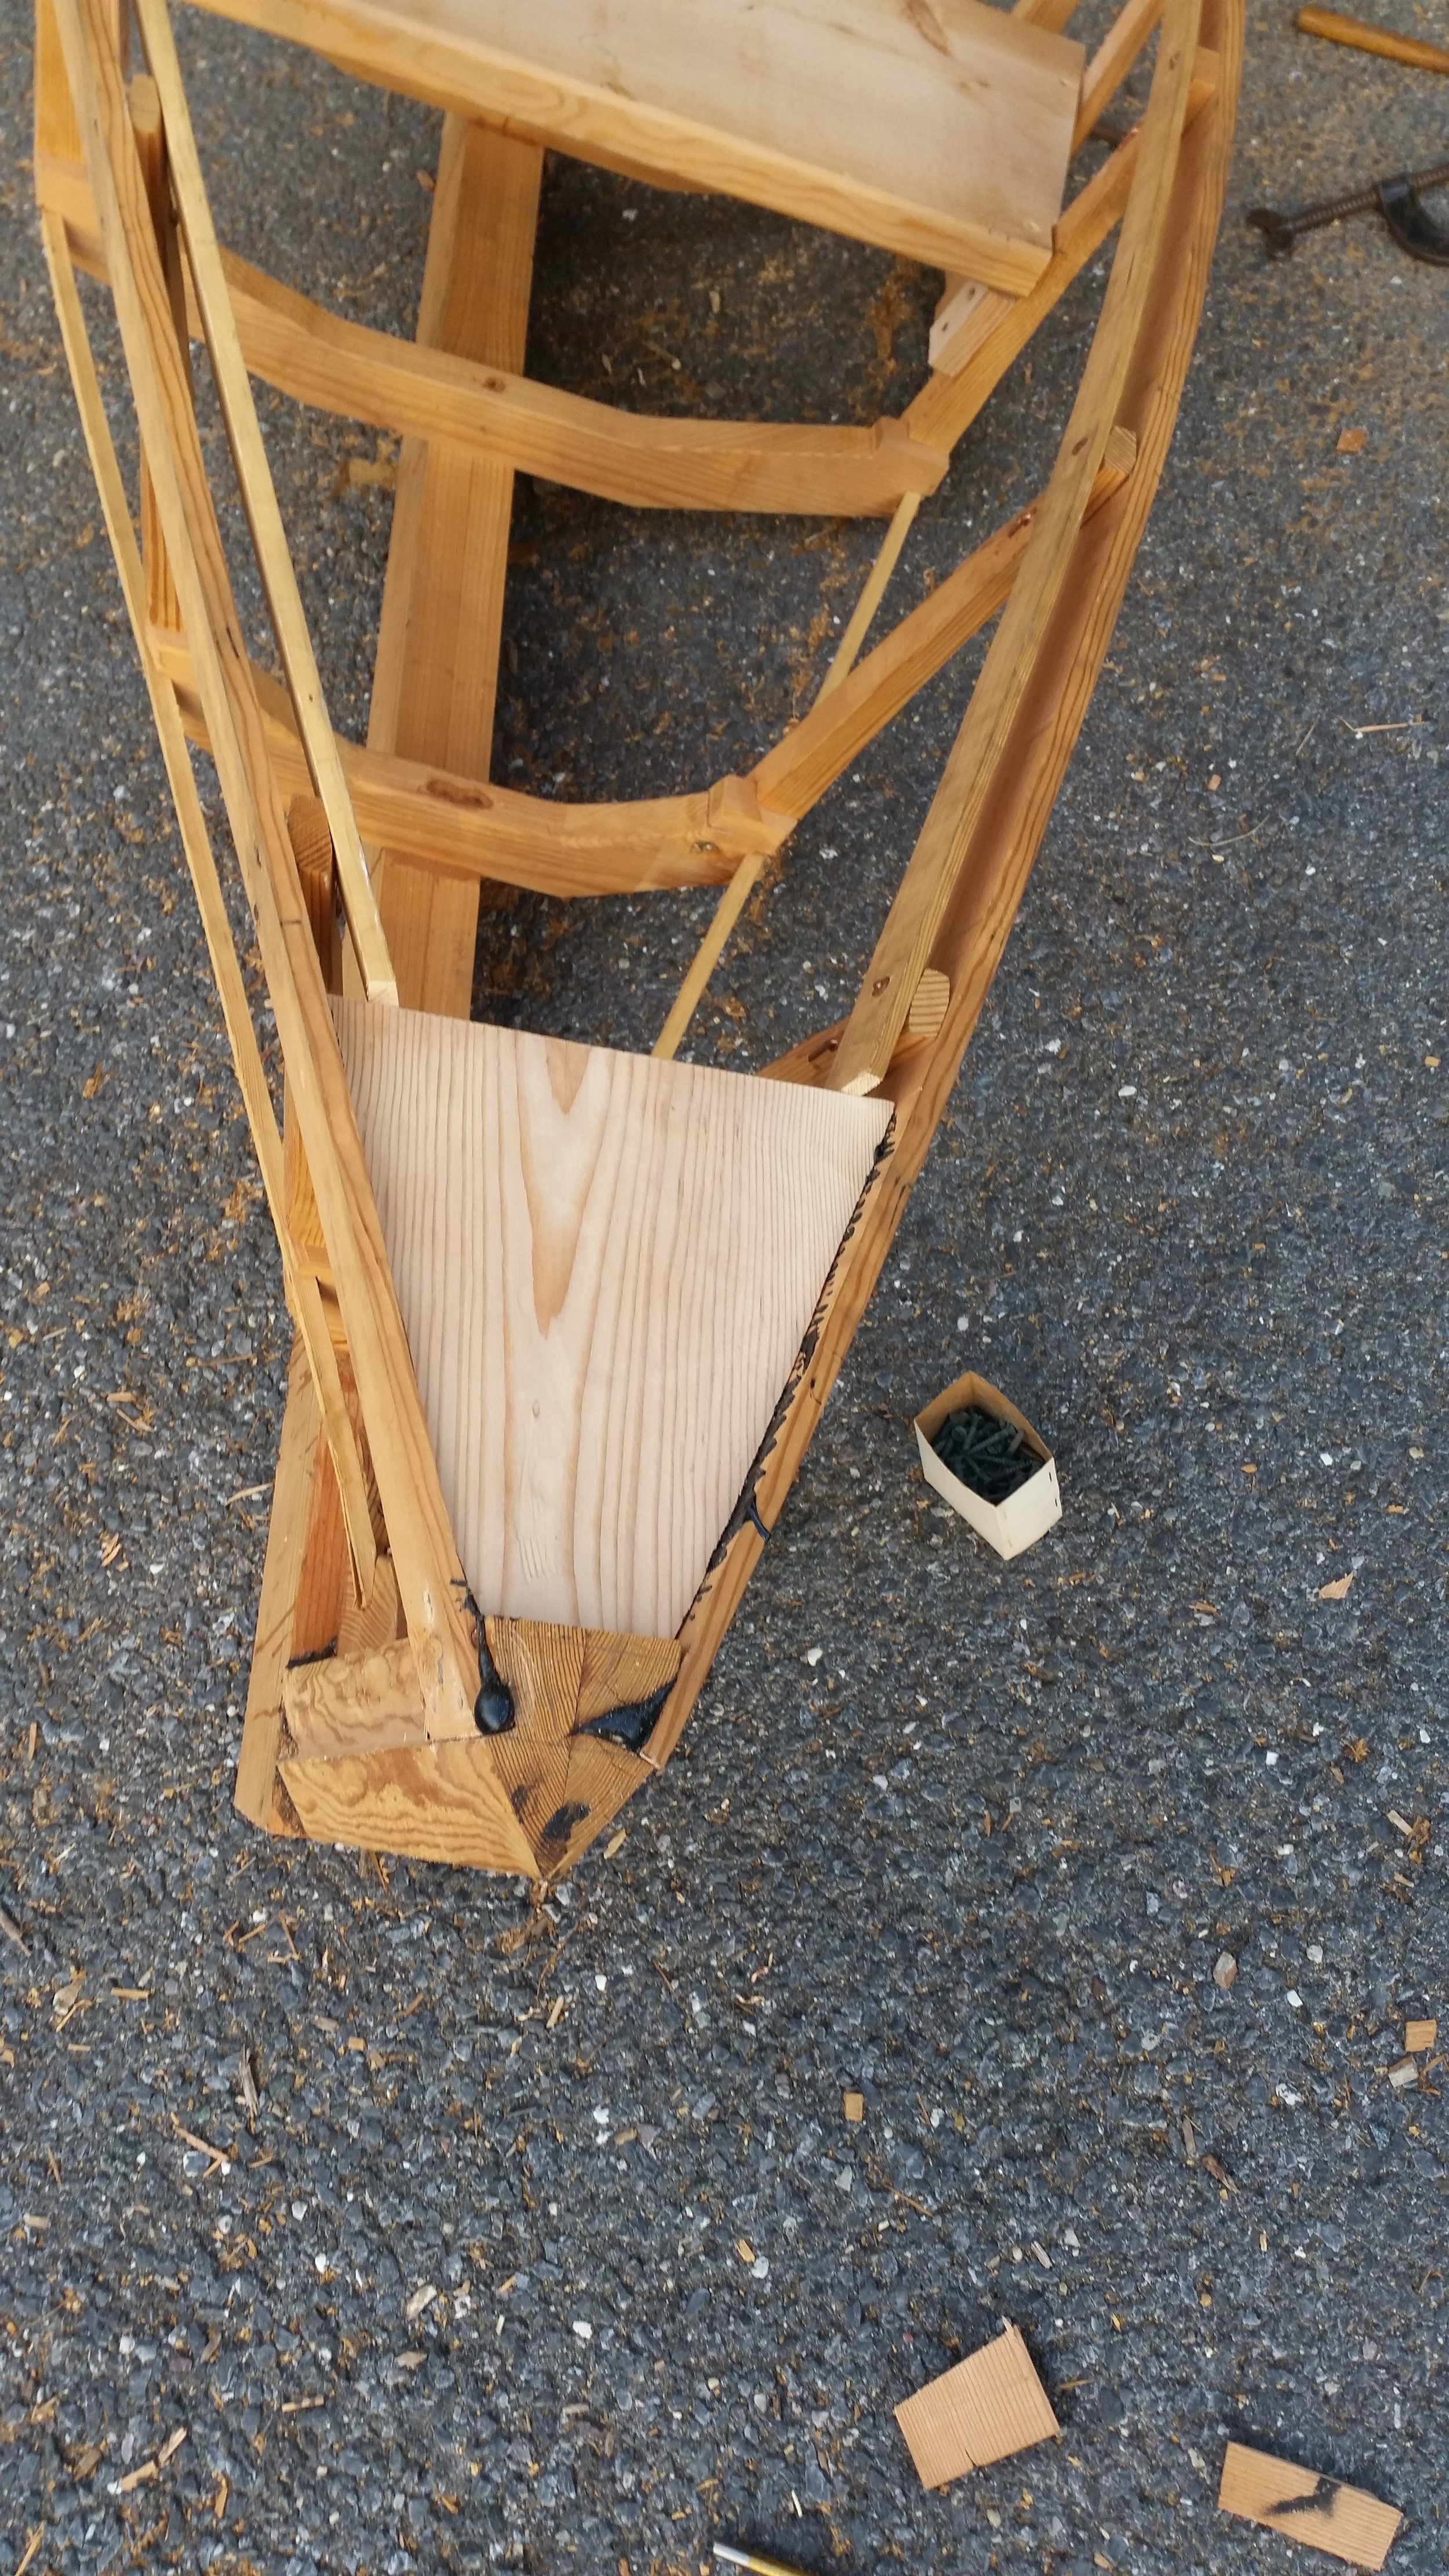
With the transom knees in place, it is time to begin working on the last of the knees, the breasthook! The breasthook is merely the knee that goes in the bow. It sits on the heel of the stem and is screwed to the sheers. 

It all begins with a rough cut timber. I set a large piece of scrap on the bow behind the stem and traced the curvature of the sheer onto the face of the board. The shelf clamps had to be cut a bit shorter to allow the knee to fit into position.

With the initial cut completed, the breasthook was test fitted into the space available, but it was still a bit too large. The other factor that was inhibiting proper seating of the breasthook was the evident lack of bevels.

The stem is raked and the sheers have a slant to them. The breast hook has no bevel to the sides because the bevels are unknown at this moment. Once the breasthook is test fitted, the bevels can be transferred over to the wood by simple tracings. 

The bandsaw table was slanted to match this bevel and the sides of the breasthook were passed through the blade to impart the same bevel on the wood. With the bevel cut, the breasthook can slide down into place and produce a much tighter fit.

With a tight fit verified, bedding compound was applied to the faying surfaces of the breasthook, sheer, and stem. Then the breasthook was tapped into place with a mallet. 

You might be wondering why bedding compound was applied for the breasthook but not for the transom knees. Well, the rule of thumb is wood glue is used between pieces that wont be submerged, bedding compound is used between pieces that will be submerged. I do not ever plan on submerging the bow of the dinghy, but it might happen during the life of the dinghy. The chances of water breaking over the bow is much greater than water breaking over the stern! 

Back to reality, I don't plan on water breaking over either end of the dinghy, but the transom knees are glued and the breasthook is bedded.

To lock the bedded breasthook in place, bronze fasteners were driven through the sheer and into the sides of the breasthook. A bronze screw is driven into the front and back of the breasthook to lock it in place.

The intermediate holes were drilled, countersunk, and driven home to lock the breasthook into place and solidify the front of the bow. As part of my obsessive focus on details, the screws were all clocked so that their slots are all aligned to a mostly vertical orientation, just like every other screw on the dinghy. 

With the last knee in place, the dinghy was left alone so that the bedding compound could finish curing. Once everything is cured, the excesses will be removed and work can continue on the little craft.