Crown Knot vs. Wall Knot

Two seldom known knots that are very useful are called the Crown Knot and the Wall Knot. These two knots, while they appear different once tightened, are actually the same thing!

Wall Knot
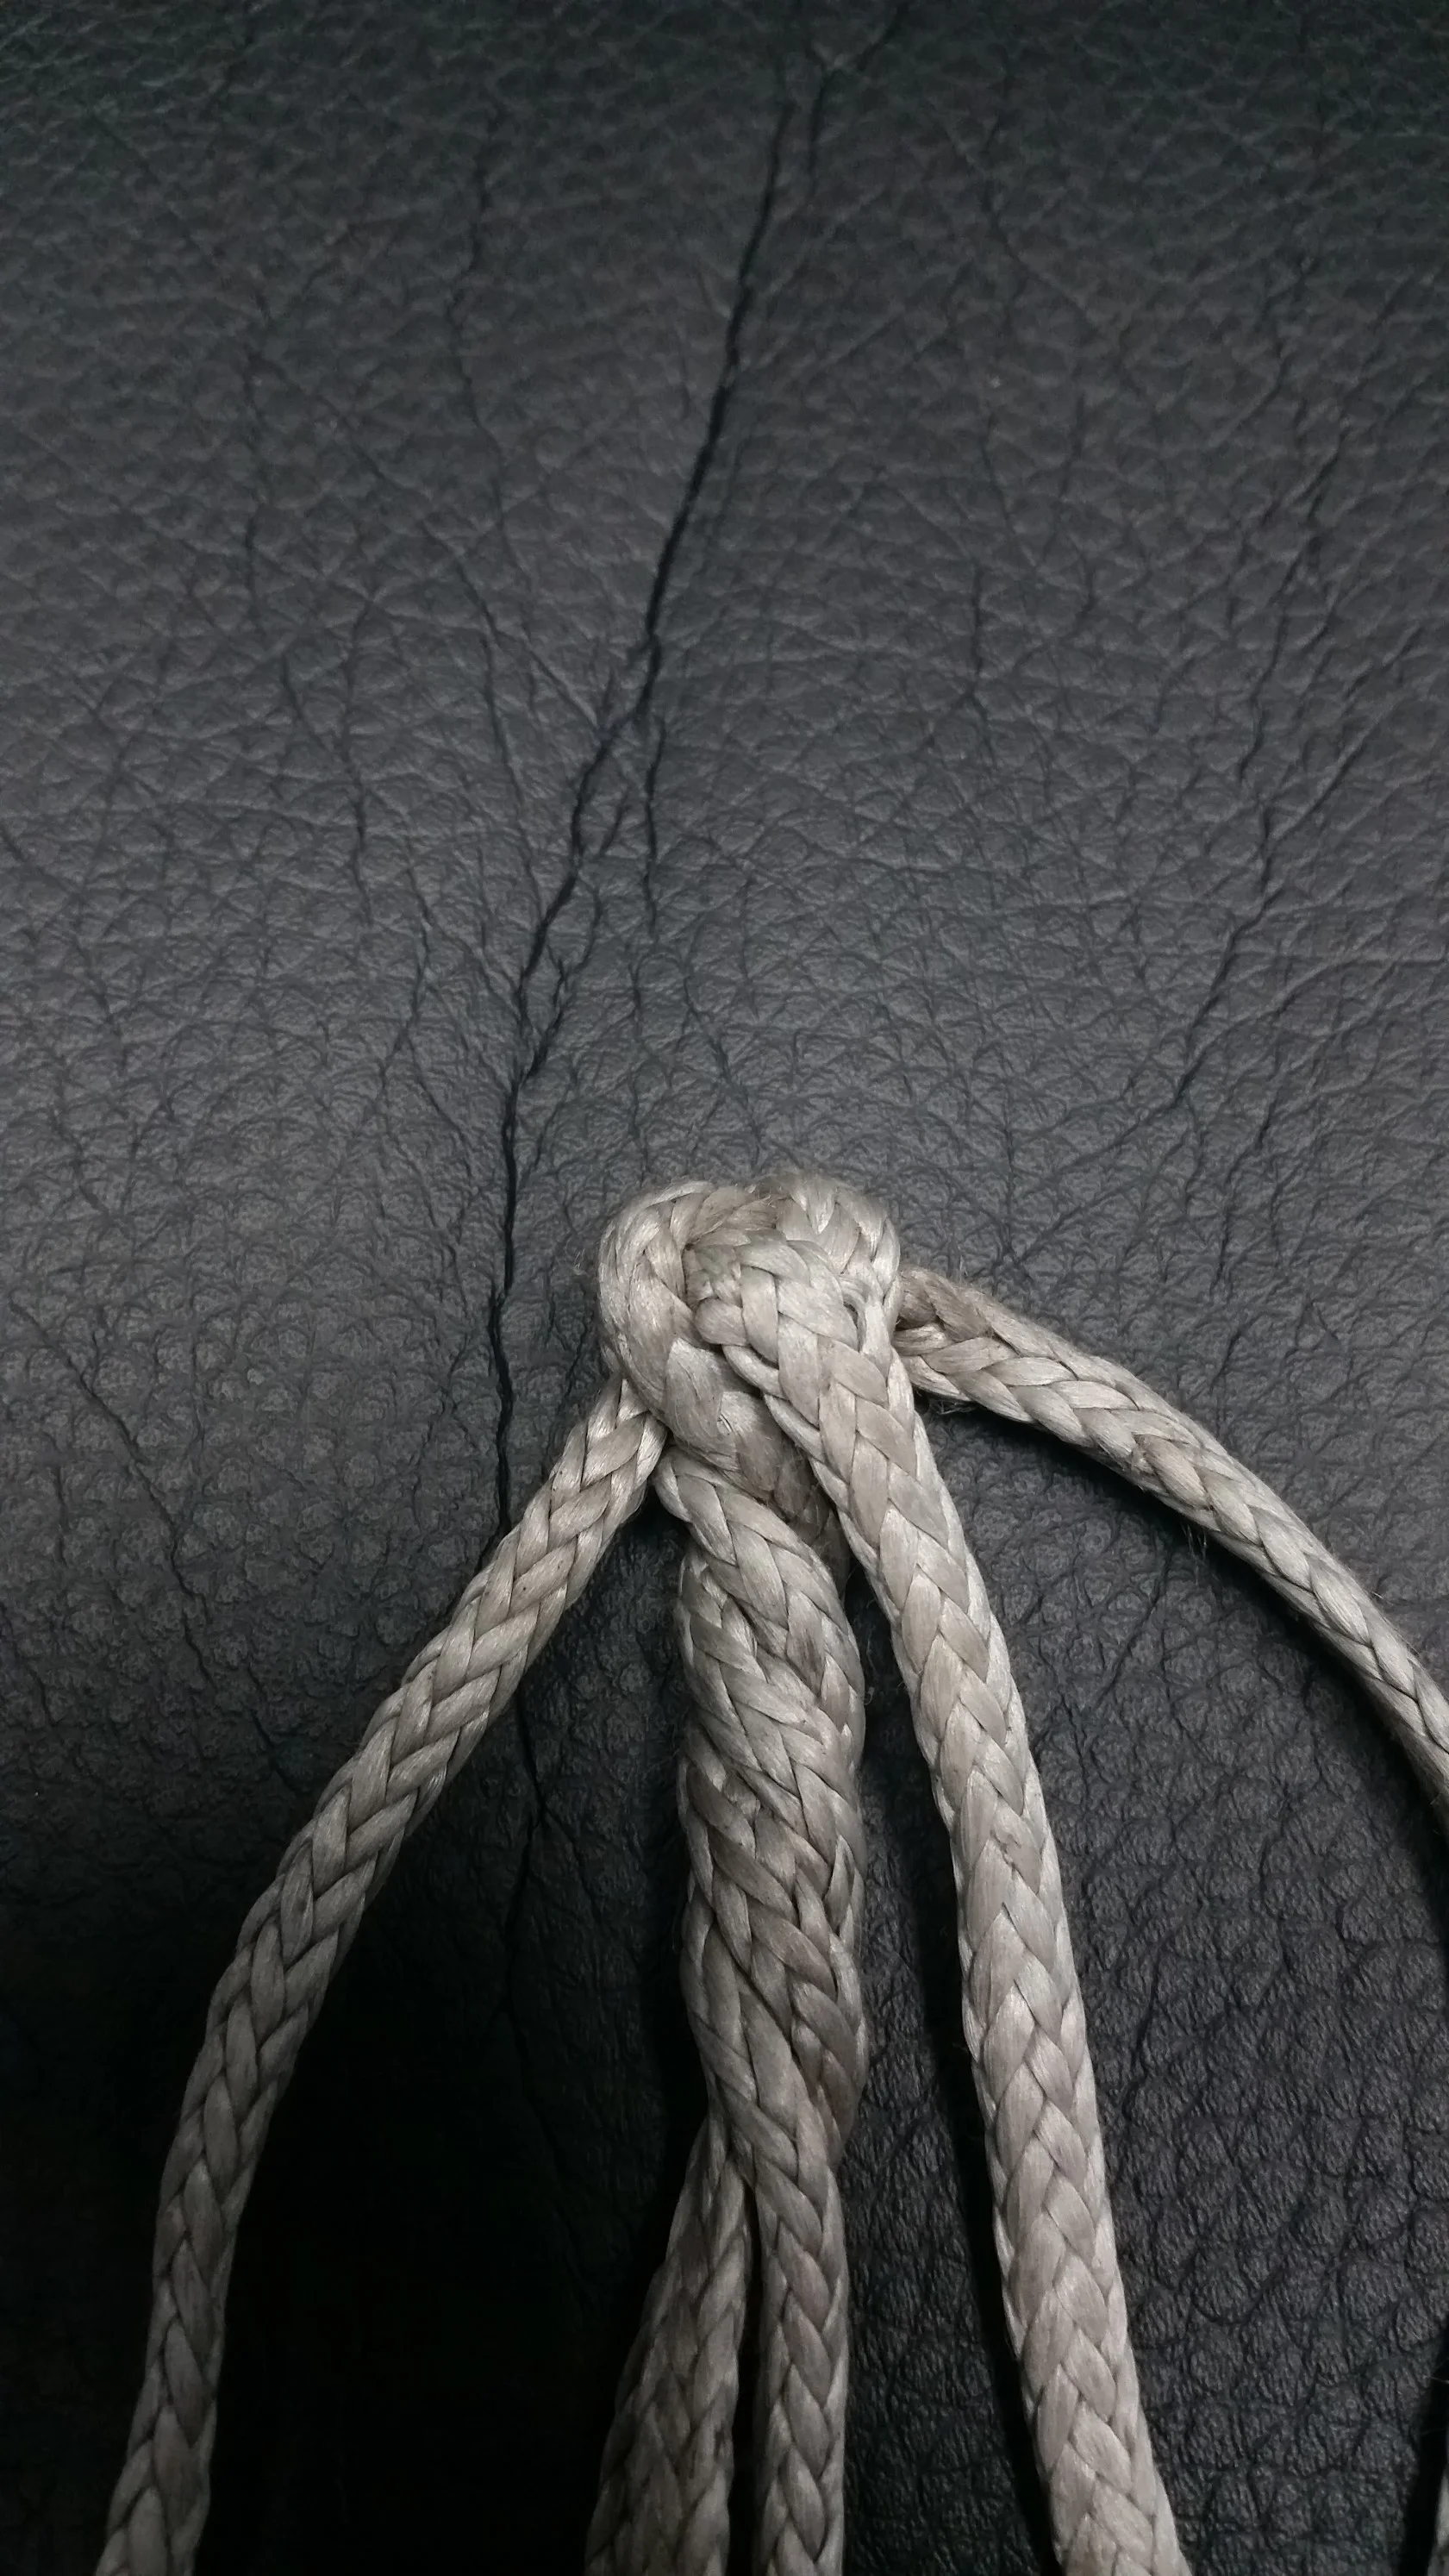
Wall Knot

Crown Knot

Crown Knot

The only difference between them is which way the tails run after the knot is finished. A Wall Knot has the tails continue in the original direction of the line. A Crown Knot has tails that continue in the opposite direction of the line.

Both knots are tied by looping through the other lines, simply finishing with the lines exiting the loops in on the top or on the bottom to differentiate the two knots.

Wall Knot

Wall Knot

Crown Knot

Crown Knot

Wall Knot with Crown Knot

Wall Knot with Crown Knot

As you can see, both knots are made by looping the lines through each other, the only difference is where the end of the line exits the knot. If it is above the loop, it will make a Wall Knot. If it is below the loop, it will make a Crown Knot. When deciding which of these knots to use, it is important to know what you are trying to achieve.

If you are creating a knot in the middle of a line, a Wall Knot would be your best choice. If you are going to perform a back splice, a Crown Knot will hold the end of the line together while positioning the tails in a position, ready to bury into a back splice.

The crown knot is actually used to bind the end of a line in the Tree Surgeon's Backsplice. It positions the tails ready to bury in the backsplice. The buried tails will not budge since the spliced into the rest of the line and the knot will hold everything together, no matter the abuse that the line is subjected to.

Wall Knots are sometimes used for decorative purposes, since they can be placed inline with the cords that hang lamps and baskets inside the hull. Another decorative use for the Wall Knot and Crown Knot is to combine them.

A Wall Knot will create a nice twist in the line and secure the strands. A Crown Knot placed over the Wall Knot will create a nice button at the end of the line. The tails will be oriented back towards the original line and can either be spliced back into the line or trimmed off short. 

The combination of these two knots will create a decorative button knot that can be used to secure loops and lanyards.

Montor Wind Vane Installation: Part 2

The monitor was removed from the transom and taken to the work shop to drill and through bolt the stanchions. I was planning to drill the tubes with the drill press, but I wasn't able to position the unit onto the drill press properly. The unit was just too heavy and bulky to hold in position while operating the drill press. 

I then switched to using a cordless hand drill to make the needed holes in the stanchion tubes where needed. This process was easier to manage but not as easy to carry out. Drilling stainless steel is a very slow and tedious process. Drilling stainless steel was discussed further here when I fabricated a new set of chainplates for an Islander 36.

All I needed to do was drill four holes in tubes and I would be set! I started with a trip to the hardware store to purchase two new drill bits. Stainless steel is a real pain to drill, and any tricks will help make the task less arduous. A new, sharp drill bit will make this task proceed a bit more smoothly. 

As always, there is a right tool for the job. For drilling stainless, you want to use a cobalt drill bit, as these are made of a harder metal and will hold their edge longer. If you took your regular drill bit and started spinning it on the pilot hole, you would dull and destroy the drill bit in a few minutes.  I purchased two of these because they are very sharp, but one mishap can cause the drill bit to dull or shatter. Should this happen and I only purchased one, I would then need to make another trip to the store to pick up a second drill bit!

The Monitor was positioned firmly in a flower bed where nothing sharp would hurt its polished finish and the through bolt holes were slowly and steadily made. Keeping the speed low reduces the amount of heat buildup while removing the metal. If the bur starts to blue, you need to stop and slow down as heat is building up. If the bur turns blue, the edge is soon lost and you will need to switch to a new one soon. If you see orange appear in the bur, it is toasted and you might as well drill at full speed and finish your hole because the bur is dead and not worth using for the next hole.

Drilling stainless steel is a slow and tedious process that results in an unnoticed hole in the metal. There should be no change in colors nor excess heat buildup near the hole, just a punch out in the metal where surface once was.

The next step is to install the through bolts which will tie the unit all together. If you simply bolt up the stanchions, the metal tubes would be crushed during the tightening process! To avoid this catastrophe, you need to install metal tubes that will provide resistance to the tightening bolts. 

The problem with this simple task is it is not very simple. The metal tubes are snug and do not slide through the pipe. If they did slide, there would be no way to hold them in place while the bolts are installed.

The small metal tubes were placed over the opening to the pipe in line with the holes in the side and tapped in with a hammer. This worked well until the pipe was at the maximum depth of the hammer. I then switched to a center punch (used backwards) where I tapped on the small end and transferred the force to the tube via the large wide end. This allowed the pipe to be tapped into place without issue and in line with the holes. If the pipe needs to be twisted, simply grab the pipe with a box wrench and spin the wrench with a lever bar to provide the mechanical advantage needed to spin the restricted tube inside the pipe. This trick works, but it is hard to carry out and best to not need. Just make sure to start out lined up and keep it lined up during the entire process.

With all the through bolts supported, the Monitor was fastened together and all the nuts were tightened until the lock washers laid flat. I did not over tighten the fasteners as this would cause undue stress on the whole unit. 

Next step will be another test fit!

"Kneasles"

When I was much younger, my dad told me a joke that has stuck with me. Every time I hear the word "Knee", I am reminded of it.

A man rushes into a whore house and asks the madame for a woman and states that he is in a hurry.
The madame fulfills his request with a lovely lady of the night and they head off into their room.

As he takes off his shoes, she remarks: "What is wrong with your feet?"
He answered: "When I was younger I had Toelio."
"You mean Polio" said the woman.
He insisted "No, no, the doctor told me it was Toelio."

She shrugged off his misshaped feet and they continued to undress.
As he took off his pants, she questioned his weird looking knees!
He answered: "I have Kneasles."
She questioned: "You mean Measles?"
He insisted: "No, no, the doctor told me it's Kneasles."

He reminded her that he was in a hurry and took off his underwear.
She looked at him and asked: "Now, are you going to tell me you also have Small Cox?"

Be careful what you say to your kids, you never know what will stick with them!

Back to the dinghy, we are now fitting the knees in the transom. Knees are a structural member of the hull, just as important as the keel, frames, and floors. Knees help resist wracking and keep the hull from flexing as waves and loads try to torque the hull.

In the simplest of forms, a knee is simply a brace that keeps a corner from collapsing. Knees are used everywhere: they can be found under bookshelves, and even fold out table leaves. Once you break a knee down to its basic function, it takes away all the mystery behind it and makes it easier to comprehend.

The transom knee will fit into the corner of the transom between the transom and the sheer. The shelf clamp will also connect to it, adding extra rigidity to the hull. A few simple measurements were taken and the knees were cut from a piece of quartersawn scrap wood that was lying around in the off-cut pile next to the bandsaw. 

The knee fits good enough for what it needs to do and where it will be located. I did not bevel the side that mates to the transom to make the knee rest flush with the gunwale of the dinghy because that is a lot of work with no room for error. Most transom knees are very visible, as they are the top of the back corner of the dinghy. Our transom knee is going to be covered by a lid which will double as a seat for Maddie as I row us to shore. This means that the transom knees are going to be hidden away inside of a storage locker, only visible when the lid is up and we are either storing items or retrieving them later. For these reasons, the knees only need to be functional and their aesthetic aspects can be ignored.

The knees were glued and screwed into place, with two screws through the transom and three screws through the sheer. The shelf clamp was also screwed through the tip of the knee and into the sheer, locking the entire assembly in place. You can see the screws on the sheer are set on an incline that runs perpendicular to the angle of the transom.

The knees were set and left to cure in place as the screws hold them in position for the rest of the life of the dinghy. Now the transom knees are finished and installed and the hull is a lot stiffer when torqued. 

Foggy Mornings

Dense fog will transform the marina into a magical wonderland. The city disappears into the mist with the street lights glowing off in the distance. As soon as the sun comes up, the fog will burn off, but for now, it feels like walking through a completely different world.

Monitor Wind Vane Installation: Part 1

The Monitor Wind Vane is now ready to install!

The first step of the installation involved is spinning the sailboat around in the slip that way I can work from the pier instead of working from the dinghy. We usually pull into the slip bow first because backing into the slip is a nightmare with the full keel! I spun the boat around the night before when it was dead calm because I could easily reverse into the slip under very little throttle (and suffer very minimally from the effects of prop walk). If I had done it during the day with the winds blowing the boat around, I would have been forced to use more throttle and have to negotiate with stronger propeller walk.

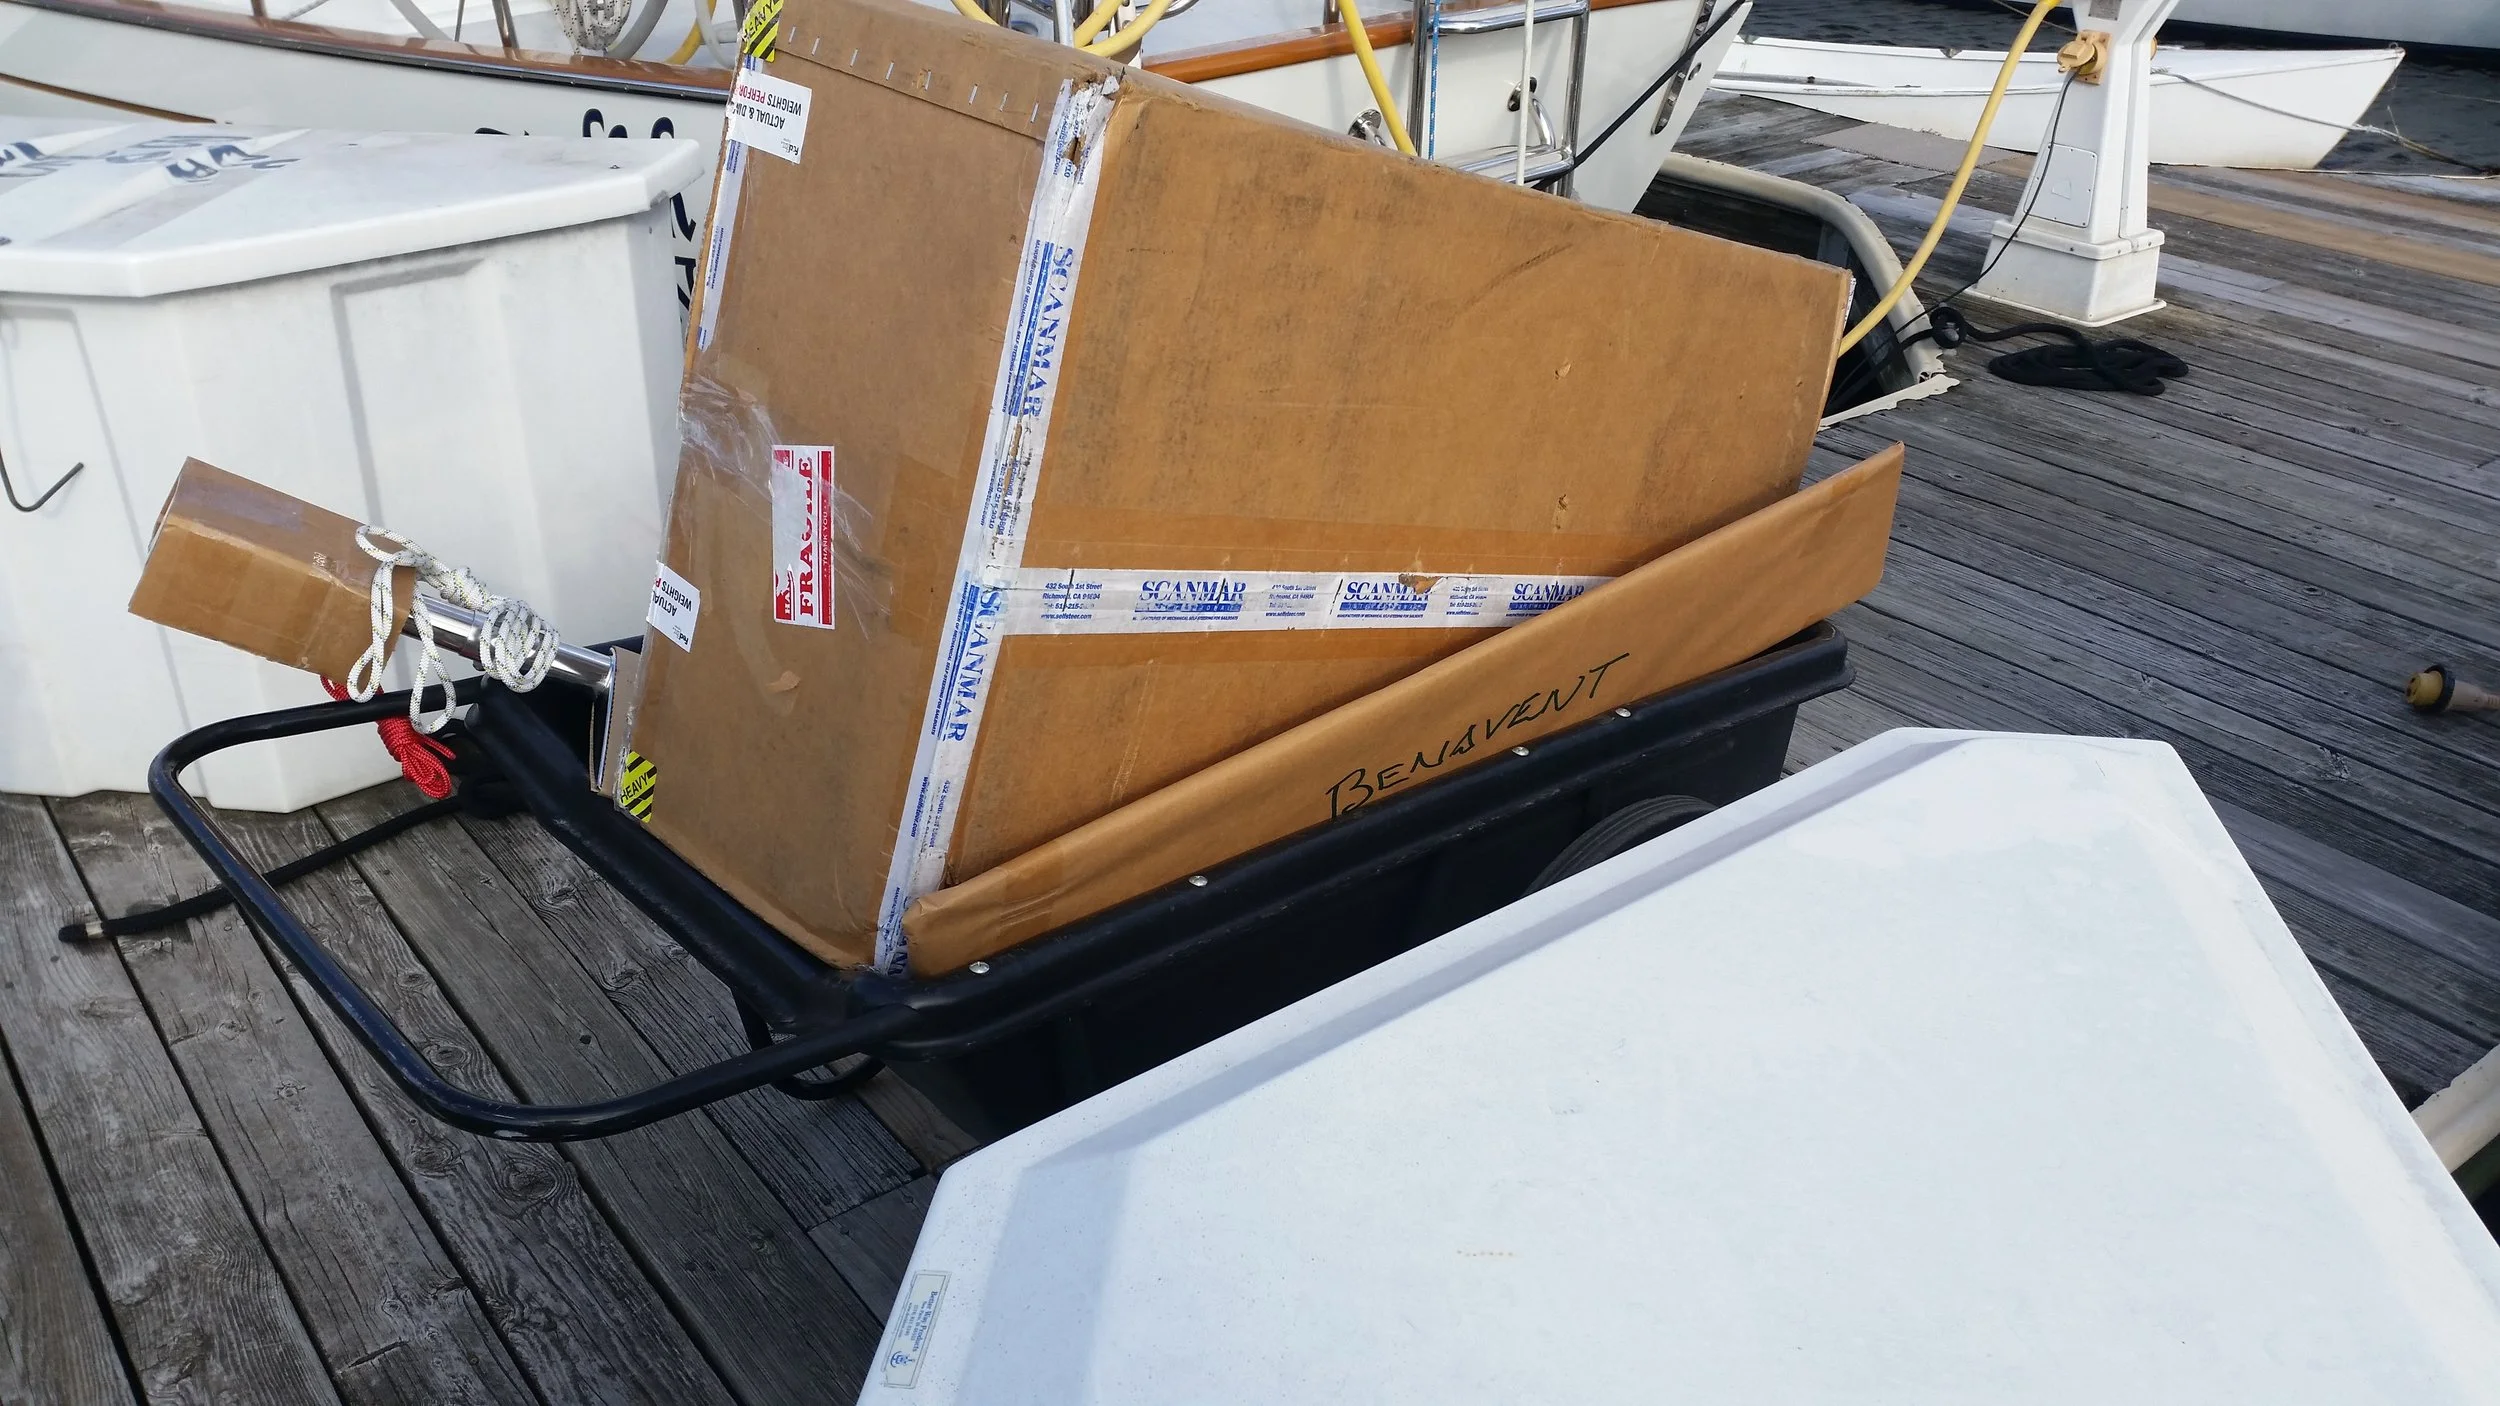
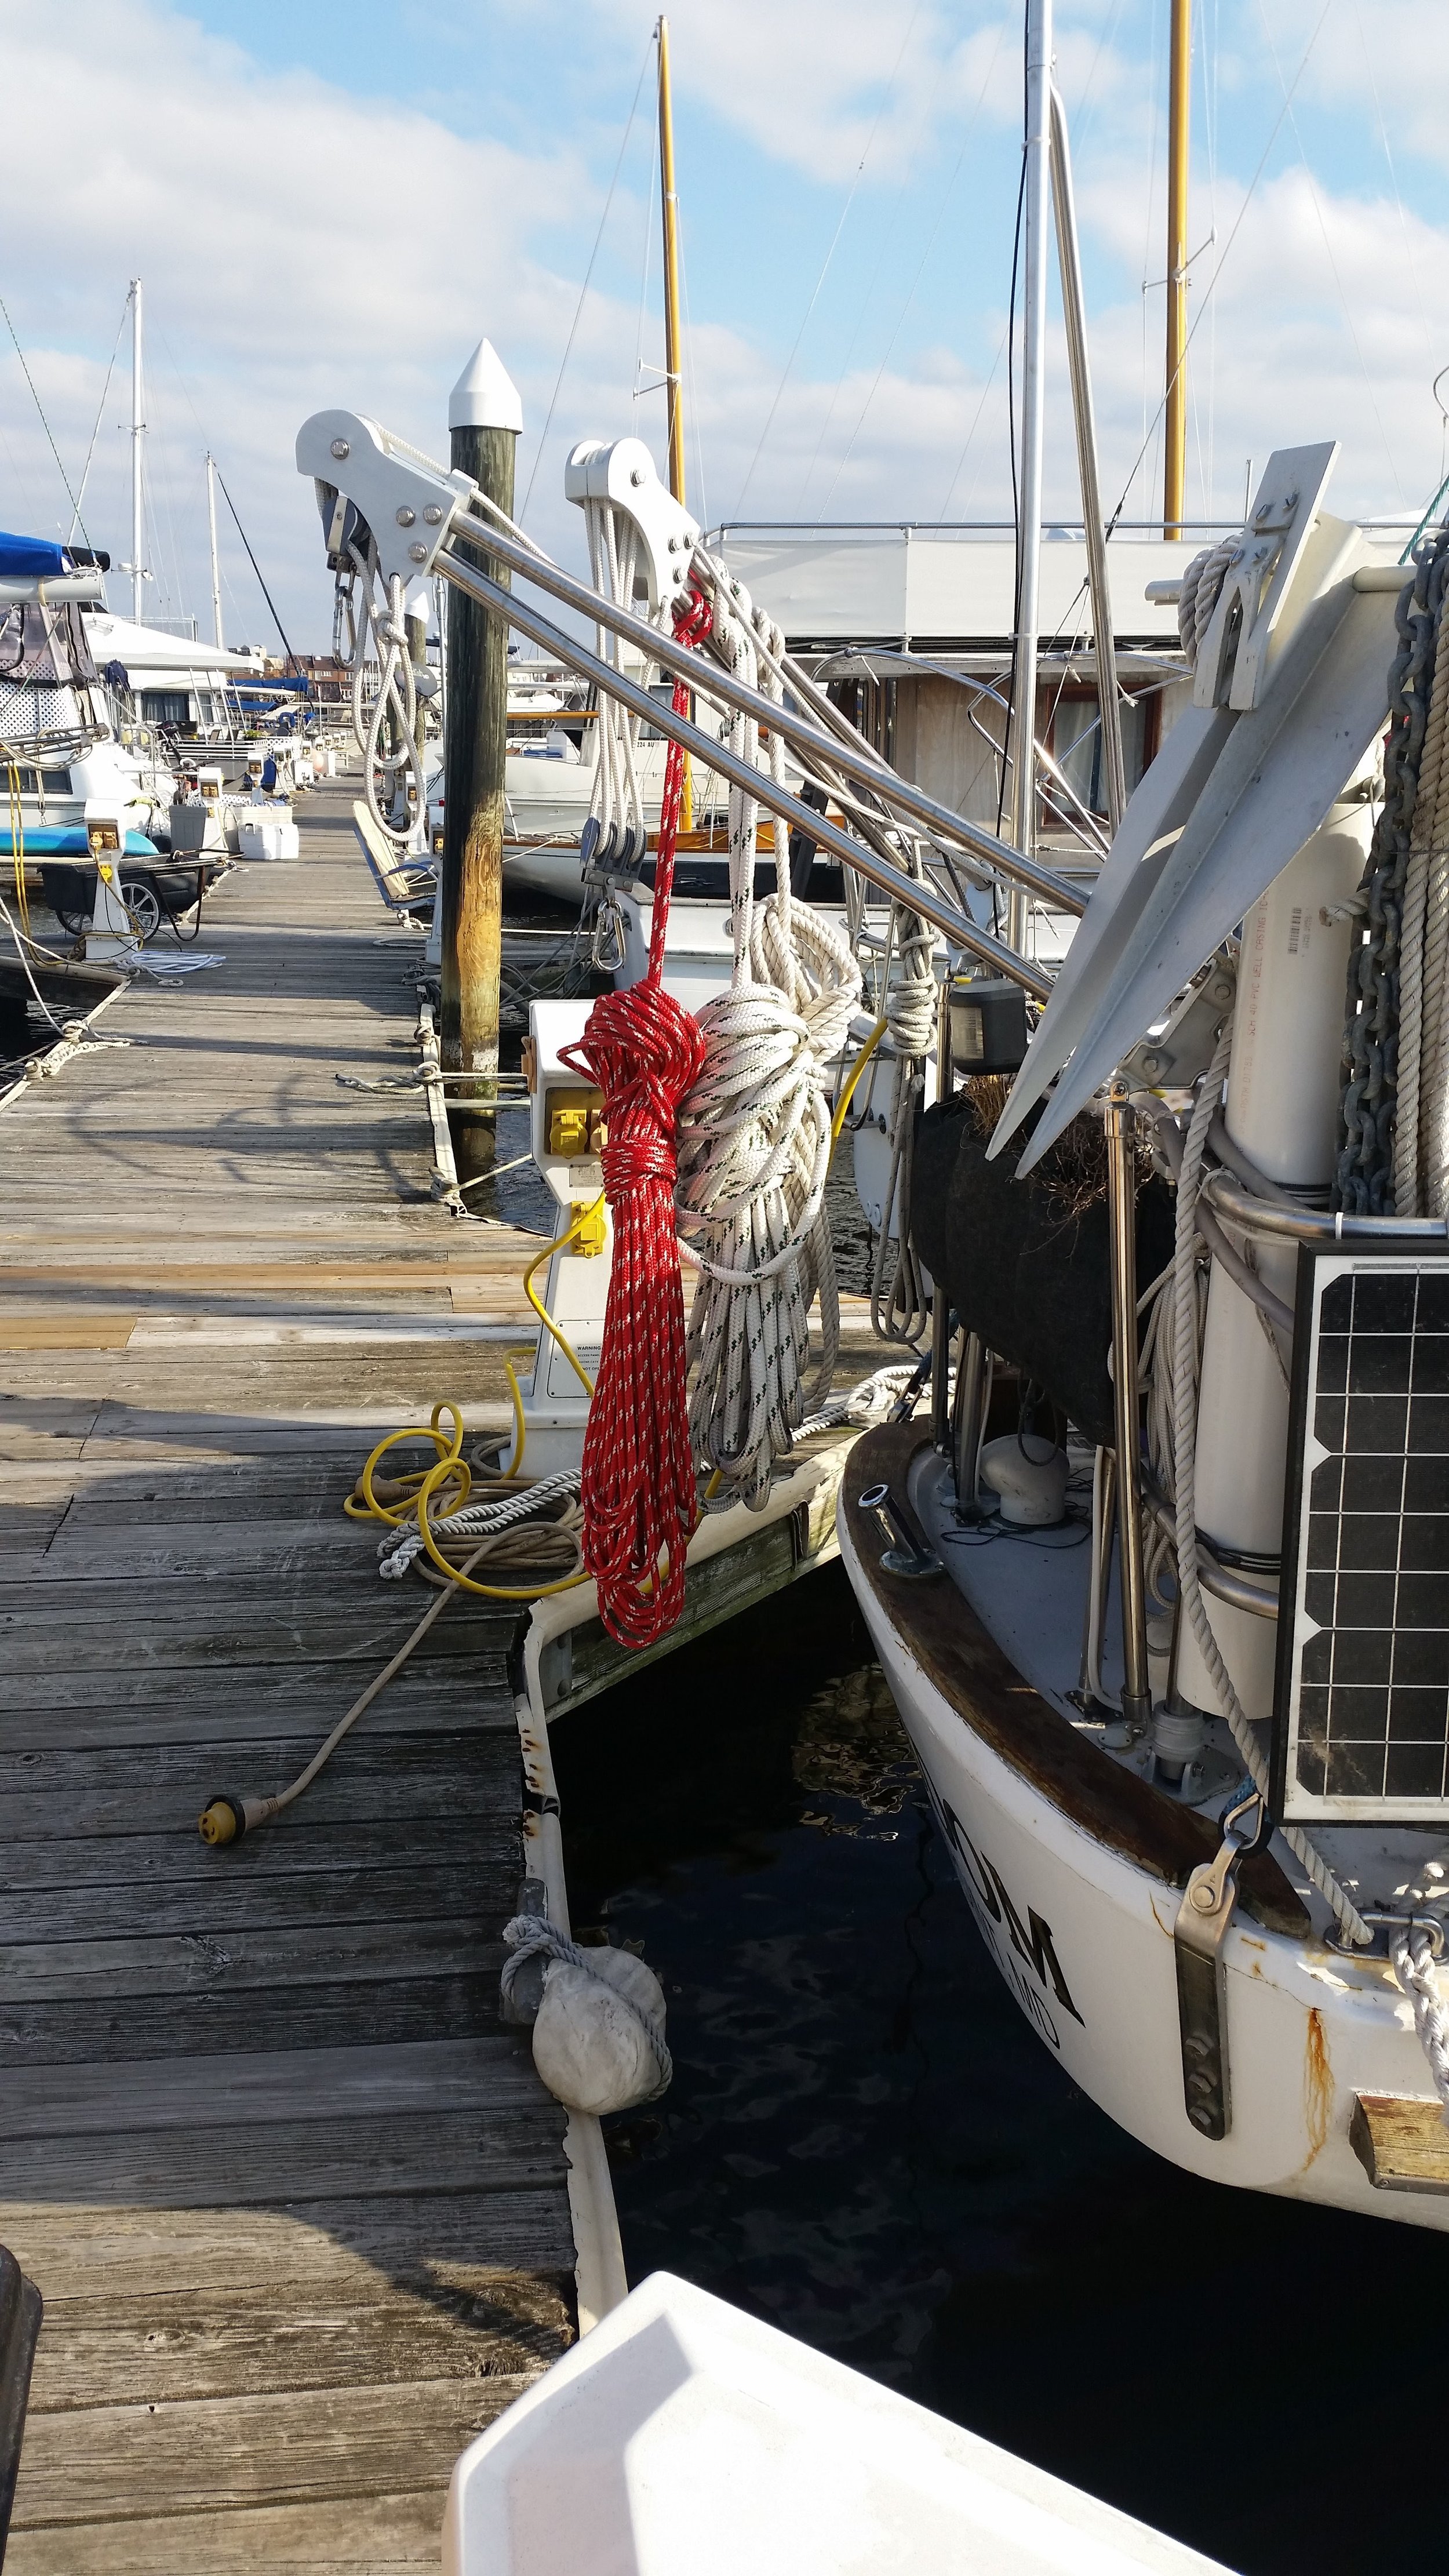
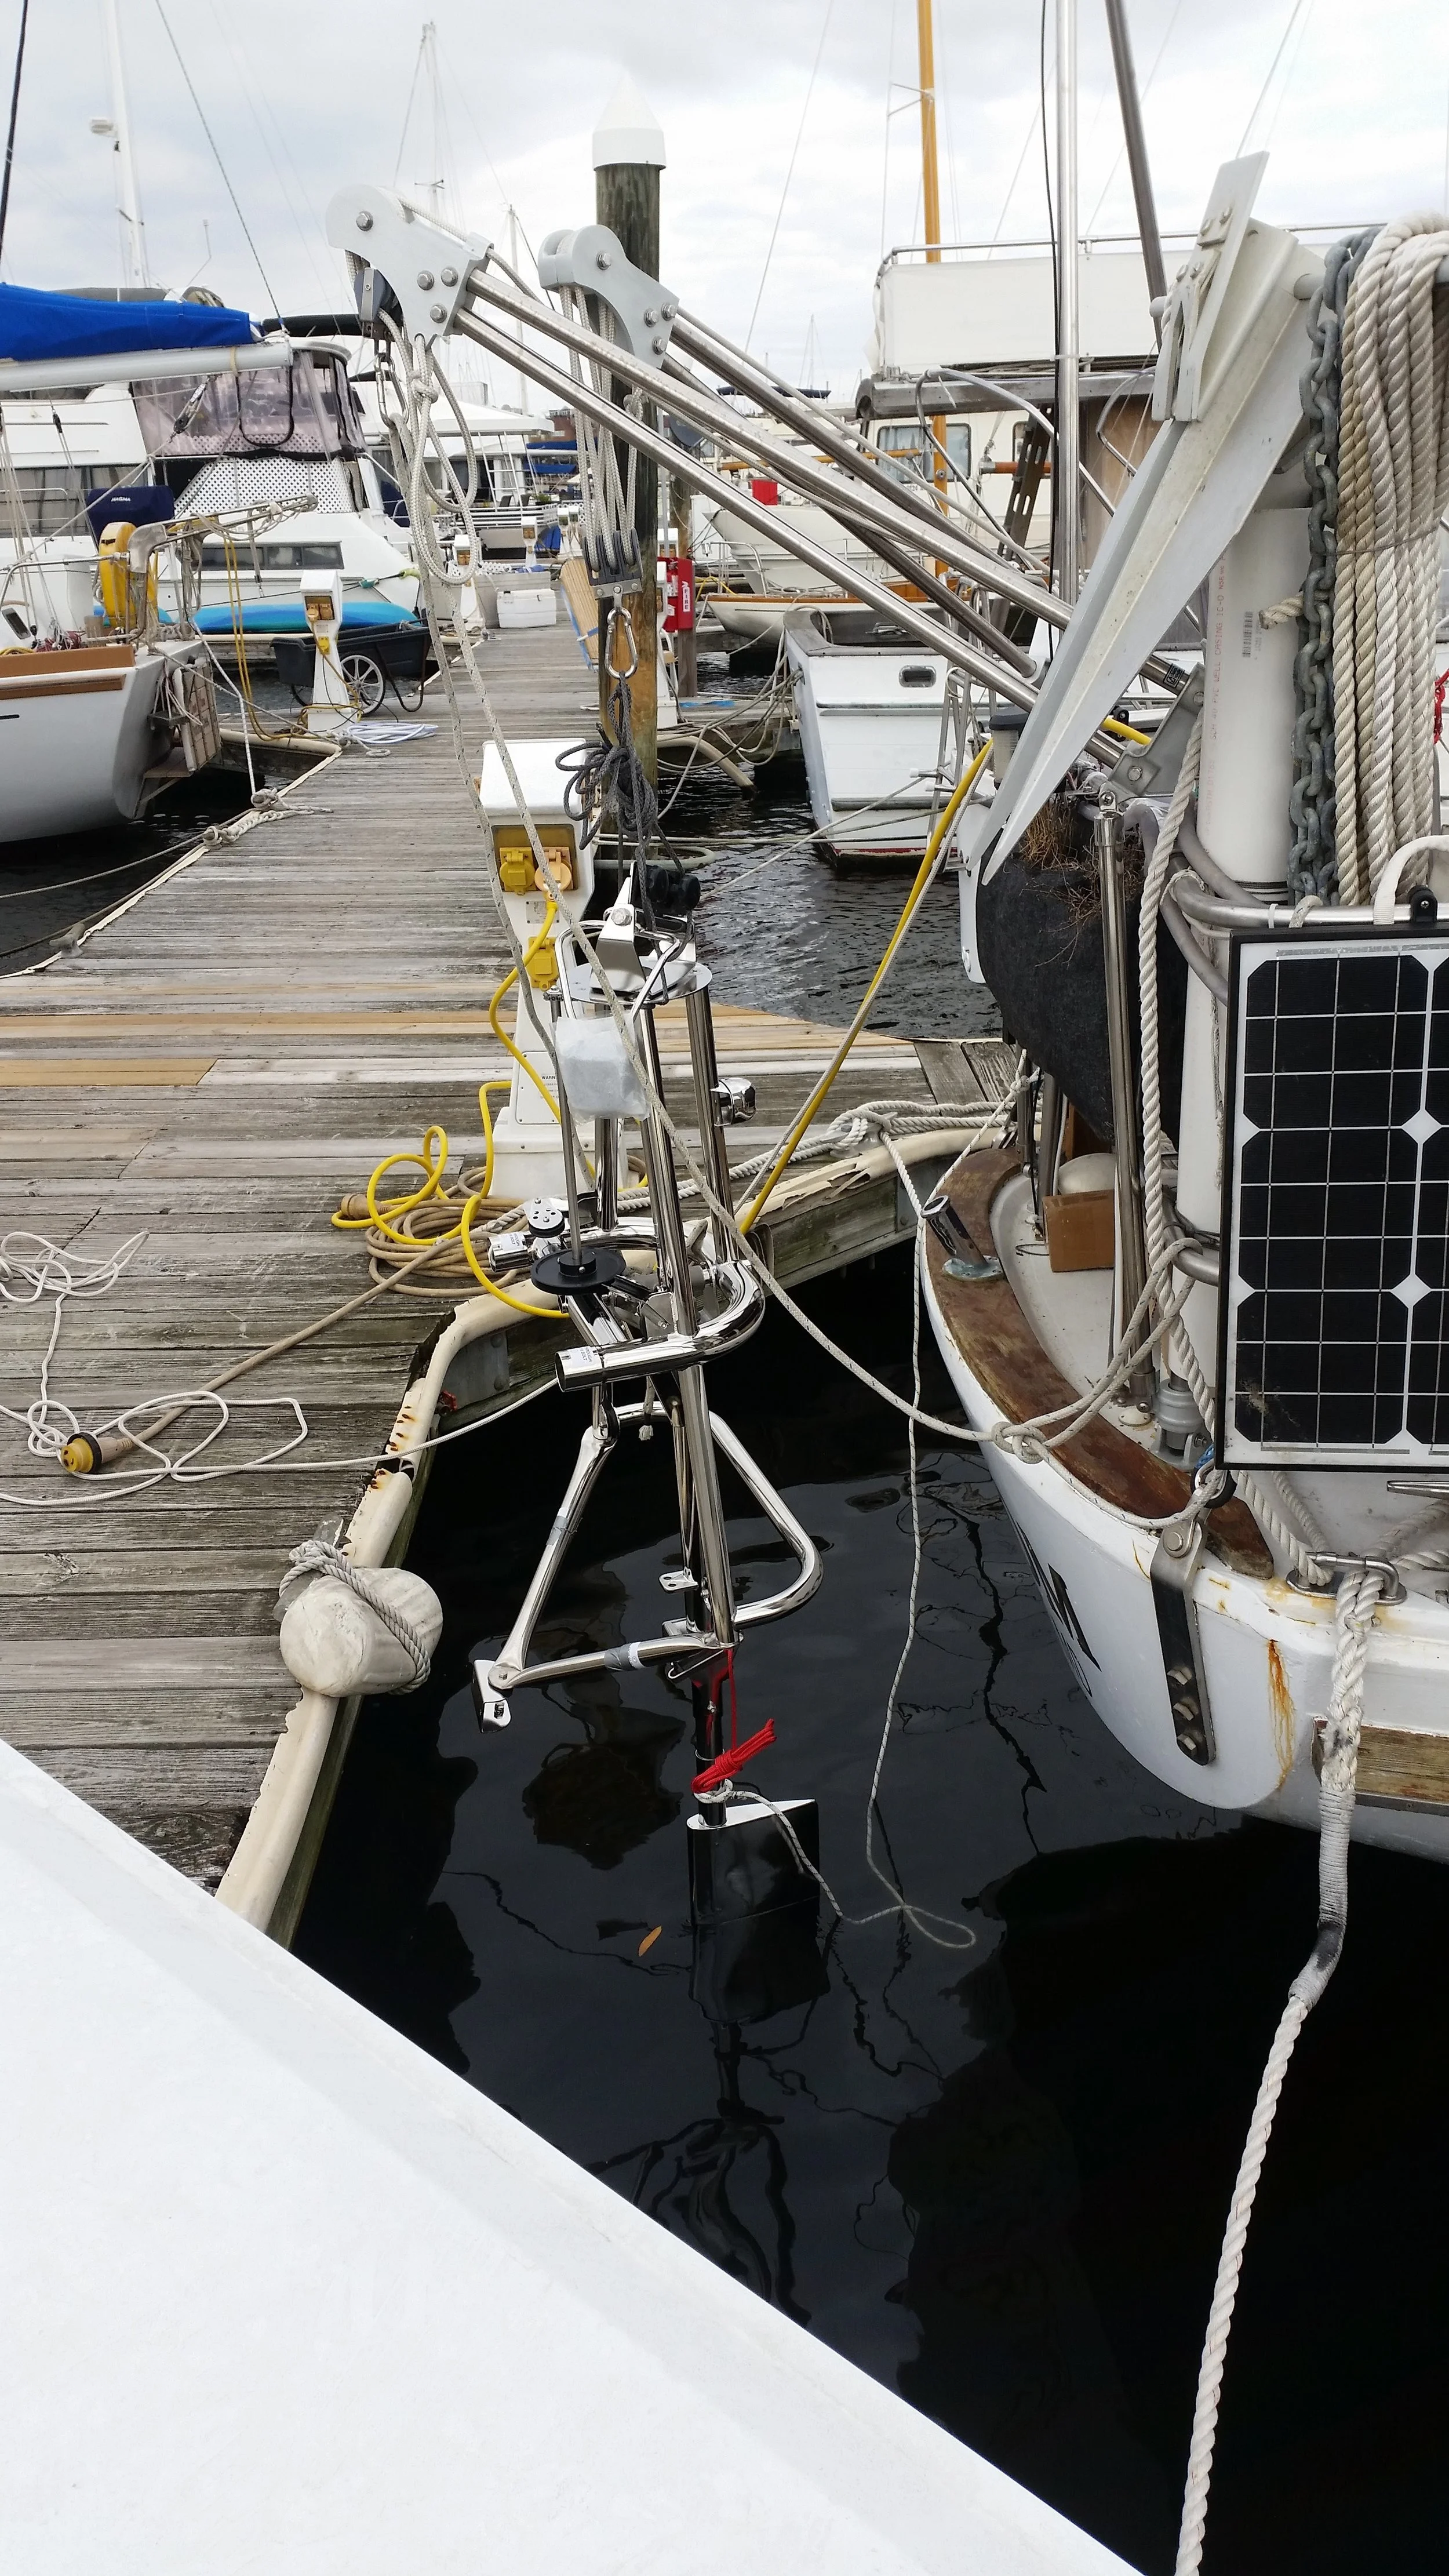
The next step is to clean up the transom! I have been using the davit arms as spare line holders. I keep the lines coiled up and organized on the davits. This whole setup will need to be cleared out because the wind vane needs plenty of clear space to swing around in. The davits will eventually go, but for now, they will serve as a great aid in the installation. I am able to hang the Monitor's frame from the davits and position it perfectly. This allows me to test fit everything alone with no additional help!

The monitor was fully assembled and then hung from the davits. Many safety lines were tied to the welded frame so that if anything slipped or fell into the water, it could be recovered.

As nerve raking as it was to suspend thousands of dollars by a few knots, it had to be done. If you install a Monitor on the hard, you have to guess where the waterline will fall on the servo-paddle. Installing it in the water insures that the paddle ends up at the needed depth without any surprises come splash day.

I used duct tape to hold the tubes that are not yet bolted in place. These tubes need some wiggle room when you test fit the unit to the hull, but at the same time, you don't want them to slip and fall into the water. Once everything was fitted and measured, the Monitor was removed and taken away from the water to drill and install the bolts in the attachment tubes.