
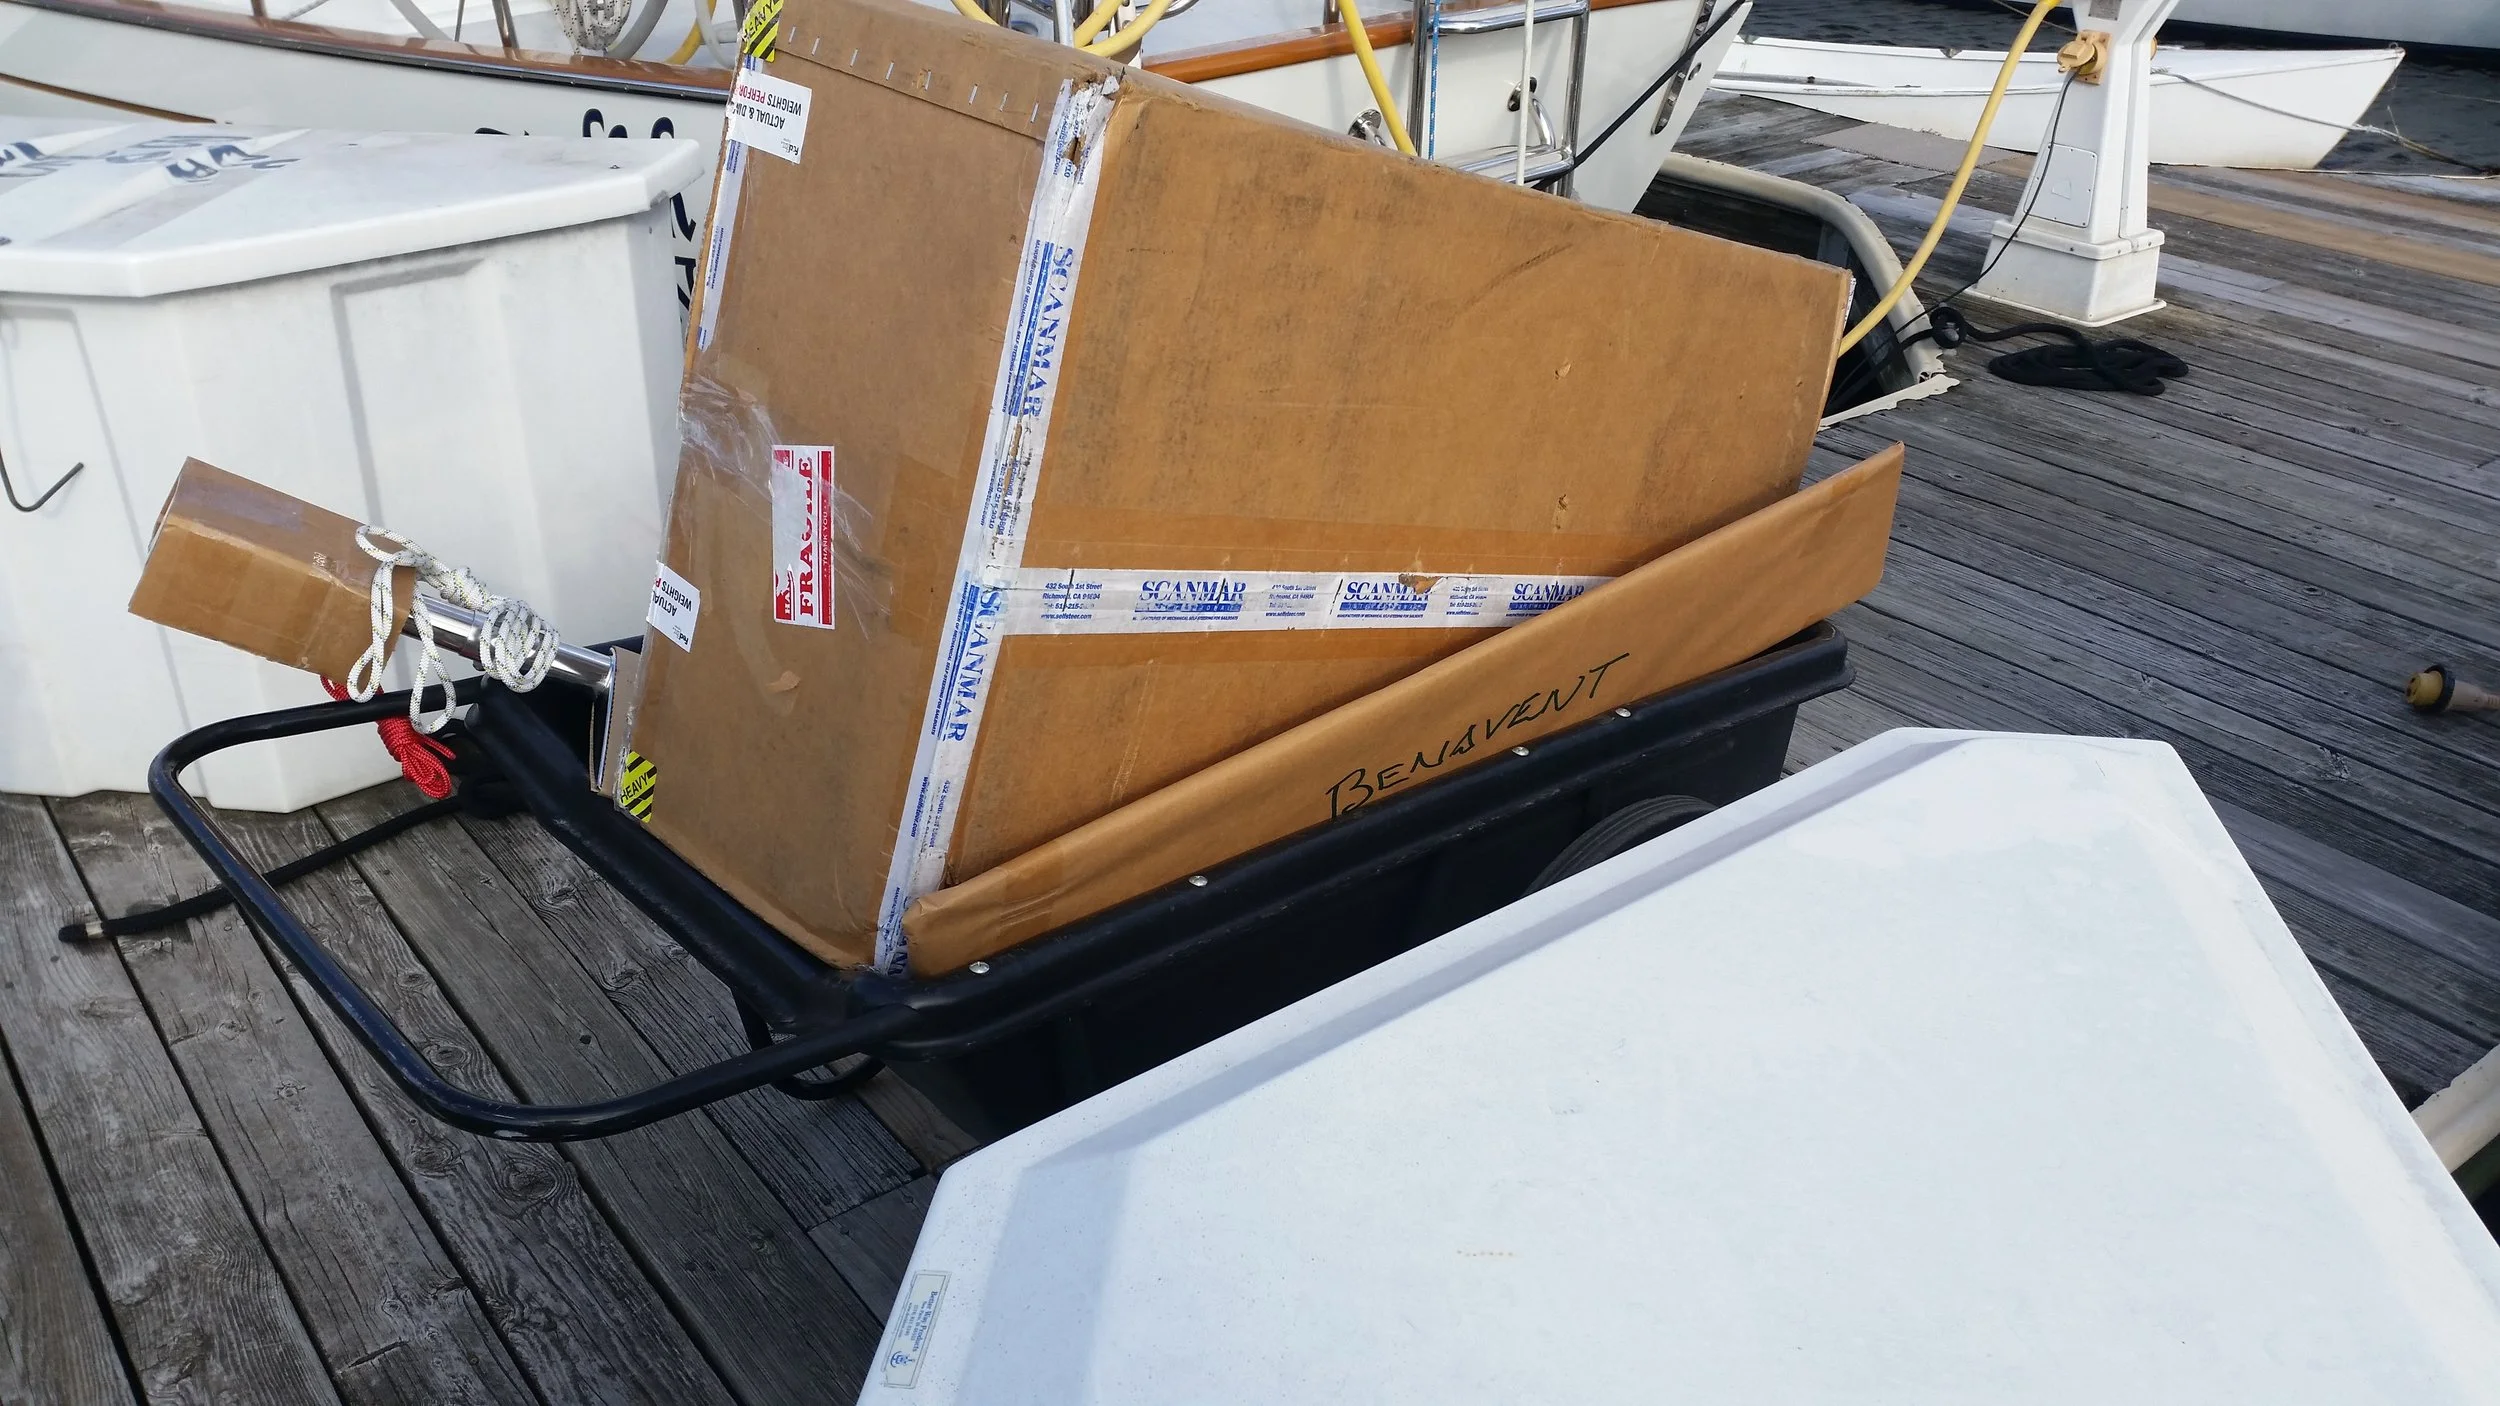
The Monitor Wind Vane is now ready to install!
The first step of the installation involved is spinning the sailboat around in the slip that way I can work from the pier instead of working from the dinghy. We usually pull into the slip bow first because backing into the slip is a nightmare with the full keel! I spun the boat around the night before when it was dead calm because I could easily reverse into the slip under very little throttle (and suffer very minimally from the effects of prop walk). If I had done it during the day with the winds blowing the boat around, I would have been forced to use more throttle and have to negotiate with stronger propeller walk.

The next step is to clean up the transom! I have been using the davit arms as spare line holders. I keep the lines coiled up and organized on the davits. This whole setup will need to be cleared out because the wind vane needs plenty of clear space to swing around in. The davits will eventually go, but for now, they will serve as a great aid in the installation. I am able to hang the Monitor's frame from the davits and position it perfectly. This allows me to test fit everything alone with no additional help!
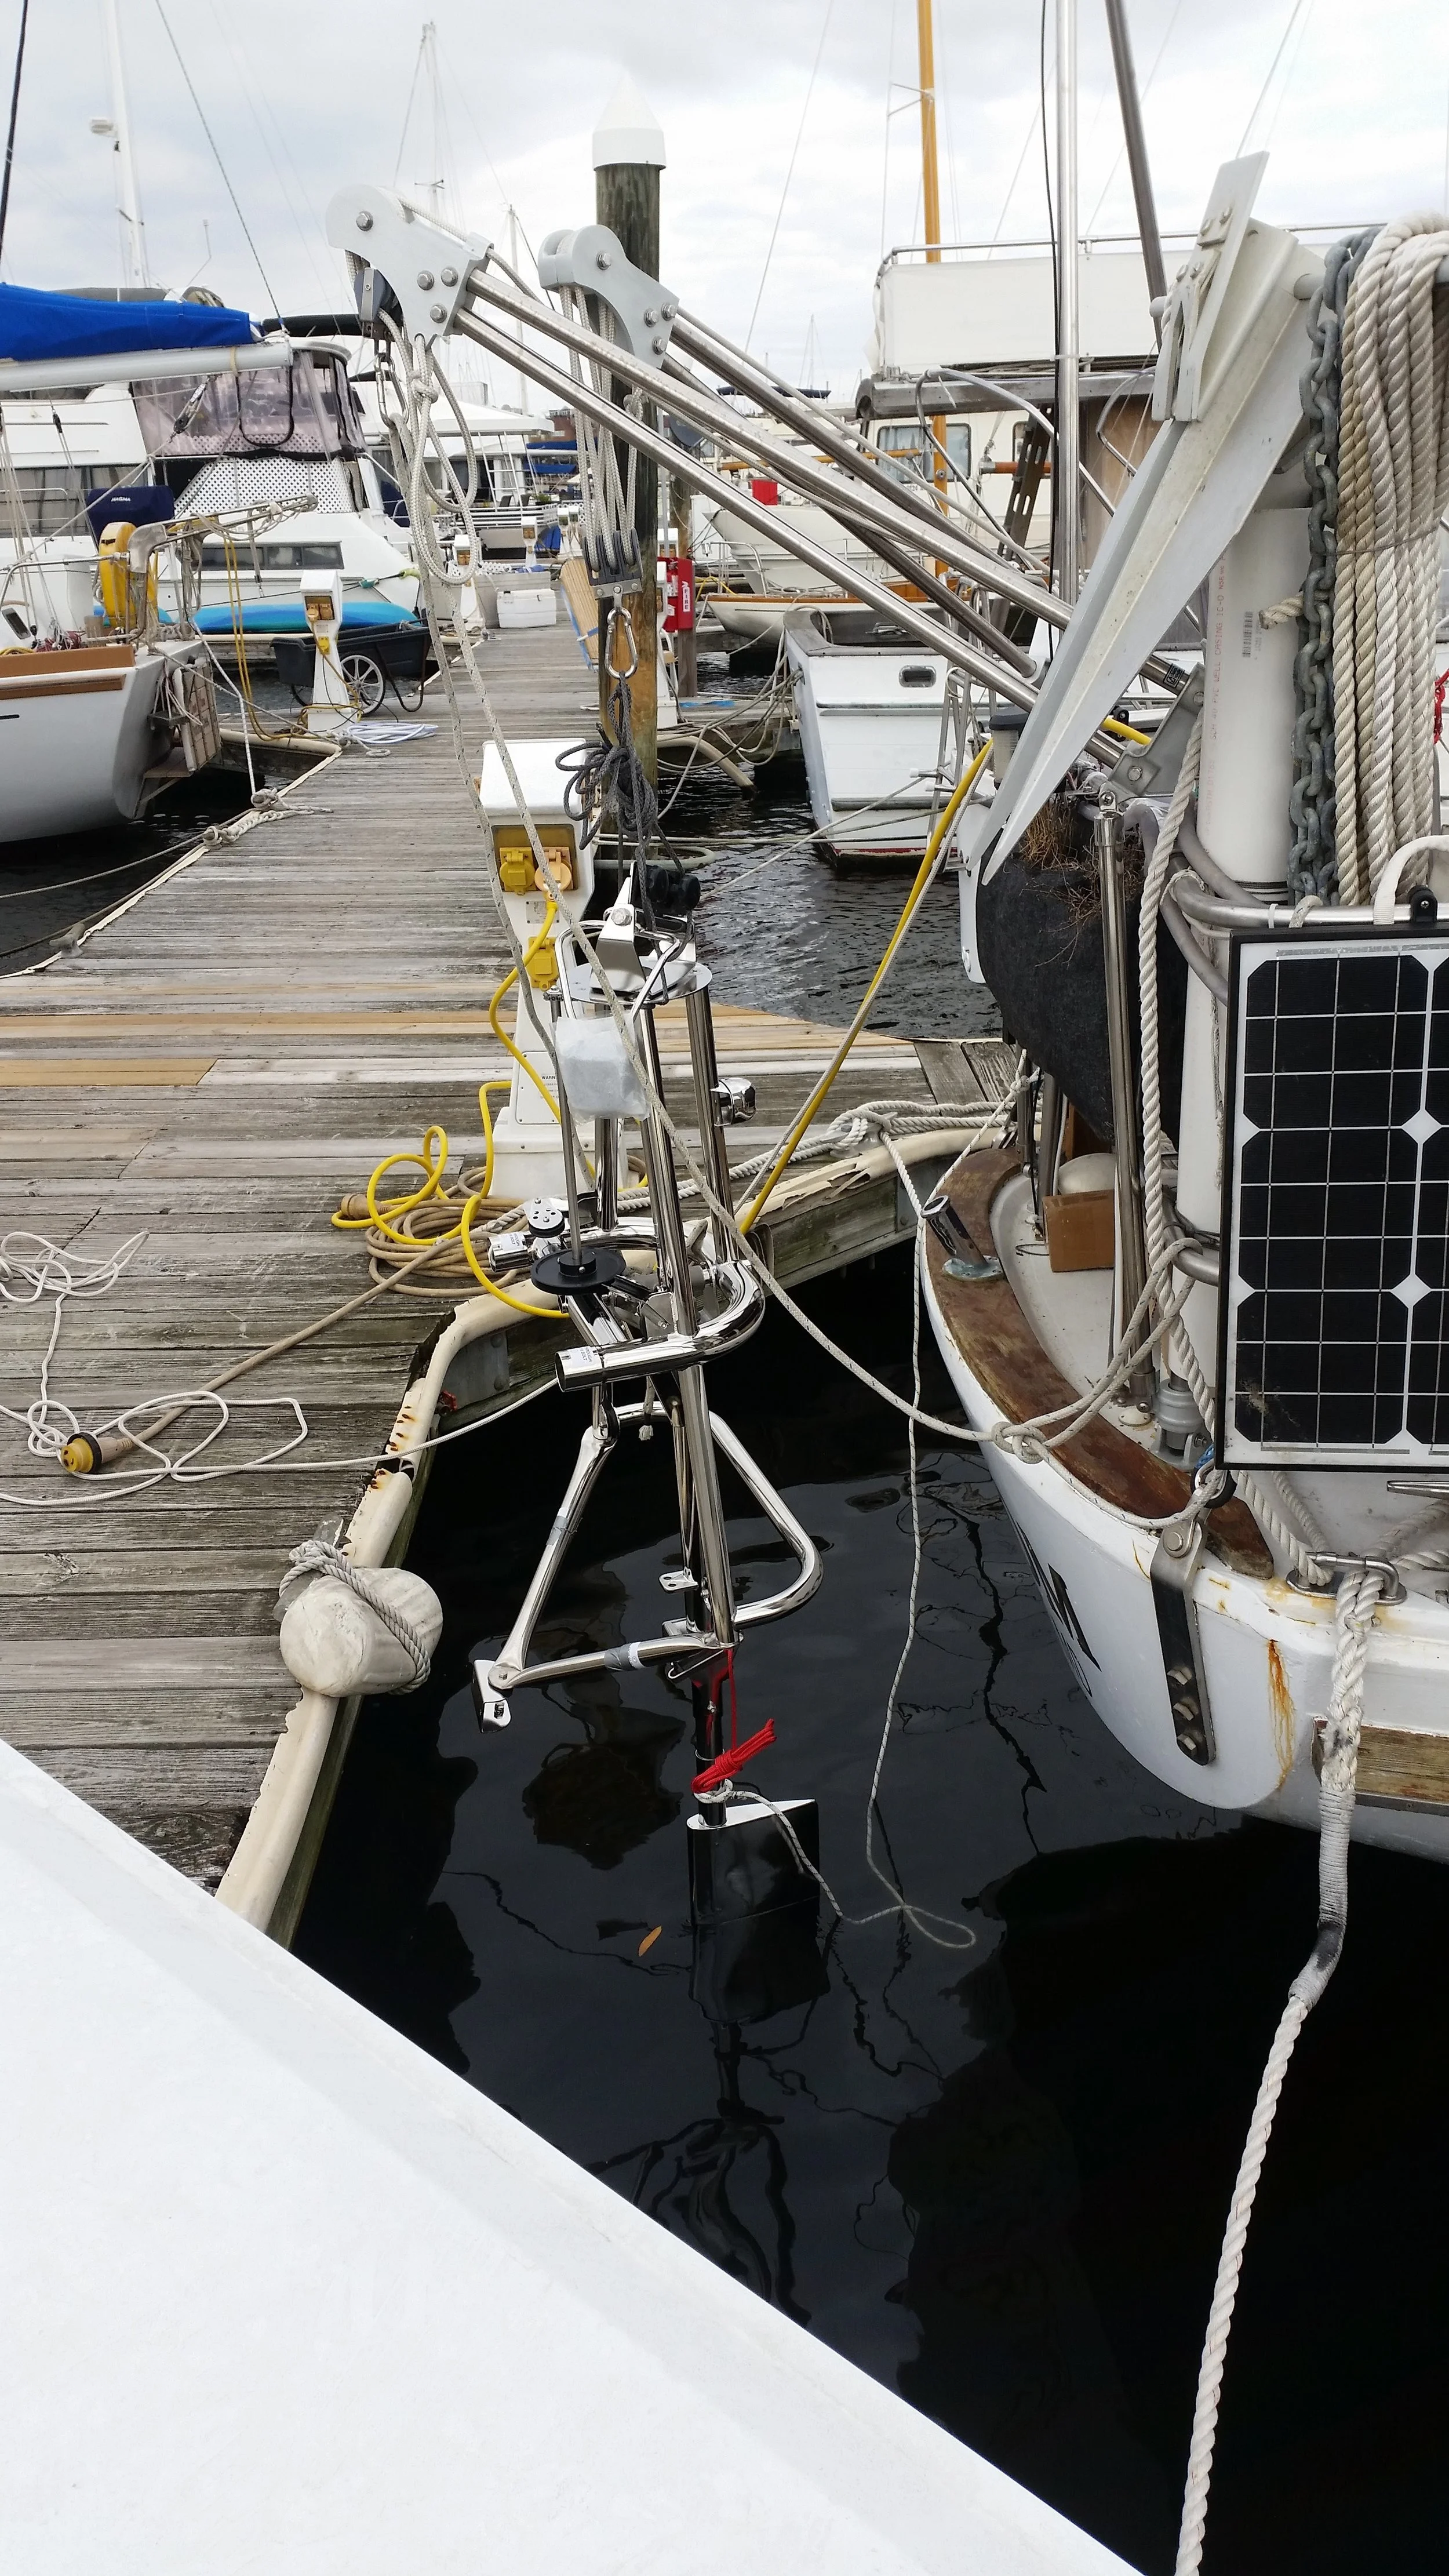
The monitor was fully assembled and then hung from the davits. Many safety lines were tied to the welded frame so that if anything slipped or fell into the water, it could be recovered.
As nerve raking as it was to suspend thousands of dollars by a few knots, it had to be done. If you install a Monitor on the hard, you have to guess where the waterline will fall on the servo-paddle. Installing it in the water insures that the paddle ends up at the needed depth without any surprises come splash day.
I used duct tape to hold the tubes that are not yet bolted in place. These tubes need some wiggle room when you test fit the unit to the hull, but at the same time, you don't want them to slip and fall into the water. Once everything was fitted and measured, the Monitor was removed and taken away from the water to drill and install the bolts in the attachment tubes.
