Tiny House Caulking

Caulk is merely the sealant that will keep air and water from slipping between the cracks in the tiny house. If you did not use any caulk, the tiny house would be much draftier and leaky. 

FullSizeRender.jpg

This caulk is made to fill voids and seal up the outside of your house. It can be painted easily, allowing it to be covered up and forgotten as the exterior is finished. 
FullSizeRender.jpg

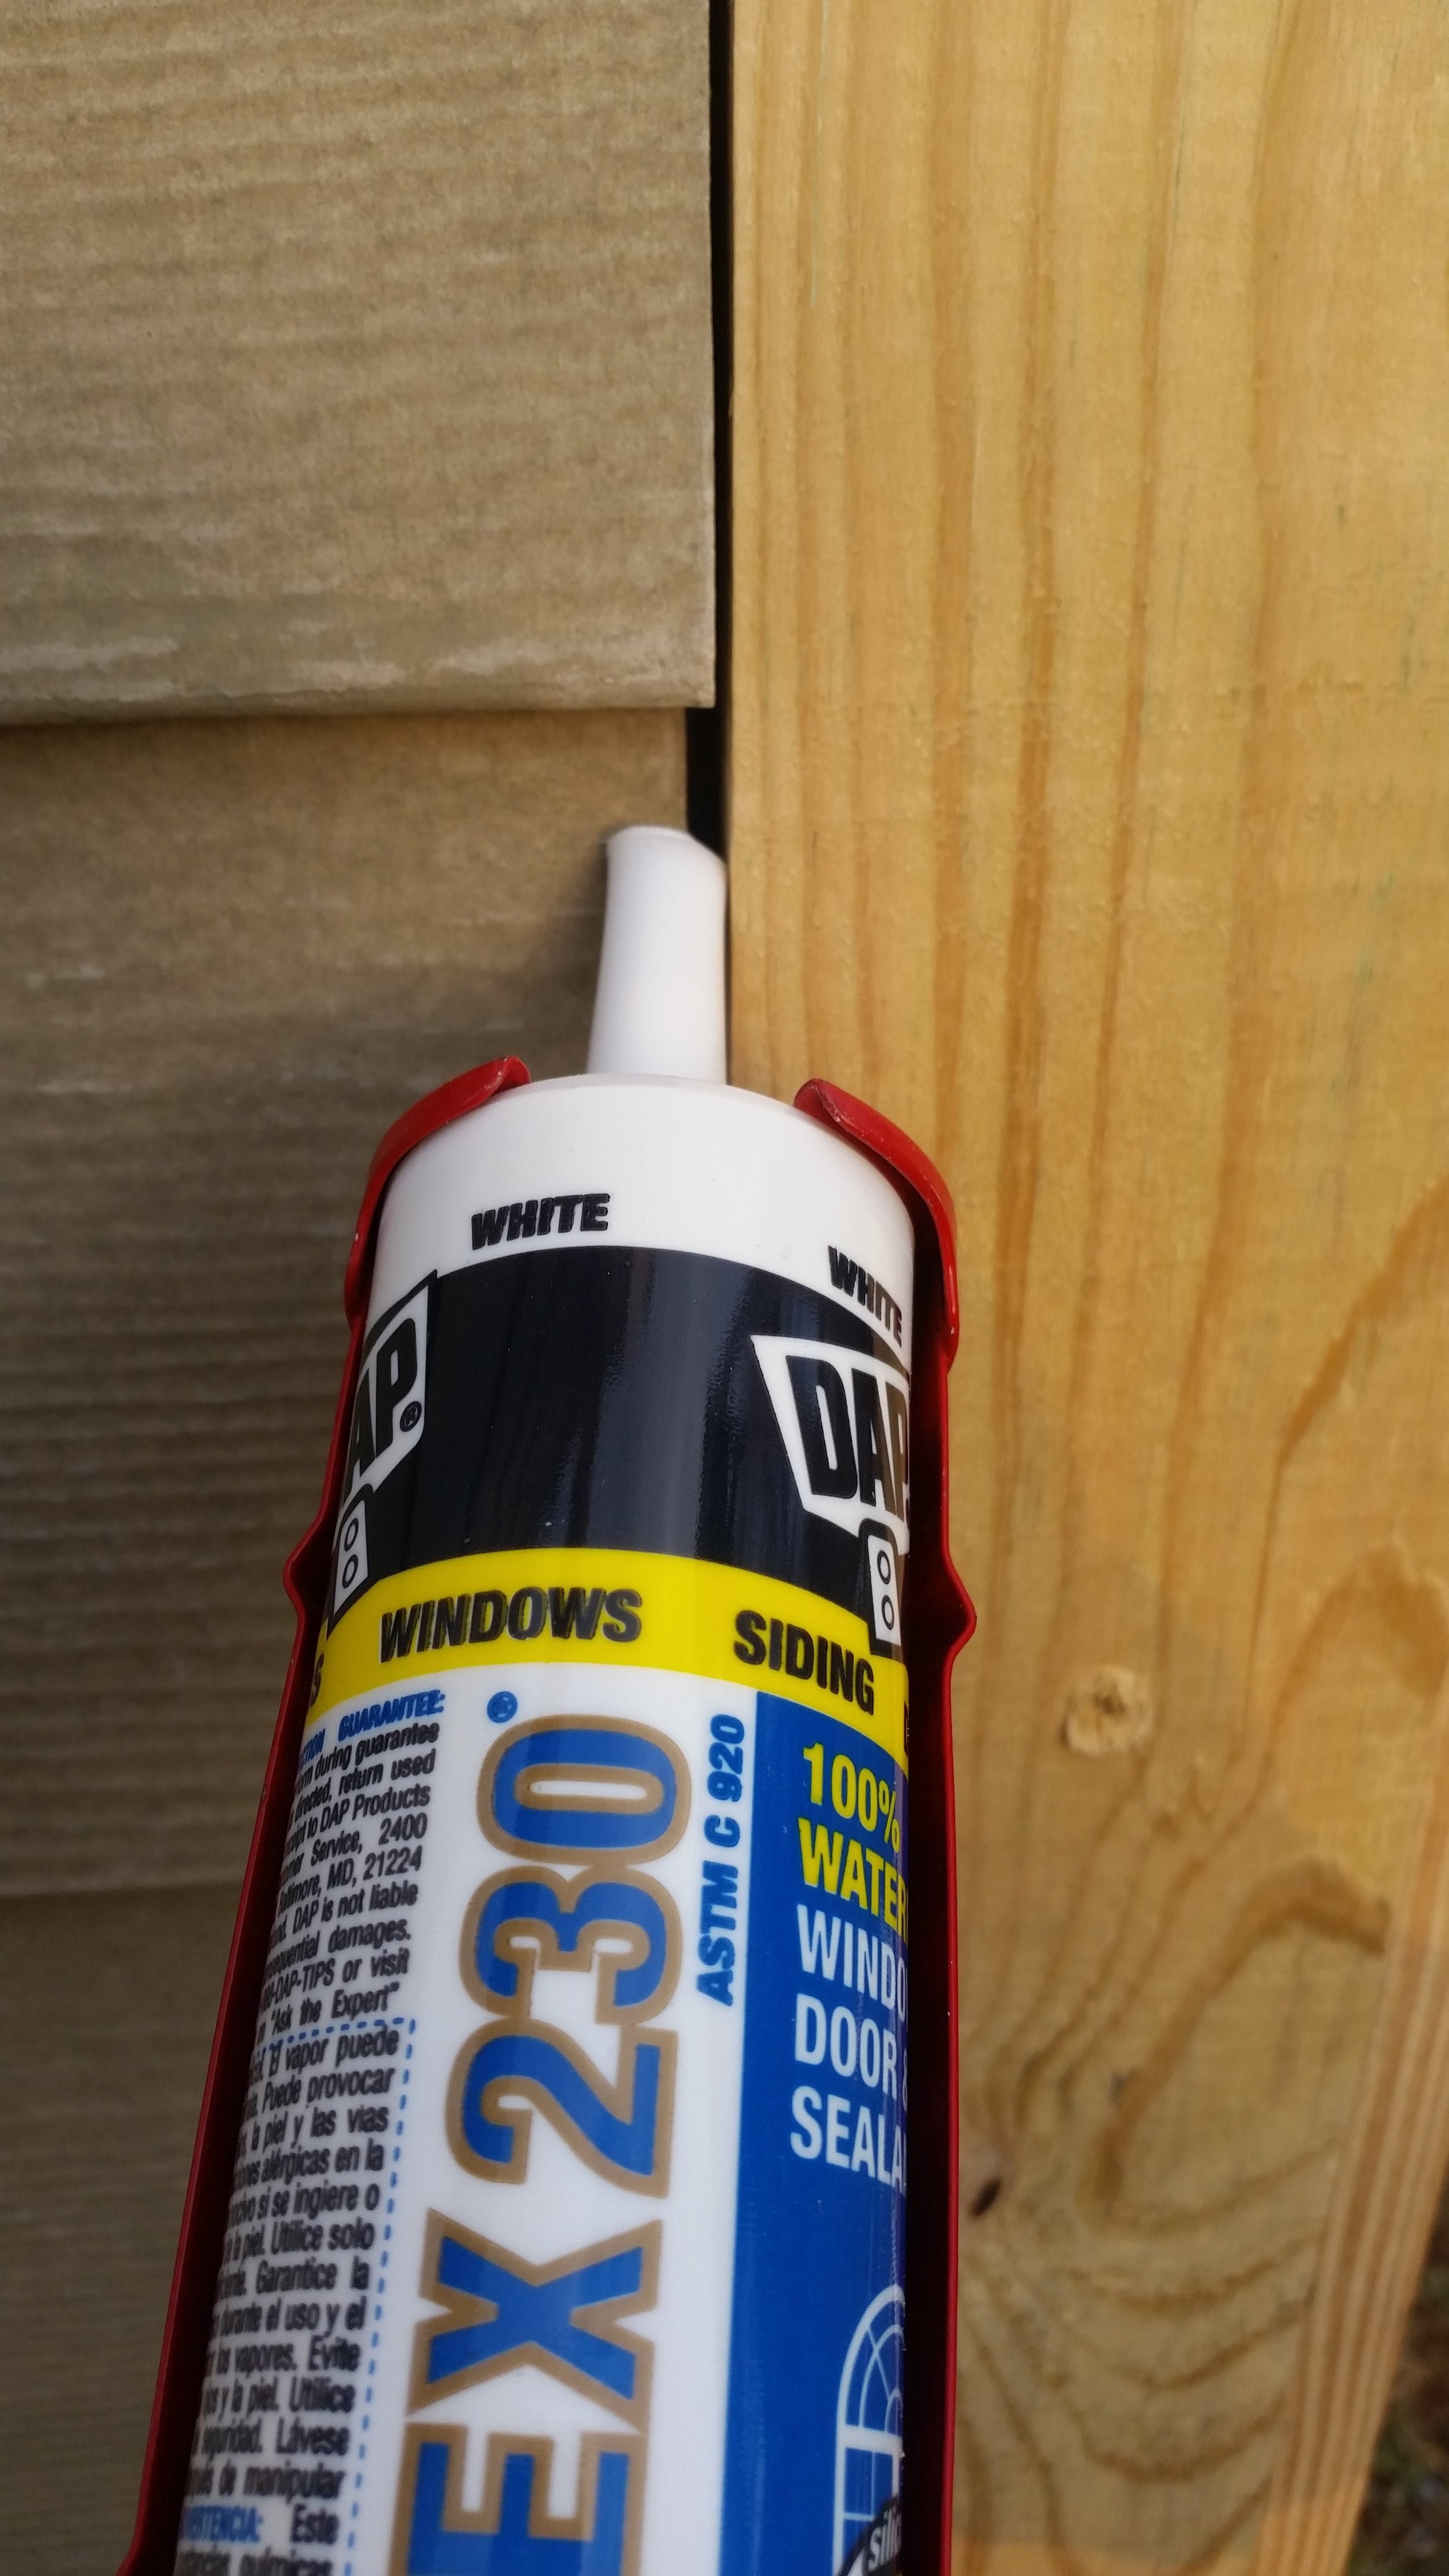
Application is very simply using a caulk gun to extrude the contents onto the walls and seal everything up. It is a good idea to apply the caulk right before you apply the trim boards so that the caulk is still wet when the trim is applied. This will further promote a good seal by sealing to the trim board as well as the rest of the house. 

On the windward side of the tiny house, it is imperative that you seal up everything very well as this side of the tiny house will be exposed to very strong winds when being towed down a road. Sealing up everything will prevent wind damage from occurring as you tow your tiny home down the road.  
Connecting the Transom

The transom board is attached to the sternpost, holding the transom flush to the back of the keel. The sides of the transom are attached to planks, and the first and most important plank that will attach to the transom is the sheer strake. The sheer strake is much larger than the other planks and transmits the forces between the transom and stem, stabilizing the topsides of the dinghy.

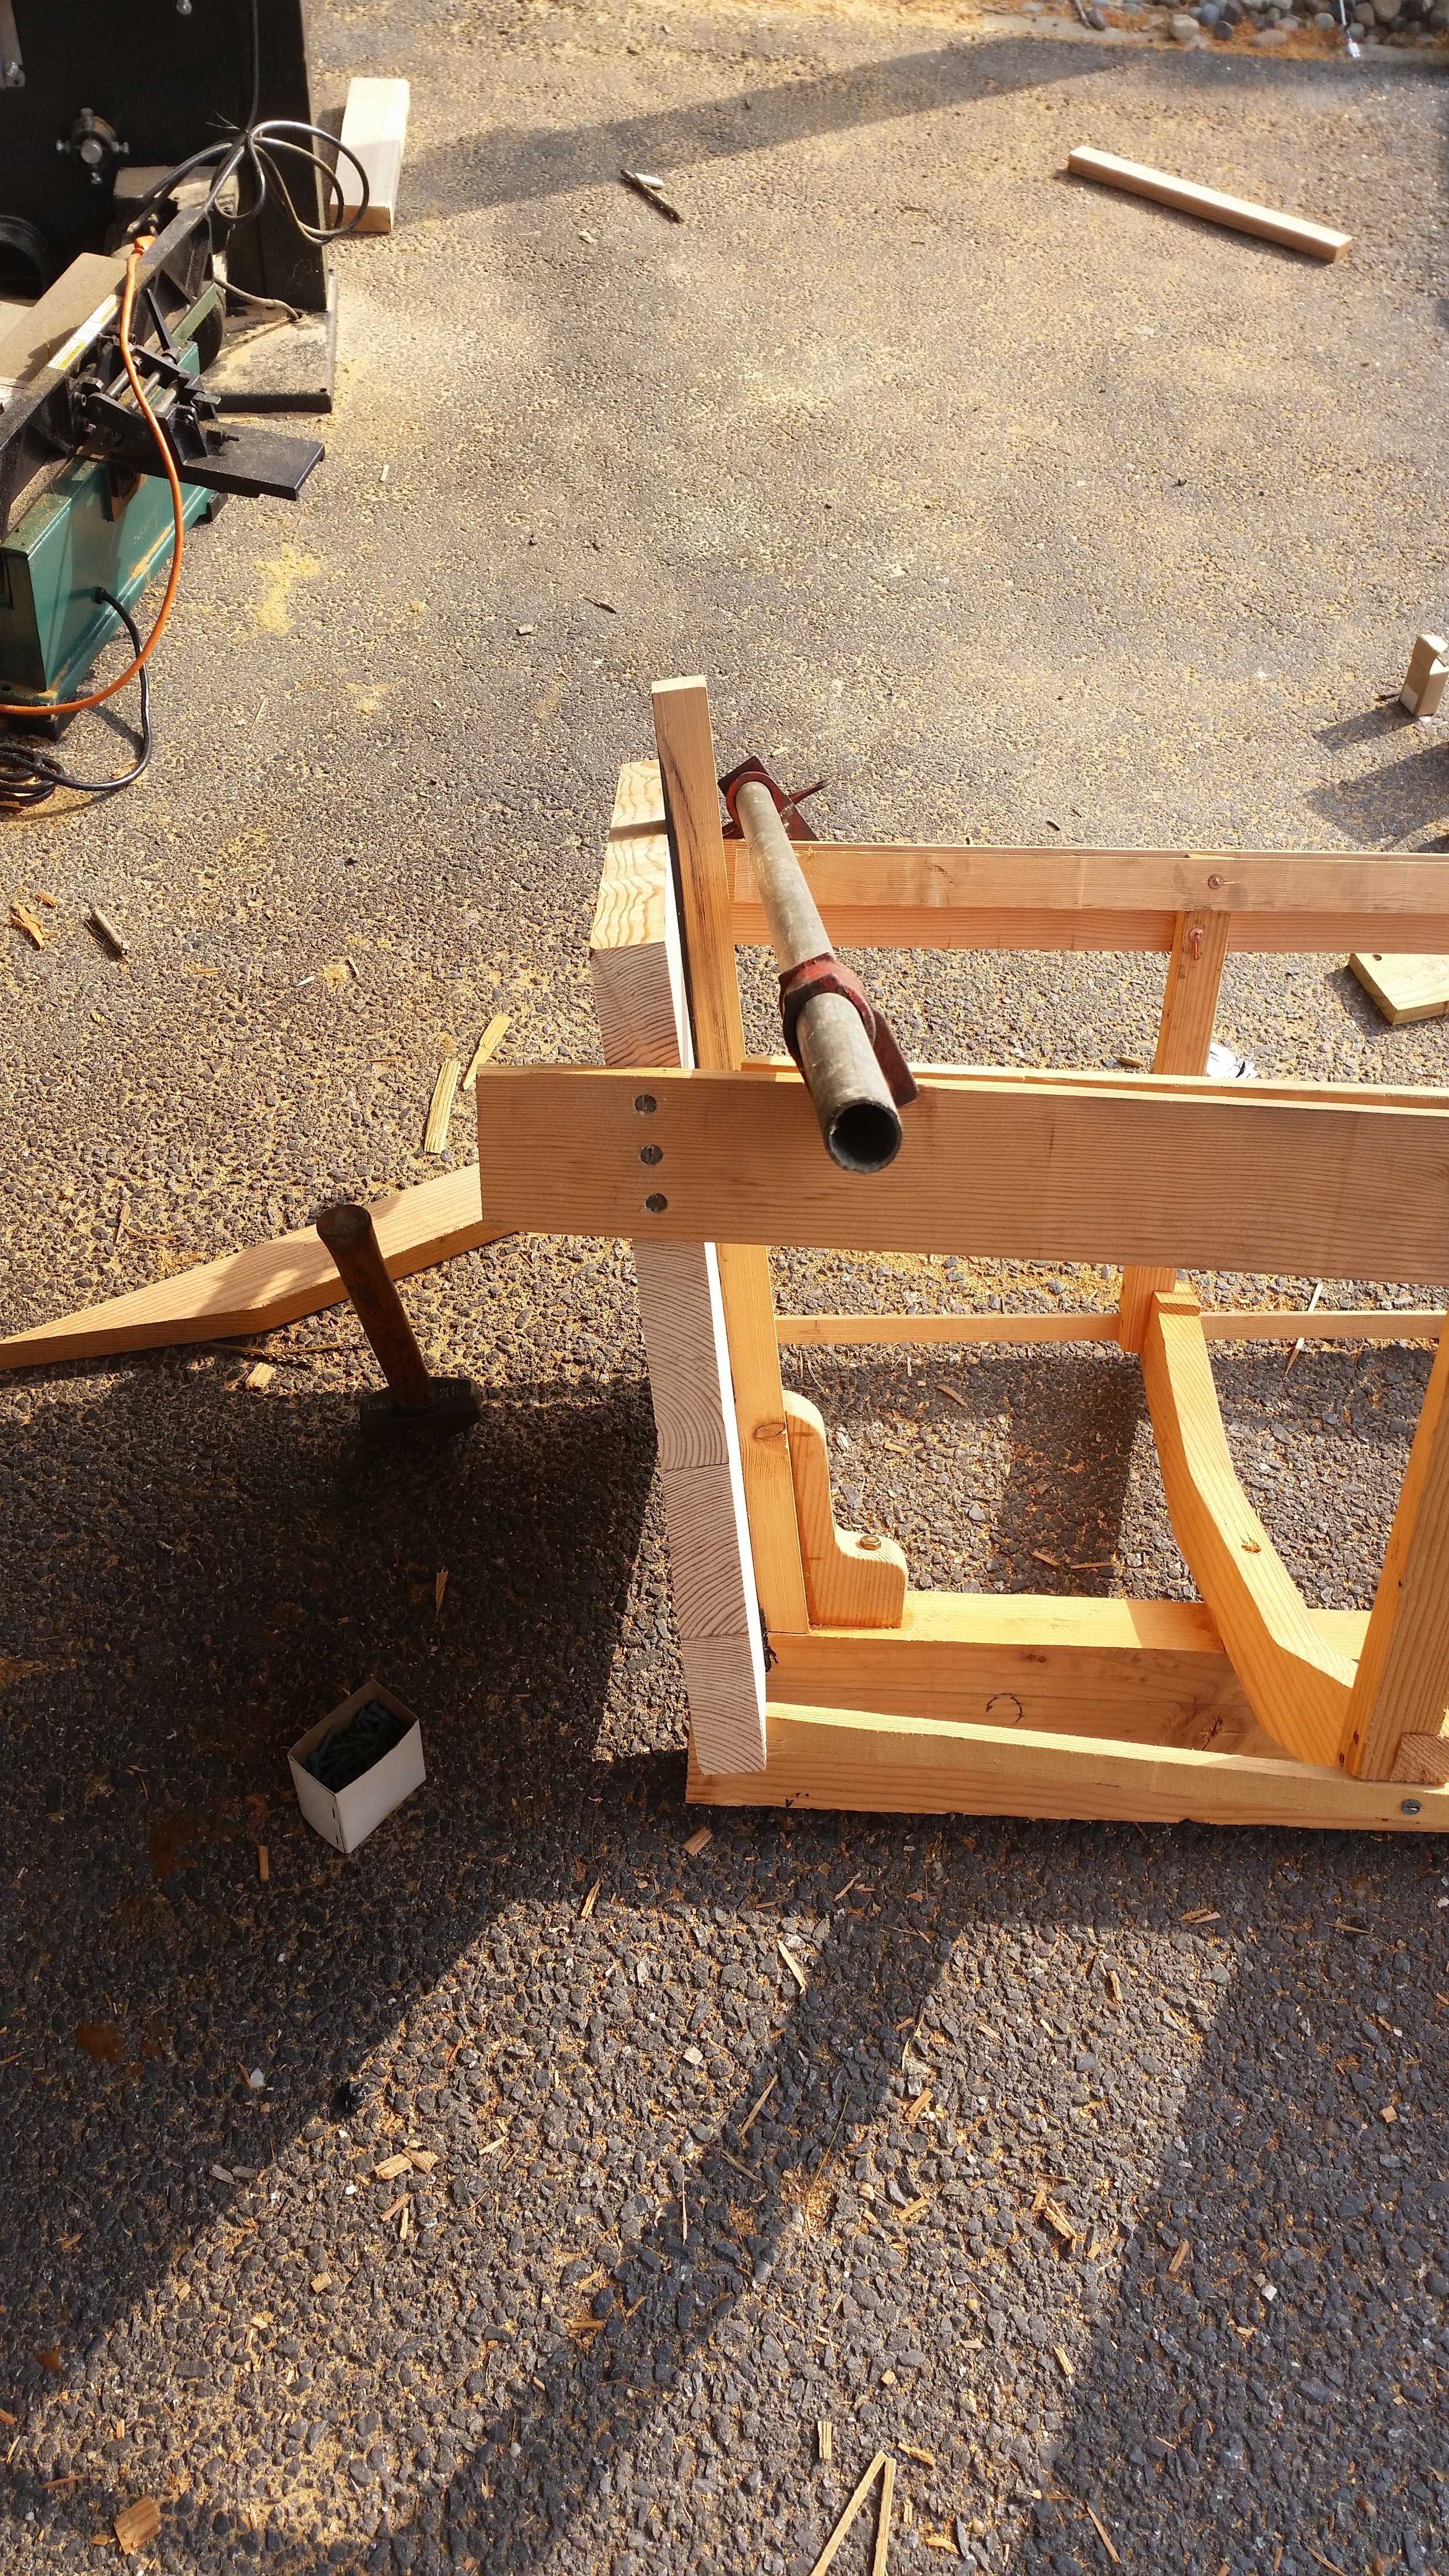
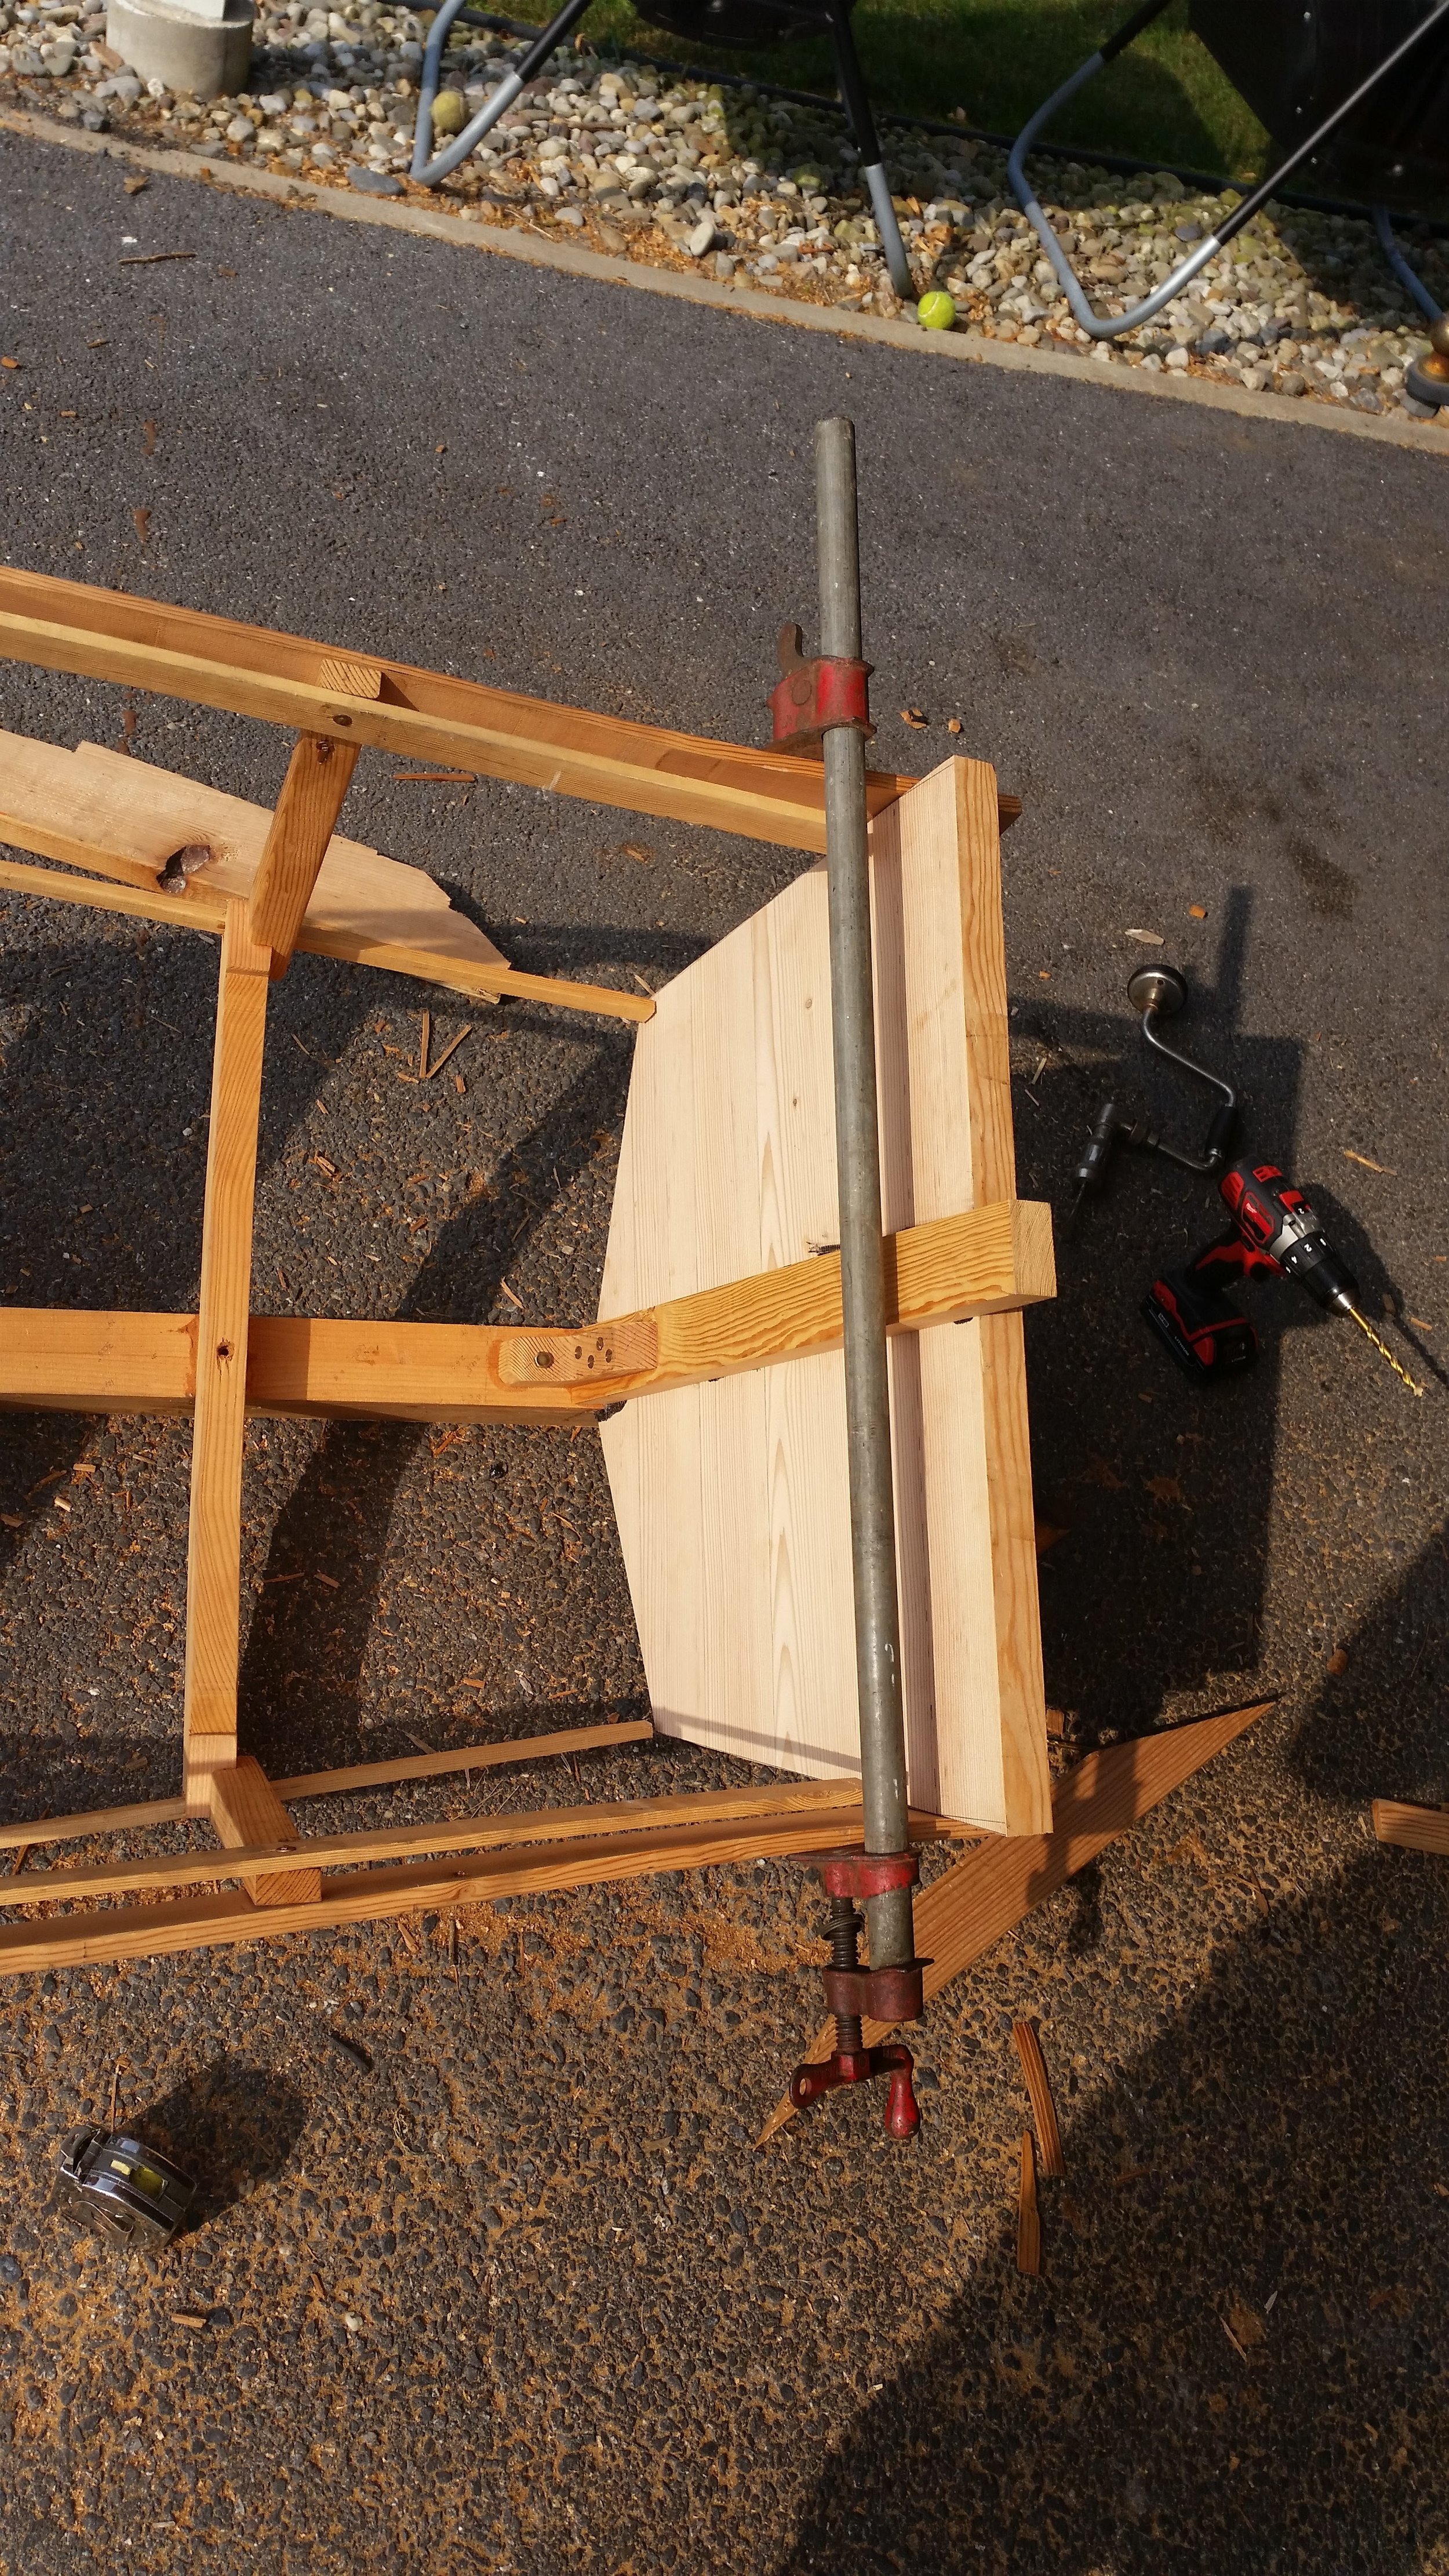
To set the sheer on the transom for easy attachment I set a table clamp athwartship and compressed the sheers onto the sides of the transom where the pilot holes could be drilled and the bronze fasteners could be driven in.

With the shelf clamps cut short of the transom, the sheer strakes are able to lie flush along the side of the transom board where it can be screwed into the endgrain. At this point, I am drilling and screwing dry without any bedding compound. At a later point, bedding compound will be added.

Once the holes were drilled and all the screws fit in properly, the clamp was eased and the screws backed about 3/4 of an inch. This gave me enough space to fit the tip of the caulk gun in between the boards and around the bronze screws. After applying a liberal amount of bedding compound, the screws were driven back into place and the excess was scraped off with a piece of scrap wood. 

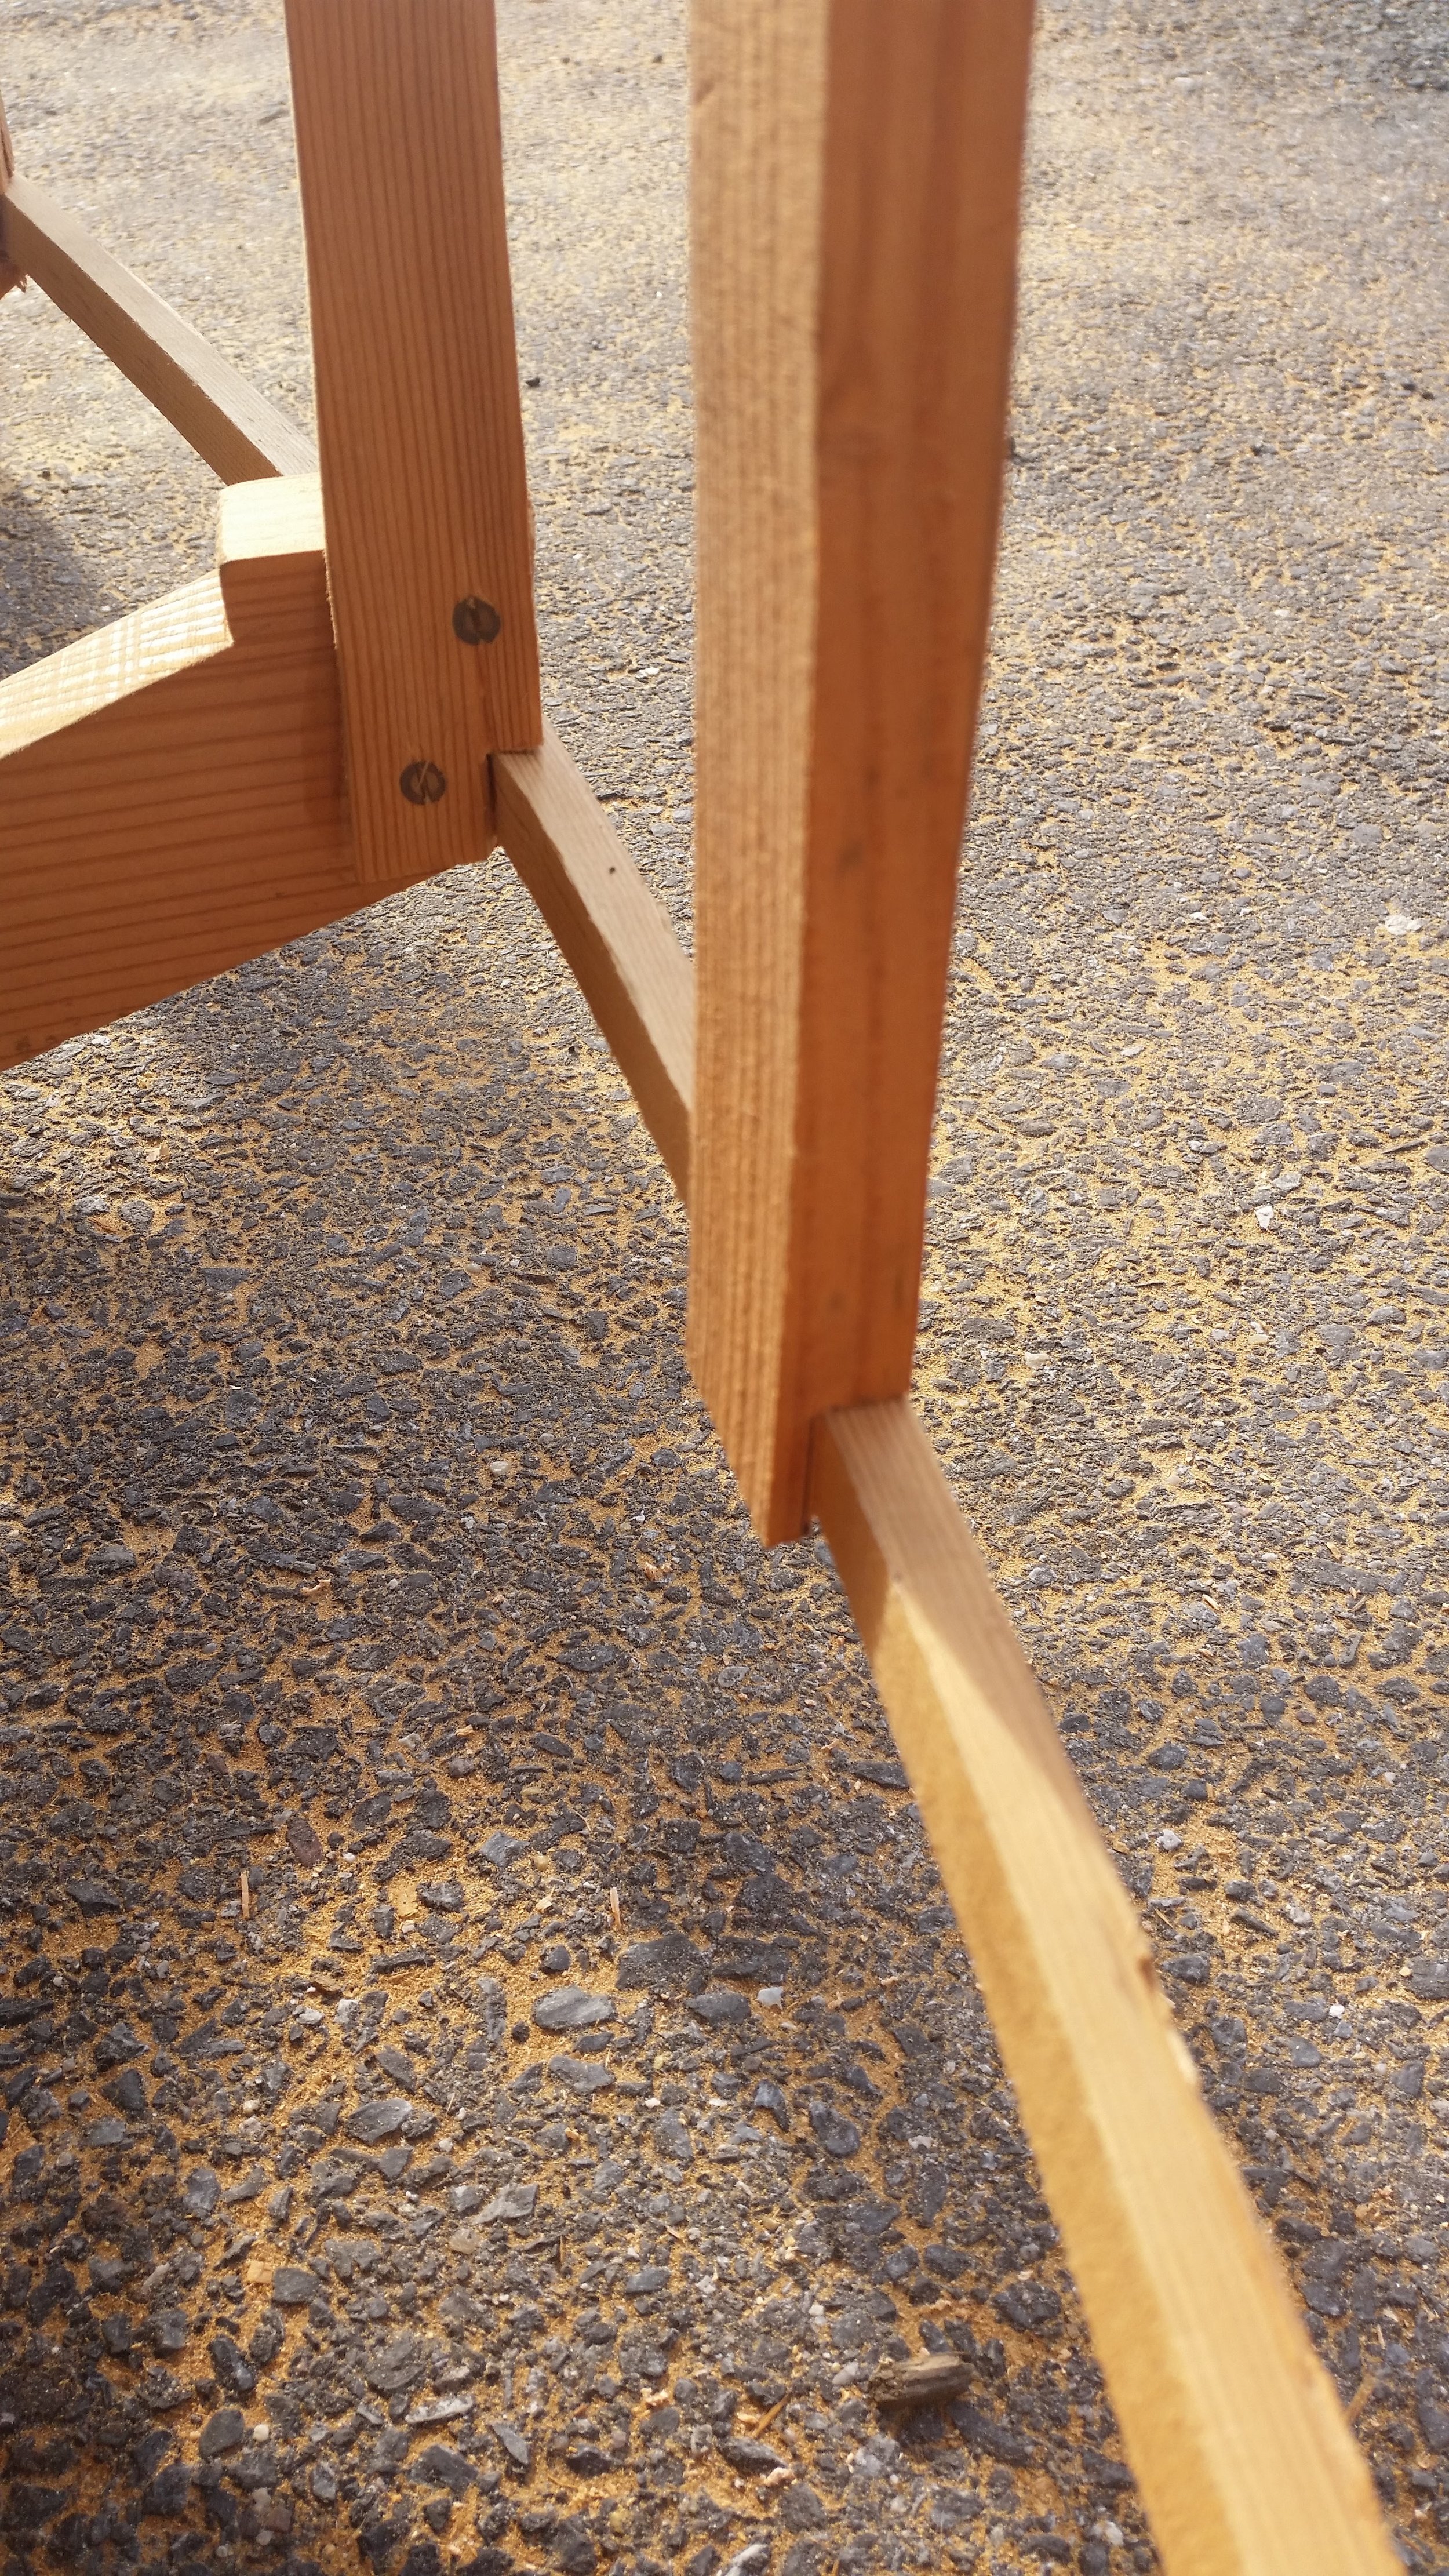
The shelf clamps were cut a bit shorter to allow space for the transom knees to be fitted and attached. In the meantime the sheer is resting well attached to the transom and ready to be attached at the stem. It is important to not attach the sheer strakes until the seat is in place as the seat will act as a brace to the frames which will dictate the beam of the boat. Without a brace, the frames may flex inward and the sheer may appear to have a shorter run from stem to stern. Once the beam is corrected with the brace, the sheer may be too short.

For this reason, it is imperative that the bench be in place and the contours of the hull symmetrical and true before the sheer is fastened at either end of the dinghy.

Starting a Dickinson Diesel Heater

Keeping warm in the winter is crucial if you are planning to live aboard comfortably. Diesel heaters are a very efficient and powerful way to heat your cabin, providing plenty of heat without the buildup of condensation typical with other types of heaters. 

The cabin air inside the yacht will be used in the combustion process, taking along with it any moisture that is present in the air. This burnt air is then sent out through the chimney, keeping the cabin free of smoke and carbon monoxide.

As the air in the cabin is consumed, new air must be brought in to replace this air. Dorade vents that are used for passive ventilation in the yacht will allow fresh and dry outside air to be drawn in and quickly warmed by the burning heater.

This is all well and good, but how do you get the thing started? If you read the instructions, you may become intimidated as the instructions are rather complicated. Actually, the instructions are overly complicated. The truth is, these heaters are remarkably easy to turn on and get started.

All you need to do is start the flow of fuel, wait a few minutes, and light it. That's it!

The video is rather long, as it is the entire process of starting the heater and watching the flame slowly come up to the top where it begins to burn efficiently and heat well. The steps taken in the beginning are the only steps you need to take to get the heater rolling! Once you carry out those steps, the rest is just a matter of waiting. 

Trim Setup

The trim on the tiny house will be 5 inch boards that will overlap the lapstrake siding. To make the trim fit well, first we need to setup the underplaying components. 

For the 5 inch trim to lay flat, it needs to be raised to the level of the siding. To do this, a lower layer needs to be placed in the gap between the siding and the edges. This thin board is the thickness of the siding, and provides a flush surface for the 5 inch trim boards. 

As you can imagine, this means that all the trim work needs to be done twice. Once for the 3 inch and once for the 5 inch. 

The trim needs to line every window and door, as well as finish off the edges of the siding. It is rather time consuming, but it is not the most difficult job in the process. Perfection is not needed as all of these boards will be covered by the 5 inch, all you need to do is make everything become flush. 

Adding Frames for the Seat

The rowing station will be set between the third and fourth stations, but this span is a bit far to reach with the bench. To alleviate the situation, an extra frame is added.

The extra frames were cut to taper similar to the original frames, but they have no floor to attach to. Instead, the floors are merely notched over the chine logs.

The bottoms of the frames were notched and set over the chine log to keep them from pulling out as the sheer and shelf were riveted to the tops of the new frames.

20161020_123404.jpg

Cleats were screwed and glued onto the frames in the third station and the new frames. These cleats will bear the weight of the seat which rests on them. The seat was then screwed into the cleats, not to hold it to the cleats, but more so to keep the seat from sliding back and forth. Another cleat was set above the seat and screwed to the frames which will keep the seat from lifting up. The seat and its top cleat were not glued in allowing me to remove them if I need to later during the construction process.