
The transom board is attached to the sternpost, holding the transom flush to the back of the keel. The sides of the transom are attached to planks, and the first and most important plank that will attach to the transom is the sheer strake. The sheer strake is much larger than the other planks and transmits the forces between the transom and stem, stabilizing the topsides of the dinghy.
To set the sheer on the transom for easy attachment I set a table clamp athwartship and compressed the sheers onto the sides of the transom where the pilot holes could be drilled and the bronze fasteners could be driven in.
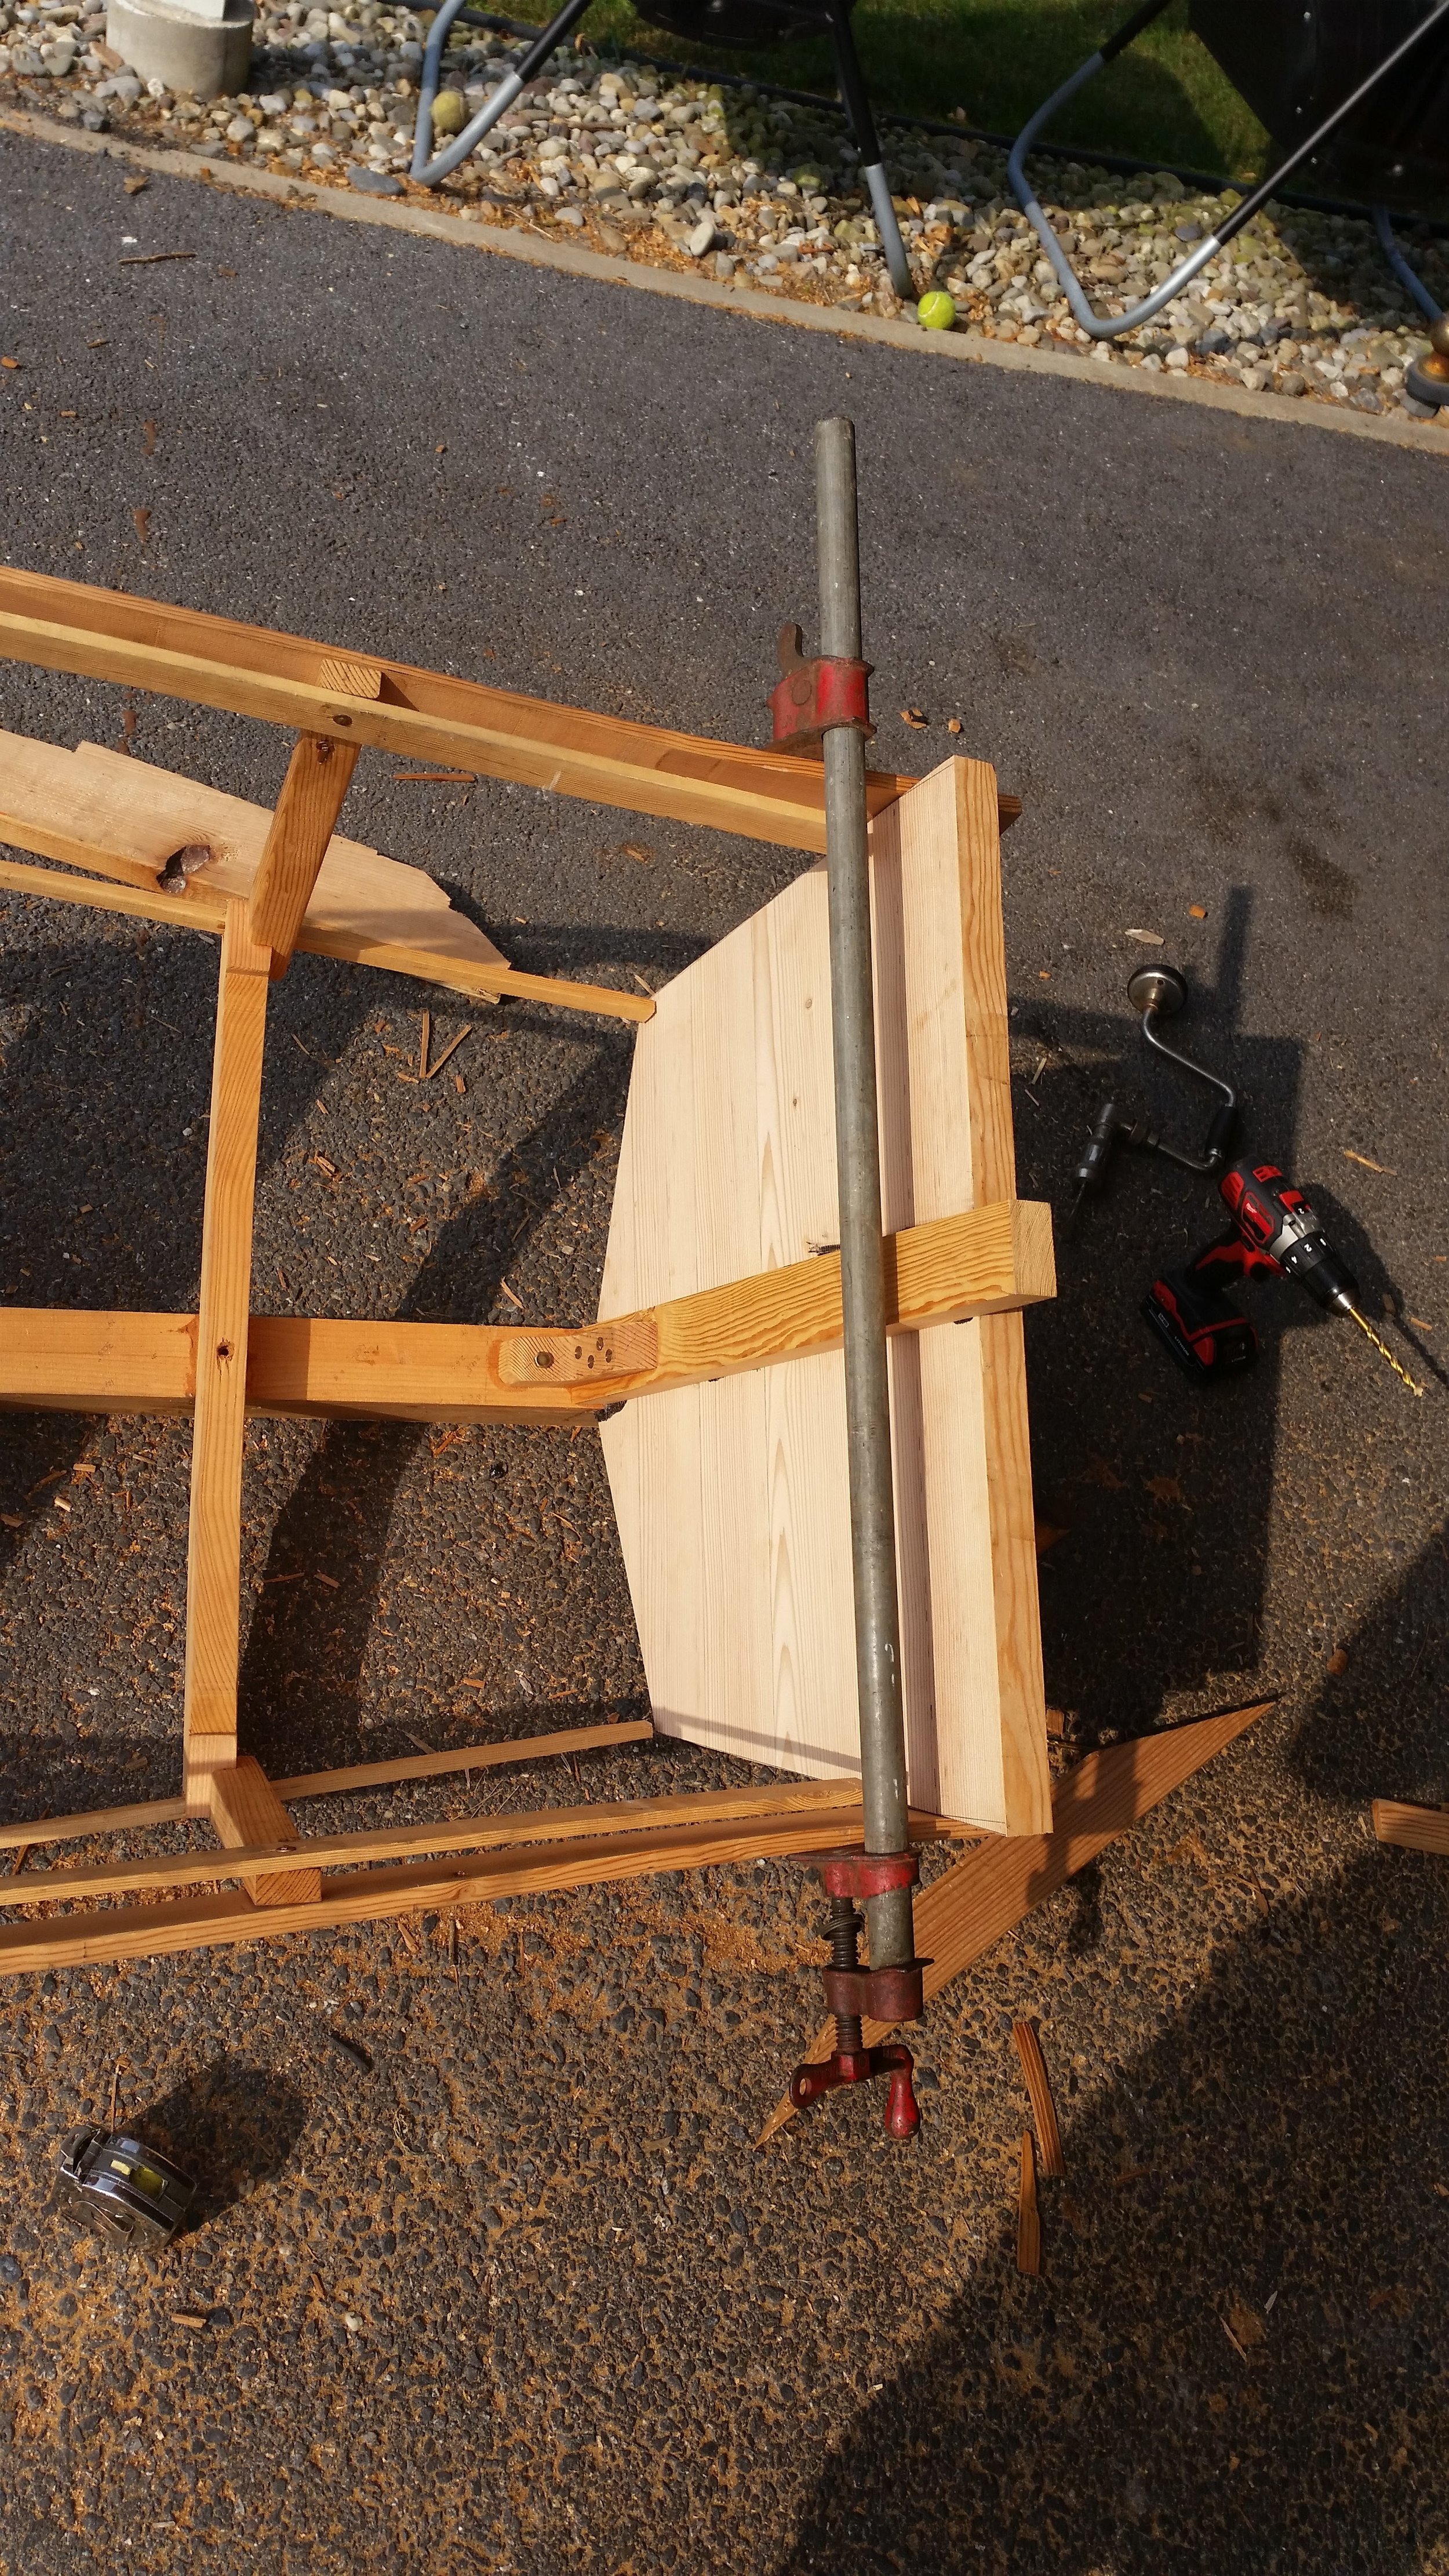
With the shelf clamps cut short of the transom, the sheer strakes are able to lie flush along the side of the transom board where it can be screwed into the endgrain. At this point, I am drilling and screwing dry without any bedding compound. At a later point, bedding compound will be added.
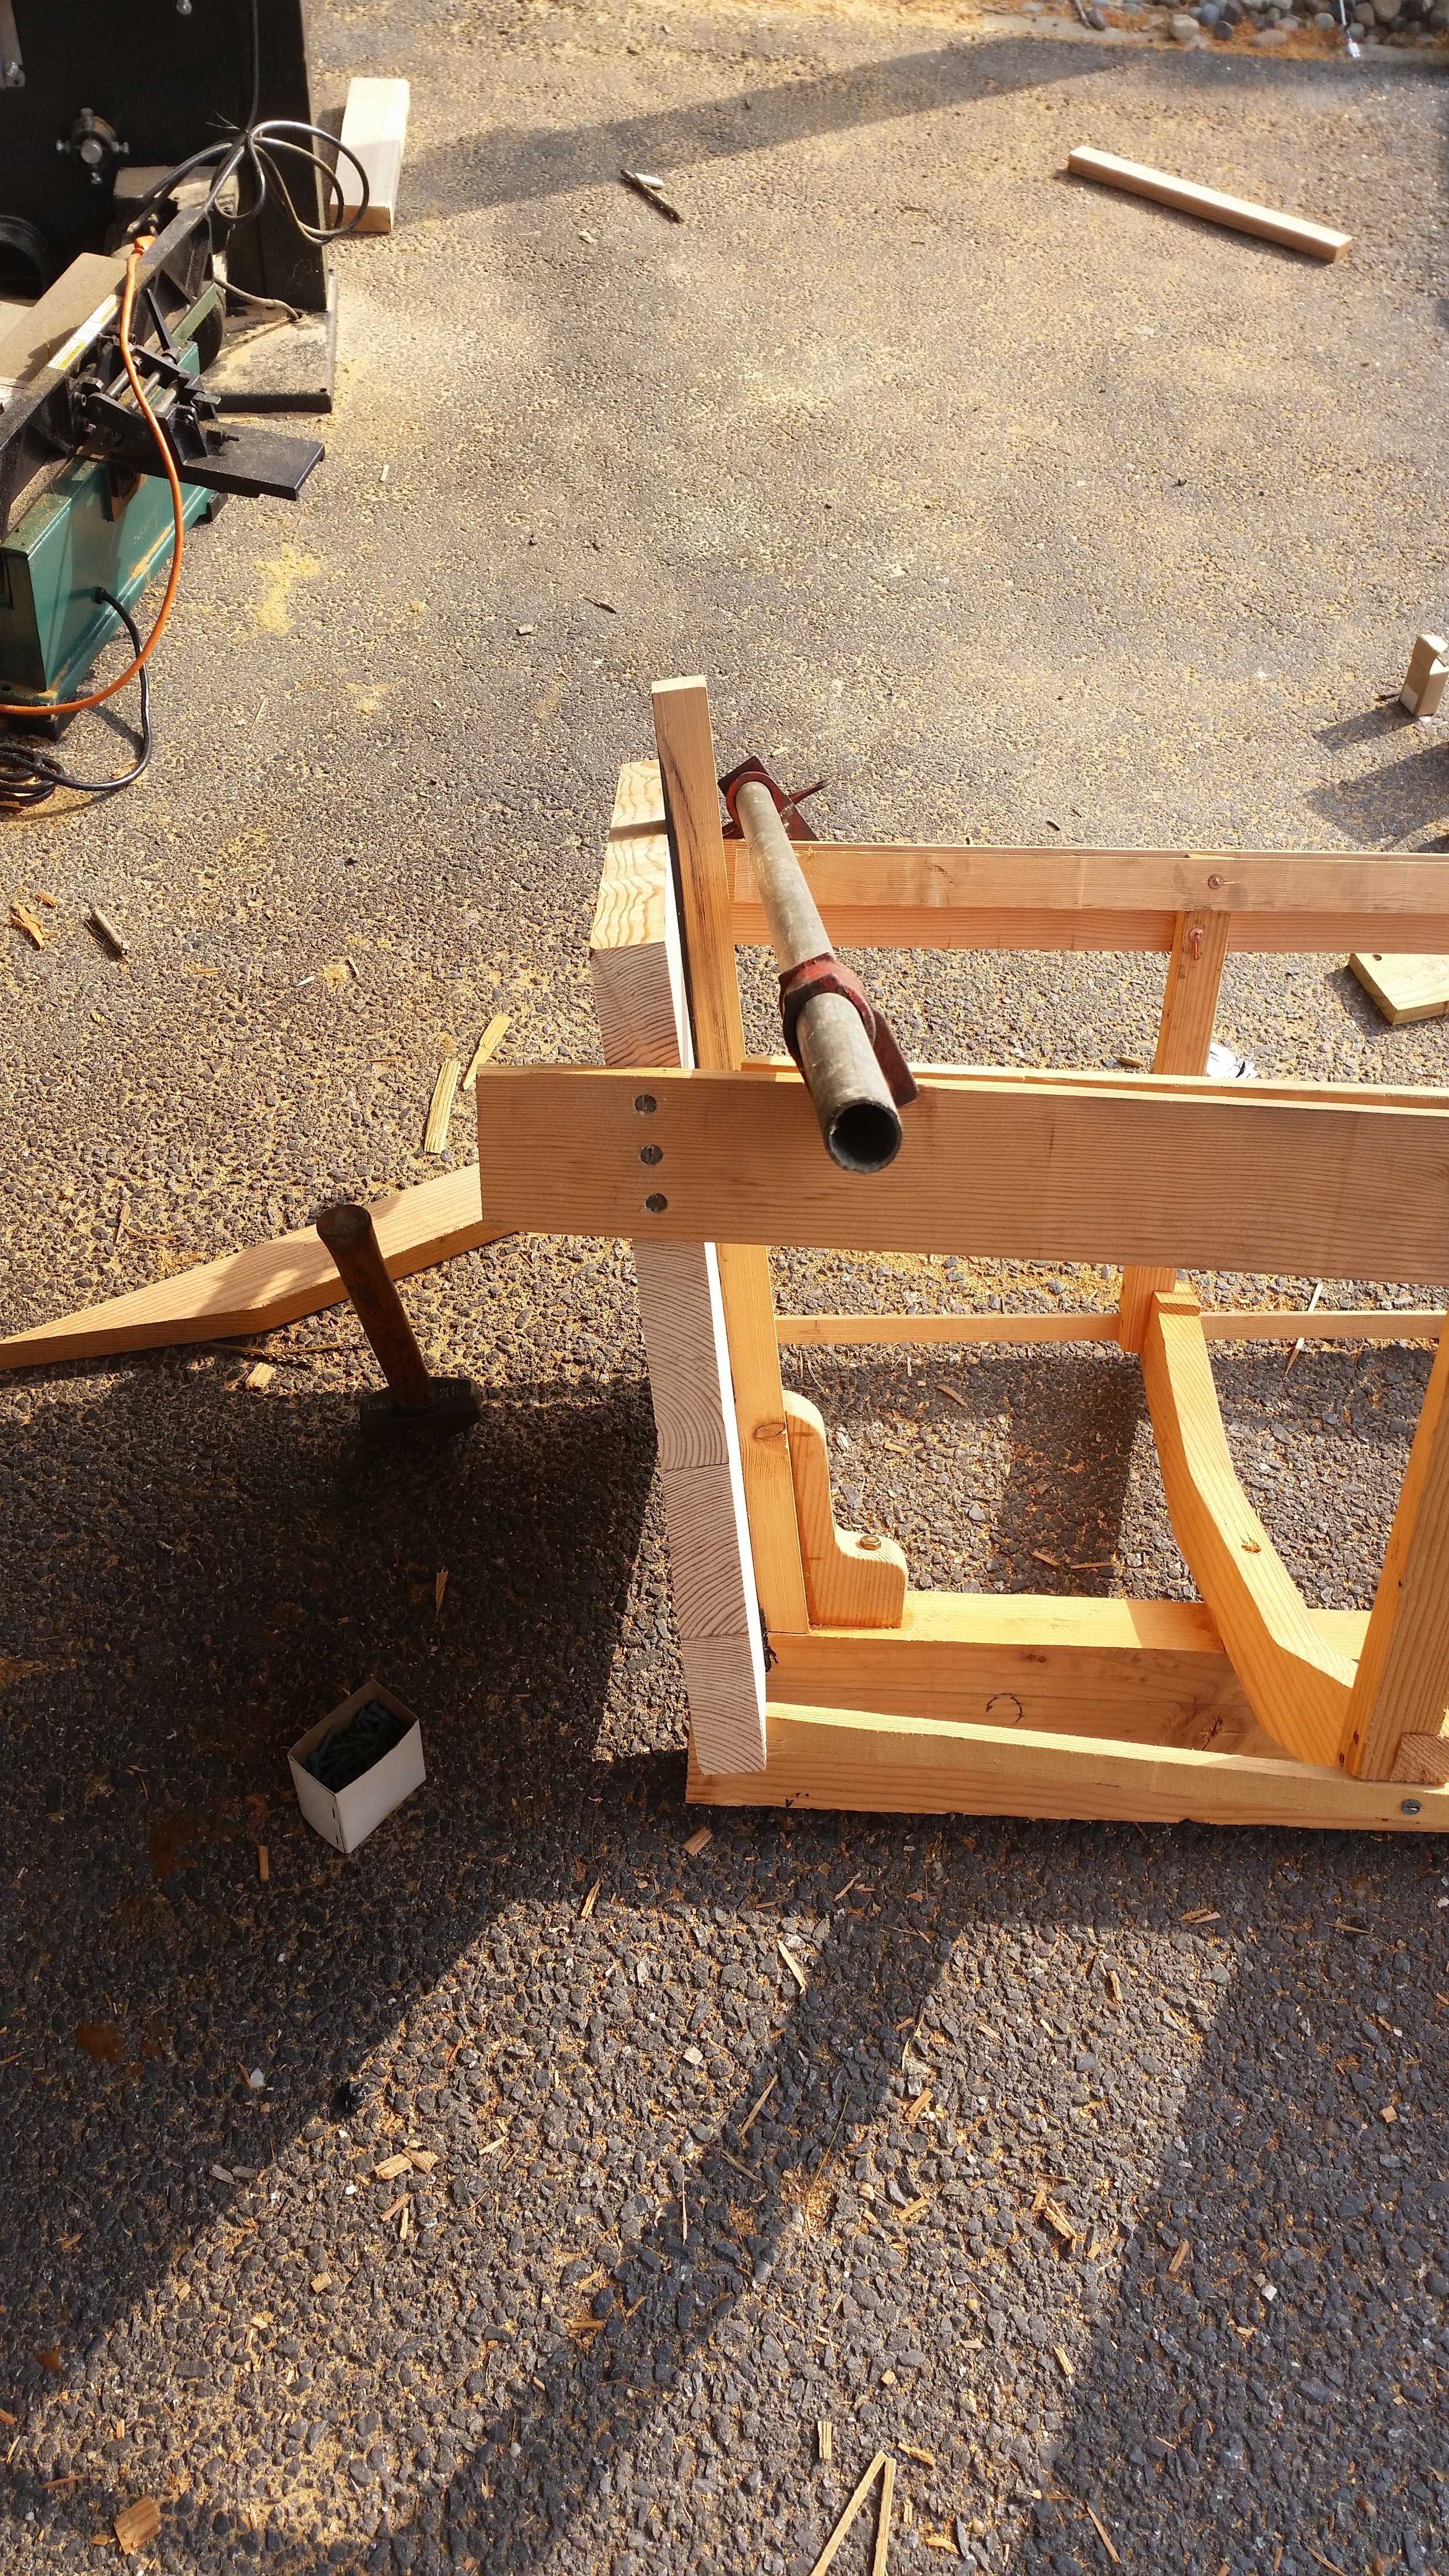

Once the holes were drilled and all the screws fit in properly, the clamp was eased and the screws backed about 3/4 of an inch. This gave me enough space to fit the tip of the caulk gun in between the boards and around the bronze screws. After applying a liberal amount of bedding compound, the screws were driven back into place and the excess was scraped off with a piece of scrap wood.
The shelf clamps were cut a bit shorter to allow space for the transom knees to be fitted and attached. In the meantime the sheer is resting well attached to the transom and ready to be attached at the stem. It is important to not attach the sheer strakes until the seat is in place as the seat will act as a brace to the frames which will dictate the beam of the boat. Without a brace, the frames may flex inward and the sheer may appear to have a shorter run from stem to stern. Once the beam is corrected with the brace, the sheer may be too short.
For this reason, it is imperative that the bench be in place and the contours of the hull symmetrical and true before the sheer is fastened at either end of the dinghy.
