Trim

The trim plan is simple. I will install a 3 inch board between the siding and the ends, filling in the gap that is present around the siding, followed by a 5 inch board that will overlap the siding a bit and hide any voids and irregular cuts that are present.

The original plan was to use PVC trim boards since they are plastic and will never rot. This plan quickly changed when I went shopping and found that PVC trim boards cost around $11 for the 3 inch piece and $16 for the 5 inch piece. This means that the trim boards are more expensive than the actual siding!

I continued looking around the store and found that wood trim is much more reasonable. The 3 inch boards only cost $7 and the 5 inch boards cost $8. Still pricey, but no where near the price point of plastic!

Wood trim will give us the look we desire at a fraction of the price! Should the wood trim rot out and need to be replaced, the work involved is not that dramatic and can easily be done in a few days. 

Cutting the Transom

The transom of our dinghy has fully cured and was then planed smooth. Now it is time to cut it to its final shape and attach it to the dinghy.

The width of the transom at the gunwale is supposed to be 23.5 inches, and the topsides flare 1.5 inches on each side. The other known factor is the rabbet line is 1 inch below the top of the keel and the chine is located 4 inches above this point. The last known is the height of the hull is 18 inches (plus one inch for the rabbet). Taking these very crude facts into account, we are able to sketch out and design the cuts to make to produce the transom.

The whole process began by marking the selected points on the board and connecting the dots. Using a square helps ensure that the measurements are correct and not offset. You can see the many steps taken to finally narrow down the design to the finalized and ideal transom cutout.

A quick trip to the bandsaw produced a very clean cutout of our transom for the dinghy. A light sanding helped to remove any residual blue lines and to remove any fuzz that may have developed near the saw line.

When viewed from the side, the grain pattern is clearly evident. The growth rings were set in an alternating fashion, that way any distortion that occurs from swelling and contracting of the wood will not warp the entire transom. As the board swells and contracts, the opposing grain patterns will result in a net zero change in the transom's surface.

Cutting Cherry Tomatoes

Cooking on a sailboat has its added challenges. Food rolls around as your work place is not still because you are in a boat and (unless you are in a calm harbor) you are rolling with the waves. In situations like this, any help is appreciated!

If you need to cut tiny cherry tomatoes in half, any trick that saves time and effort is always welcome in a boat galley! 

Simply set the tomatoes on a small plate, then put another identically sized plate over the tomatoes. Now the tomatoes are held in place and there is a gap down the middle.

Slice through this gap with a large knife (taking care not to cut your hand) and all your tomatoes will be cut in one motion!

I recommend doing this over the sink so that any tomato juice that comes out doesn't make a mess. This trick can make the chore of cutting cherry tomatoes into a quick step in the cooking process.

Keeping Organized, Better Butt Joints

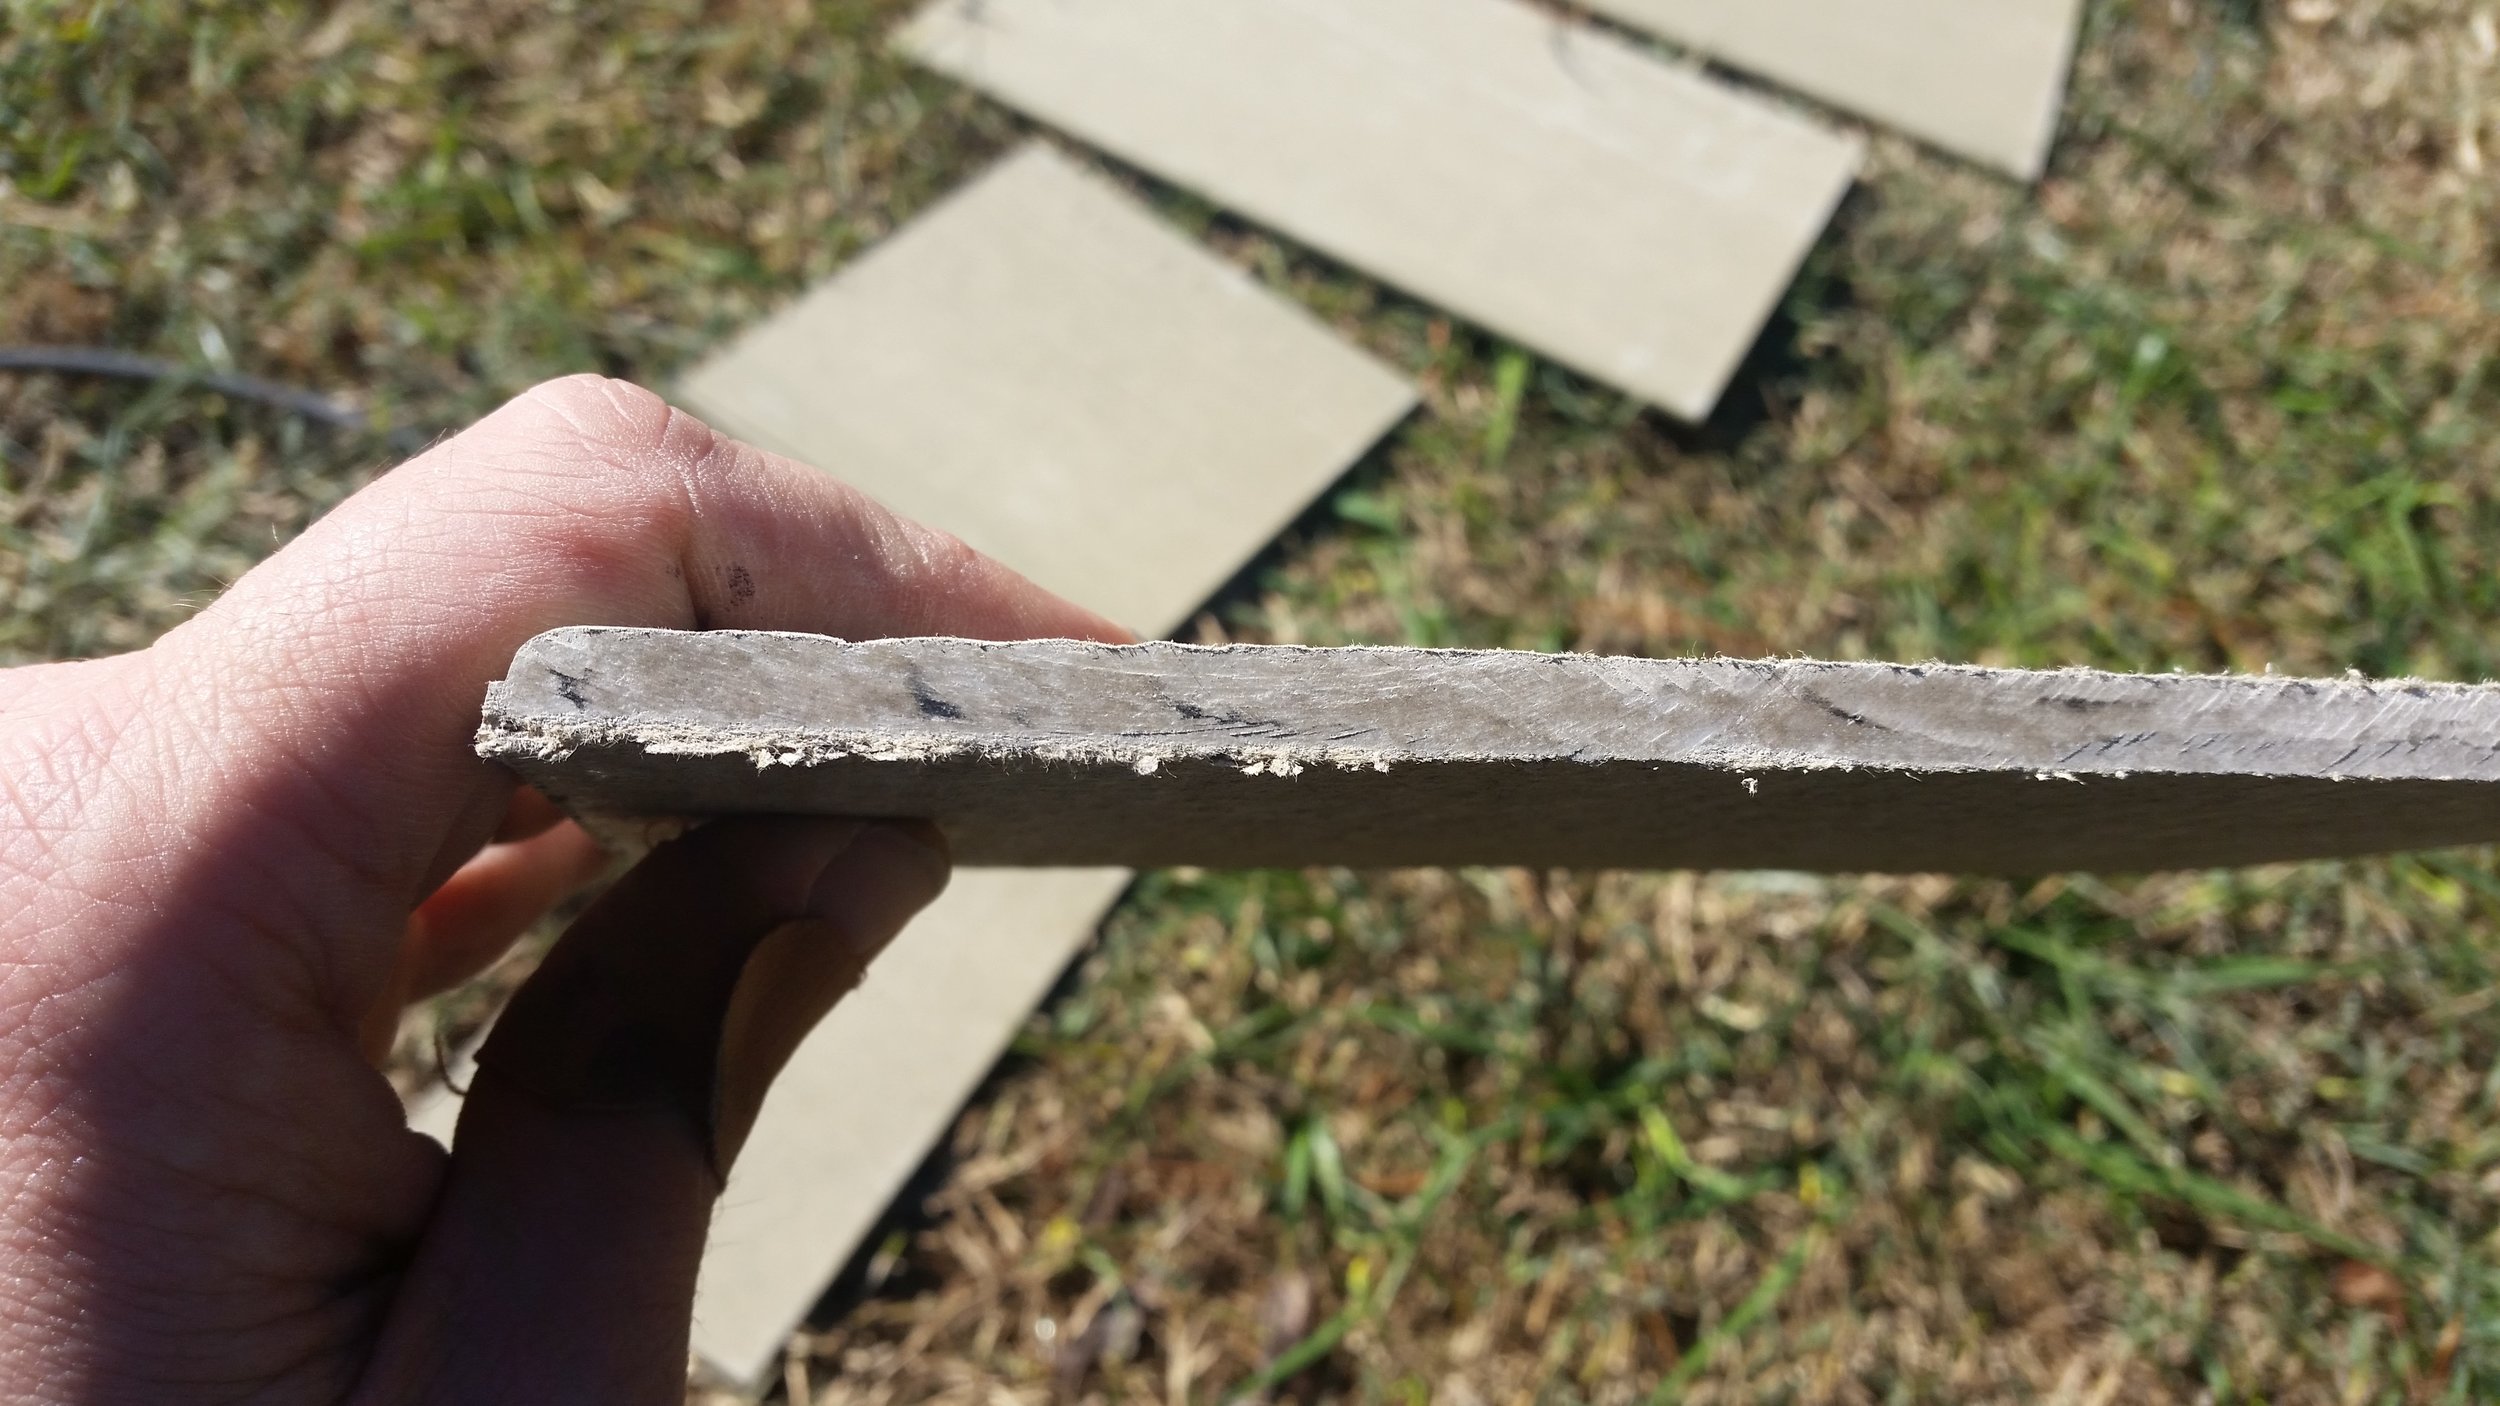
As you side your tiny house, you will end up with a pile of off cuts. These scrap pieces can actually be reused later by butt joining them into the length required. The most important thing to do when butt joining siding is to use "primed edges". This means that the siding was cut at the factory and is perfectly straight and perpendicular to the board. A good edge will result is a tight gap between the planks and a better looking result when it is all finished. When the factory cuts them, they then paint the whole board in primer and the factory cut edge will have primer painted over it to identify it as such.

A cut edge will not have primer on it, as you cut it with a saw after the board was coated in primer. As hard as you might try, the edge will not be perfectly straight nor perpendicular to the board. Irregular edges will result in an open butt joint and an unsightly gap in the siding which will allow rain to ingress more easily.

This is where organization comes into play. Butt joints require you to have a primed edge on the left side of one plank and the right side of another plank. If you measure and cut your planks from the same side, you will end up with an irregular number of planks with primed edges on one side versus the other. In other words, if you always measure from the left, all your off cuts will have primed edges on the right. If all your boards are "right side" "primed edge", you won't be able to make a butt joint that looks good.

By keeping track of how many right or left side primed edge boards you have left over, you can balance the stack to ensure you are able to use up your leftover boards for butt joints on long spans.

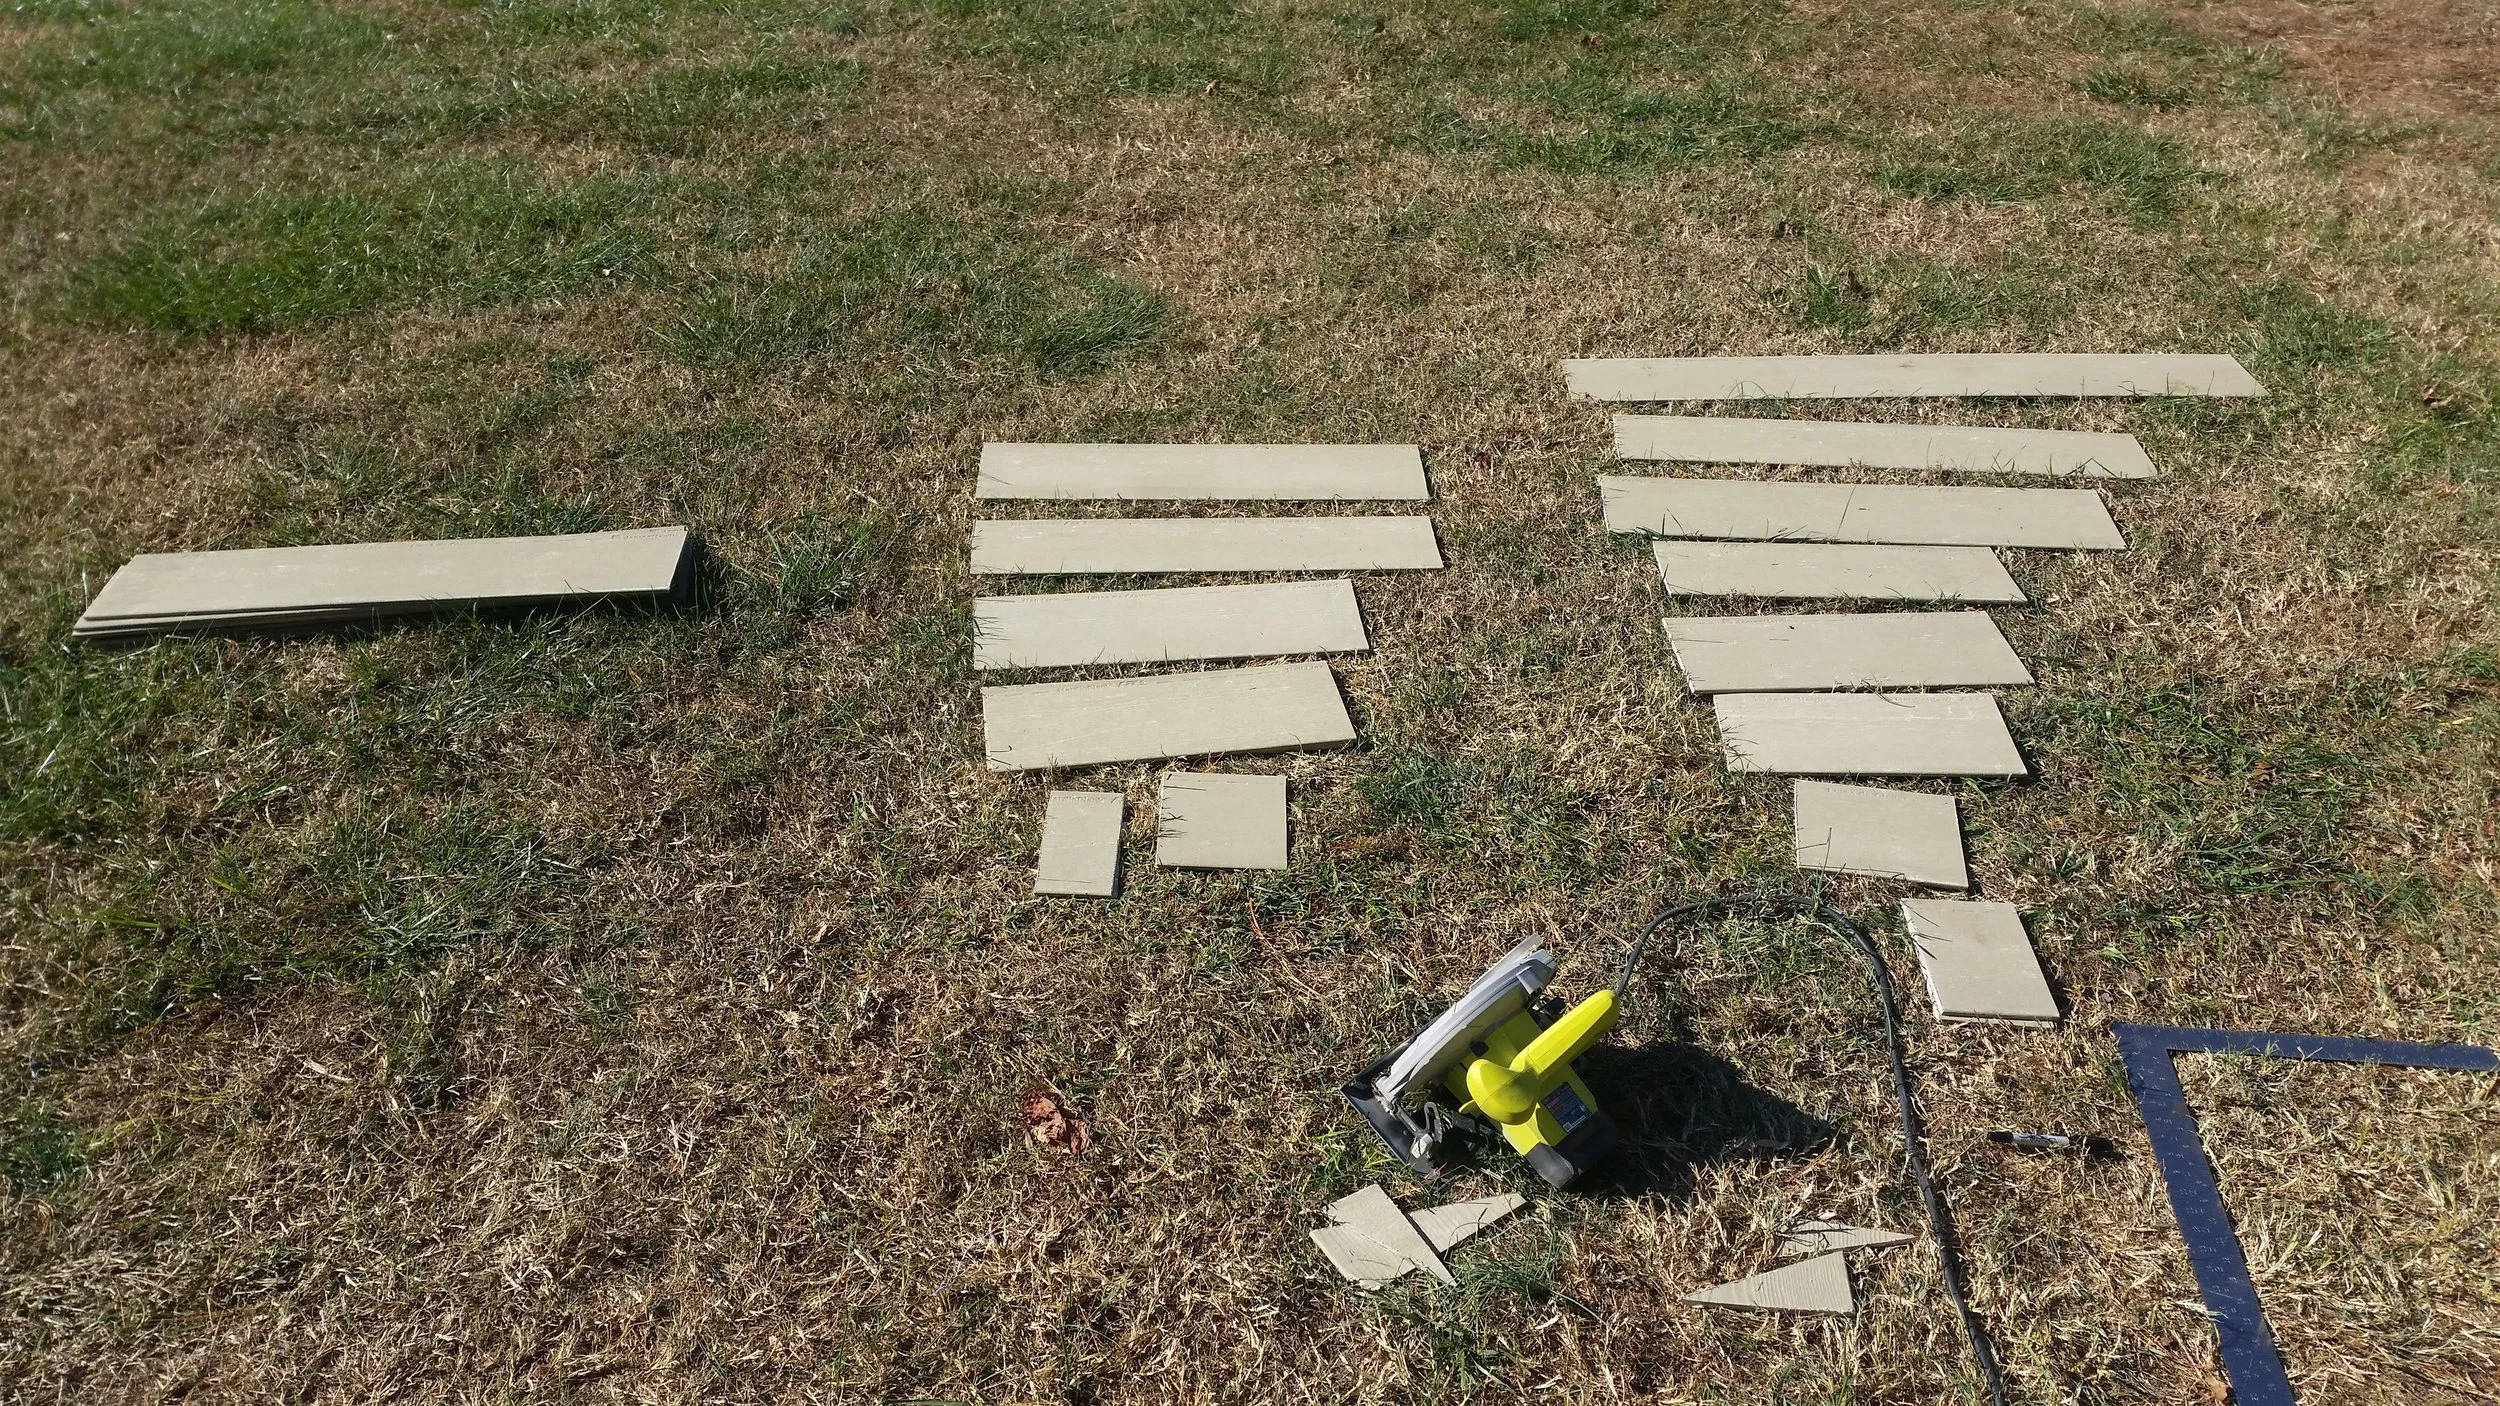
I separated the boards based on their primed and cut sides. Primed edges towards the outside, and boards with both cut sides in the middle. These boards are only usable in small sections where no butt joints are needed. 

Ordering them from smallest to largest also helps make it easier to find the right piece when you are searching through your scraps.

I originally had a bunch of "right side" primed boards because I was measuring them all from the left. Seeing how I was disproportionately collecting right side primed boards, I began measuring from the right side to produce more "left side" primed boards. With the collection of both boards, I was able to use up my scrap pile with butt joints and reduce the number of boards I needed to purchase.

I used 42 boards to side the entire tiny house. I had 6 inches of display from each 8.25 inch board. The boards cost $8.45 per board, so the cost for siding was only  $371.49! Tiny houses are great for tiny budgets!

Fastening the Stern Post

While the stem was rather complicated to attach, the stern post was the exact opposite! The stern post was glued and screwed to the stern knee a while ago and allowed to cure, now it is time to attach it to the keel.

The stern knee is fastened with a single silicon bronze lag bolt driven into the keel. Wood glue was attached to the faying surface of the stern knee and the excess squeezed out as the lag bolt was driven home. 

With the stem and stern post attached, we are able to finally know the length of the dinghy we are building. 7'8" is the length of our dinghy and there can be no wavering from this length as the end pieces have been attached and secured! Up to this point, the length has been fluctuating from as low as 6 feet all the way up to around 8 feet. Now that the post is attached and can not be moved, we have our final and fixed length for the dinghy.