This is also the only section of the hull that will be single planked, which is also more prone to leaking. I decided to make the transom tight seamed instead of caulking the seams with cotton because the transom will have the lettering for the name on it and I don't want the lettering to have to cross over seam compound. By tight seaming the planks, cotton caulking and seam compound will not be needed and polysulfide bedding compound will suffice to keep any leaks from occurring.
The widest part of the transom will be 26.5 inches across, and it will taper down from there to the keel. To ensure that there is enough wood to work with, I cut the transom planks to 30 inches. The ends of the planks contain knots as these sections will be cut off at a later point along with all of their imperfections.
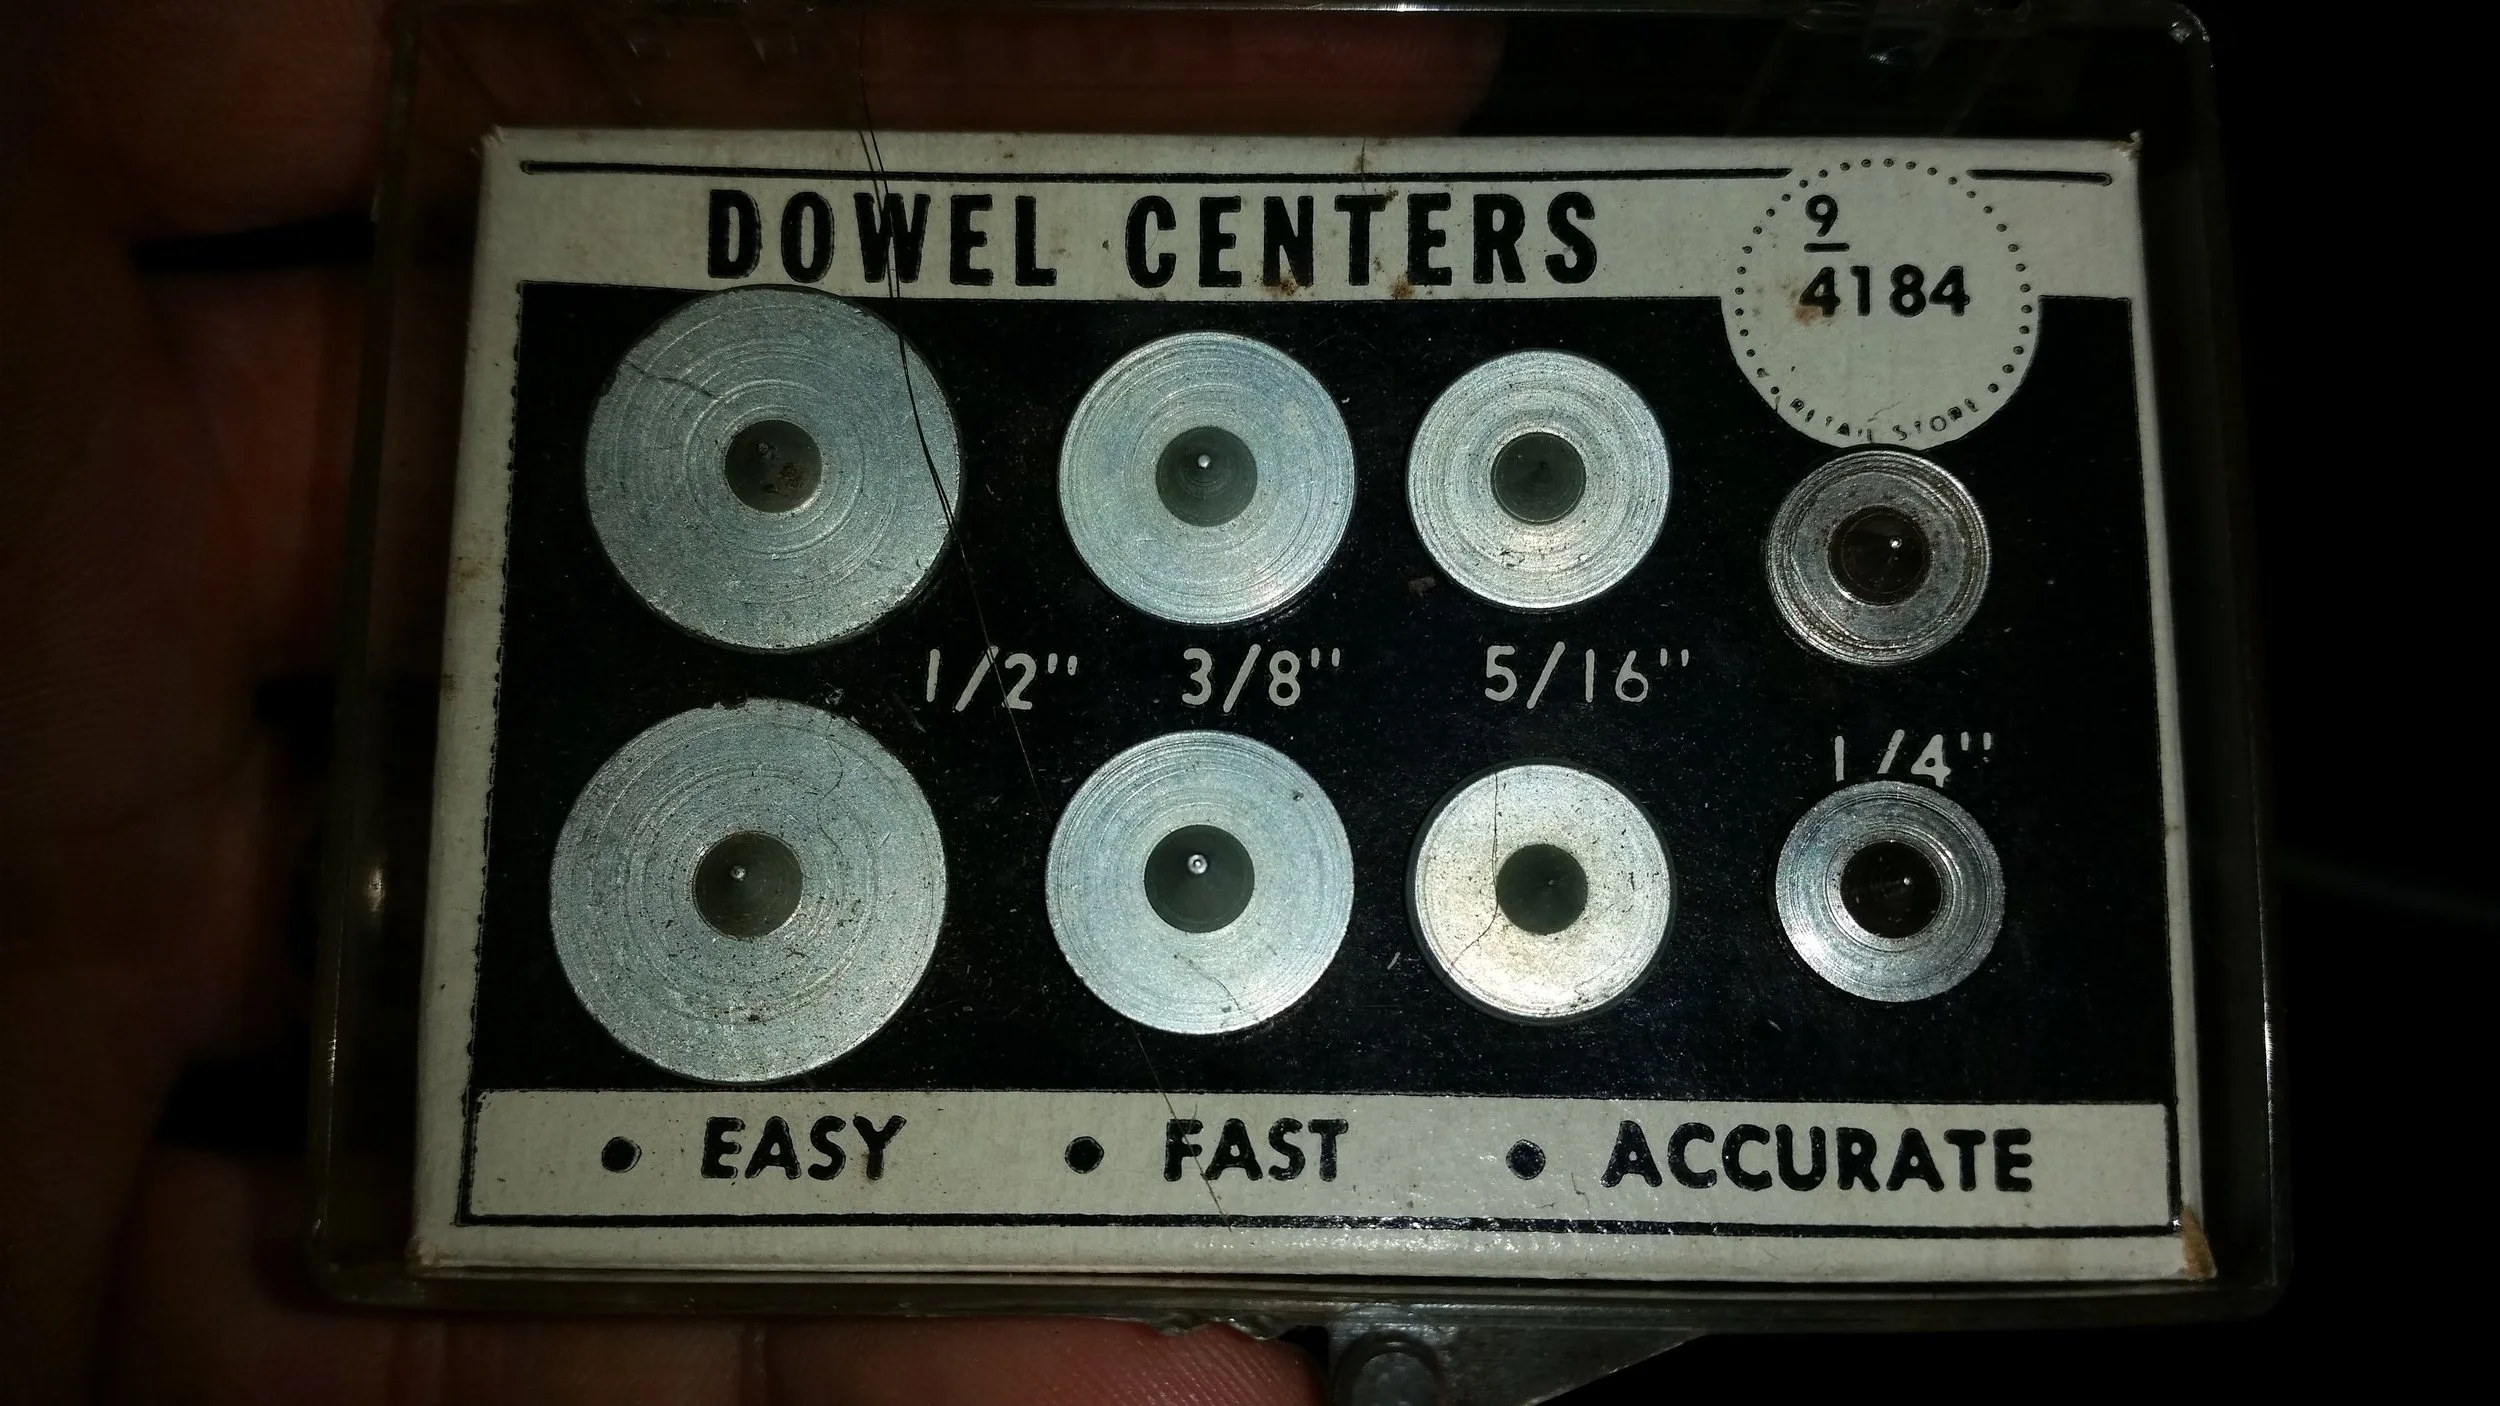
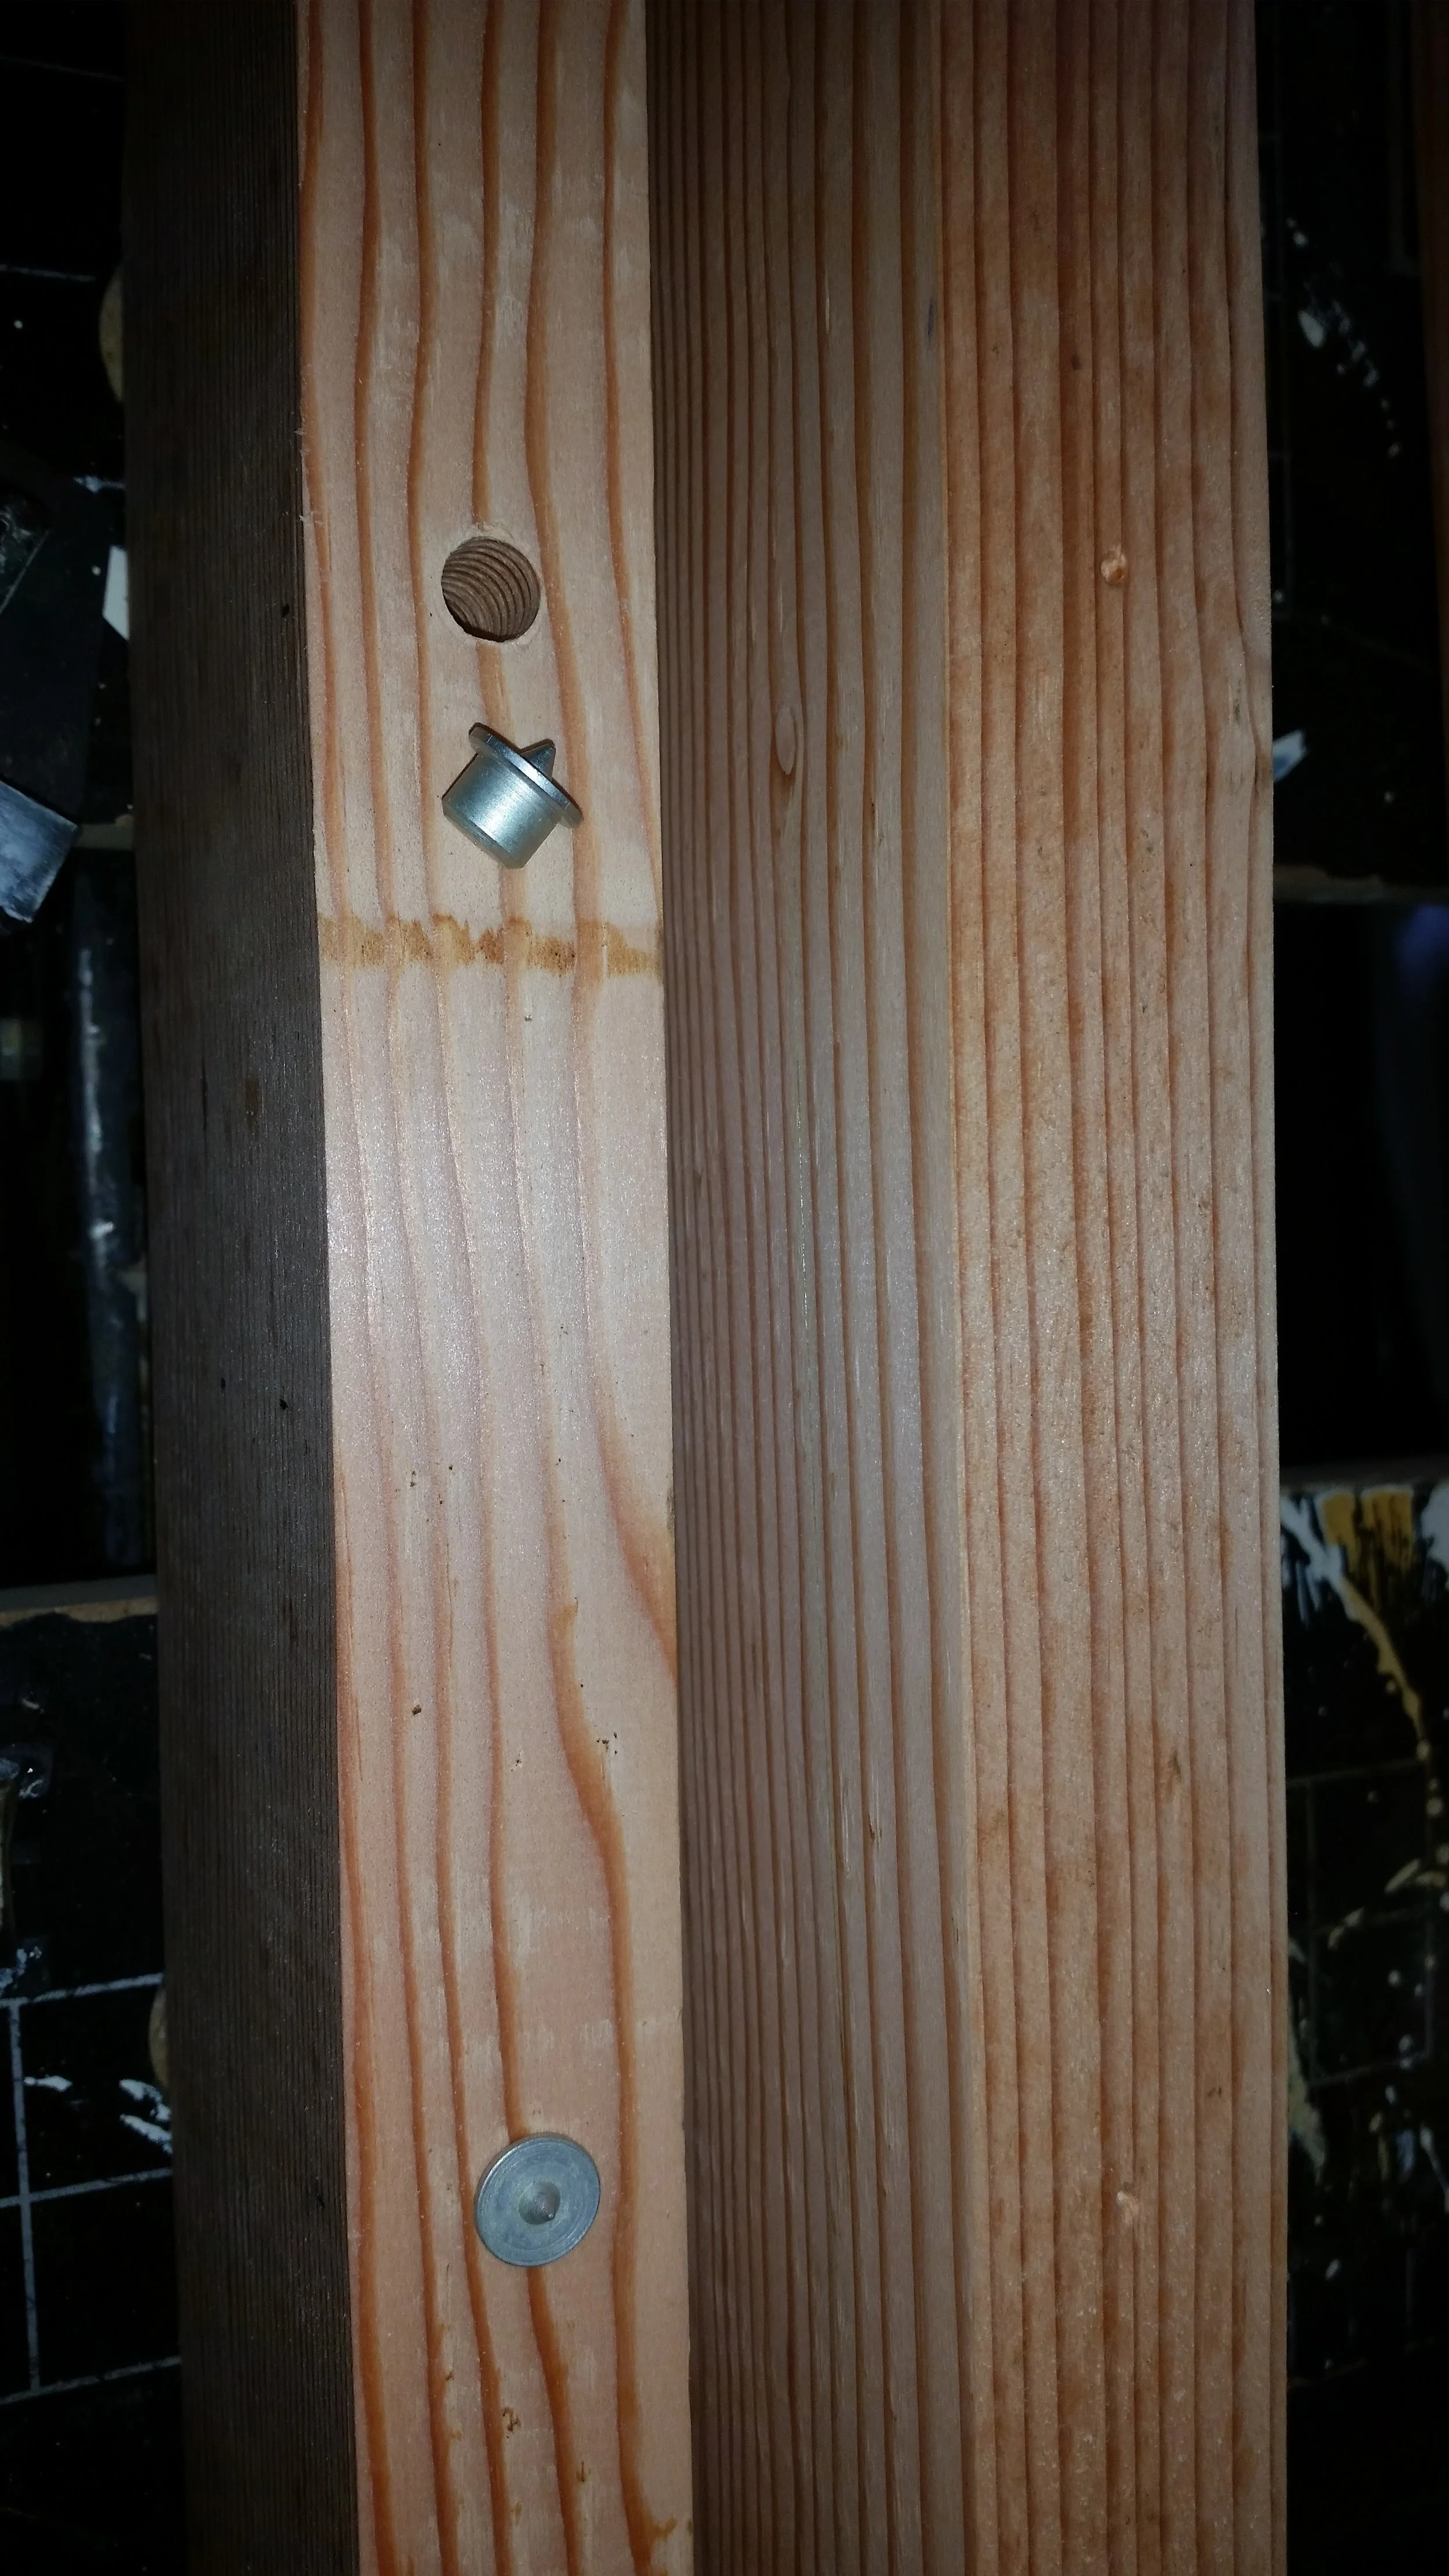
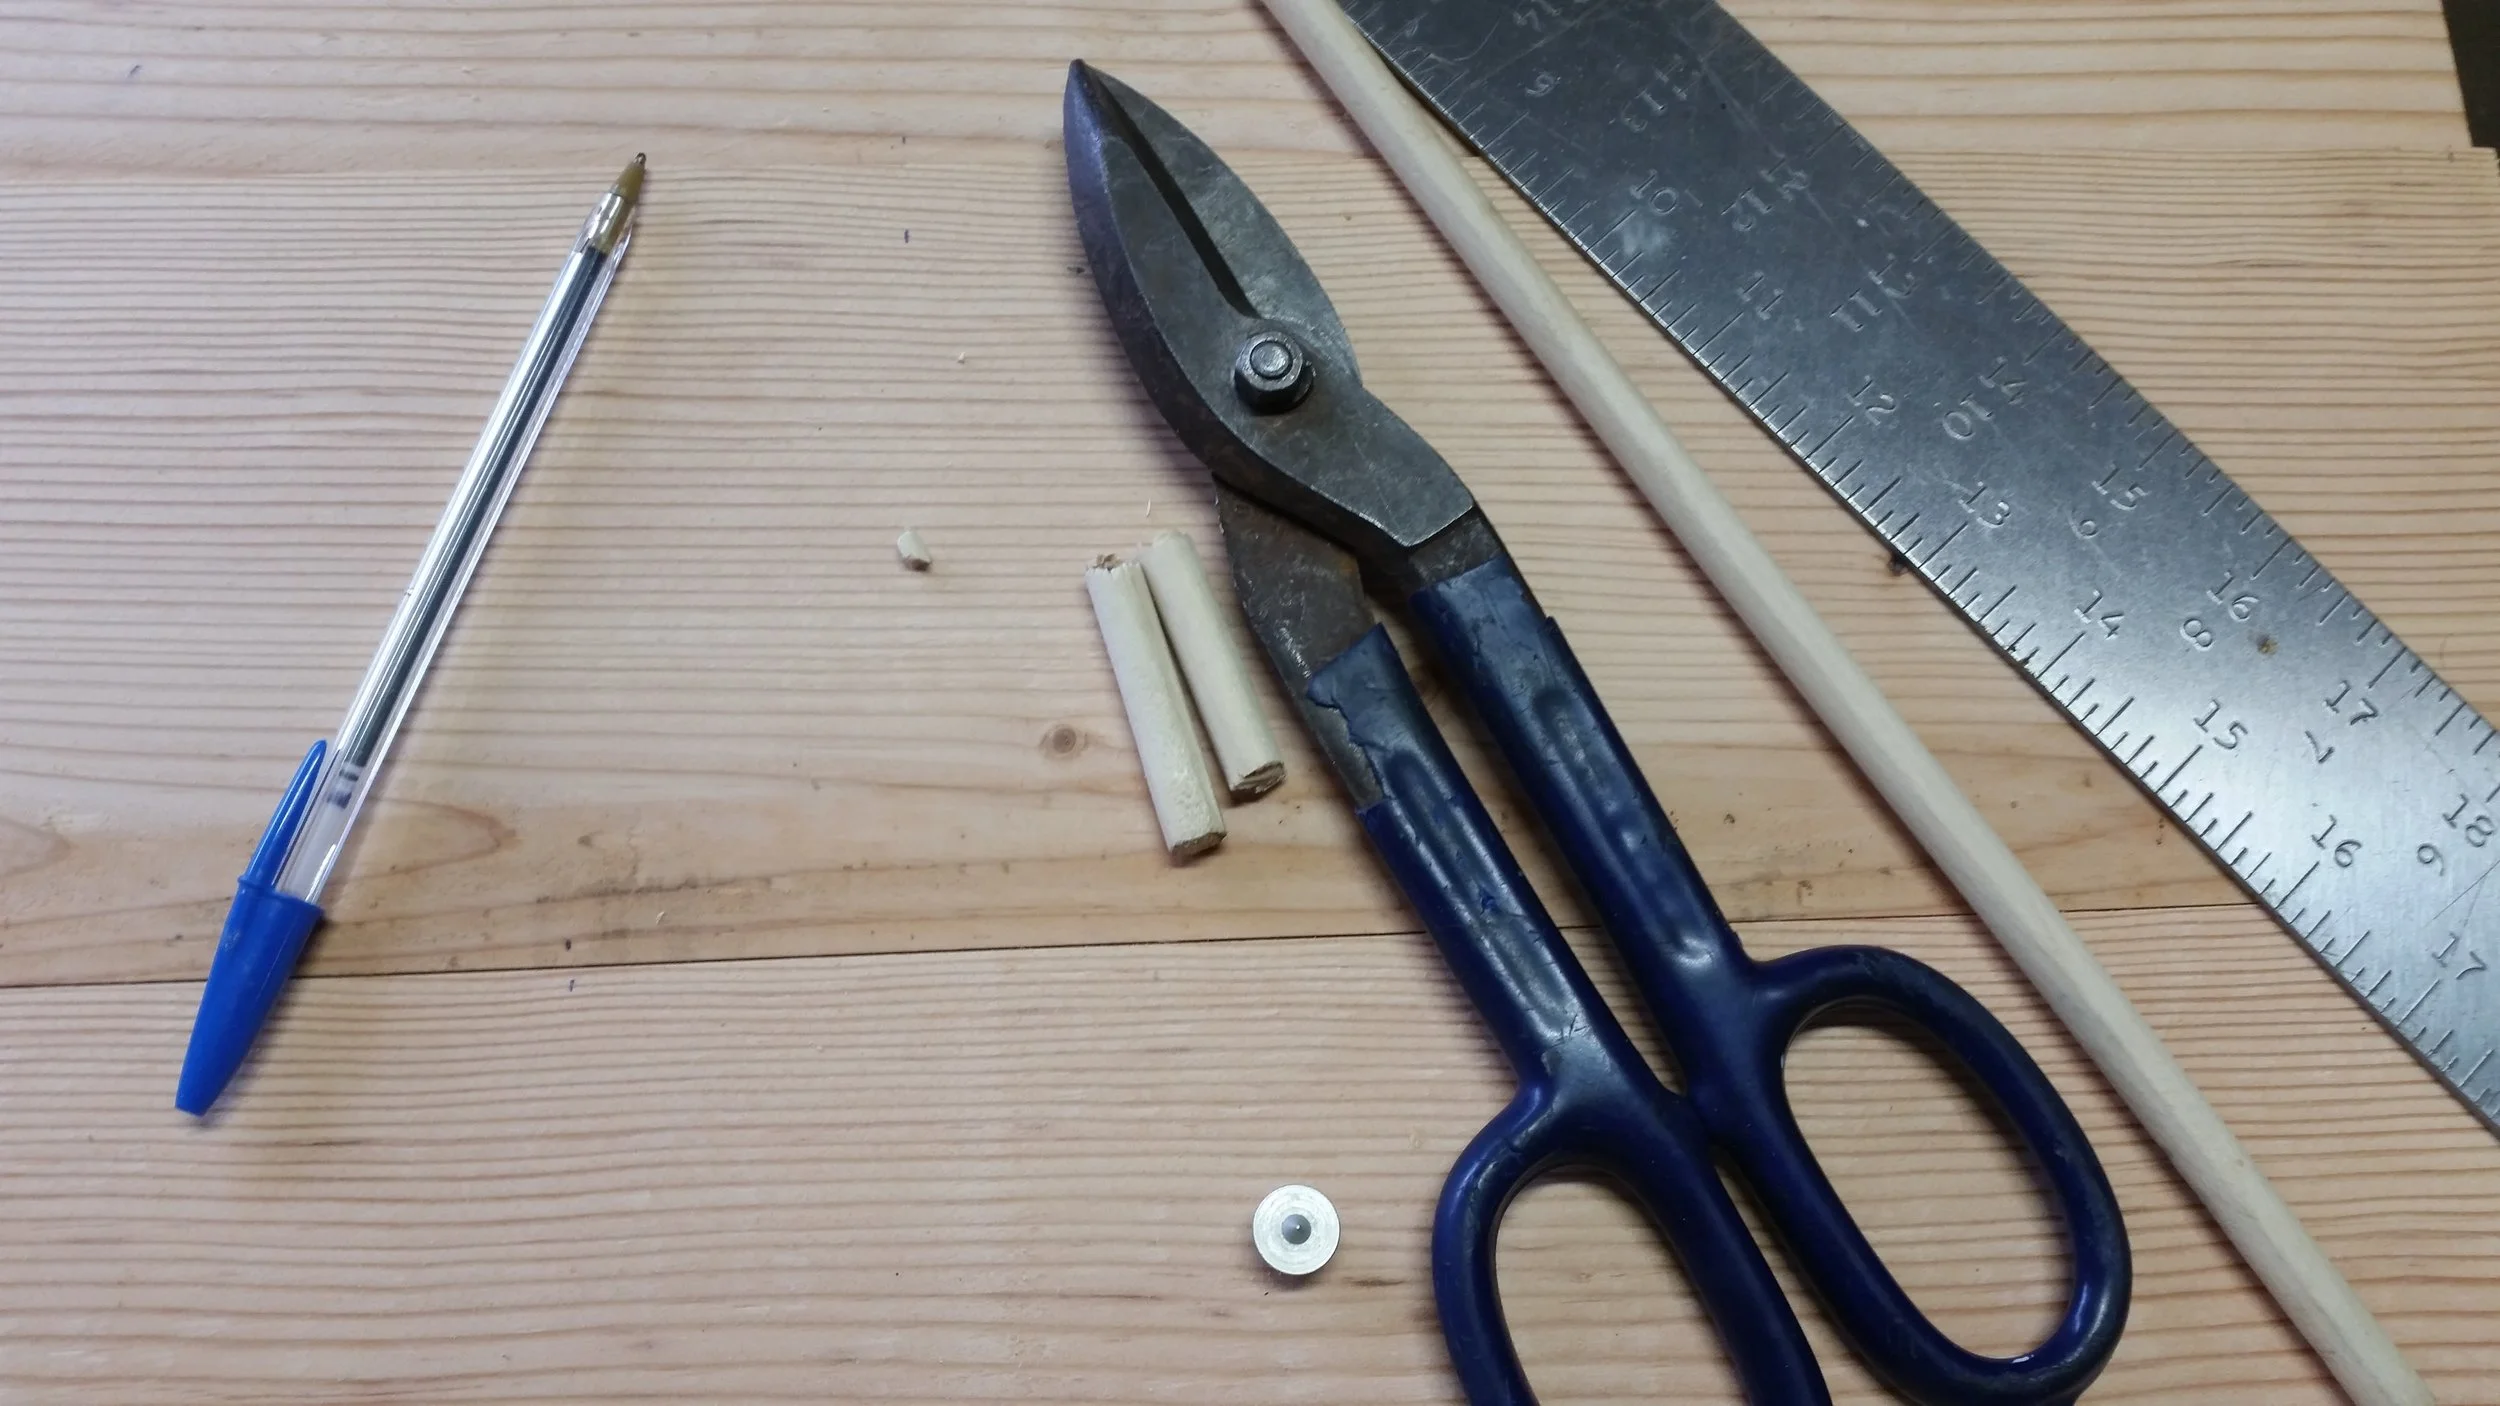
To tie the boards together, I will use wooden dowels that will act as drifts, giving the planks more resistance to sheer forces without the risk of internal metal corrosion seeping out from between the plank seams. The wooden dowels will swell as they get moist, further locking them into place and never letting the wood slide out of place.
The boards are stacked, all irregular thicknesses, ready to be connected with dowels and polysulfide bedding compound, then they will be surfaced to perfection and the sides trimmed to fit the transom of the dinghy.
If you look closely, you can see that the strakes have pink and white colors. The pink is freshly surfaced heartwood, the white is freshly surfaced sapwood.
Douglas Fir heartwood is very rot resistant and strong. Douglas Fir sapwood is garbage and will rot very quickly. I need to revise the strakes and remove the sapwood from the strakes and re-joint the boards to achieve the same tight seams without any rot prone sapwood.
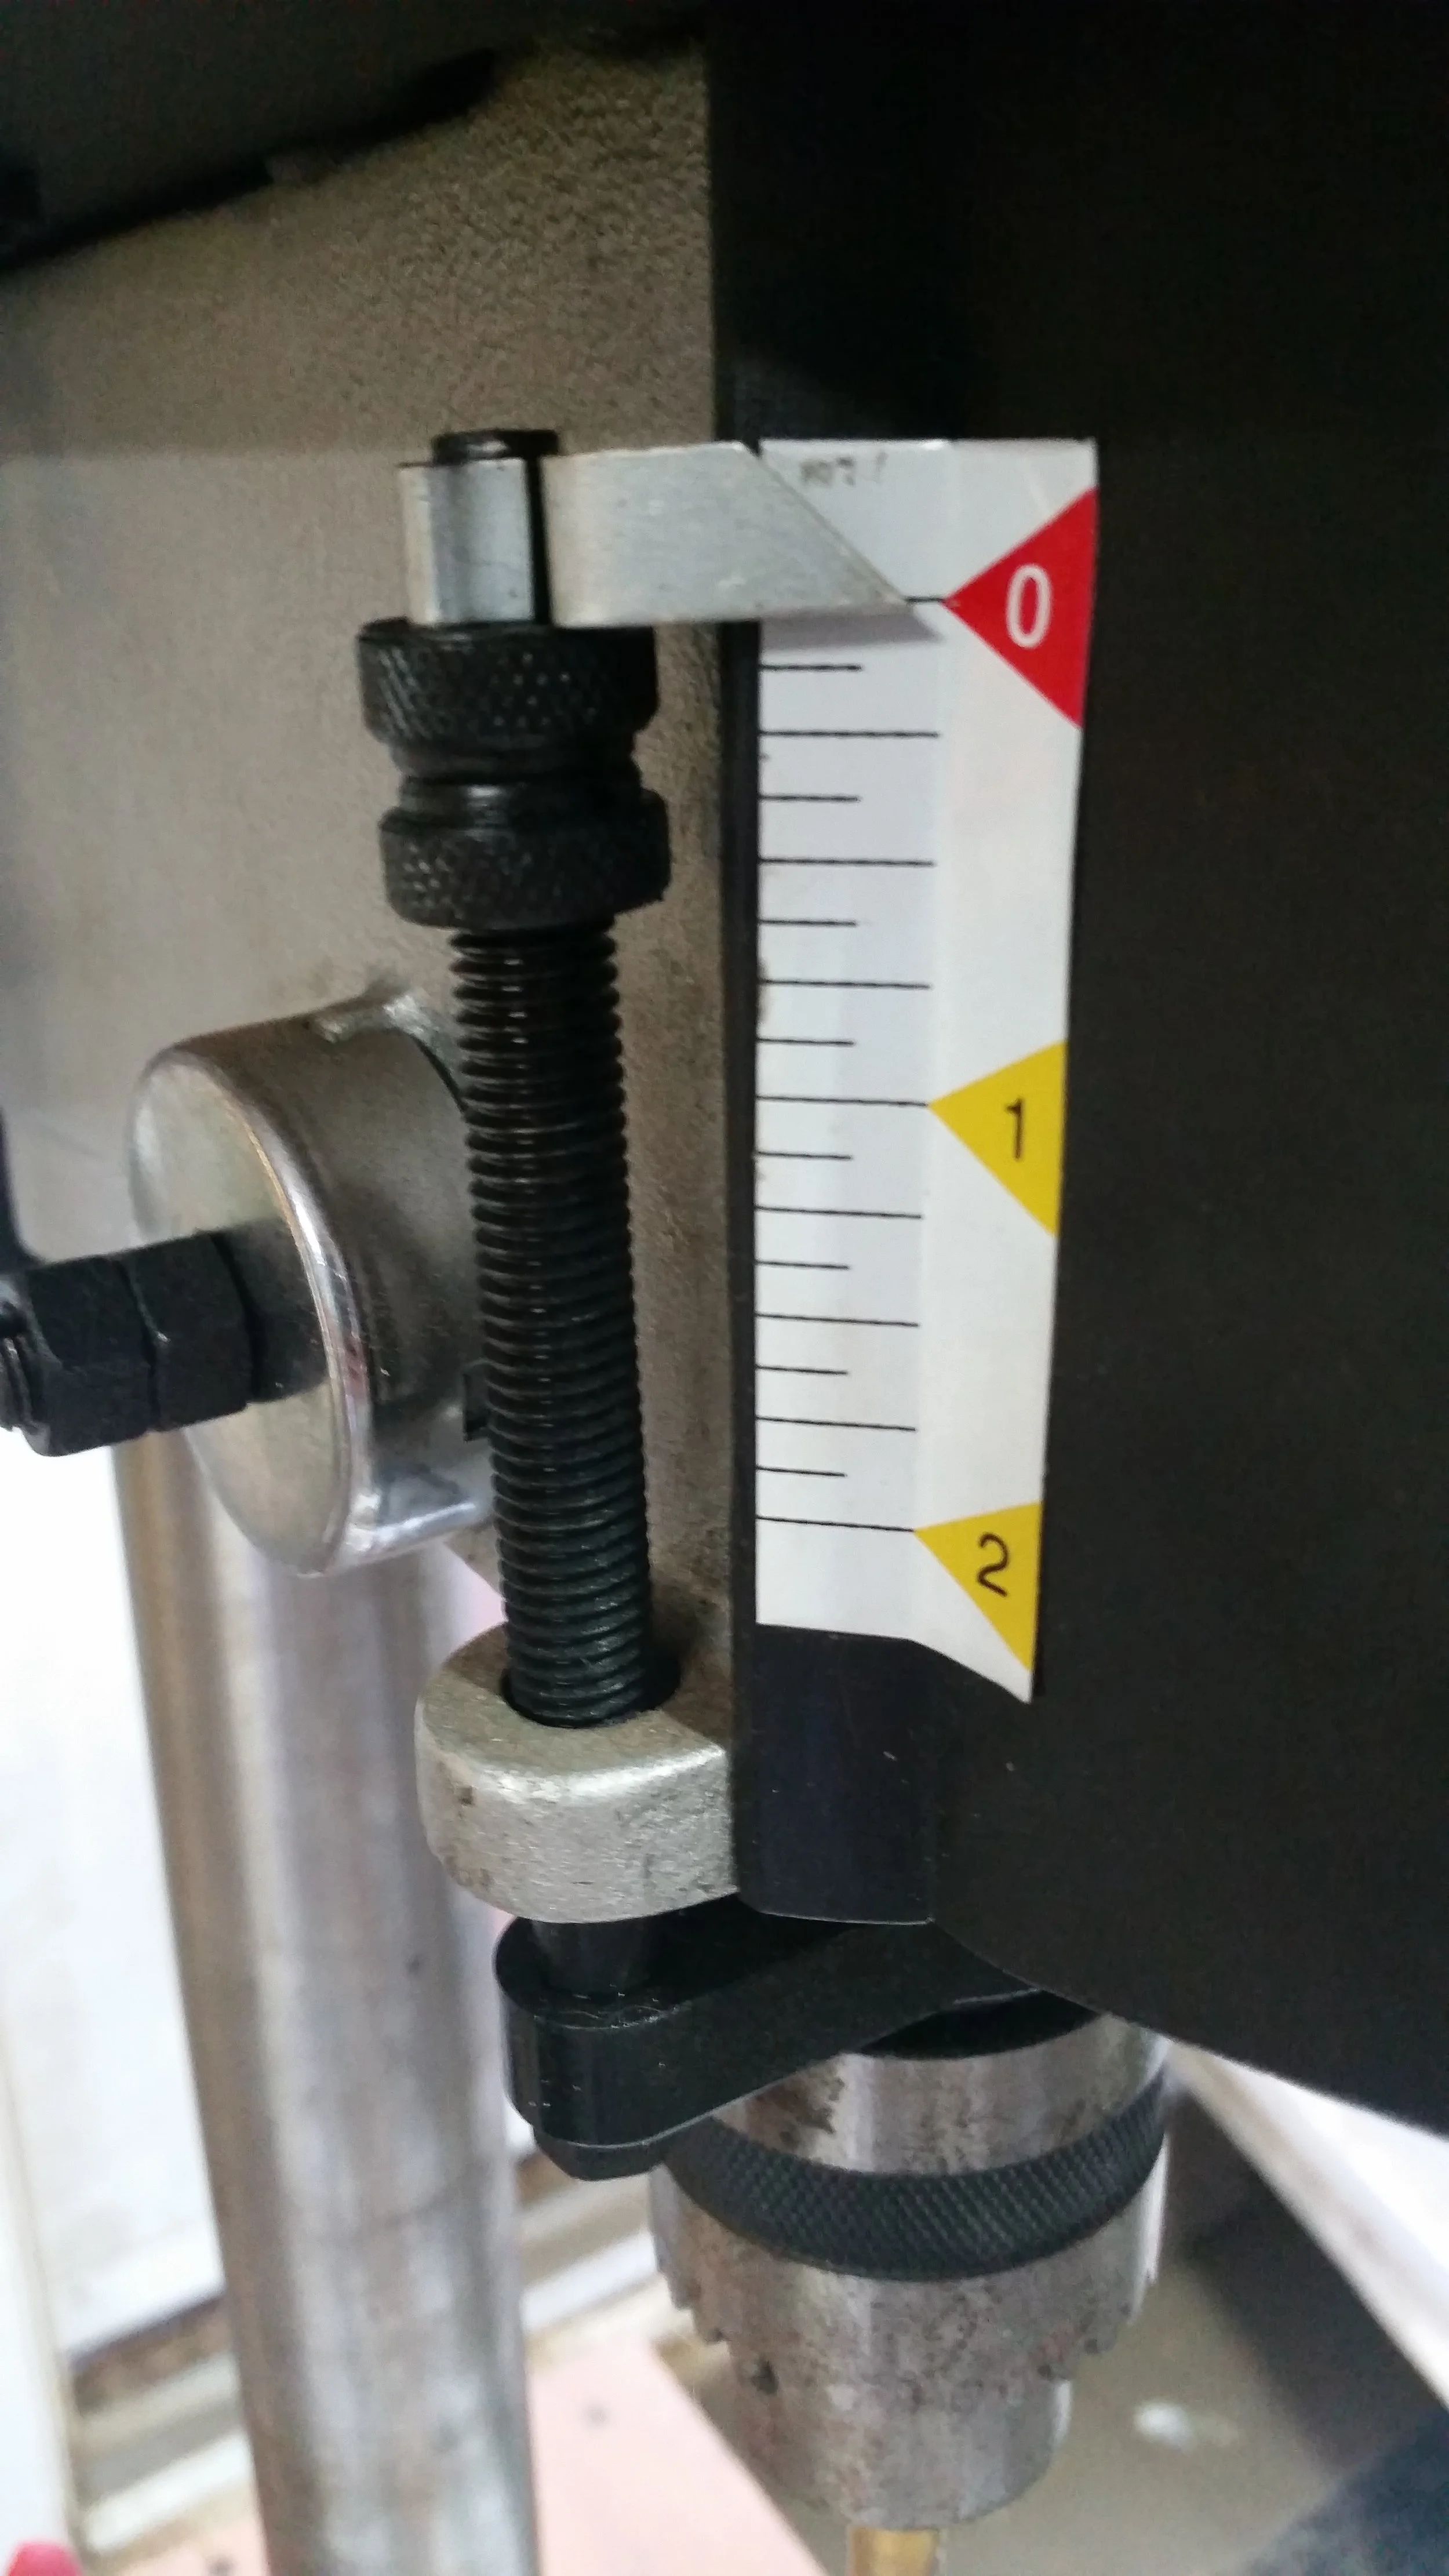
Once the strakes are revised and the seams perfectly tight, the holes for the dowels can be drilled and the entire transom can be clamped together with table clamps, providing plenty of pressure for a few days as the polysulfide cures.