
With all the planks revised and jointed, it is time to drill the holes and cut the dowels that will help support the transom planking. I could clamp and screw the transom planking to the sternpost and transom frames but this would require careful measurements.
Instead, I'm going to glue and bed the transom together into a large flat panel which I will then attach to the sternpost. To support the planks from sheer forces and from pulling apart, I'm going to glue dowels into the top and bottom sides of the planks and clamp them together.
Dowels will slide into the strakes and provide support to sheer forces placed upon the transom until the transom is screwed to the transom framing. The only problem with dowels is they need to be perfectly aligned or they will not work. If the holes are slightly offset, the dowels will jam and not allow the planks to mate. To avoid this, I used a dowel centering tool, making the process both easy and fast!
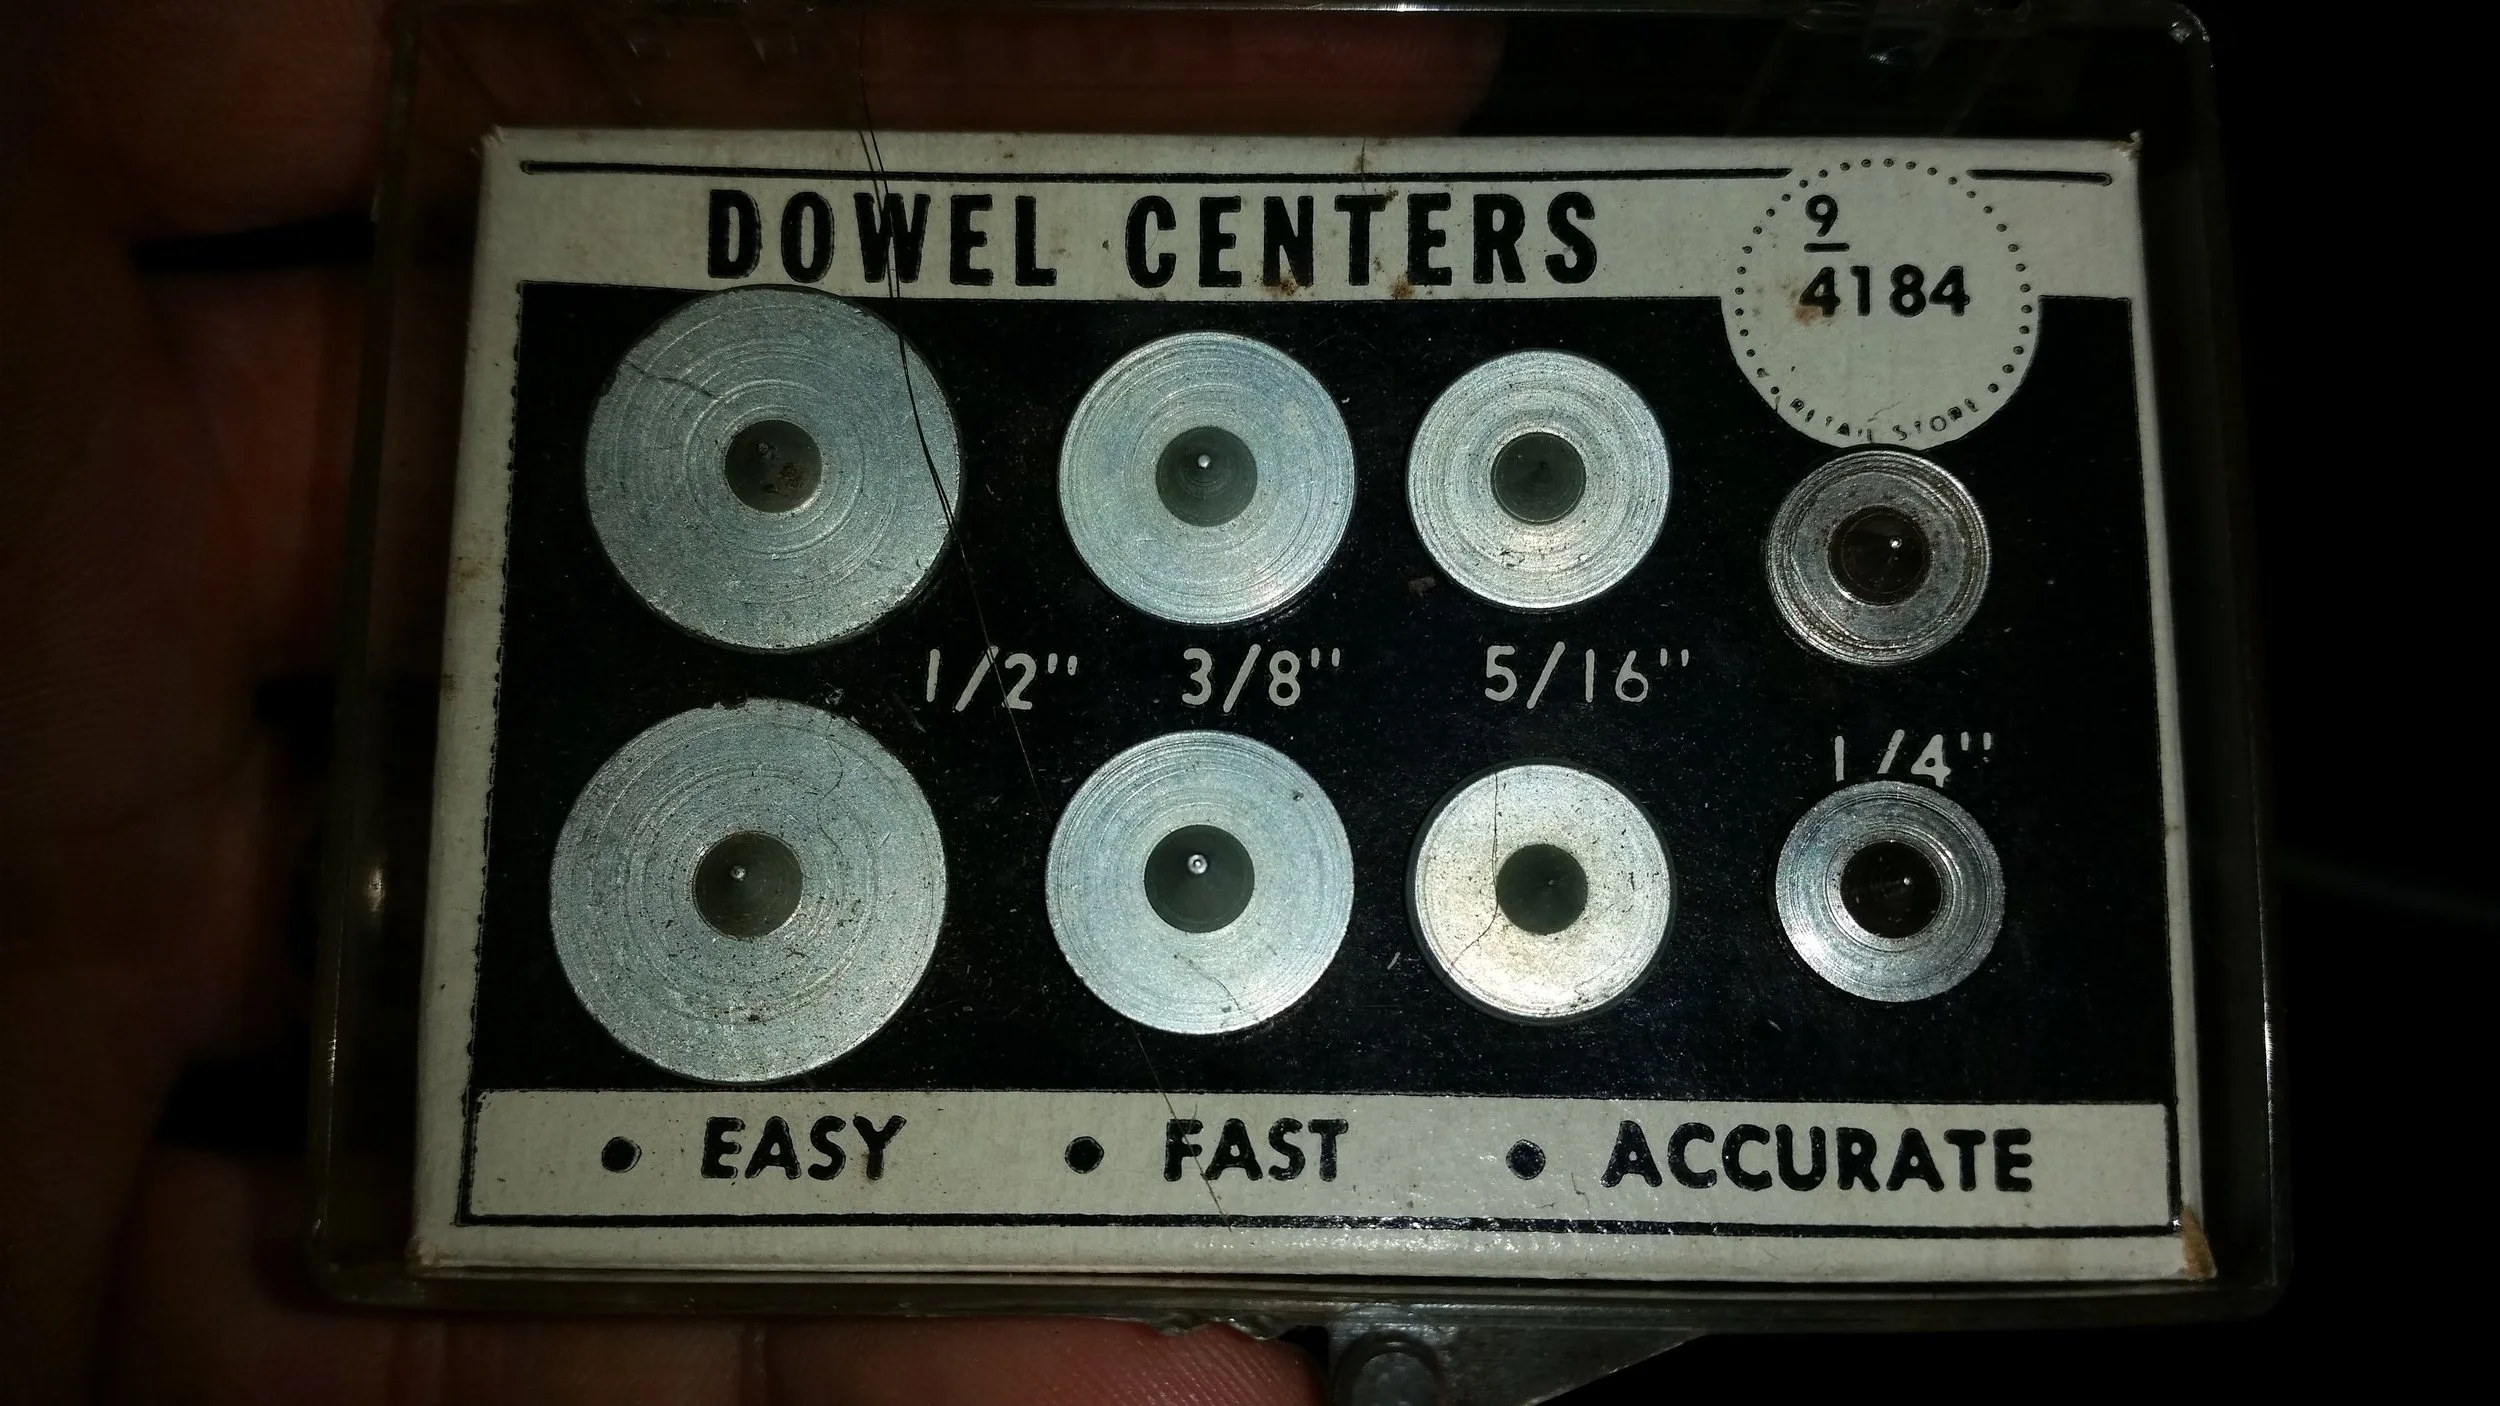
The process is simple and straight forward, simply drill two holes in the top of the bottom strake using a drill press and then insert the dowel centers into the holes. Now position the faying surfaces of the planks and press them together, the pins will mark pilot divots into the opposing strake. Simply drill the opposing holes on a drill press making sure to follow the marked divots.
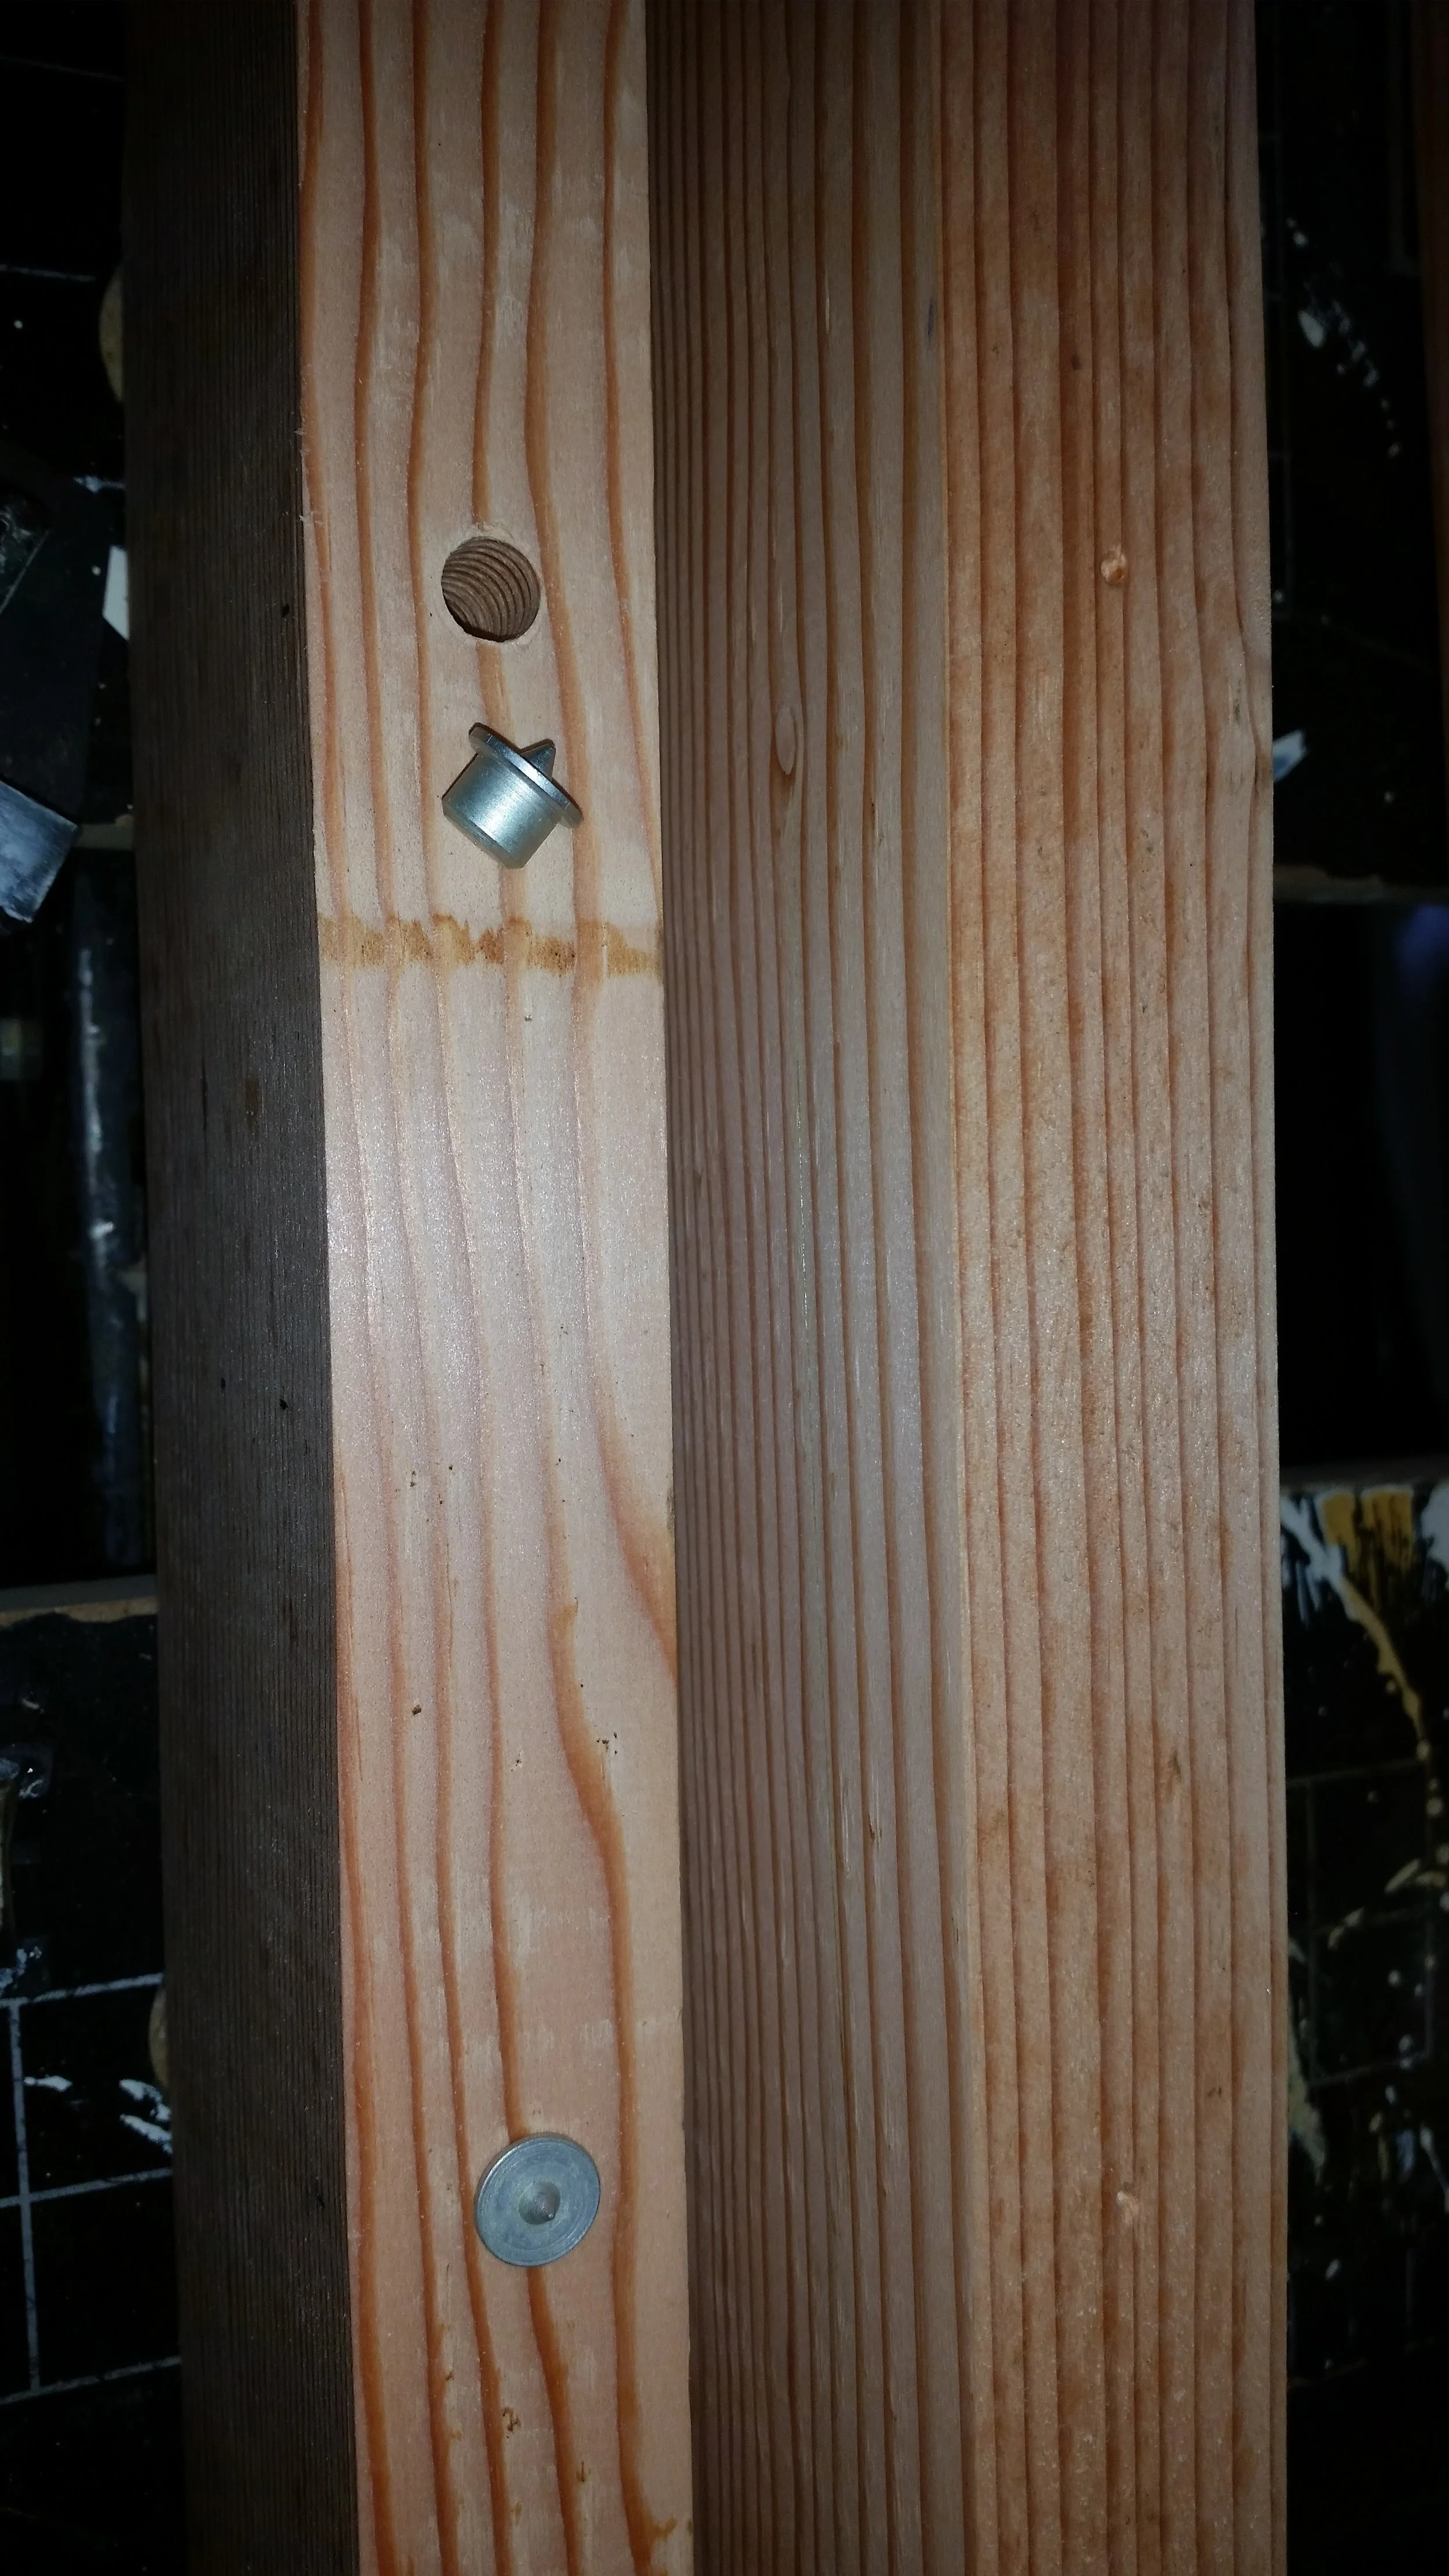
Following this simple procedure, the holes could all be drilled in a uniform fashion. The dowels themselves were set to stagger that was I would avoid running into a previous hole if the strake were rather thin. I also made sure the bottom and top strake would not have the soft wood dowel exposed after I trimmed up the shape of the transom.
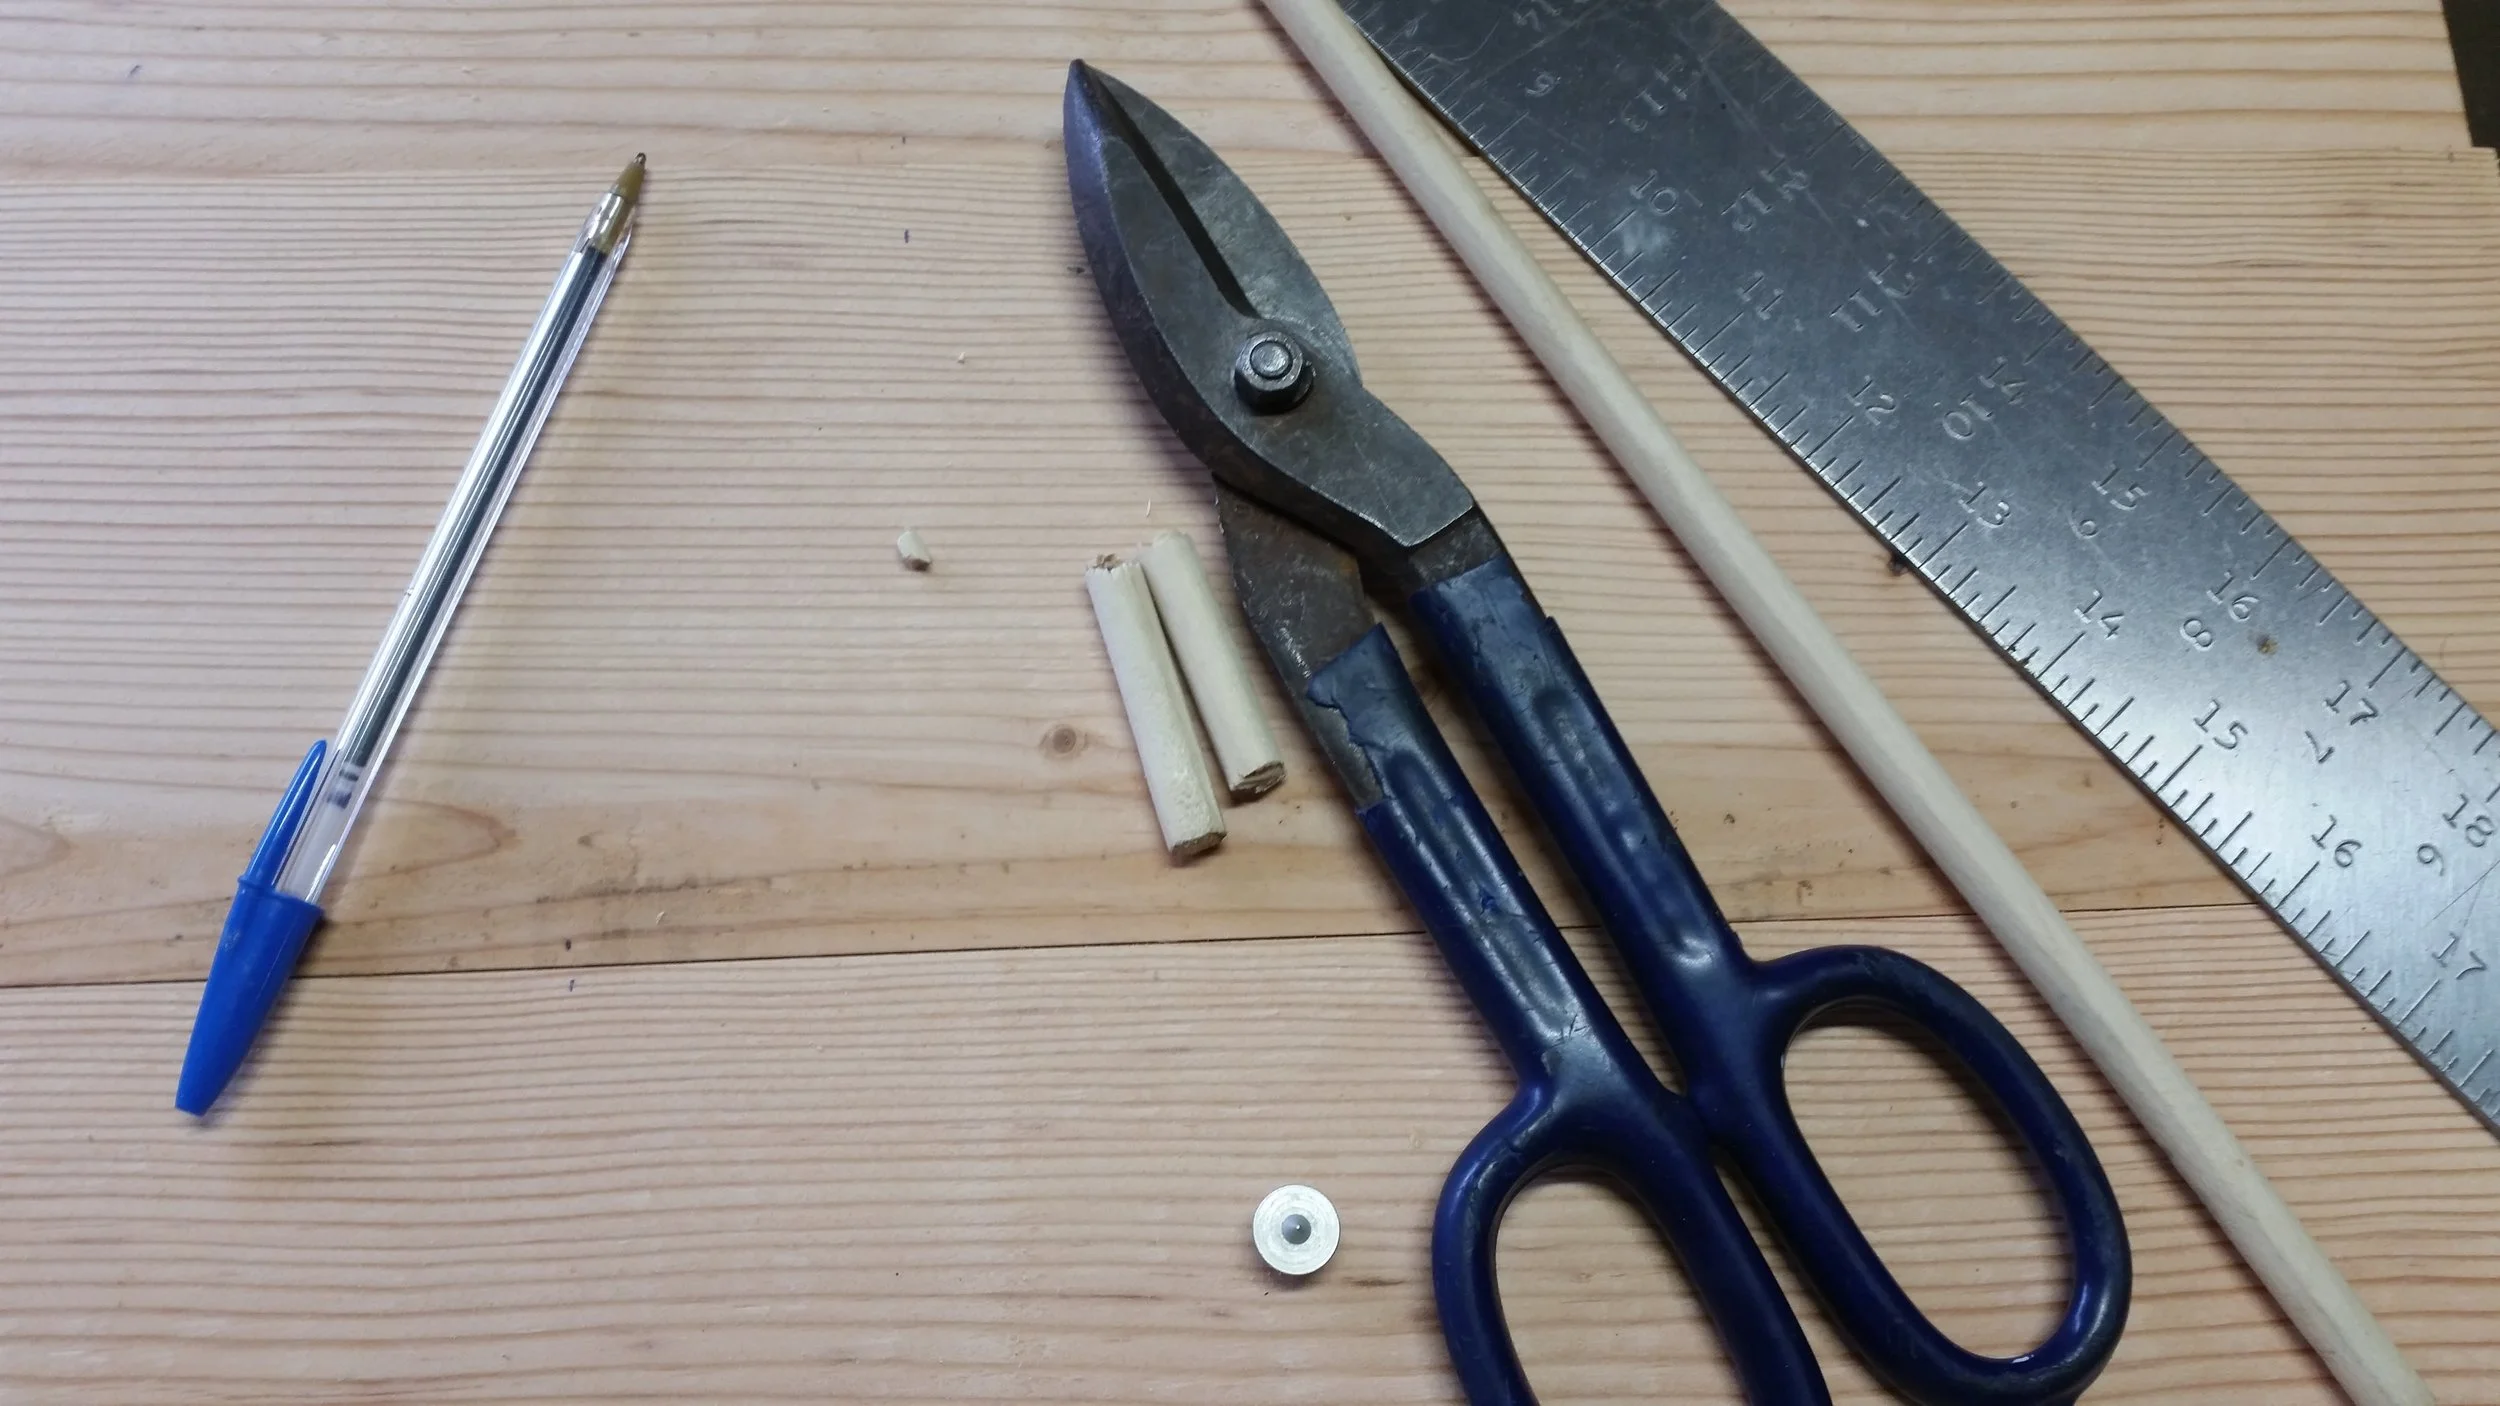
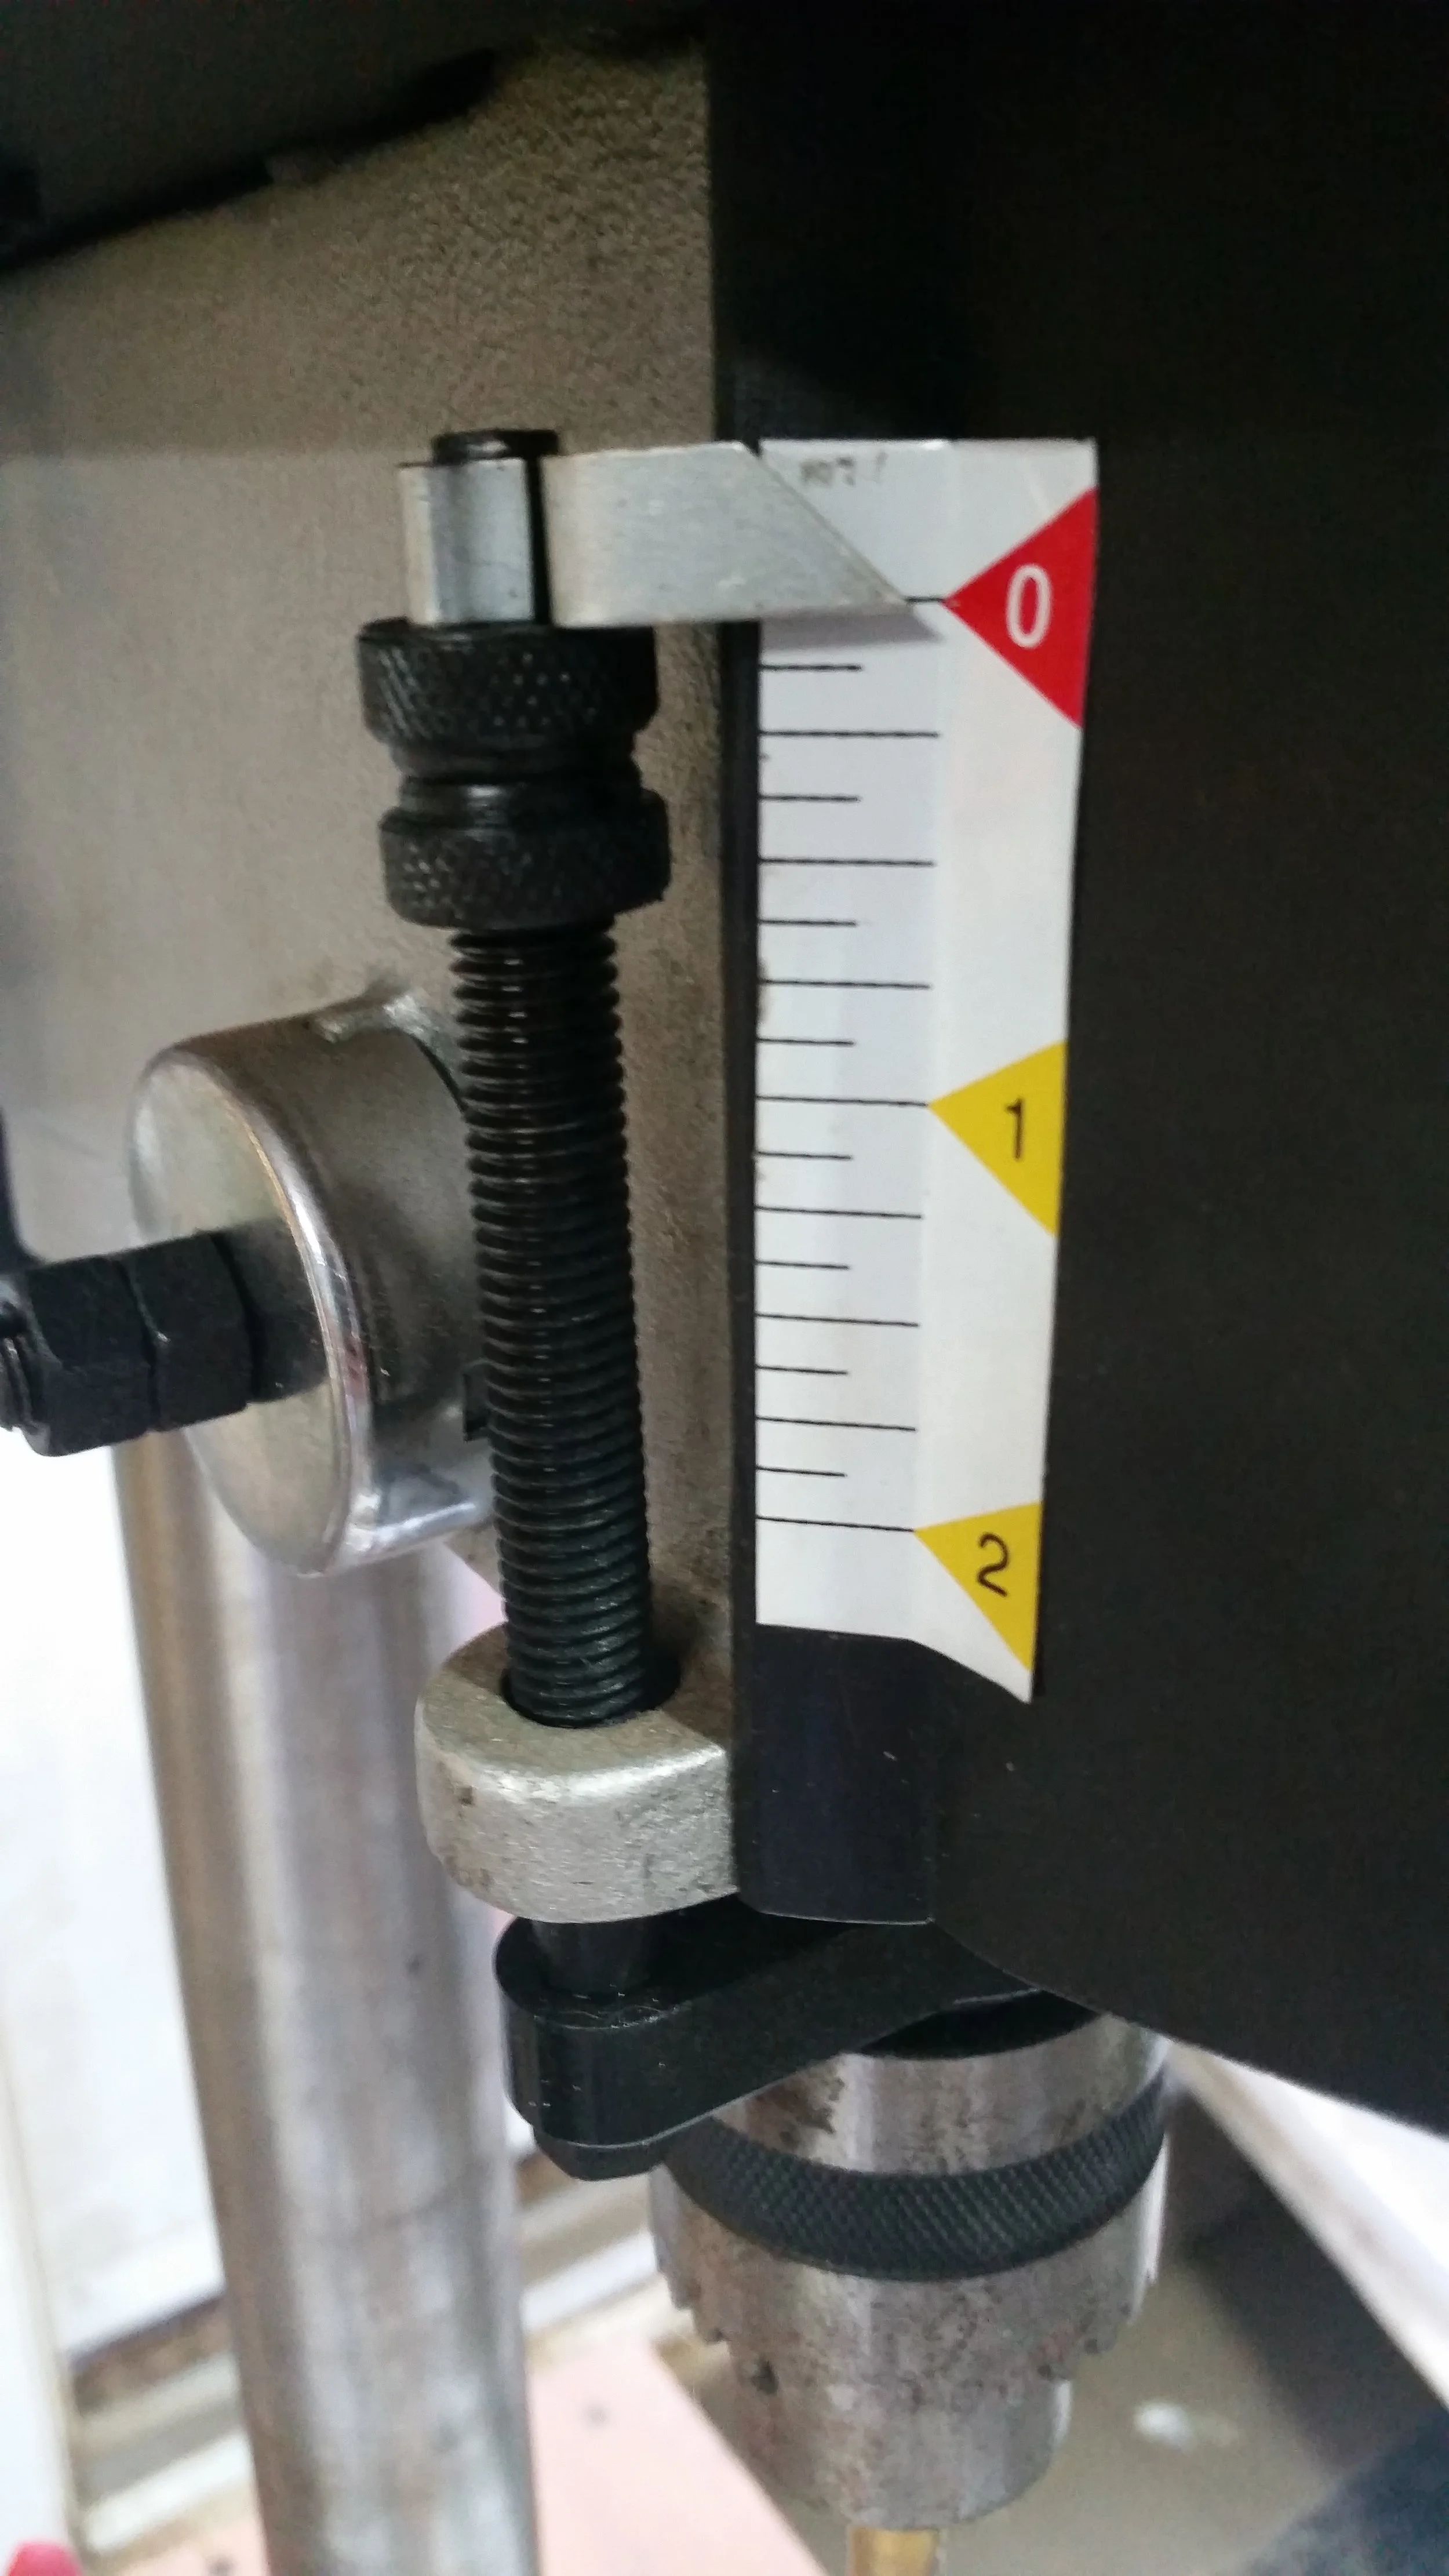
The dowels were easy to cut to size using strong sheers. The soft wood cuts with the sheers just like scissors and paper. The dowels were cut to 2 inches, and set into holes that were 1 inch deep into each plank. I followed the gauge on the drill press for controlling the depth of bore into the planks.
With everything cut and drilled, we are ready to glue and bed the planks together and let the curing process begin!
