Stern Knee

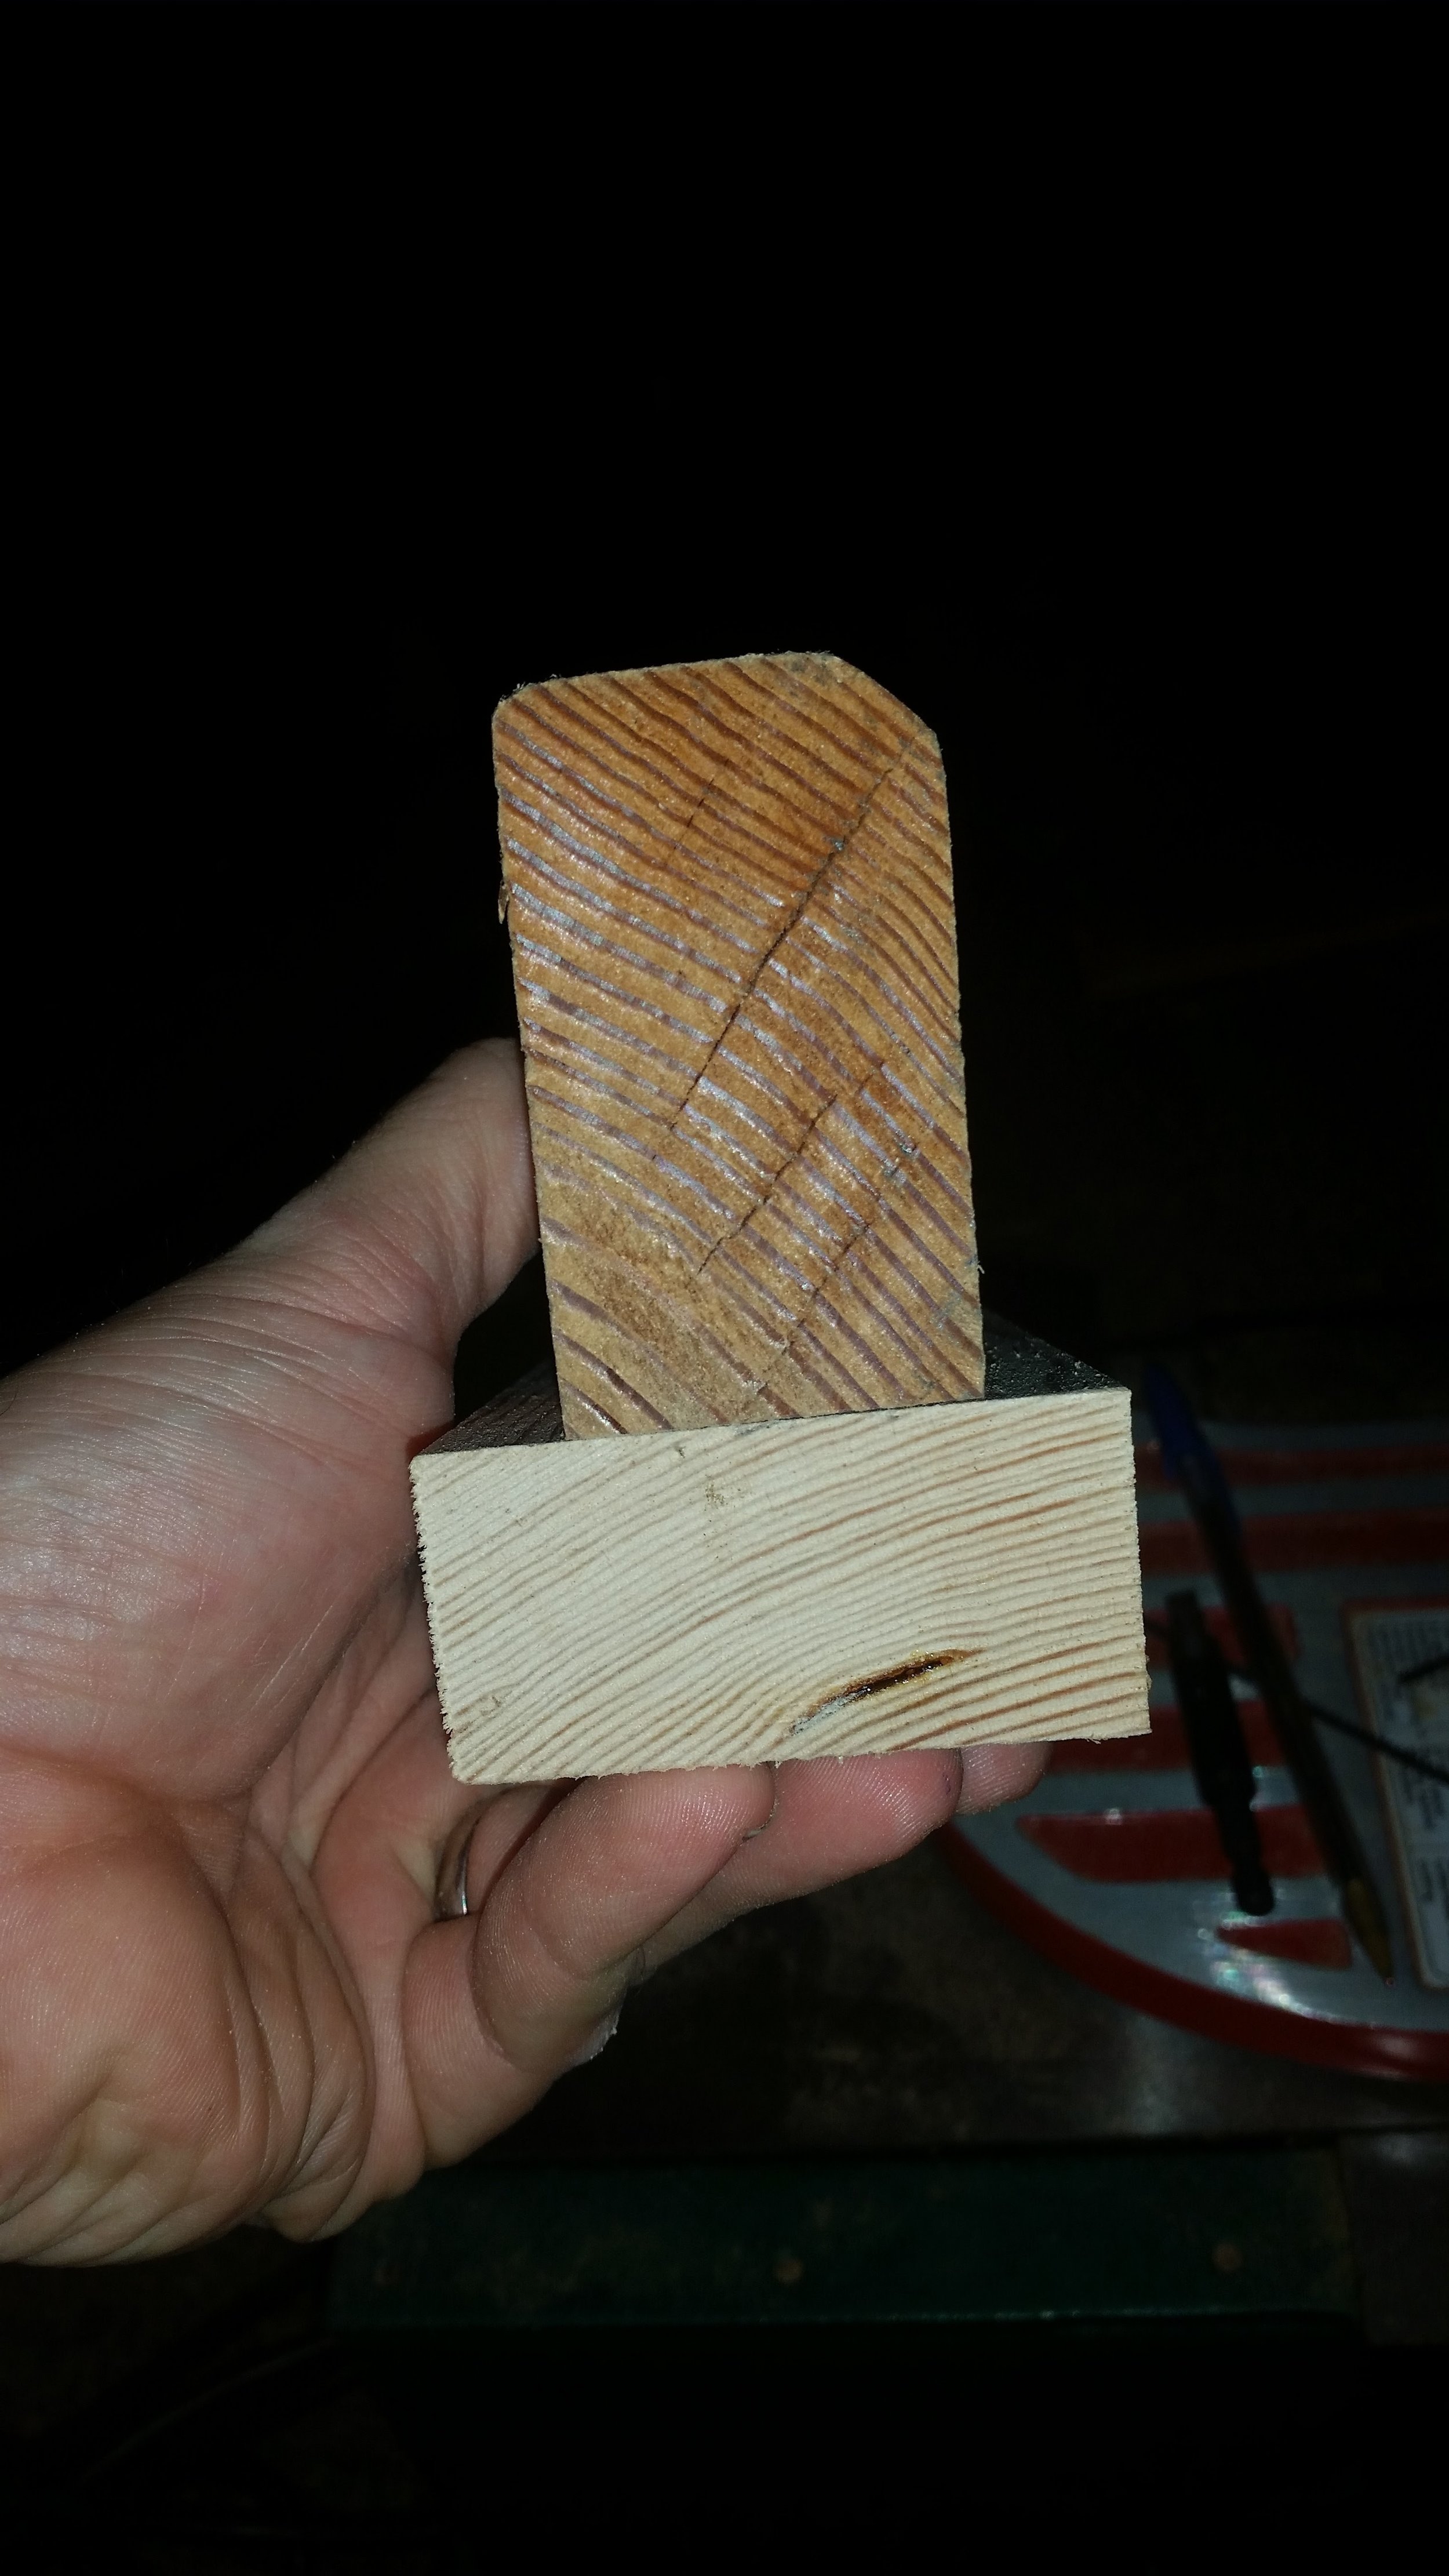
The stern knee is the structural support that helps transfer stress and loads from the stern post to the keel. It is made out of a single piece of wood that has vertical grain with a slight angle to it. The slight angle ensures that the medullary checking that will occur will form diagonally across the knee and not in the same direction as the fasteners.
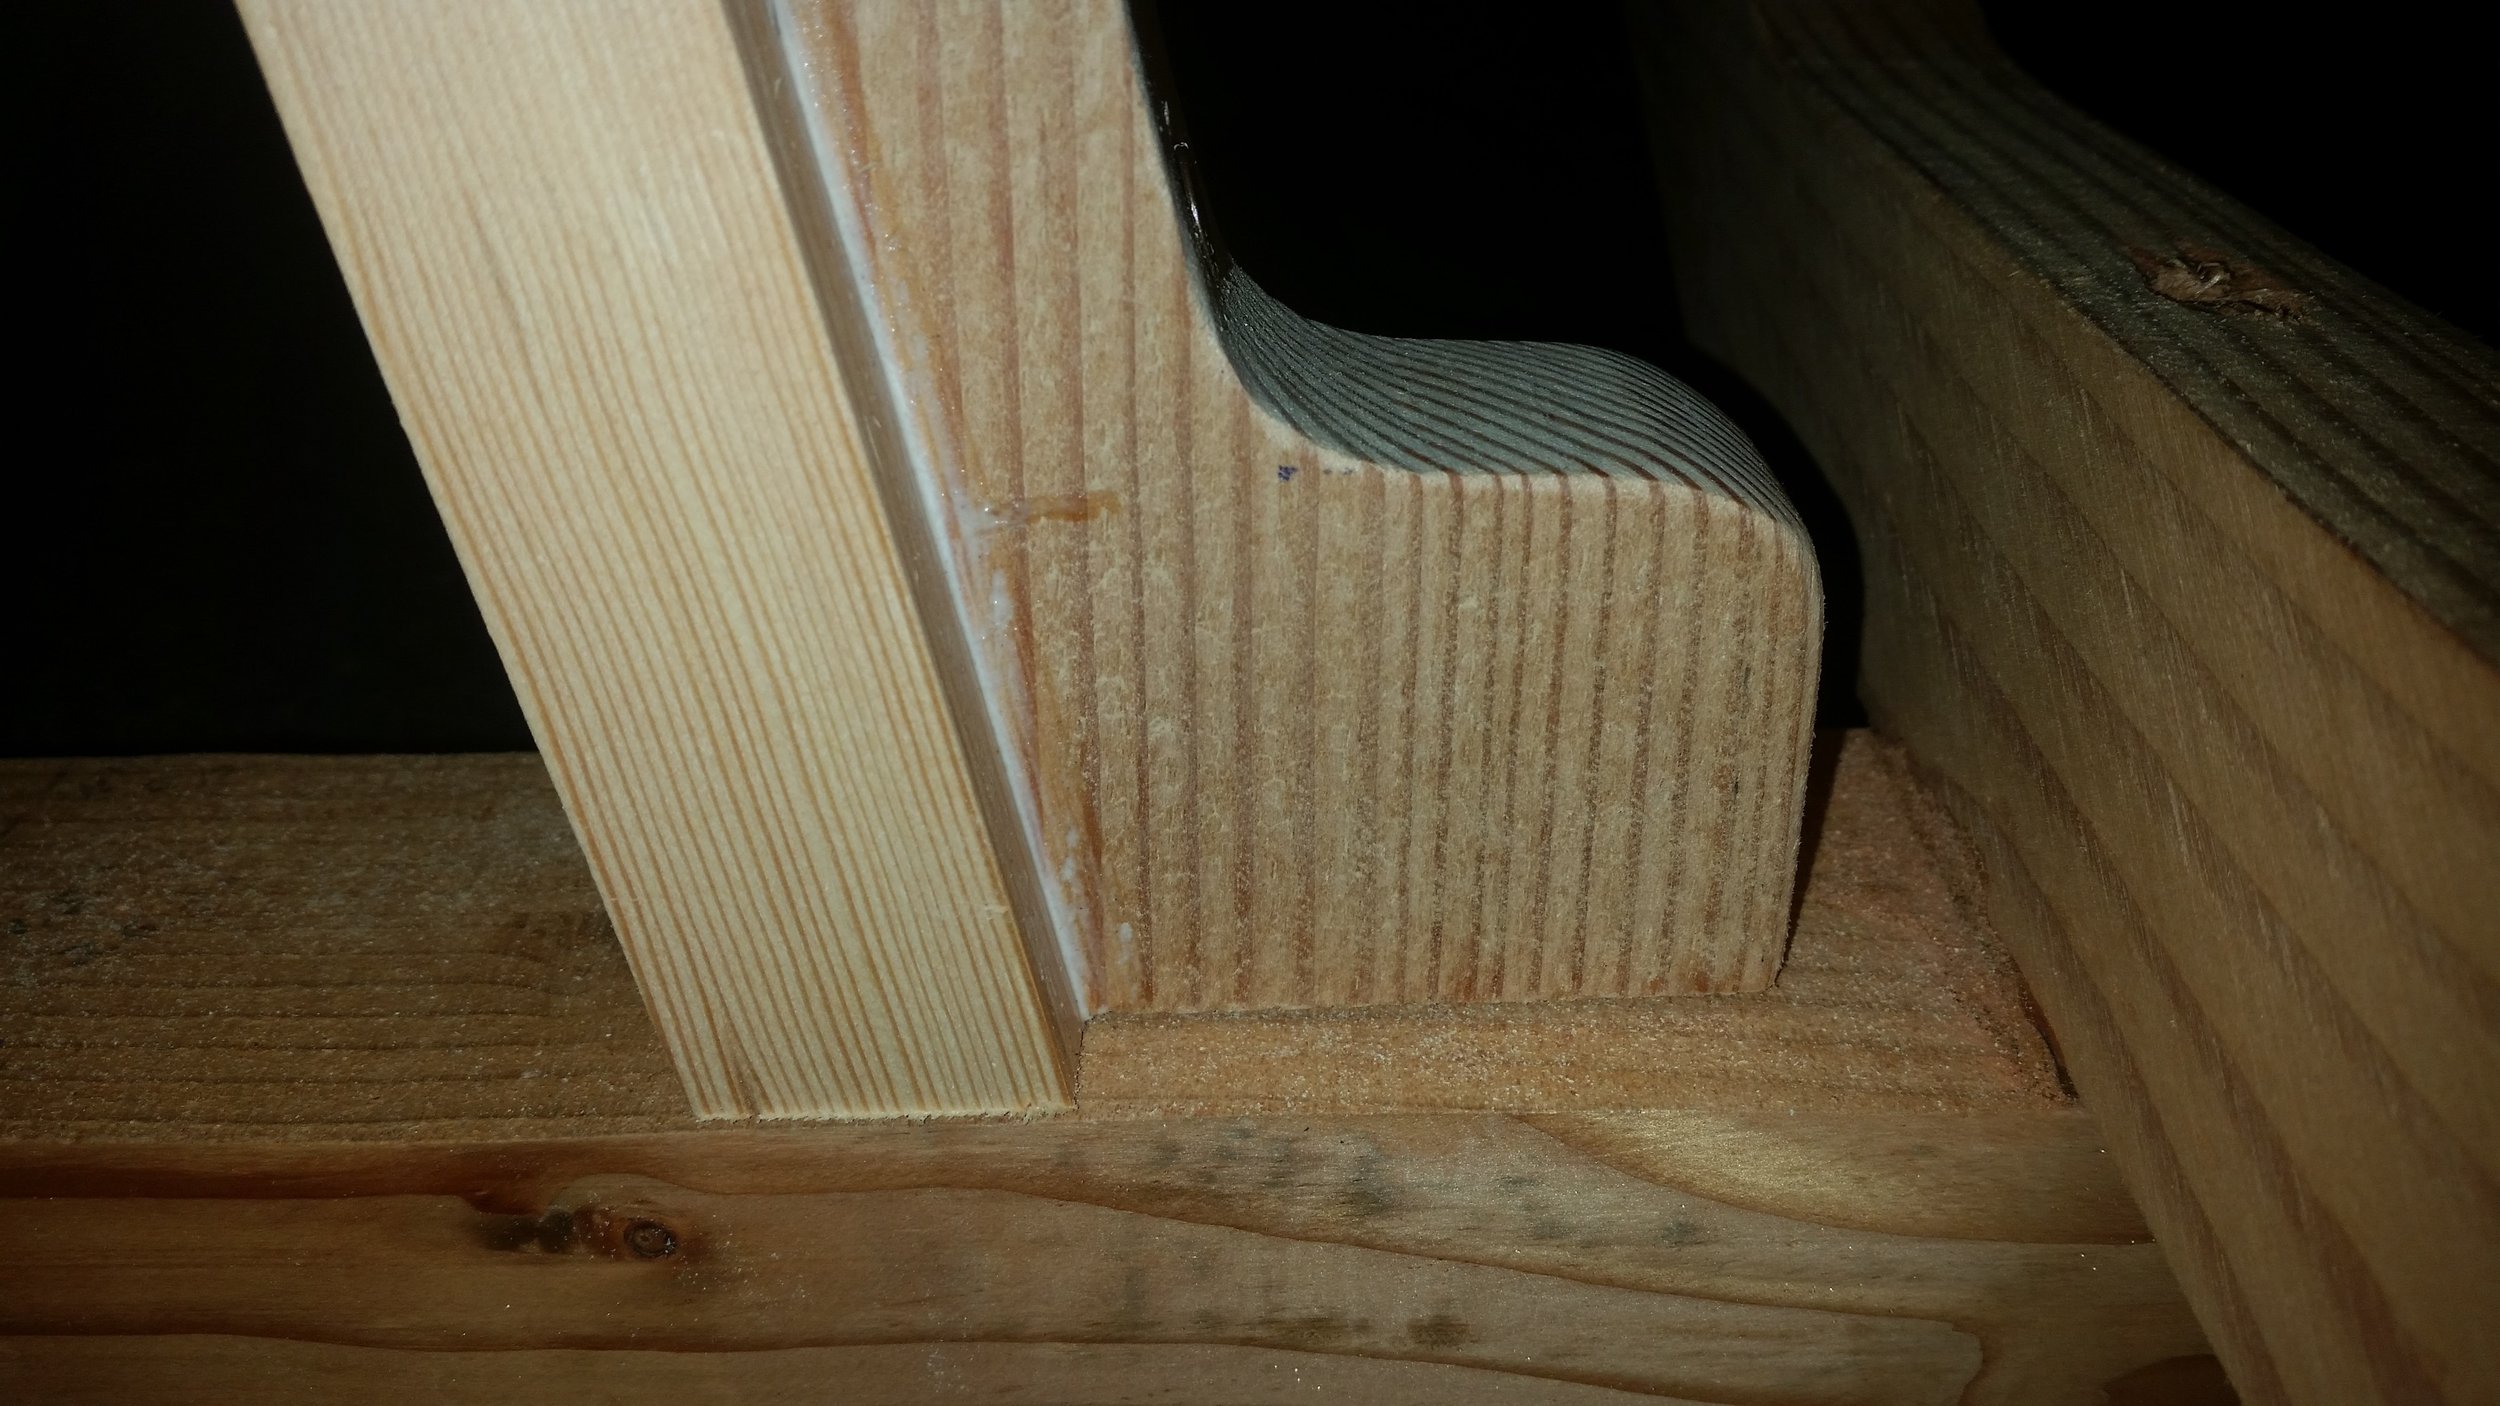
The stern knee attaches to the end of the keel via a large and strong bronze lag bolt and to the stern post via four stout bronze screws. The transom planking will be attached to the stern post, transmitting it's loads to the keel via the stern knee. As you can see, this is a rather important structural member in the dinghy.
To add complexity to the fabrication process, the transom is going to be raked aft with a slop of five inches every twenty four inches. This angle will produce a gentle and pleasing to look to the slope of the transom. This angle is also ideal for. The mounting of an outboard motor, which we will do in emergency situations.

The stern knee and stern post need to mate perfectly flush with the flat keel. To get the angle of the sloping transom to mate perfectly with the flat keel, I used a variety of squares and calculations. I know that the freeboard is going to be eighteen inches high, so the sternpost was set in a square where the top of it passes over the eighteen inch mark. The bottom of the sternpost was scooted over to the three and three quarters mark, as this distance follows the same slope of five in twenty four. I pinched the stern post to the square and raised it off the surface just a bit so I could mark it from the underside with a pencil.

The line drawn on the side of the stern post now represents the correct angular orientation for the bottom of the sternpost to mate perfectly flat with the keel.

This line was cut on the bandsaw and then test fit to the keel. The top of the stern post was left much longer than needed as it is always easier to shorten a board than it is to make it longer. With the angled cut verified, I know that the stern post is long enough and angled properly.

The knee was cut out following the same slope line. The knee is six inches tall, so a slope of five in twenty four would mean that our six inch knee needs to slope over one and one quarter inch.

The block of wood was marked at the top at the six inch point and on the bottom at the on and one quarter inch mark. A straight edge connected the marks giving me the line to cut along to match the stern post's aft rake to the stern knee.

After cutting the knee along the line with the bandsaw, we the two pieces were test fitted. To properly test fit the stern post and stern knee, a square was used, as the top of the stern post should intersect the 18 inch mark and the bottom of the stern post lay flat on the bottom of the square. During the test, the stern post met the mark and the faying surface to the keel laid flat!

The two pieces were test fitted on the keel to verify that they are true and mate up to the faying surface of the keel properly.

Since they mated well, it was time to connect the stern knee to the stern post. I drilled pilot holes through the knee which will accept the bronze fasteners. The holes are set staggered to avoid causing a crack in the knee. If you set all four screws in a vertical line, the knee can split along the grain and fail its purpose. By staggering the screws placement, the rest of splitting the knee is greatly reduced.

With the holes drilled and any splinters sanded off, it is time to drill the pilot holes in the stern post. The top pilot hole was drilled by first marking the sternpost with the drill running in reverse. Running the drill in reverse minimizes the risk of the drill bit walking aroud, ruining your alignment. Running the drill in reverse will produce a very notable mare on the stern post. Once the stern knee is removed, you can mark your pilot hole without any risk of misalignment.

With the first hole ready, the stern knee was set back onto the post and the bronze screw was inserted most of the way. This will keep the entire unit aligned and in place while the other three holes are made.

With the top of the knee supported by the screw and the bottom of the knee supported by a clamp, the second pilot hole could be created in the lowest screw hole and its screw inserted. Now the knee is securely held in place and the last two pilot holes can be drilled at the same time to speed up fabrication time.

Now that the four holes have been drilled with accuracy, it is time to join the two pieces of wood.. The faying surfaces were coated with a liberal amount of Titebond III waterproof wood glue and some extra wood glue was set into the screw holes. The glue in the screw holes will coat the bronze fasteners as they are driven in and lock them into place as they coat the threads.

With all the surfaces ready for mating, the knee was aligned to the stern post and the four screws were driven home. The four screws will provide enough clamping force, negating the need to use external C-clamps. The excess wood glue squeezed out, ensuring that all the surfaces were sufficiently covered with glue and the excess was wiped off with a dry towel. The glue was then allowed to cure for the next two days without being disturbed.

Sizing for Creep

The question of what size should my synthetic stay be to replace the metal stay comes up a lot. As always, there are two methods to figure this one out. 

The first is to calculate your RM30. RM30 is the force that is required to heel the boat over 30 degrees. There are many factors that play into this number, but they will give you a good idea of the loads your shrouds will experience while sailing heeled over at 30 degrees. Once again, there are two ways to calculate this value, one is via an actual test performed on the boat while in the water, the other via mathematical equations. 

With this number in hand, you can safely calculate the size of your standing rigging knowing the loads that it will be subjected to.

The other method is to base it off of the standing rigging that the boat was originally designed to have. Steel standing rigging is sized so that the maximum amount of tension applied to it is 20% of its breaking strength. While your standing rigging should never be set this tight, this is the safety margin in steel rigging. 

If you have 1/4 inch 1x19 316 stainless steel standing rigging and wish to know what size your synthetic stays should be, simply do some simple calculations. 

1/4 inch 1x19 has a breaking strength of around 7600 pounds. 
20% of 7600 is 1520 pounds

Synthetic standing rigging is sized based on creep rather than breaking strength. Synthetic standing rigging will creep less if it is under less static load. Keeping the static load below 15% will keep creep down. If the load is less than 10% of the total strength of the dyneema, creep will be significantly less. 

With our example of 1/4 inch 1x19 SS wire with a 20% load of 1520 pounds, we can safely assume that using 6mm New England Ropes STS-HSR with a breaking strength of 12,400 pounds would be a safe choice. 1520 pounds of static load would be 12.3% of its total strength, keeping the creep to a safe amount. Sizing up to the next size would reduce creep considerably but also increase windage.

7mm New England Ropes STS-HSR with its breaking strength of 18,700 would be loaded at a mere 8.1%. Creep would be significantly lower with a slight increase in windage. 

In the opposite direction, 5mm New England Ropes STS-HSR with its breaking strength of 9,300 pounds would be loaded at 16.3% of its breaking strength. While windage would be significantly less, the creep would be considerably higher than with the other two options. 

Additional windage is from thicker stays is not the end of the world, though they rope itself is more costly. Choosing a size that offers you the resistance to creep and windage you are comfortable with depends on your ability and willingness to tune the rigging. If you choose a very small stay that will creep, you will need to tune it more often. If you choose a thicker stay, it will cost more and be more windage, but it will hardly creep at all.

Dinghy Choices

Most people will quickly picture some kind of vessel when they think of a dinghy. The truth is, a dinghy can be anything as long as it can meet your needs! While some will splurge to purchase a RIB from Zodiak, this purchase should not hold you back from casting off the docklines and living your dream!

We have encountered many cruisers along our short voyage and seen a wide variety of dinghies. While almost all of them are inflatable dinghies with an outboard on the back, there are still many more options.  

A lot of people use kayaks, as they are light weight, easy to handle, and can carry a considerable payload in them. This is great if you just want to get to shore and return with groceries, which is what a dinghy is most often used for!  

Along these lines, we met one person who is using an inflatable kayak that he bought for $50! He needs no fuel, and it deflates to take up almost no space. At the same time, a new 9.5 inflatable from AB Inflatables would cost you $5,000, and this doesn't even include the outboard motor. 

Don't let the debate about what dinghy you need to have to go cruising because any dinghy that gets the job done is perfect! All you need to do is find something that is within your budget and you will be good to go. 

Siding Above the Windows

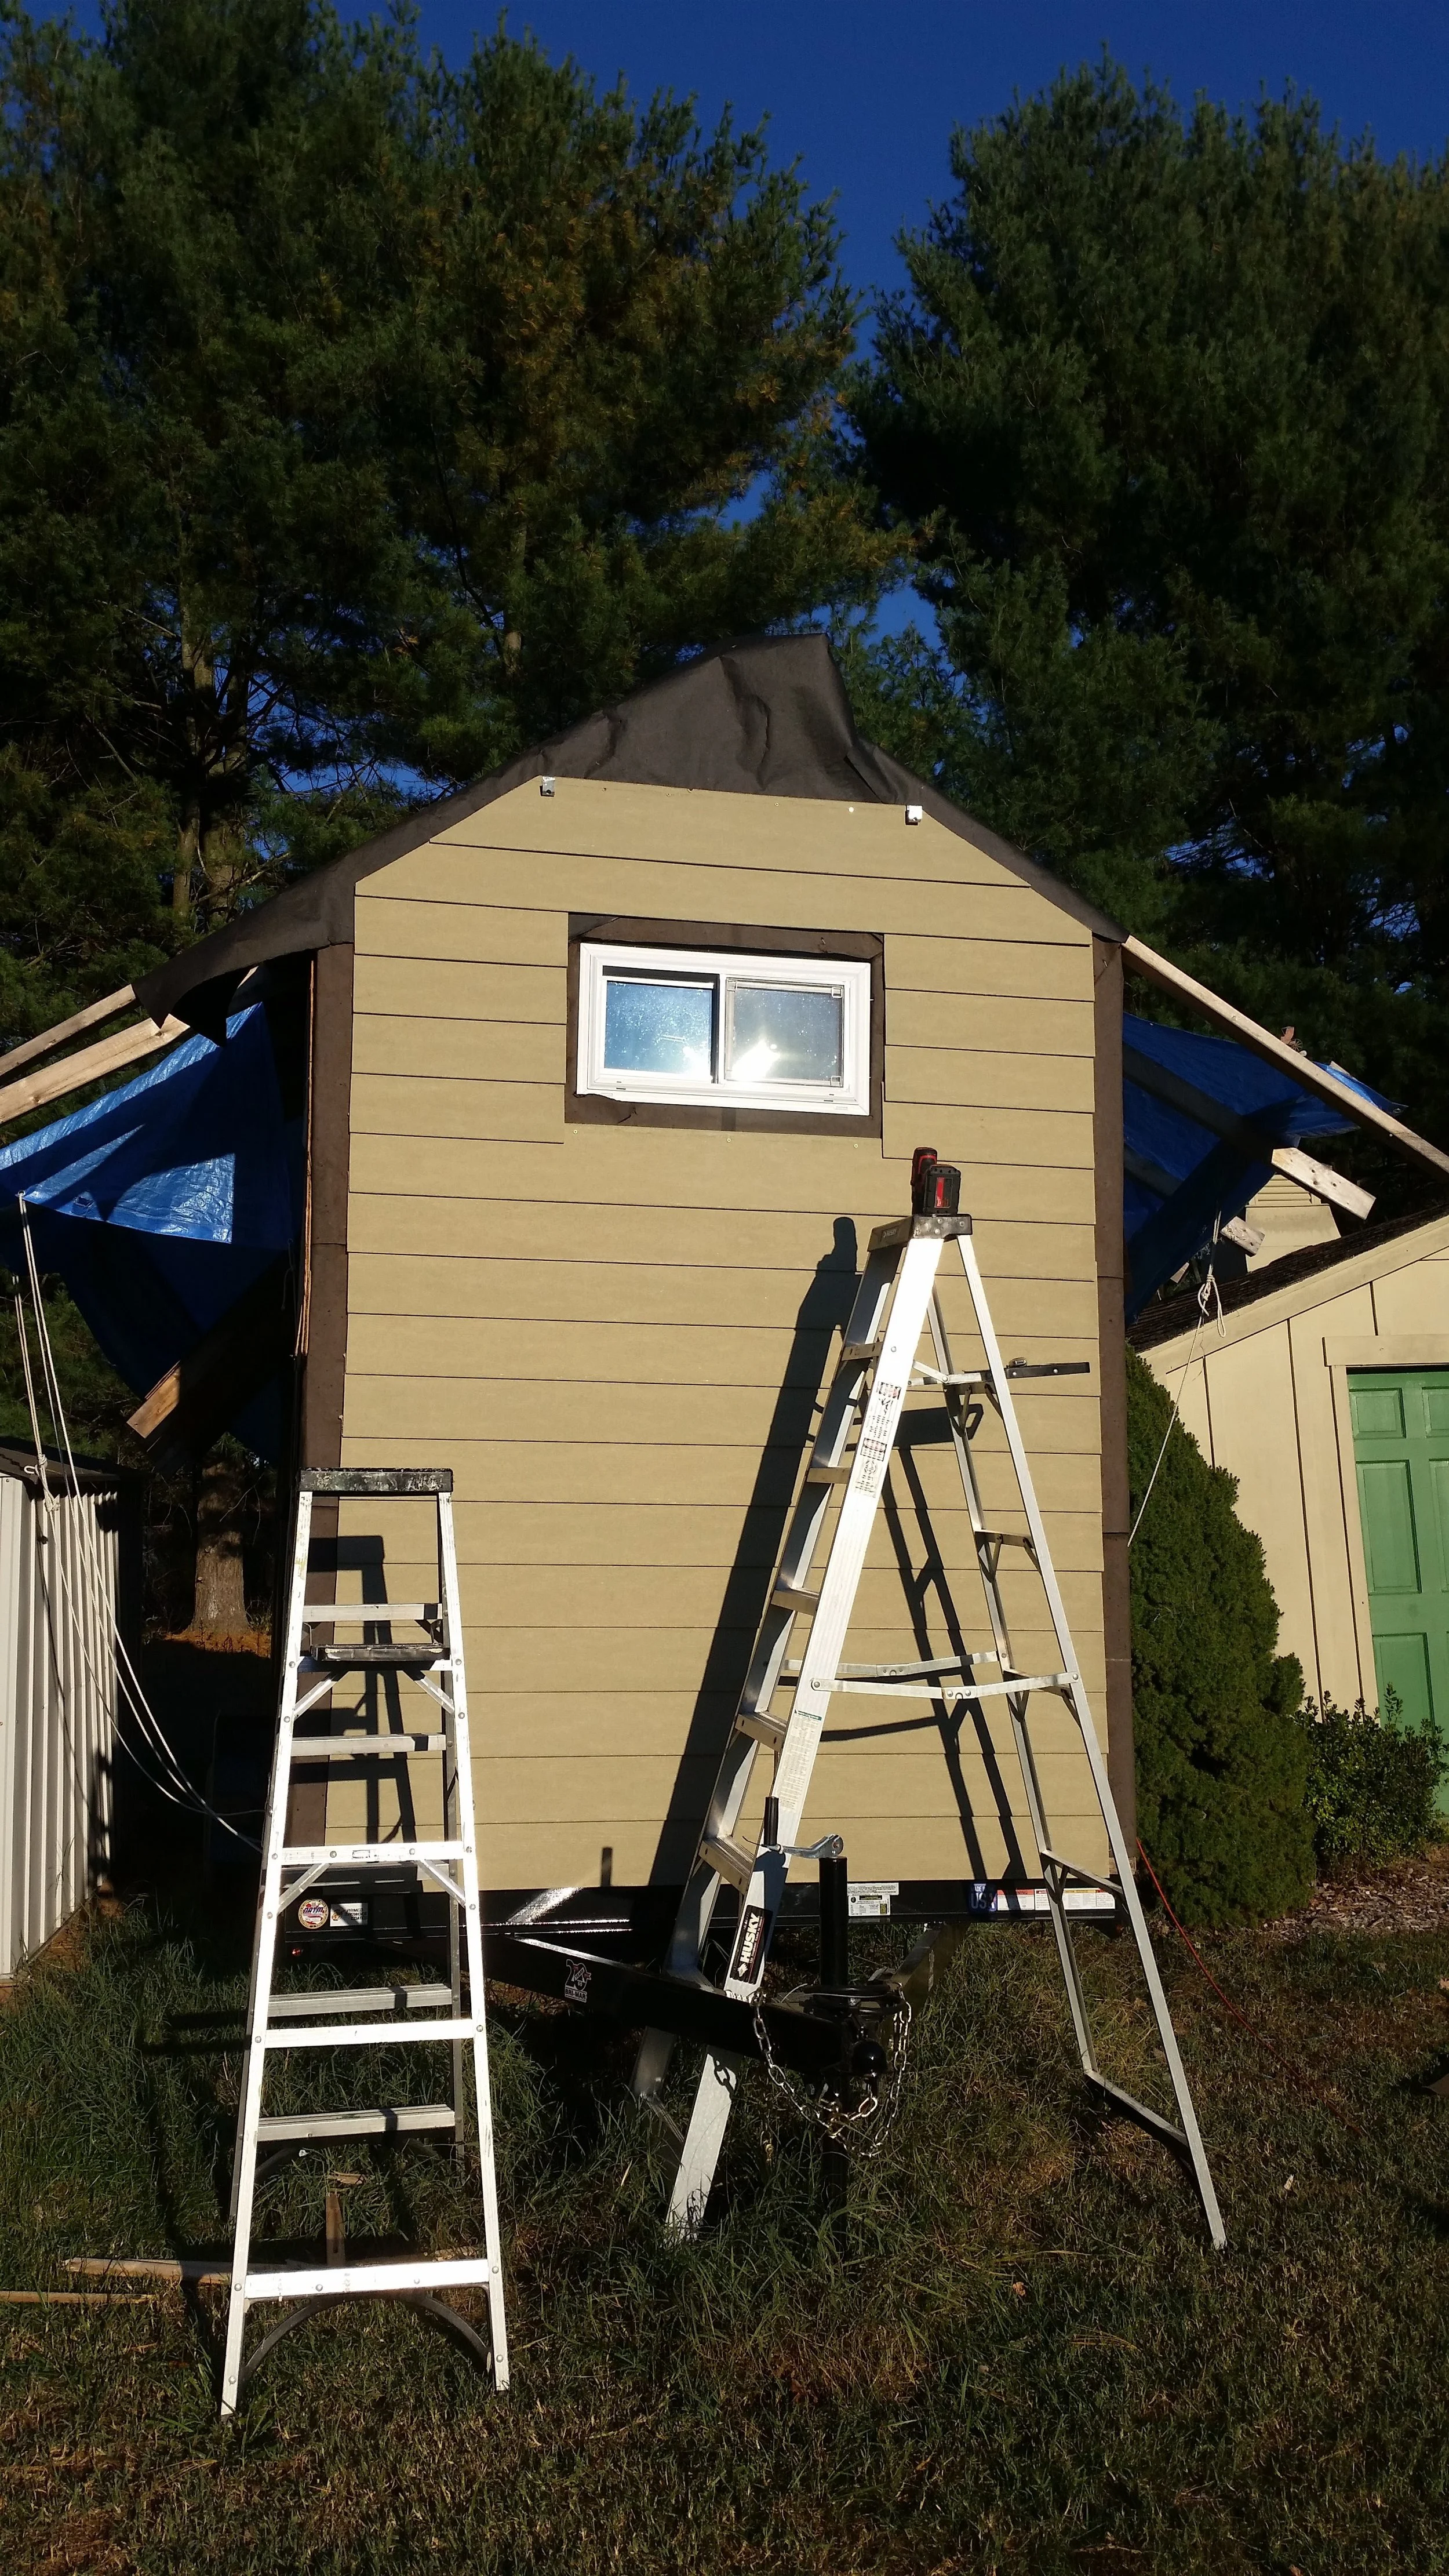
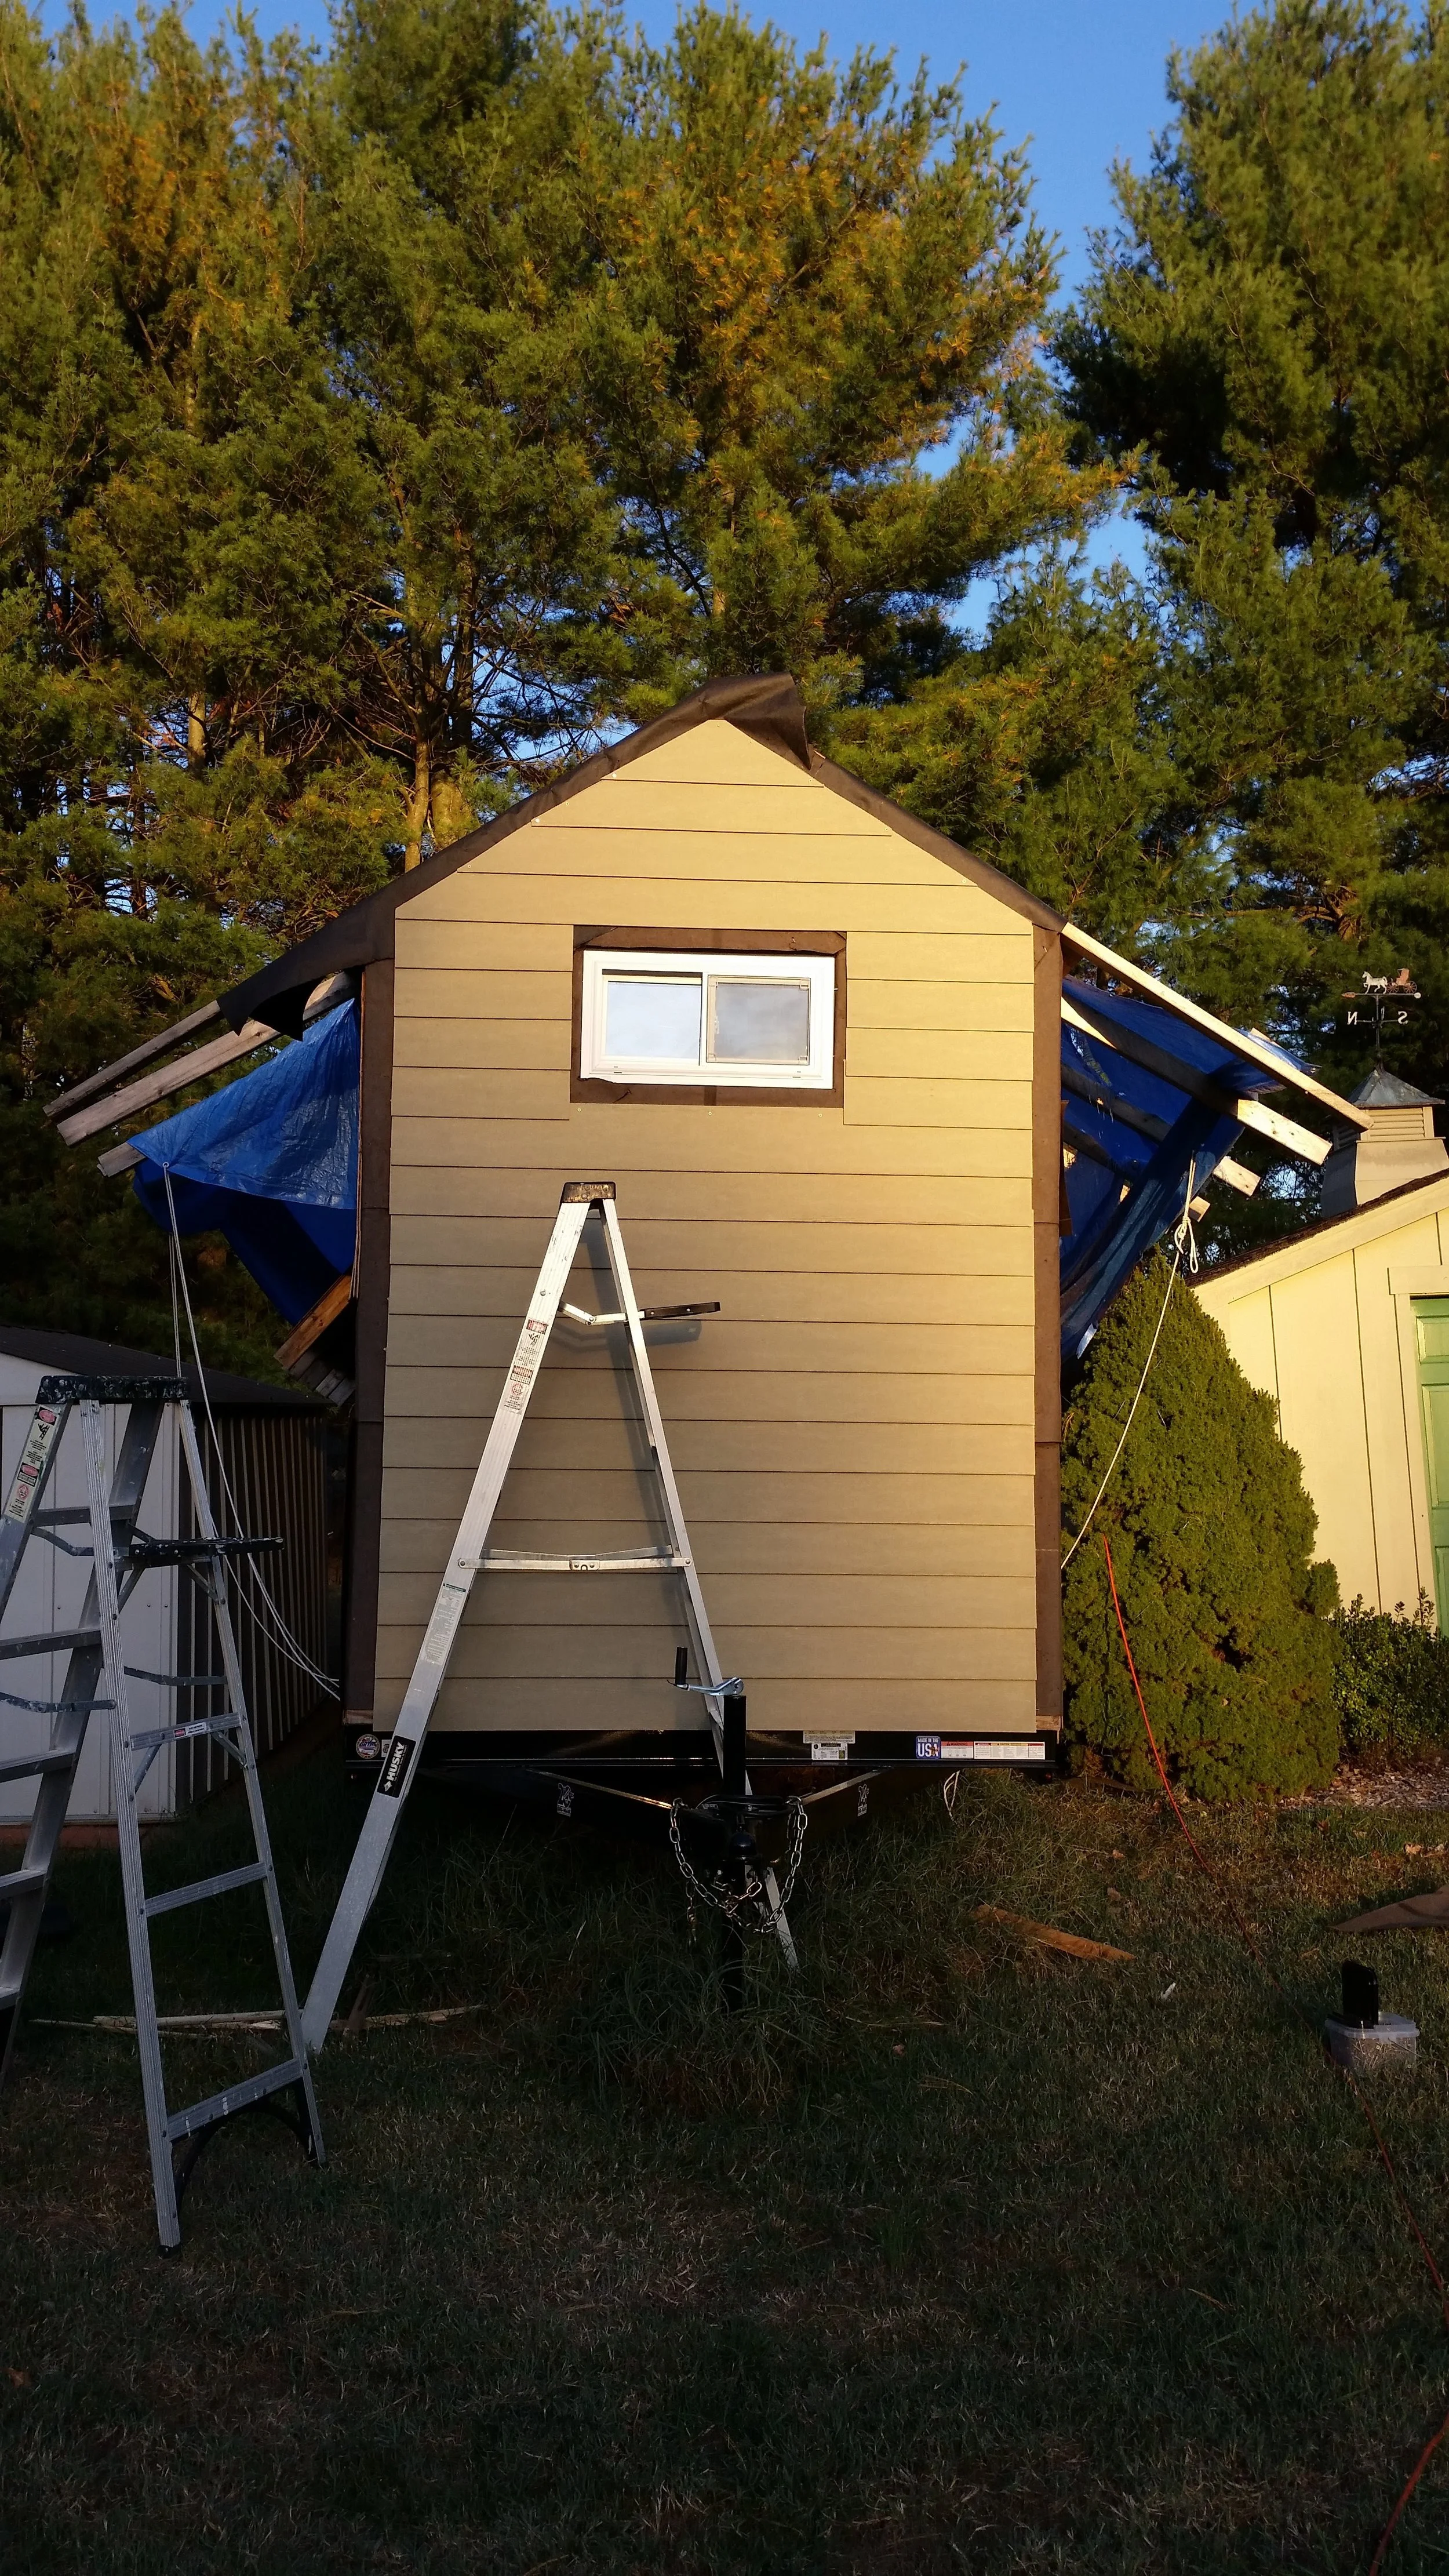
Planking on bare and straight walls is easy to do. Planking around windows or roof peaks are not as easy to do.

Once you reach this point, you have finished the easy work; now begins the more tedious work.

Planking next to the windows requires factoring in the thickness of the trim. I plan to use a 3 inch trim piece next to the siding, and a 5 inch trim piece over it to cover the sides of the siding. The windows need a 3 inch gap between them and the siding, so the gap between the window and edge of the house adds up to 6 inches. This means:

The space between the window and edge of the house - 6 inches = Length of the siding board

After measuring and cutting, these two rows of planks are set and screwed onto the tiny house, covering the ugly siding with these lovely siding planks!

Once the planks next to the windows are complete, it is time to plank into the peak of the roof. Each of these planks will need to be beveled to keep the 3 inch gap necessary for the siding to fit into.

Each plank is set on the hooks and 3 inches are marked perpendicular to the edge of the roof line. Then the plank is removed and cut along these lines, then reinstalled and screwed into the side of the tiny house.

Once you reach the top plank, it will be cut into a triangle shape which will not offer any place to hang the hooks for the next plank. At this point, you are done!

Dinghy Construction

The port sheer and shelf clamp were a bit resistant to being installed, or I was very tired since it was 5AM. Either way, these two strakes refused to take the shape the frames had dictated for them!

The dinghy now has all three stringers installed, giving the hull its intended shape and stiffening up the frames tremendously. The stringers do extend farther than needed as the stem and transom are yet to be installed. When I go the ends of the dinghy get installed, I will cut the stringers to fit; until then, they can overhand the dinghy just like the keel does.

The reason I say the sheer and shelf clamp resisted being bent to the frames is because they literally snapped the first floor! The floor split along its grain just below where the frame attaches. This floor is rather small and yet I have had remake it already. The first floor got over trimmed on the jointer and needed to be remade, so I made this current floor. 

With a split floor, my options are simple, either remake it again or fix it. Remaking it would be the ideal, especially since the boat will be finished bright and varnish will not hide flaws like paint will. Remaking the floor would require that I also remake the frames that are glued to them and attach the stringers on both sides to the new floor and frames. The alternative is to liberally apply Titebond III wood glue and clamp the hell out of it!

One clamp pulls the chines together to pull in the bottom of the station. The vertical clamp pulls the split section down to the floor, while the third clamp approximates the broken pieces. The split sections were able to be properly approximated and allowed to sit in the pressure of the clamps for the next few days. Once the clamps are removed, strips of wood will be glued to the front of the floor to help resist the sheer forces on this station.

Right now, the floor is under a lot of strain, especially while I was bending 1/2 inch planks to the hull. The tremendous twisting force split the floor right along its grain. Once the stem is installed, these forces will be transmitted to the stem and not falling entirely on the first stations floor. The chine logs will be cut into the stem and set in place along with the sheer, passing these loads from the first stations floor to the much more robust and bookmatched stem.