Right Tools for the Job

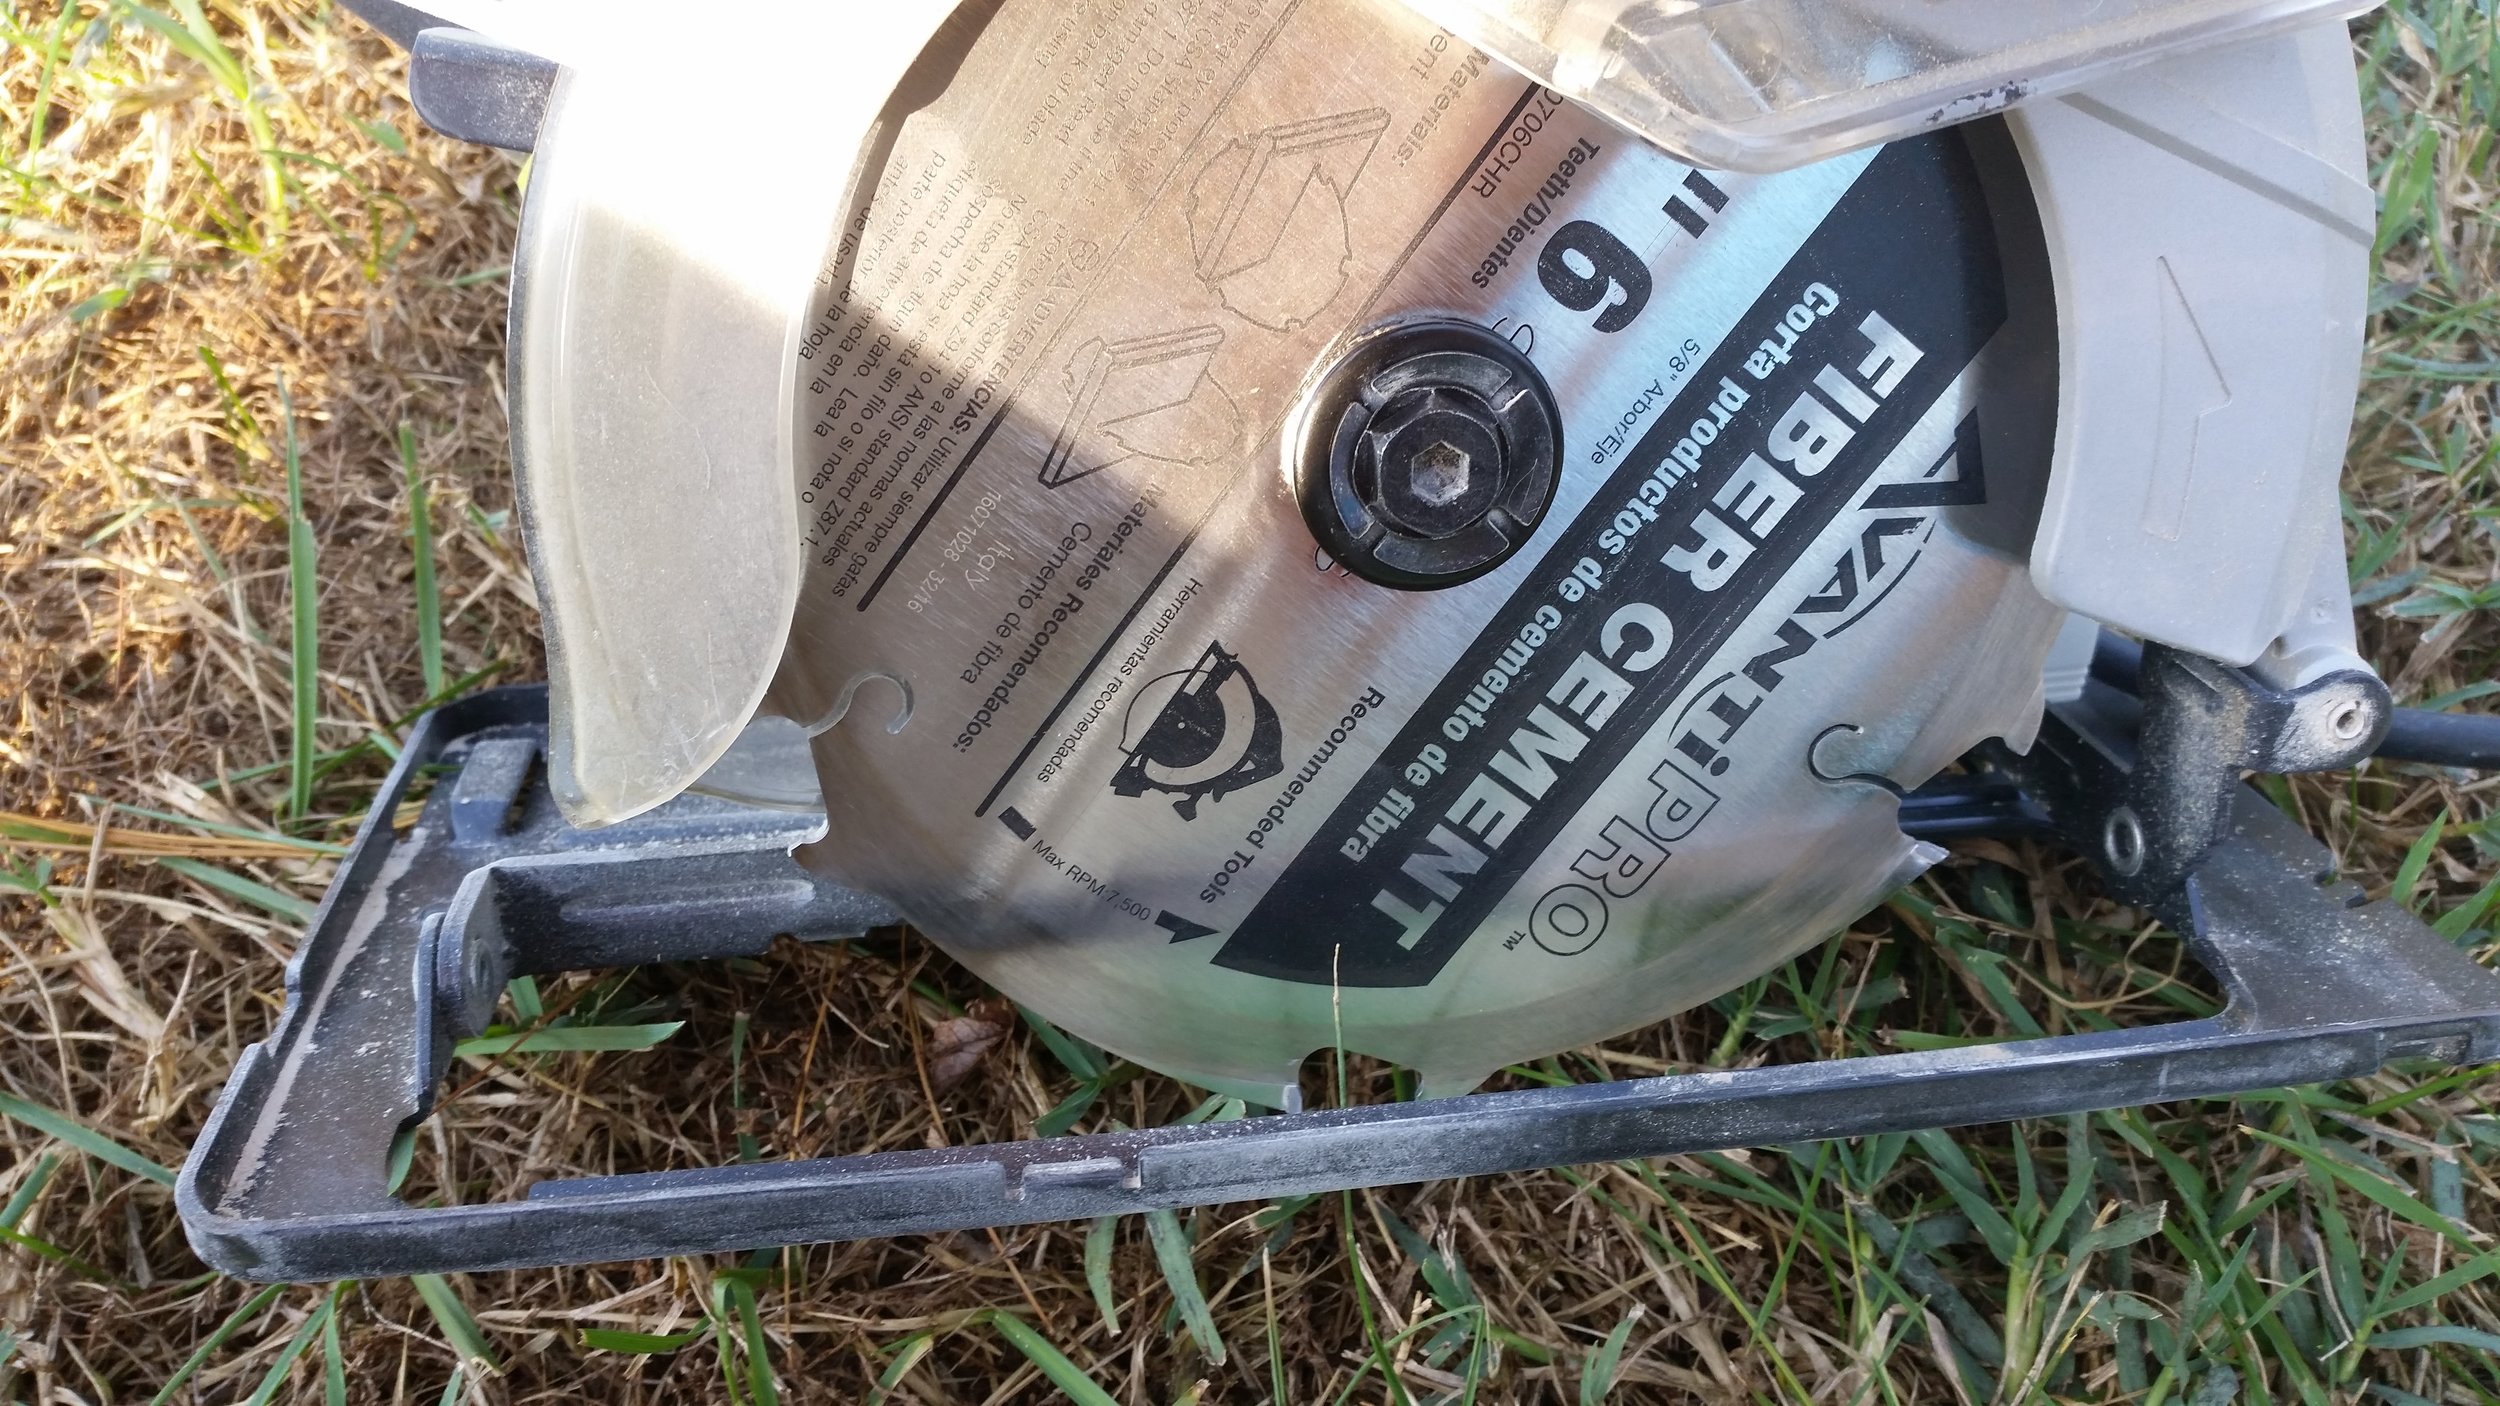
Fiber cement siding is very easy to work with, as long as you have the right tools for the job. The cheapest and easiest way to cut the siding is with a handheld circular saw.

The most notable difference between a regular circular saw blade and a fiber cement circular saw blade is the number of teeth. A fiber cement circular saw blade will have very few teeth, which may make you think it will cut slowly. Truth is it will slip through fiber cement boards like a hot knife through warm butter!

This saw blade will cut quickly and easily, but it will kick up a lot of dust! Be sure to wear a mask or respirator while you are cutting. It also helps to work outside and stand upwind to the saw while cutting so all the dust will be carried away from you.

Beveling the Frames

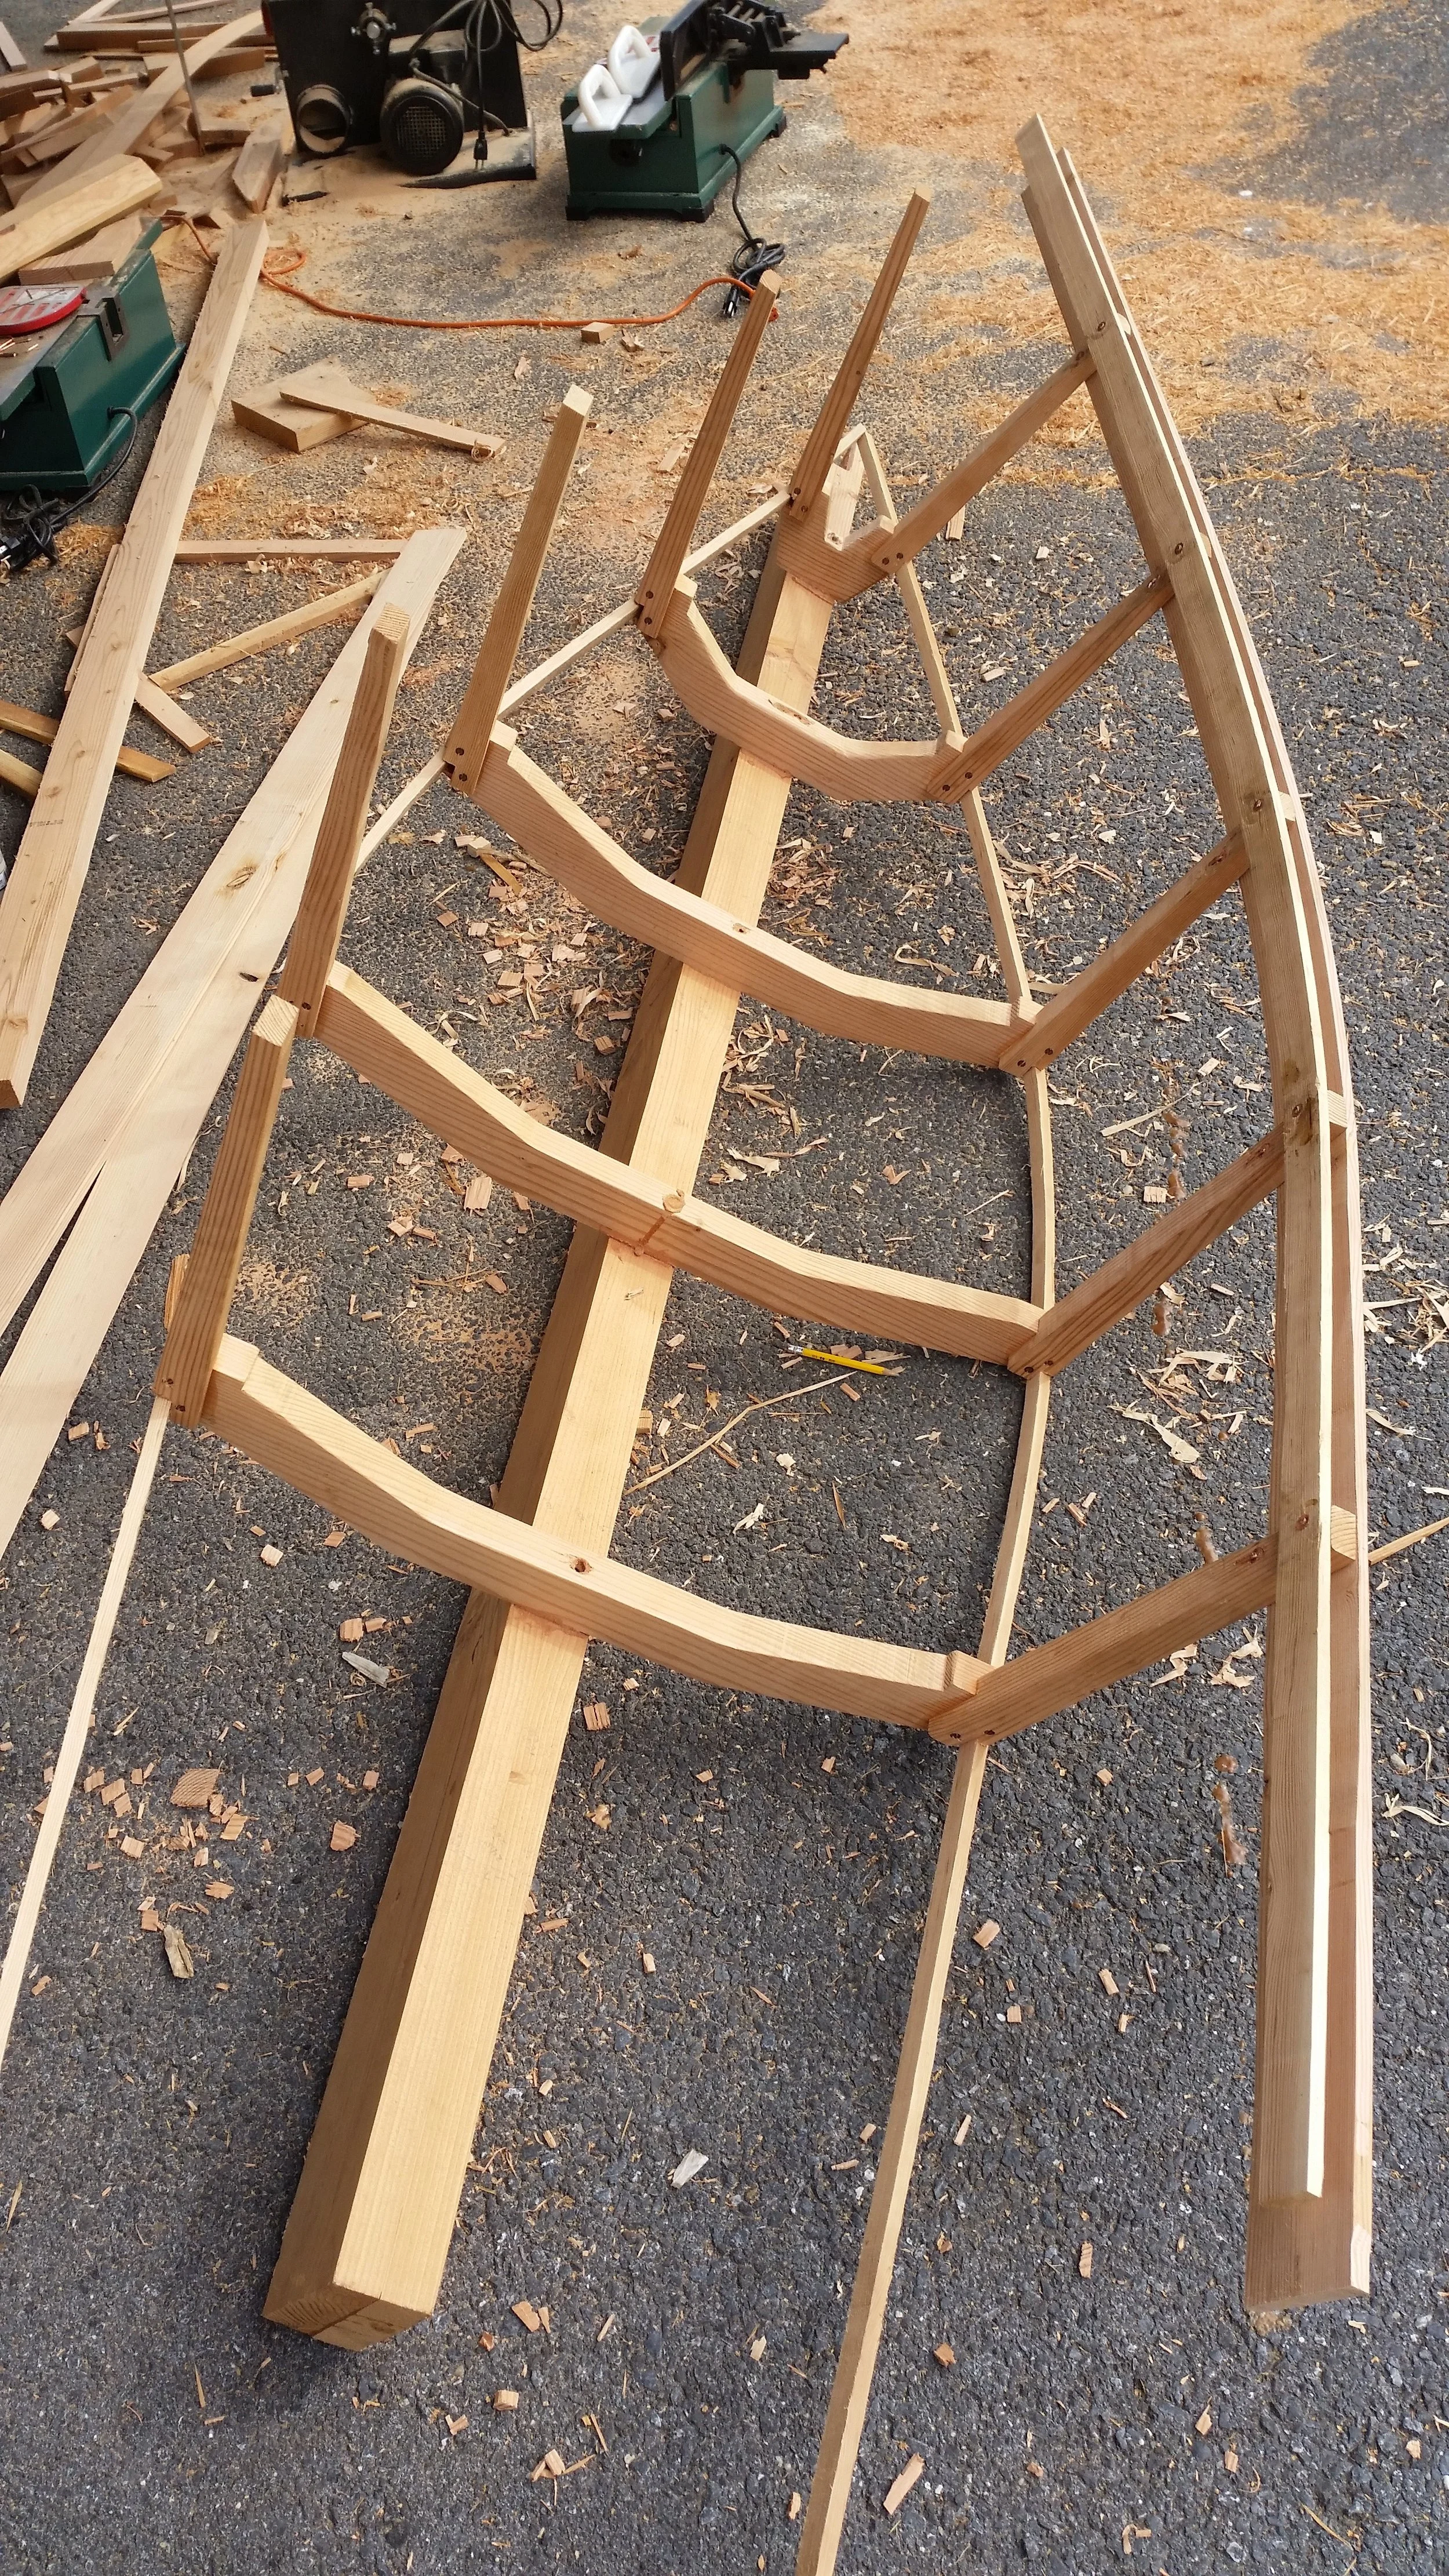
The frames were cut out of a board with no discretion for the bevels in the hull planking. Knowing this, the frames were cut on the larger side, affording me wood to scrub off to straighten out the contours of the planking. 

To pickup the bevels, used a batten which I lay along the frames and notate the amount of bevel needed.  I then proceed to scrub the corner of the frame with a Number 4 planer. This will scrub off the excess wood needed to add the proper bevel to the frames.

After an initial bevel is scrubbed, it would behove you to recheck the bevel with the batten. As you scrub the adjacent frames, you will alter the required bevel very slightly. For this reason, I recommend that you only scrub a little each time, checking as you go.

image.jpg

The top of the insides was scrubbed for the shelf clamp, and the entire outside was scrubbed for the sheer and the subsequent planking that would be placed on the frames. 

image.jpg

After all the frames were scrubbed and verified with the batten, the shelf and sheer would fit well to the frames. I didn't bevel the entire surface as this would make the frames significantly thinner, and this is just a dinghy. These scrubbed frames will offer enough faying surface and strength to the planks that will rest on them. 

Sailing Wing on Wing

When sailing downwind, you might find that the main is stealing all of the wind form your jib. This will manifest itself as a jib that continually falls and can never remain full of air. This loss of sail area will translate into reduced speed through the water, which means it will take you longer to get to where you are going.

There are a few ways to rectify this situation:

  • You could broad reach instead of run
  • You could lower the main
  • You could reef the main
  • You could raise the topping lift
  • You could sail wing on wing

Broad reaching will put your yacht at an angle to the wind, allowing clean air to reach your headsail and fill it. This will cause your yacht to sail faster, but it will also add additional distance to your destination. It is pretty much the equivalent of tacking downwind. If you do some math, you can find an angle where your Velocity Made Good is higher than if you were sailing on a run, making the extra work worthwhile. 

As stated, broad reaching would be more work than running. In the effort of keeping effort to a minimum, lets look at how we can run more efficiently. The headsail offers significant sail area, but it is hidden behind the mainsail. If wind could get around the main, the headsail would also fill, letting you sail faster while still on a run.

You could lower the main, allowing all of that wind to reach the headsail. This will move you along with a full headsail, but you are still suffering from lost sail area. If your headsail is massive, this might function better than the main, giving you a bit more speed, but there are other options.

If you reef the main, it will be smaller and wind can get around the top of it and past the leech, letting this wind reach the headsail. The fuller headsail will provide more power when combined with the main and will help pull you downwind at a faster pace.

Instead of lowering the top of your sail, you could always raise the bottom. Tightening the topping lift will raise your boom and let air scoot by under the main to reach the foot of the headsail. Sailing along with a twisted main and headsail will be better than sailing along with a main and fallen headsail, but there is still a better way.

Instead of trying to get the air around the main, why not place the headsail in its own clean wind? This is called sailing wing on wing.

When on a dead run, as in the wind is directly behind you, you can set the main on one side of the yacht and the headsail on the other side. Each sail can be set full and in its own clean air with no disturbances or compromises. Now you have all your sail area functioning to carry you straight downwind towards your destination with as little effort as possible. 

You must be wondering why more people don't like to set the sails in these manners? Well, to sum it up:

  • Broad reading is more work than running
  • Dropping your main and sailing under headsail alone is usually as fast as sailing under main alone
  • Reefing the main is work, and when people are running, they don't want to work
  • Raising the topping lift will induce twist into the main and cause it to chafe on the rigging
  • Wing on wing is very prone to accidental jibes.

Accidental jibes are a real and present danger when sailing wing on wing. A preventer can be used to stop the main from slamming across the boat, but preventers can make a mess if you need to change directions quickly, so I prefer to not use one. Instead of using a preventer, I will sail along at a slight angle to the wind, so I am not truly on a dead run, but instead the slightest of broad reaches.

With the main set on the leeward side, this slight angle will protect against those accidental jibes. If I see that my angle to the wind is changing, I can correct it before the boom comes smashing across the cockpit. With the main set to leeward, the drifter will be set to windward. 

The drifter is a very safe sail to fly by the lee, as it is simply a nylon genoa with a very full cut. It will stay on the windward side and fill up like a kite. If I sail too far off angle the drifter will fall and lay against the rigging. There is no noise, bashing, or terror on board when this happens. I just alter course a little bit to fill the drifter with wind and continue on our way.

Sailing at a slight angle won't guarantee that accidental jibes won't happen, they just reduce the likelihood. Since they are still a very real and present issue, I don't recommend sailing wing on wing in strong winds. If I can't grab the mainsheet as it runs out to the boom and pull the whole boom towards me without any assistance, I won't sail wing on wing. If it were blowing harder, the pressure on the main were greater, I would not be able to pull the sail as easily and there would be more potential for damage if an accidental jibe did occur. 

Another issue with wing on wing sailing in strong winds is you are at higher risk of broaching. The sails are set on either side of the hull and the rolling waves could push the boat into a roll which could lead to a broach or worse, a Chinese jibe! Keeping this sailing technique restricted to light air days will ensure that running is as little work as possible, letting you reach your downwind destination in comfort and with ease.

Starting the Siding

Shiplap siding is very simple to install, all you need to do is start the process correctly! If there is any discrepancy you are doomed from the start, so take your time to make sure it is perfect!

The first thing you need to do is install the starter strip. A starter strip is merely a ripped section of fiber cement board that is set at the bottom of the first plank. It should be around 2 inches wide and run the length of the wall discontinuously. If the starter strip is continuous, water running down the wall between the siding and wrapping will become trapped between the siding and starter strip. By installing segmented pieces, water is able to drain out through the gaps at the bottom of the wall.

I installed two strips with a nice gap between them and a nice gap near the corners. With these two strips in place, the first plank can be installed.

The first plank is the most important to get straight. On a trailer, there is little that is level. The trailer is probably not on level ground, so a bubble level is pretty much useless. Instead, a fixed known reference point must be used. In our case, the trailer is known to be perfectly flat.

Since the trailer is flat, I can feel safe about using its front edge as a reference point to level the first plank. I set the first plank to overhang the top lip of the trailer by 1/2 of an inch. I propped the plank against the tiny house wall and measured the overhang on the trailer by the prescribed distance. I then verified that it was the same on the other side. Once everything was 1/2 inch of overhang, I screwed it into the tiny house.

With the first plank attached, I then proceeded to set and attach the planks one after another all the way up the front of the house.

With the first plank set properly, all the other planks went on smoothly and easily. As you can see, the planks all went on straight and even, using the simple tool I fabricated out of a metal strap.

Attaching the Sheer and Shelf Clamp

With the chines in place, it is time to attach the sheer and shelf clamp. These two strakes will tighten up the top end of the dinghy frames and make the framework look like a potential boat instead of a possible boat. 

image.jpg

The sheer and shelf clamp need to be installed at the same time since they are riveted together. I began with the first three stations, setting the two strakes on the third station with a C Clamp to hold it in place while I worked on stations one and two. Once the first two stations were secured, I could remove the clamp as I worked my way aft.  

The bend in the hull proved to resist accepting the strakes. These strakes wanted to remain straight and were not keen on being bent into shape. The downfall of these strakes is their length, providing me with the leverage I need to bend them into place and rivet them together. 

image.jpg

Work proceeded quickly, first connecting all the sheer and shelf clamps with a single row of rivets at the top of the frames, followed by a second row of rivets to further attach the bottom of the sheer strake. The stem is still not present so the strakes are set longer than the length needed in both fore and aft dimensions.  

image.jpg

In the end, the starboard sheer and shelf clamp were securely fastened to the frames. This solidified the starboard half of the boat and tied all the frames together. The dinghy is really beginning to look like a small boat instead of a pile of random cuts of lumber.