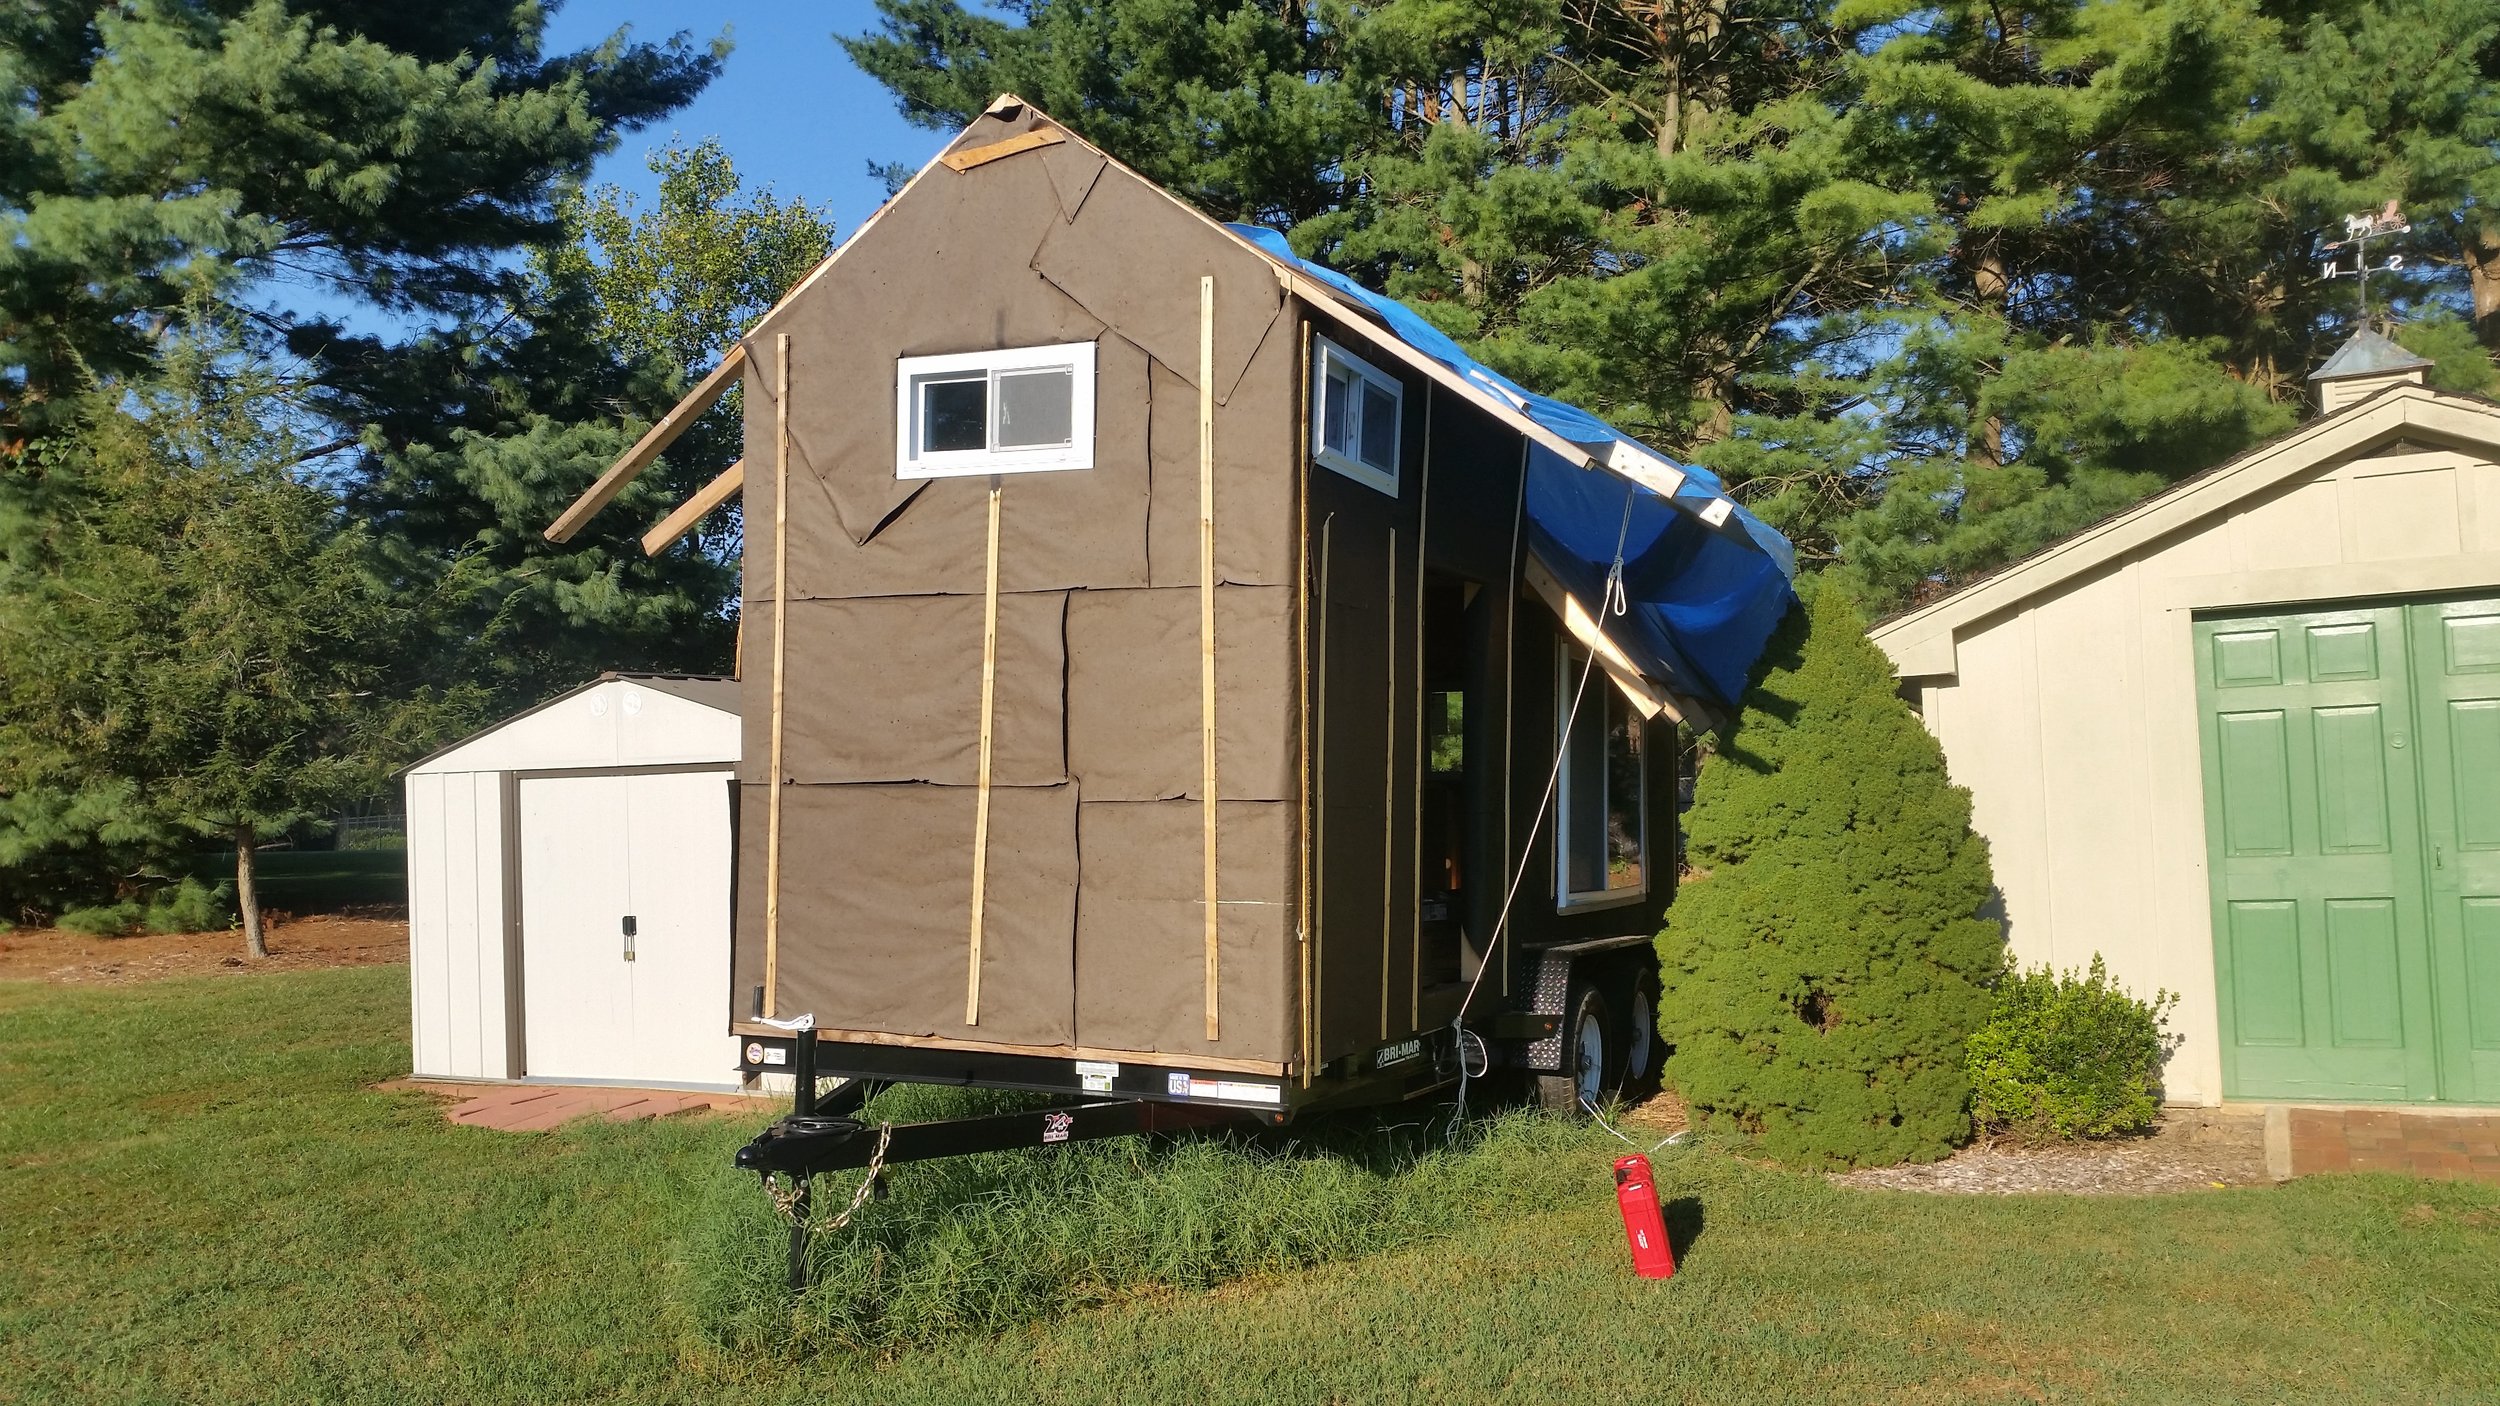
Siding is Magical!

As you build, the tiny house will take on various appearances. When the wall frames are raised, the tiny house looks amazing. It just transformed from a flat trailer to a stick figure outline of the house!
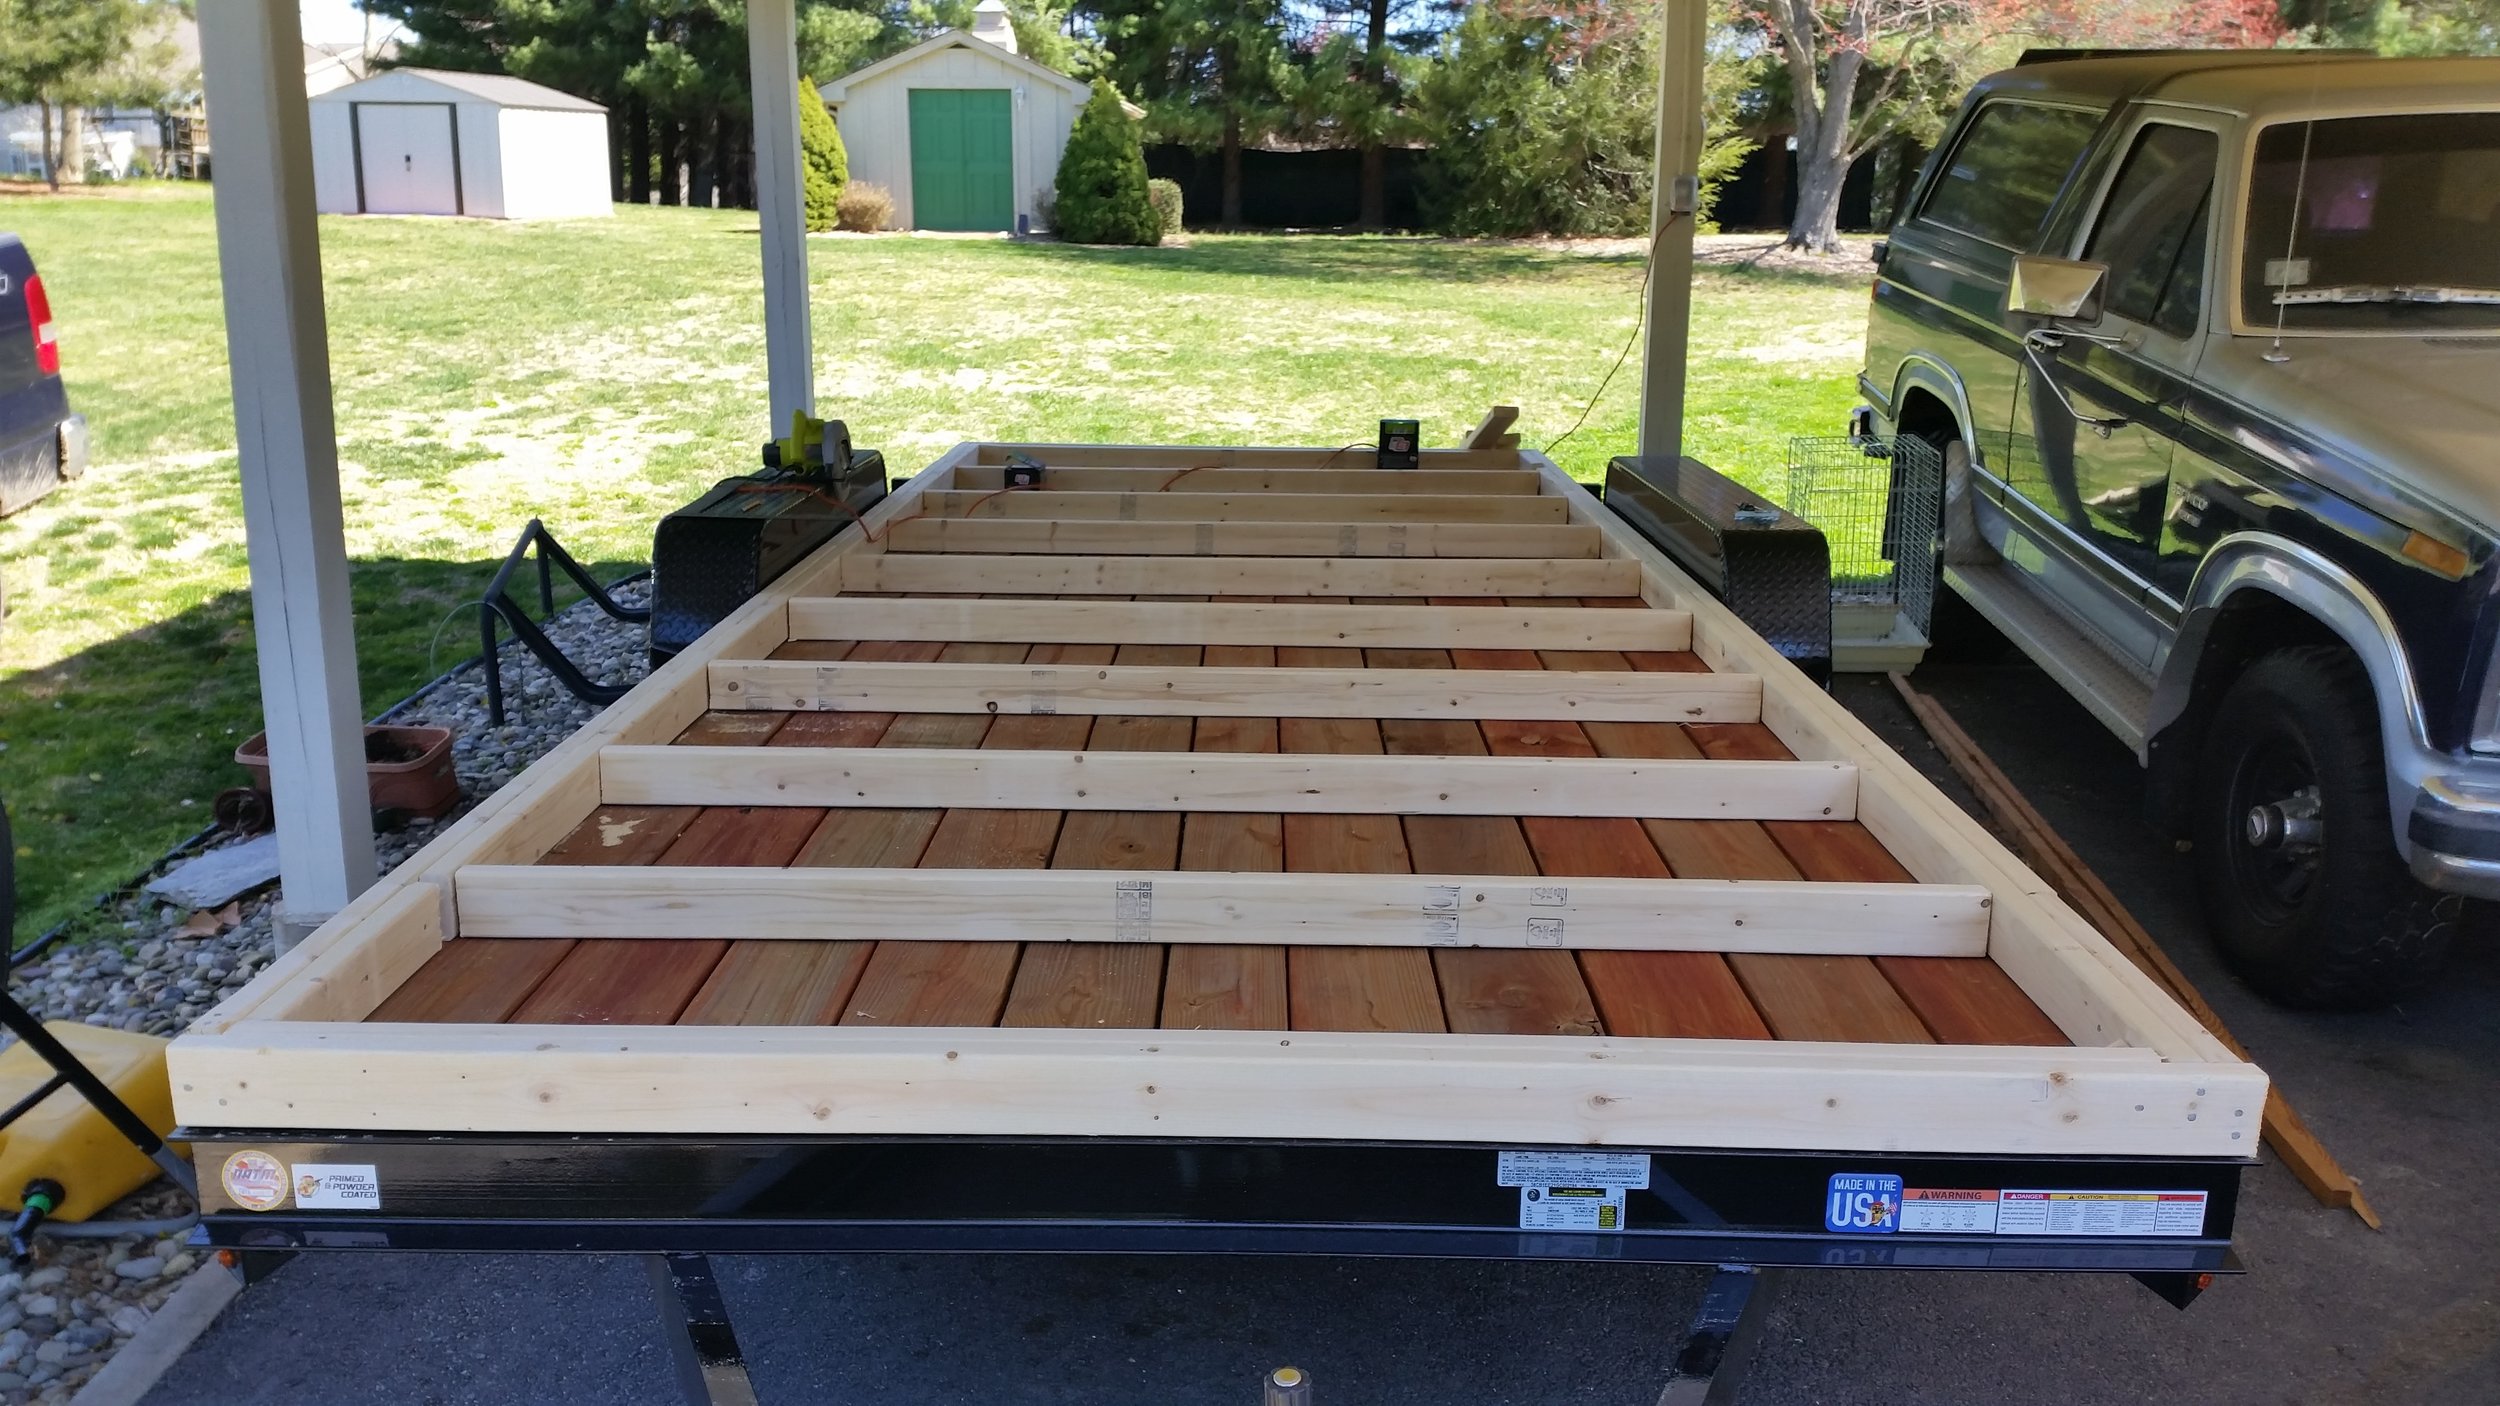
Then the sheathing goes on and the house looks smaller all of a sudden. You can no longer see into the house and all of the internal components. Now it just looks like a small box on wheels.

Then the roof goes on and the windows are cut out, and it begins to look like a tiny wooden house on a set of wheels. At this point, the neighbors of the property you are building on will come over to see what you are making and tell you how awesome it looks! It seems that everyone has seen a tiny house show and they have enjoyed watching you build so far.

Then the wrapping goes on the house, and everything changes. Your cute wooden tiny house now looks like a black smudge in the yard. Neighbors will no longer ask to see the progress, but instead ask where the tiny house will be stored after it is completed. 
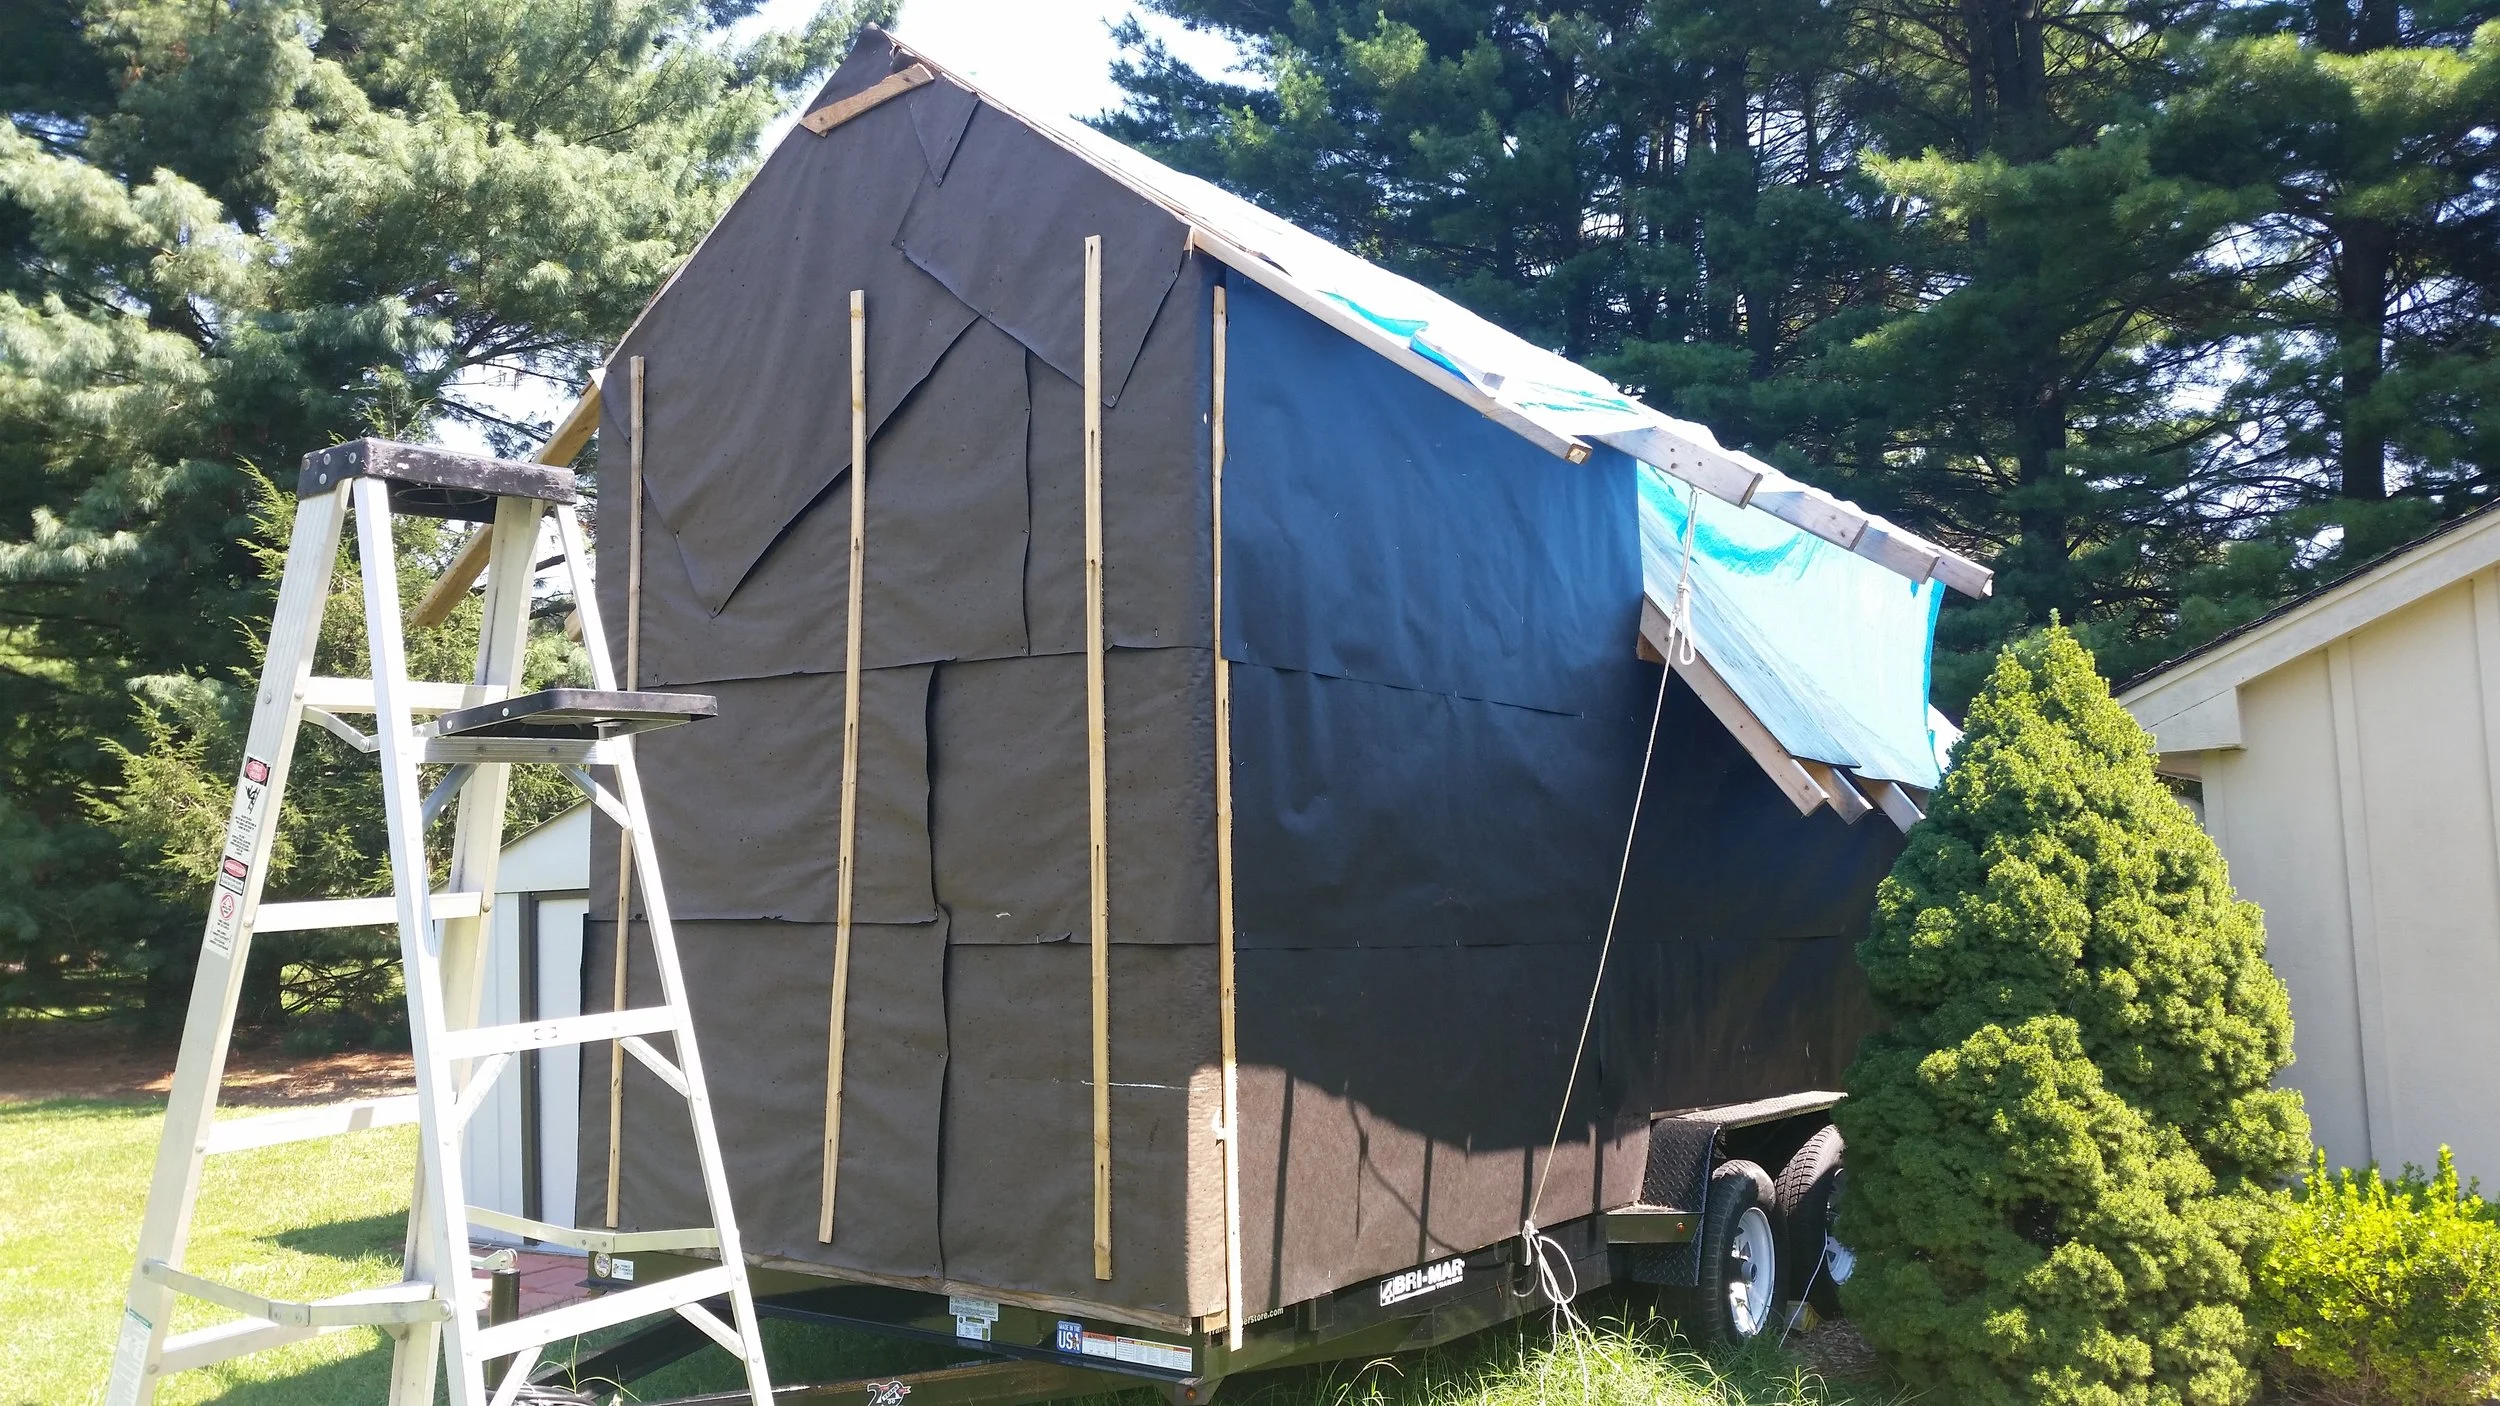
The black tar paper will begin to fade in the sun and make the whole tiny house look like crap. I got married after this step and was not around for almost a month and the tar paper faded while the tarp on the roof began to tear. 

Once I returned to construction, I cut the tar paper over the window holes and set the windows into the frames. At this point, the neighbors approval of the project returned slightly, but they were still not thrilled. Then the magic of siding was realized.
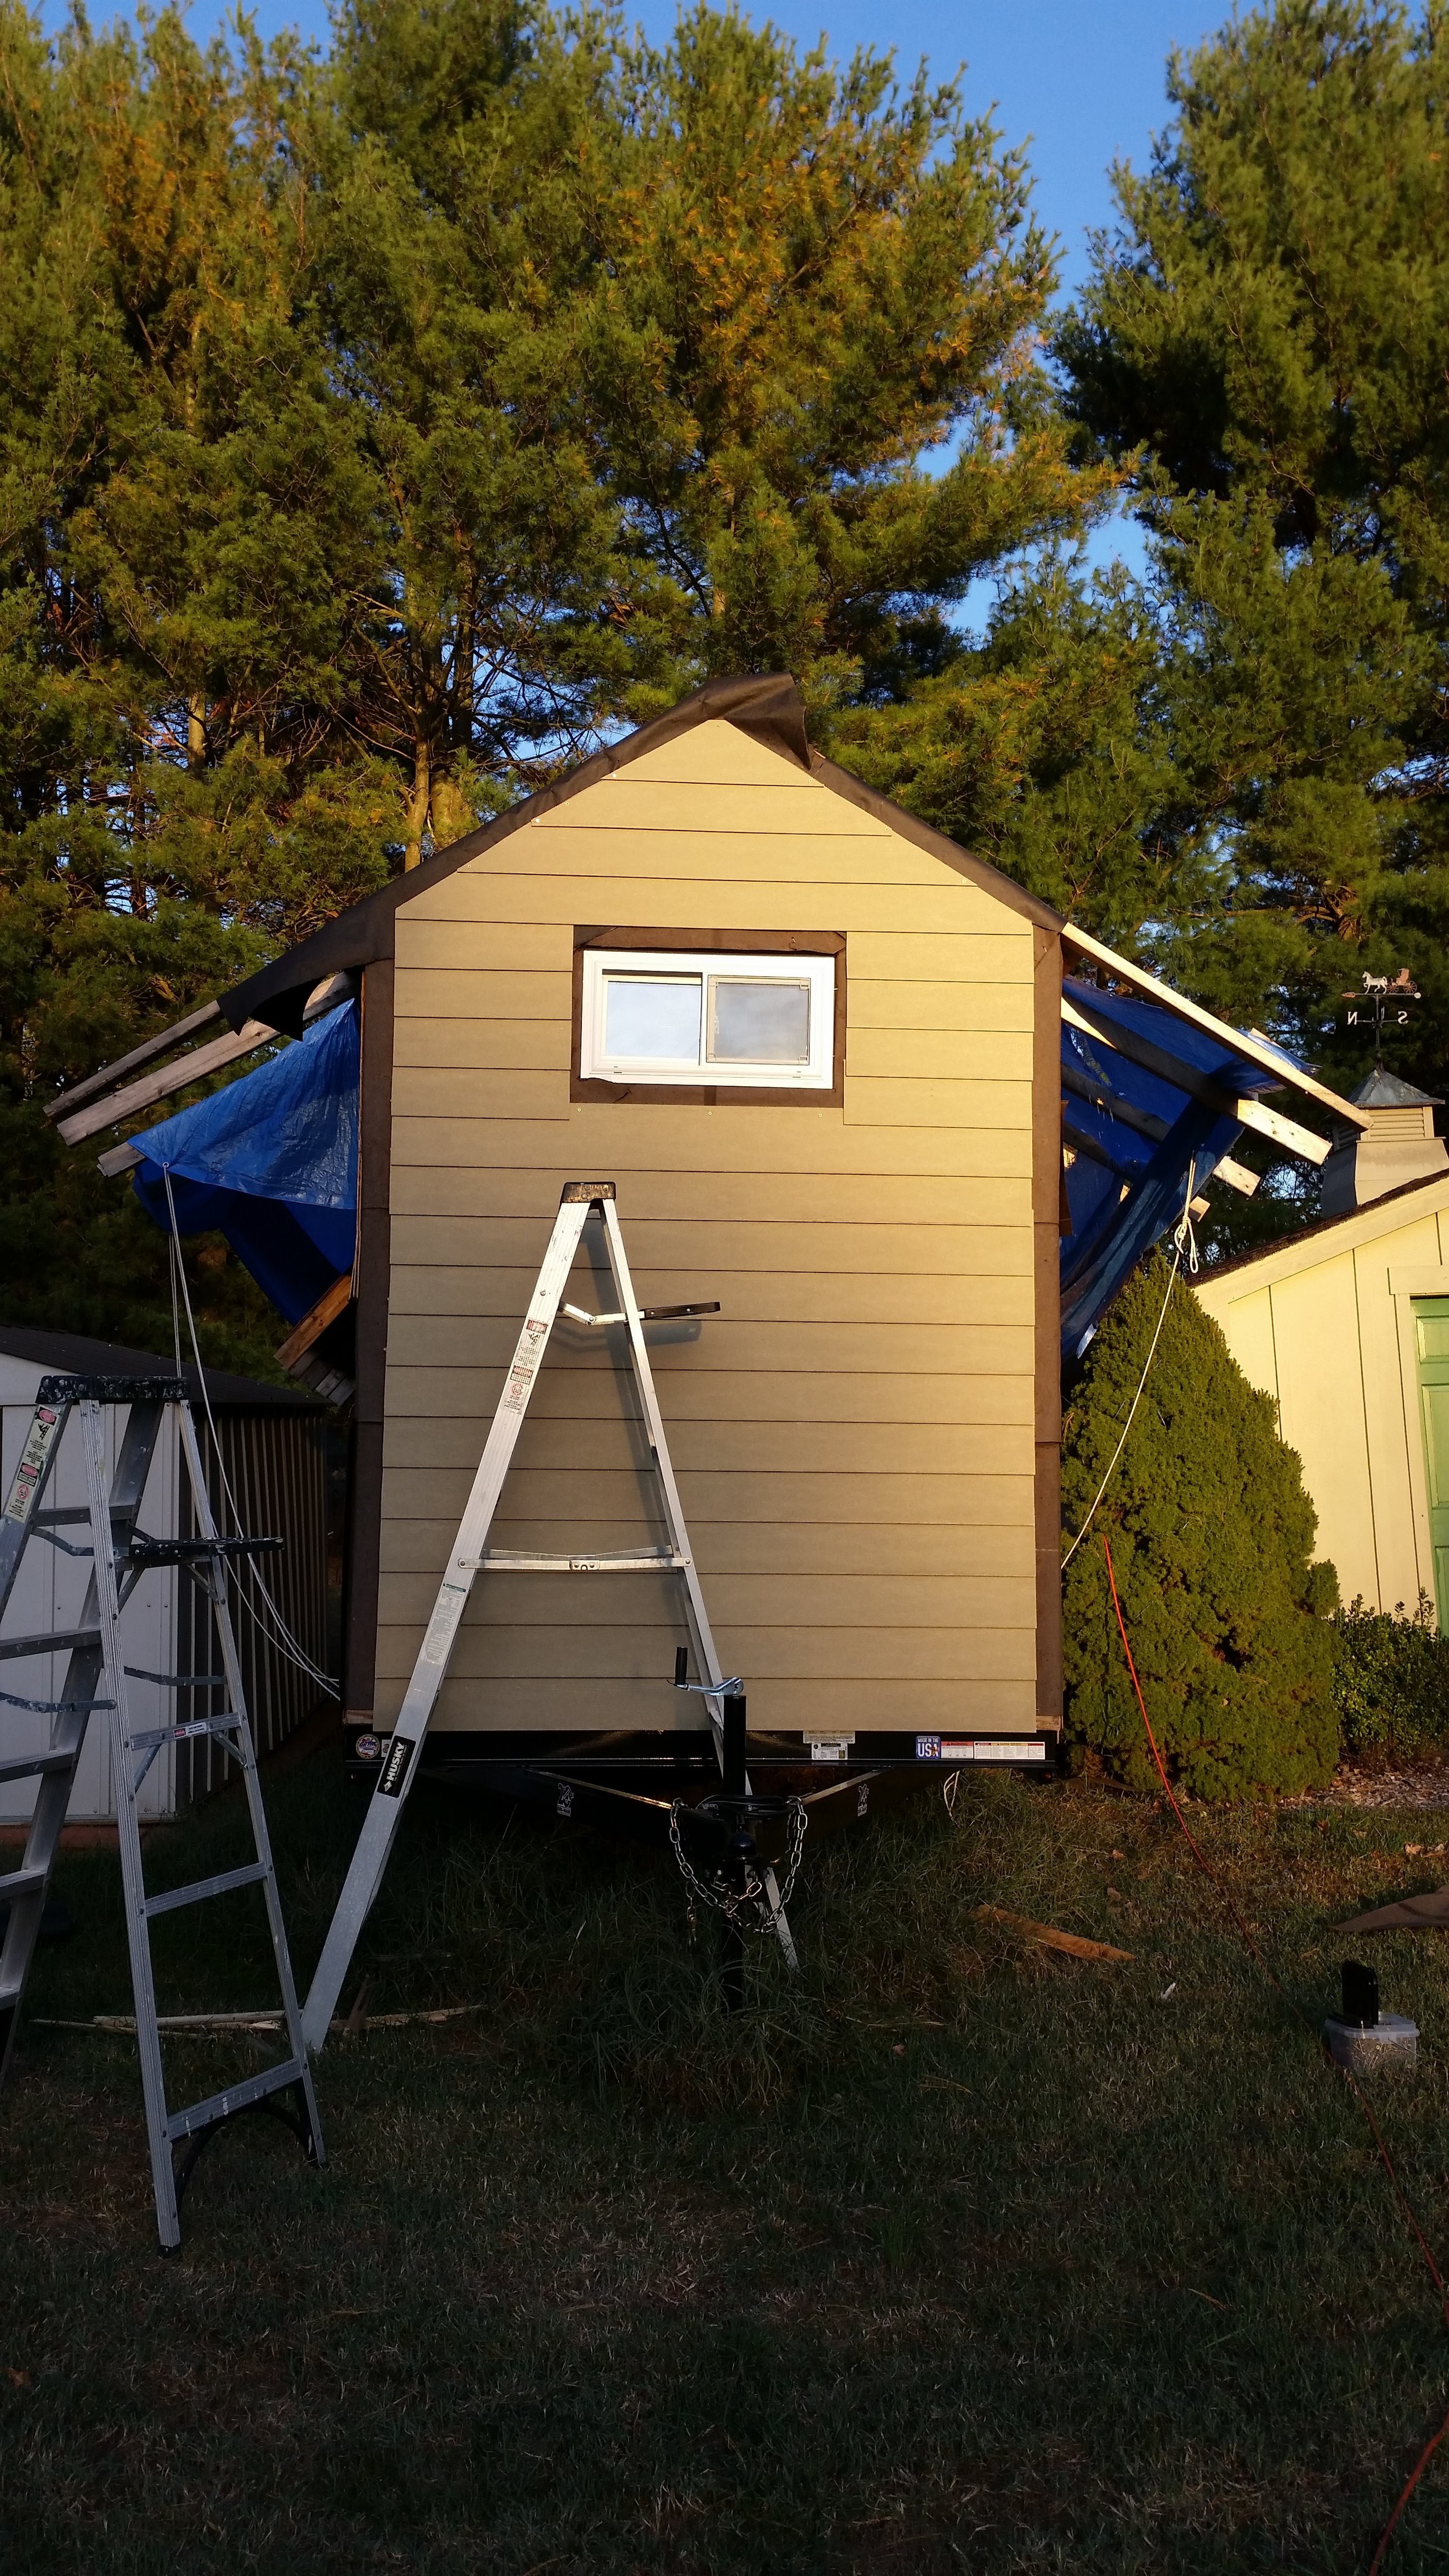
All of a sudden, the tiny house looks magical once more! It only took a few hours of work to transform the tiny house from a fading collection of tar paper to a gorgeous tiny house. 

The siding I am putting on is coated in primer, which gives it the gray appearance. Even though this is not a very pleasing color, I received many positive comments on the choice of color for the siding because it was such a great improvement over the aging tar paper.

Sheer and Shelf Clamp

The chine log is the major structural stringer on the lower part of the frames, and the sheer and shelf clamp are the major structural stringers on the higher part of the frames. These three stringers tie all the frames together and spread the loads around, evenly distributing the forces on the hull throughout the other members.  

The sheer is the top strake that runs on the outside of the frames. The shelf clamp is the strake that runs on the inside of the frames. These two stringers tie the tops of the frames together into a very rigid and strong unit where forces are distributed throughout the members of the hull.

The sheer and shelf clamp also go by many different names which do serve to denote their position, but are not the most correct of terms for these pieces of wood on a boat. 

The sheer is also called the gunwale or outwale. The shelf clamp is often called the inwale. The terms inwale and outwale are rather informative, identifying the strakes that run on the inside and outside of the top of the hull. Gunwale came to be because guns sit over the top of this strake as they aim out towards other vessels. While these names are commonly used, it is still preferred to call them by their correct names: Sheer and Shelf Clamp. 

The sheer is considerably thicker than other topside planks and is ideally made out of a single continuous piece of lumber. If the span is too long to make it out of a continuous piece, scarfing is acceptable and preferred over butting.  

The shelf clamp is crucial as it ties the sheer to the top of the frame and attaches the deck above it. The sheer and shelf clamp are through fastened, tying the top of the frame to the rest of the members with considerable pressure, negating the posibility for any movement to develop and loosen this junction. The deck then attaches to the top of the shelf clamp, forming a very strong component that ties the whole boat together in unison. 

With these two stringers connected, the frames will become incredibly resistant to forces placed upon them as the boat is being tied together. 

Tiny House, Huge Window

The process of installing the windows in the tiny house is becoming a trying event. The house is not perfectly square, but the windows are! This means that one side of the window is a bit loose in the frame while the other side won't even fit.

The large window, which requires two people to manage, is test fitted into the hole where problem areas are identified. The usual culprit is the plywood sheathing. When I cut the window holes out, I wandered a little from a perfect straight line. These wandering a lead to small peaks in the plywood projecting into the window frame.

The window will rest on this small protrusion and rock to one side or the other, making one of the corners overlap with the wall and not fit into the frame. To trim off these small annoyances, I use a hand saw and cut flush with the 2x4 framing. This removes the error while providing a clean smooth surface to receive the window.

After several test fits, the window will finally fit into the frame! A few screws are placed on each side of the window to tack it to the wall and avoid any disastrous window jettisons. This allows me to walk away and observe the window from a distance, to evaluate the squareness from a far. If the window seems crooked, now is the time to correct it by placing small shims inside between the window and the frame.

Shimming the window is temporary, as it is only needed until all the screws are installed. Shimming also gives you the ability to hold the window in place while you re-evaluate its squareness. Building on a trailer not set on level ground precludes you from using a plumb bob or bubble level, instead you need to rely on your eyes. Comparing the sides of the window with the sides of the tiny house will tell you if it looks straight or not. In the end, looking straight is the whole objective!

With the window straightened out, all the screws are installed, wrapping the window in a barrage of tiny stud screws which collectively hold this massive window in place. Once all the screws are installed, it is safe to remove the shims as they are no longer needed nor functional in this type of construction.

image.jpg

Loft Windows

The loft windows are "replacement windows" meaning that they are designed to slip into an existing window frame. There is no flange that attaches to the sheathing, instead, the window simply screws into the existing frame. Shims are very helpful with these windows to get them straight and level.

After the windows are crudely screwed into place, the siding and window frames will cover up any voices and irregularities in the installation. Expanding foam will also be sprayed into the gap to seal out any drafts that could rip through the windows in the winter.

The loft windows will provide plenty of ventilation to the loft allowing us to sleep in there with comfort. The screens on the windows will also help keep any critters at bay.

These windows, with their eight screws, went in very easily and require very little skill to install. If I had the choice, I would say that regular windows offer more strength in their installation, but these windows install much more easily.

Fastening the Chine Logs

The chine logs run through the frame notches at the turn of the bilge and terminate at the back of the stem and front of the transom. The transom has yet to be built and the stem has yet to be attached to the keel, so for now the chine logs simply extend further than they are needed. Once the stem is attached, the chine logs will be cut flush with the back of the stem and set in place permanently. 

The hull turns towards the bow to meet at a central point while the aft section is relatively flat. The hull is composed of five frames, and only the last two are set relatively flat. This means that the front three frames are pretty much in line with each other until the hull curves towards the transom. 

To make installation and fastening easier, I began at the first station and worked my way aft. The chine log was held in place by hand and a pilot hole was drilled through the chine log and into the bottom futtock.  

image.jpg

With the first three stations screwed into place, the chine logs were bent back into place and aligned with the chine notches of the last two stations. As they were held in place, the pilot holes were made and the bronze fasteners were screwed into place, securing the chines and tying the whole hull together. 

upload.jpg

Titebond III was also liberally applied to the faying surfaces between the chine log and frame notch, further reinforcing the bond between these structural members.  With the chines in place, the frames already feel much more secure and stable!

image.jpg