Honeymoon Cruise: Day 2

Last nights thunderstorms poured rain down onto us all night long as we slept soundly in the marina slip with our air conditioning and secure dock lines holding us in place. I awoke early in the morning and unplugged the shore power and untied the dock lines just as the sun was coming over the buildings in the distance. The winds were almost non-existent, allowing us to easily walk the boat out of the slip and silently power out of the marina with our electric engine.

Once outside of the marina, the motor was turned off and the sails were raised, awaiting the wind that should soon begin. Once the wind came, we began ghosting along under reefed main and staysail. I was flying reefed sails even though the winds were light because there was a small craft warning in effect and I was sailing alone since Maddie was still sleeping. I would rather sit with reefed sails waiting for the storm than scurry along trying to tuck in a reef during a storm!

As we moved out of the protection of the harbor, the wind began to build and any thoughts of shaking out the reefs vanished. In the distance, a front was approaching and we were anticipating much stronger weather. We sailed along as we saw the front coming towards us with its ominous shelf cloud, warning all sailors that strong winds will be coming soon.

The wind slowly began to build to 15 knots as white caps started to crop up around us. I was glad that I had the reefs in, as the wind was starting to build with the approaching storm. Then out of nowhere, the storm began to push back and retreat; the winds once again died down and the skies cleared up. Our dance at the edge of the storm front ended and the skies became clear and blue with no wind on the bay.
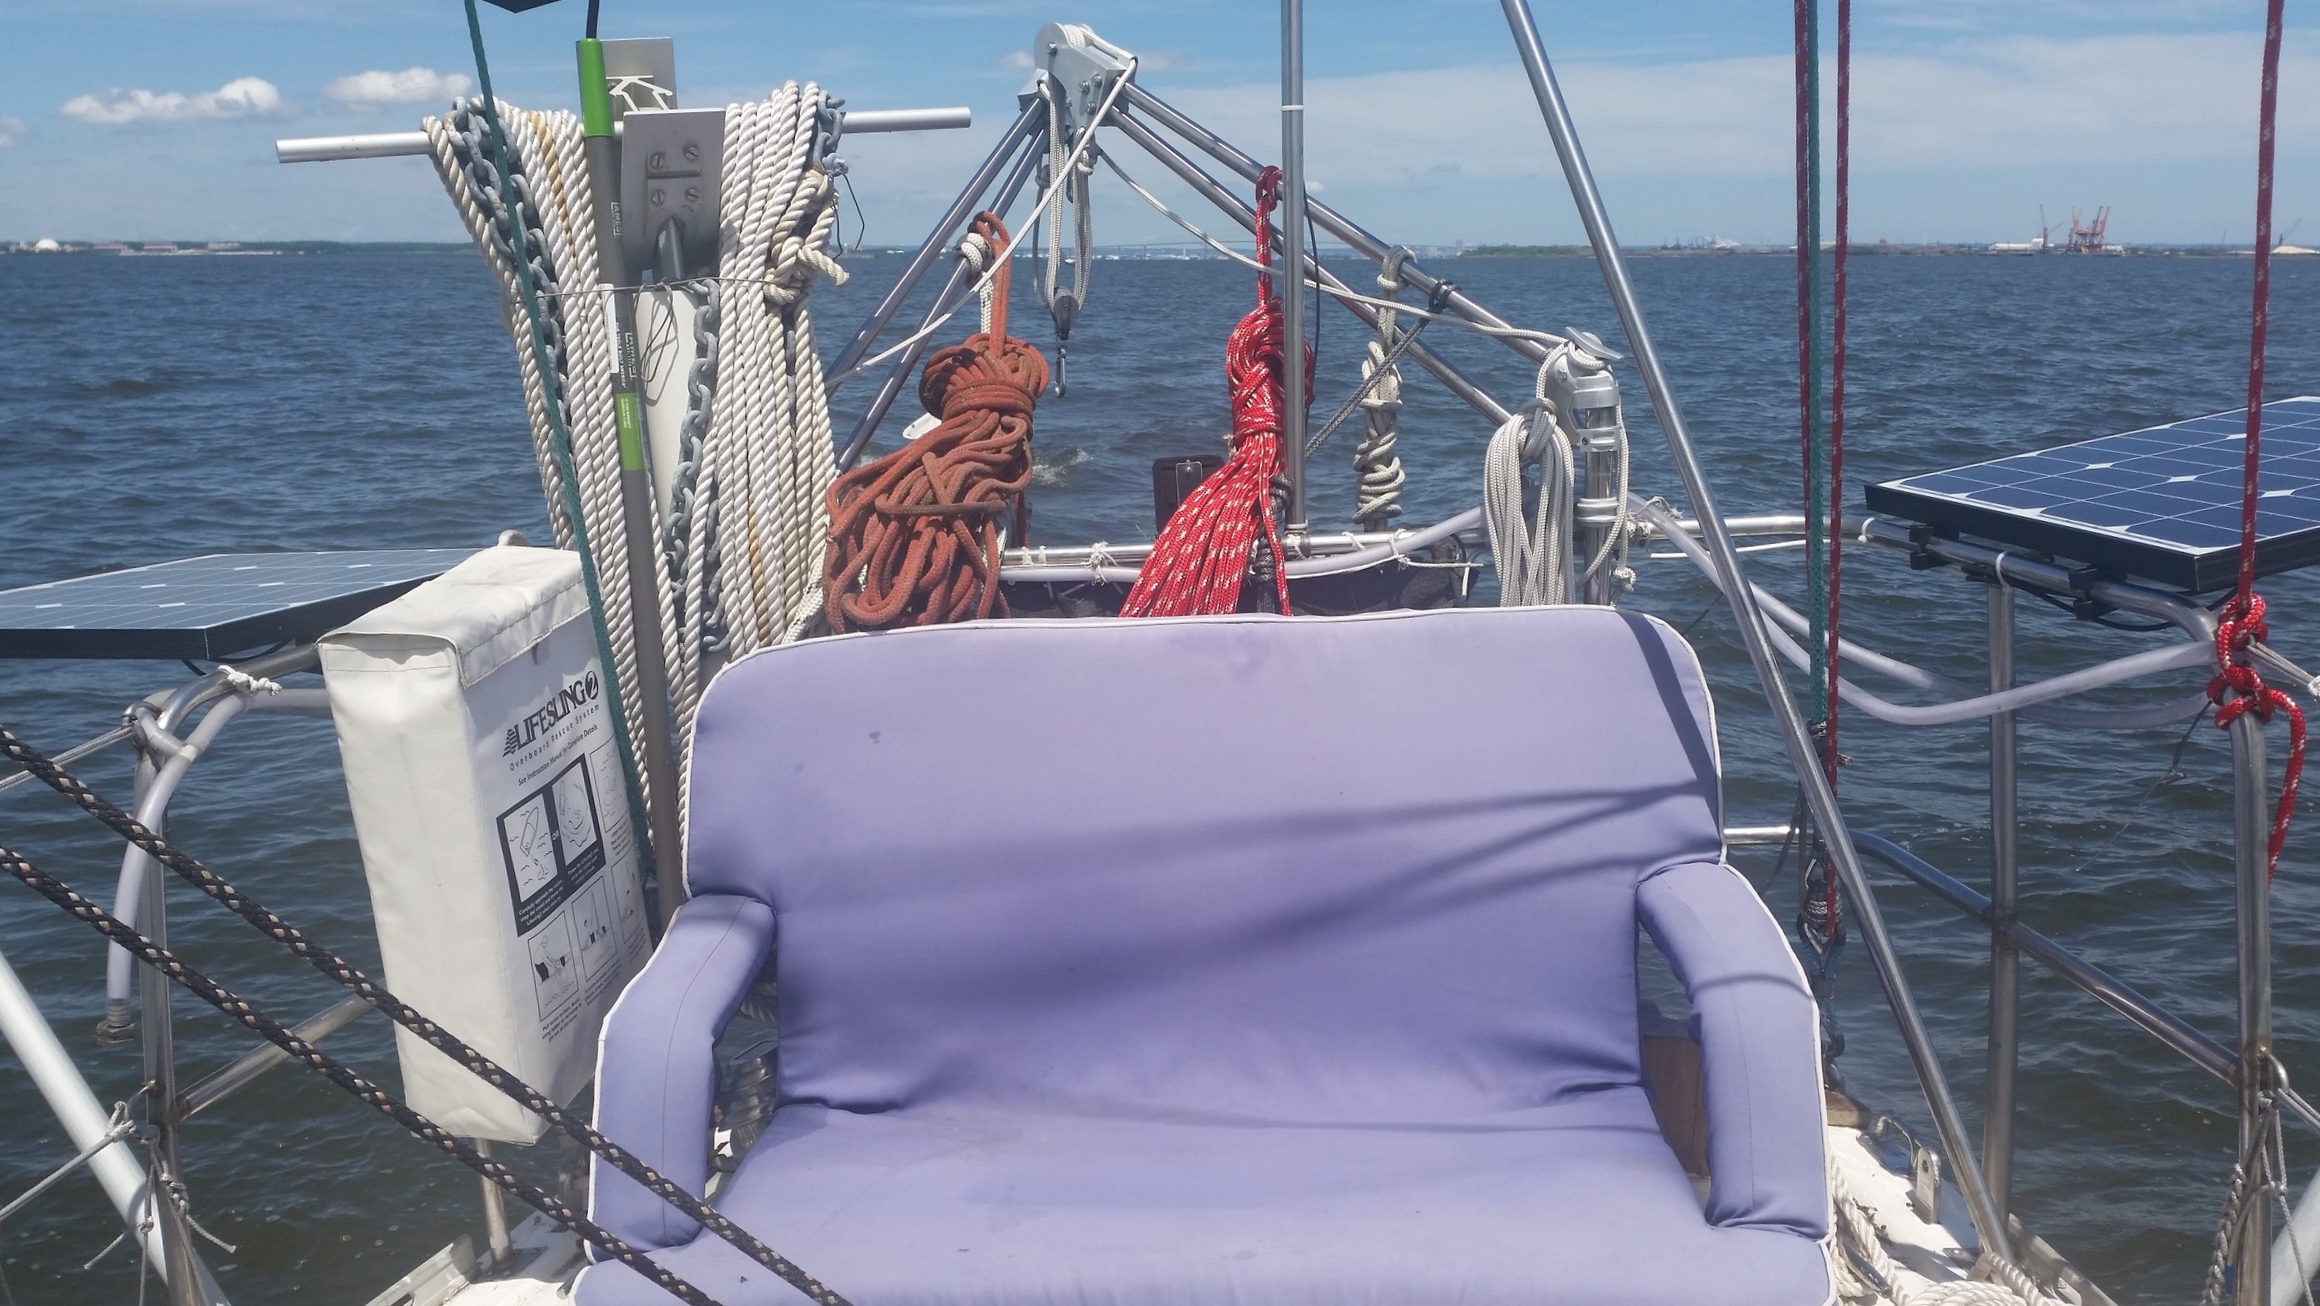
We shook out the reefs and raised all the sails as we made our way South towards South River, near Annapolis, MD. The storm might have left with all of its wind, but the local winds seemed to be blowing in the opposite direction. The prevailing winds on the Chesapeake Bay blow from the South, this means you have to tack South but get to run North. Today, we got to run in light airs, making it to our destination in no time and in no tacks! All of this sun also meant that plenty of power was available for our solar panels to collect. This kept our battery banks topped off while we sailed in light airs. 

I love looking up at the bridges that cross the bay. Many people drive across this bridge everyday, focused on the road ahead of them and the cars around them, taking for granted the marvel of engineering required to build this massive bridge. I find that when I sail under this bridge, I'm either full sail in light airs or heavily reefed down in heavy airs.

As we rounded Thomas Point Lighthouse, we turned onto a beam reach which carried us up the river all the way to Harness Creek. In my four years of sailing to Harness Creek from Fells Point, this had to be the easiest sail by far. Light steady winds kept us moving along with wind on our quarter allowing us to broad reach without fear of an accidental jibe. I am very glad Maddie wanted to leave today and not yesterday during the storm. We arrived in Harness Creek and dropped the hook in our favorite spot, ready to relax for the next few days. Morty enjoyed being taken to shore where he got to run around and stretch his legs before sunset.

We relaxed on the deck as we grilled our dinner and watched the sunset behind the trees. There is nothing more peaceful than arriving in a quiet creek with no plans and no set leave date.

Honeymoon Cruise: Day 1

Our honeymoon cruise started with me working a half day in the office. I had one set of wisdom teeth to pull before we could set sail!

I got the four wisdom teeth out and the patient stitched up, and made my way home to the boat, excited and ready to cast off the lines and set sail for our honeymoon cruise! When I got home, I did a quick inspection of the rigging and decided that the two new check stays were a bit slack, so I set everything up to get them adjusted.

After adjusting the check stays, the forward lowers could use a bit more tension, then the aft lowers, and then the backstay! The only stays that didn't need adjusting were the cap shrouds and the headstay! This took some time to do, which set back our departure time. Then began the regular preparations to go sailing: uncover the sails, hank on the jib, run the sheets aft, un-plug the boat, the list goes on. 

By the time the sails and running rigging were set and ready to go, a severe thunderstorm approached from the South. Maddie and I decided that we could either spend one more night in the slip with air conditioning and have a nice shore-side dinner, or cast off and anchor in a horrible thunderstorm. That was an easy choice to make!

We went to shore to get sushi for dinner then headed back to the boat to relax in port one more night before we set off.

The first day of our honeymoon cruise was off to a non-start, which was ok with us. This fit our "we get there when we get there" attitude. The winds and weather were not conducive to safe sailing, so we waited for better weather to start our honeymoon cruise! 

Tomorrow morning we will cast off for sure!


Water

Water is the most important part of a cruising boat. Your boat needs it to float and you need it to live! Being how this is such a vital resource, getting it, managing it, and storing it should be the most important thing on a boat. 

Fresh water is available at most ports, but some places will charge you to fill up your water tanks. You should make sure you like the water before you put it in your tanks. If the water is dirty or contaminated, it could make a mess inside your water tanks. Another important quality of the water is taste. You will be drinking this water and you should enjoy it. If the water tastes horrible, it will make everything miserable! If you don't like the water, it may be best to wait and search for a different source of water; as long as you have enough to get you there.

The next most common method to get fresh water is to make it yourself with a water maker. Water makers apply tremendous pressure to sea water and force pure water through membranes, leaving very salty brine behind. As you can imagine, this process requires a lot of electricity. If you have the means to meet its electrical demands, a water maker can alleviate your water needs. The only weak link in a water maker are the membranes. These filters are prone to clogging if the water is not clean and they can become damaged if the unit is not used often enough.

While a water maker will represent the potential for thousands of gallons of water, these are all "potential" gallons. If the water maker breaks, you are left thirsty. For this reason, you should never remove a water tank, which offers "actual" gallons, to use the space for installing a water maker. 

The last way to get water is to collect it as it falls from the sky. In areas with heavy rainfall, rain collection will provide a steady flow of water in a daily fashion. Methods to collect rain water vary and are greatly dependent on the layout of your own personal yacht.

 Being how water is such a crucial and vital resource on a yacht, it should be guarded and used as such a resource. You wouldn't dump gold into the water, so why would you leave your faucet on and dump your fresh water overboard?

Conserve the water you have on board and protect it, as it is a very valuable resource. When you have the opportunity to get more, examine it and make sure you want to add it to your tanks. 

Islander 36 Conversion: Shrouds

The last stays that were fabricated were the cap shrouds and intermediate shrouds.

These stays are the longest and will be the shrouds that will hold the most force. When wind heels your yacht over, what is actually happening is your sails are pulling your mast over, which transfers the force to the shrouds, which transfer the force to the chainplates, which transfers the force to your bilge and keel. The true reason you heel over is your shrouds are pulling the windward side of your hull up! That is how much force the shrouds are under. 

The farther up the mast, the more force is placed on the shroud due to the increase in leverage. This is why the lowers are never under much load while the cap shrouds are under immense tension. To create a very safe and secure splice I used a Mobius Brummel Eye Splice with a much longer tail buried into the stay. 

A longer tail buried into the stay will provide more security against the unlikely event of the Mobius Brummel splice failing. While the splice alone is very strong, the extra security of a longer tail is a small price to pay when manufacturing new synthetic standing rigging.

The minimum length of the tail is 72 times the diameter of the line. In our case, we are using 6mm New England Ropes STS-HSR.

72 x 6mm = 432mm
432mm / 25.4 = 17 inches

In our case, 17 inches is the minimum length we need to bury to produce a very secure eye splice. To further strengthen this splice, I buried 36 inches of tail, which is the equivalent to 152.4 times the diameter of the line. 

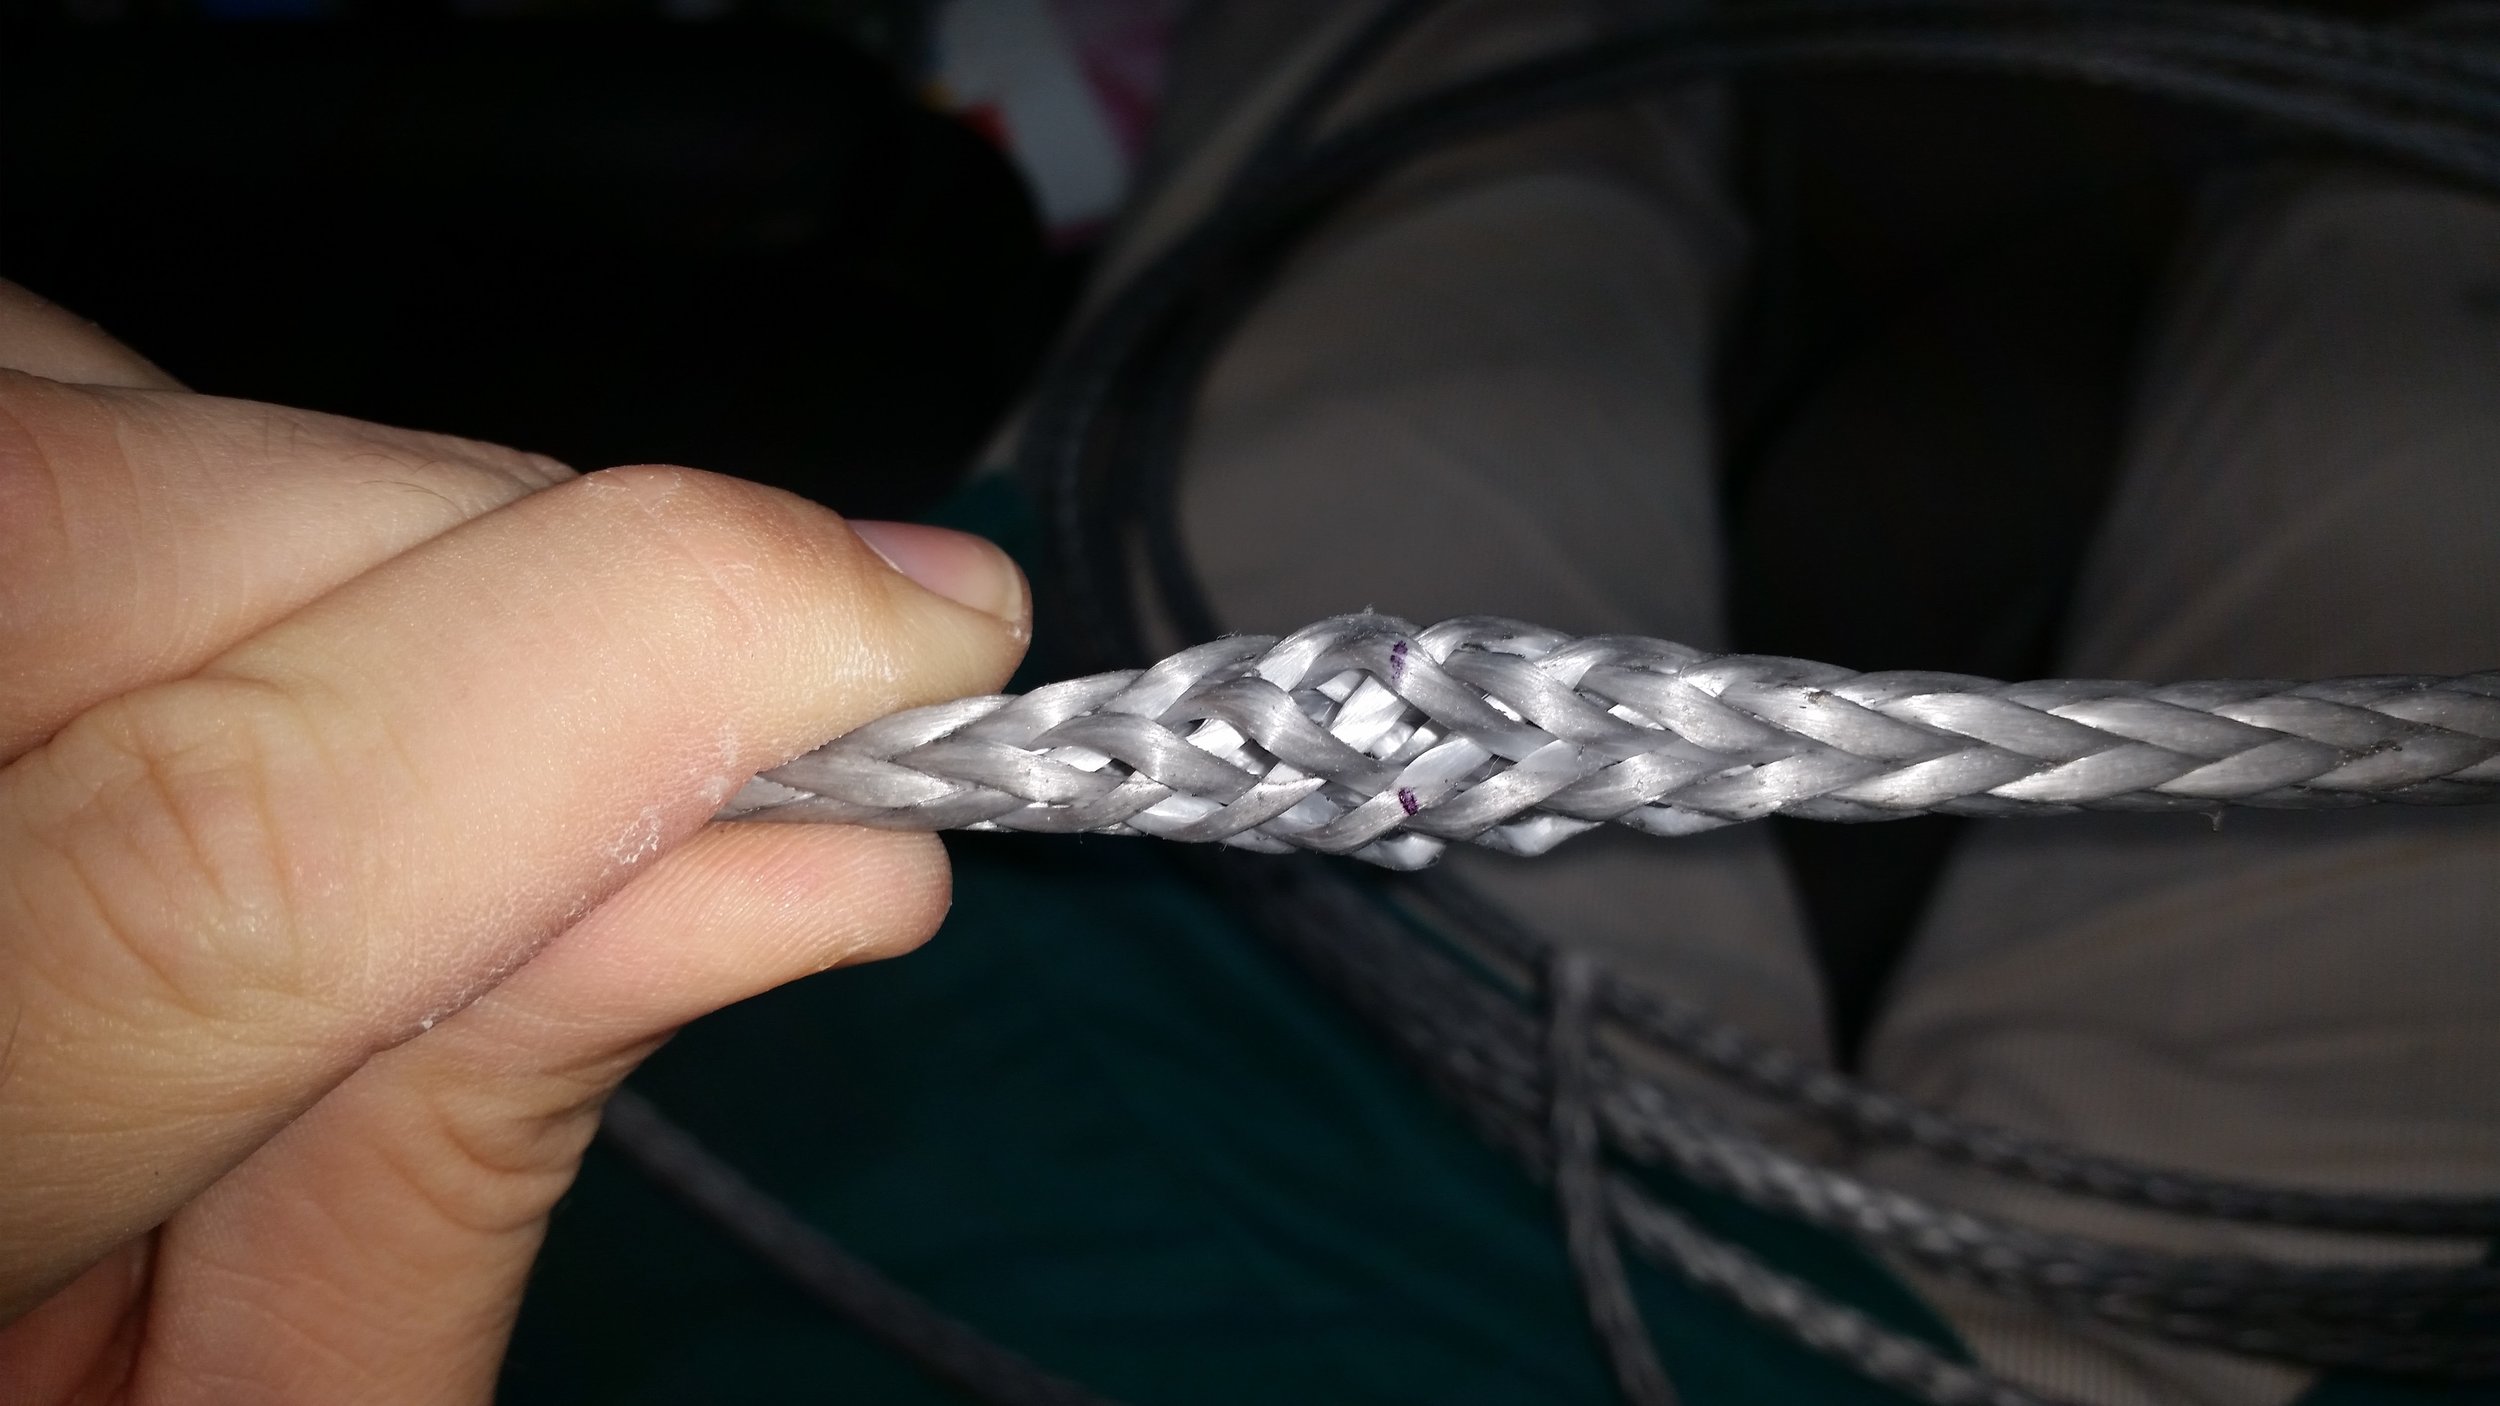
When the stays were measured and cut, I marked the locations for the splice with a marker across two strands. When you mark 12 strand dyneema, be sure to mark across two strands in a parallel fashion. This will ensure that your splices come out even and along the prescribed lengths. If you only mark one strand, you will have to choose which area of that strand you want to pass your fid. A single strand difference will make your stays drastically different. When you mark two strands, you know exactly where to insert your fid.

Now you will be able to pass your fid through the correct location every time you make a splice!

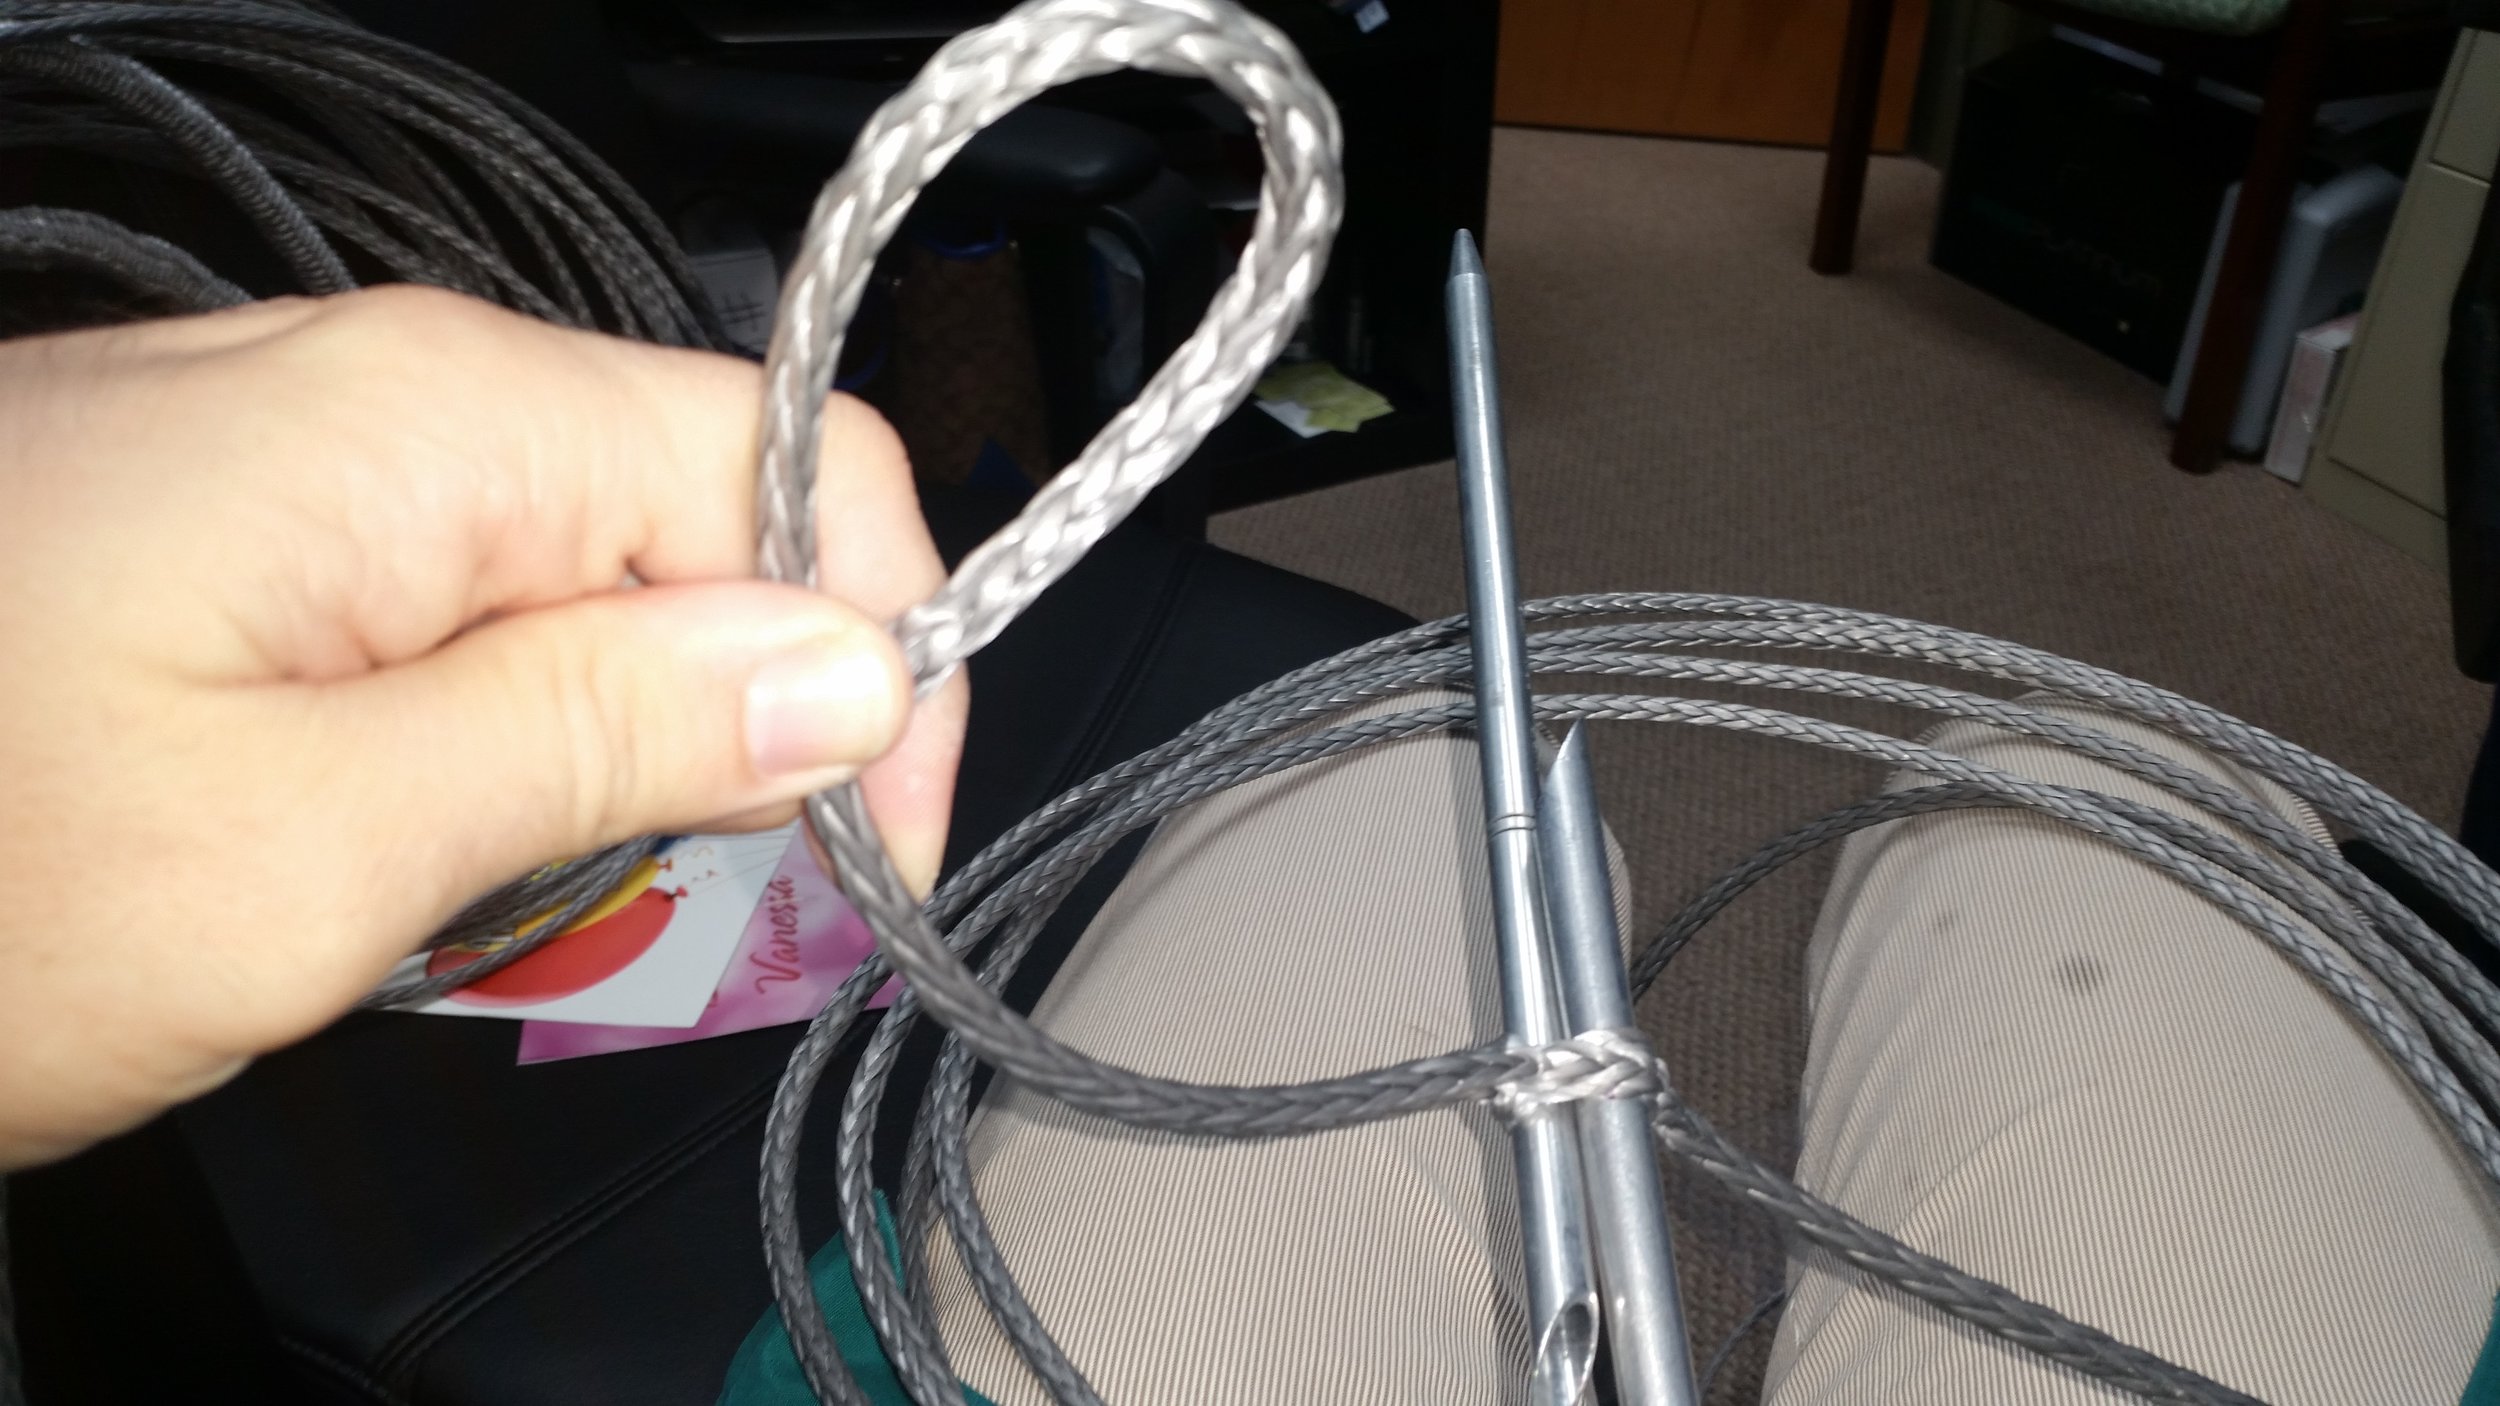
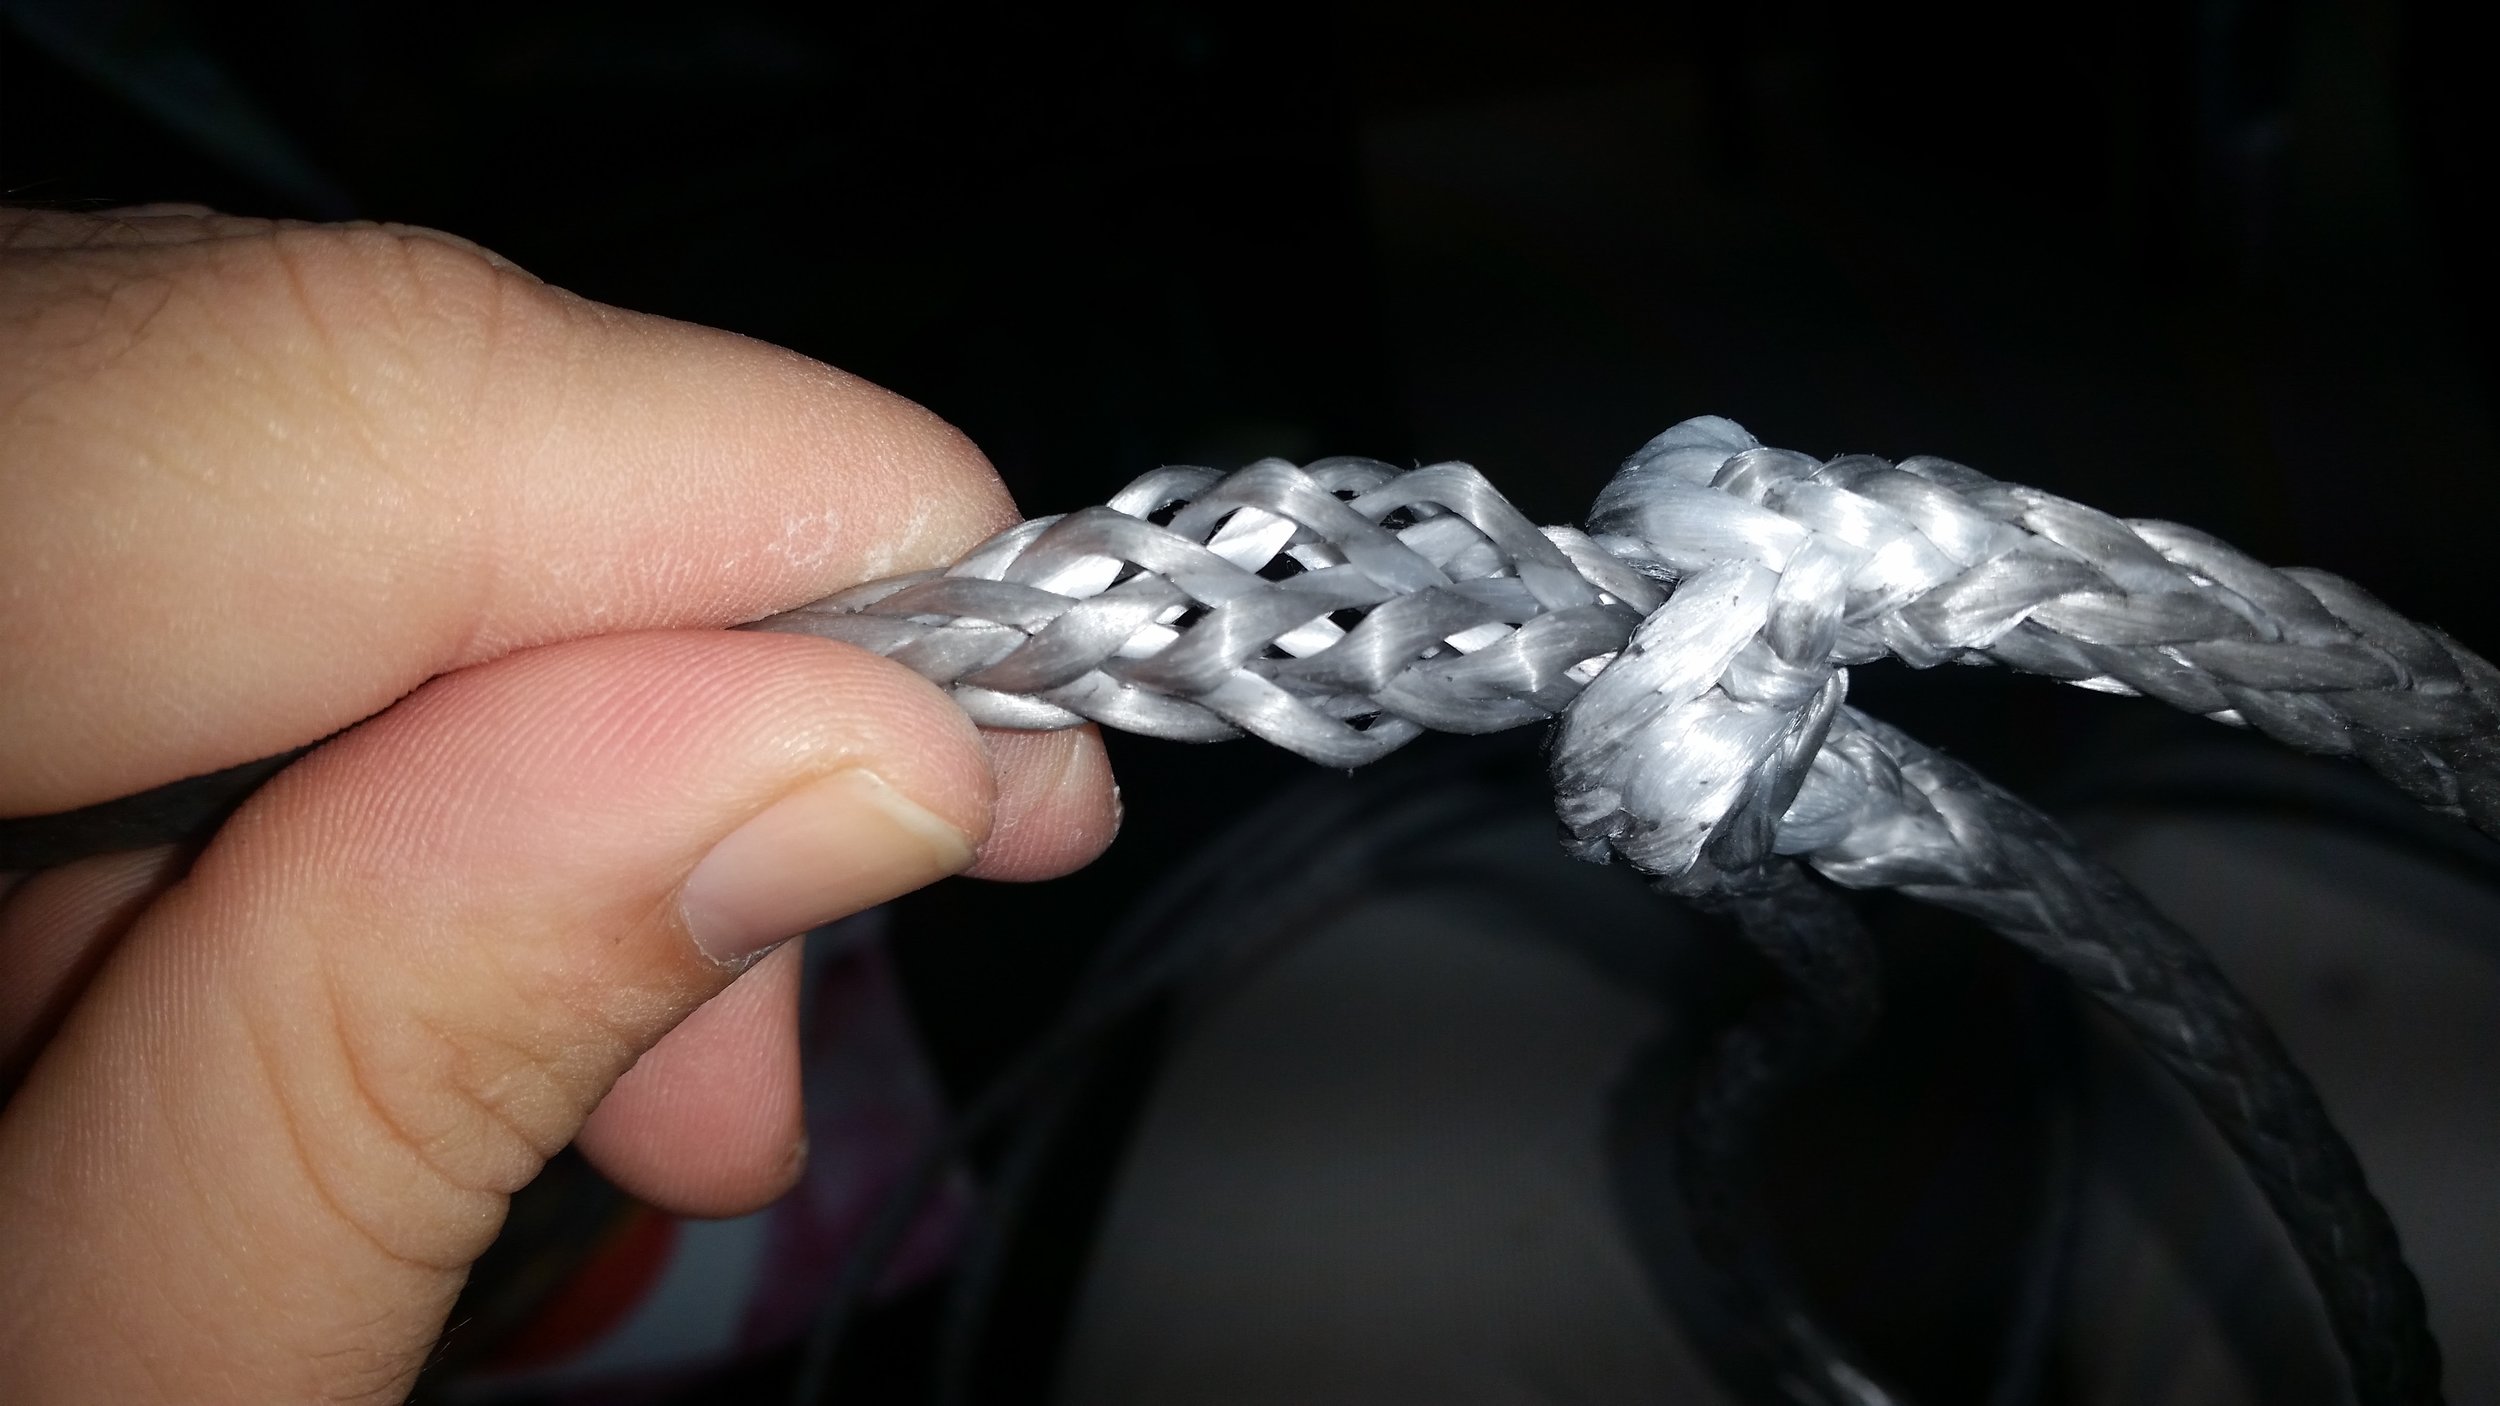
The first pass is simple and straight forward. Simply open the weave and pass the fid through, then feed the tail through the fid to form a loop. The next loop is a bit more complicated, but it will form a Mobius Brummel Eye Splice with only one free tail.

Heat set dyneema is a bit stiffer than regular dyneema, making it a bit difficult to perform the splice. To loosen the dyneema up a bit, insert two fids through the same hole in the weave and twist them. This will stretch out the opening in the dyneema and allow you to complete the Mobius Brummel Eye Splice.

Pass the tail through the enlarged opening in the weave of the dyneema and pull it all the way through. The loop will pull through and twist the dyneema. This twist we be removed in a moment, so don't be concerned with any losses in strength due to the twisted fibers. If you didn't perform this twist now, the final splice would have a twist in it which could lead to premature failure of the stay.

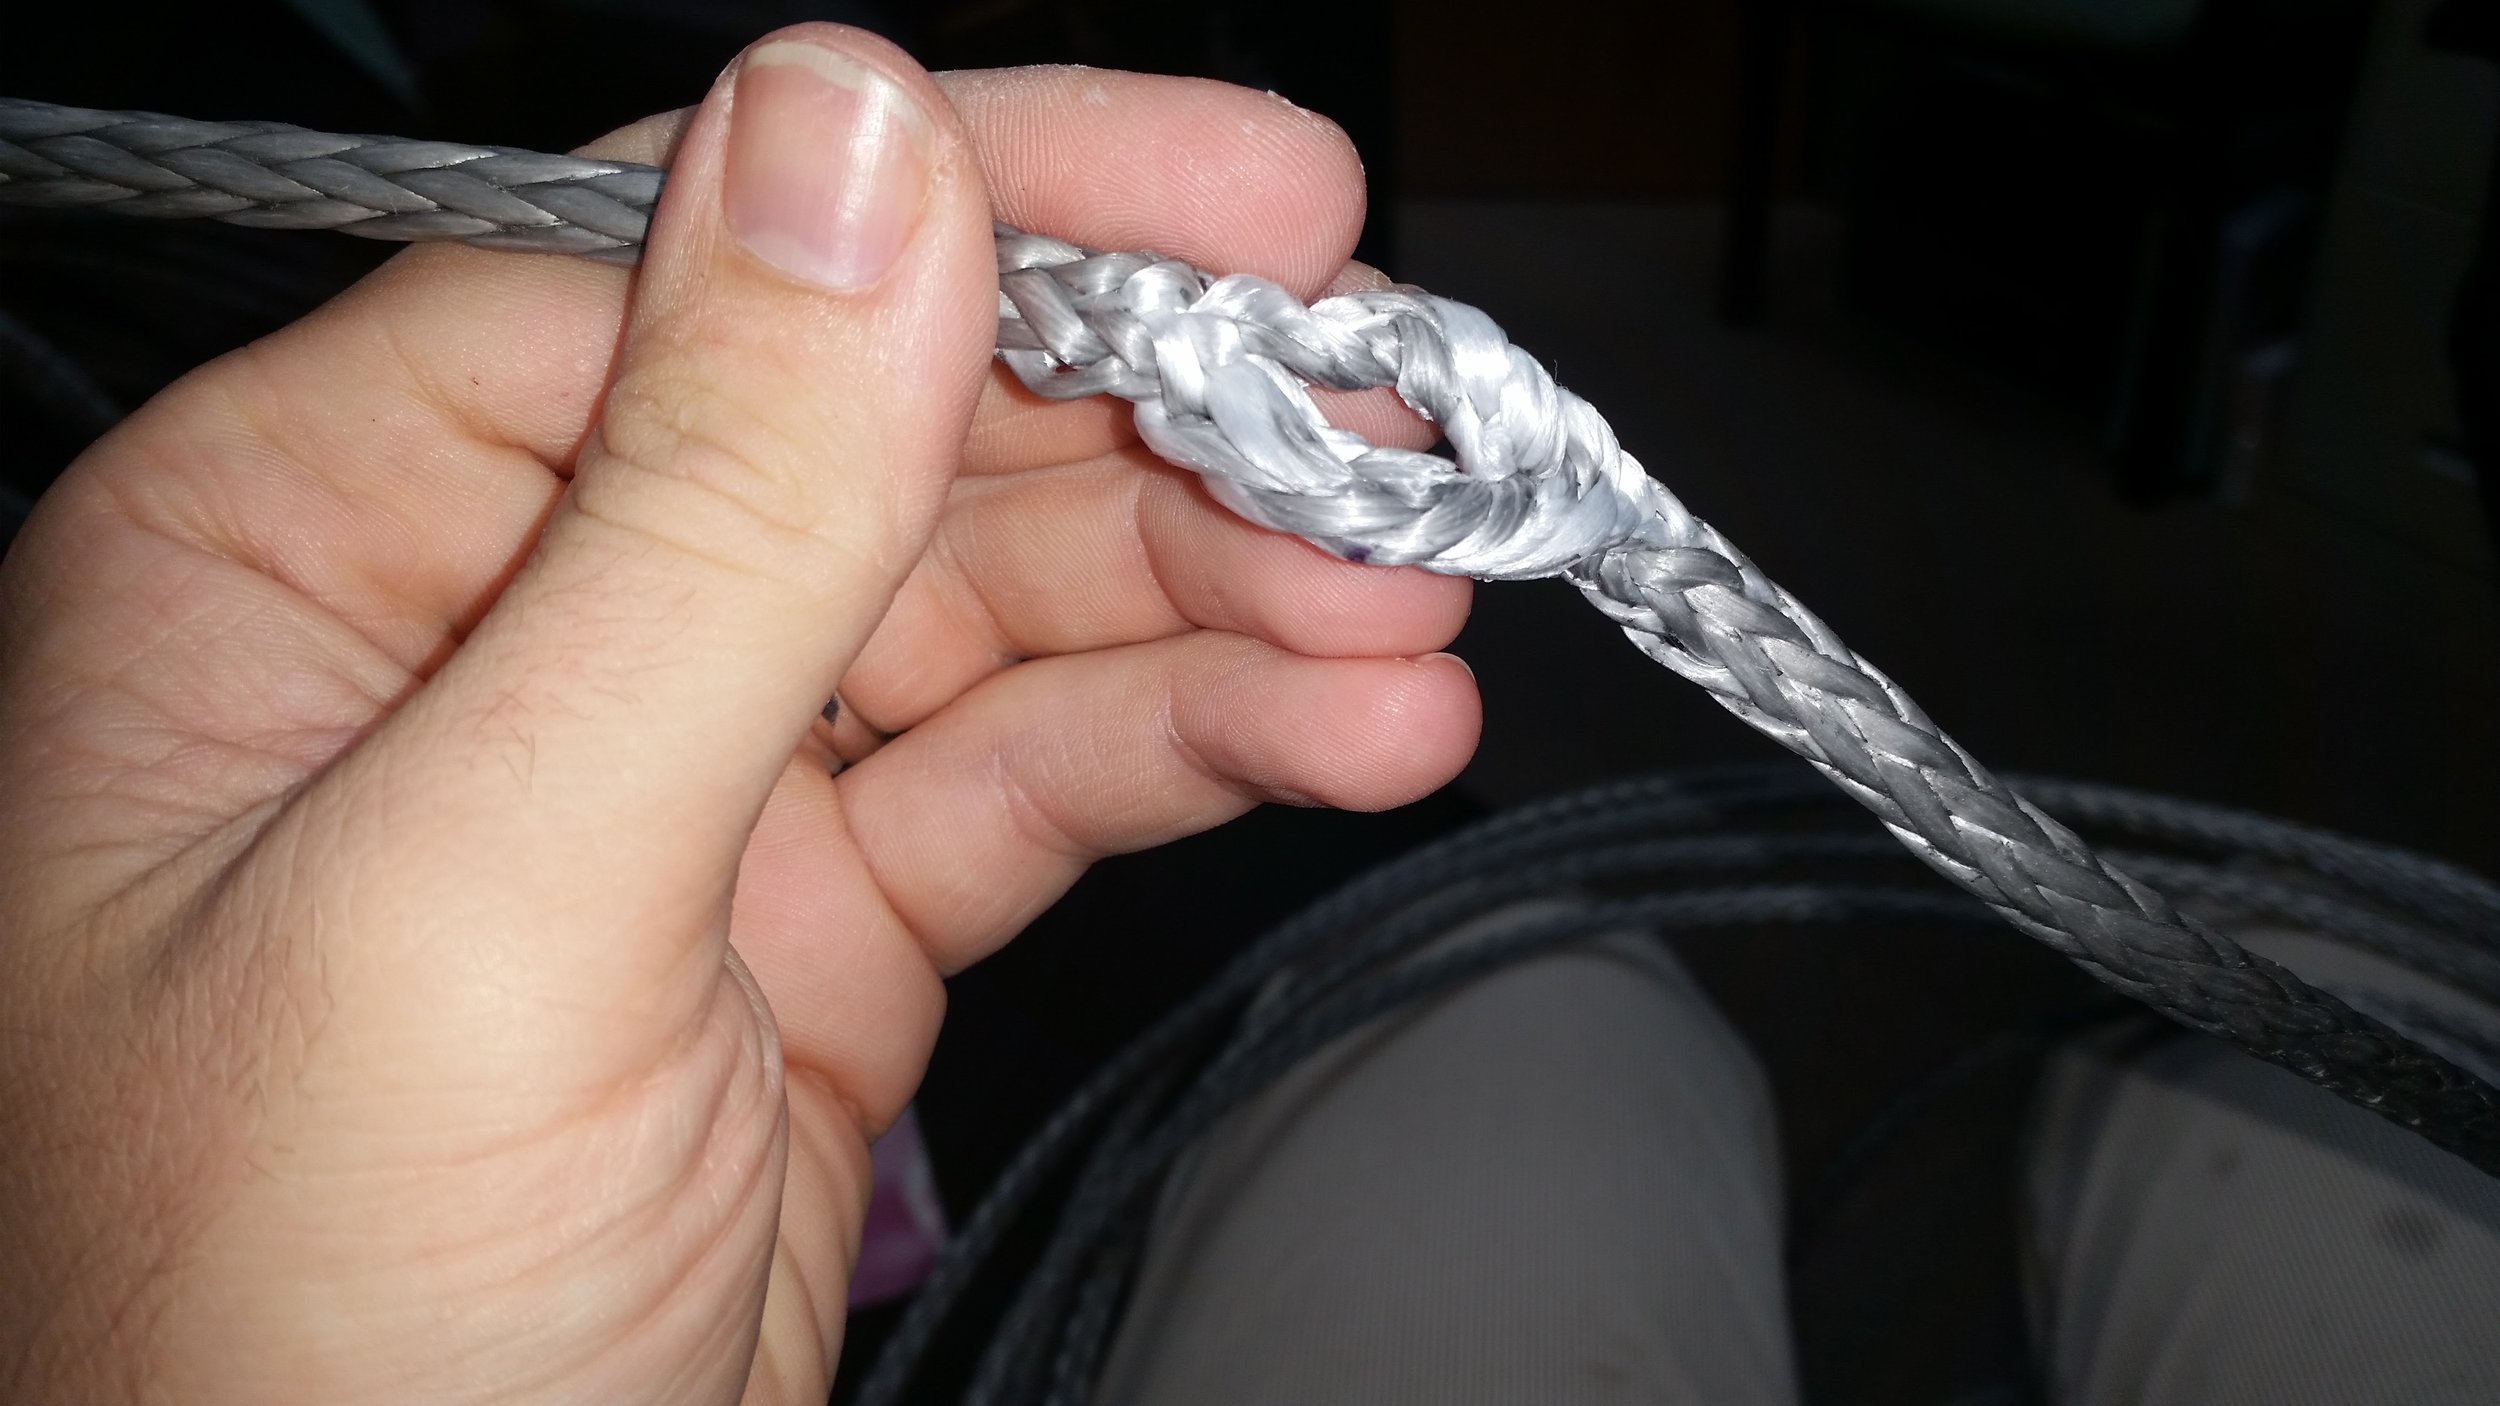
Passing the twisted opening over the loop will complete the splice and take out the twist in the fibers. Regular dyneema is much softer, so the opening doesn't need to be exaggerated since the fibers will squirm and allow the formation of the splice. Heat set dyneema is very stiff, so twisting fids in it is necessary to expand the opening and allow all of this twisting to occur.

Sliding the twisted opening down all the way will eventually take you to the end where the twist will invert and the splice will be formed without any twisted fibers. 

Working the fibers back into place will reduce any signs of the expanded opening in the immediate moments following the splice. Once the stay is under tension, all the fibers will settle back into place.

As with any 12 strand splice, expand the weave by pushing on it and insert the fid through the opening that is directly under the tail. This will make certain that the tail is buried into the stay with minimal twist. 

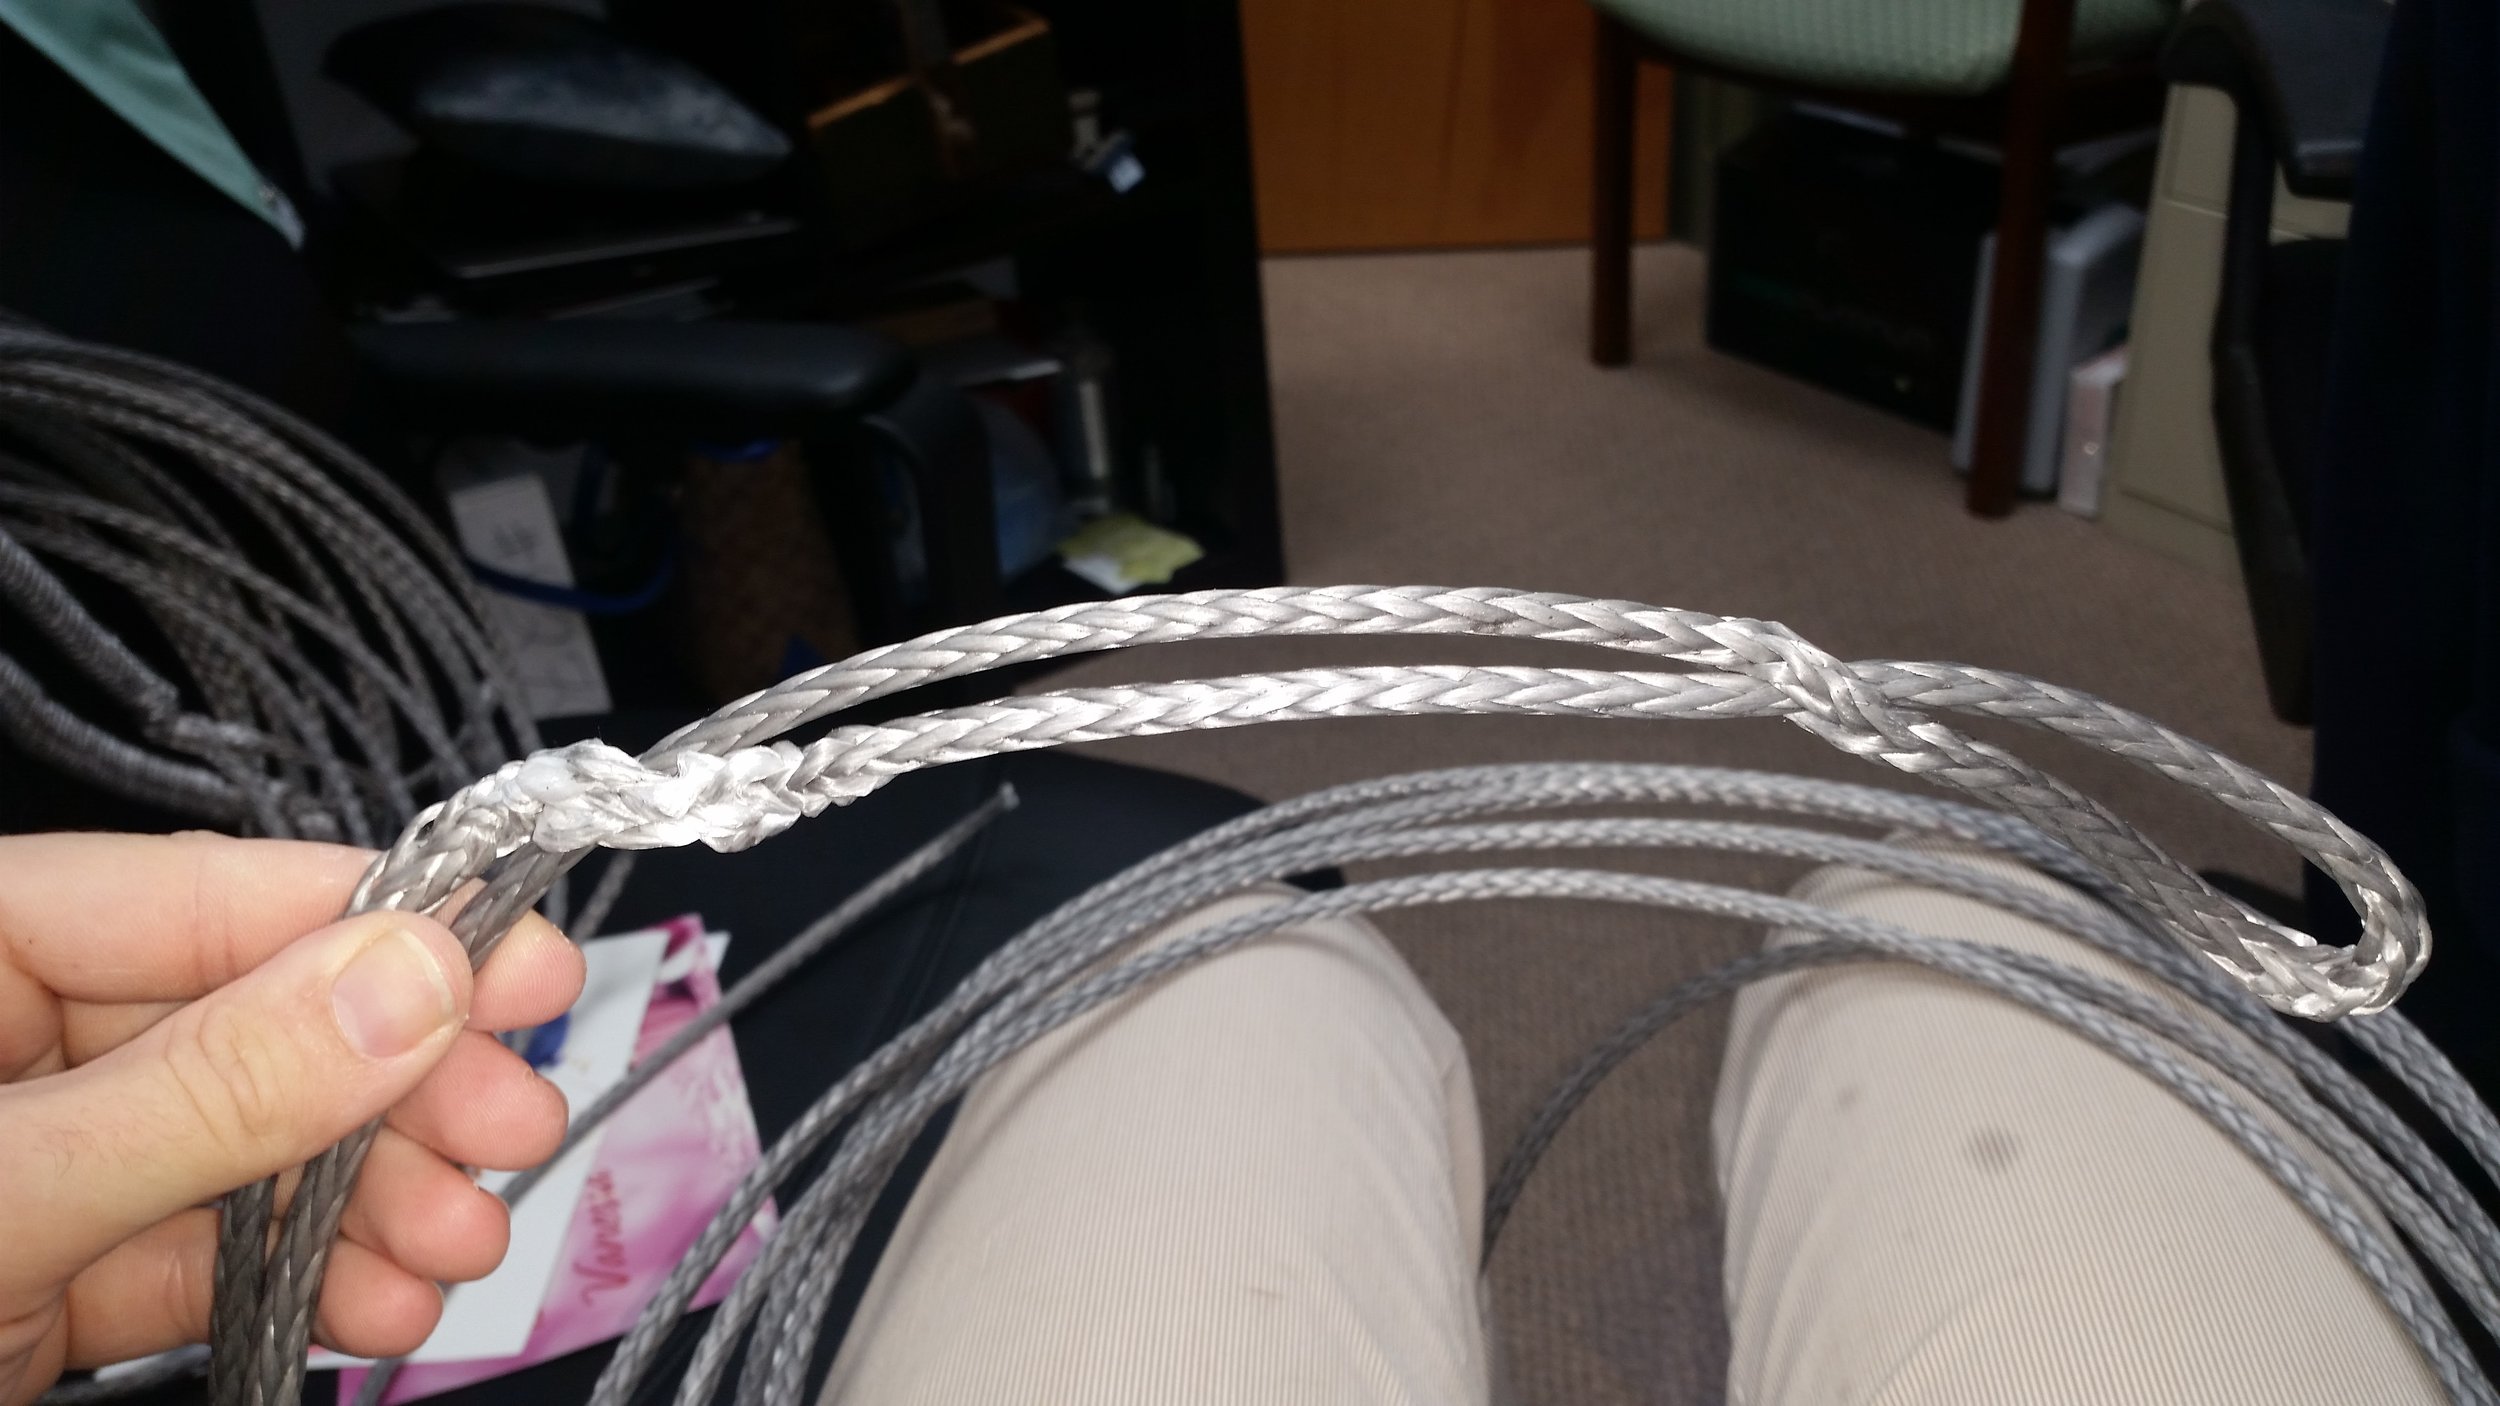
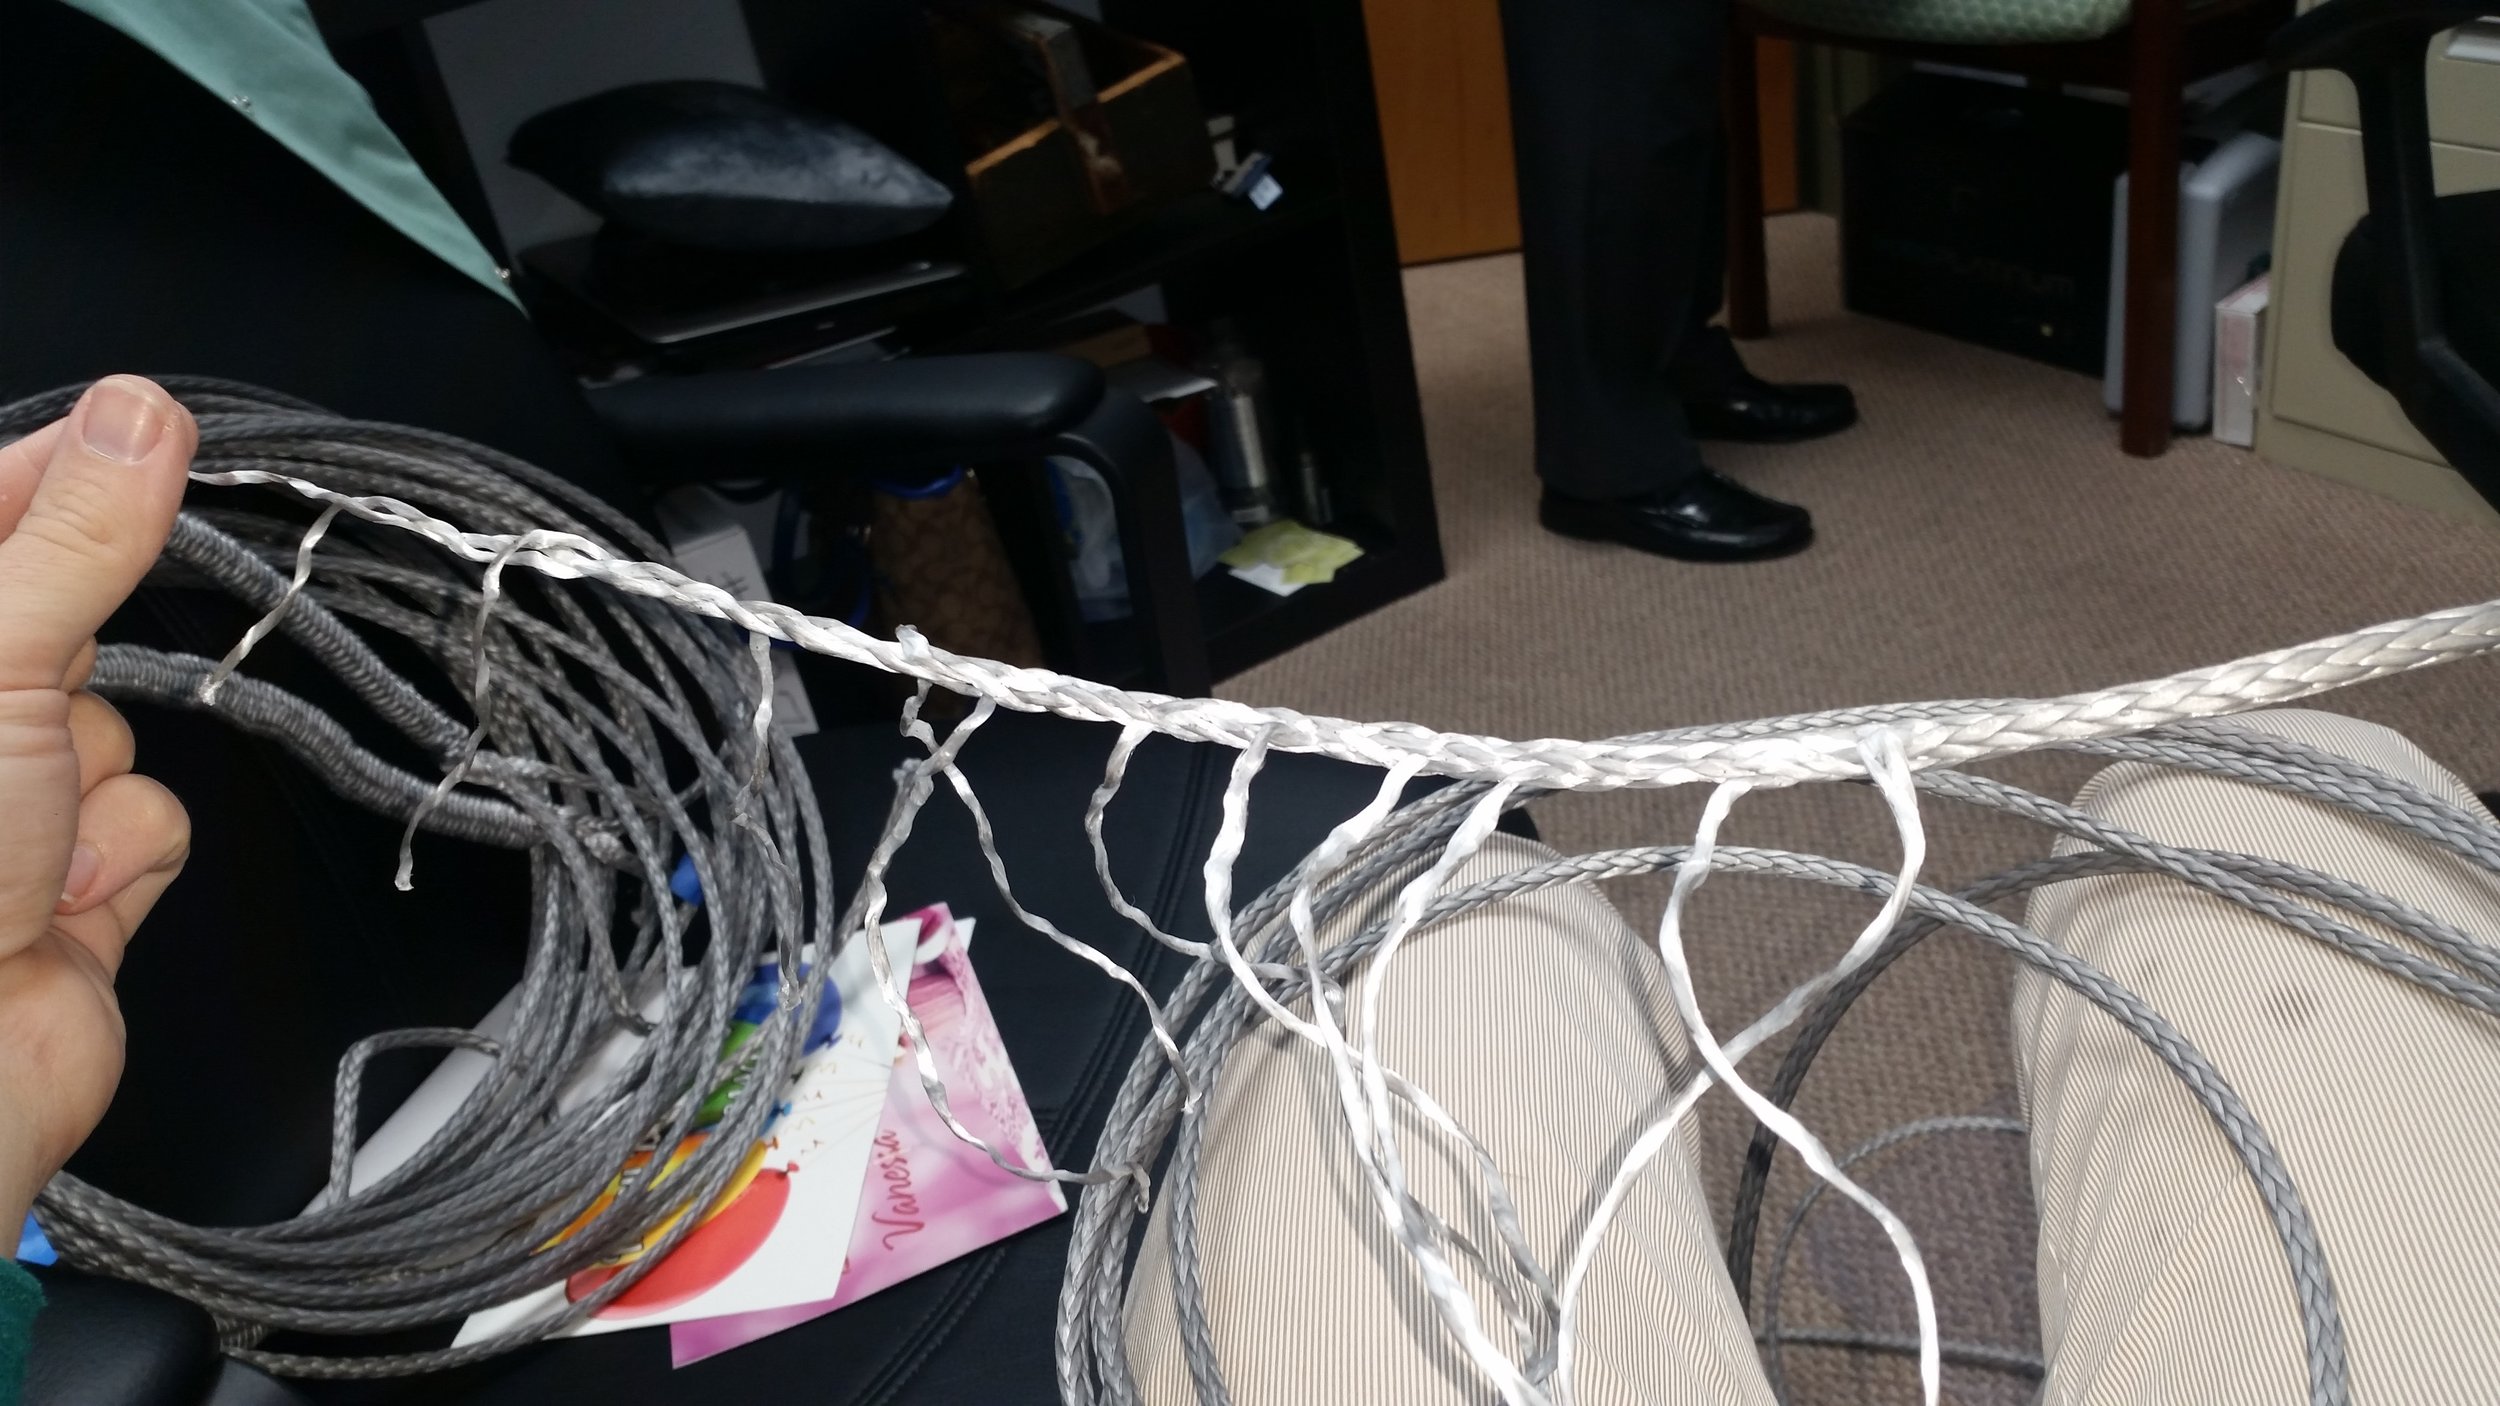
Now pull the tail all the way through and out further down the stay. You want to make certain that the entire tail will be buried after you milk the splice. To ensure that no strands remain un-buried, simply bury the tail further into the stay than the length of the tail. This will ensure that you don't have to try and bury a tapered tail (which can be rather tricky).

Finally, taper the tail and milk it back into the splice. For these stays, I tapered the tail every third strand. This means I counted 36 strands back from the end and then pulled out every third strand. After they are all pulled out and the taper looks even, I cut the strands and milked the tail back into the splice. 

Repeat these steps a few times and you will have yourself a set of stays that is ready to replace your old steel stays!

Islander 36 Conversion: Deadeyes

The grommets for the deadeyes have been spliced and made and most of the thimbles have arrived. I have enough thimbles present to finish all the deadeyes for the shrouds and backstay. 

The backstay deadeye is symmetrical, as the lashings will only serve to absorb creep throughout the life of the rigging. The backstay will retain the turnbuckle, allowing the screws to serve as the main tensioner rather than the pulley system created by the deadeye.

The lower shroud's deadeyes have slightly larger top thimbles to allow for more passes of the lashings to tension these stays. The stays will not have turnbuckles, so the lashings will be responsible for developing the proper amount of tension in the rigging.  

The cap shroud and intermediate shrouds have significantly larger thimbles simply to accommodate more passes with the lashings. The lowers will only need around four passes to create an 8:1 mechanical advantage pulley system. The cap shrouds, on the other hand, need to develop a lot more tension and will require seven passes with the lashings. Seven passes would create a 14:1 pulley system which will provide plenty of tension to the rigging. 

At this point, all the deadeyes, the backstay and the lower shrouds are completed. The only shrouds left to fabricate are the cap shrouds and the intermediate shrouds.