Monitor Rudder

Monitor wind vanes are an essential part of an ocean going cruising boat. They will keep a well balanced boat sailing along on a straight course (with relation to the wind). They are simple, reliable, and easy to trouble shoot and repair! What is there not to love about these units? The price.

You get what you pay for, and you certainly do get a solid and well built unit for the price; but the price is still on the high side. A new unit will set you back around $5,000, plus installation. Added accessories will set you back even further. 

One such accessory is called the M-Rud, which is an emergency rudder that can be connected to the monitor. I have heard people say that they like using the M-Rud over the standard servo pendulum rudder because its longer length makes it more responsive.

One boat owner on a Fallmouth Cutter came up with his own clever way of having the longer rudder without the extraordinary cost: a wooden rudder!

Sailors are a creative group, and wood is a wonderful medium to work with to construct your creative thoughts. I love seeing the ingenuity that different sailors will come up with to solve the most basic of problems!

 

Waiting for the Weather to Pass

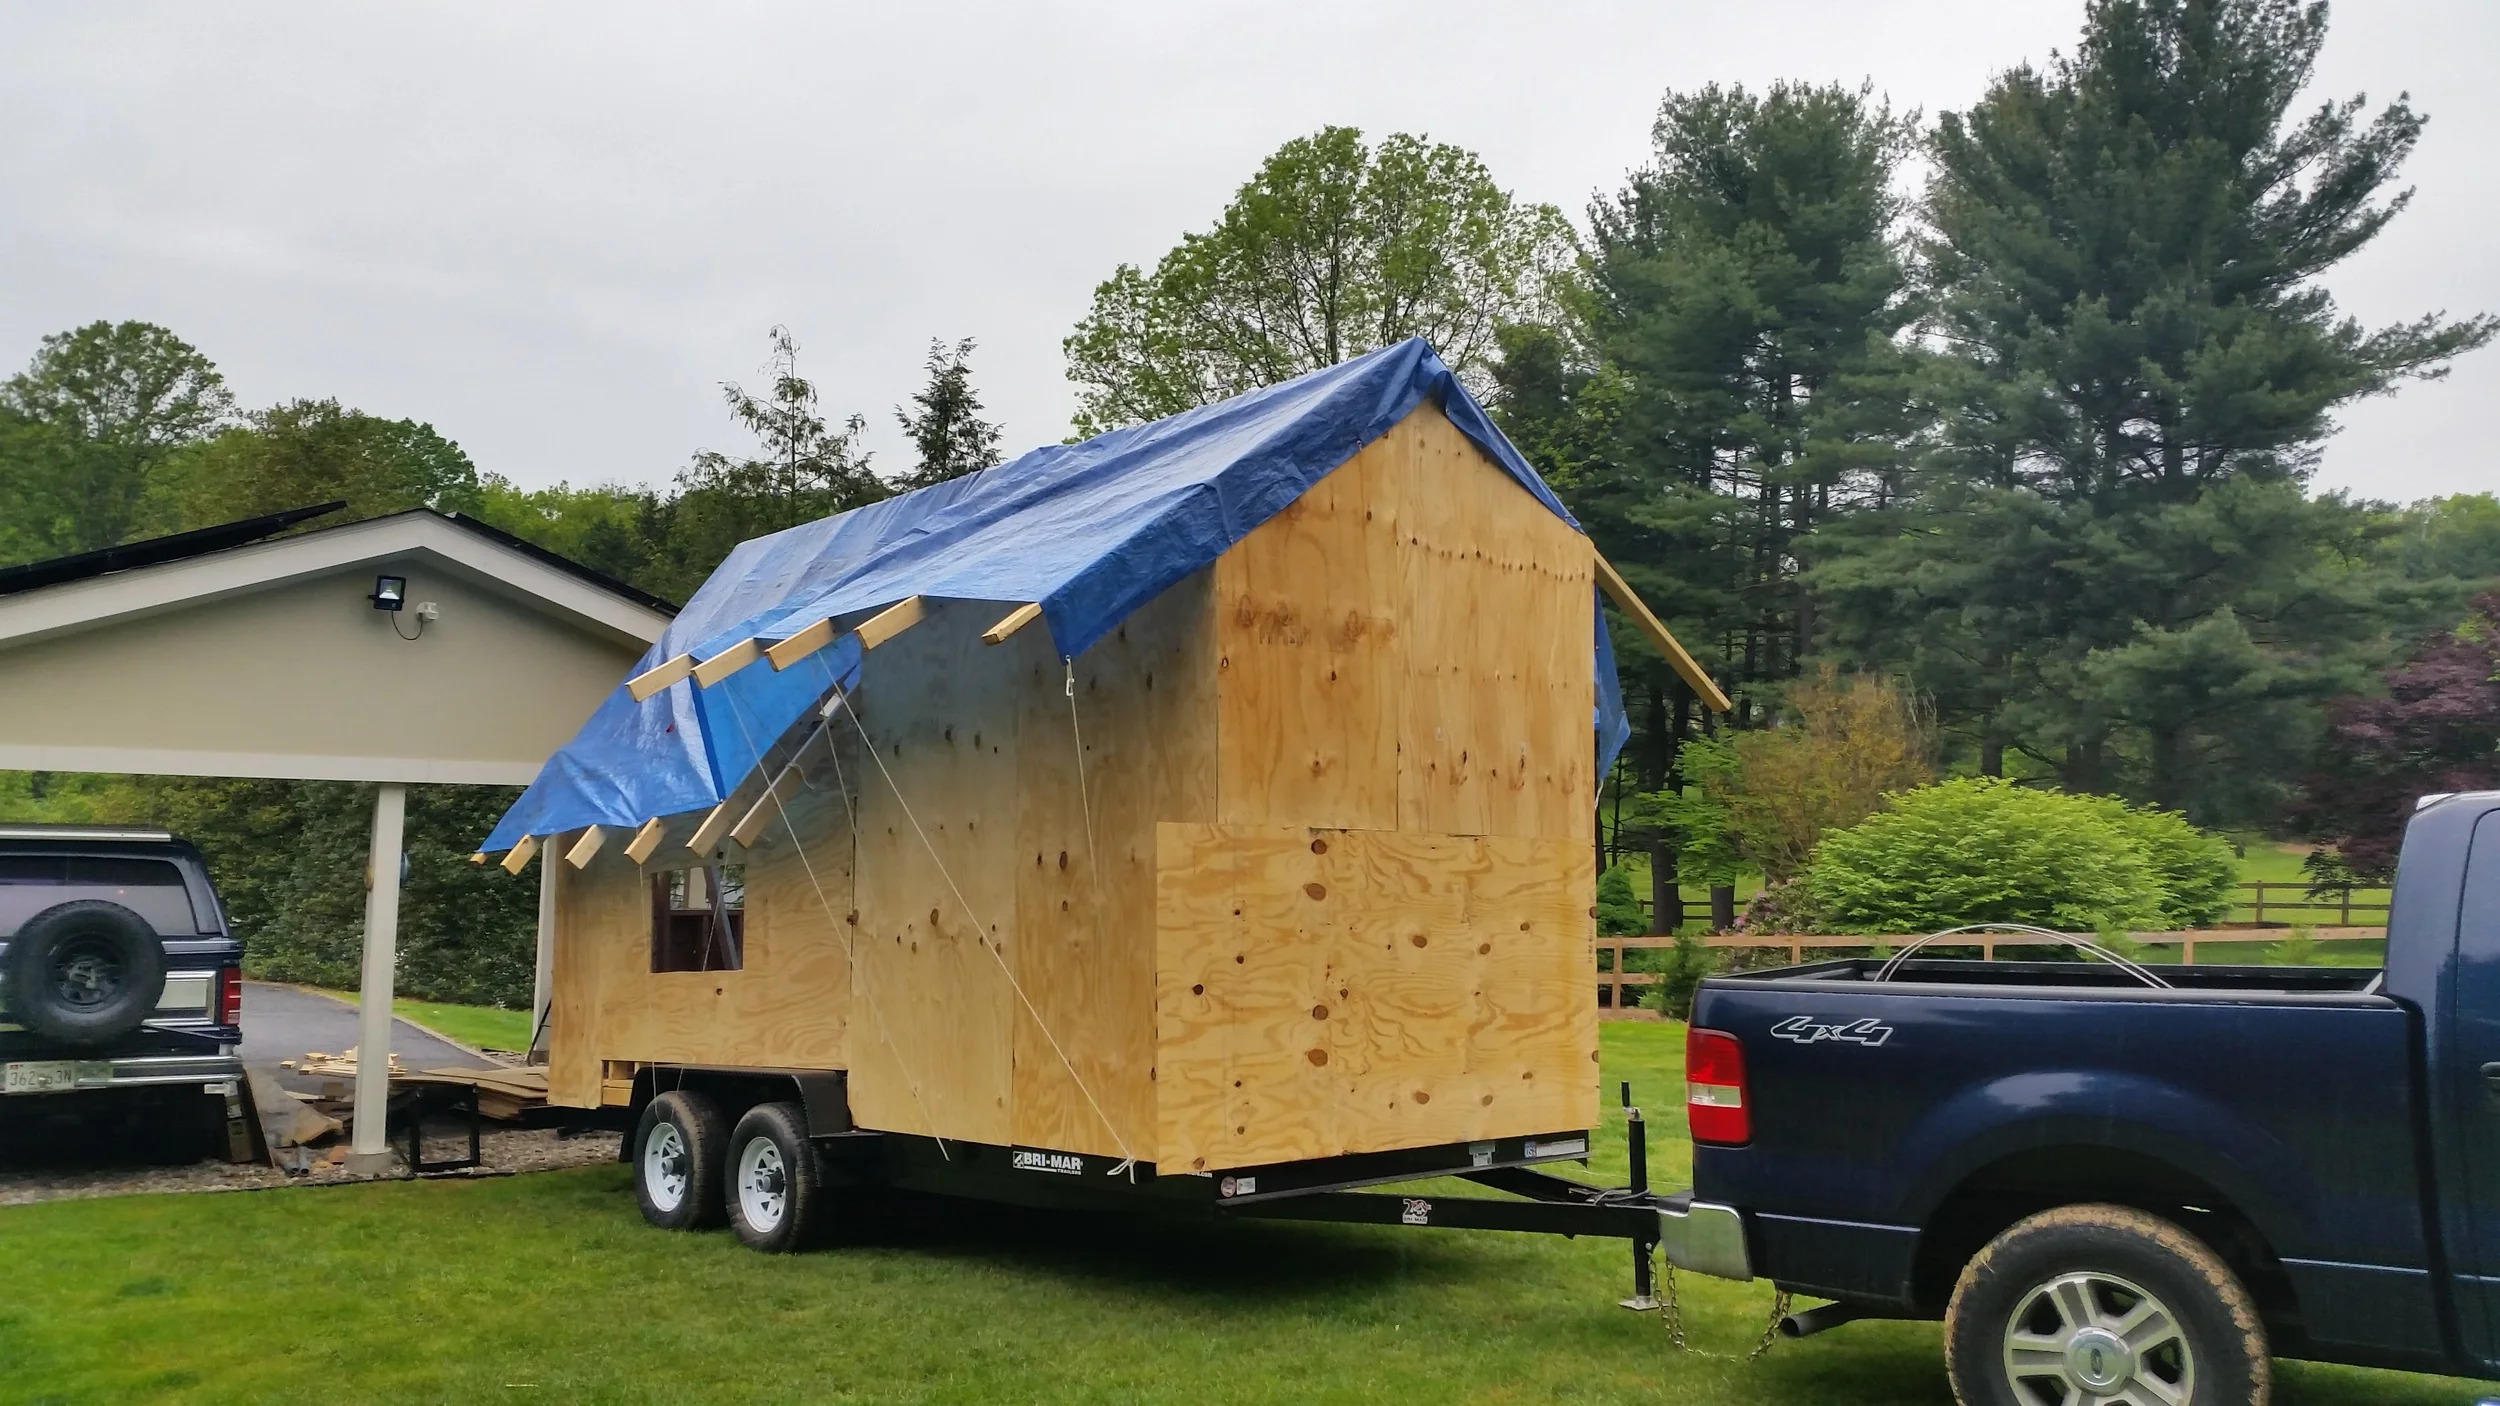
A low pressure began to move in, so we covered the roof with a tarp to protect all the non-oiled wood from water damage. The clouds gave plenty of warning to the approaching front.

A thin veil of clouds came over the sky and as the day progressed, the clouds slowly became thicker and thicker. By the next morning, the rains had come and the tiny house was safely covered by the tarp.

Having grown up in Puerto Rico, this blue tarp reminded me of the tarp roofs that FEMA would install after a hurricane would peel the roofs off of houses.

Once the weather improves, we can continue working on the tiny house. Slowly but surely, we are installing the plywood roof panels onto the rafters.

Planning Out the New Dinghy

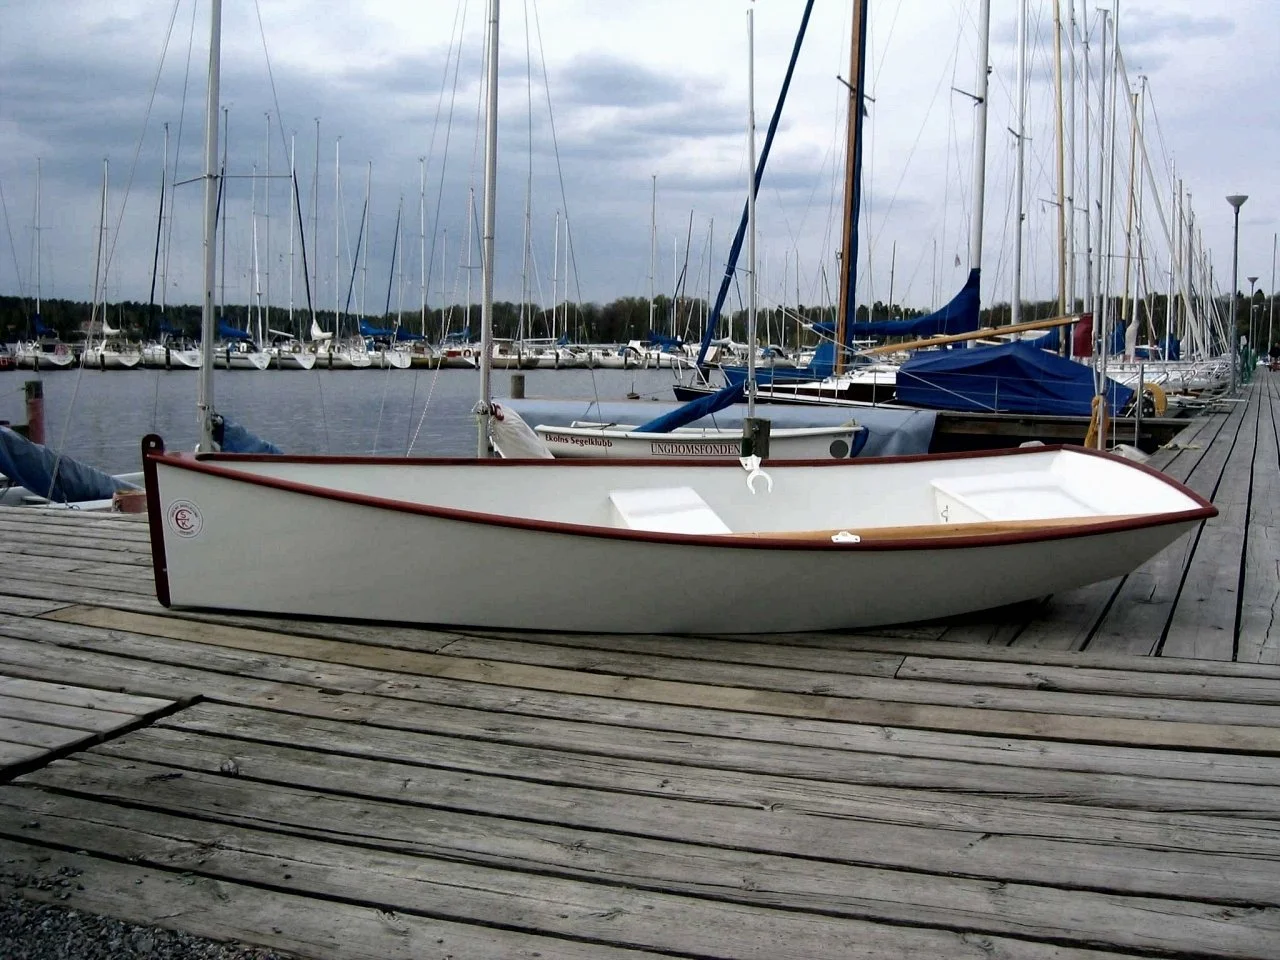
We have finally begun the planning process for our new dinghy. This dinghy will be stored on deck, between the mast, boom, and dodger while on long voyages. This will reduce the drag associated with towing a dinghy behind us.

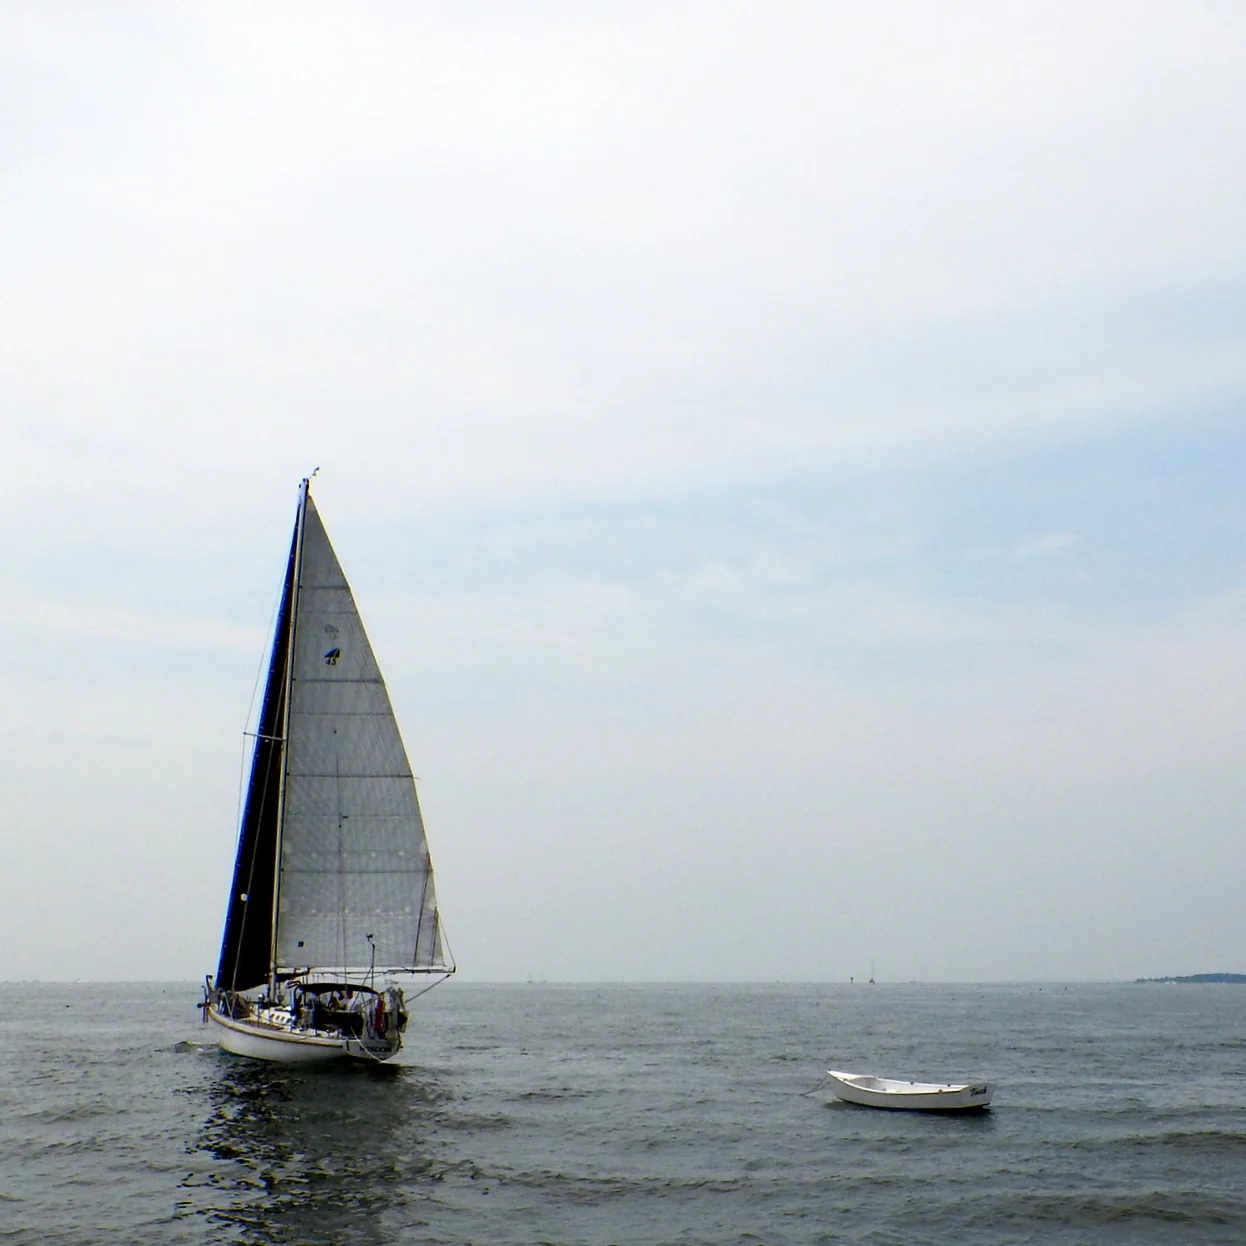
Tooth is an excellent row boat, but on long trips, he can be a drag! At 13 feet long, he is too large to store on deck when sailing. This leaves us towing him along over hundreds of miles, which has led to a few snags along the way.

We are very good at dodging crab pots in the bay, but they have a way of getting hooked on the painter. The snagged crab pot will bring us to a halt until we free it from the line. A towed behind dinghy also adds resistance to the equation, making us travel along more slowly than if we were not towing. It's the same idea as clean bottom vs. dirty bottom. It might not seem like much of a drag, but its effects will add up considerably.

While the longer length allows Tooth to carry more weight and row more efficiently, we need a smaller dinghy that we can take on long voyages with us. This is where our new dinghy will come into play.

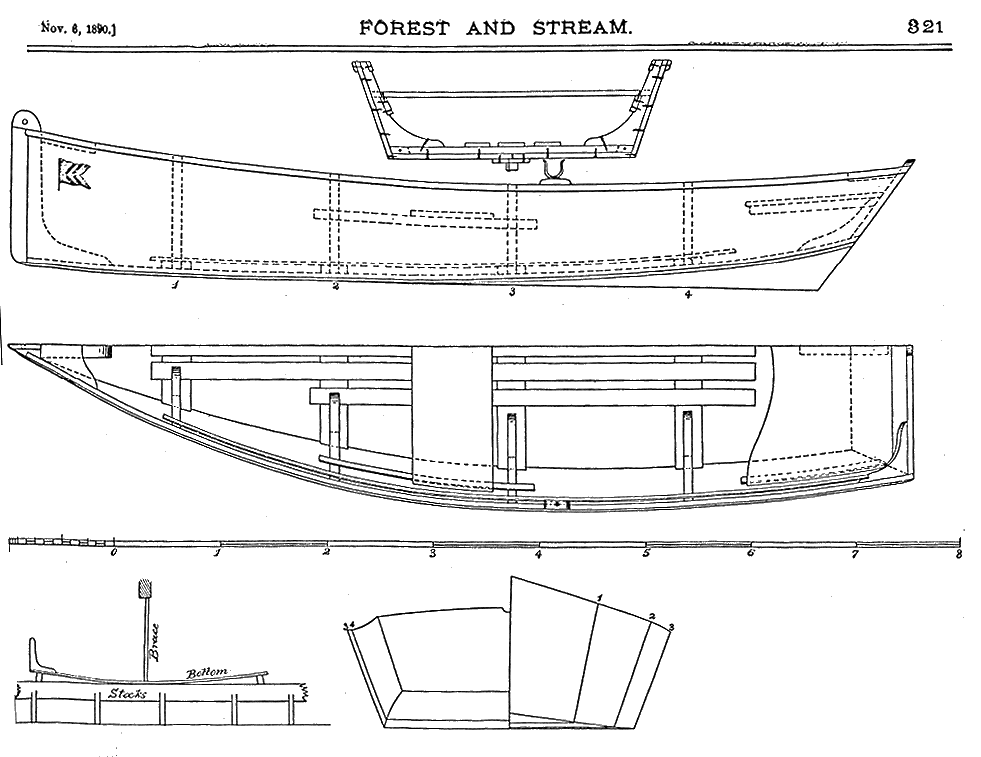
I stumbled upon a dinghy design that I really like (mostly) and plan to make only a few modifications to it. The design is rather old, appearing in an 1890 Forest and Stream. The designed skiff comes in at 8.5 feet long and 3.5 feet wide. This is close to the size I'm looking for, but still on the big side.

We have a maximum of 10 feet available on the deck, so I'm looking to occupy it with something around 7 feet long. Shortening the span between the stations will bring this boat down to size and give us the wiggle room we want and need around the stowed boat on deck.

I am also going to change it from a flat bottom to a slight Vee bottom. Tooth is a flat bottom, and Maddie and I both hate the sound of the waves slapping into it. The first time we launched it, we thought something had broken because it was so loud! To avoid having that happen again, we are going to add a bit of a Vee to the hull, allowing it to cut through the waves rather than smacking them harshly.

This design is around 126 years old, and there have been plenty of skiff designs between then and now! Why this design? Why not a more contemporary model? Most all contemporary designs are for prams (which look ugly to me) and plywood construction.

I desire something with a pointed bow, allowing us to row into surf if we need to, and a carvel plank construction using "real" wood instead of plywood. I went back in time to find plans for wooden dinghies, before playwood and "stitch and glue" had dominated the scene.

Stitch and glue construction is fast and rewarding, it's how I built Tooth; but it doesn't hold up as well as I would like it to. Tooth has had a rather rough life, being towed over 800 miles in his first year after launching. In one year, Tooth has also shown significant amounts of wear and tear.

I hope that a heavy carvel planked hull will hold up to these abuses a bit better.

As you can see, the plans are not very extensive (that single page is what I'm going off of). There are no scantling numbers given, or diagonals or buttocks, simply a very basic line drawing with a station view.

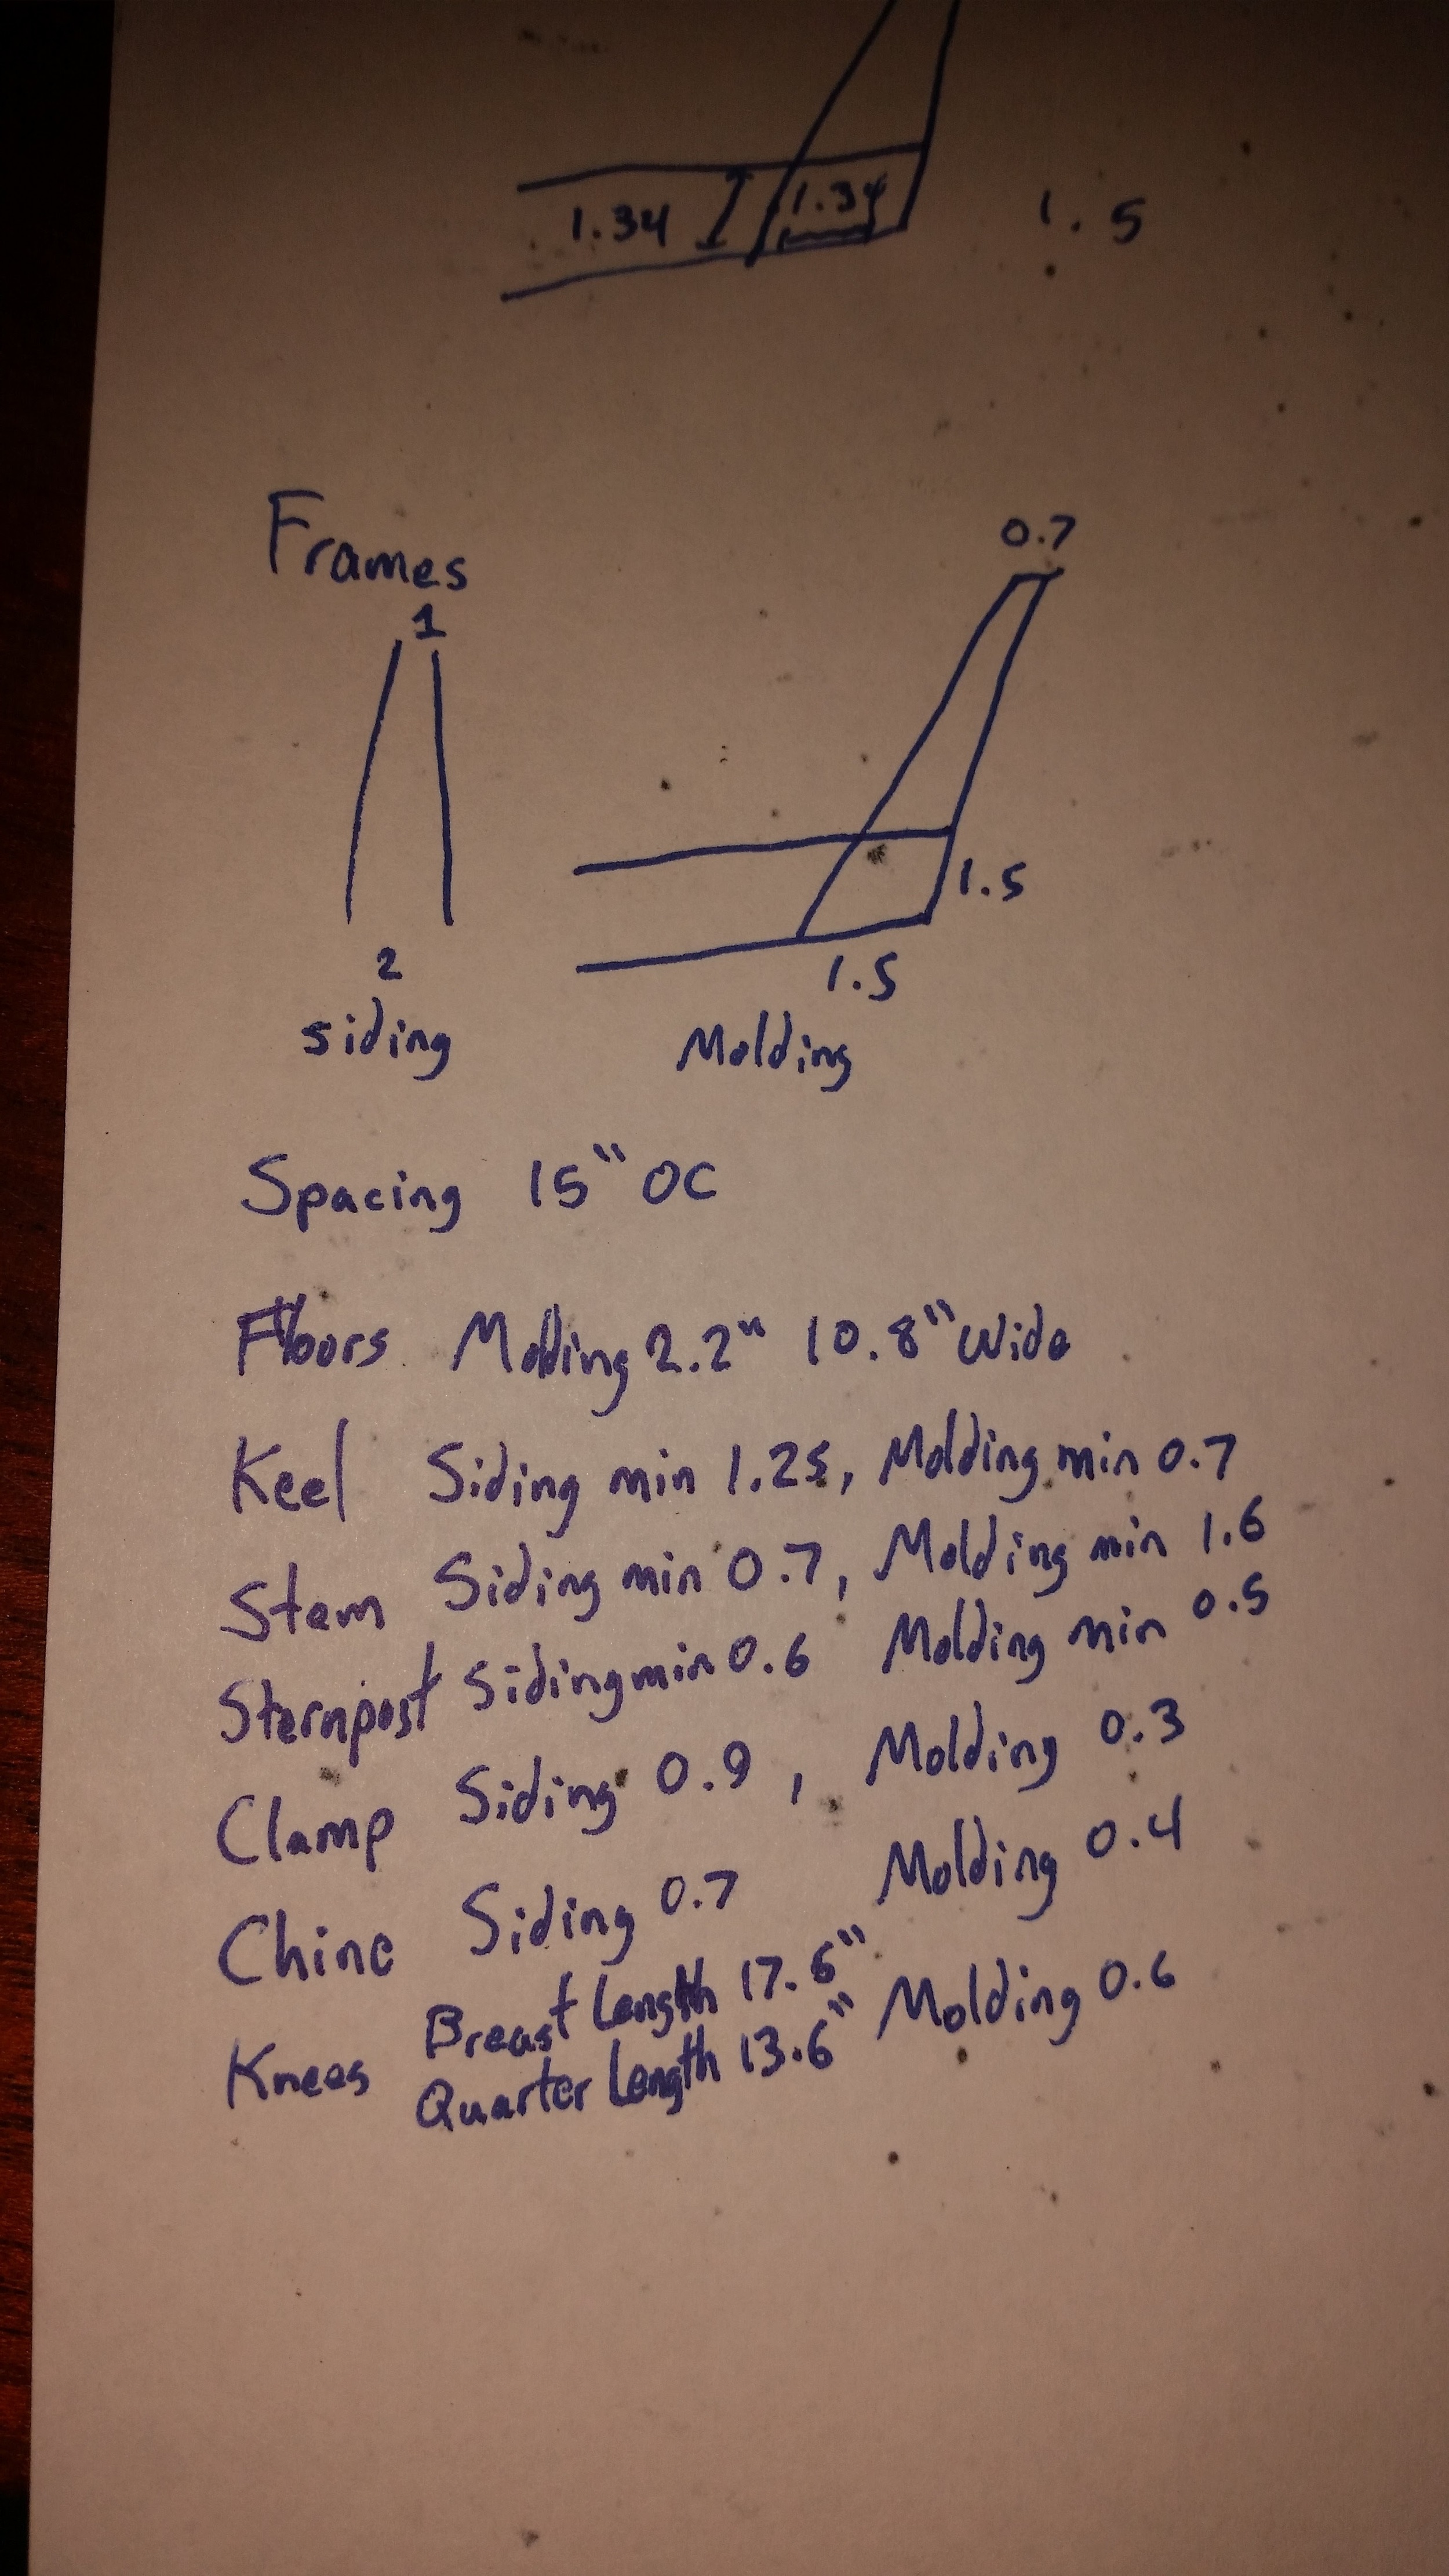
I took to Herreshoff's Scantling Rules to calculate the needed dimensions for the parts at play. I did upsize a few of the key points (keel, frames, stem, and planking) to give me a bit more strength out of it.

With the basic calculations in place, I set out to collect some lumber to begin construction. At the moment, the plan is to build the entire dinghy out of Douglas Fir (Oregon Pine); but the planking might end up being out of cedar if I can't locate clear stock at a good price.

Since I am changing the design a bit, I'm going to begin by building a mold out of 3/4" particle board. This will allow me to visualize the hull form better (and make sure it fits in its intended location on deck) before construction begins. From the molds, I can also pick up the frame bevels by running battens along the hull, making final fabrication of the frames all the easier.

Lastly, having particle board templates of all the pieces needed will make cutting out the actual pieces from the wood all the easier. Instead of doing proper lofting, I'm going to cheat and use the mold as my templates.

Storing the Sculling Oar

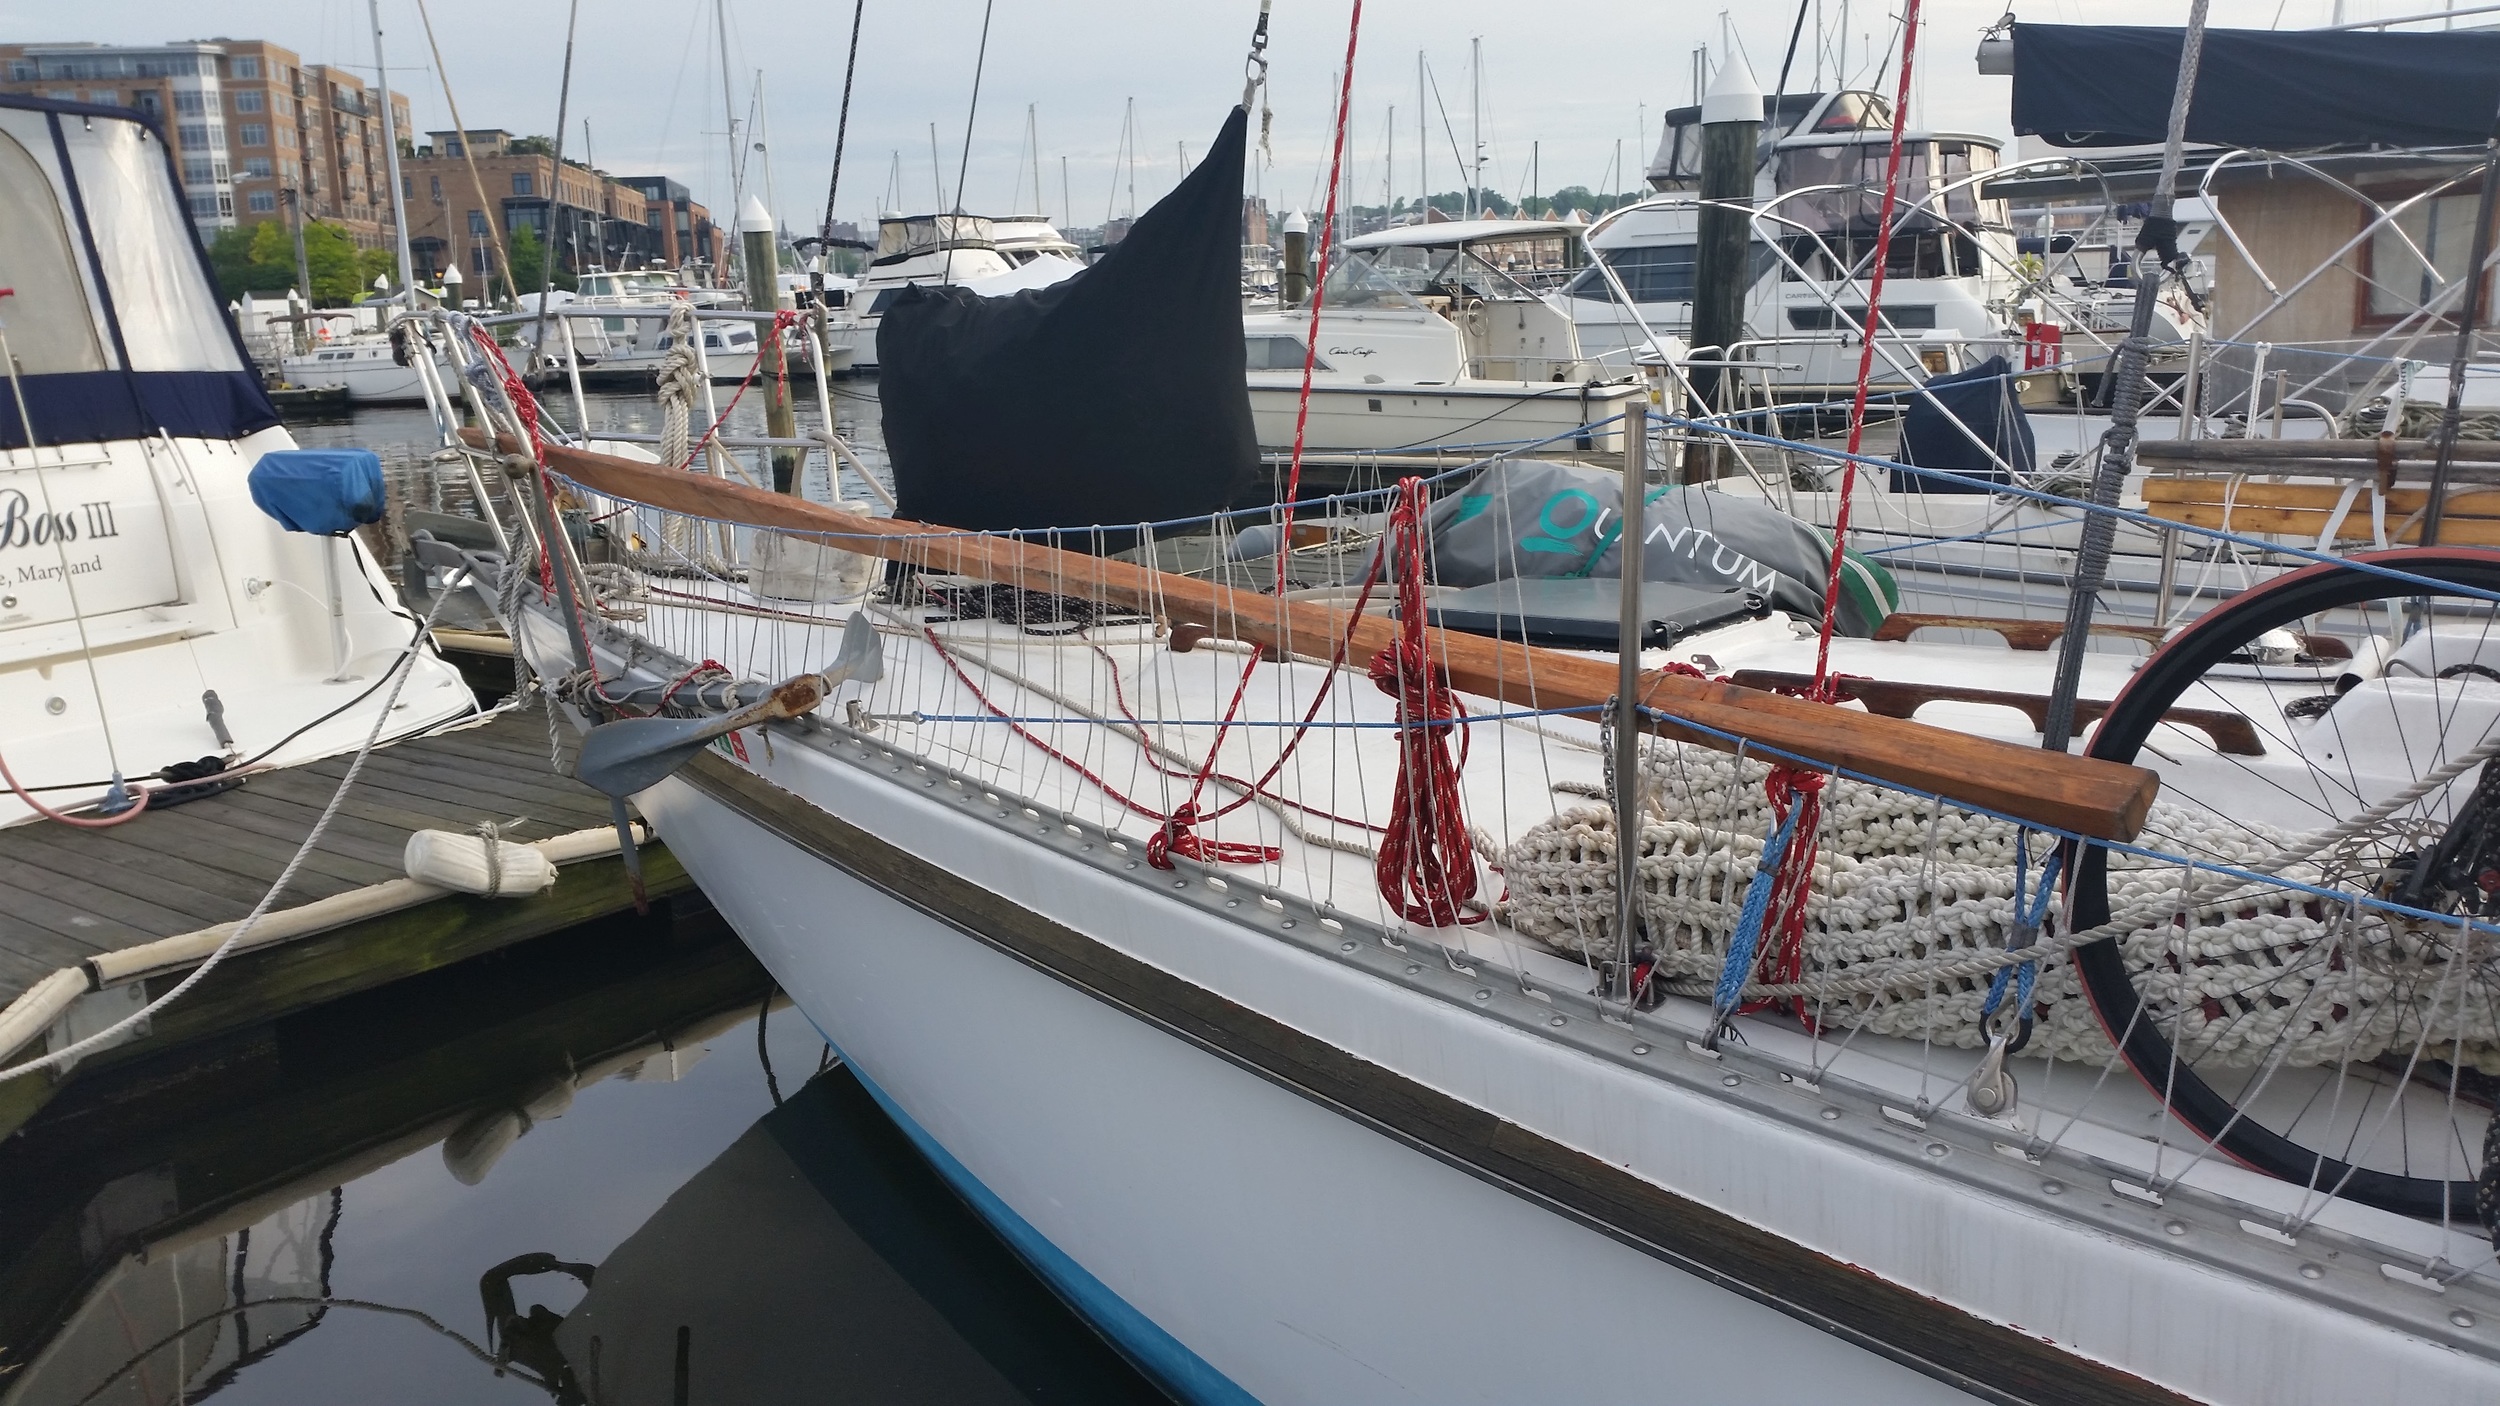
The sculling oar is very useful, and it is very big! At 16 feet long, this oar is a bit of a challenge to store. I have many lines running on the deck with all the sails and I always worry that the oar will foul a line. 

Getting the oar out of the way has become a high priority for us. I decided to tie it to the lifelines that way it is available for use when needed but out of the way when not. At 16 feet in length, finding a span that was straight enough and out of the way proved difficult. The shrouds were my first logical choice, but the curvature of the hull was too great in this region. The oar was also at great risk of getting hooked on a sheet and breaking! 

The next location was the stern, but it would get in the way of the winches and sheets if set horizontally. If set vertically, the oar might be too much windage.

The next option was to set the oar up in the bow area. Tying it to the lifelines, stanchion, and bow rail seemed to get the oar out of the way while being clear of all sheets. It also lays lower than the foot of the headsails, so it would remain completely out of the way.

The oar is neatly stowed on the bow, out of the way but also ready for deployment when needed.

Sheathing the Tiny House

The plywood sheathing that wraps the house serves many purposes. It helps keep water out of the structure as construction progresses but it also provides stability to the tiny house. Plywood is composed of three sheets of wood oriented with different grain directions.

Some plies have vertical grain, others horizontal grain, and the rest have diagonal grain. This gives the plywood strength in all these different directions. A square of 2x4s can easily collapse, but when it is sheathed, it will hold its shape under incredible loads!

Sheathing the tiny house in plywood enables us to remove the wooden stays as stability is introduced tot he structure. 

My dad and I would position a sheet of plywood and tack in a few screws to hold it in place, then we would add a few more to keep it well attached to the house. Later, we would run around the house placing a screw every foot in each stud of the frame. This ties the house together with such great strength that we felt confident enough to stand on the tops of the walls while working on the roof.

The problem is, there are lots of studs and tons of screws to drive in! I highly recommend using a drill with a driver on it, as it makes the process proceed incredibly quickly. Light weight is another wonderful feature, as the drill will begin to feel heavy and make stabilizing the unit hard as the work progresses.

Even with the ease of power tools, driving in each screw is very time consuming. Maddie spent an entire afternoon sheathing the "no door" side and front of the tiny house!

Lastly, cordless battery powered drivers are amazing! You never have to worry about the plug separating or the cord not reaching. Lastly, have fun while you do it because you are building your tiny house!