Reef Clew Line, a closer look

An alternate method to rig the reef clew line discusses leading the reef clew line over the leech of the sail and back onto the same side. This will ensure that the sail is pushed out like a window blind during reefing rather than getting bunched up under the clew line.

You can see how the clew line is led through the sail and up to the clew reef cringle, back over the leech and through the reef block on the boom. This will ensure that the sail is kicked to port as the sail is reefed and the vertical sections of reef line will shield the sail cloth from getting pinched in the reefing system.

The downside to protecting the sail in this manner is the leech will suffer from chafe as the clew line will constantly rub this area. This is easily maintained with a chafe patch (a sacrificial piece of sailcloth placed in an area of wear that can easily be replaced while protecting the underlying sail).

Fixed vs Folding

The salon table is an important piece of furniture in a sailboat, and they come in many different styles to meet the varied needs of different sailors and liveaboards.

In their simplest form, tables are a horizontal surface which provides space to support objects. In a boat, horizontal surfaces are in short supply, so the salon table becomes the main table for everything that goes on in the boat. Since this table is so important, bigger may seem better! Sailboat interiors have limited space, the larger the table the less residual space you will have for the remainder of the interior accommodations. Since interior space is limited, the struggle between size and usability has been churning on.

Small tables can provide space for one person to eat a small meal, and take up almost no space. This leaves the rest of the interior unobstructed! This may seem great until you have someone visit for dinner and you have to take turns on who gets to use the table.

20160519_170728.jpg

Mid-sized tables offer more space for eating and working and only take up a bit more space. They offer enough space for two people to eat on the same table at the same time, or space for a small chart book. 

20160523_071751.jpg

Large tables offer space for many people to sit at and eat at the same time and space for projects, all on the same table. These tables are also large enough to set out full size charts. This may seem great, but these tables also take up a lot of space! 

Since we all want the biggest table possible, we first need to evaluate what will fit in the boat. If you have a narrow boat, maybe a midsized table is all that will fit. If you have more beam and length in your salon, then a larger table might still fit. The big question with tables is: "What do you do with them when you are not using the table?" 

Space is a premium on a boat, and if you have a lot of space, why would you want to occupy all of that space with a table? Island Packet offers a large table that folds up on the wall in the salon. When you need the table, you can lower it down; when you are finished with the table, you can fold it up onto the bulkhead to open up the very spacious salon!

Source: http://ipy.com/wp-content/themes/ipy/yacht-gallery/360/4.jpg

Source: http://ipy.com/wp-content/themes/ipy/yacht-gallery/360/4.jpg

Source: http://ipy.com/wp-content/themes/ipy/site-images/360-main.jpg

Source: http://ipy.com/wp-content/themes/ipy/site-images/360-main.jpg

These tables offer plenty of space when they are lowered for projects and entertaining. When the tables are stowed and out of the way, the salon is opened up and the full beam of the boat is available for whatever you want!

The downside to these tables is they need to be completely cleared to be put away. If you have a long standing project, it can't live on the table when you go to stow the table. 

The other downside with these tables is they will always maintain themselves parallel to the floor. This means that as the boat heels over, the table will lean with it and everything sitting on the table will slide towards the low side. Table fiddle blocks will help keep plates from sliding off the side, but you will still have to deal with everything settling on one side of the table. 

A fixed mounted table can be gimbaled, allowing it to swing with the boats motion to keep the table top flat and level with the water. This is very useful on long tacks when you want a flat surface to eat on. Our table has a bolt that locks it in place (making it not gimbaled) which we keep installed while in port.

The alternative to a stowable table is a fixed table. Fixed tables will permanently occupy a section of the salon and can not be removed to free up space in the salon. This is a sacrifice, as the salon is a highly used area on the boat. 

20160523_071831.jpg

The advantage that a fixed table has over a folding table is the fixed table can hold a lot of storage! The entire table base can be serve as a large storage area. On Wisdom, we keep all our bed linens and games in the table.

When deciding which table you want to have, you need to evaluate how you will be using the space in the salon. If you do a lot of projects, a fixed table is very handy. If you do yoga, a folding table is very handy.

If you already have a table in your boat, you know that you can learn to live with whatever type of table you have. Maddie has expressed interest in removing the fixed table and replacing it with a folding table on the bulkhead. After showing her how much storage we would loose and how little space we would gain, we quickly discovered that she could do her yoga in the area between the galley and the salon (a much easier alternative). 

Squaring the Walls

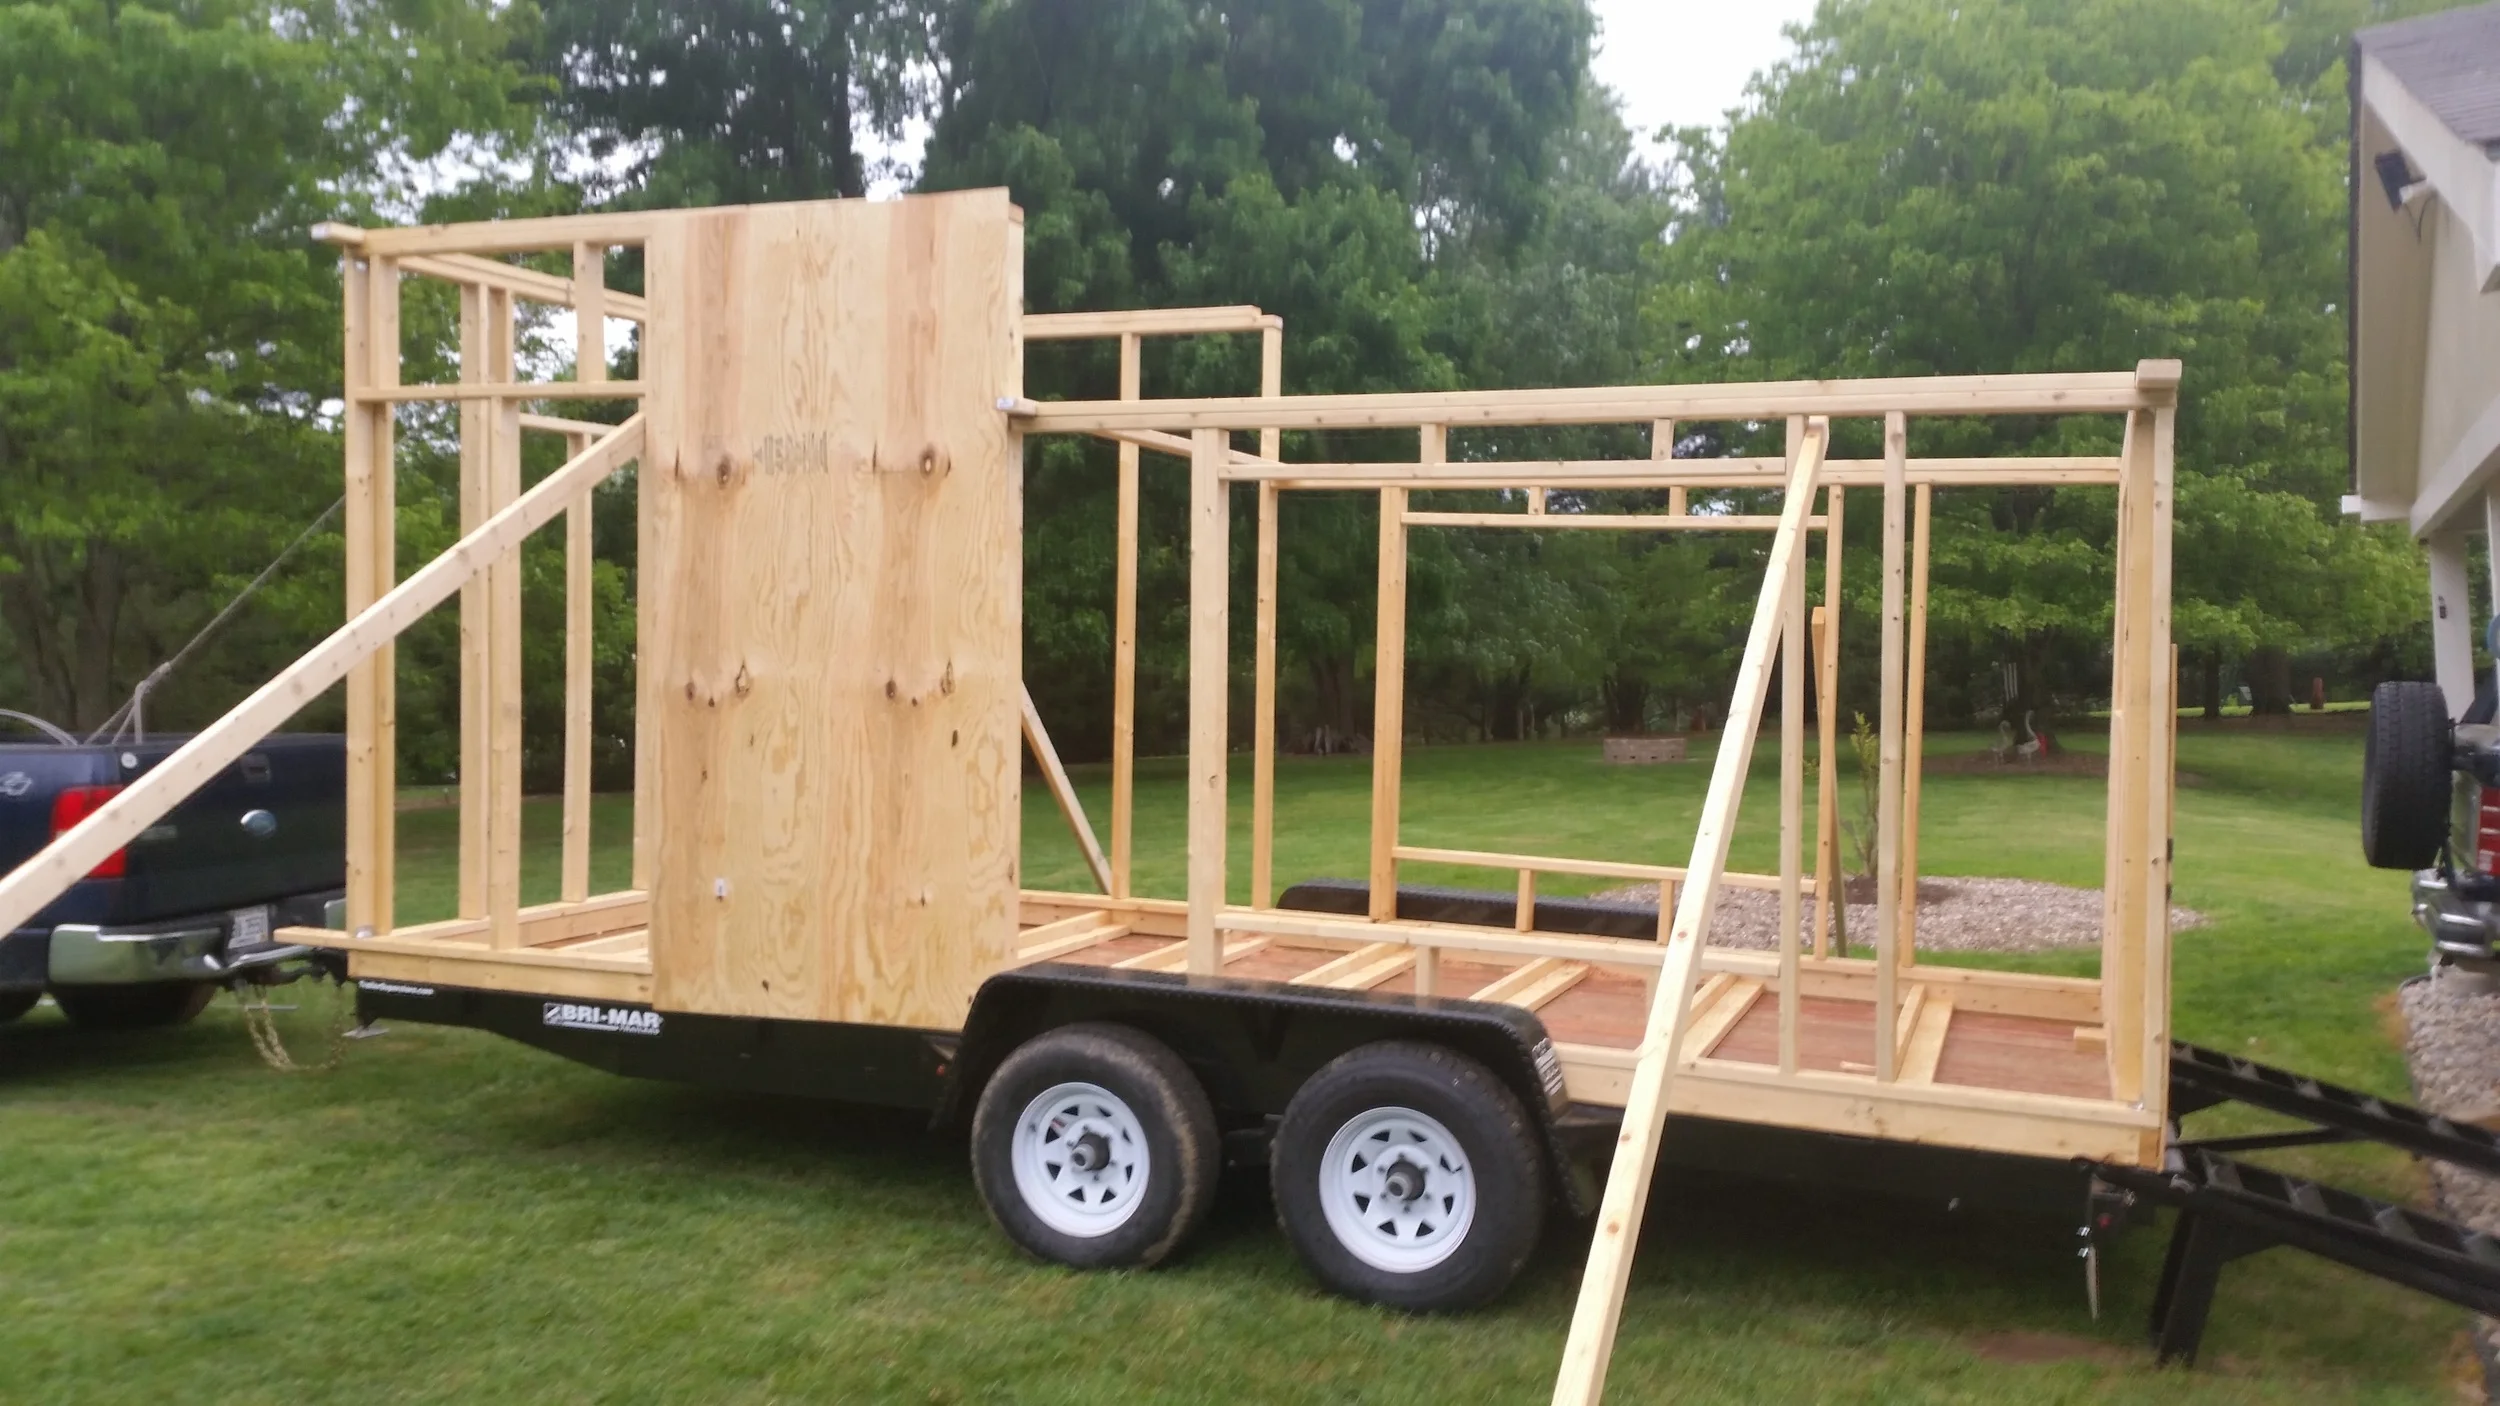
Now that the walls have been erected, it is time to square everything up. The wall frames contain notches at their corners where support boards will be placed to hold the tops of the walls steady as we build. By setting the upper width equal to the lower width, the wall becomes a rhombus, and slight adjustment will convert it into a square.

These support boards can be seen hanging out beyond the wall frame. They are nailed into place but need to be removed as construction progresses. Nailed boards can be reluctant to release, so the ends hang beyond the frames so we can bang them upwards to remove them at the appropriate time.

Now that the frames are all tied together, it is time to square the structure. The lateral slant was addressed first, then the fore/aft slant was taken care of later. To set the lateral slant, my mom stood at the corner of the structure with a square and measured as my dad and I pushed on the wooden stays to align the walls. The principle is simple, the stays inhibit the walls from falling towards them, and since they are all tied together, the structure is stable. If we needed to go in one direction, we would lift the stays out of the grass on the side we needed to come towards and push on the opposite side. This would pull the frame over and straighten the whole assembly. We oriented the short side first, then the taller side.

To set the fore/aft slant, I tied a bowline to the top of the front wall and led the line to a strong attachment point in the bed of the truck. I tied a bight in the line and formed a truckers hitch which gave me a purchase system to pull the assembly forward in a controlled manner. Once it was square, I tied off the truckers hitch and verified that the structure appears straight in respect to the trailer.

Once both axis were rectified and squared, we began sheathing the structure in 1/2 plywood. This locked the structure into place and prevents any wracking of the frames. As the plywood panels were installed, we began taking down the wooden stays.  

Our next step will be to fully secure the plywood sheathing to all the studs.

Initial Setup of a New Stay

After the stay is run up the mast and connected to the mast tang, the deck level attachment becomes the top priority. There are two ways to set up a stay:

  1. Stay to deadeye to chainplate
  2. Stay to deadeye to turnbuckle to chainplate

I have set up my old rigging via the first method, and this worked well but it was very time consuming. Each time I wanted to tension the stay, I needed to set up the purchase system. This took me a few hours each time I needed to tension the stays. While the system worked well, it was time consuming. In the interest of saving time, I decided to set up the check stays following method #2.

If you wish to have turnbuckles at the end your stays, I still recommend having a deadeye as it gives more flexibility when dealing with creep during the first phase of the dyneema lifecycle. Phase I is characterized by rapid elongation due to creep, which translates into weekly tensioning of the rigging. If you only have deadeyes, you will need to set up the whole assembly each time you need to tension the rigging. By connecting the deadeye to a turnbuckle, the deadeye can be tightened by hand and tied off, then further tensioned with the turnbuckle. Once the turnbuckle is two-blocked (fully closed; it relates to a pulley system when the two blocks are touching), simply open the turn buckle and take the slack out of the stay with the deadeye, then re-tension the turnbuckle. 

If you are going to use turnbuckles permanently, the turnbuckle setup would include a double jaw turnbuckle. If you are only going to use the turnbuckle for a few weeks while you get through Phase I, then simply tying a hitch to the cut end of the stay will suffice. 

Eventually, I will set the check stay up like all my other stays, using only deadeyes; so I cut the 1x19 cable close the the terminal fitting and tied the deadeye to the system. 

The deadeye is simply hitched to the old stay on the turnbuckle with the upper part is assembled as normal. This allows me to tension the stay by simply turning the turnbuckle. Once the turnbuckle is two-blocked, it can be opened and the slack taken out of the system with the lashings, then to be re tightened with the turnbuckle.

Each time the stay feels bar tight, I heave hard on the stay (not really apparent in the video) to apply lateral tension to the stay. This will stretch the stay as it settles the splices. Even though I had hung the truck from the stay, I still had some constructional stretch left in the stay that was removed by this method.

When I began, the turnbuckles were completely open and the deadeye lashings were around 8 inches long. By the end, the deadeye and stay were two-blocked and the turnbuckle only has 1 inch remaining before it was also two-blocked.

Once all the fittings are two-blocked, I will shorten the hitch to the deadeye which will bring the distance down a few more inches. After everything is fully two-blocked and there is nothing left to tension down, I will return to the conventional method using only deadeyes. Even though the end step is the same, I did save a lot of time by holding onto the turnbuckles for a little while.

Morty is a Happy Dog

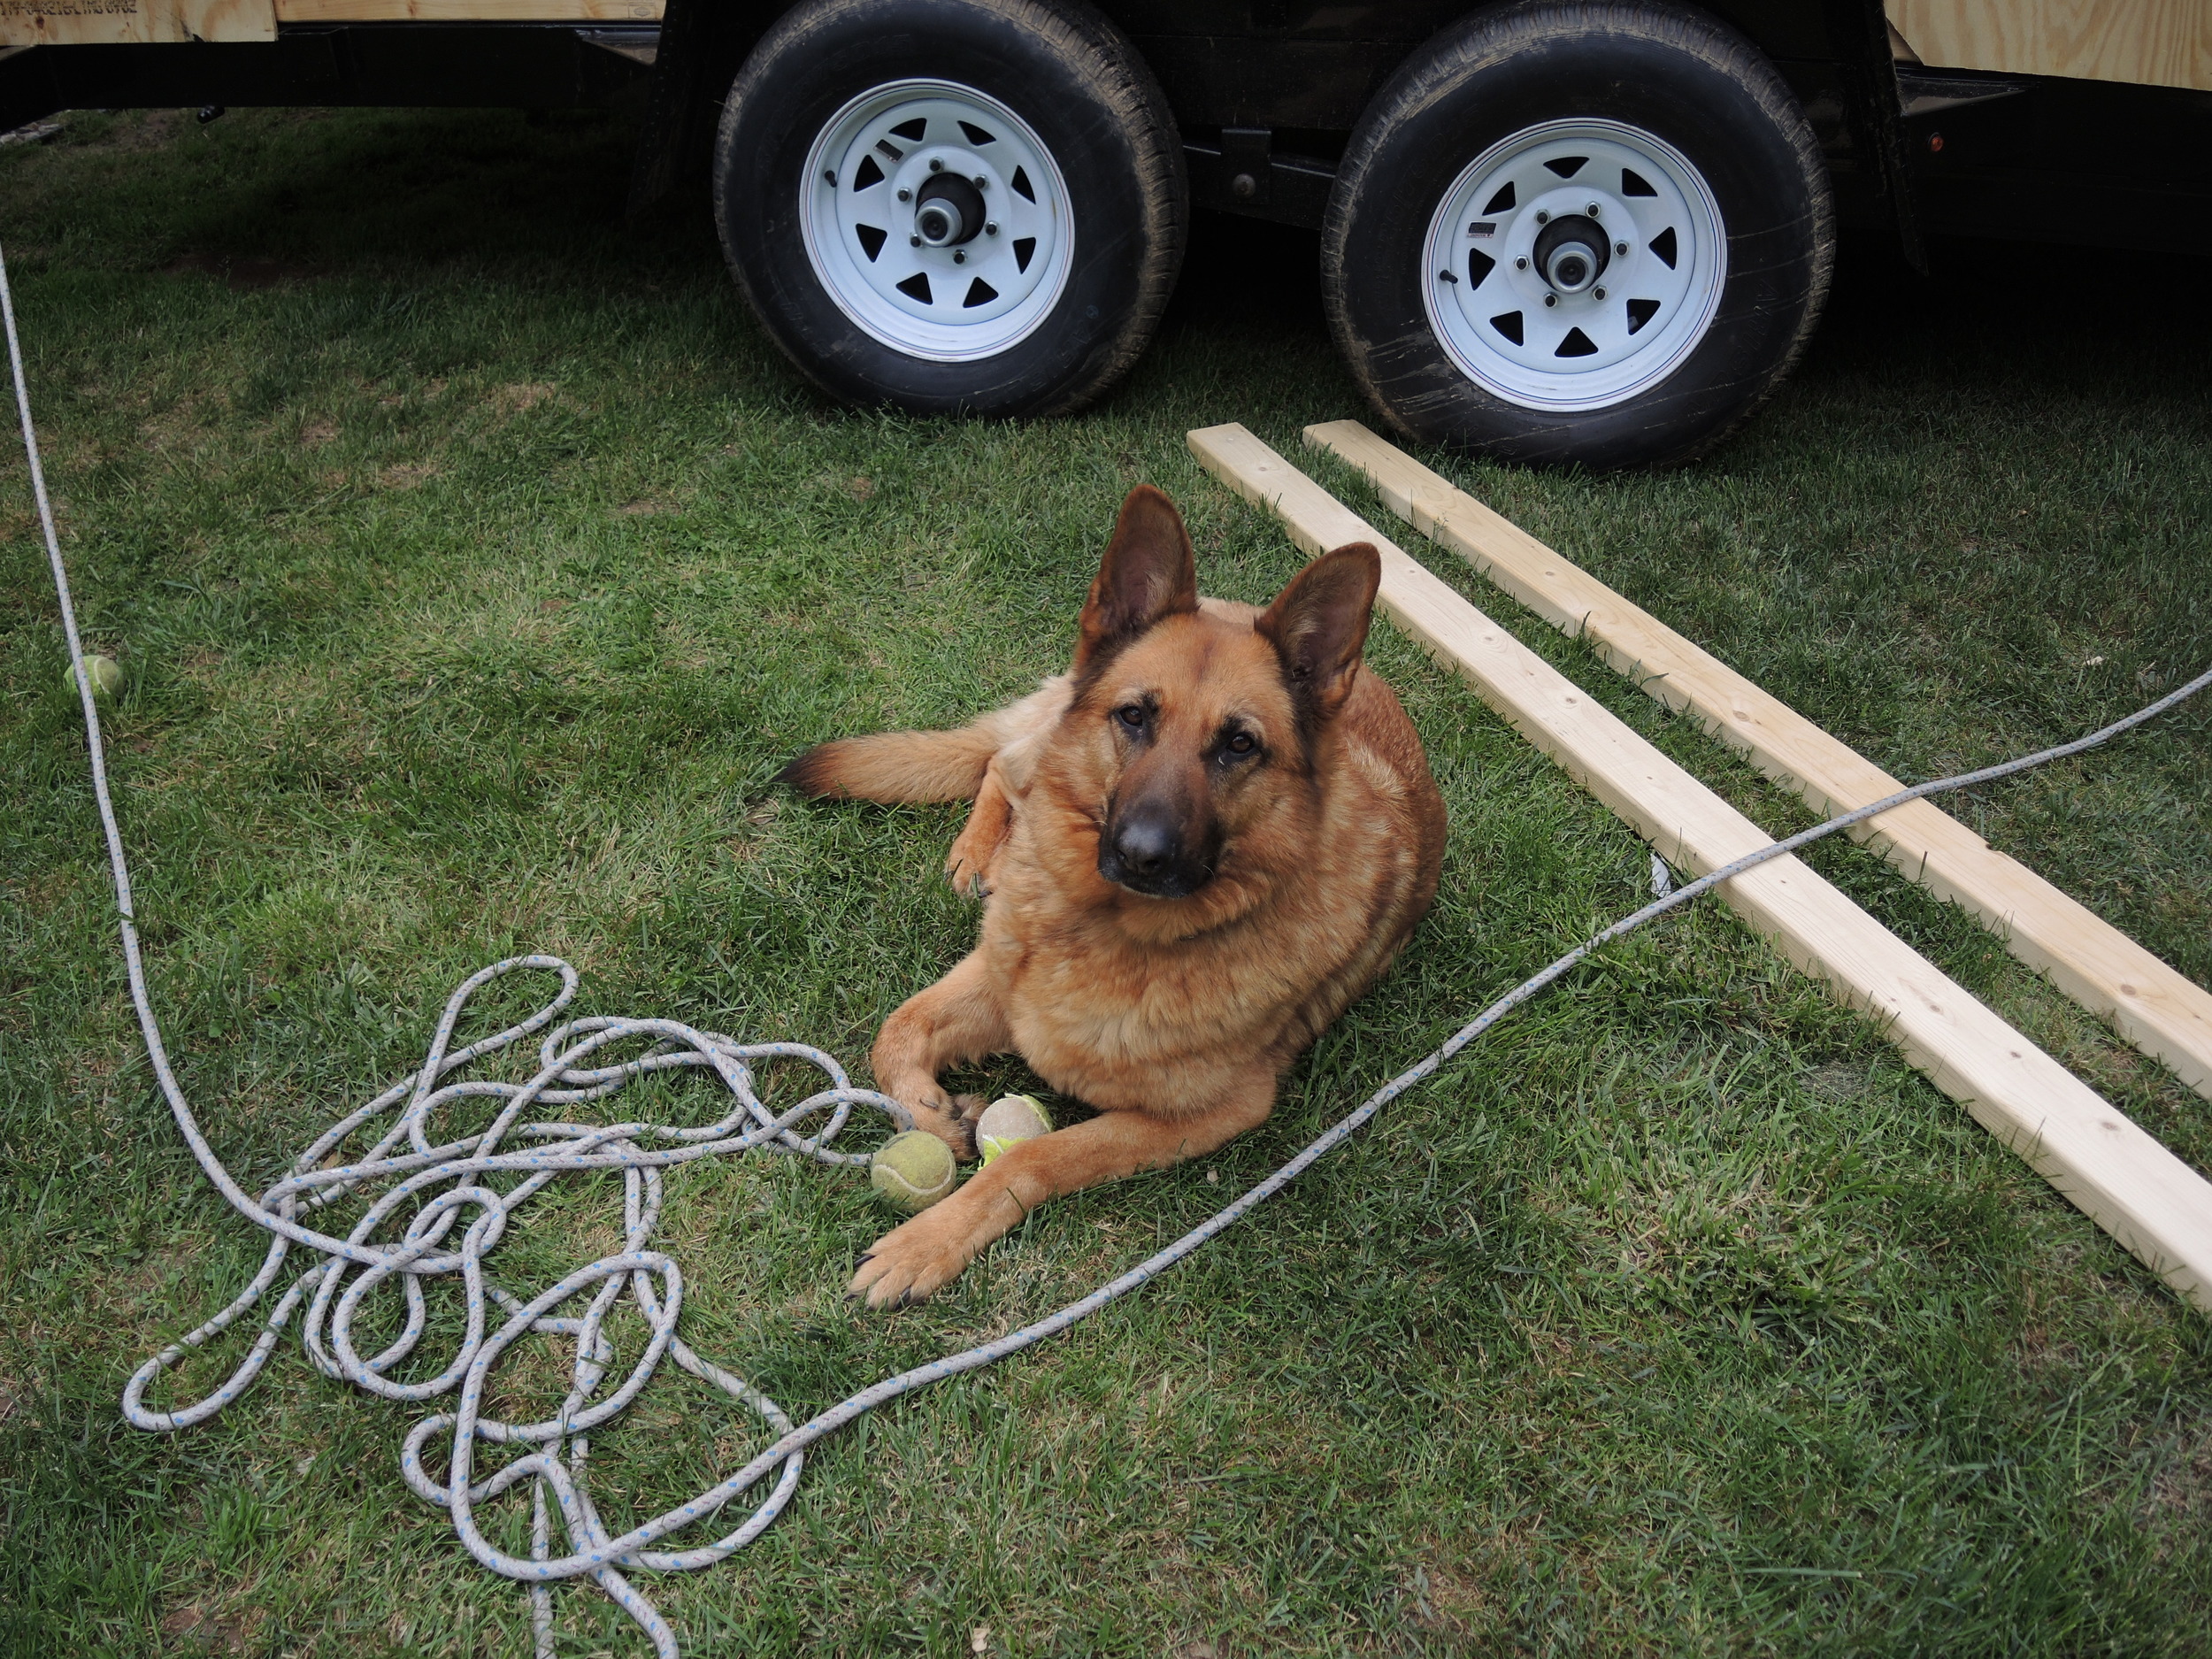
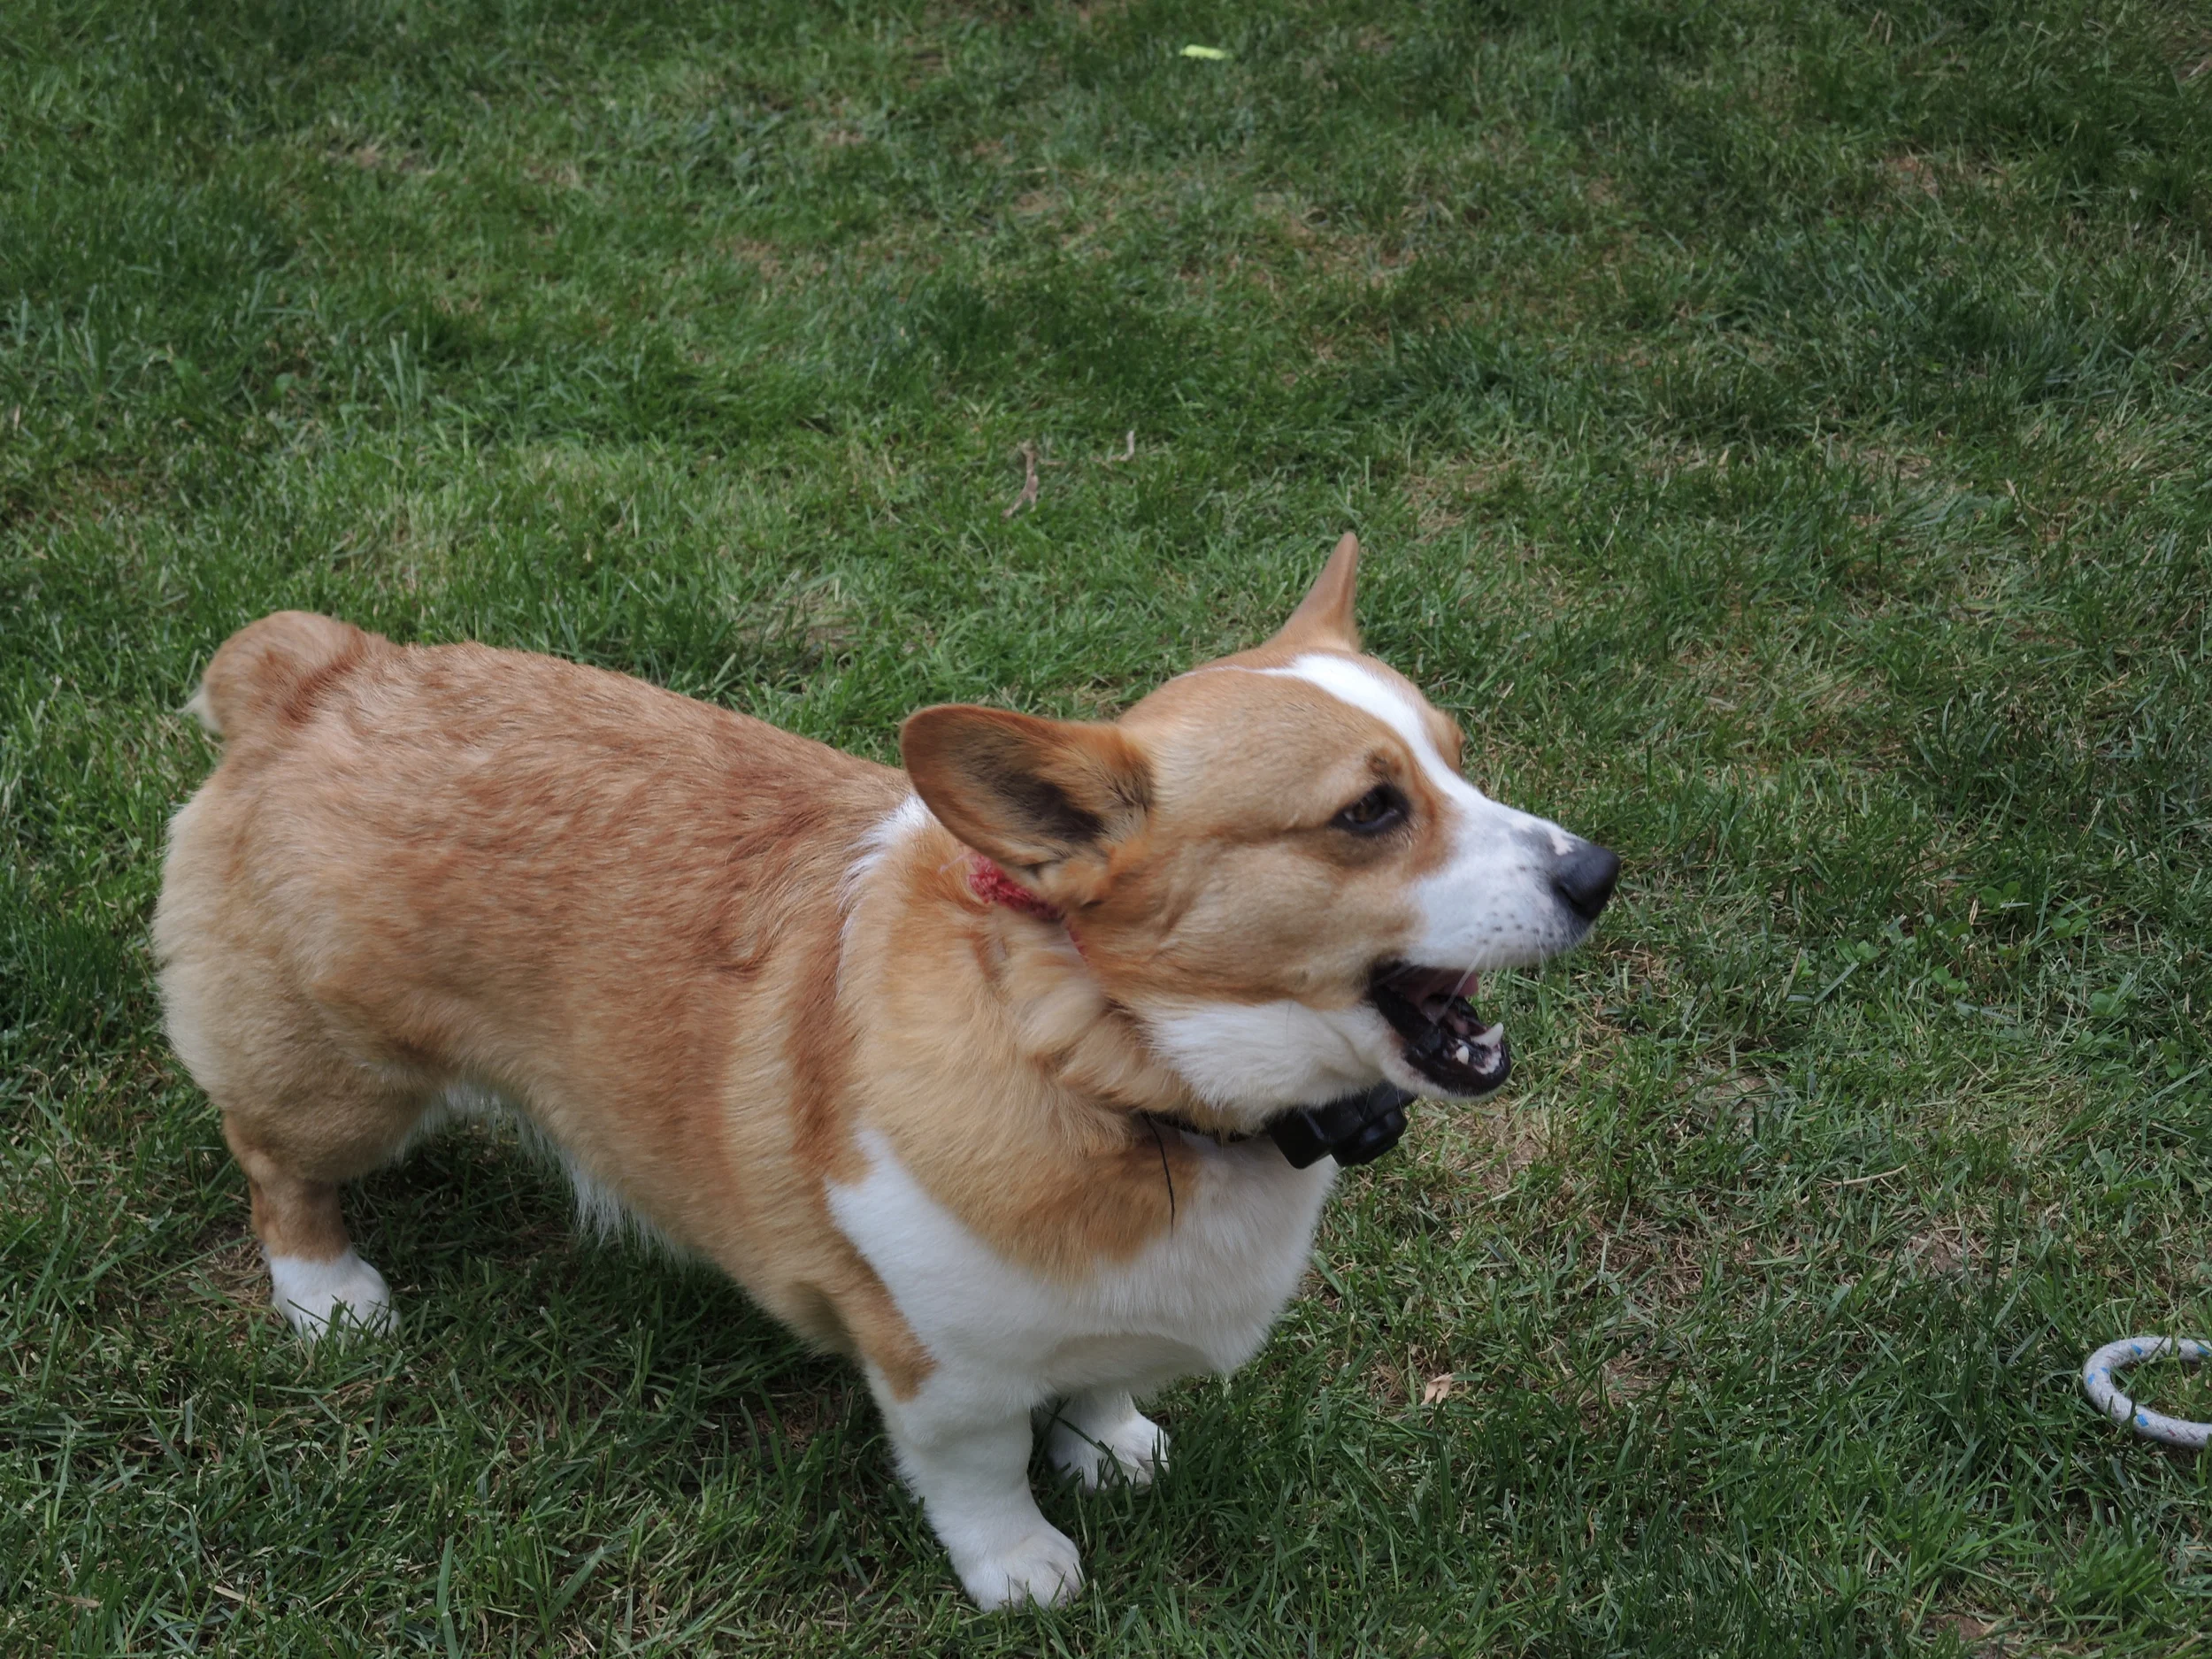
Morty had a good day! He got to play with Ginger all day while we worked on the tiny house. 

Ginger loves her tennis balls, and the happiest day of her life is when she learned how to carry two tennis balls in her mouth. Morty likes to steal her tennis balls and run around her. While she is considerably faster than he is, he always escapes by running under her!

The two of them will play, then relax, then play some more.

Now it is time for sleep, and he is ready for bed with a smile on his face!