Building the Trusses

The roof line on the tiny house will have two different roof sections. The "Great Room" will have short walls and a steep roof pitch to help shed snow weight. The lofted bed section will pop up and the roof will have less of a pitch as a result. This means that the end trusses will have different different pitches. The great room will have short walls (5'4" or 64") while the lofted bed section will have much taller walls (7'4" or 88"). The roof will be pitched at the necessary angle to bring the peak up to 13'. 
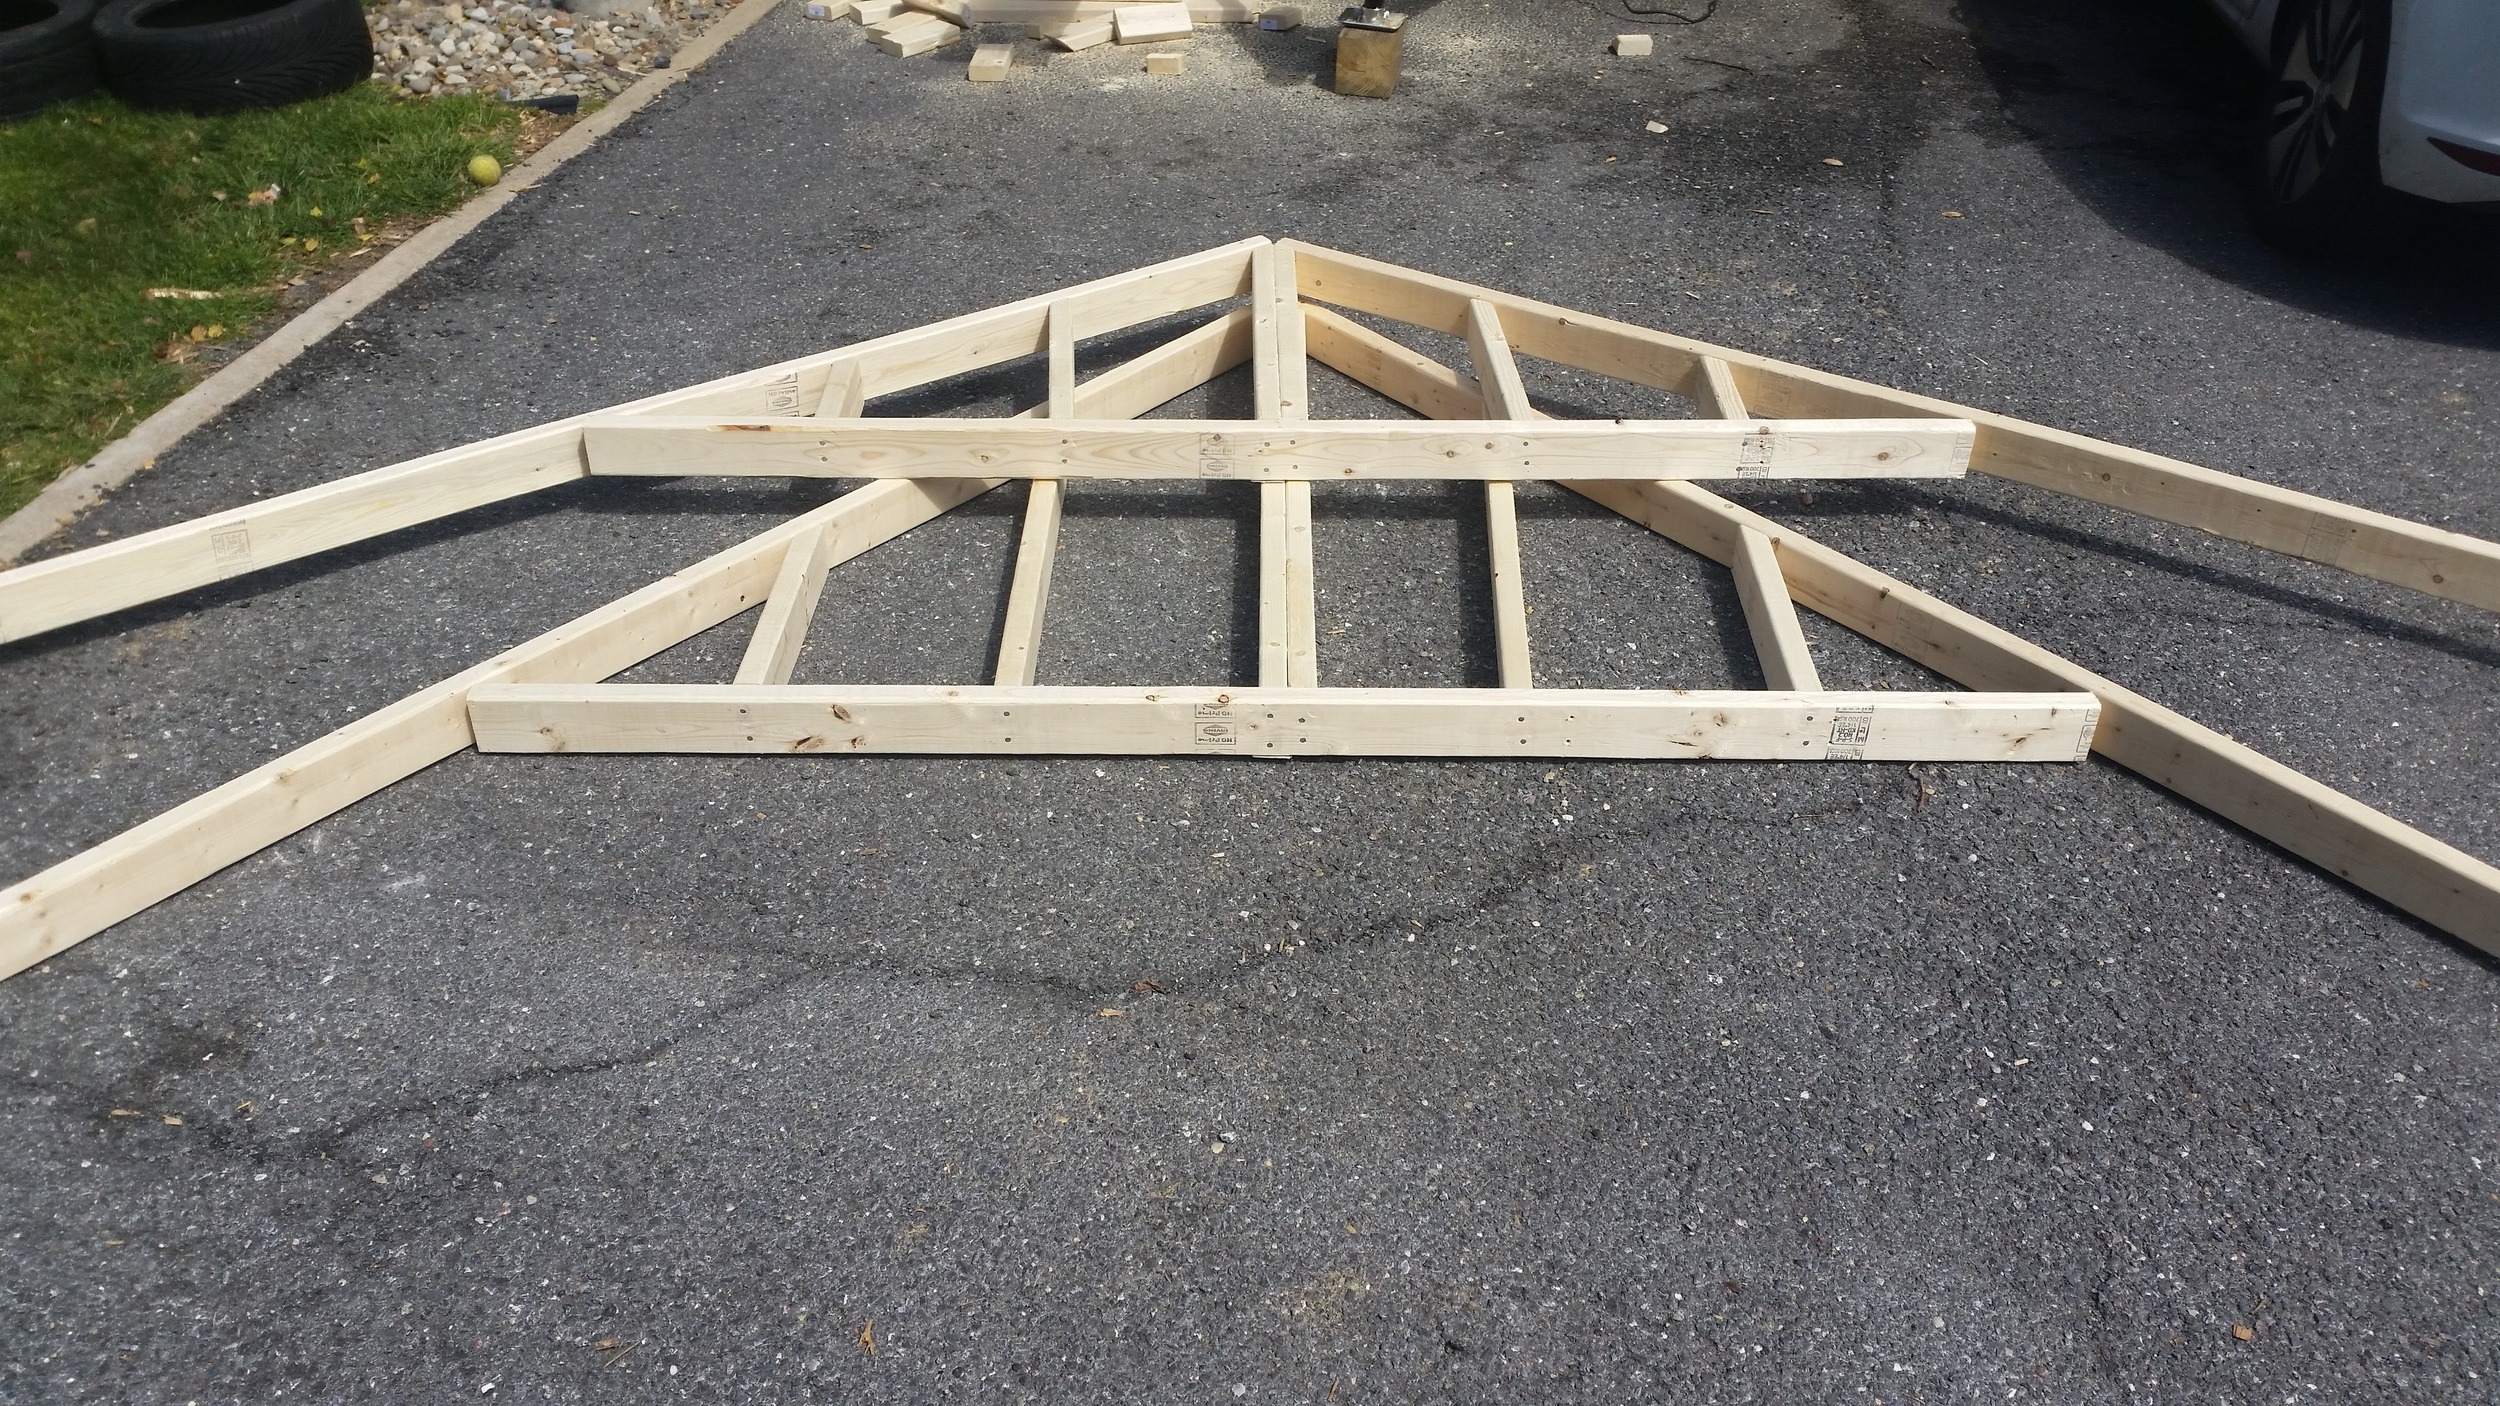
I could have done the math to calculate the pitch of the roof, but instead I simply assembled the main support, and then set a beam on the section to spile the angle onto the beam. The angle was then cut with a saw and finished with hand tools. 

The main beam was set to the proper length and attached to the top of the walls frame. Then a board was set on the top of the frame and the edge of the wall. The angle was copied onto the beam and then cut off accordingly. The frame was then finished off with hand tools.

The beams between the middle and end were measured and cut in place. After everything was fitted, all the boards were nailed together. The difference between the two pitches is grossly apparent. The short roof will sit over the lofted bed, while the steeper pitch will sit over the rest of the house.

The rest of the trusses will be built and cut in place once the walls are up. The trusses will be attached to the ridge beam and rest on the tops of the walls. They will be held in place by hurricane anchors and nails.

Sailing a Tom Colvin Gaff Rigged Schooner

Tom Colvin was a naval architect who is revered for his extremely sea worthy steel sailboats. A friend of mine invited me along to take a look at one that has been sitting in the water for the past 6 years with no maintenance. The motor was dead and the rigging had been neglected, but at her heart, she is a sailboat who wants to explore!

With no motor, we sculled her out of her slip and almost made it out of the marina when the wind picked up. The headwind sent us right back into the marina and we changed course for a near by pier. After tying up, we ran a warp line from the schooner to the finger pier at the end of the marina (approximately 200 feet away) and secured the bitter end to a mooring cleat. Then we began pulling the boat by the warp line until we cleared the gap and came alongside the finger pier. The wind was directly on our nose, so we walked the boat all the way around the marina until we in a more favorable location. The wind was now on our beam and we would be simply push off the edge with plenty of seaway to get the sails up, kind of like jumping off a cliff with a glider.

We raised the staysail and foresail as we readied for launch. Once free of the pier, we raised the mainsail and jib and began our shakedown cruise under full sail! 

Gaff rigged schooners are an entirely different animal from any modern day rig. They carry immense amounts of sail area close to the water to avoid excessive heeling. The sails are spread out fore-aft instead of up-down. Since the sails are shorter, the masts are also shorter and rigging loads are lesser. This translates into much less tension on the stays allowing them to be easily rigged with wooden deadeyes and lashings. These large broad sails also require extra control lines which offer endless adjustability.

On a normal triangular sail, there are three corners (head, tack, clew) where on a gaff rig, there are four corners with their own names (head, throat, tack, clew). These extra control lines add extra complexity to sail trimming, but endless possibilities are available to you. Twist is entirely up to you as you can sheet in the end of the gaff to cup the sail or sheet it out to spill excess wind. 

We sailed around the inner harbor for a while, tacking and jibing our way up the river. Then the time came for me to return to shore, as I had an afternoon appointment that I needed to attend. The plan was to beam reach over to the pier and glide up alongside it, dropping sails and coming to a stop. What really happened is we lost our wind as we approached, lost our speed and started drifting to leeward putting us on a collision course with the fuel pier. 

We turned downwind to lessen the impact and to try to bring the boat broadside to the pier. The main concern was the 8 foot bowsprit taking out the fuel pumps! As we came in for the collision, two of us jumped ship with docklines to cleat them quickly and bring the boat to a halt. 

Thankfully, no damage occurred because The bobstay absorbed most of the impact and the steel hull was unphased by the collision! This was the conclusion of my journey aboard this wonderful steel schooner, but just the beginning for my friends who are looking to acquire her.

They are planning to circumnavigate the Northern Circle, sailing North of Canada, Alaska, and Russia. A steel hull will be a dream come true when dealing with icy waters, and a gaff rigged schooner will be wonderful during high latitude gales. 

I look forward to seeing their story progress through the years!

Bargain Bulk Buys on a Boat?

People on land love to shop at stores where you can purchase goods in massive bulk quantities. My mom shops at Costco all the time and is always storing cases of foods and other items. This is fine if you live in a house with small rooms called pantries. 

On a boat, space is a luxury! There simply isn't enough space to store such large bulk purchases all the time. We usually purchase items in much smaller quantities more frequently.

Instead of having a case of spaghetti sauce in a cabinet, we have a single extra jar. For items that we don't use as often, we might not have a spare on board. When we run out, we run out until we get to another store to purchase a replacement.

This leads us to be more aware of what we have on board the boat, since we recently put it there. If we had stashed the case of spaghetti sauce away last year, we would have probably forgotten about it hidden away in a cabinet. Since we frequently use them and replenish them, we are very aware of what we have and where it is.

This lifestyle is fine, until you come across a really great deal!

I was at West Marine one day when they told me that they were having a crazy sale on bottom paint. I plan to haul Wisdom and Windpuff this fall to paint their bottoms, and will be needing a lot of paint. If I buy it in the fall, it will cost me a lot of money. If I buy it now, I will save a lot of money but will need to store the cans until the fall. So begins the liveaboard dilemma! 

As you can see, I decided to buy the paint and stash it away in a locker until the fall.

Maddie wanted to paint pretty labels on the outside of the doors indicating what we stored inside the cabinet when she first moved in with me. I advised her not to do that because the storage in the boat is very dynamic. What we store in the lockers changes with the seasons as well as with a whim.

This locker used to hold canned meats and beans. Now it holds bottom paint! A little reorganizing helped shuffle the stored items around and make room for this one time great deal. If we bought everything in bulk, we would not have been able to accommodate such a large, spur of the moment purchase. 

Solar Panel Mounting

The solar panels are to be mounted on the stern rail, supported by a strut to hold them towards the sun, as well as able to be folded down when docking or during storm conditions. Now we have to turn this goal into a reality!

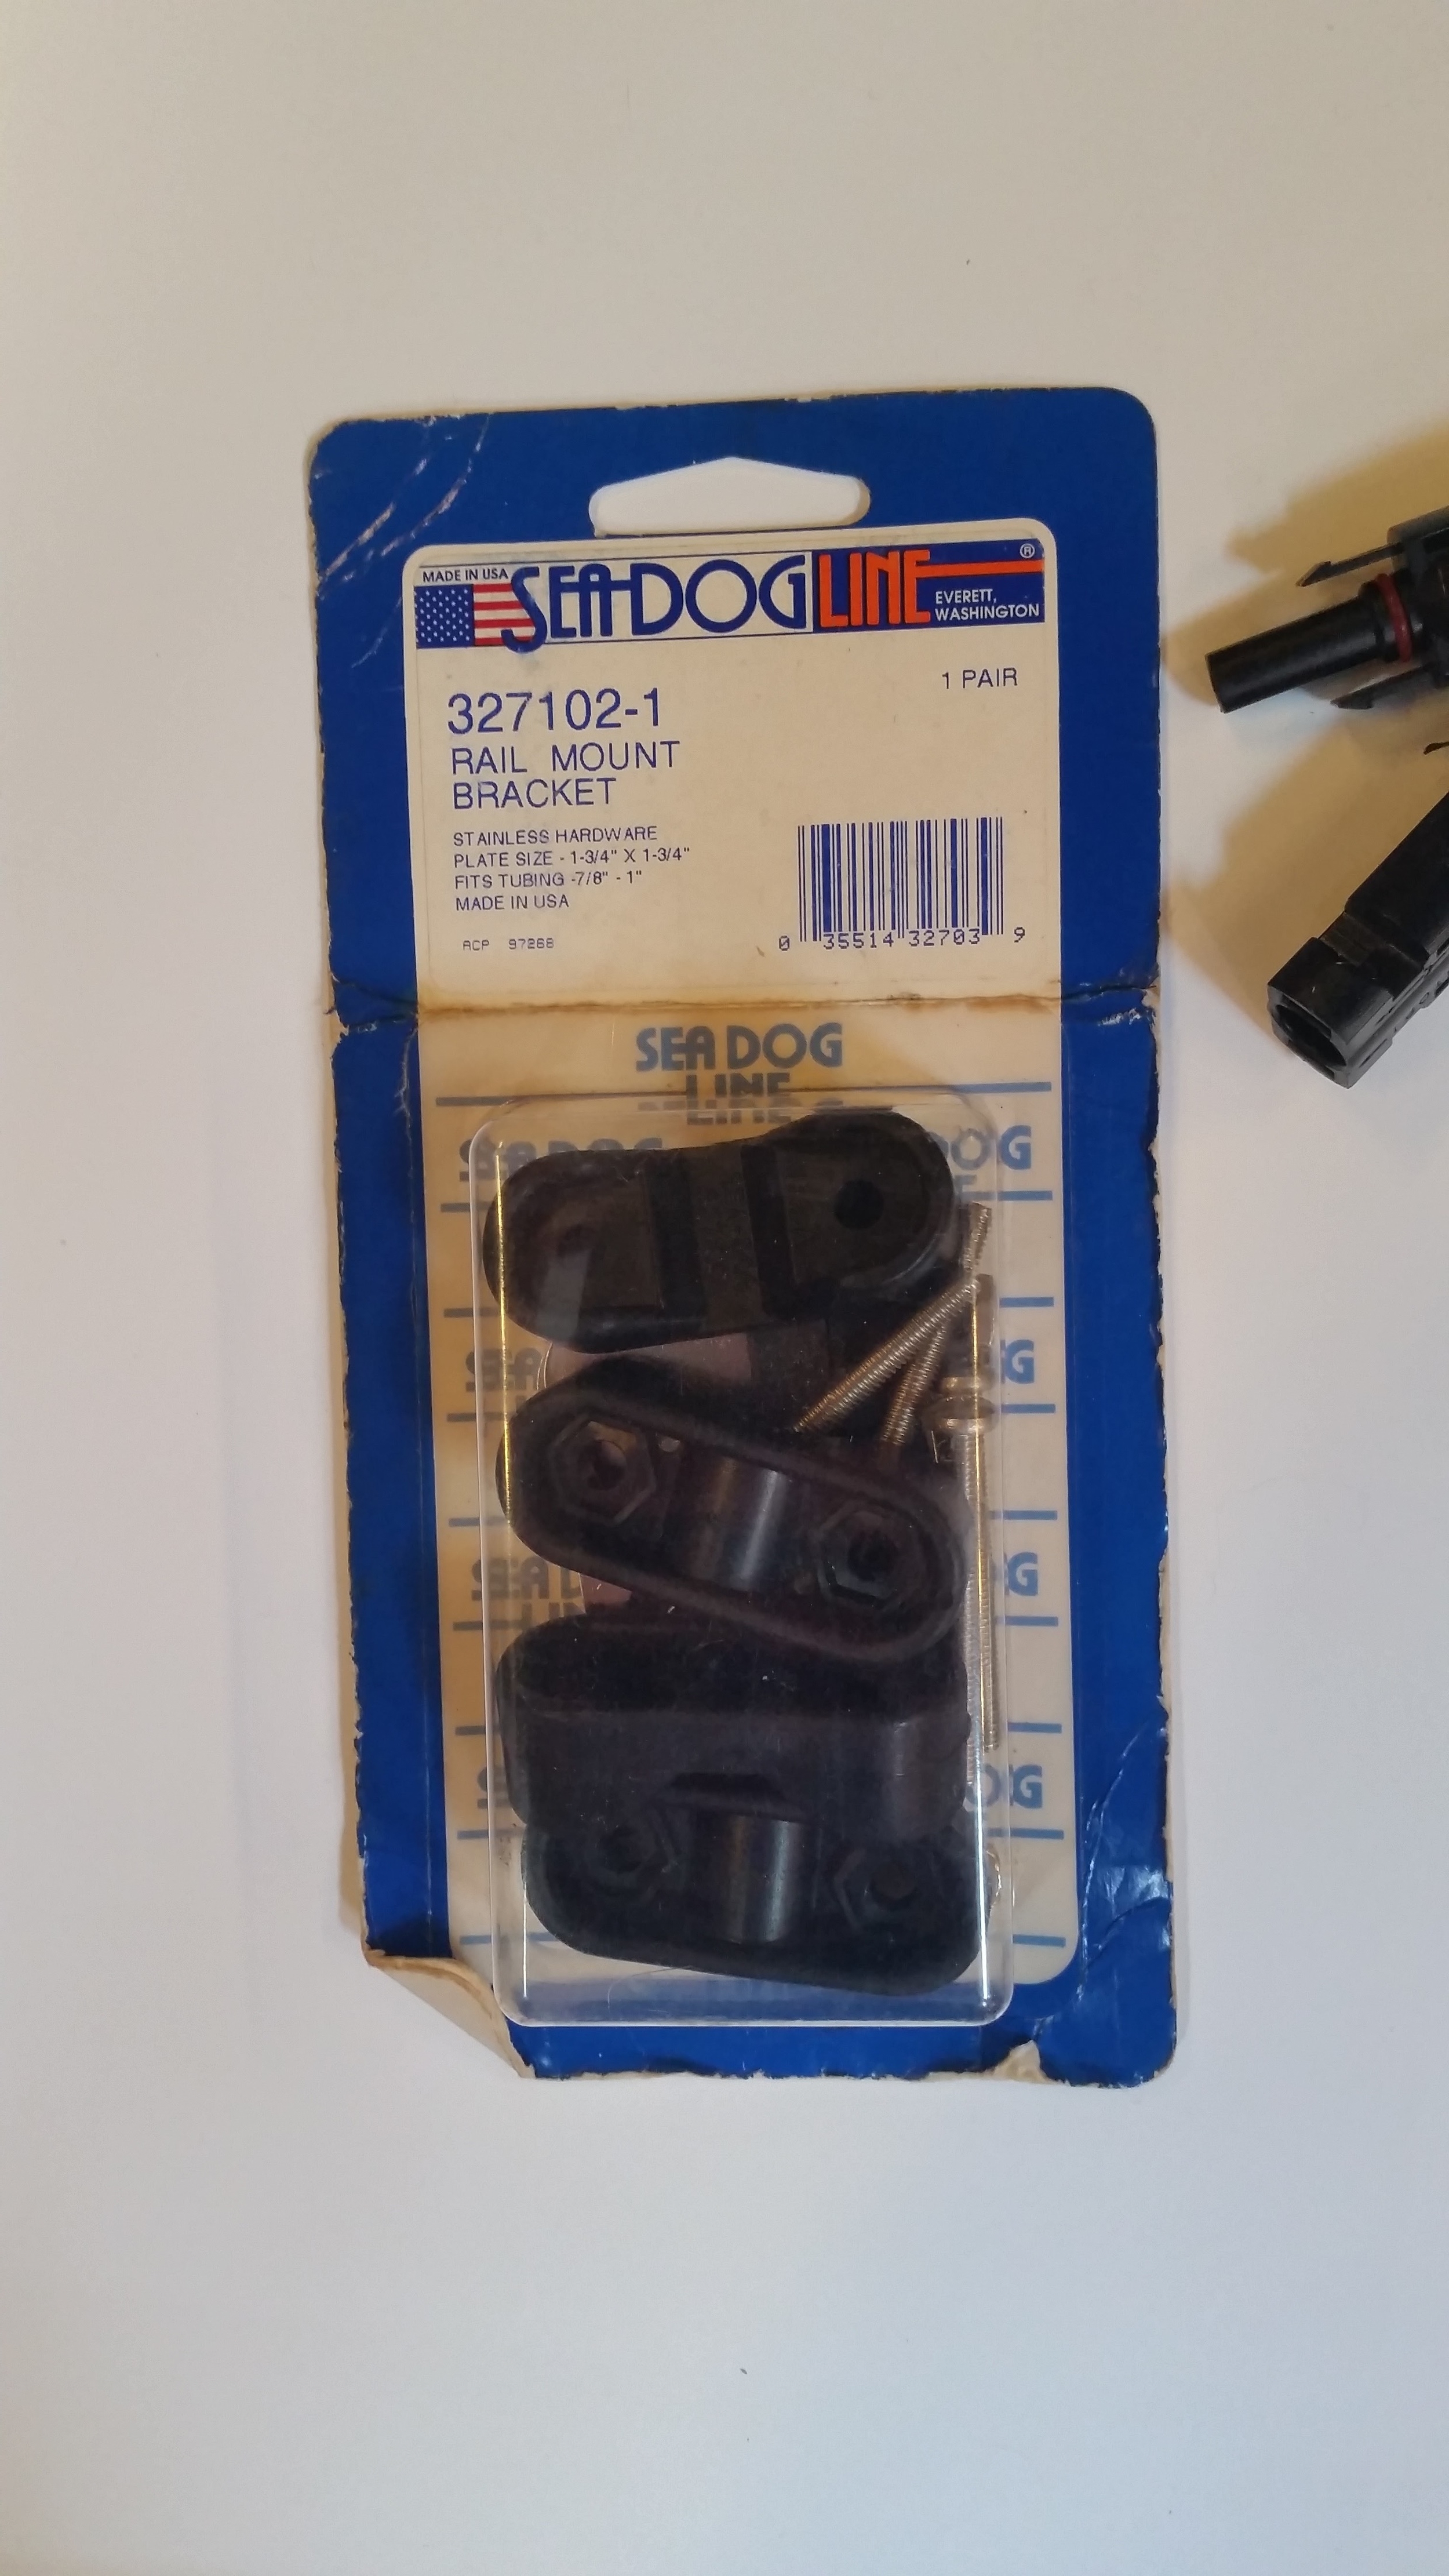
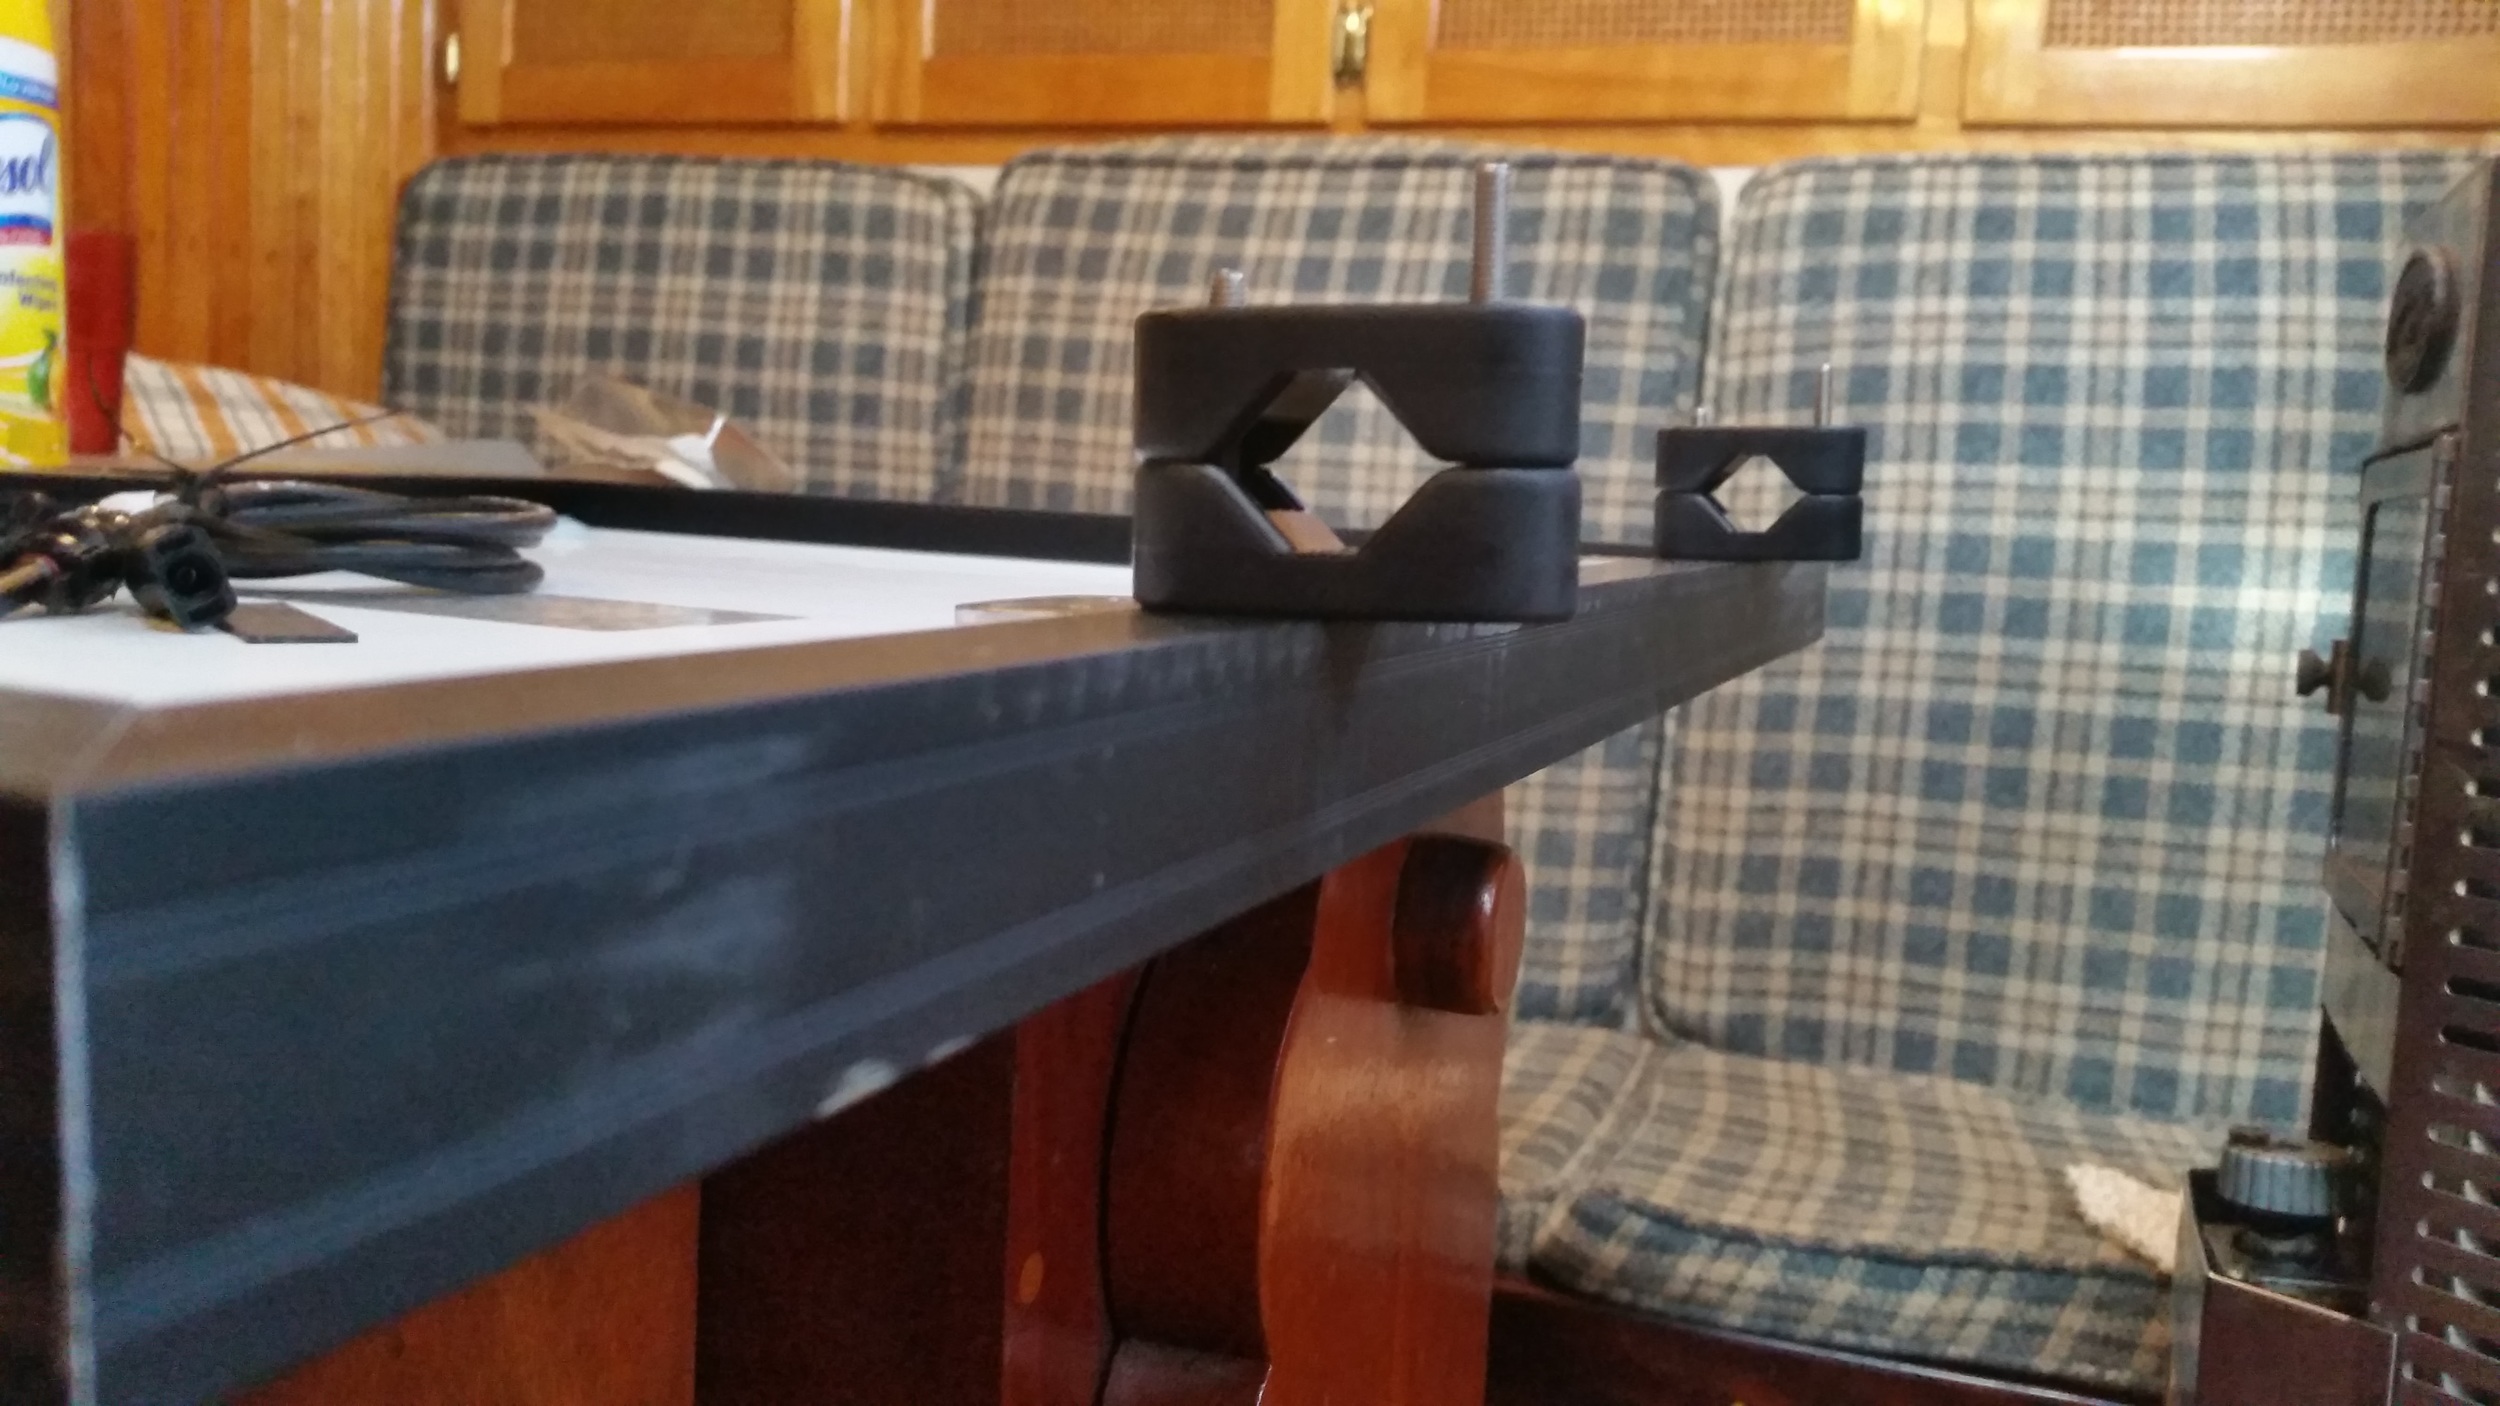
These clamps were in a locker on the boat when I bought her. I have no idea how old they are, but they worked great!

These clamps were in a locker on the boat when I bought her. I have no idea how old they are, but they worked great!

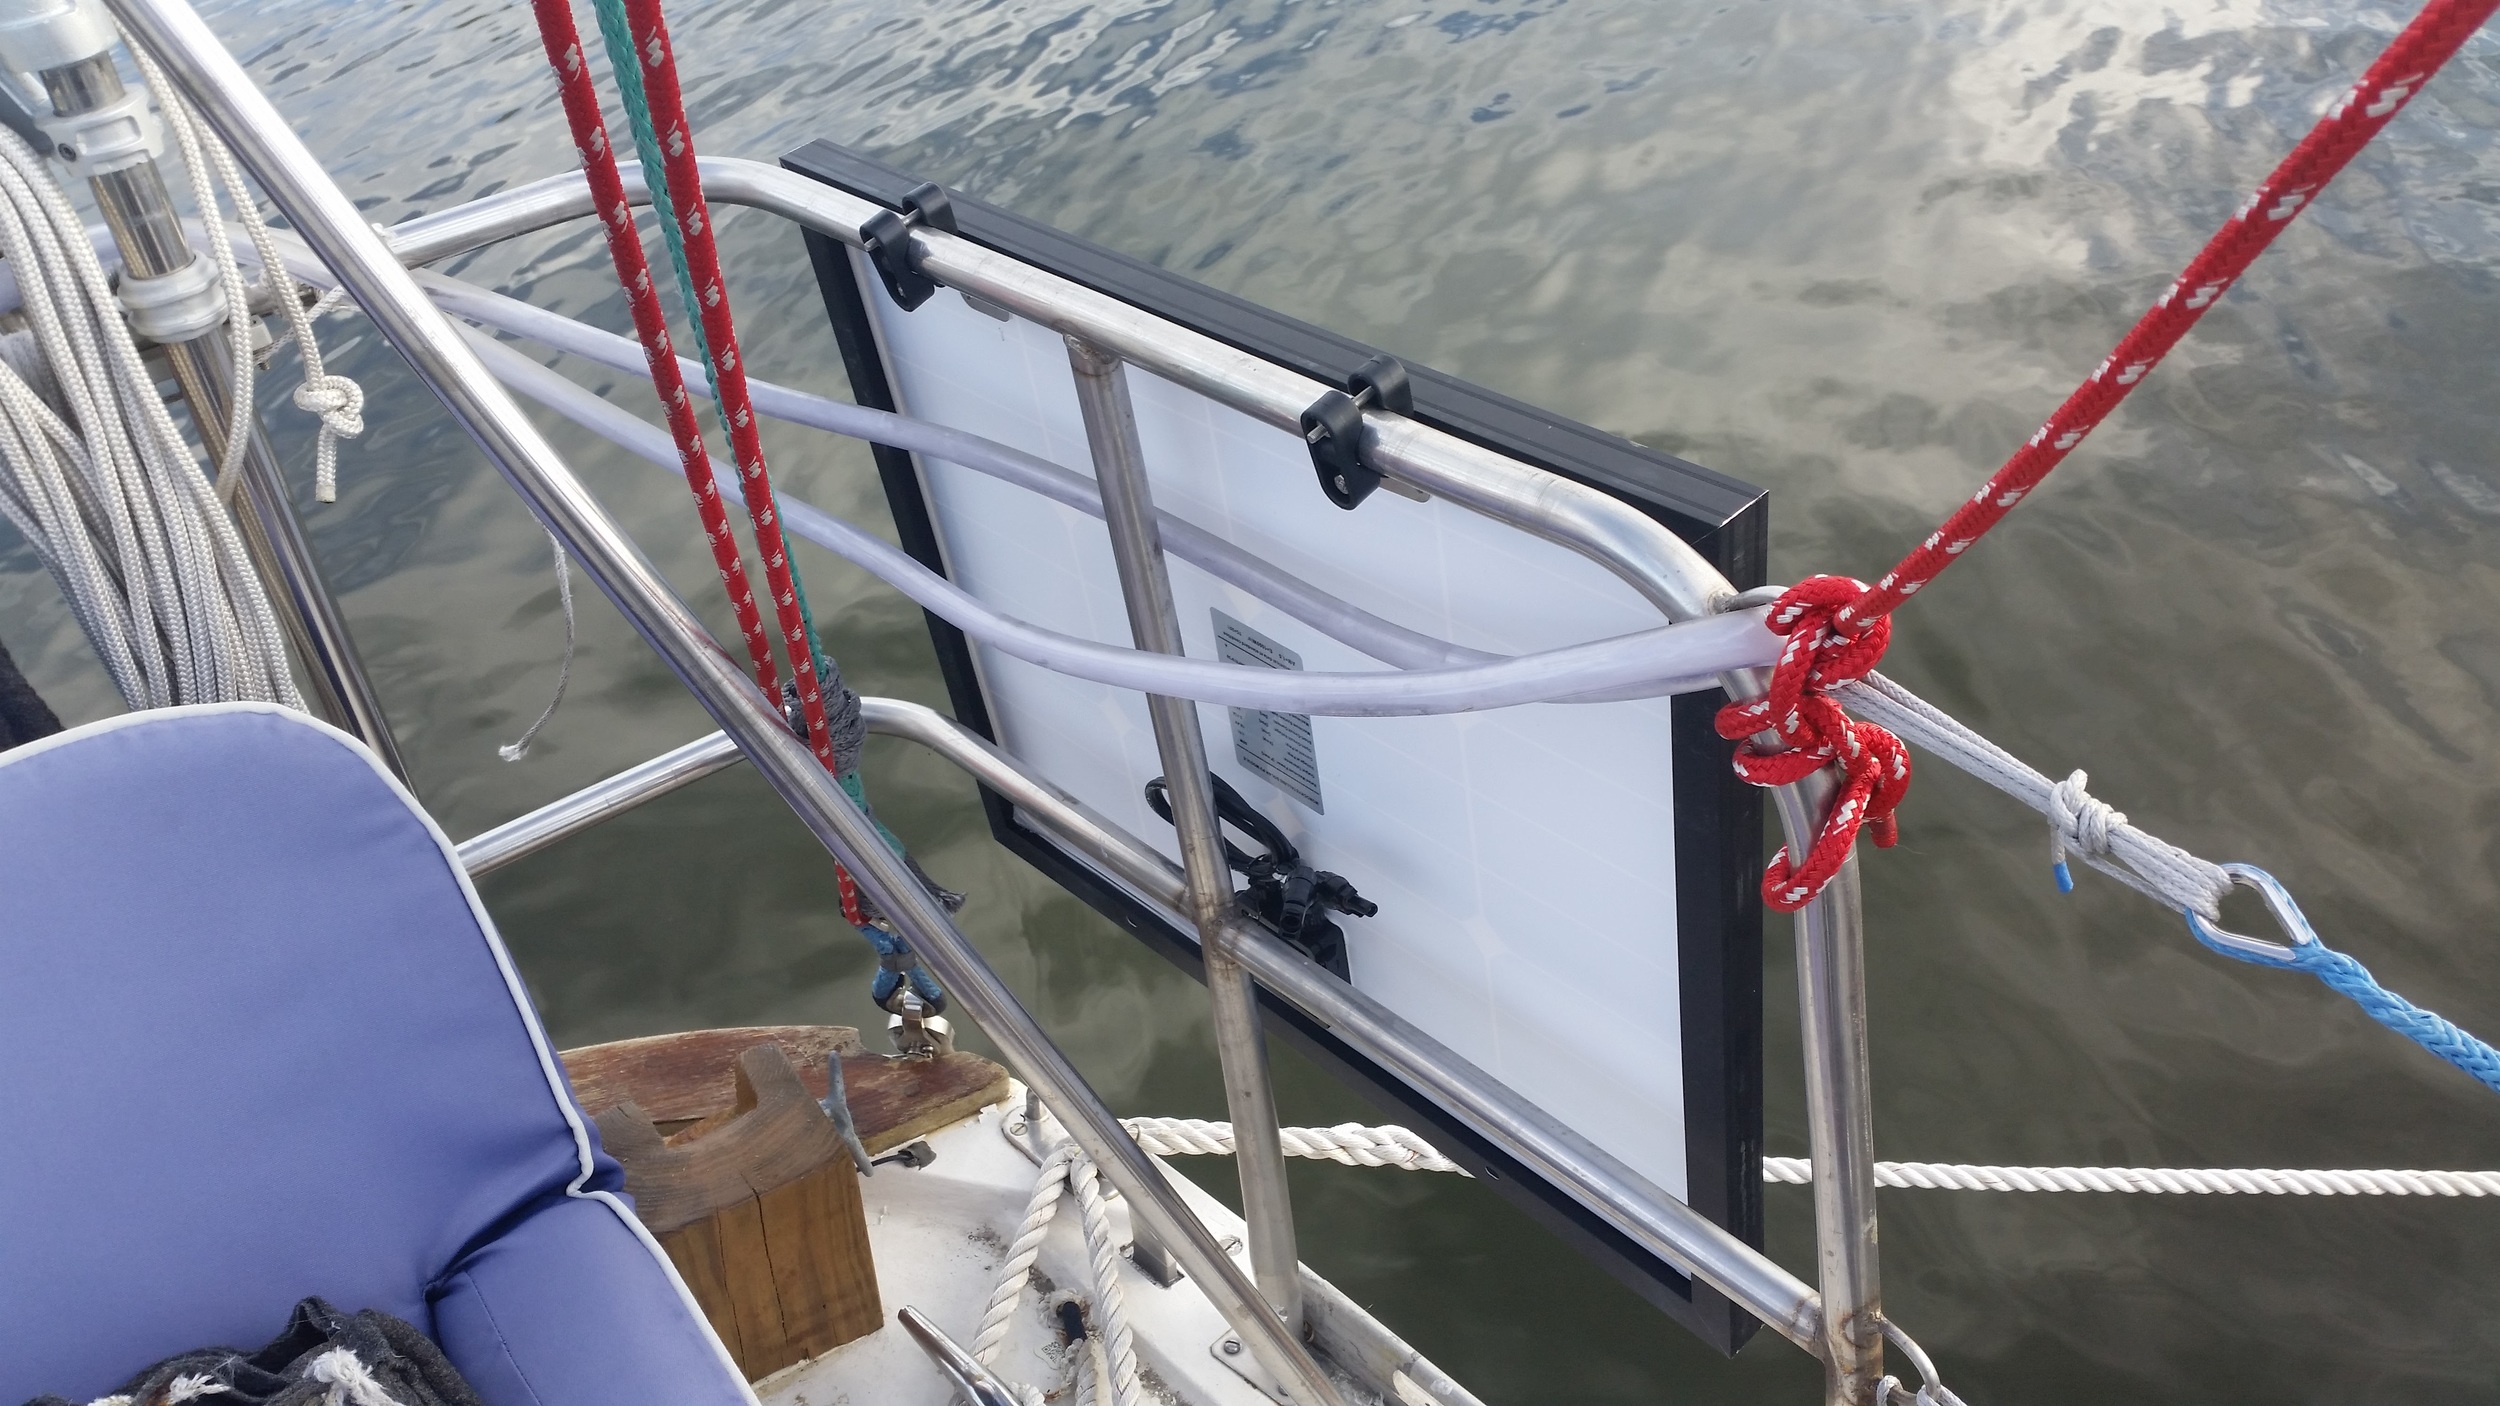
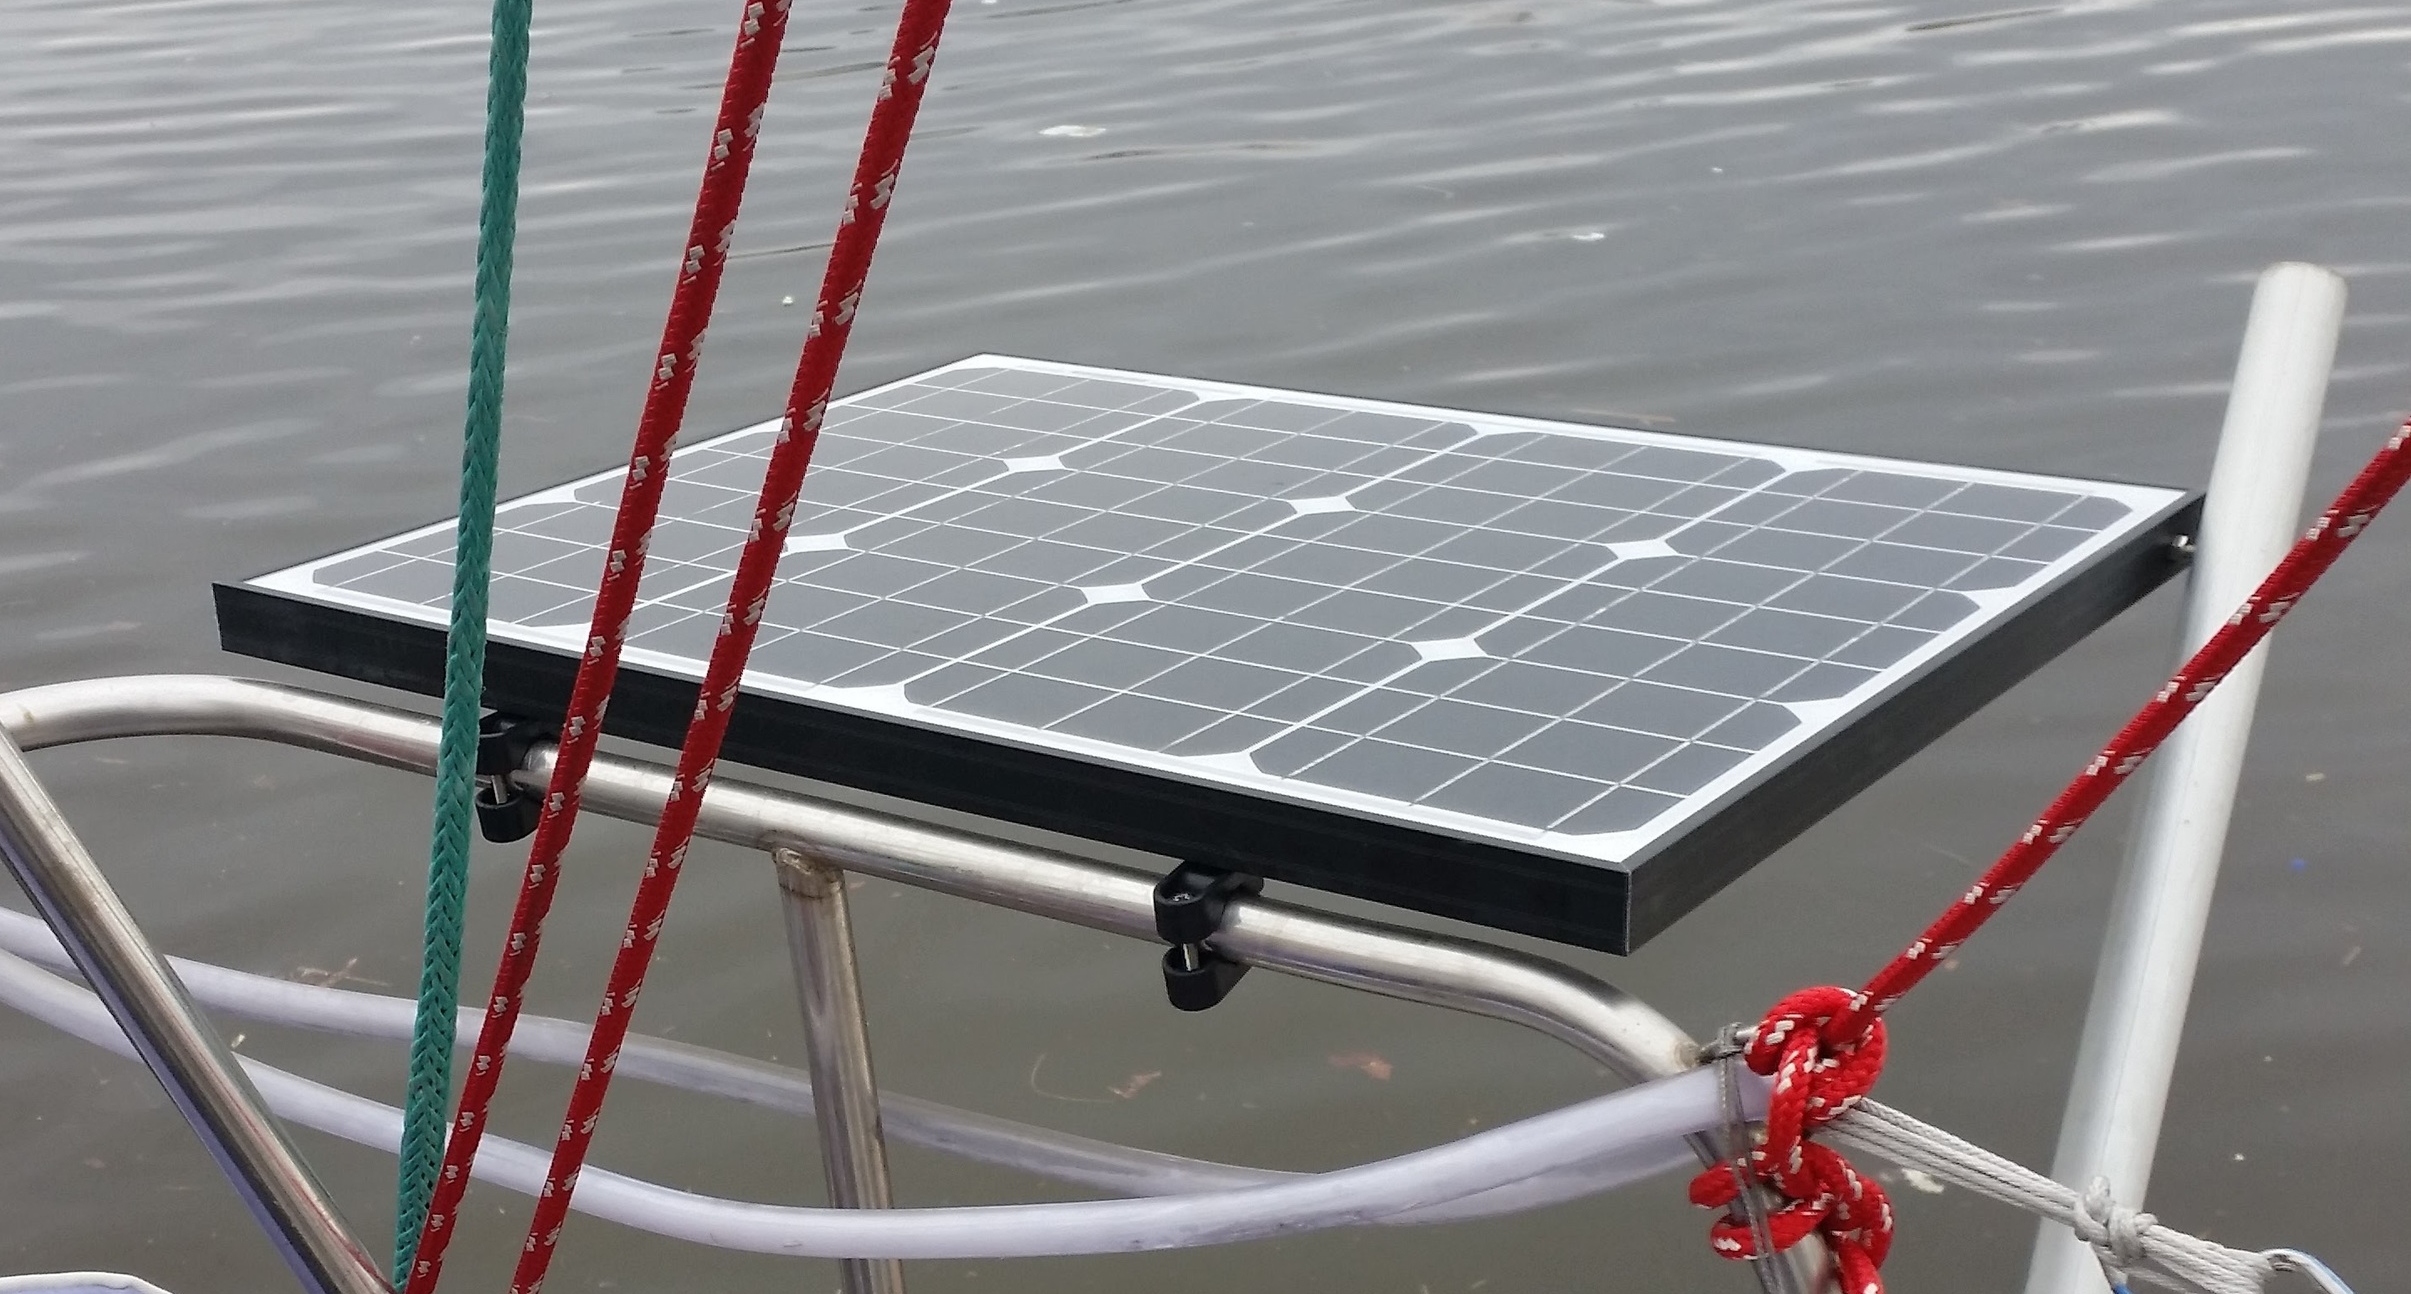
To mount the panels on the rail, I used Sea Dog Rail Clamps. These nylon rail fittings will allow the panel to bolt up to the rail, while still allowing the whole assembly to pivot and hinge. This was accomplished by not tightening the clamps all the way and by not using the rubber insert (which would keep the clamp from rotating around the rail). 

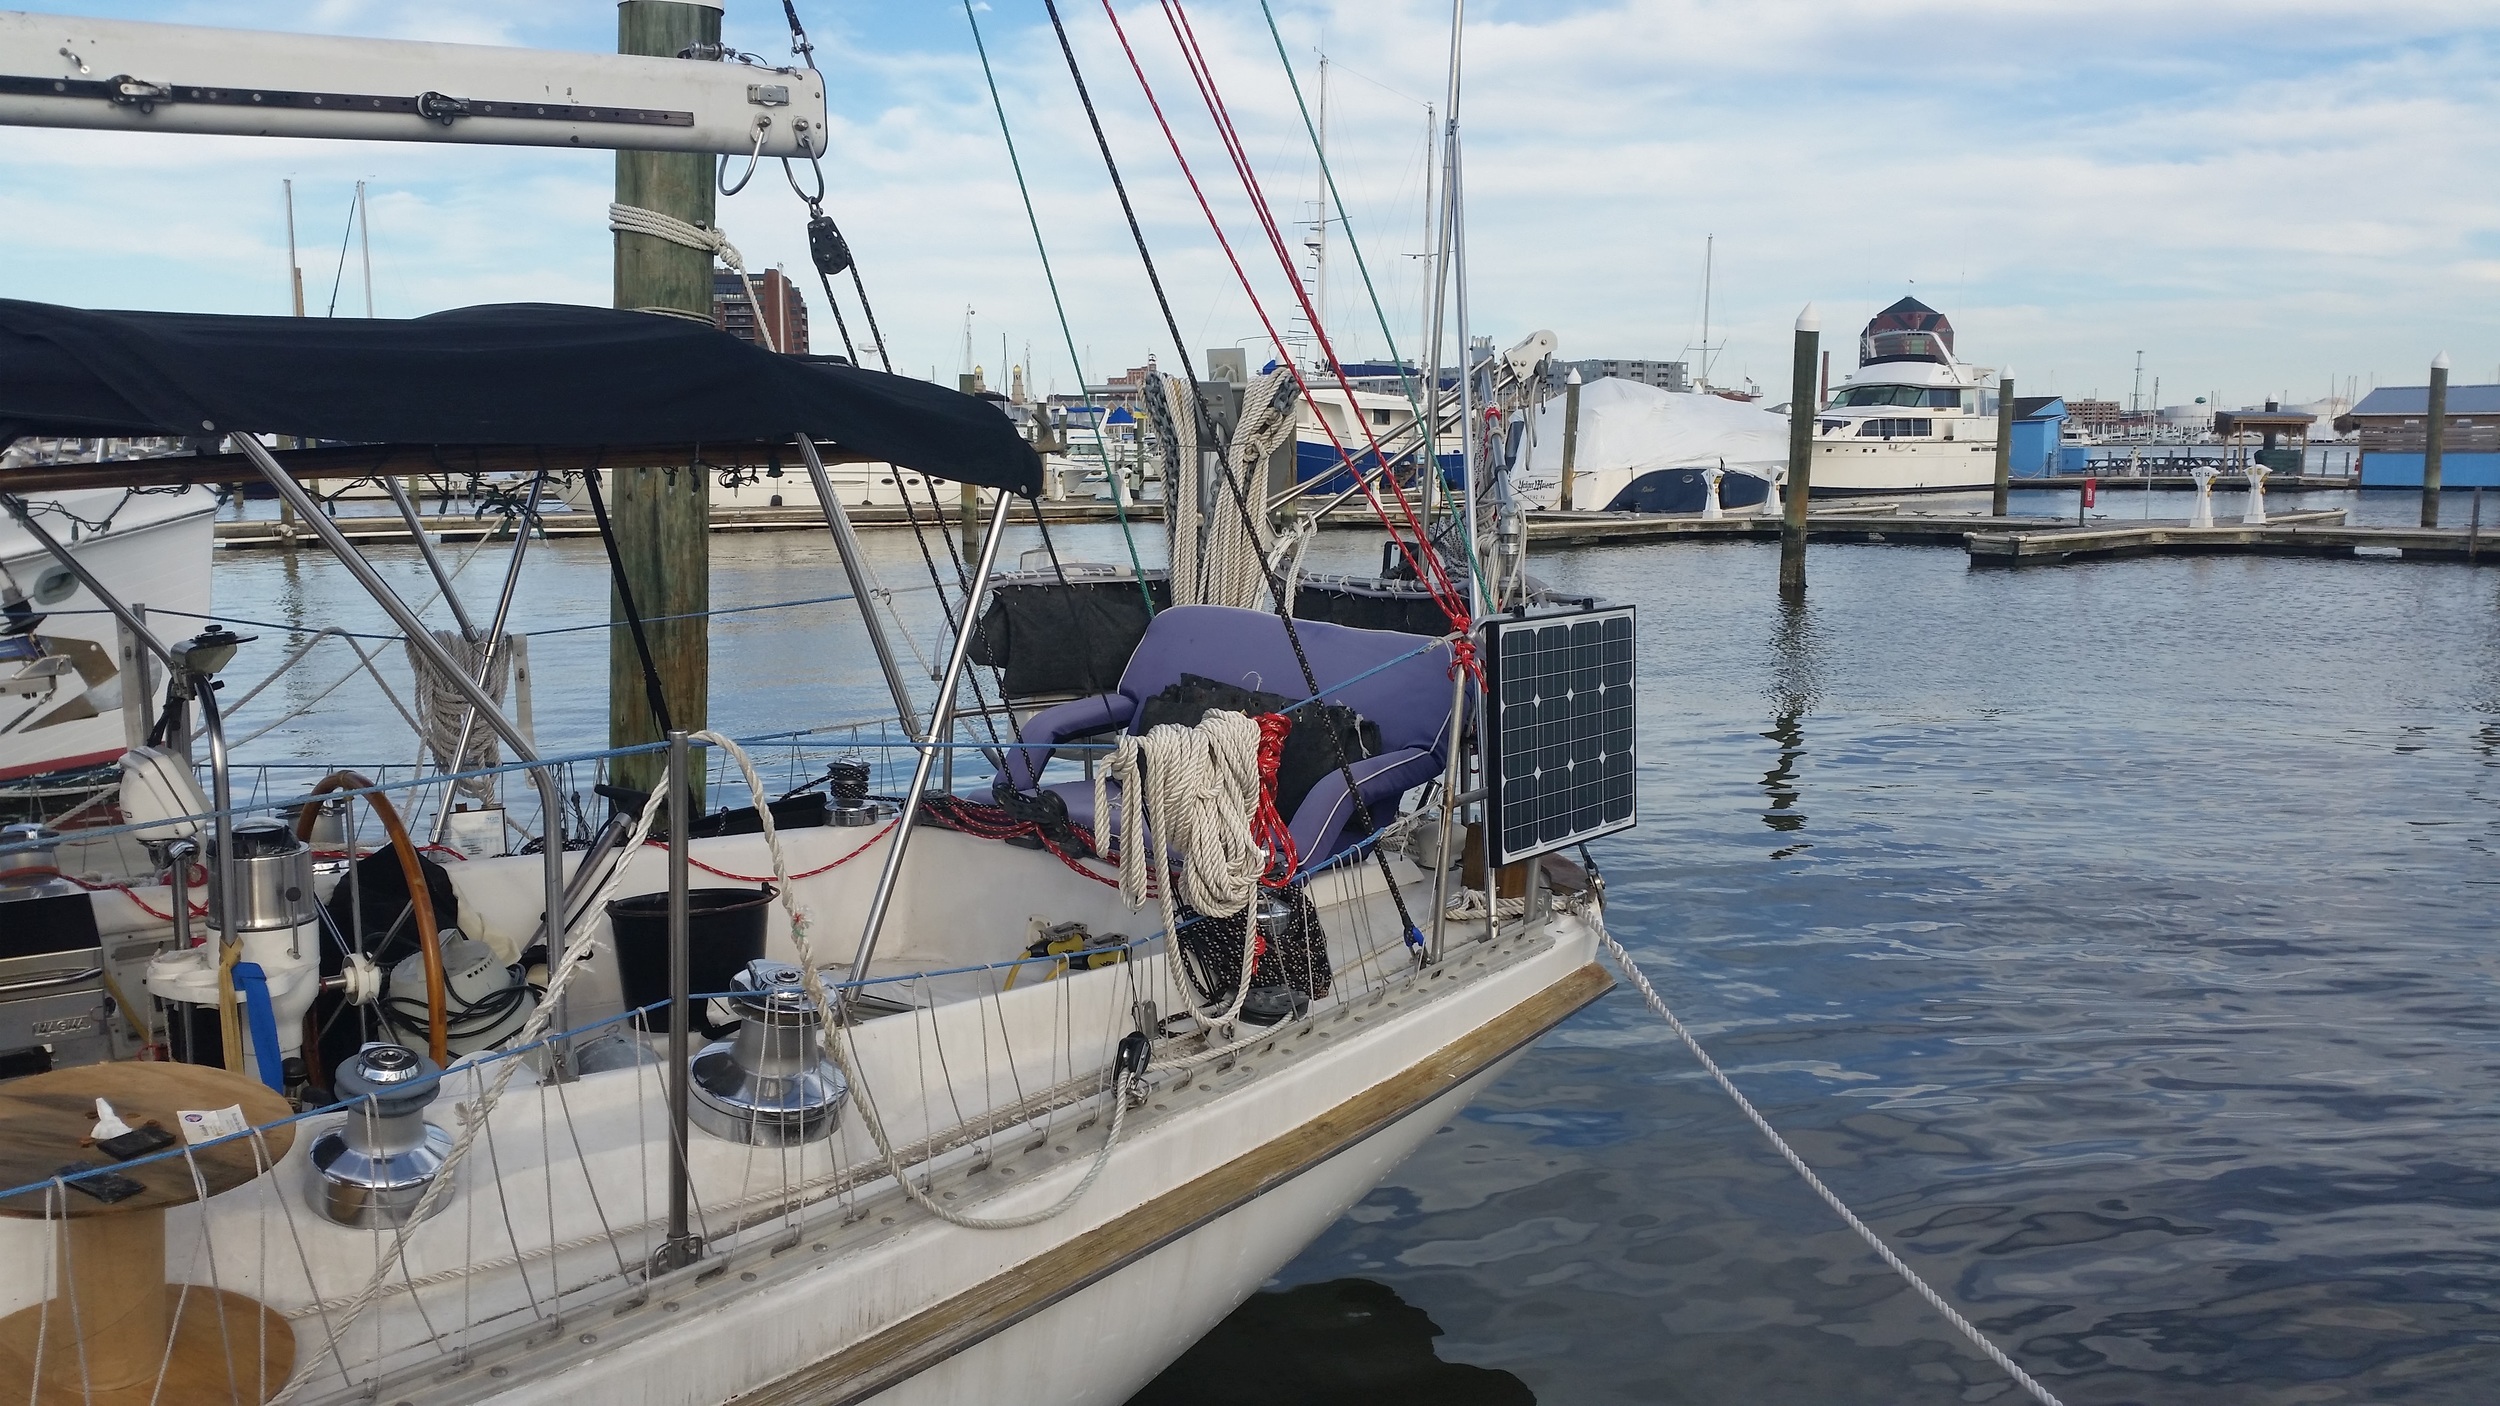
The solar panels fit well, and still allow access to the stern cleats when in the folded position. By folding down, they are safely hidden inboard of the rub strake, keeping them safe during docking and close quarters maneuvering. 

While the rail clamps allow the panels to hinge, they offer no help to keeping the panels deployed to collect the suns rays. This is where the support strut comes into play!

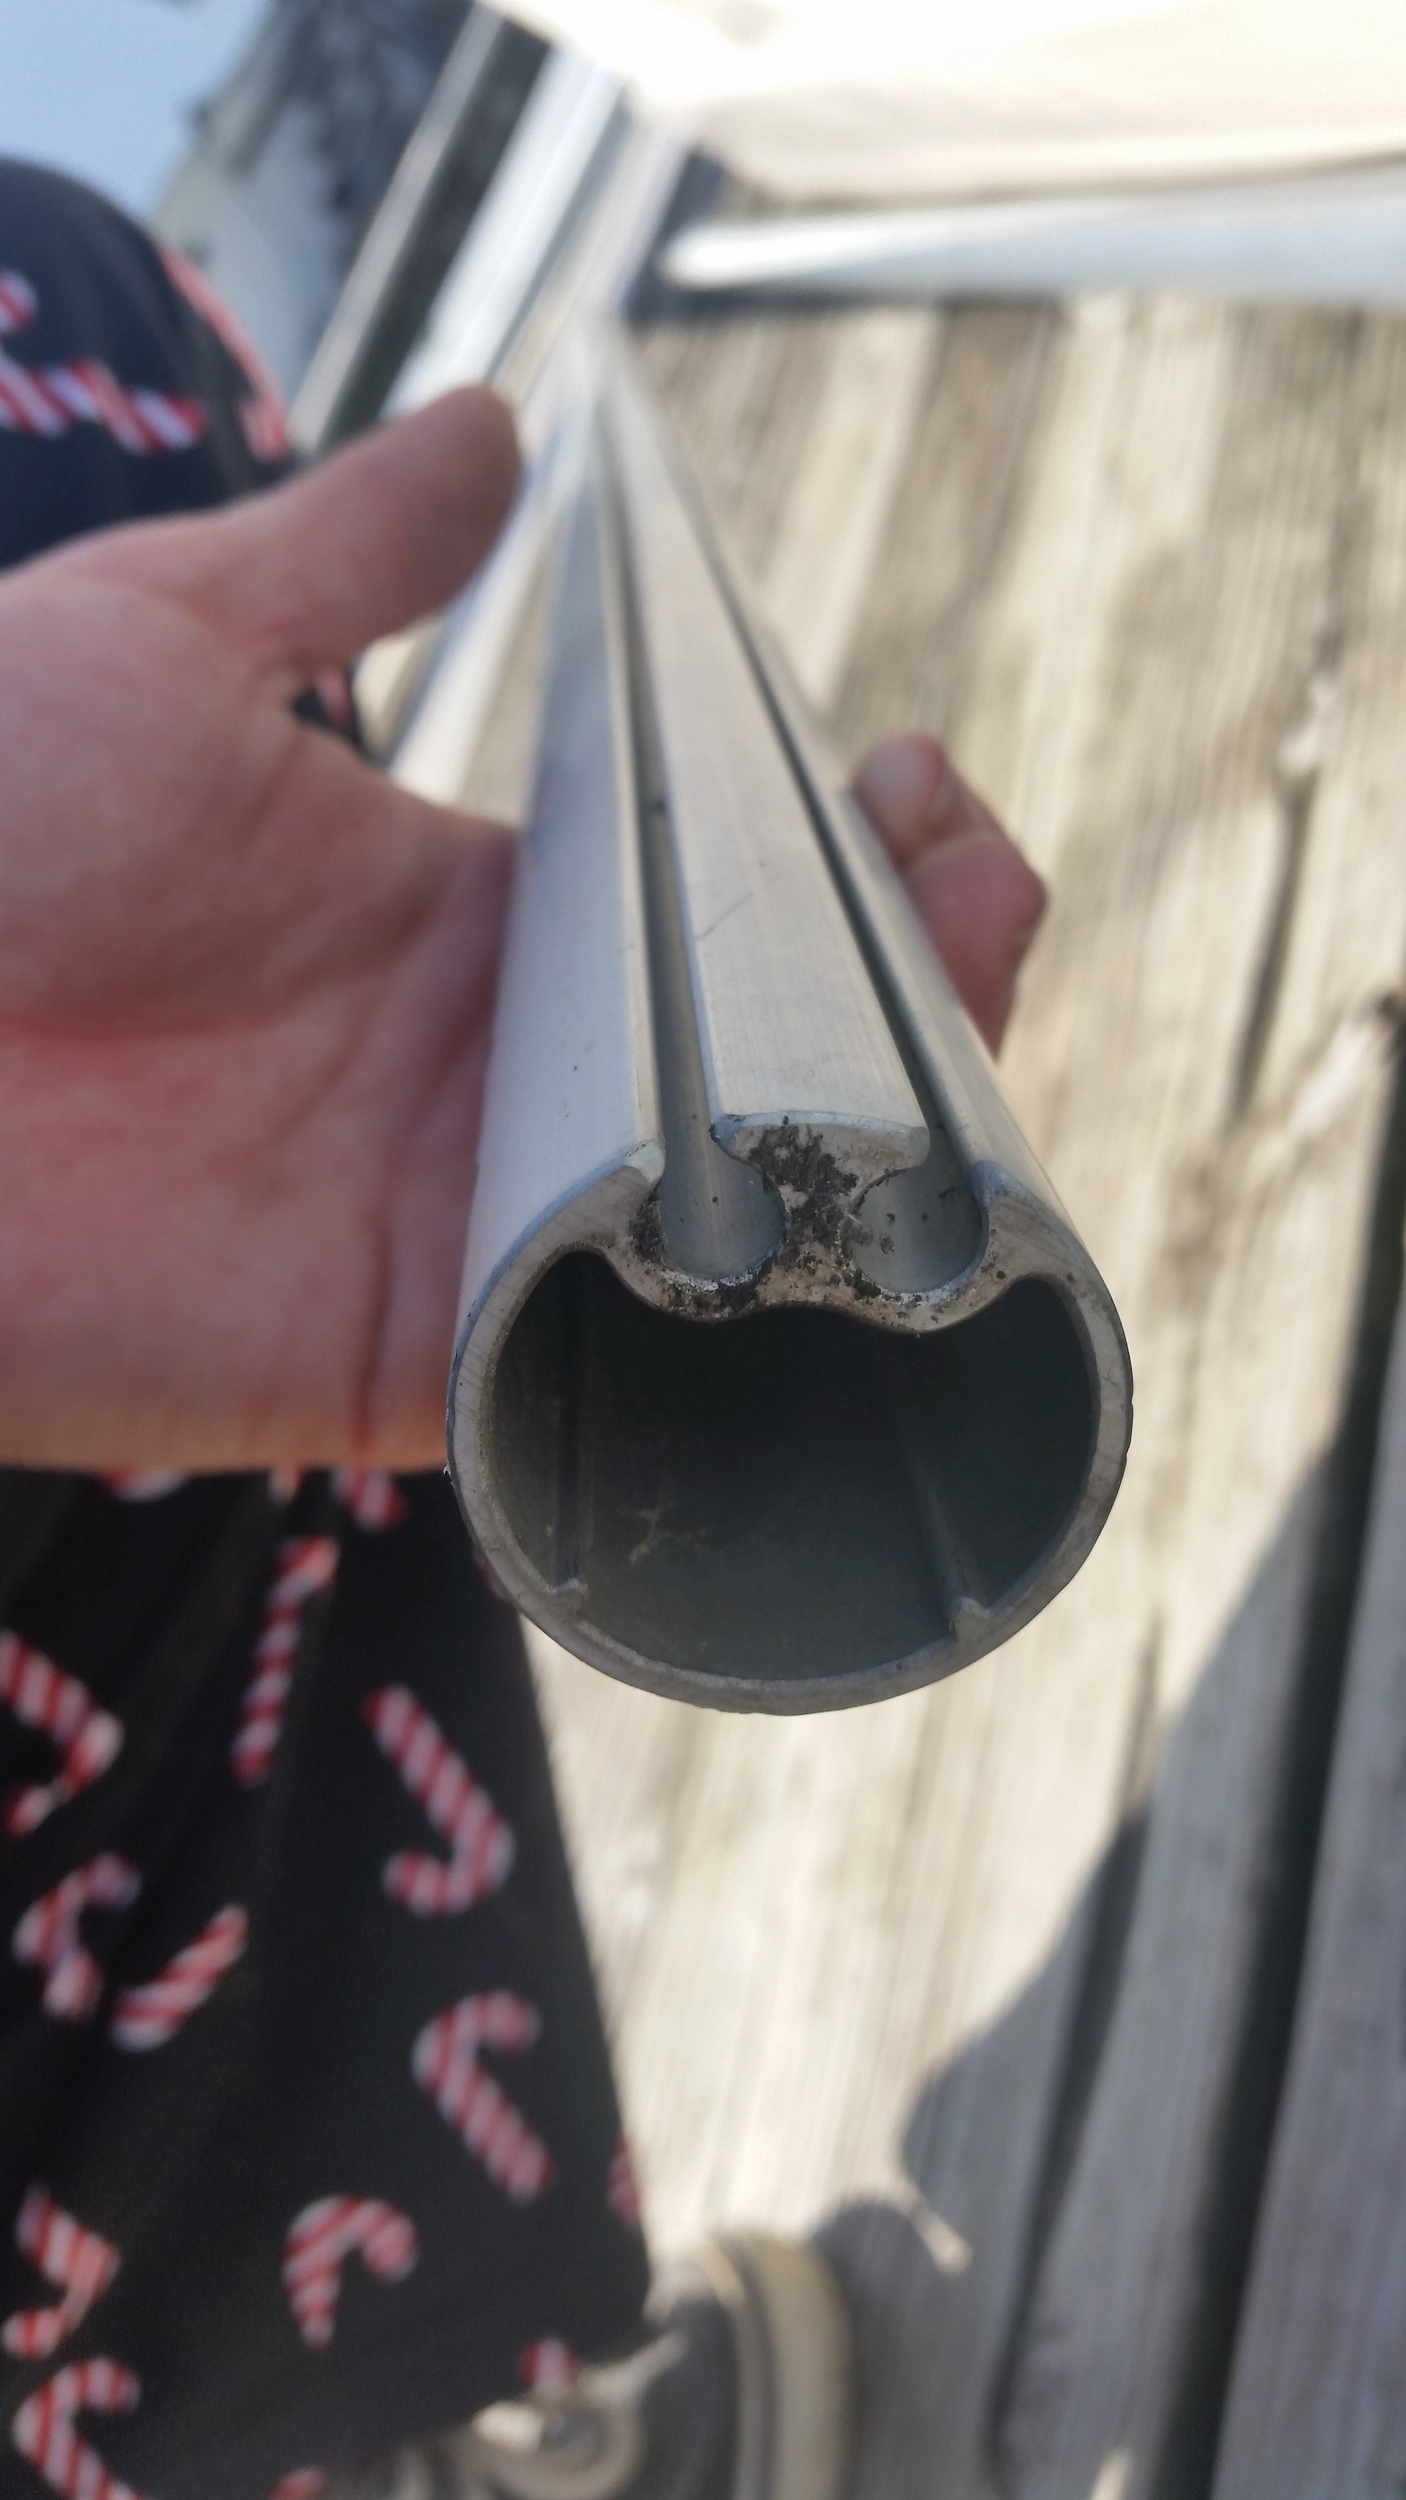
I drilled out the rivets connecting each extrusion, allowing me to separate the furler extrusion into more manageable pieces.

I drilled out the rivets connecting each extrusion, allowing me to separate the furler extrusion into more manageable pieces.

After disasembly, I had a whole bunch of really strong aluminum pipes for random projects around the boat.

After disasembly, I had a whole bunch of really strong aluminum pipes for random projects around the boat.

I kept the furler parts from my headstay when I converted from from roller furling to hank on because I figured these pieces of hardware would come in handy at some point! Today was their day to shine! The aluminum extrusions would serve as a very stout (and free) support arm for the solar panels. I just needed a way to attach them to the panels and to the boat.

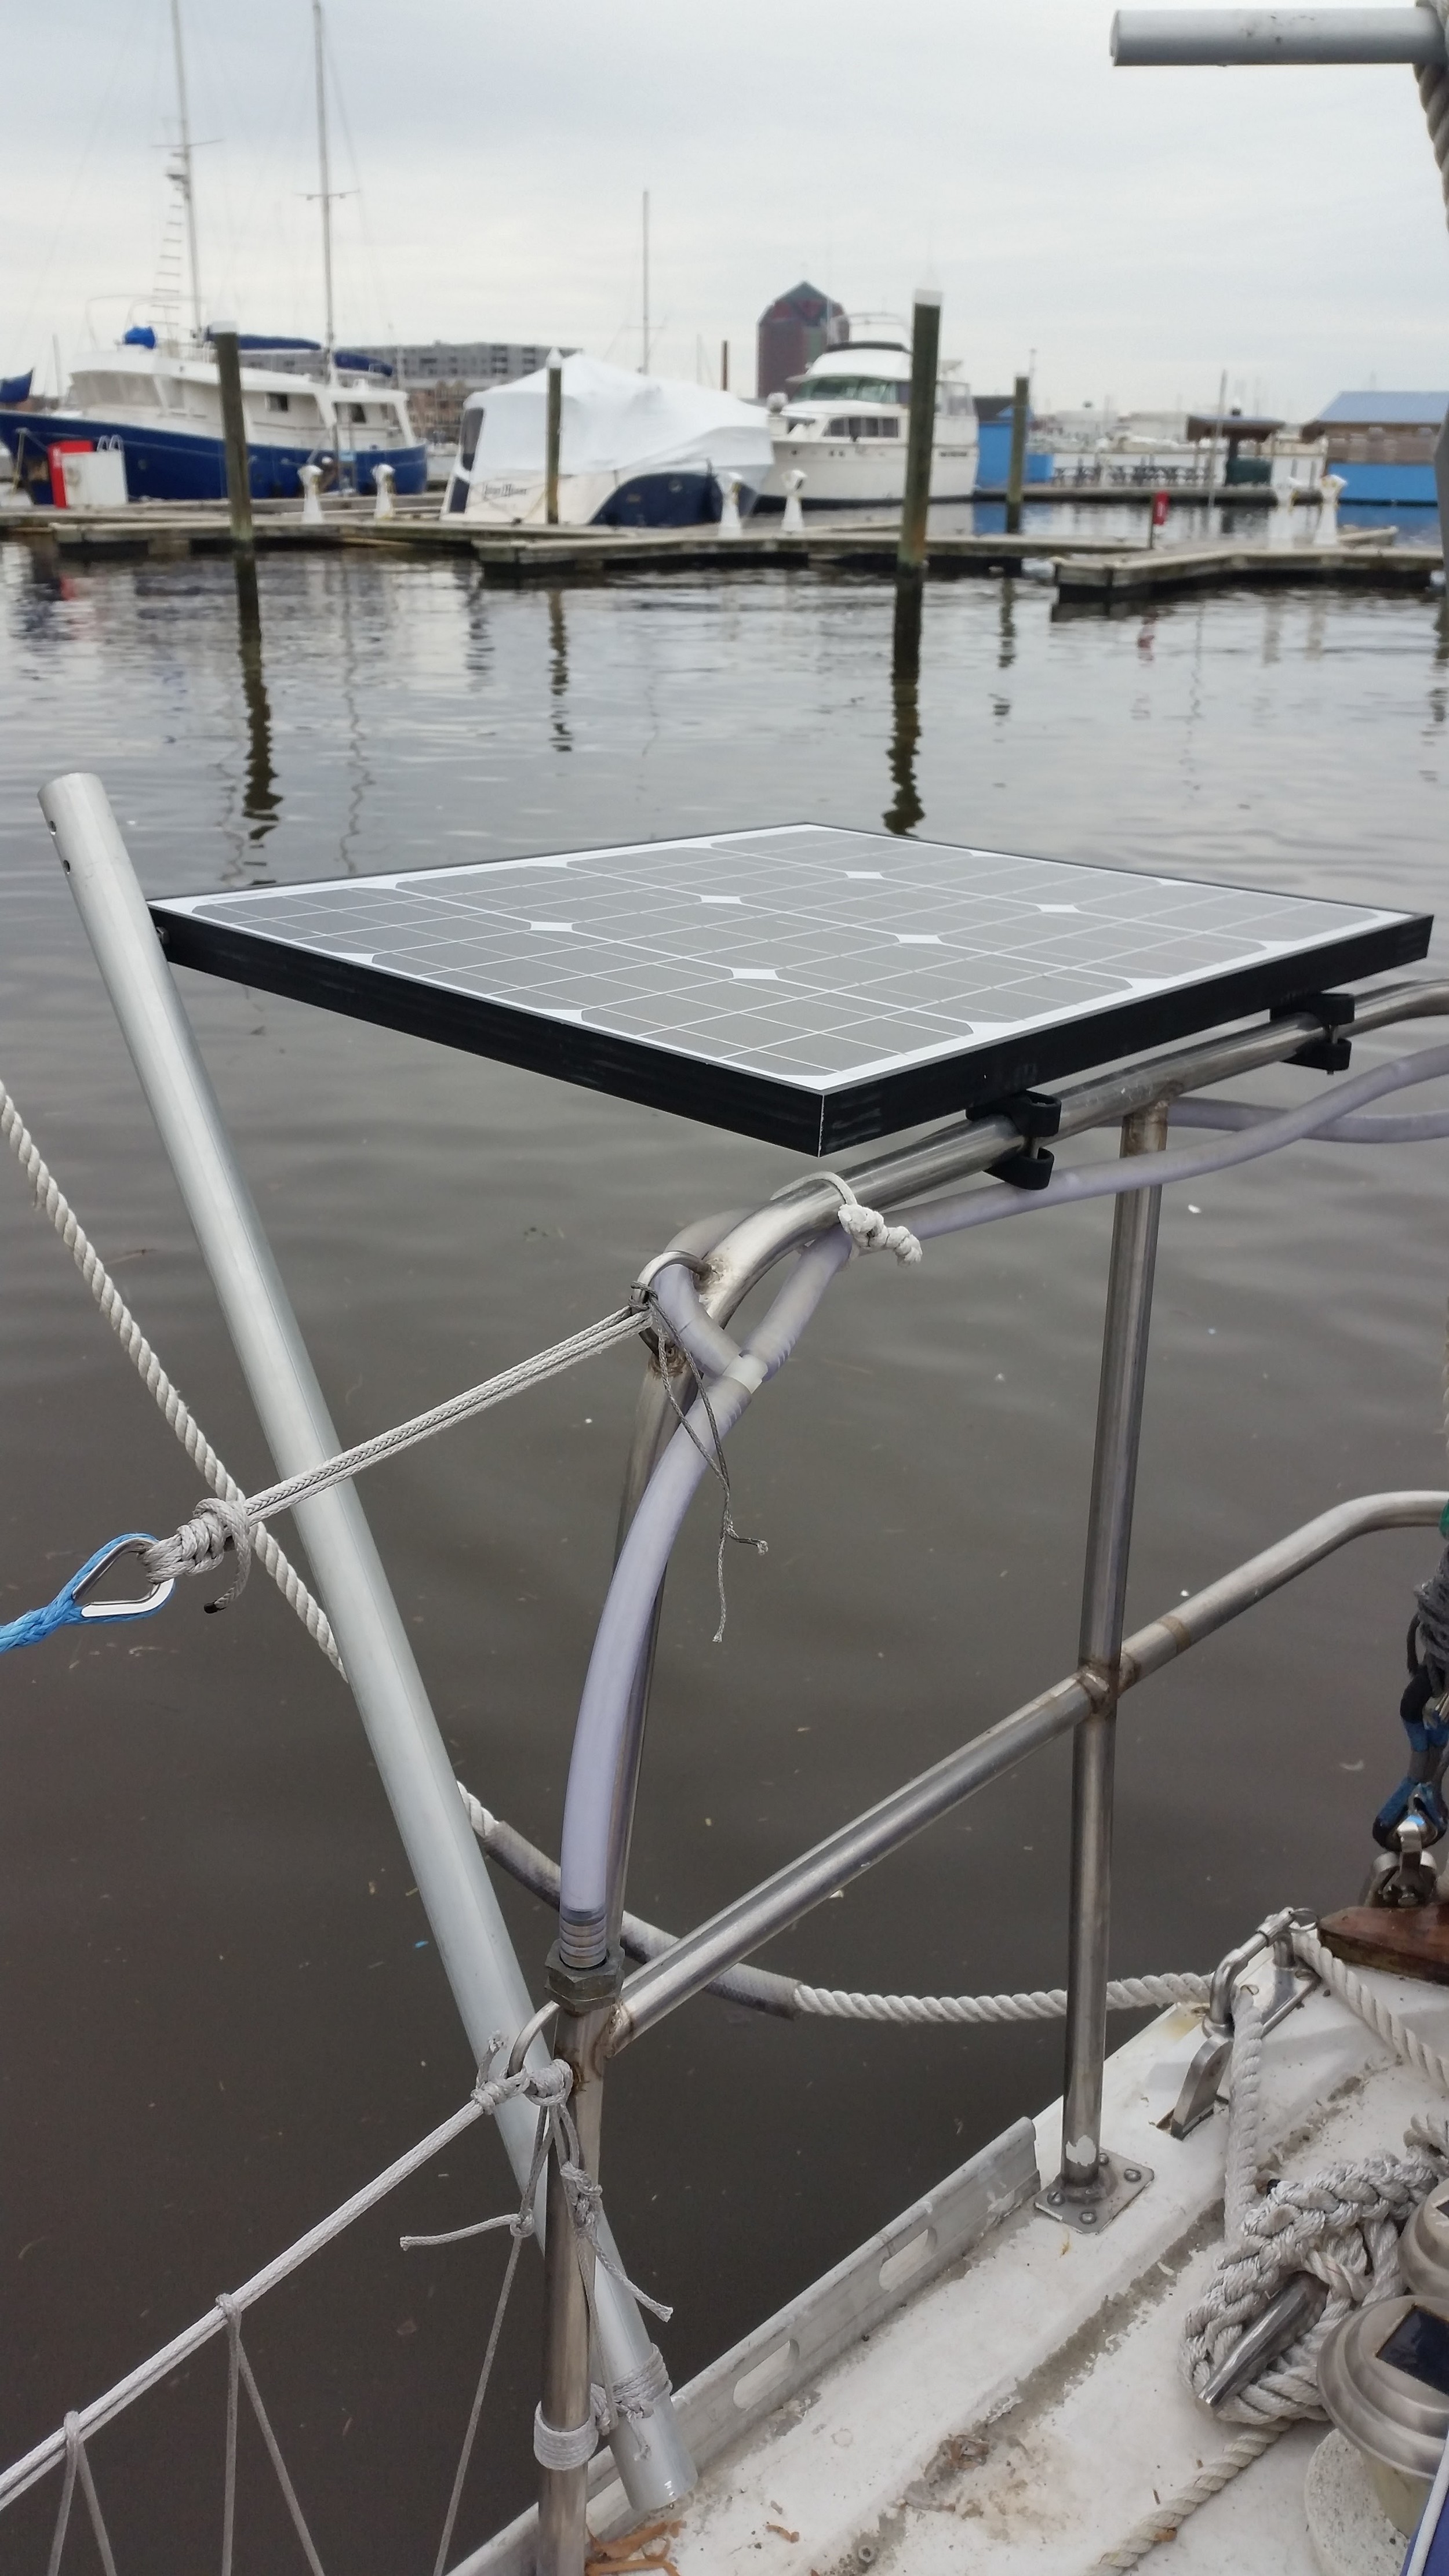
To connect the support arm to the solar panel, I used a stainless steel bolt that I had already. This bolt was mounted on the side of the panel sticking out to the side. The support arm has holes drilled in the side of the tube where the bolt can rest. I will add a safety line that will tie the support arm to the solar panel to prevent it from popping loose. This solves the problem of keeping the panel deployed for the sun, now I just needed to connect the support arm to the boat. 

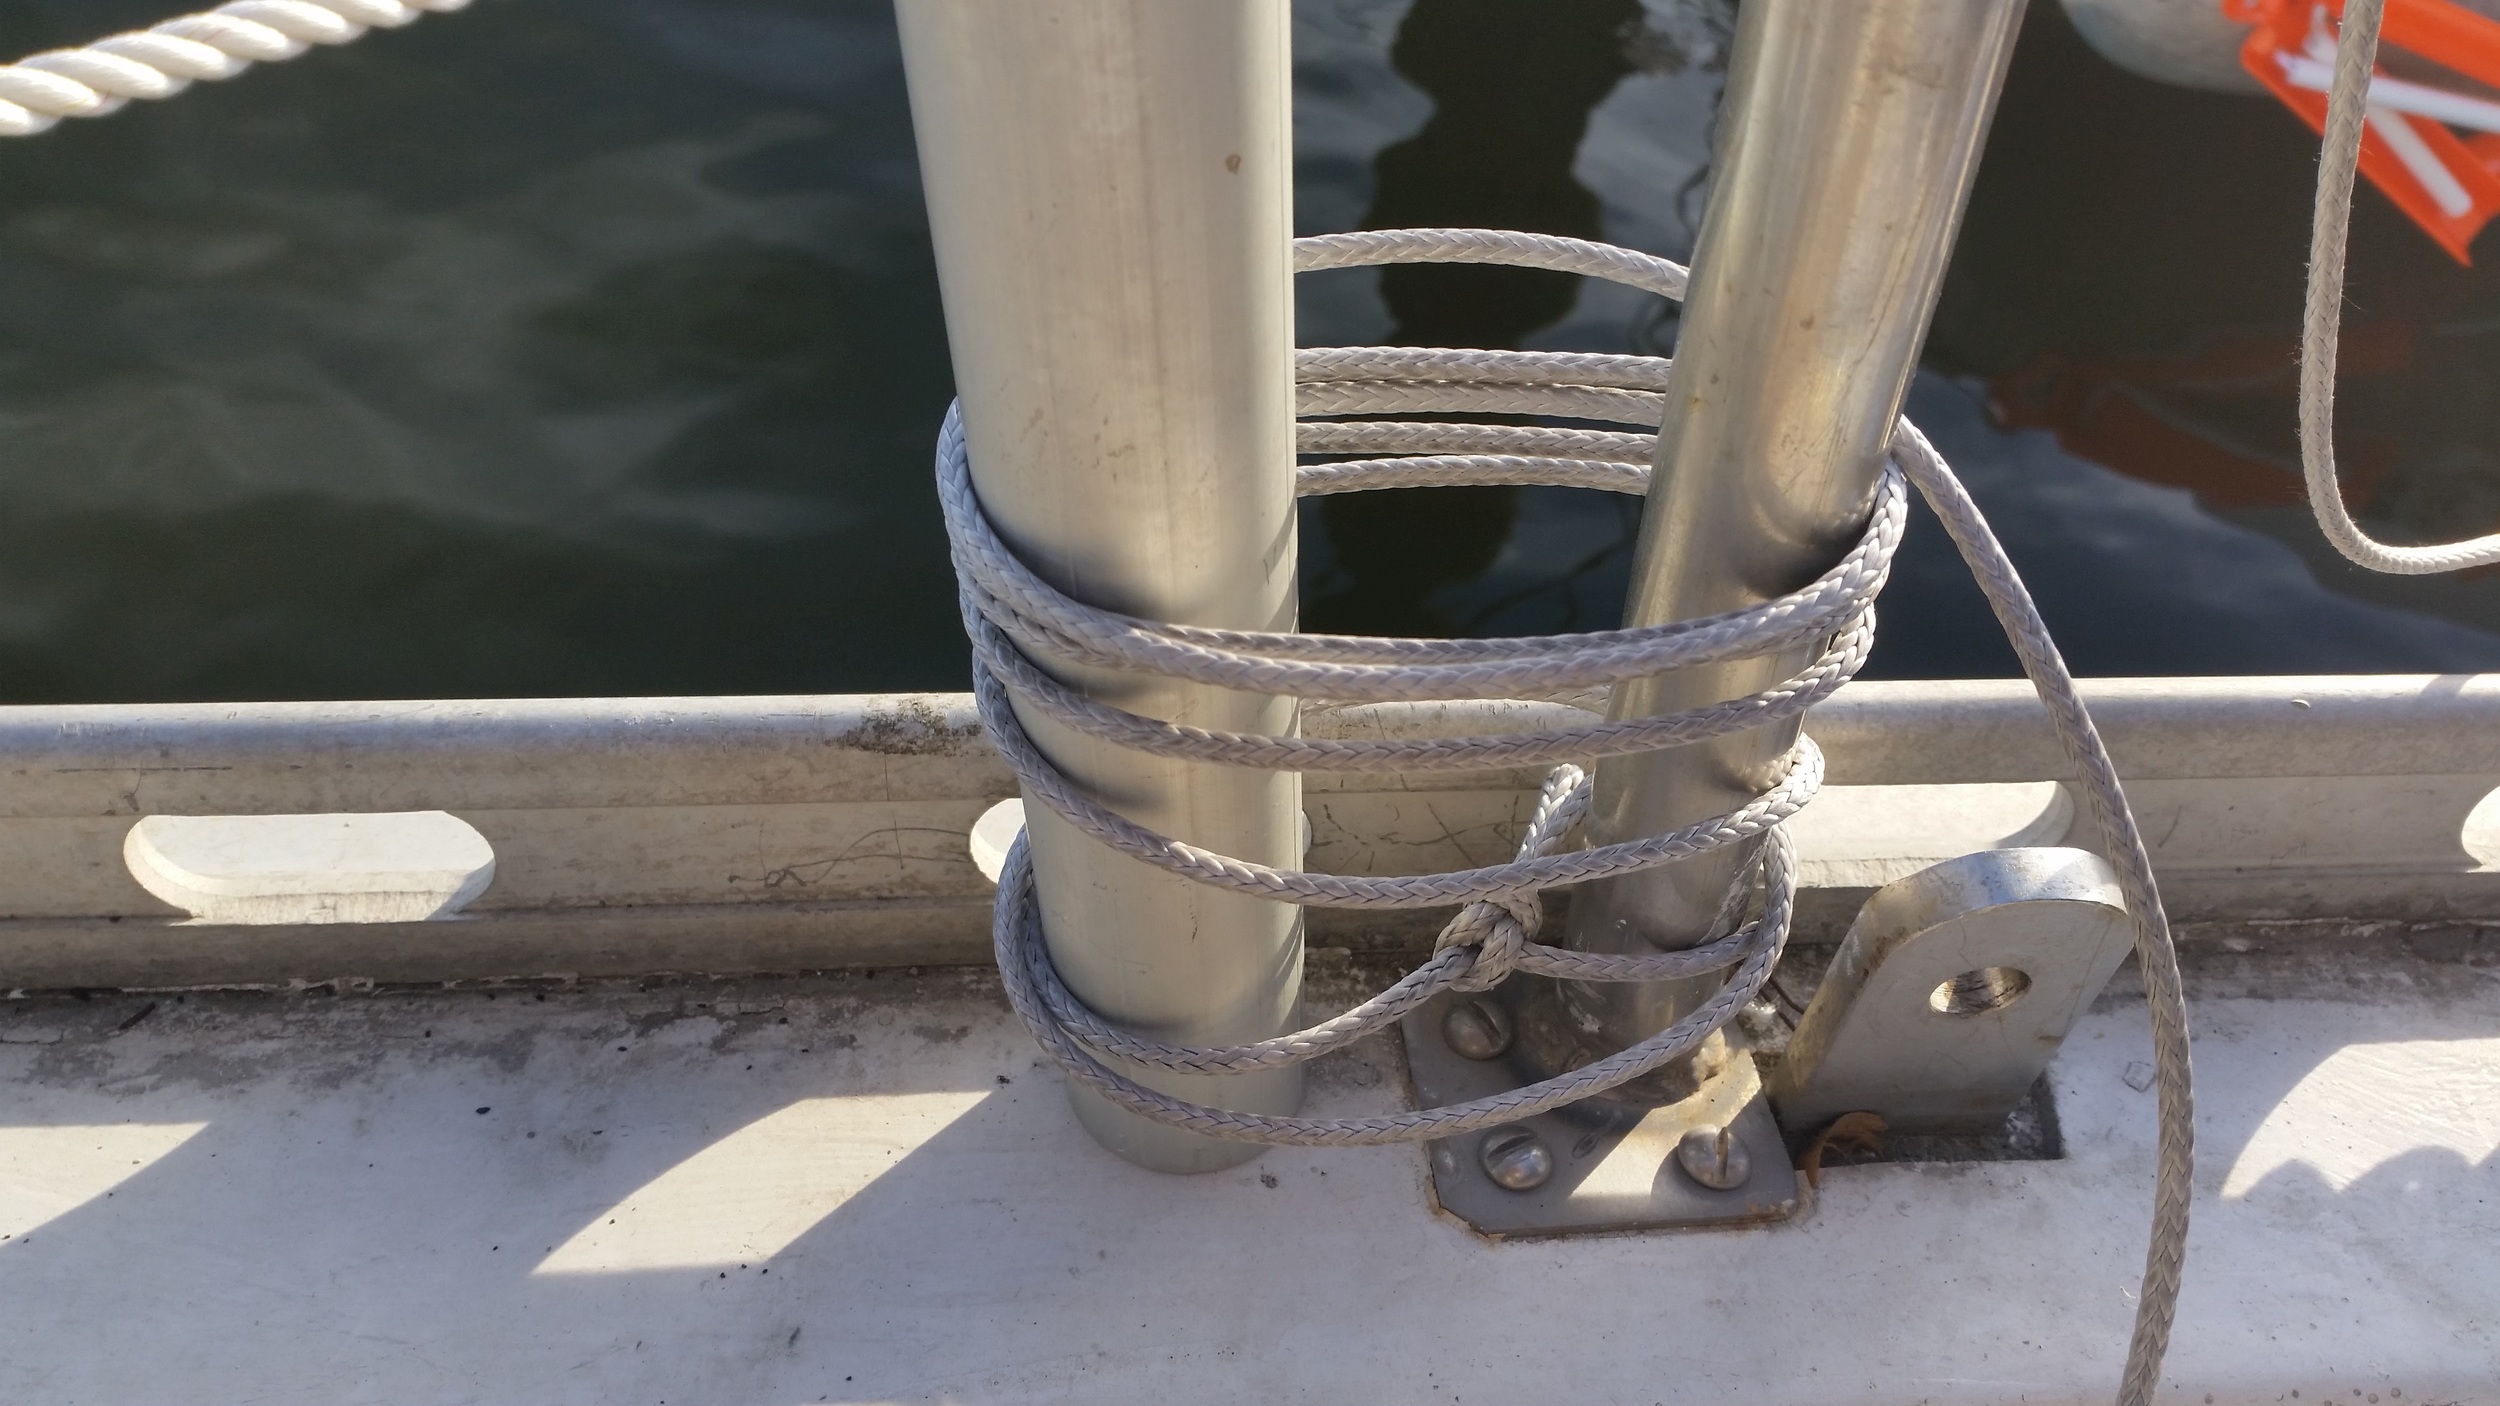
I need a connection that will firmly support the tube while allowing it to move about freely while minimizing the number of holes I need to put in the deck during installation. I decided to use a knot instead of a metal fitting. It uses no holes, and can be created to achieve what I need with the ability to be tweaked if necessary.

This knot is simply a modified flat seizing knot. The line was loosely looped around the support arm and stanchion various times, then brought together by the frapping turns. The frapping turns were tightened up by using a marlin spike hitch and all of my strength! This holds the support arm in space while allowing it to move around and articulate freely without a single hole in the deck for a bracket. 

This rope contraption worked well to support the panels and allow them to be easily collected and deployed.

The solar panels blend in nicely with all the other contraptions on the Stern of the boat without drawing too much attention to themselves, like a radar arch with panels mounted over top would have caused. Maddie and I were concerned that a large solar array would end up being an eyesore, this small solar array blends in nicely with the lines of the boat. Now we just have to wire them up to the charge controllers and batteries.

Wall Frames

The wall frames are going to be taller than the car port roof that I'm building under. This means that I need to get everything completed before the walls go up. Once the walls are up, I have to work very quickly to complete the exterior to avoid water damage to the tiny house.

All the studs for the walls have been cut to length, so when assembly time comes, I can just nail it all together without much thought or calculation. To further the assembly process, I have assembled as much as I can of the wall frames under the car port (pretty much all the horizontal pieces).

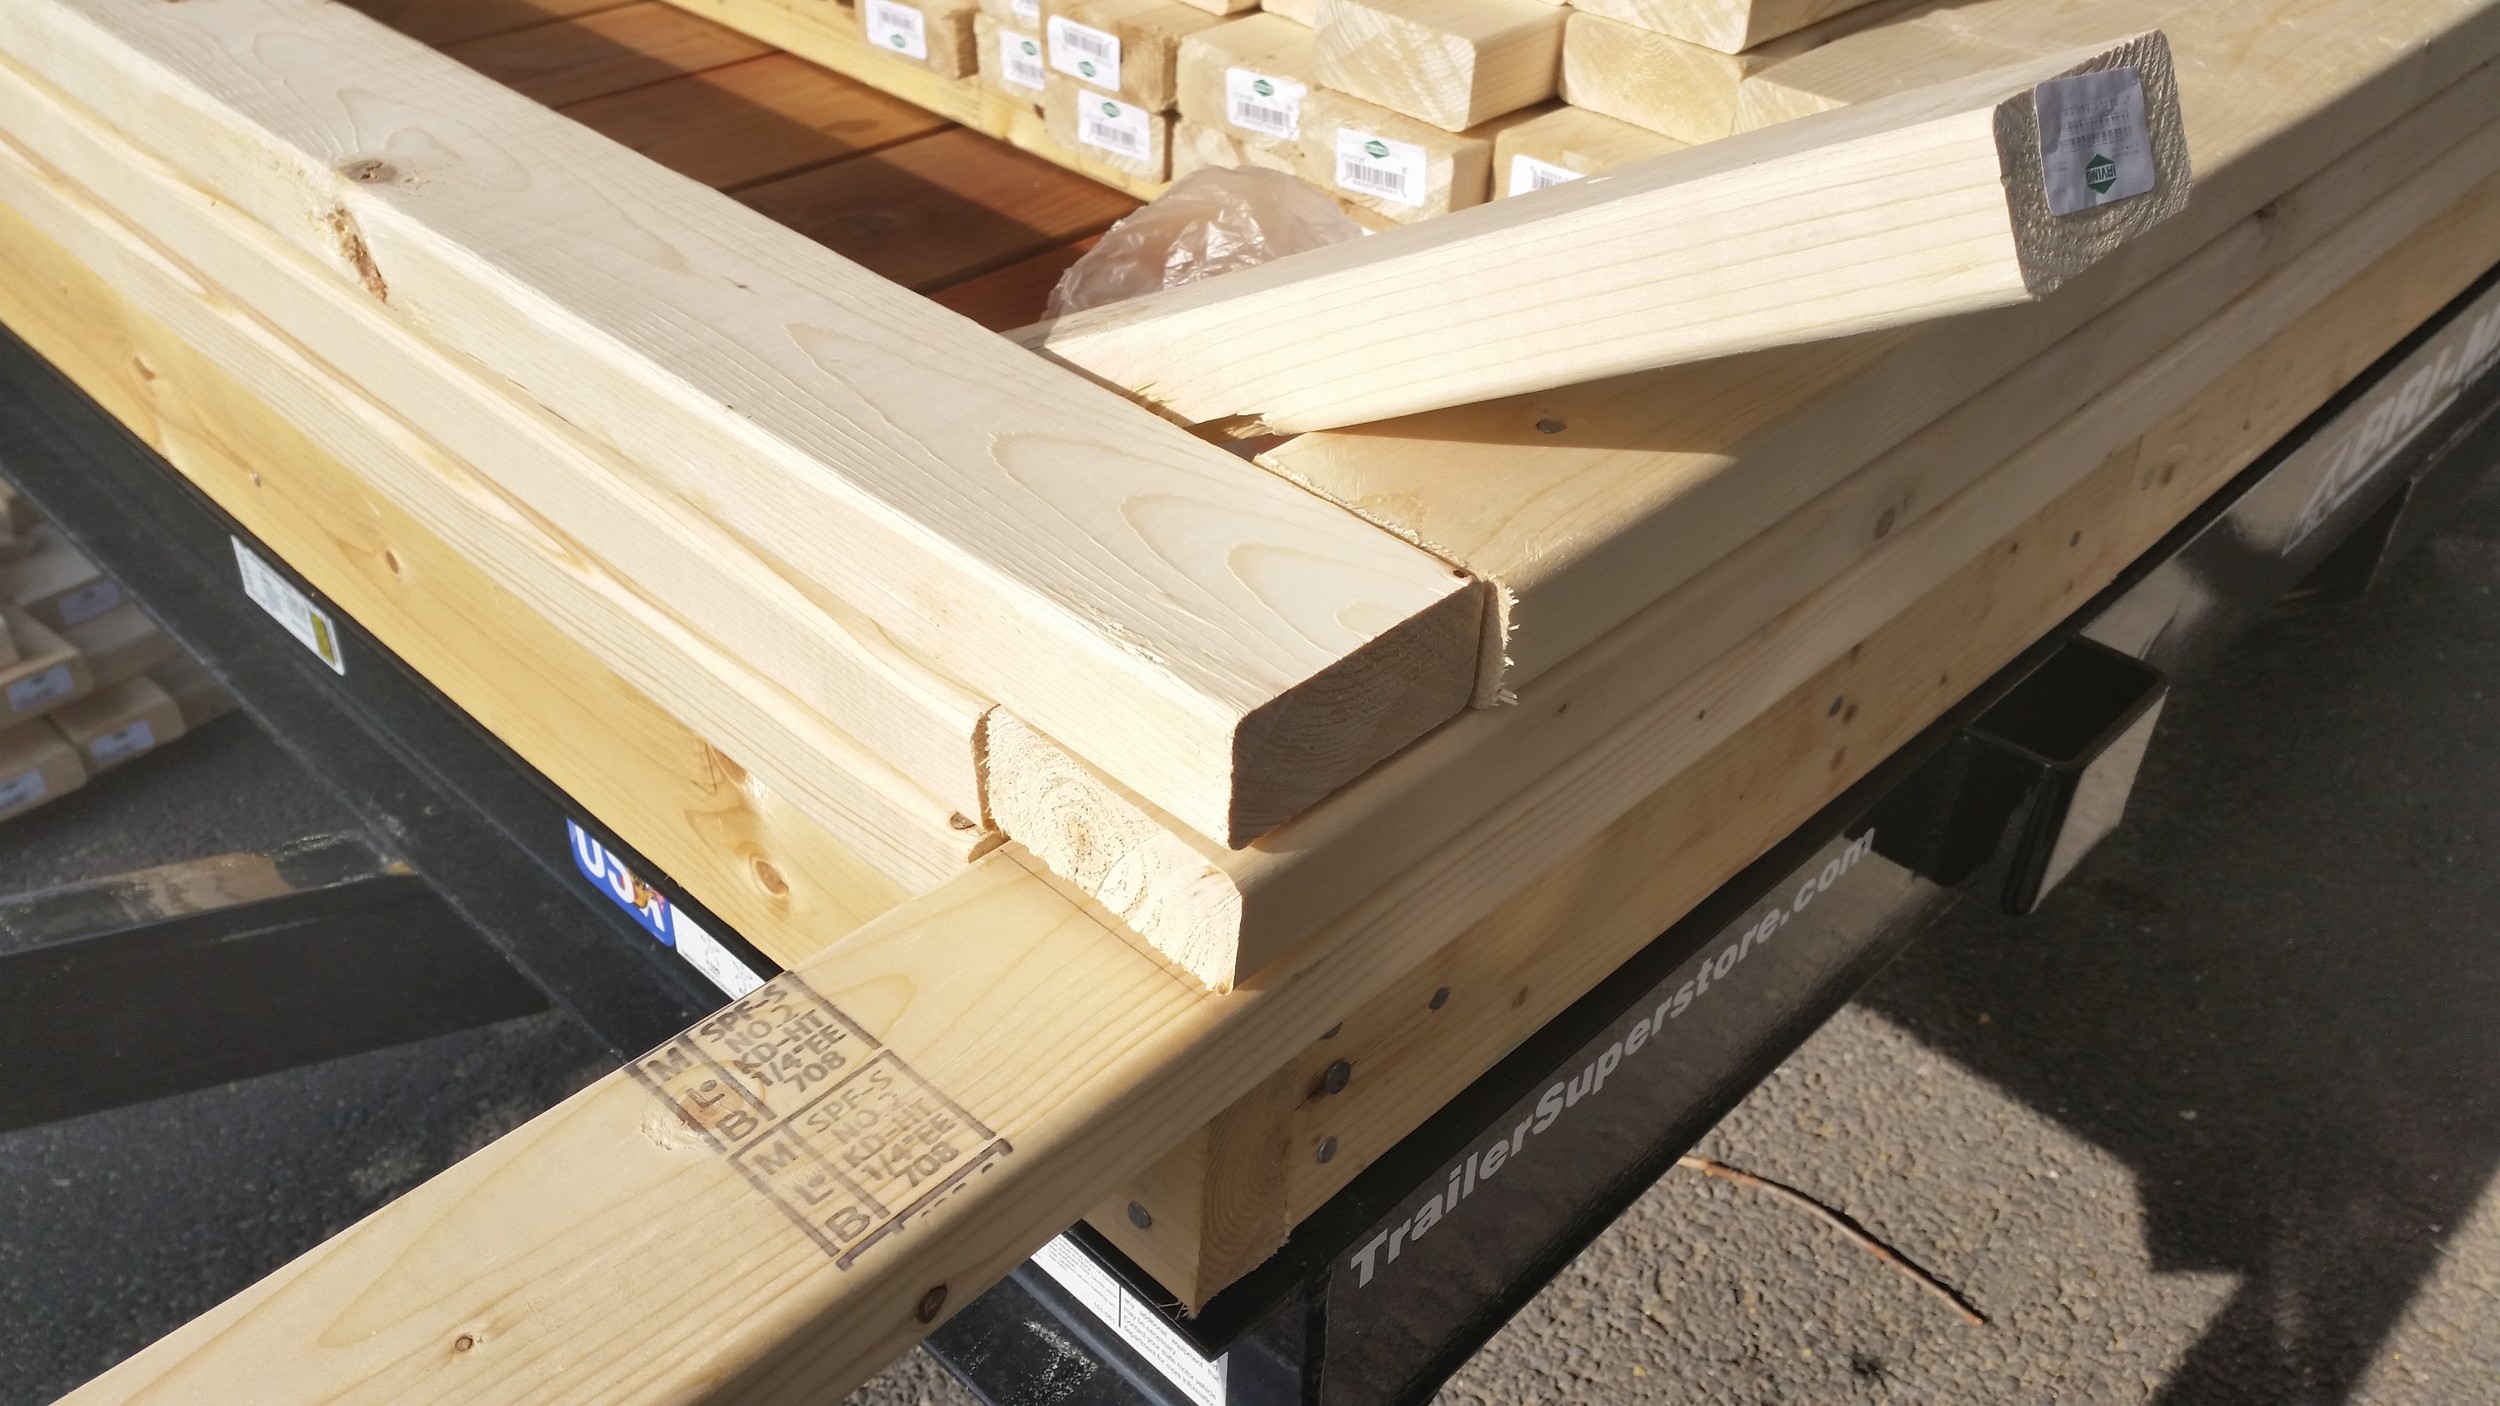
The bottom piece of the wall frame is 18 feet long, the length of the house. The problem is the 2x4's only come in 8 and 12 foot lengths. I didn't want to butt joint the bottom, because the butt blocks would be bulky and unsightly. I decided to scarf a 12 foot and an off cut together to give me the desired and required length.

Scarf joints are very strong way to connect two pieces of wood. They also come in varoius shapes and styles. The most simple method is called a "Plain Scarf", which is simply a diagonal cut on the two pieces. This gives a very long faying surface for the glue and screws to hold it all together.

Source: https://en.wikipedia.org/wiki/Scarf_joint#/media/File:Woodworking-joint-scarf.gif

Source: https://en.wikipedia.org/wiki/Scarf_joint#/media/File:Woodworking-joint-scarf.gif

The disadvantages of this scarf are the pieces can slide past each other, stressing the joint. The answer to these problems is called a "Nibbed Scarf". This is the same as the plain scarf, but the ends are nibbed vertical. When the board is compressed, the nibbed ends hit a vertical and positive stop, preventing the edges from sliding.

To perfectly execute a nibbed scarf, you need to cut and then plane the faying surfaces to make them absolutely perfect! This takes a lot of time, and the frame bottoms are going to sit flat and flush on the subfloor. Because of this, I did not properly finish the scarf joints, and instead just stopped when it was "good enough". 

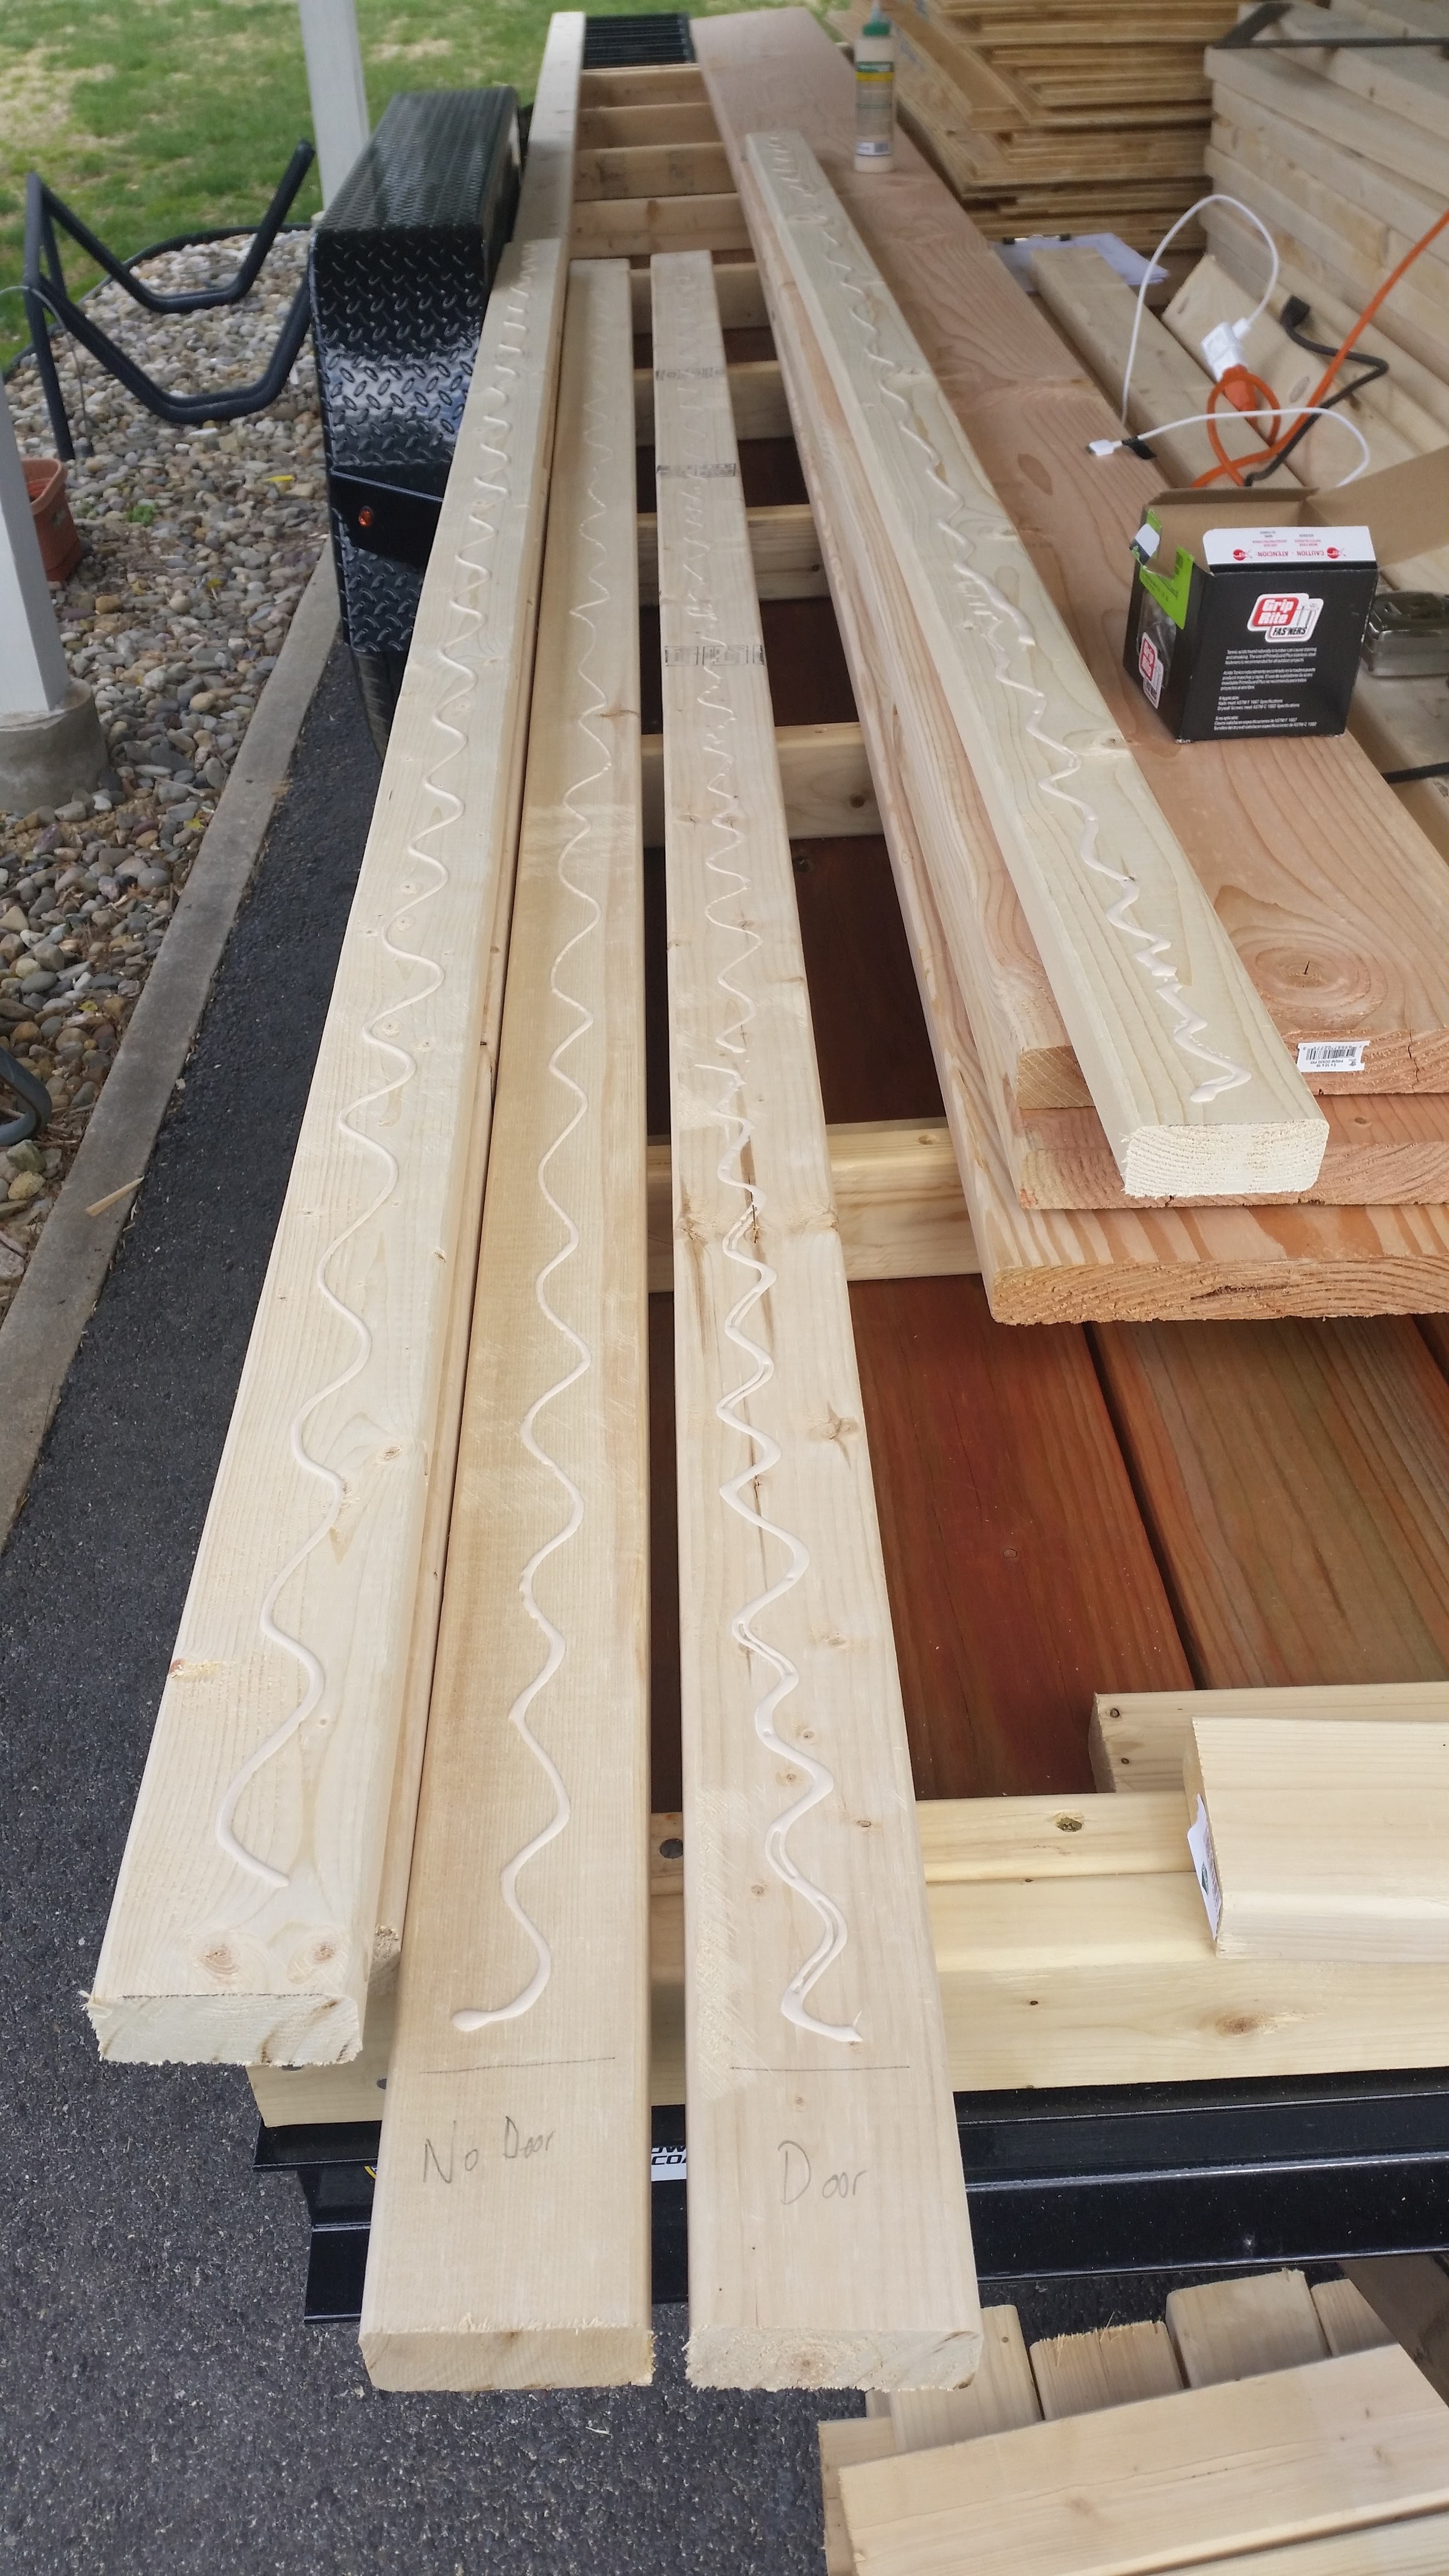
The joint was glued using Titebond III, a waterproof wood glue which is the next best thing to Resorcinol glue and much easier to find in the Untied States. Titebond III also has gap filling properties, which mean that a poorly mated surface will still hold very well. These joints were secured with nails while they dried into their final long lengths. The ends of the boards will be cut once the framing begins and I can set the joint in a hidden area that is not directly under a stud.

On the other extreme, the tops of the wall frames needed to be assembled as well. The boards were glued and then nailed, holding them secure.

The ends of the top two pieces have staggered ends, this will allows the corners to overlap and be nailed together, making the corners much stronger. This will help tie the whole structure together.

Now the bottoms and the tops of the wall frames are completed and all the studs are cut. The next step will be to build the end trusses to set the pitch of the roof and then begin assembling the studs between the top and bottom of the frames.