Storing Rice

Rice is a wonderful food to carry aboard. It is filling, easy to cook, and adds substance to any meal. In Puerto Rico, where I grew up, rice was a staple food at meals. Everything seemed to be based around rice and beans (beans are also easy to store). 

Rice is works very well on a sailboat because it stores well and is compact. A few handfuls can make a meal once cooked. It can be bought in large bags which can be tucked away in cabinets for a long time and it doesn't go bad. This means that rice can be used as an emergency food supply. You can plan the provisions needed for the whole trip, and then throw in a 10 pounds bag of rice for insurance against starvation. 

These large bags of rice can be difficult to dispense small amounts of rice from and they are difficult to reseal. This does lead to the problem of rice spilling from the bag and getting all over the locker. To avoid this, when I open a bag of rice, I will dispense it into separate resealable storage containers. 

I like to use the small cereal containers from IKEA. They are small, easy to store in the galley cabinets, and easy to dispense and seal the rice. Being made of plastic, they are also less likely to break while in storage. A 5 pound bag of rice can be evenly distributed between 3 small IKEA containers. 

To dispense the rice, simply flip up the lid and pour out what you need. When you are finished, the lid snaps back into place, avoiding accidental openings in the cabinet. The silicone seal will also help prevent pest infestations in the container. If something did find its way inside, it will only affect one of the multiple containers, rather than affecting the whole store of rice (the same principle of not keeping "all your eggs in one basket").

Give rice a try, it makes great meals and is easy to keep aboard for extended periods of time!

Rope Fender: Outer Cover

The cores are completed and now begins the very slow and tedious task of weaving the outer cover.

A chain stitch would finish the job delightfully fast, but if one strand broke, the whole thing would unravel. Being how these fenders are designed to take a beating, wrapping them in an easily unraveled stitch seems ridiculous. For this reason, the much slower, but also much more secure stitch of half hitches was decided upon.

Each loop needs to be passed through the holes and pulled through. For this reason, I cut sections of line off the spool of rope, rather than passing 600 feet of rope through each turn.

The number of half hitches per loop can be tailored depending on the size of the fender. If it is getting a bit tight, simply do two half hitches on the same loop. If it is looking a bit loose, skip one of the loops and bring tighten it up. If you need to add or subtract a significant number of half hitches, it is best to evenly space out the differences. This way the fender will appear more uniform rather than looking like a chunk got cut out of it.

Progress has been slow, but the results make it worthwhile. It has roughly taken me around 1 hour per foot with this stitch. I hope I will pick up speed as the project progresses!

Winter blues

It's the dead of Winter and the winter blues seem to have set in. I want to go sailing, but my sails are at the sail loft in Annapolis for their winter repairs. Meanwhile I have been busy trying to finish my time consuming project of making rope fenders. 

It feels like my whole week is consumed with commuting to work, keeping the boat warm, and making fenders. Last winter I was very busy making the new synthetic stays for Wisdom! This year I'm making giant knots in the shape of fenders. The stays were made with the dreams of sailing to far away places whereas the fenders are going to sit on the deck for most of their life.. 

It is kind of hard to think that the very tedious process of making fenders is going to help me sail further, which makes it hard to justify staying in to work on them instead of going out with Maddie and friends. When I was making the rigging, it was acceptable to say that I wanted to stay in tonight and work since it needed to be completed by Spring. The fenders don't have the same ring to them and I have needed to make other justifications to finish them. 

I finished the sculling oars and gangplank, which were my other projects towards the end of the year. My next set of projects are:

Wedging the mast partners
Make a sail bag for the jib (Josh)
New check stays with baggy wrinkles to avoid chafing the main again
Install solar panels on the transom
New house battery bank (our batteries are close to 10 years old and very dead)
Build a wooden tender to Wisdom that fits on the deck
Install a Monitor windvane on the transom

As you can see, the next set of projects appeals to me and I really want to get them accomplished! I know that if I start working on them, the rope fenders will fall by the wayside and never be finished. I will have a large spool of rope sitting in the cockpit waiting for all eternity to be turned into a rope fender!

This is my motivation to finish the fenders. Not because I feel interested in making large unbreakable rope fenders (though I am a little bit), but because I won't start my next project until they are finished!

We are going on a short trip this summer, and then on a much longer trip to Maine in 2017, followed by a year in the Caribbean come 2018. I need to get everything ready and prepared for the coming cruises!

The Furminator!

Morty sheds a ton! This creates problems that range from inconvenience to dangerous while on a sailboat. It is inconvenient that everything is covered with dog hair, but we love him so we accept it. The danger is comes in with his hair clogging the bilge pumps that would need to pump water out of the boat in an emergency.

Chrissy mentioned that we should give "The Furminator" a try to help reduce the amount of dog hair Morty sheds. We decided to give it a try because and picked one up.

The general theory behind the Furminator's claim of 90% reduction in shedding comes from the fact that any and all loose hair will come off the dog and into a trash bag at one time, rather than being dispersed throughout the boat all the time. I was concerned that pulling any and every loose hair out of him might be uncomfortable, but all doubt was put to rest on the first brush stroke: He liked it!

The Furminator removed massive amounts of hair on each stroke. Our plan was to brush him until no more hair came off, but that never happened. We brushed the same left hip for 10 minutes and kept pulling out equal amounts of hair. It was late so we decided to brush the rest of him and moved on from the hip.

He really enjoyed each brush stroke, I guess it feels like an epic back scratch! 

At the end of our incomplete brushing session we had removed a bag full of hair! We even used the brush on the settee cushions and were amazed at the amount of hair it removed there! 

Thanks Chrissy for the recommendation! I hope it will greatly reduce the amount of "Mini Mortys" we find inside the boat.

Diesel Heater

We held onto our large diesel tank when we converted the engine from diesel to electric because our diesel heater is the workhorse that keeps us warm in the dead of winter. 

Diesel heaters provide lots of dry heat! This is very important on a sailboat because condensation is a huge issue during the cold months. The air you exhale as well as the vapors from cooking is all full of moisture, and all the surfaces in the boat are cold. This leads to massive amounts of condensation, to the point where the ceiling will begin to drip on you! 

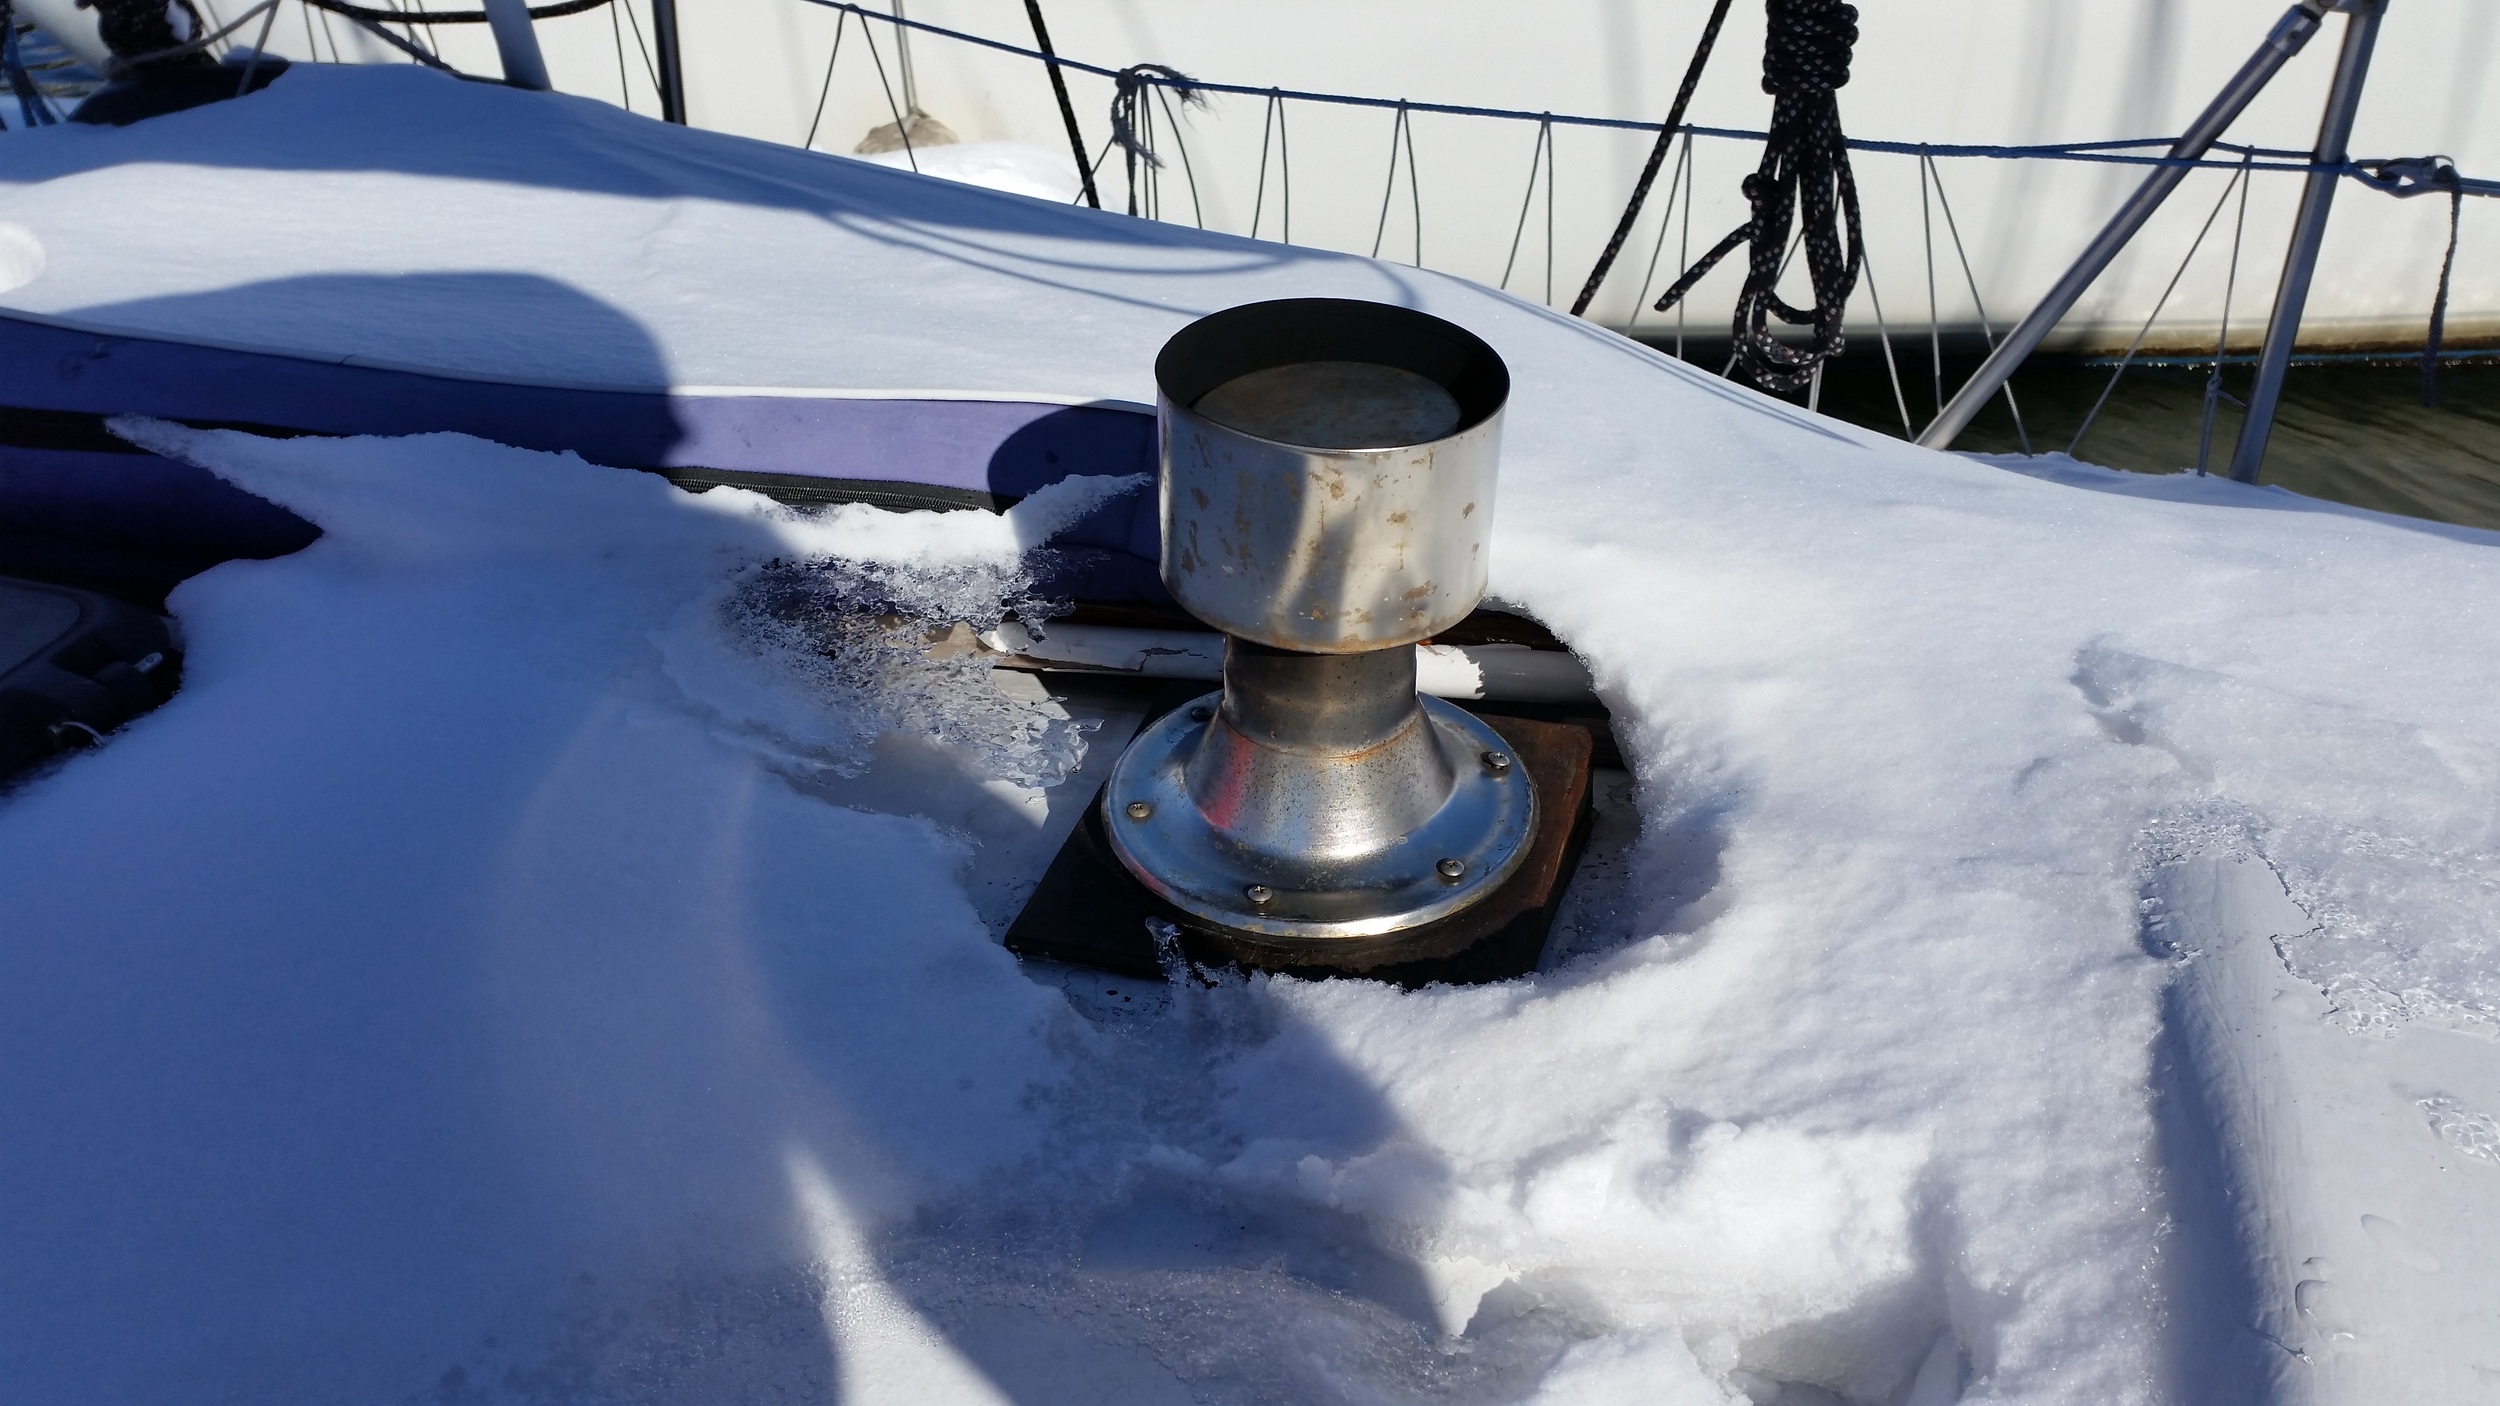
The secret to the diesel heater is it promotes a constant turnover of air in the boat. It burns the moist air inside the cabin and sends it out the chimney. This then draws in dry outside air into the cabin to replace it, keeping you warm and dry. 

This may sound like it defeats the purpose, bringing in cold air to a space you're trying to heat, but it doesn't. With the diesel heater running as our only heat source, the boat stays between 75F and 90F. We have actually had to open the hatches to cool off on frigid days because it got to hot inside!

The heater is not full proof, as it can have its temper tantrums. We call it "runaway diesel"! The temperature is controlled by a carburetor (think of it as a gas pedal on a car, if you hold your foot constant, it will slow up as you go uphill and speed out of control as you go downhill). The carburetor simply allows a certain amount of fuel to pass into the burning chamber. This sounds like it will keep a constant temperature, but it has a glitch. The fuel that it burns is in the cabin with us. As the boat warms up, so does the fuel; allowing it to flow faster through the carburetor. This makes it burn hotter since it gets more fuel, which makes the fuel flow even faster, which makes it burn even more fuel, making it hotter! I have had it runaway on me a few times, once it got up to 138F inside when it was 15F outside. It usually happens when we first turn the heater on. The fuel is cold, we are cold, and we just want it warm! We set the flame so it's burning nicely but forget to turn it down. A few days later, the fuel is all nice and warm and the runaway diesel is possible. To avoid this from happening, simply pay attention to the heater and keep the flame adjusted properly. It really happens because we forget to turn it down. Now that we are much more cognoscente of it and we keep an eye on it, it hasn't happened anymore.

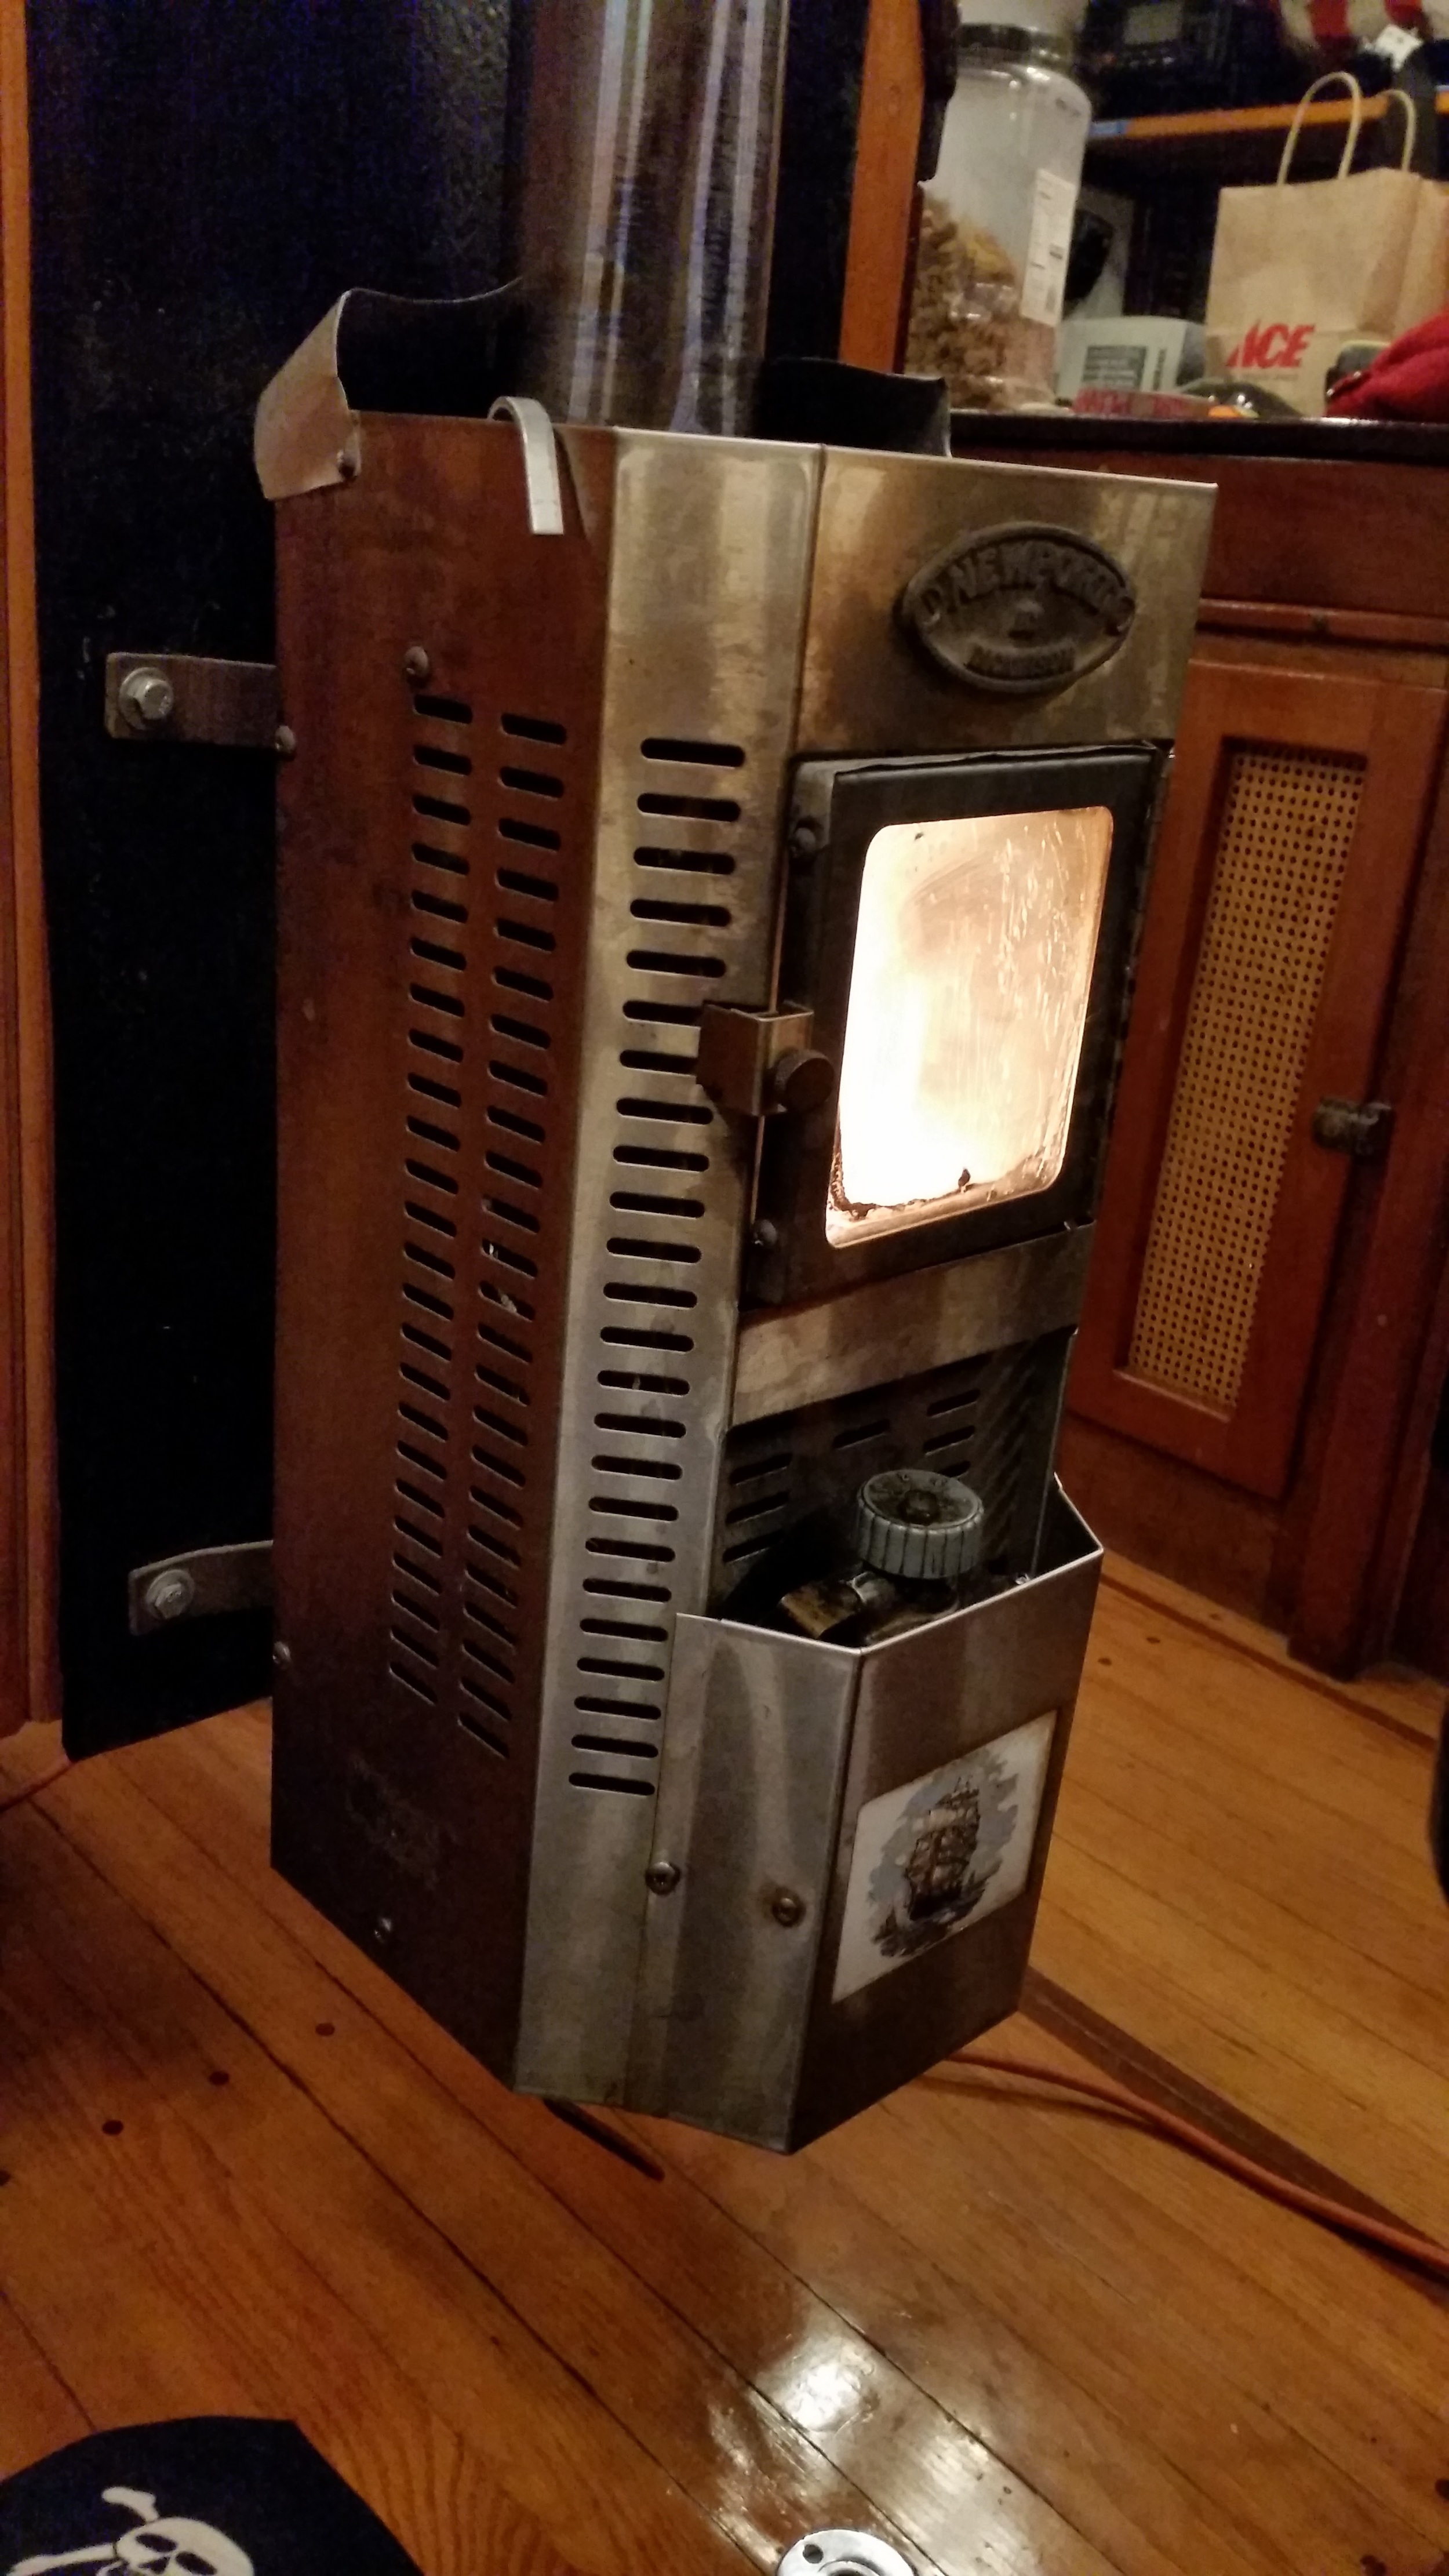
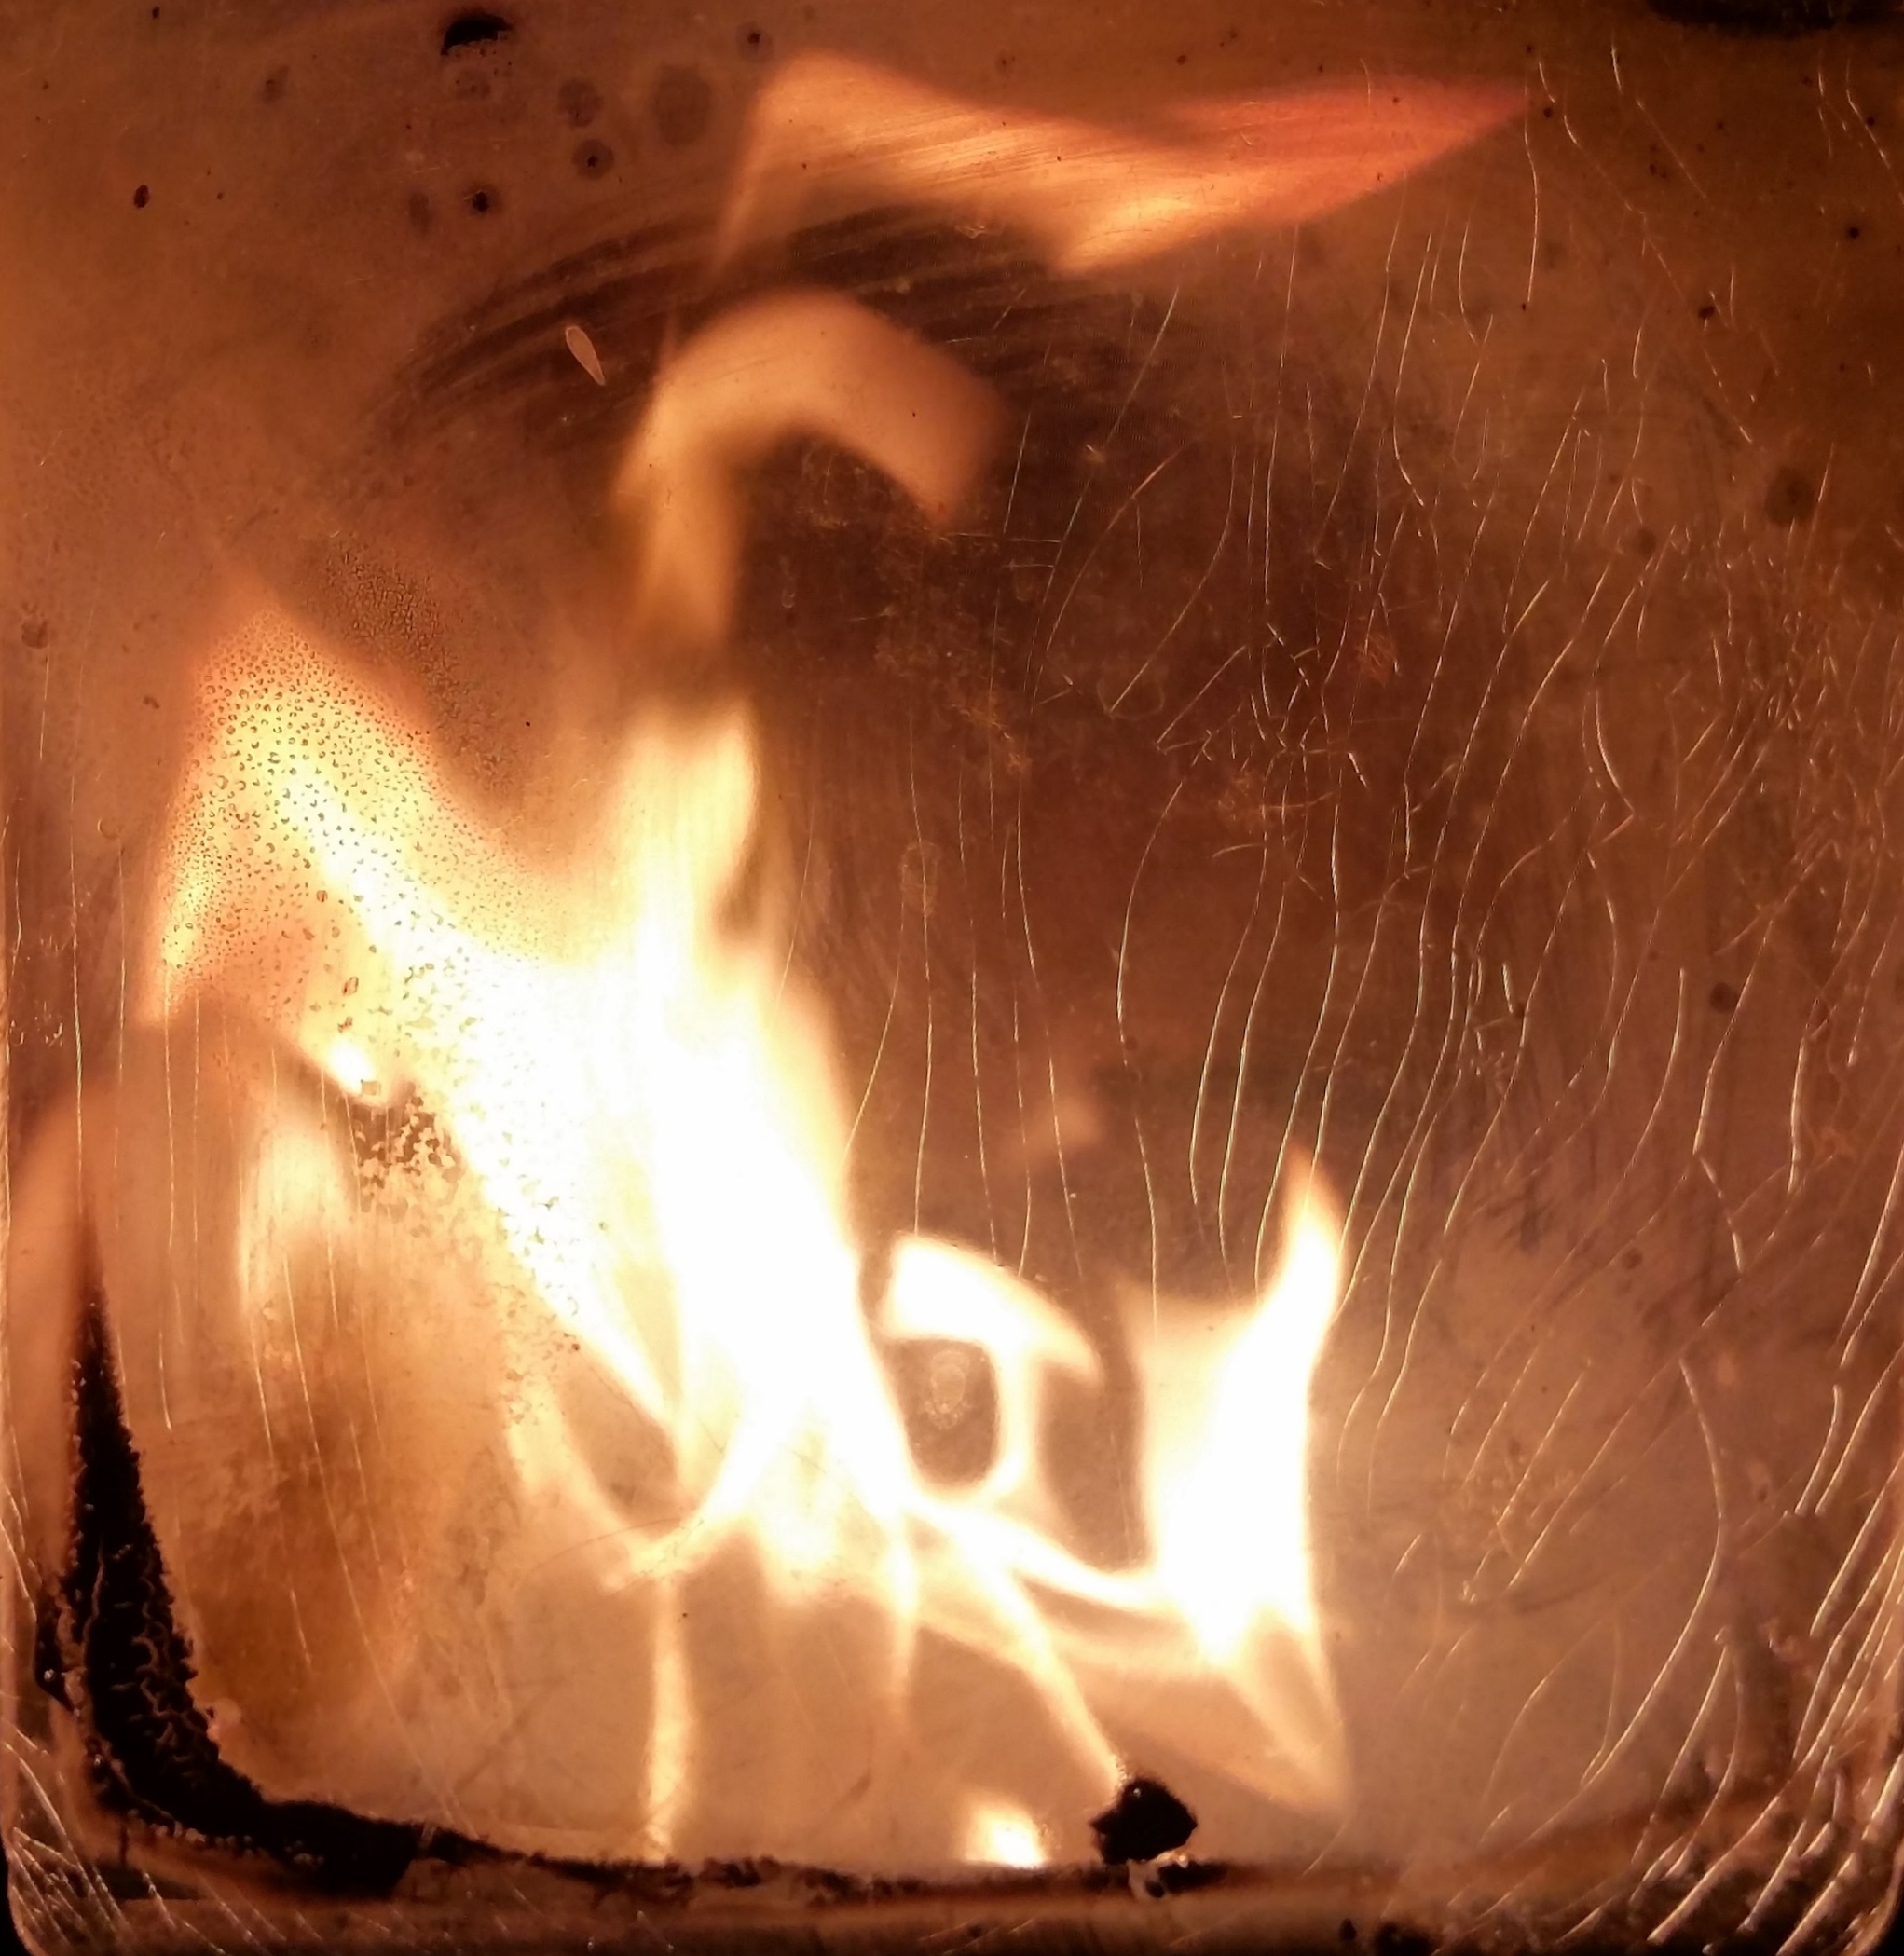
One of the really cool selling points of this heater is it doesn't run on electricity! It has an electric fan to help it start a fire, but I never use it. It burns wonderfully and reliably! If the power goes out in the marina during an ice storm, we still have plenty of heat! Best of all, when we are anchored out and it feels a little chilly, we can fire it up to warm the cabin. 

Having reliable and non-electric dependent heat is wonderful, but as with all things on a boat, certain precautions must be taken. The heater produces a large flame, and the boat is made of wood and fiberglass. You are literally burning a flame inside of a closed tinder box! With the proper precautions, it goes from crazy to very safe.

The heater is going to get very hot, this is how it radiates its heat to the rest of the boat. Do not place it near wood or other objects, they will burn! You need a minimum of one foot around it and lots of airflow. The kink in this plan is the unit needs to be mounted to a bulkhead, so the use of an appropriate heat shield must be employed. The heat shield goes between the unit and the bulkhead, and it really works! I bought mine at ACE hardware and cut it down to size to fit my small space. I then crimped the metal to cover the exposed insulation (compressed saw dust). This shield really makes a difference. It hurts to place your hand between the heater and shield, but it's actually cool between the shield and the bulkhead.

The other important factor is the heater can runaway, in this case it can be too hot to get your hand on the carburetor to shut the heater off. Even if you did shut it off, the fuel is so thin that it can still slip through the carburetor, continuing the burn. For this reason, mount a gate valve below the unit (where it never gets hot) in the fuel line right before it enters the carburetor. When it runs away or begins to burn to hot, simply close the valve and wait for it to burn out. I also use this valve to shut it off whenever we want to turn it off. The carburetor can be set to the perfect temperature for comfort, so rather than trying to find that setting again, I shut it off with the valve and leave the carburetor set to perfection!

20160122_172916.jpg

Lastly, this is a fuel burning item in your boat and carbon monoxide (CO) should be of concern. Yes, the chimney takes all the exhaust outside and safely vents it away, but what if something goes wrong, or the chimney starts leaking inside? You need to have carbon monoxide sensors installed and maintained. We keep one close to the heater and another by our bed. 

If you follow the safety instructions with the heater, you will find that it will produce a wonderful dry heat that will make you feel warm and cozy on the coldest of winter days. As an added bonus, you will also get to enjoy watching the flames dance behind the window into the heater! They make a very nice glow through the cabin at night. Not enough to keep you awake, but just enough to let you know that the fire is burning and you are warm.